When you click on links to various merchants on this site and make a purchase, this can result in this site earning a commission. Affiliate programs and affiliations include, but are not limited to, the eBay Partner Network.
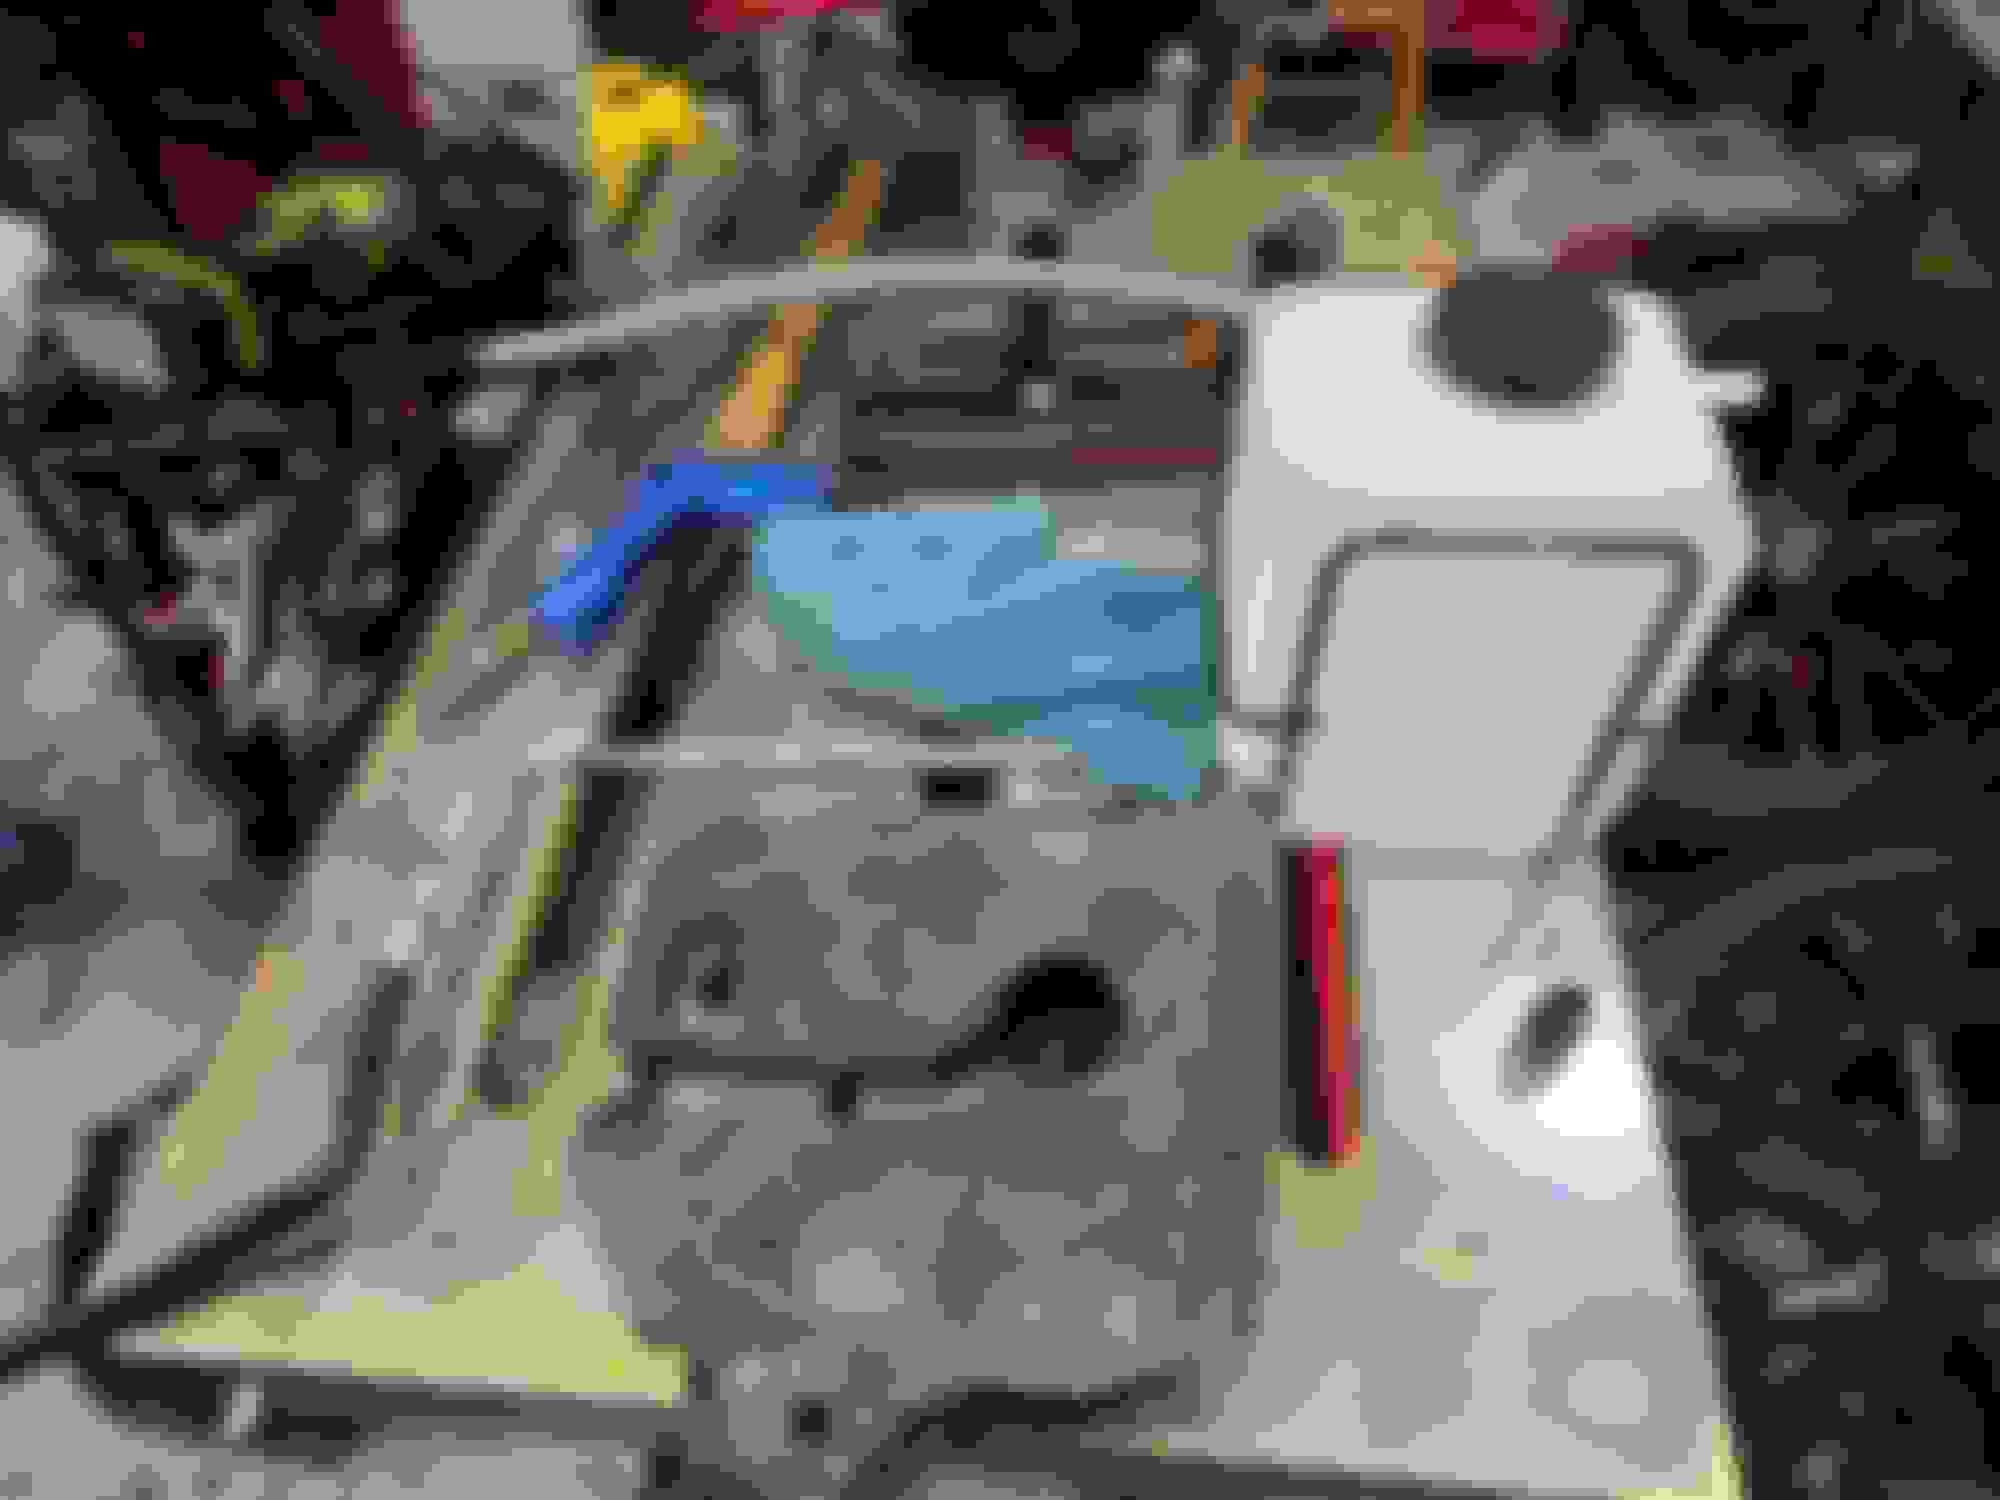
Well, since it decided to thunder storm out this afternoon, I figure I do some mocking up of the coolant tank/battery tray retrofit. Since I'm gonna have the fender exhaust, I gotta loose the stock coolant reservoir. Trying out separating the tank from the tray. Was actually alot easier than I thought it was. I though I was gonna have to hack at it with a Sawzall or something but turns out, a pry bar and some careful twisting took it right off.
the idea is to use this for now, and then fab up a metal tray base on this dimensions. Wish I had a 3d printer to try this out lol it's that our weld one later lol Here it is before separating. Took the tube out to see if i could save it. Glad im ditching this tank, man was it dirty lol all kinds of gunk in the bottom. And with a little prying, separated. Tranys in decent shape. The lip as you can see broke as usual. Gonna see if i can use the pickup tube on the other tank. We will see. Gonna use this dorman tank as my coolant reservoir.
It's is coming along nicely! Power stwering pump with ict bracket. Using nicks power steering relocation kit. Hurons merge pipe and wastegate And hooked up. Took a little time trying to line up the little copper gaskets they supply. Leabe the manifold loose before you tightne the clamps down. Use a jack for a third set of hands lol O2 sensor... so much better than cxracing Other o2 sensor... so easy to get at Tightened all the manifold bolts. vsr 7875 billet gen 2.5 going in! Another looksie Merge pipe all set And now the turbo lol the studs definetly made it easier
Another view id the turbo. Lots of clearance Clearance is a nice bonus with this kit
The fender exhaust set for now Fot right in there. Bo issues at all. Didnt think the wideband was gonna stick down but ok
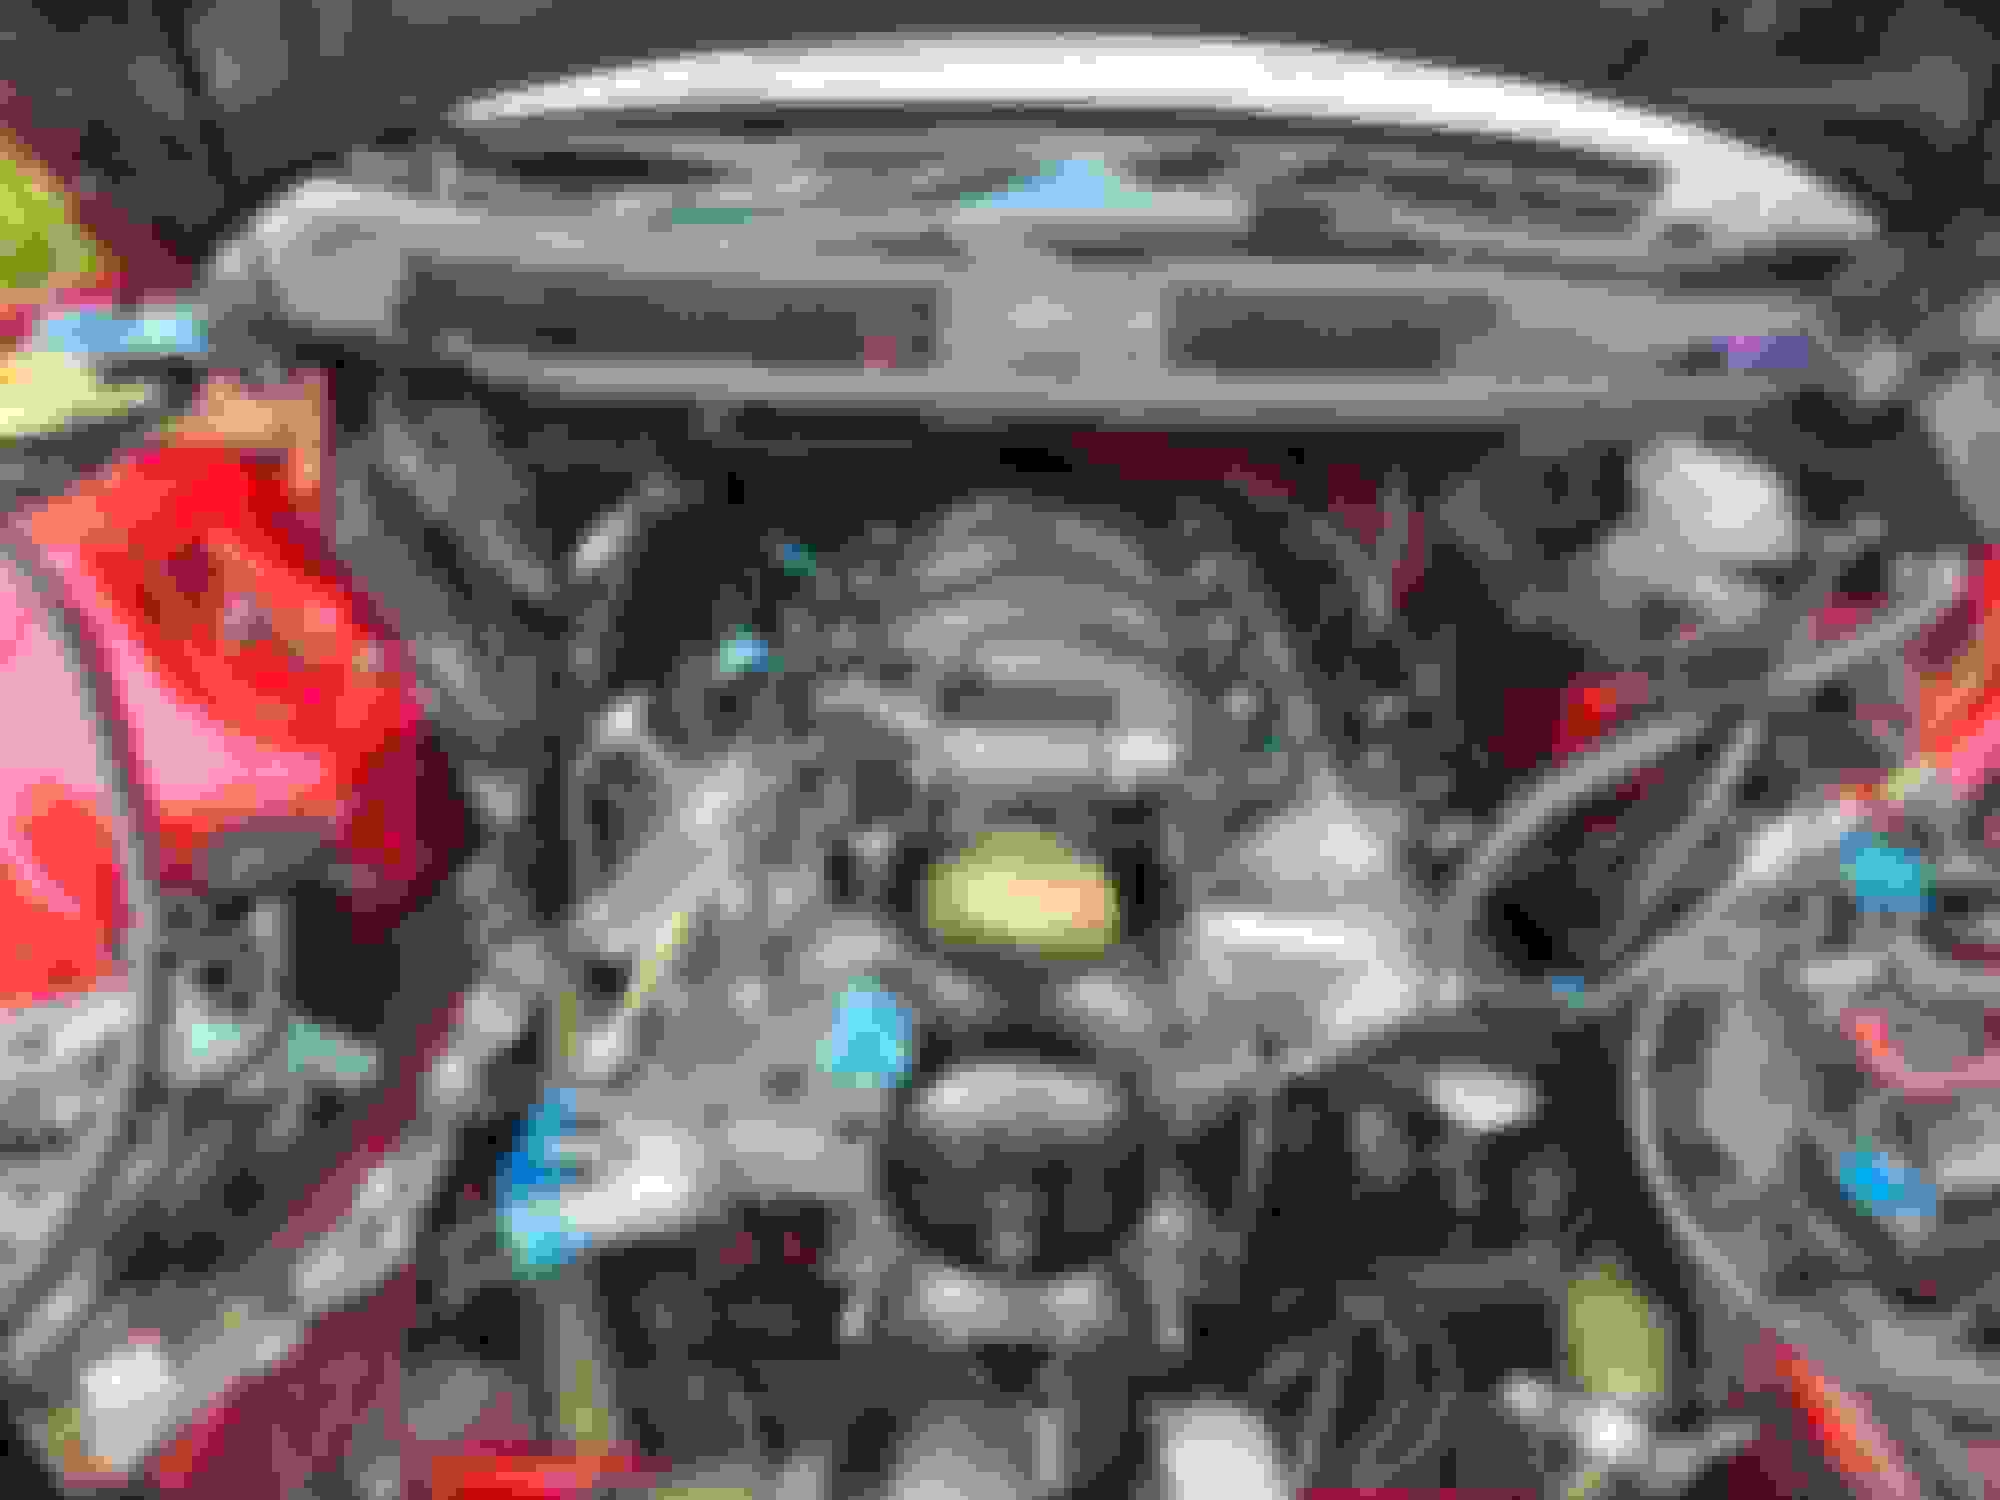
Ls6 intake manifood with the holly sniper 92mm TB Making sure everything is clear... tale the tape off lol Put the intake manifold rear bolts in and slighty walk it in
And now it looks like an engine! Intercooler set
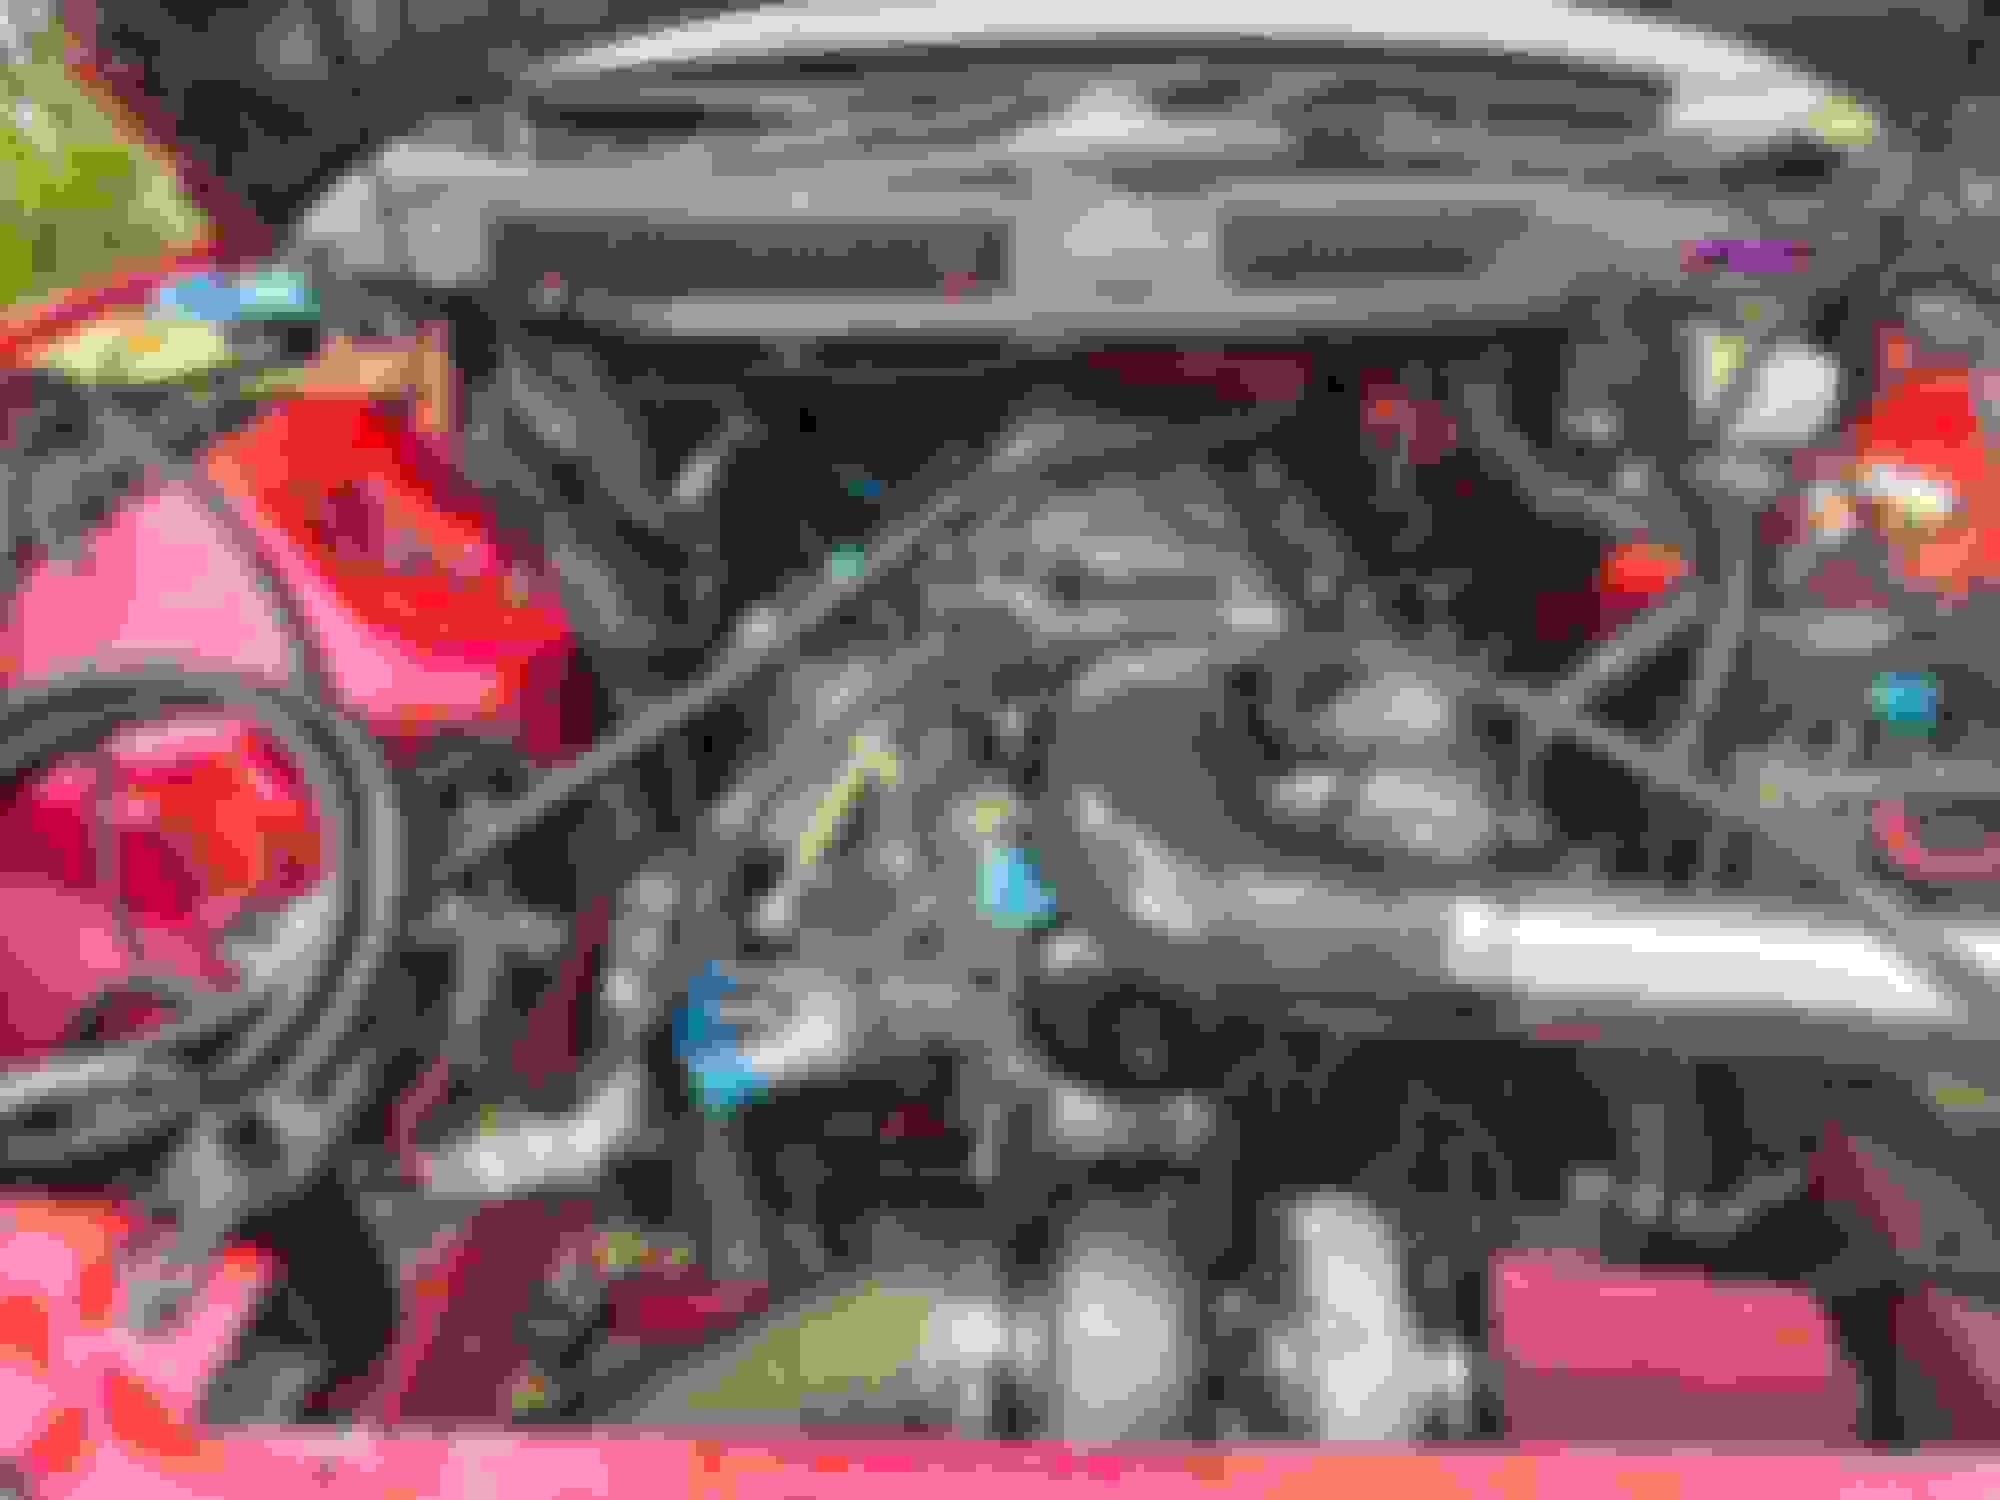
The brackets are anice touch The intake charge piping took some trial and error. Dont like the wires mess on top of it Didnt realize i was gonna need this weird coupler woth this but here we go lol took a set to figure this one out. None of the pictures show this goofy coupler IAT now that i cant use the integrated MAF
A mixture of grommets This holes a bit tight so gonna need different grommets or open it up
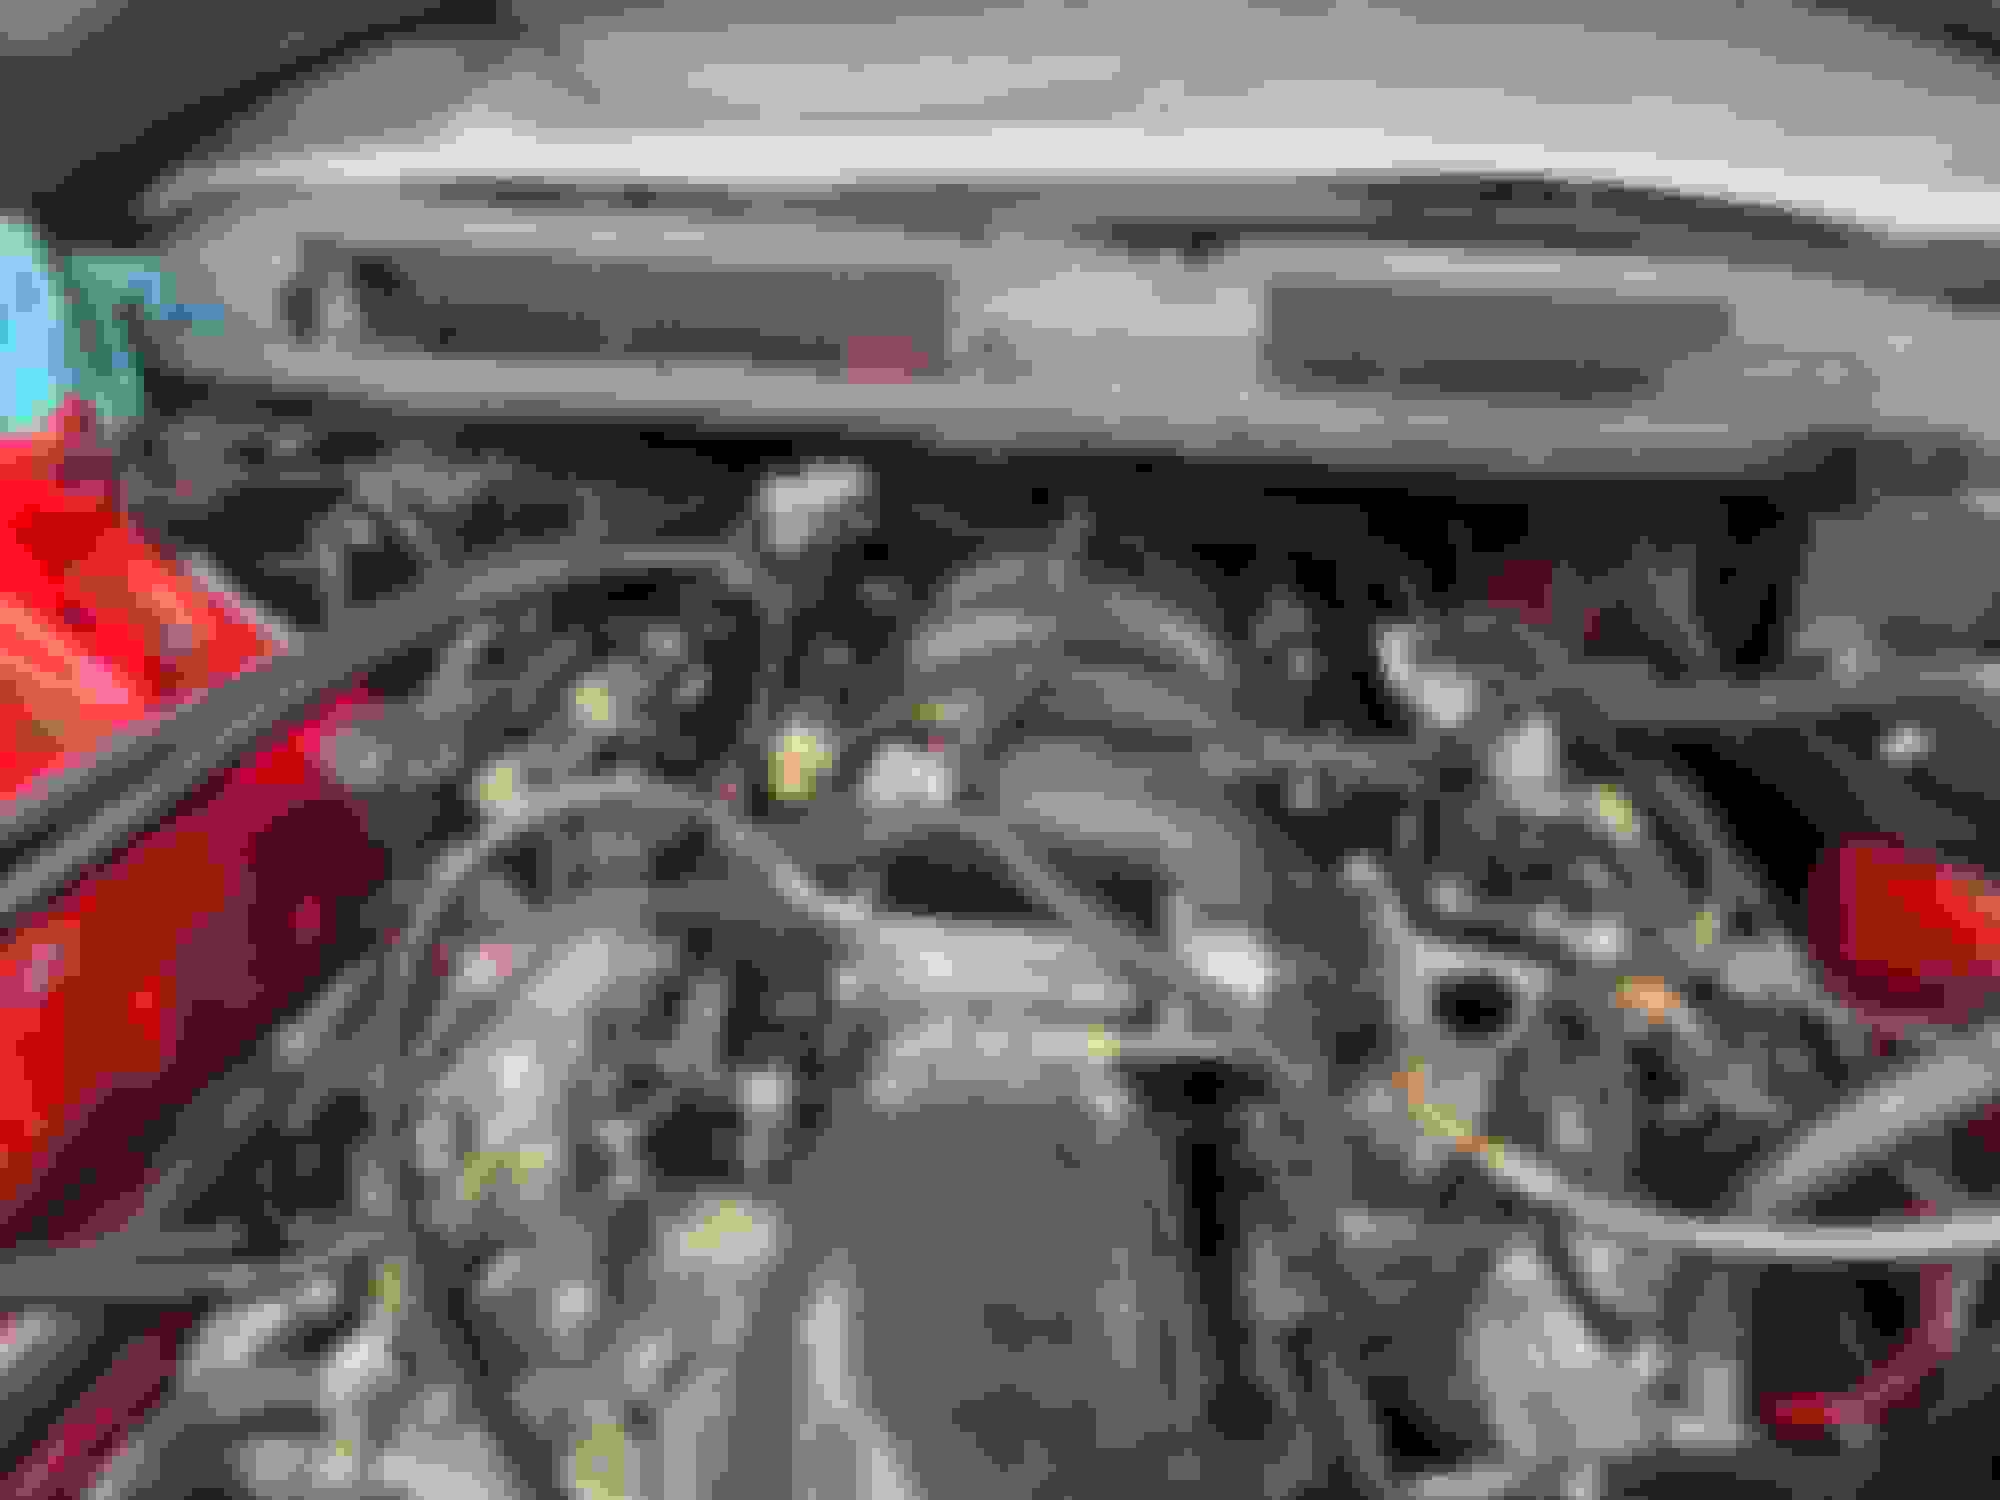
Fitting some hoses in the back. Mocking up the 10an carch can hoses Trying to figure out how i want it to look Coils and ict brackets going in
And here there are, 2 step harness is in there too Other coils and bracket in Fuel rails and adjustable fuel pressure regulator This is a mess.... i hate this part lol i gotta clean up this harness and fuse box area
Kinda cleaned it up. I have all my aftermarket harnesses feeding in this area. Top of the engine all buttoned up!
Lots of room here Oil pan drain Bottom of the turbo and exhaust pipes. So much cleaner! Battery tray mocked in place for now No coolant tank yet lol
Griffin radiator put in place to see where everything fits. Gotta get a different lower radiator hose. The bottom is sitting right on the exhaust as it is. Need it to bend sooner Lots of room behind the radiator for collant and methanol tanks spal fans have lots of room as pullers!
Not bad. I really wanted to use pullers verses pushers. SPAL fans
Alittle more progress today.
1 fans mounted to Griffin radiator
2 coolant tank and methanol tank/pump found new homes. Coolant tank hose routed.
3 lower radiator hose trimmed and shield in place on radiator.
4. Adjusted the steam hose adaptor on the upper radiator hose and trimmed the steam vent hose to go straight to the cross over pipe.
5. Radiator assembly put in place and fans plugged in
6. Ls6 pcv catch can plumbed with -6an branded hoses and fitting (had to clamp the hose on the intake and valley ports though)
7. making final adjuatments on valve cover pcv catch can routes.
Also removed the fuse box tray to make more room for cleaning up wires and access for the charge pipe. Still got a ways to go for appearance. Radiator/fan assembly. Fans are a tad bigger than the radiator lol but more fan is better than not wnough i guess pol Finally got the 99+ pcm bucket in place for the repinned pcm Still gotta clean up the wiring but at leastbits secure now Coolant tank using the intercooler bracket for a mounting point. Temporarily zipstripped into place. Gonna use a mounting bracket later Not a bad location Methanol tank is also right here. Zip strip for temporary but a bracket will be made latwr Coolant overflow and pickup tube from the reservoir to the radiator Trimmed and hooked up. Methabkl pump hiding under the fuse boxes. Securing that with something soon Valley catch can pcv system plumbed and secure. Now for the larger valve cover catch can install.
Thanks man, it's been a long time coming lol, can't wait to fire this thing up!
Got a couple items in the mail to install later. Guess it was time to get a larger trans cooler lol
guess this tru cool 40k will do over this B&M lol a bit more surface area lol
got a little dress up item too for the trhrottle cables. Found a little billet item in place of the old stock price and spacer to compliment the holly throttle As you can see, i think the 4l80 wont have a cooling issue from here on out lol waiting on some 6an bungs to finish off the connection. Just a pretty bracket nothing special lol
Well the bracket went in nicely. Need to clean up the spacer, but other than that, not bad.
The cooler... holy crap that's a large unit lol didnt realize how big this thing was lol gonna need to make some brakcets for it. Old bracket with the spacer New bracket installed. Pretty straight forward Kinda updates the old bracket look. This is purely cosmetic lol Ok... so it does fit behind the radiator but i gotta find a way to mount it. I guess the 4l80 will not overheat unless i drive in in 1st at 90mph lol
Hey, you can never have too cold of transmission fluid.
You may want to consider mounting it at the back of the car with a dedicated fan, cleans up the front and if it fails, keeps oil from getting under the tires.
Lol I wasn't thinking it was gonna be that big when I was reading around for recommended sizes. The smaller one was on my 4l60 years ago as the "recommended" size back in the day from B&M, but many have mentioned this one is less expensive and bigger, and coolers better than the tube and fin style. I might move it to the rear later. For now it's up front. Sandwiched between the radiator and support and lot of air gap between the intercooler.
had to plumb an extention hose from one end since its so long lol A little 6an extention to meet at the hoses. Nice and clean and tucked. Finally found a use for this hose clamps that came with the hoses lol This actually worked out pretty good. Neatly tucked away Ignore the brackets lol im working on a cover plate for later lol
Getting down to almost initial start up!!
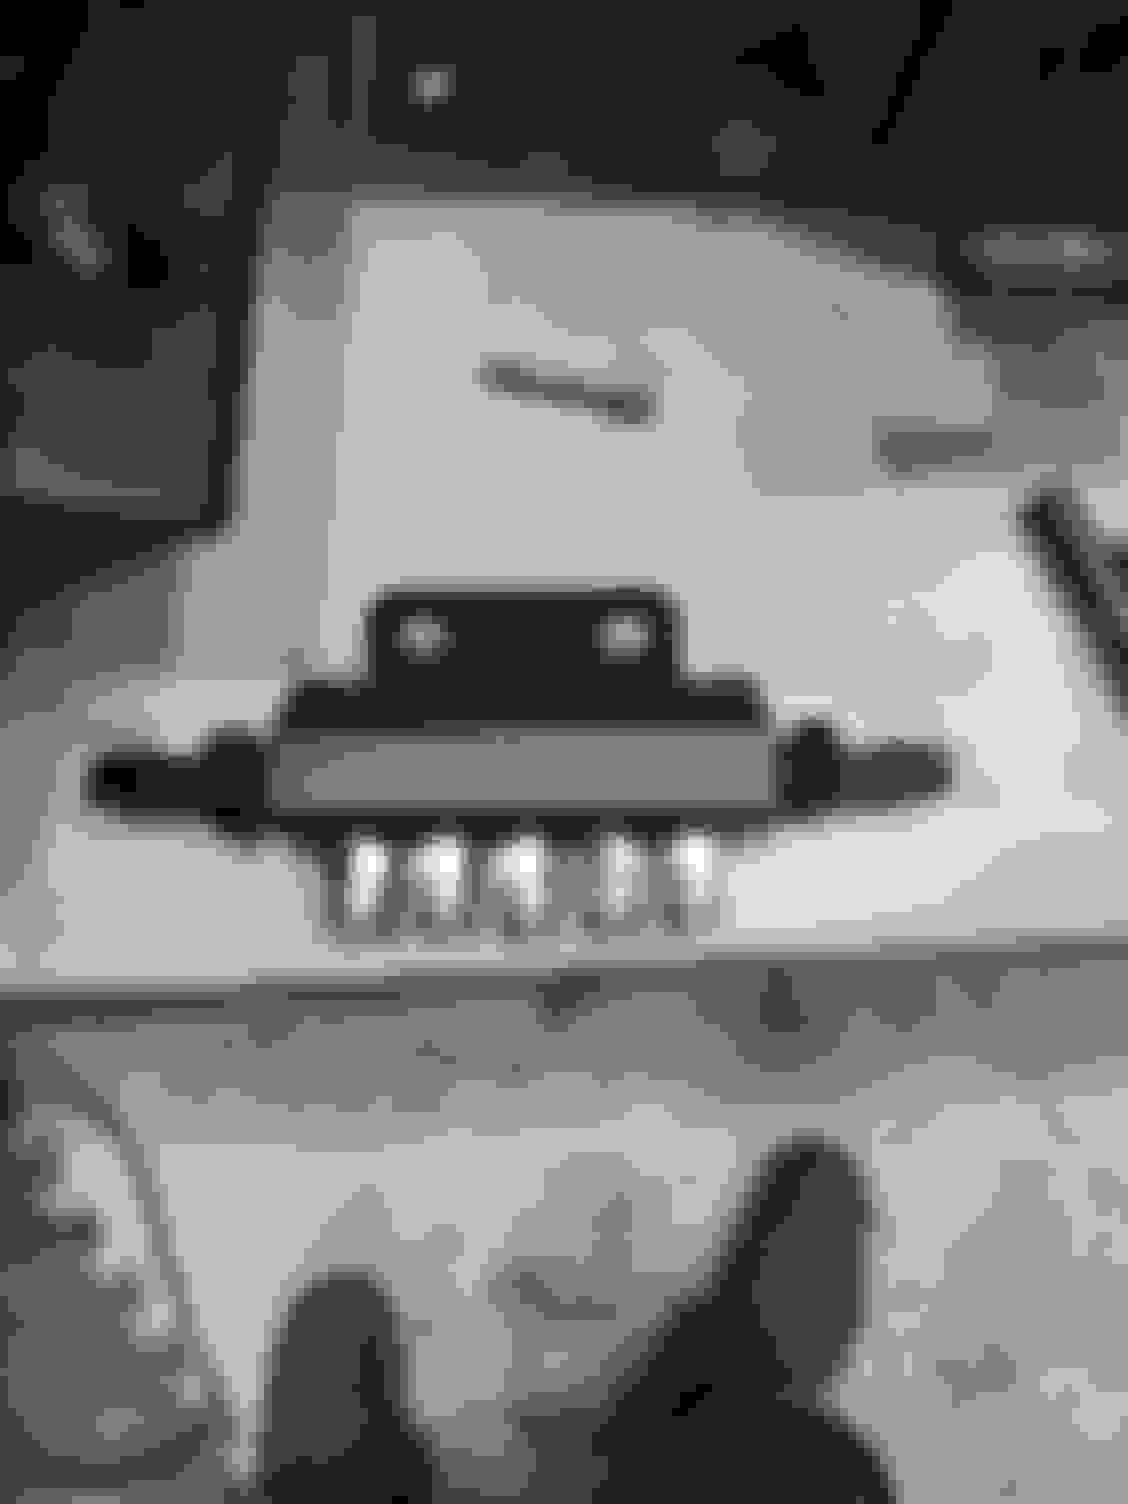
Waiting on my new map sensor. Some how my original one separated. Glad I caught it before I started tuning it, could have been chasing my tail with a leaking map sensor.
catch cans are fully plumbed. Still wondering mounting location but this will do for now. Heres the MAP Sensor. Not sure how this happened but glad i caught it. New one coming in the mail. Was considering this location, but didnt like the direction of the ports. Would have to get a different can if mounted here, and reallly not in the mood to throw down $350 on a new can right now, as much as id love a mighty mouse or motion raceworks kit. Ultimately settled in this corner. Tucked away and out of the way, plus any fumes are close to the exhaust lol Waiting on my ICT alternator bracket. Still debatong on using this port for the BOV. Hate hiw it looksnright now. Huron supplied turbo blanket finally going on. Hate to cover the turbo, but dont want to melt everything lol Fuel return is up next to clean up. Gonna get ride of the leaking return hardline i installed with a 6an PTFE hose in ita place. Plus it will allow me to relocated the fuel return away from the manifold. The new hose for fuel return As you can see its a bit tight in there next to the manifold and everything else.
So this ICT bracket is nice. Solid. Takes a sec to figure out how it goes together. For the price, you'd think they would just weld the whole unit together and just bolt it in, but im assuming it might be part of a universal system they might make, so I kinda get it.
only problem with the ICT alternator bracket, is that the truck alternator is a bit of a tight squeeze and the plug is too close to the tower... so either I need to knotch the tower or temporarily use the CBR bracket until I get a different alternator. Instructions are pretty straight forward. CBR bracket is simple and straight forward. Turn buckle ise pretty easy to setup too. The ict is a significant step up. Its a two piece bracket system is robust to say the least. The spacers take a little finesse The truck alternator is a beefy boi lol and now i gotta clean it lol So heres my dilemme. A bit of a tight fit it seems. Gonna see if I can plug it in without knotching it. Might just get a new alternator to make this fit... and to pretty uo this eyesore lol
JS Alternators makes bad *** alternators that would take care of that.
They make a stock replacement unit in a variety of amp outputs which would fit better.
The truck case units simply put out more amps at idle which is what I wanted so that's what I did but I had to modify some stuff to make it fit as it was a bit deeper length wise than the factory truck alternator.
The oil fill neck will be in the way for sure like mine was.
They'll put out full power up to 9,000rpm iirc, love mine.
Also is the engine going to torque over and slam that connector into the shock tower because you know who's gonna win that fight....
Yeah for now, I'm juat gonna run the CBR bracket... I'll hold on to the ICT unit for when I get a slightly smaller case when the truck alternator one day goes out.
Today the bumper cover finally goes back on after 2 years! And has a little new feature too 😁
also did the passenger side harness hiding mod finally after having this car for 19 years lol While as much as i love this unit, not gonna risk smacking the shock tower or knotching. CBR unit work well too. Tested and ran before, so not worried about it. Oh bumper of the firebird, forgive me for what im about to do to you lol Some tape to keep the paint from getting too messed up. This was a little nearve racking to center the hole. Thankfully the motion raceworks bezel is oversized to aid in fitment. Marking the inside to cut the hole was a tad interesting. The 4" hooe saw was litterally 4" so i had to adjust around the hole once the bezel was placed. And there it is! I gotta clean it up around the inside so its flush, but its 95% there. Test fit the tip. I like the slant flowing with the bumper Not too bad Made the hioe finally for the harness And finally a little cleaning modding lol still gotta clean that wiring harness for the PCM though
Hells yeah brother it's coming along nicely! Can't wait to hear it fire up! Mine should be close to finished hopefully by the end of the month or first of September granted it won't be turbo'd yet but it will be alive! Lol 🤘🏻
Ok... i seriously need to finish this build or im gonna wind up buying other crap lol
soooo im pretty sure this was an inpulse buy lol
Started fiddling with clearance, and trying to get my fuel hose routing off the rails.
and found myself pulling the trigger on a 92FAST intake manifold. I know the LS6 intake is very capable of handling itself, ive been just wanting one for so long. At least it's a quick plug and play lol
Lmfao that's one of the main reasons my car isn't running I keep buying **** 🤣 that's why the turbo kit for me is gonna be a little but I just wanna drive my car and take it to ls fest next month lol
Lol that's for sure, I'm so close but I gotta stop having "while I'm in there" moments 😆
Well, while im waiting for a few parts, i test fit some sheet metal to try and clean up the radiator cover, and holddown. Still needs a little clean up around the edges, but kinda nice to smooth out the radiator cover a bit. Im gonna paint it as well later. Guess im just gonna redue the entire fuel system too lol 8an feed with a 10 micron billet fuel filter, and the 6an return. Running ptfe hose all the way around so i can use e85 eventually.
The box was a nice touch lol now I have something if I decide to sell the ls6 intake later. We will see.
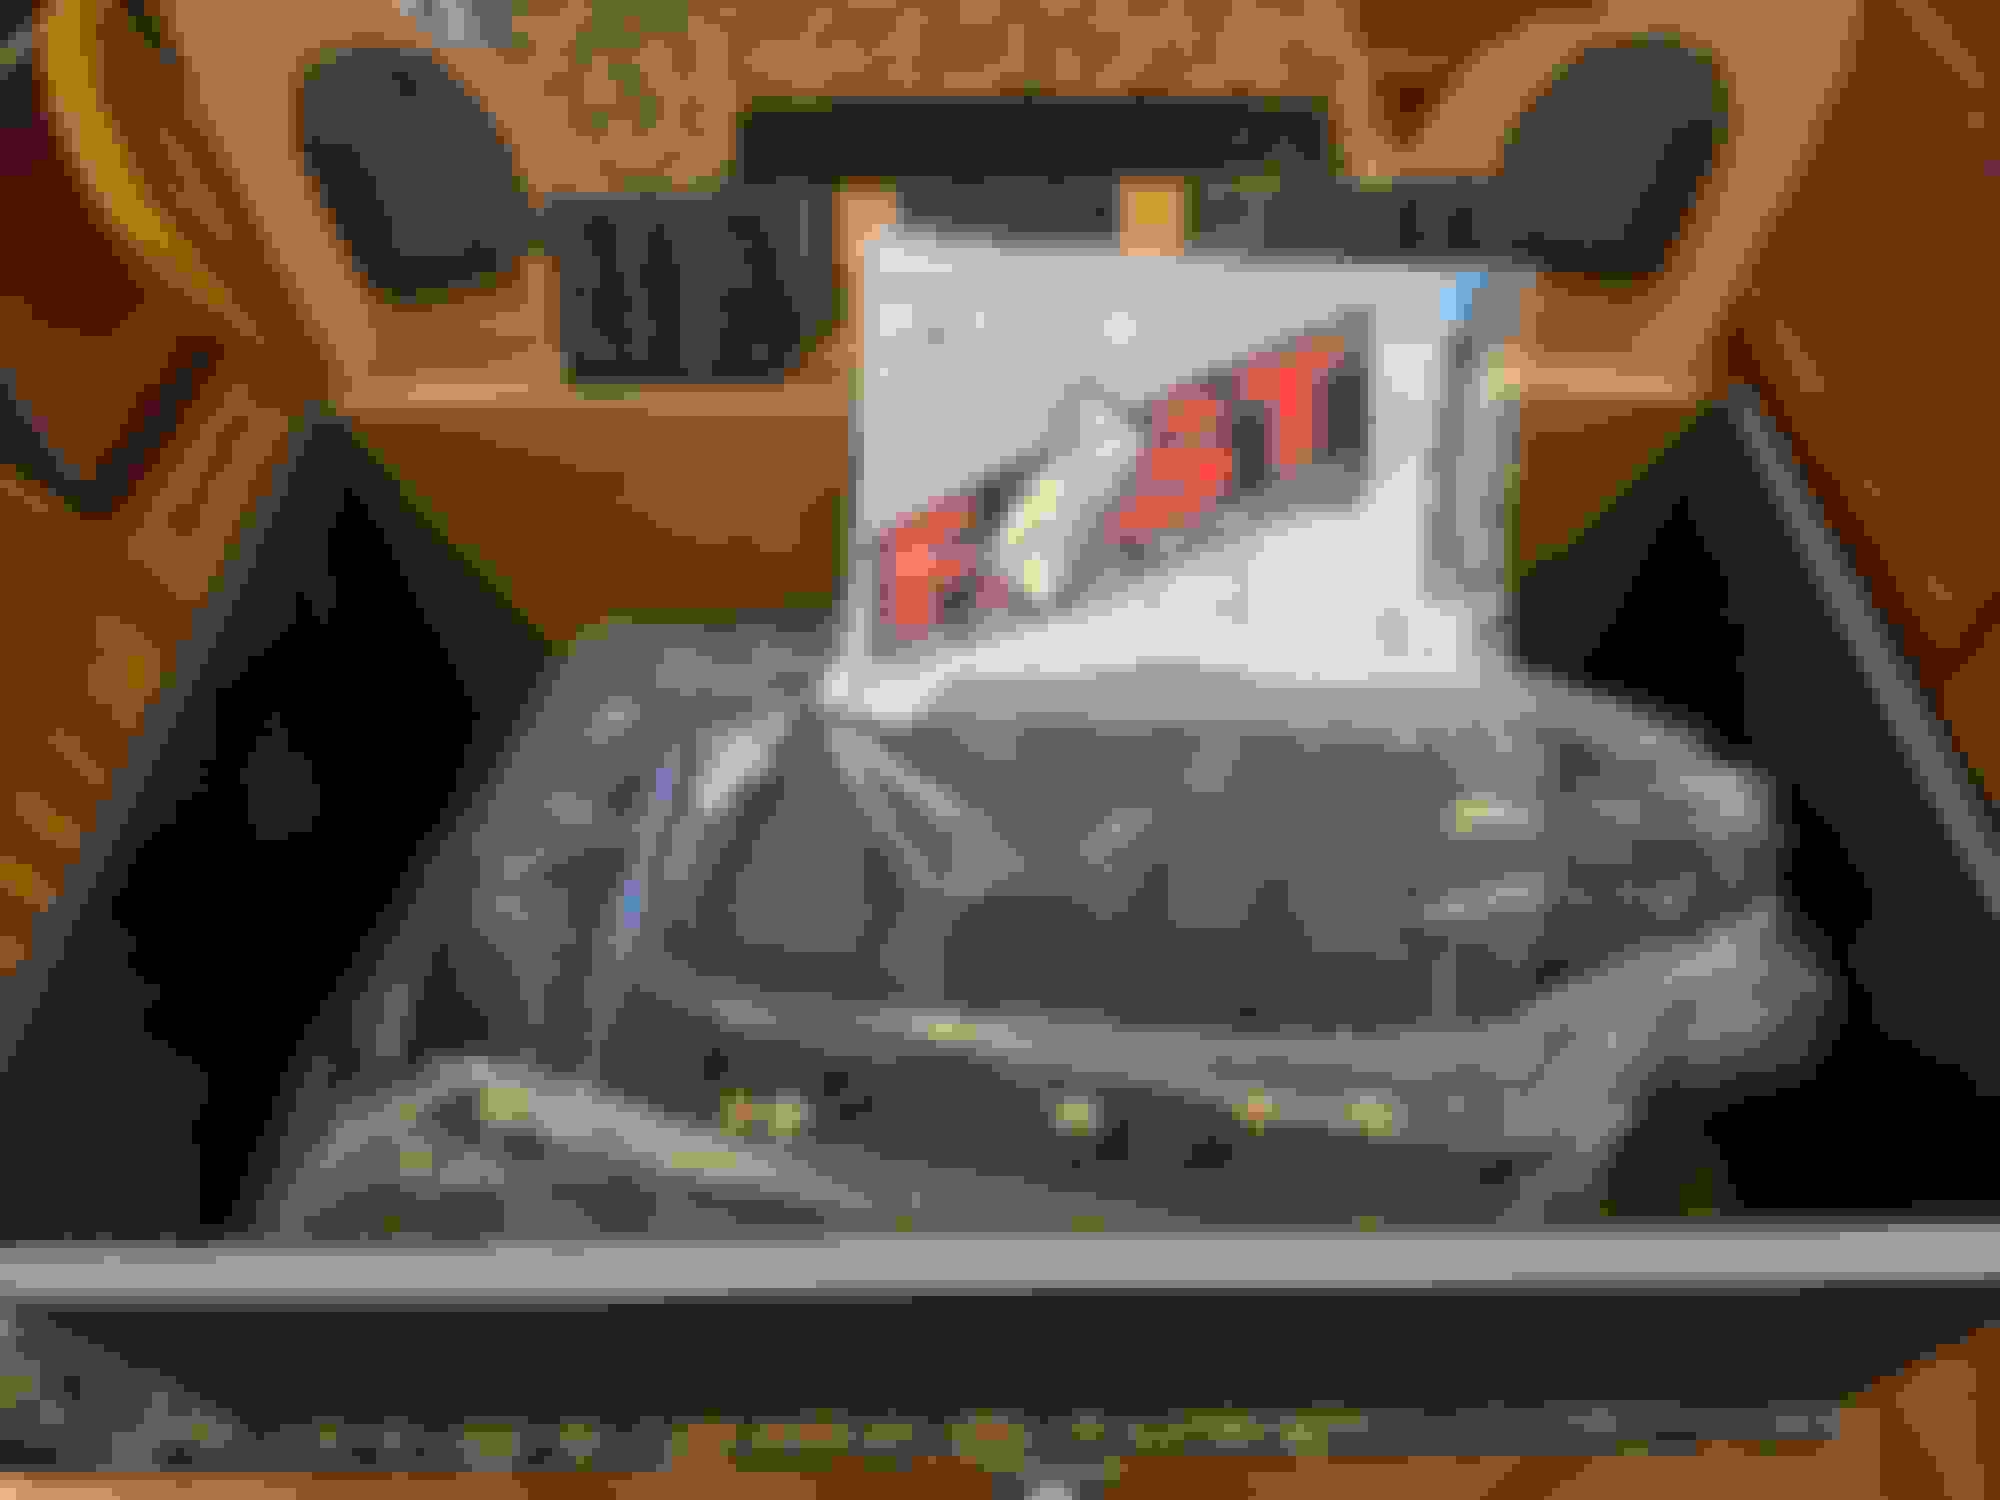
the Fast intake came in the mail.
Kinda excited to install this. This is the first large new part ive put down on other than the huron unit in a long time. Whats in the box!? Lol The carb cert is a nice touch. Glad to know the intake is at least legal 😆 Looks like i have something to install this weekend.
Well before it started to rain out I started getting the car ready to accept the new intake. Here they are side by side FAST 92 and LS6 intake Gotta swap over the throttlebody, cable bracket, and seals. Mine were new already so they juat needed a wipe down and gently off the ls6 and onto the fast. Had to remove the valley bolts... And install the supplied allen bolts. Pretty straight forward. The back end is for sure a little different lol im not a fan of the map hole with nothing to really hold the sensor down. Holly 92 TB bolts right on the FAST intake. No problem. Moving the bracket off the ls6... And onto the FAST. addionally, didnt have to put the ugly spacer on so theres a bonus lol the new bracket looks way better than the pld hacked up stocker. And onto the fast it goes Relocating the seals from the ls6. I noticed that the shapes are a lottle different The seals fit right on no problem. I did noticed that the seals fit better when you have the single lip sticking out towards what will be seated against the head. I think i had them backwards in the ls6 lol The ports have a bit more rounded top portion. So since this is turbo build, im not particularly happy about leaving the map sensor ar the mercy of just pressed into the hole and nothing holding it in place. My vacuum manifold being fitted with push to connect fittings all around. Much cleaner. So unfortunately indont have any push connect fittings that i can thread into this. For now. More to follow In with the 1500 injectors Also fitted the elbow coupler with the methanol injector. Had mixed feelings about cutting into the new coupler, but it had to be done lol Started working on the fuel lines on the railes. Trying to pretty it up. Heres the front cross over Y block and rear feed fittings Heres my 90% solution. Gotta test fit it on the car to see if the lines line up. Might have to trim up the hoses slightly and run it over the top of the rails. Ordered these fittings for the intake so i can remote mount the map sensor. Here i took the time to inspect the intake before putting it together. Bottom is pretty staright forward. Comes apart pretty easy. Front 3 and rear 3 bolts hold the majorty together, and then the manifold bolts clamp the assembly. Looking closer to the seals, was a little disappointed in the final finish quailty. Cleaned some dabs of rtv off the seals and hard surfaces. The seal itaelf was in good shape at least. The finish quality again is a little bit of a let down. I know these can be ported, but the finish in the port is really ragged. Again, with how much these are... cleaning up some of the surface areas would be nice. The injector bosses... i know i could shave this down my but still. Come on now. Another looks at one of the ports. If i wasnt boosted, id would be heavily invested in port matching. This looks alright Again, i know im nit picking lol the lids actually pretty clean. I image it has to as its the first thing you see. The top looks like where they put more "effort" into manufaturing lol
So this is about to get a lot prettier lol
my powermaster 165amp came in. So now i can put the ICT alternator bracket back on if this weather knocks it off once I get the intake on lol

 07-25-2024, 06:56 PM