
First turbo build, 70 GTO...

Thread Starter


Joined: Mar 2003
Posts: 10,604
Likes: 1,881
From: Little Austin
Andrew, this is really looking cool. Thanks for sharing all the intricacies of this build with us.
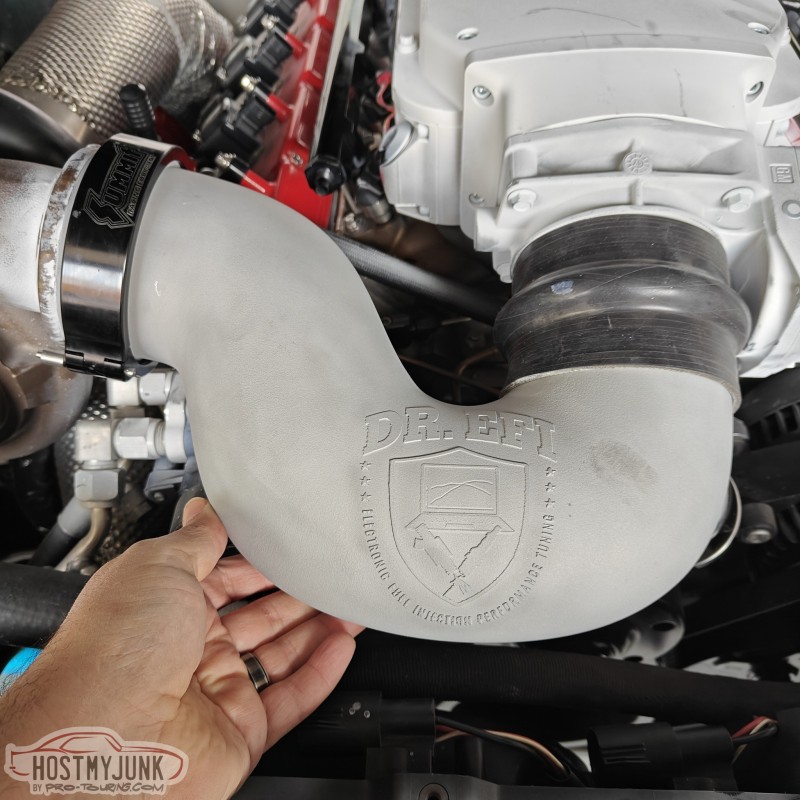
Did you know Nick Williams makes a DBW throttle body with a dual seal connector as well? While a silicone coupler will work, and certainly be cheaper, the cool factor might increase� if that�s even possible! lol
Did you know Nick Williams makes a DBW throttle body with a dual seal connector as well? While a silicone coupler will work, and certainly be cheaper, the cool factor might increase� if that�s even possible! lol
I have never seen a NW throttle body with dual o-ring coupler. Link?
Andrew


Thread Starter
Joined: Mar 2003
Posts: 10,604
Likes: 1,881
From: Little Austin
I just found out about it yesterday, as I’m still toying with the idea of switching my setup to DBW. There is just much more you can do with DBW vs DBC, that it really intriguing to me, even though I have a dedicated race car.
Thread Starter
Joined: Mar 2003
Posts: 10,604
Likes: 1,881
From: Little Austin
Andrew
Thread Starter
Joined: Mar 2003
Posts: 10,604
Likes: 1,881
From: Little Austin
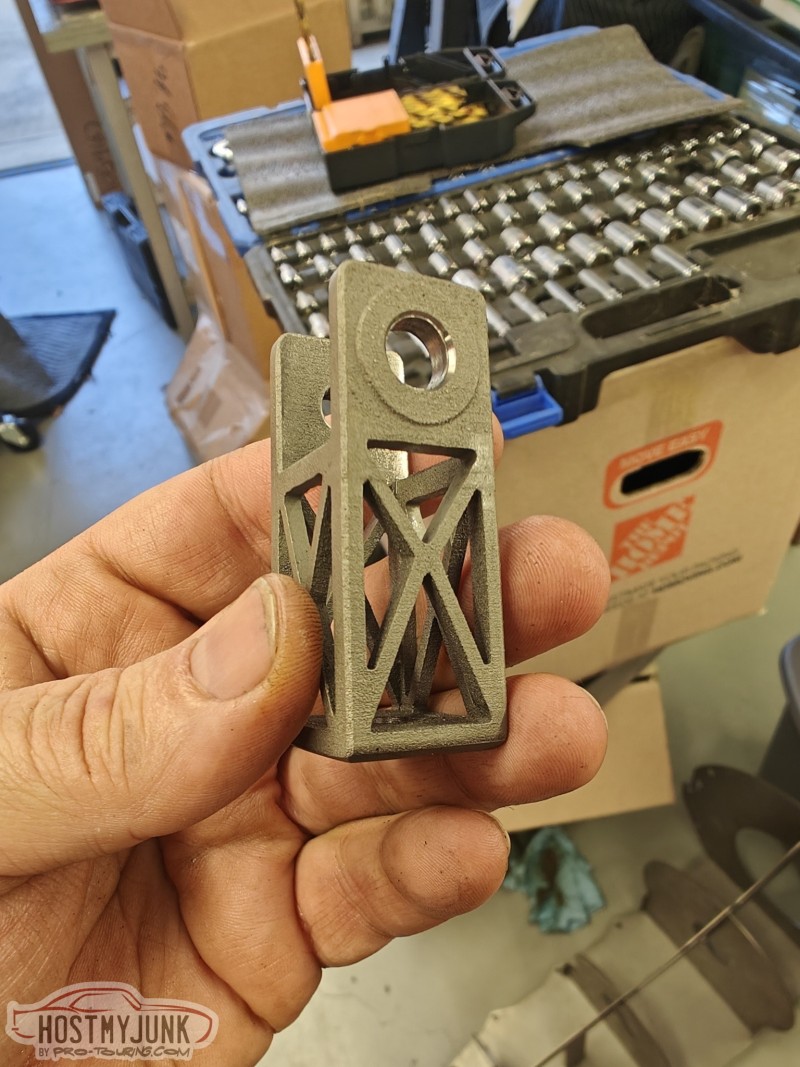
While the intake pipe is being made, I had my friend Blake design me another little part. He then printed some prototypes on his home 3D printer.
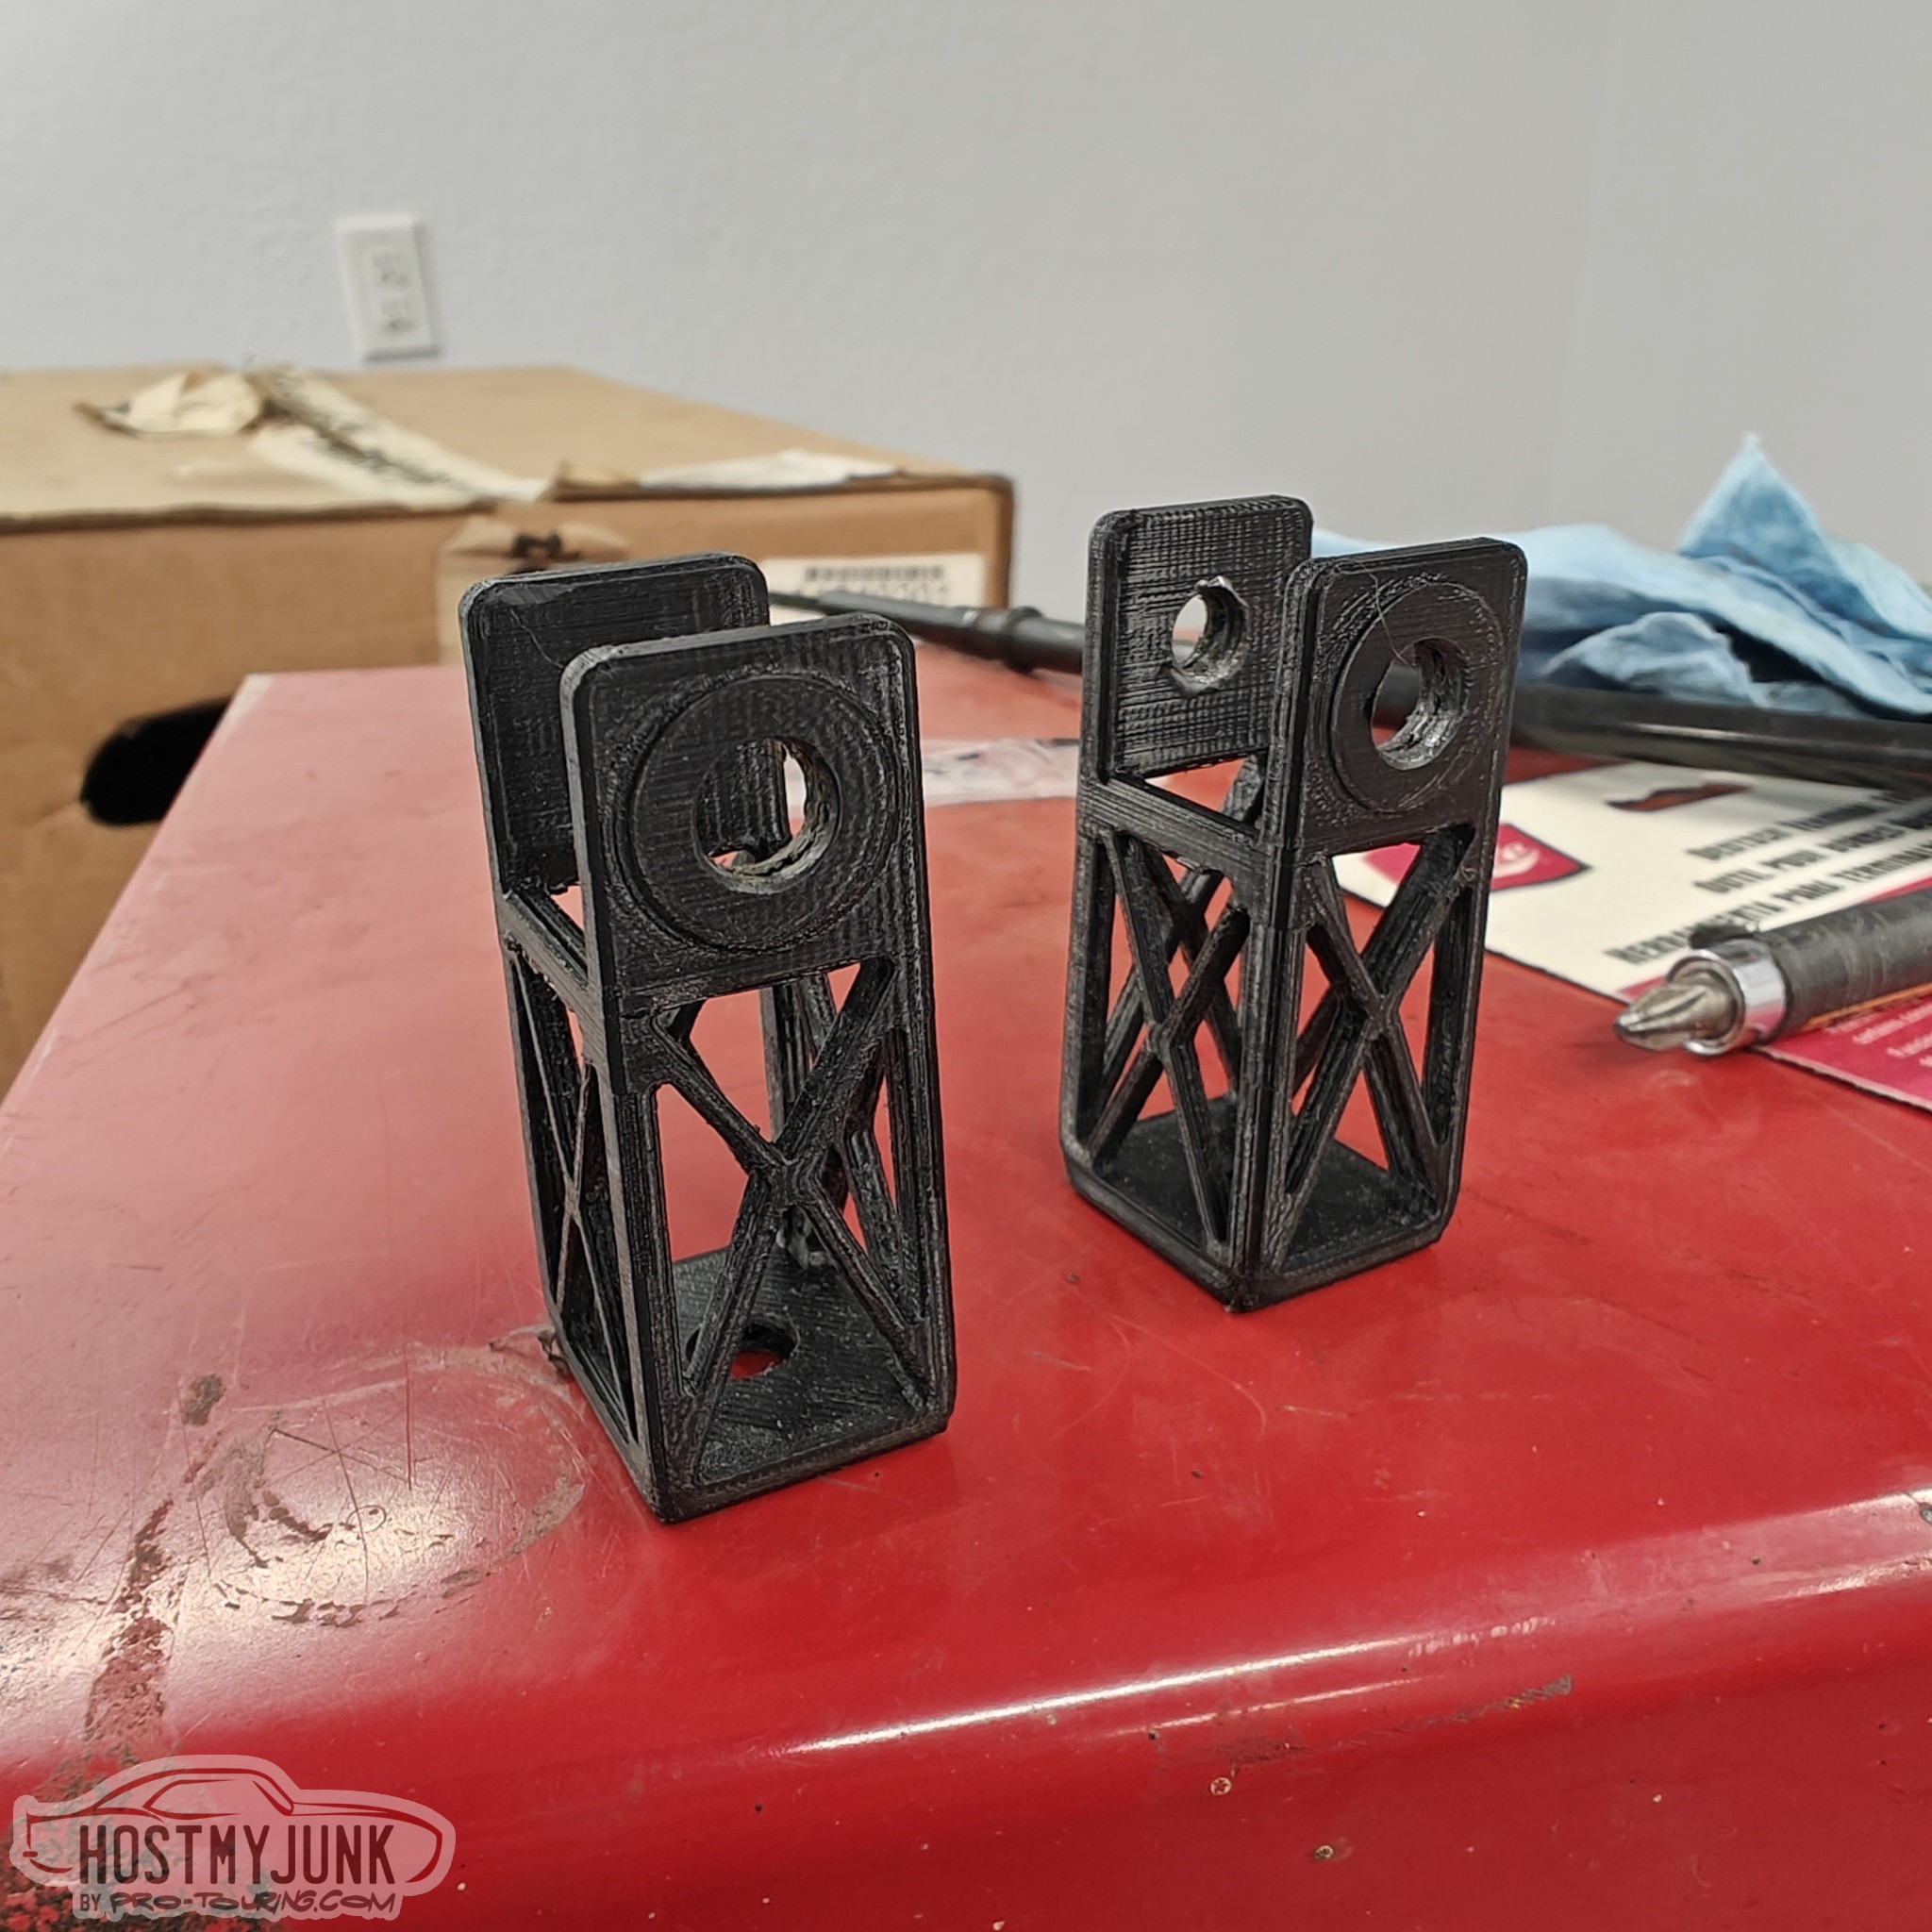
These are mounts for the fuel rails. They will be printed out of stainless steel.
Here is bracket that came with the intake manifold kit.
Andrew
These are mounts for the fuel rails. They will be printed out of stainless steel.
Here is bracket that came with the intake manifold kit.
Andrew
“Printed out of stainless steel”
I didn’t know you could 3D print aluminum. Now you’re telling me you can 3D print Stainless Steel?
Technology is moving so much faster than I am…lol
I didn’t know you could 3D print aluminum. Now you’re telling me you can 3D print Stainless Steel?
Technology is moving so much faster than I am…lol
Thread Starter
Joined: Mar 2003
Posts: 10,604
Likes: 1,881
From: Little Austin
Andrew


Thread Starter
Joined: Mar 2003
Posts: 10,604
Likes: 1,881
From: Little Austin
Andrew
Thread Starter
Joined: Mar 2003
Posts: 10,604
Likes: 1,881
From: Little Austin
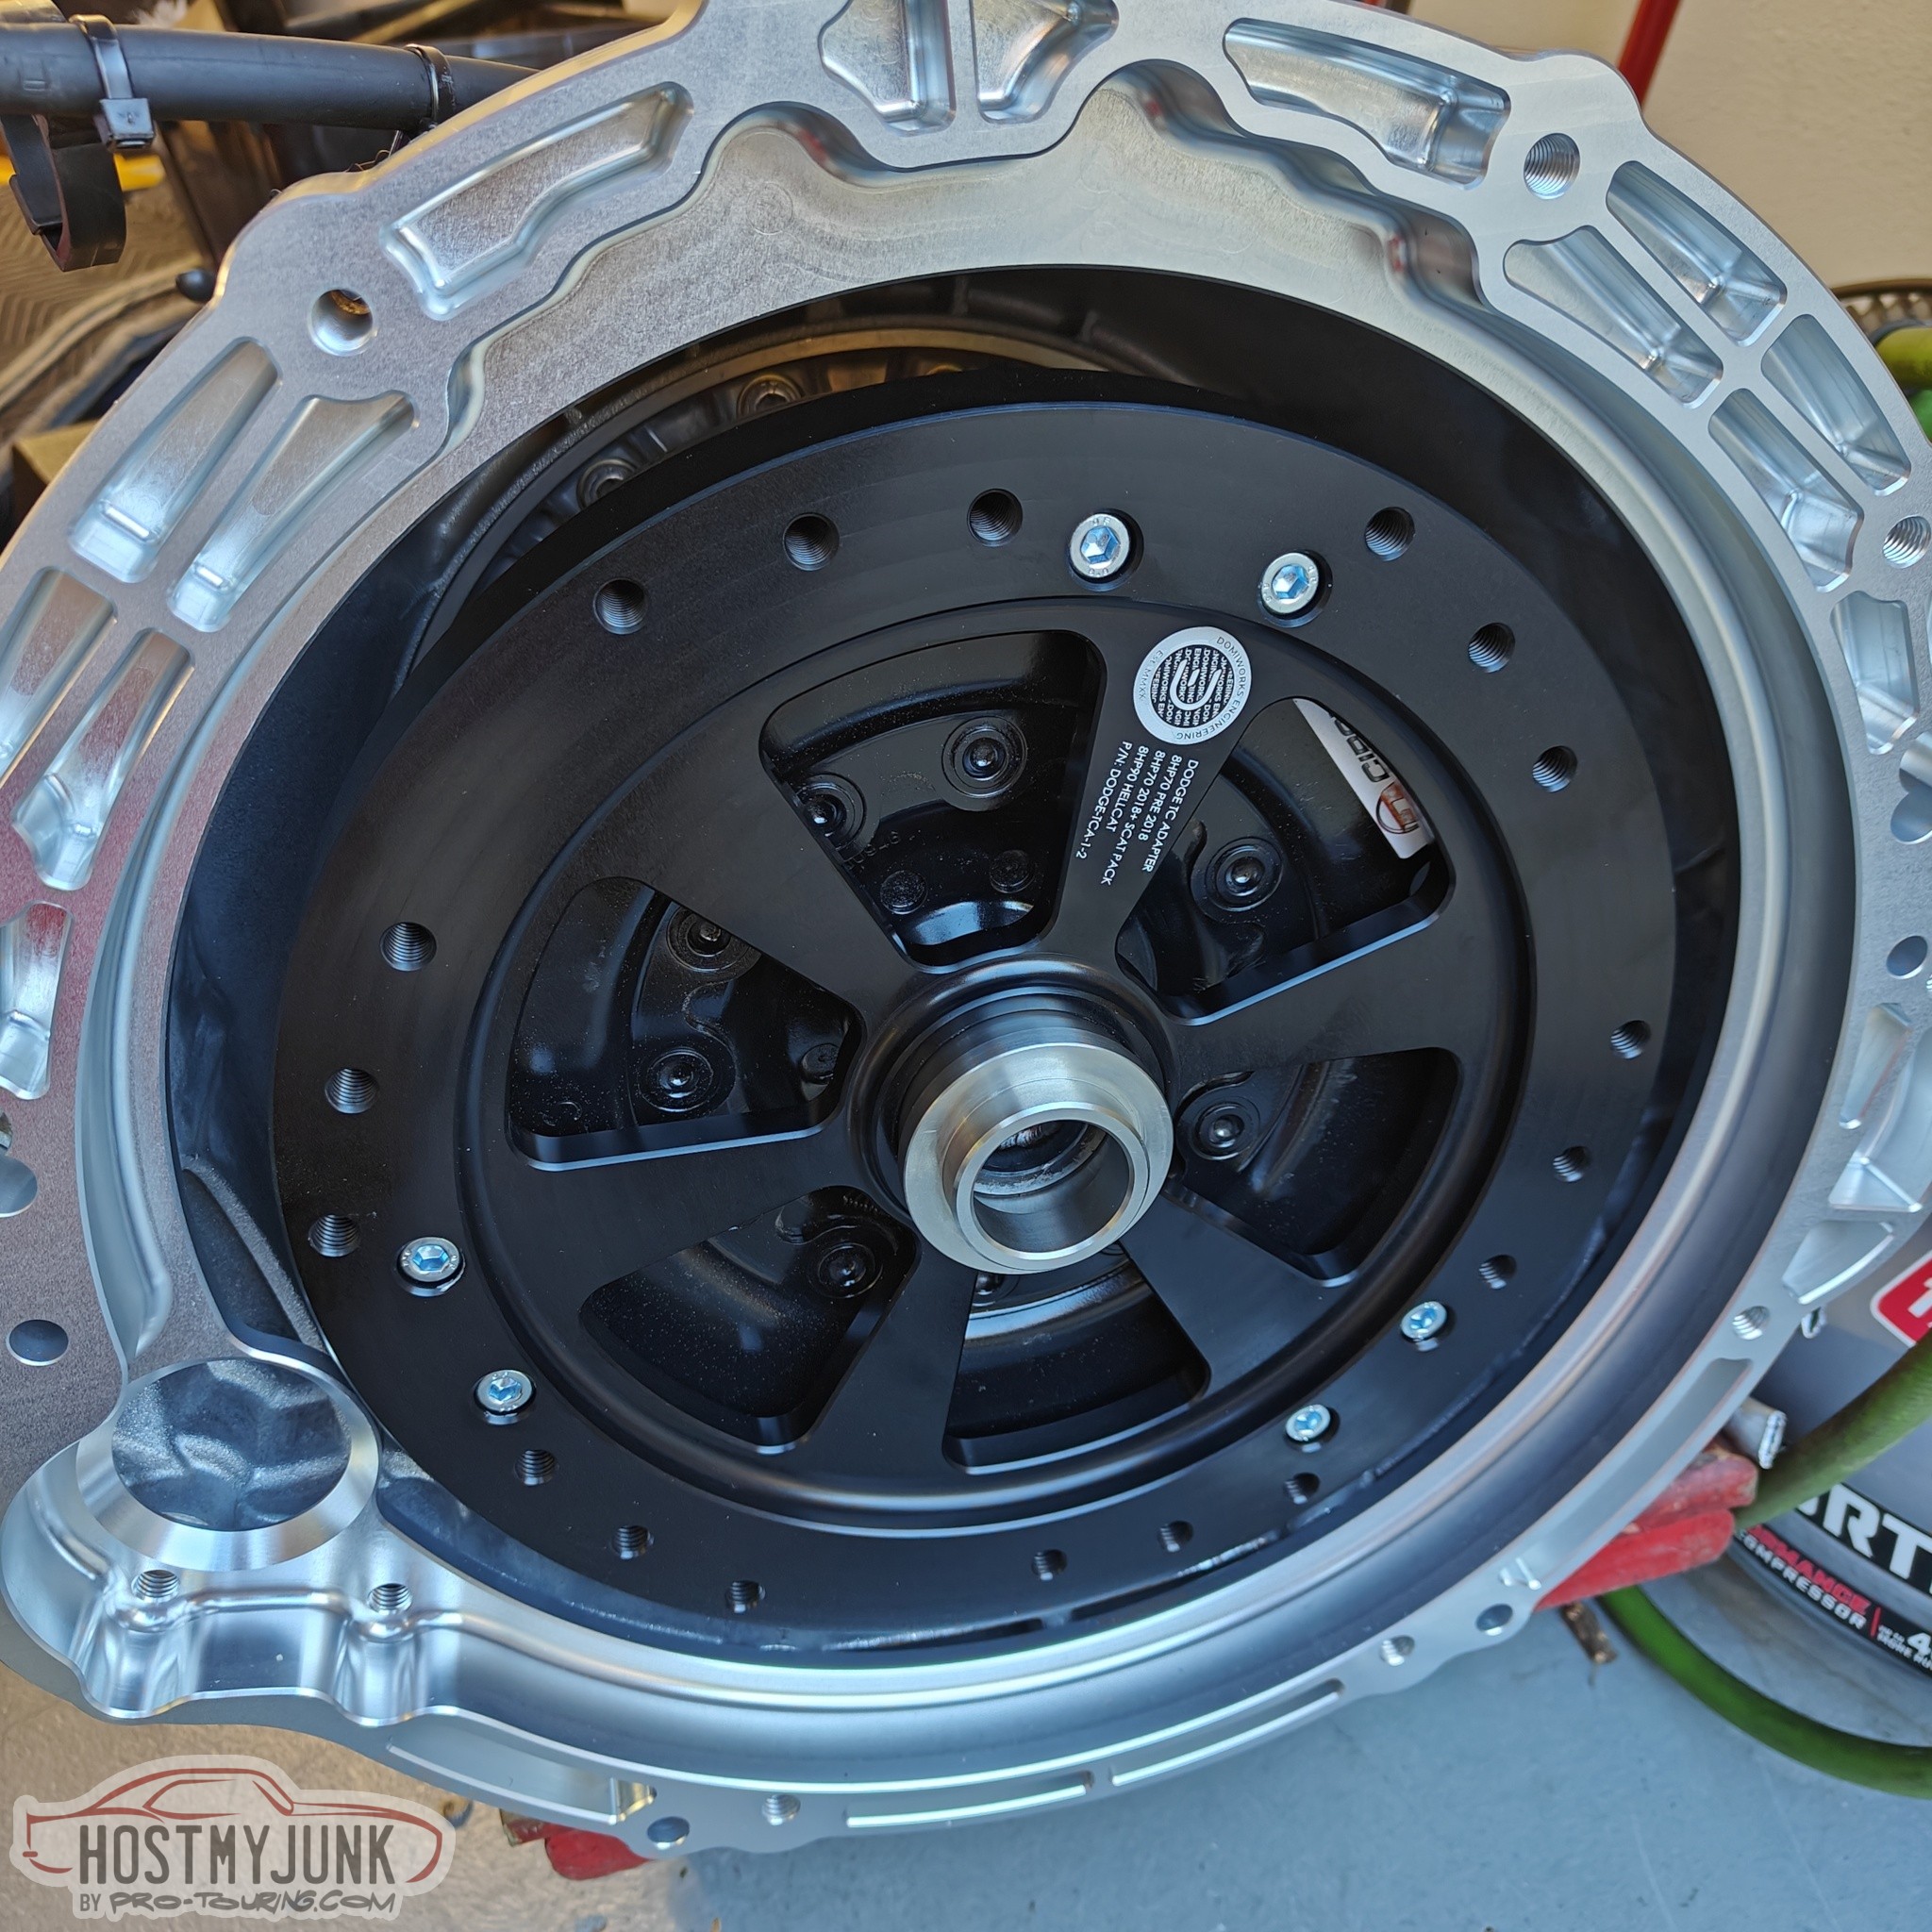
The 8HP90 that I picked up had a mystery converter in it. It didn't look stock and frankly I didn't trust it. So I called up Circle D and had a discussion about my requirements. Here is what they suggested:

This is their hybrid 8HP90 converter. Externally it is the same size as the 8HP70 converter, which is 1/2" smaller in diameter than a stock 90 converter, but internally it is built to work with the 8HP90 transmission.
Here you can also see the Domiworks bellhousing adapter.
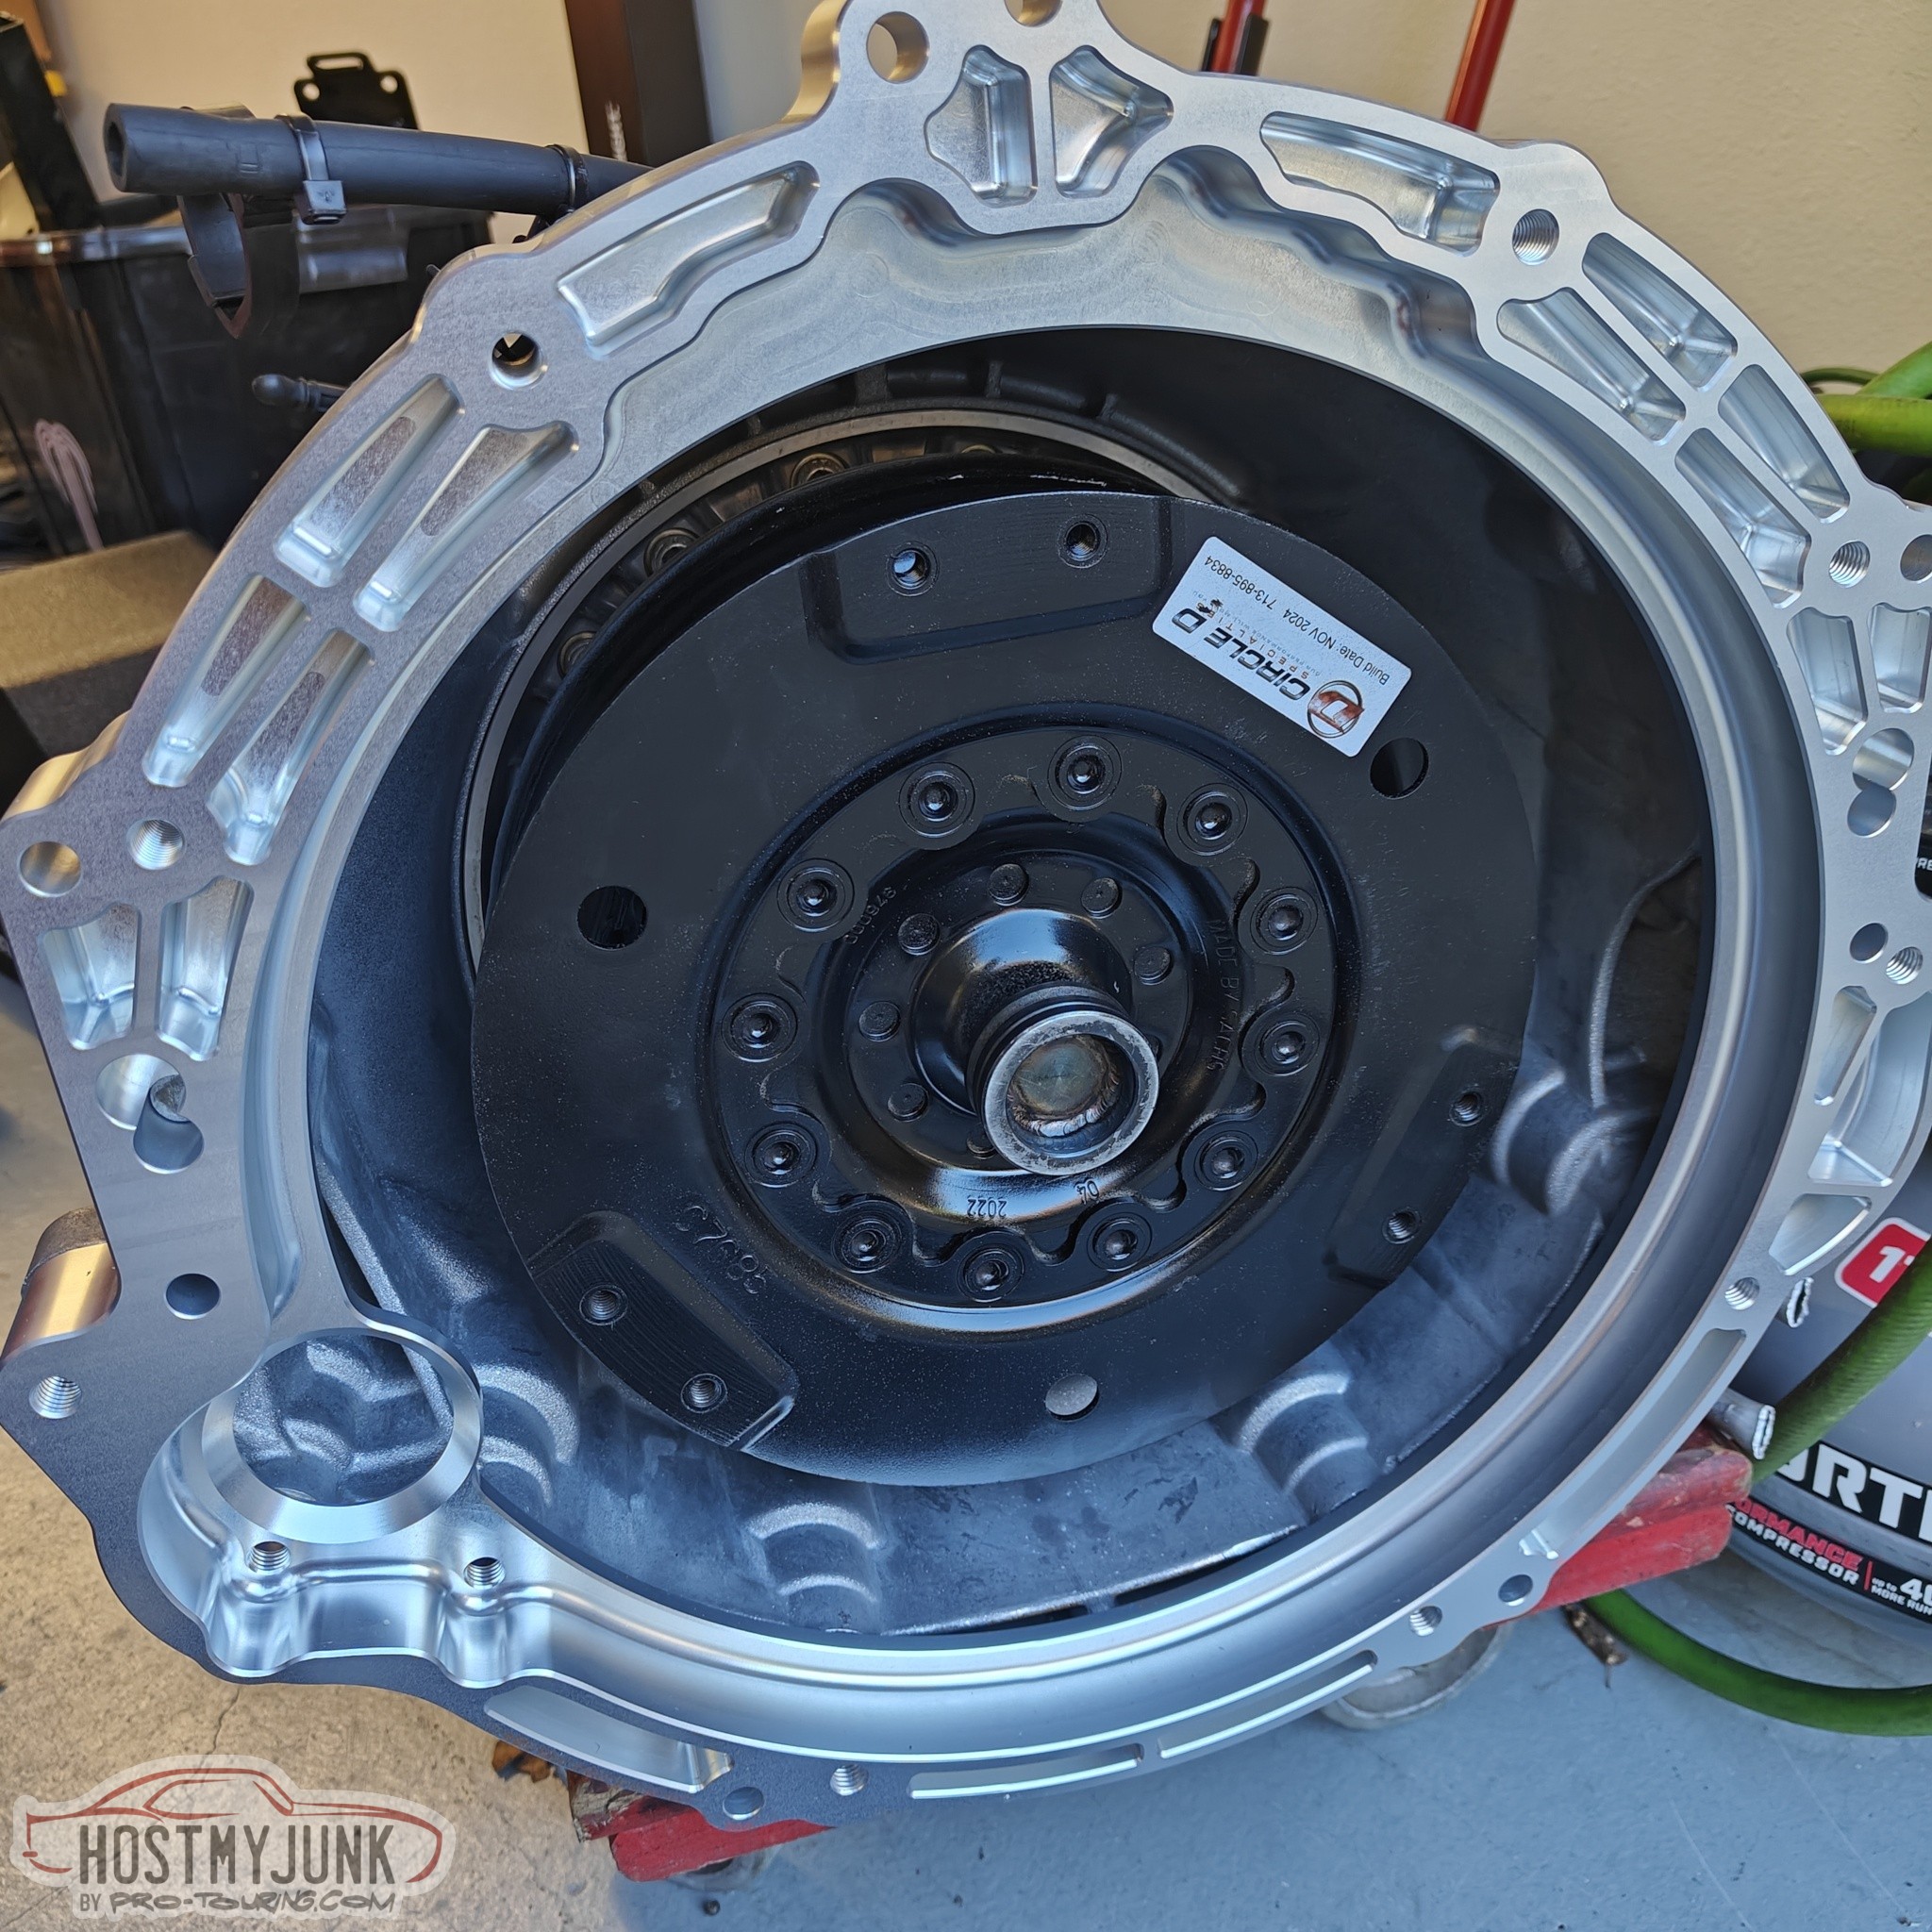
and the Domiworks converter adapter.
Andrew
This is their hybrid 8HP90 converter. Externally it is the same size as the 8HP70 converter, which is 1/2" smaller in diameter than a stock 90 converter, but internally it is built to work with the 8HP90 transmission.
Here you can also see the Domiworks bellhousing adapter.
and the Domiworks converter adapter.
Andrew
Thread Starter
Joined: Mar 2003
Posts: 10,604
Likes: 1,881
From: Little Austin
I had a little care package delivered today. Here are the fuel rail brackets, printed in stainless steel.


Tomorrow I will drill and tap as needed and maybe run the sides over some emery cloth on a granite block.
Andrew
Tomorrow I will drill and tap as needed and maybe run the sides over some emery cloth on a granite block.
Andrew

Thread Starter
Joined: Mar 2003
Posts: 10,604
Likes: 1,881
From: Little Austin
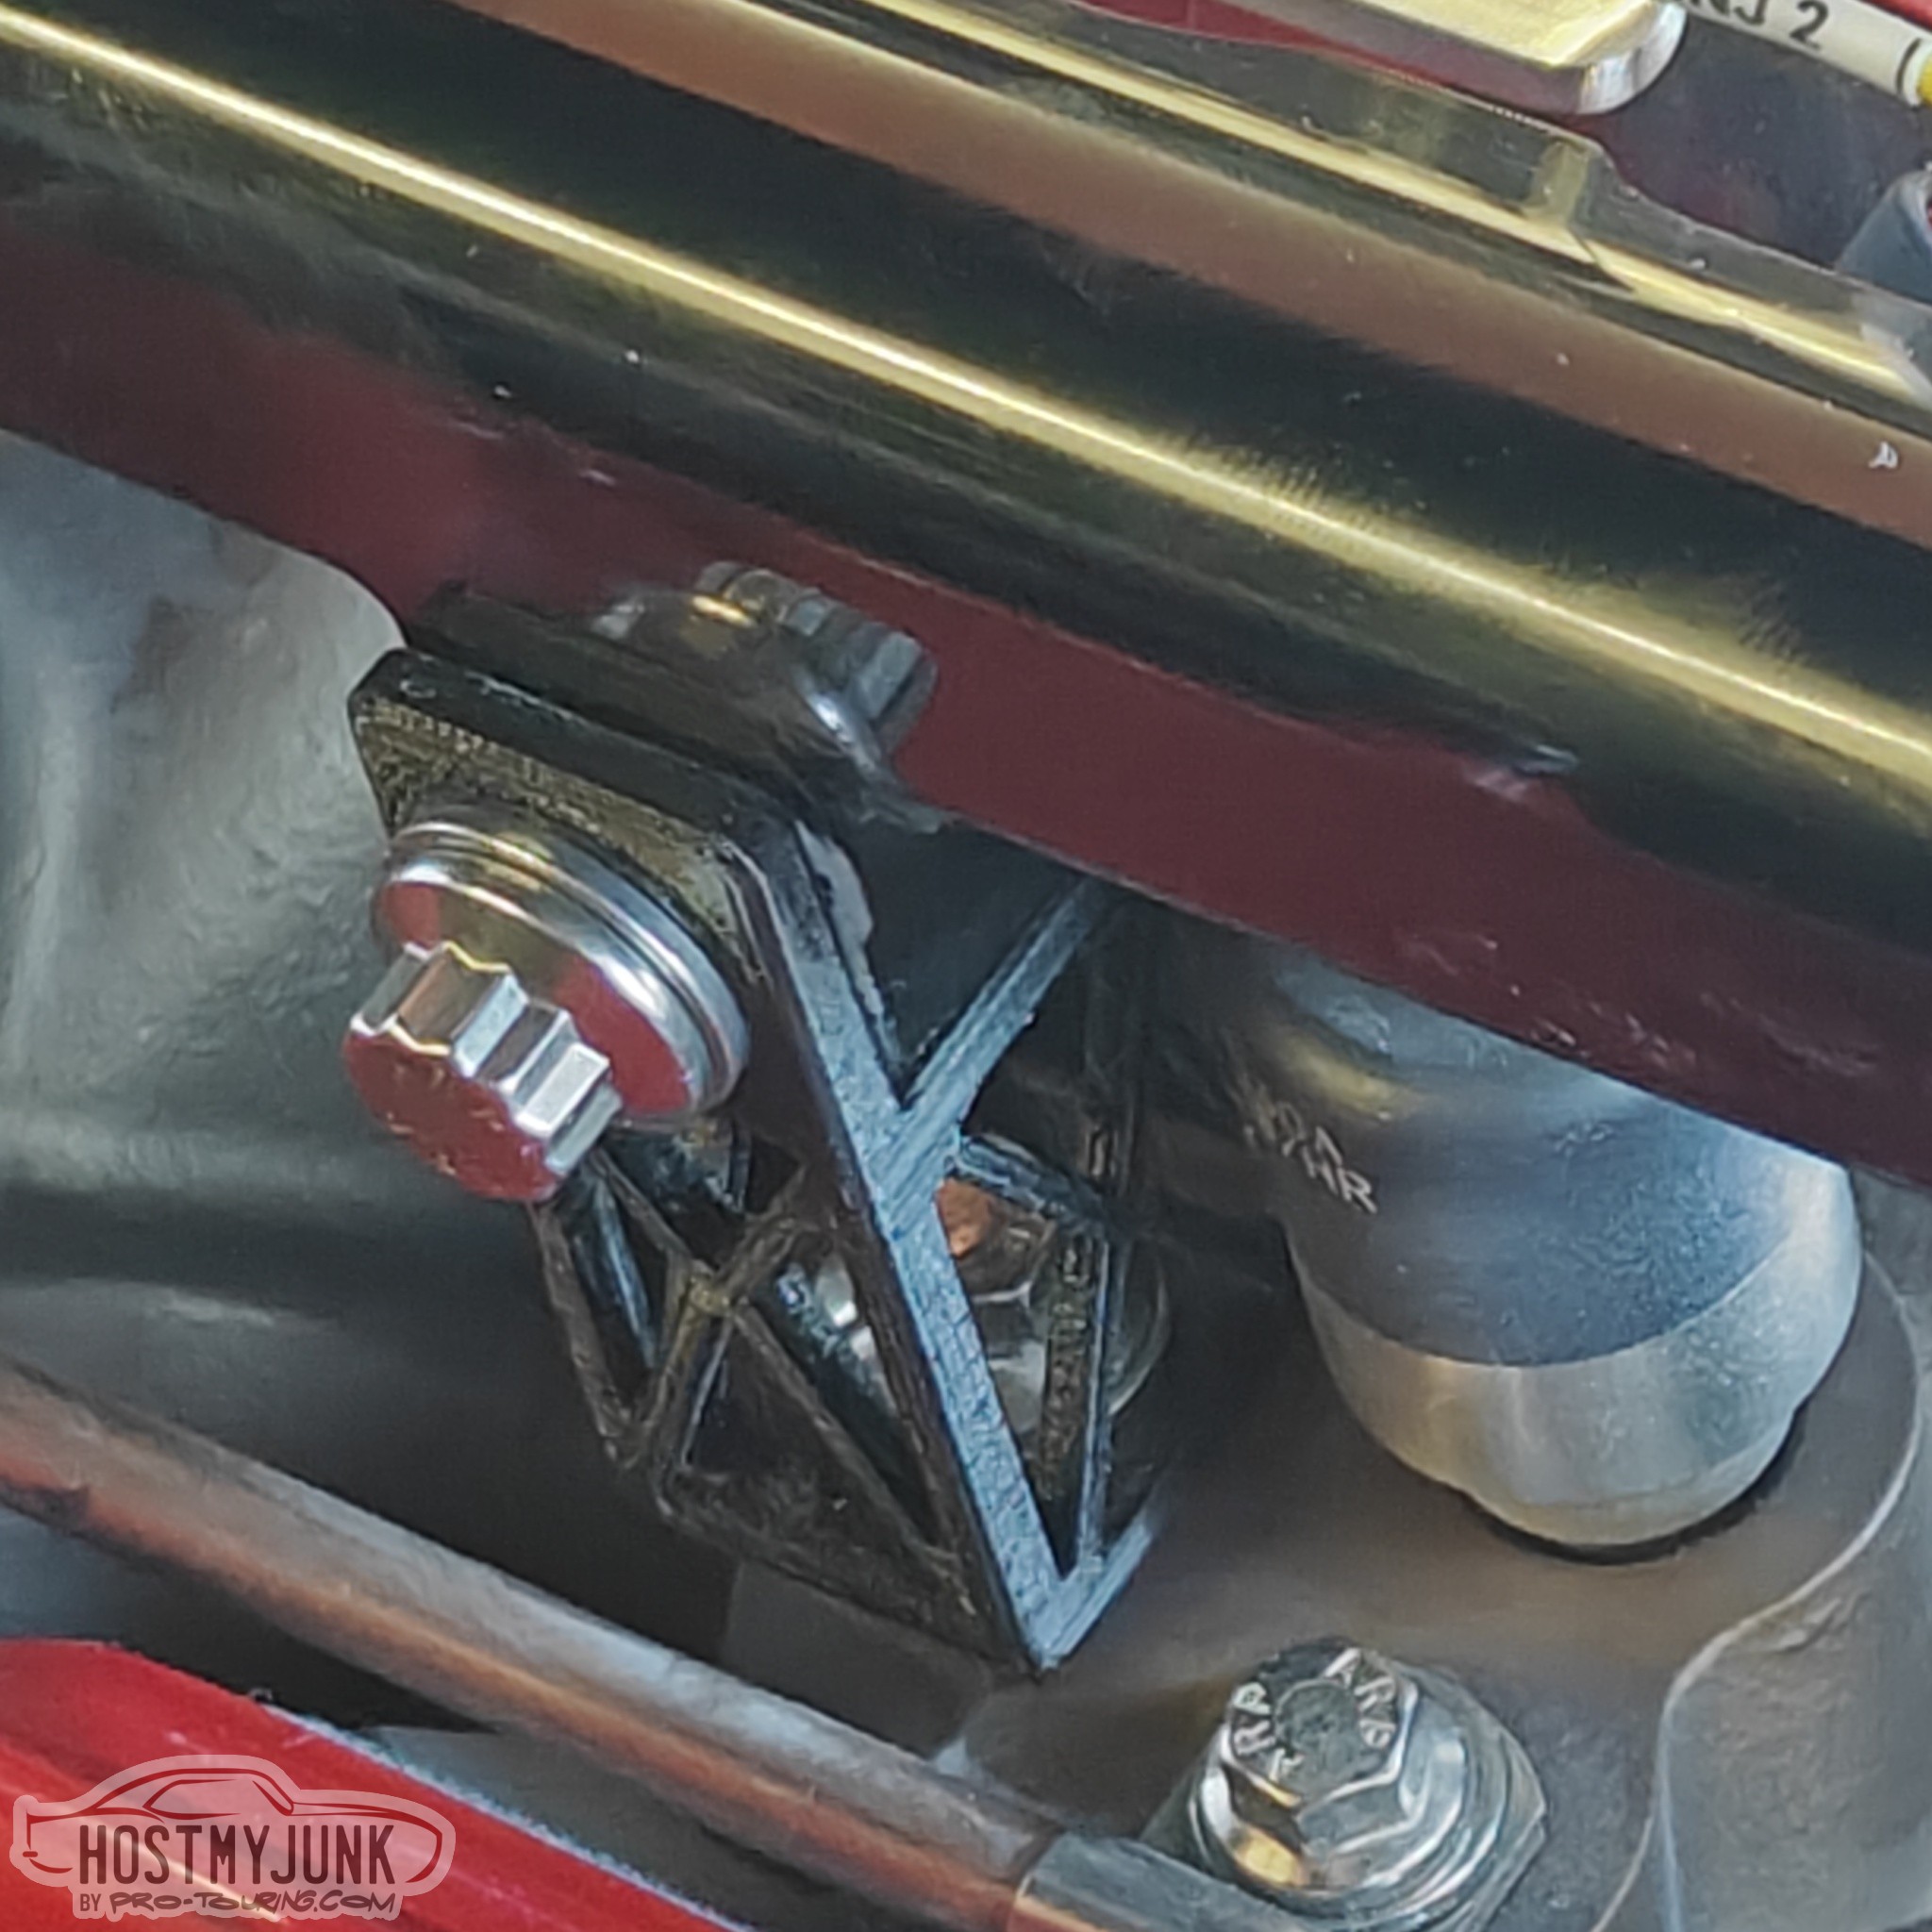
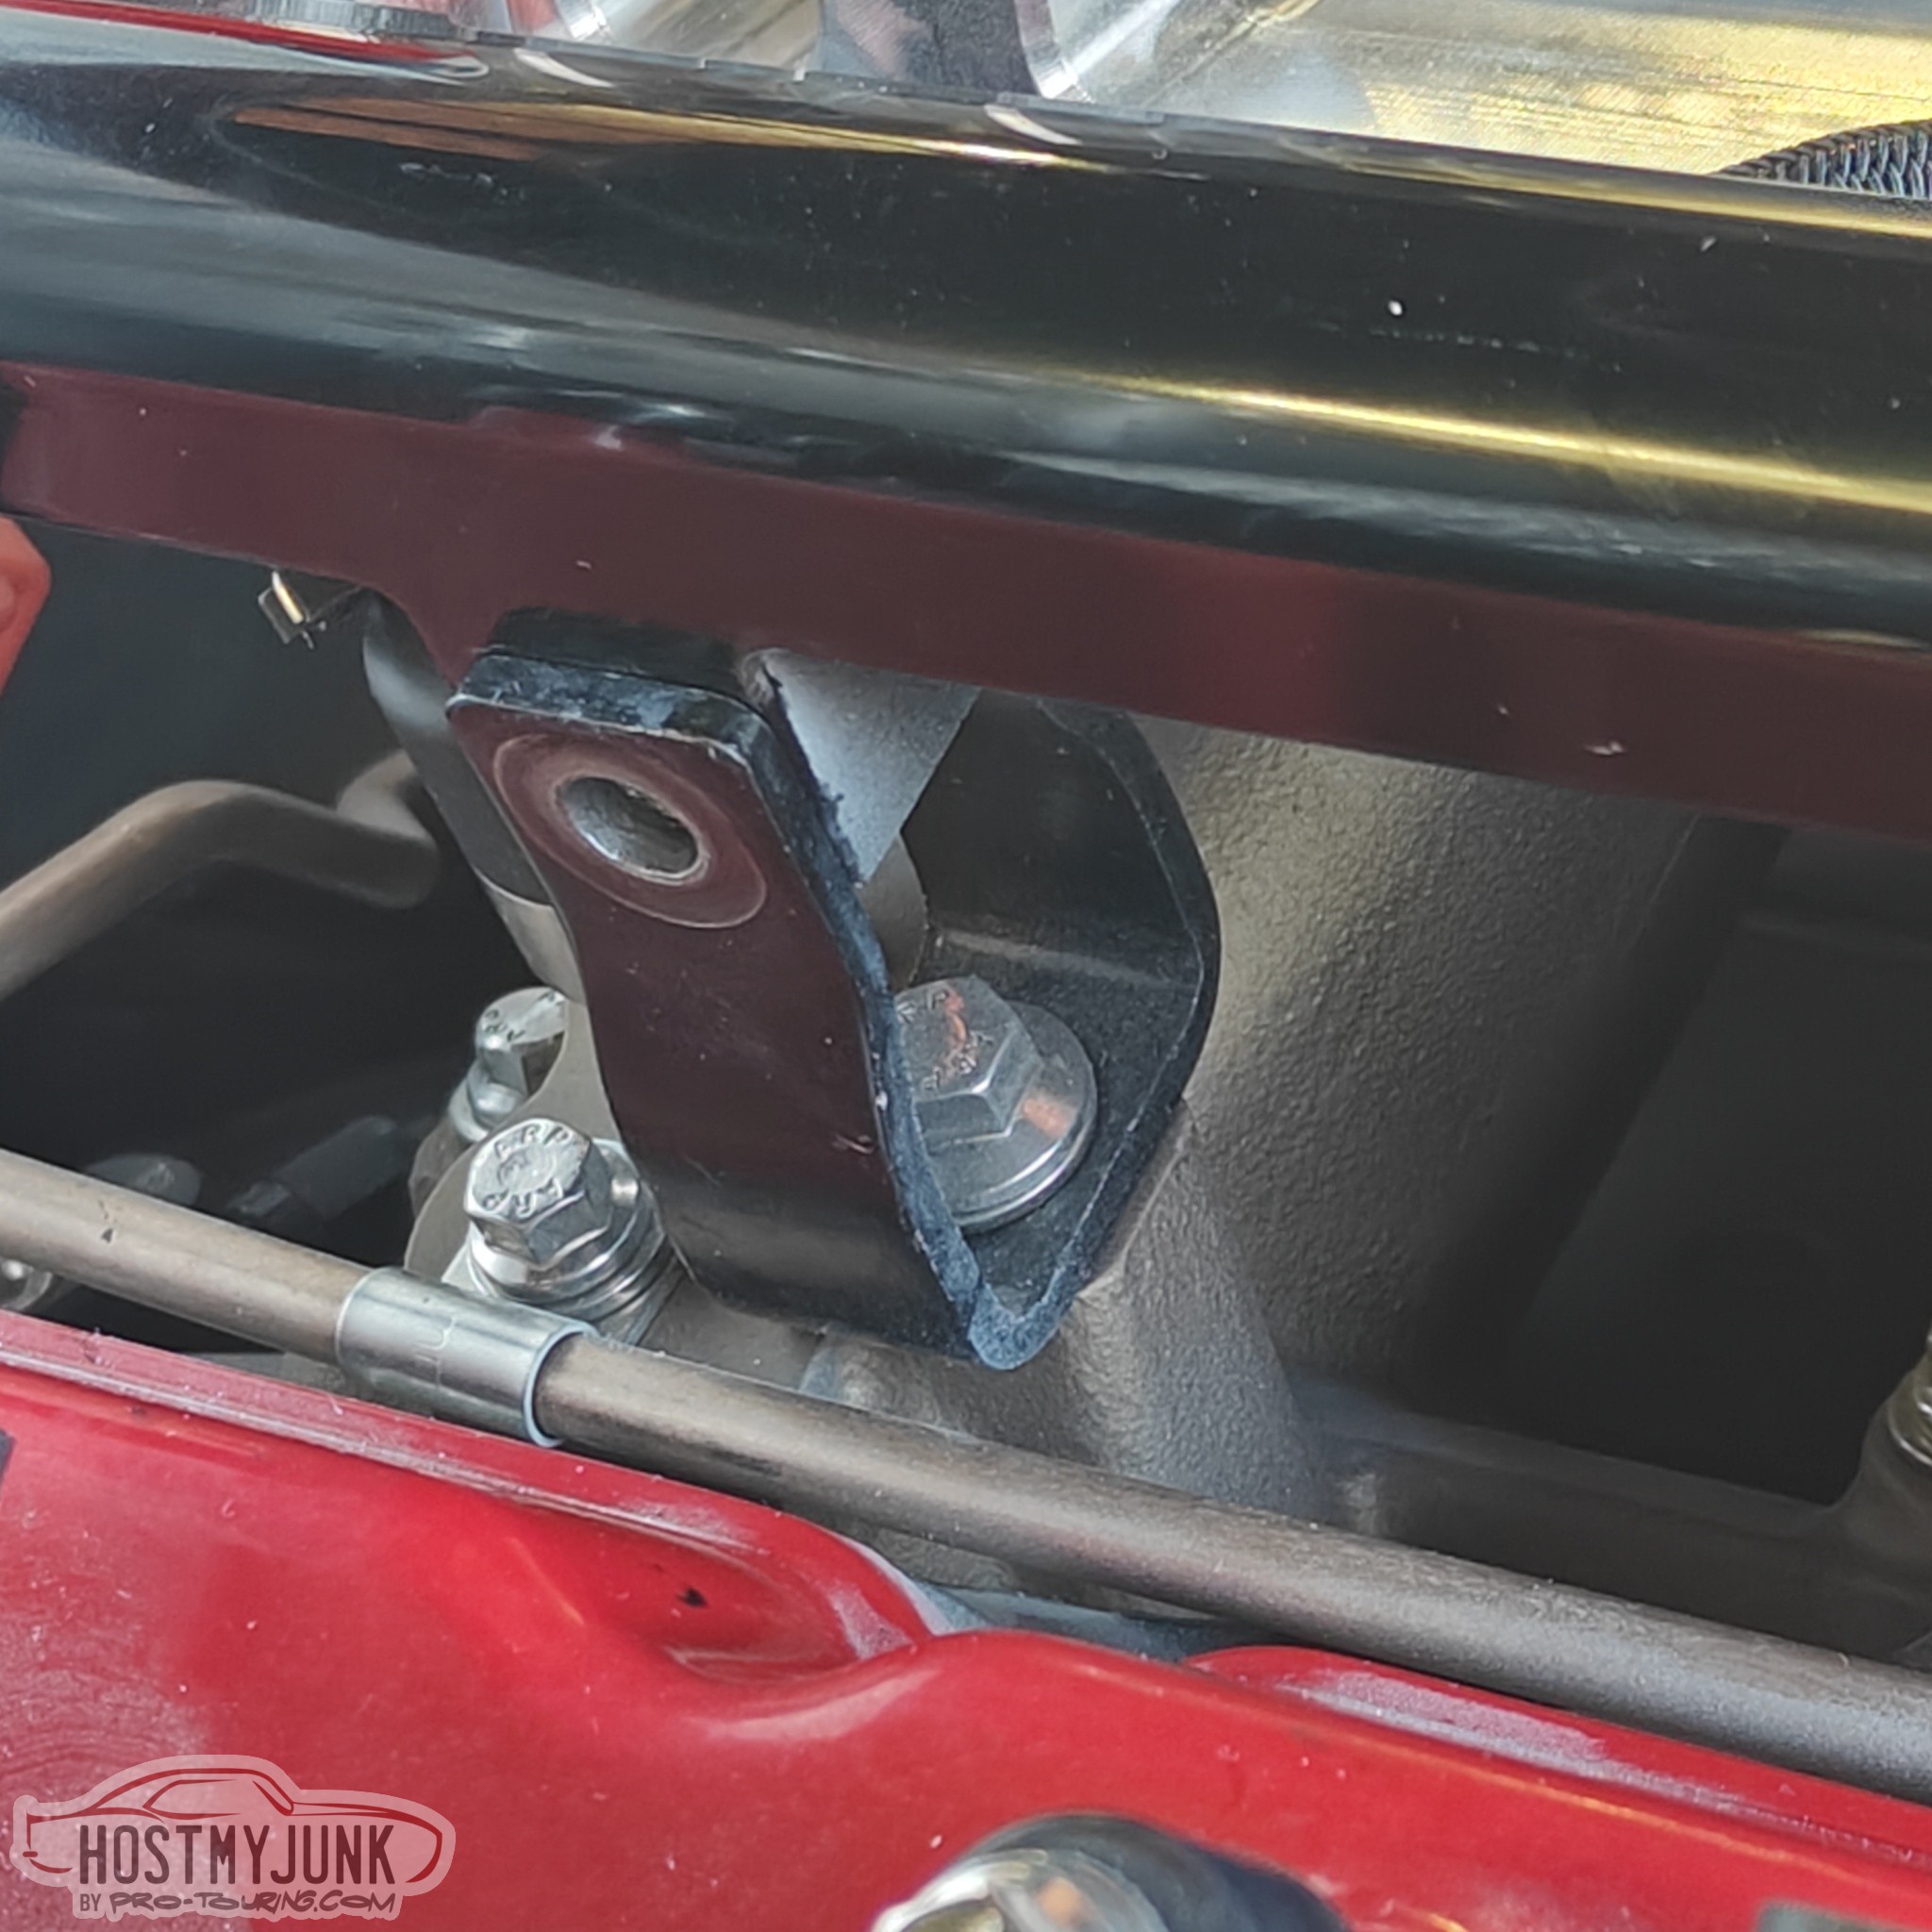
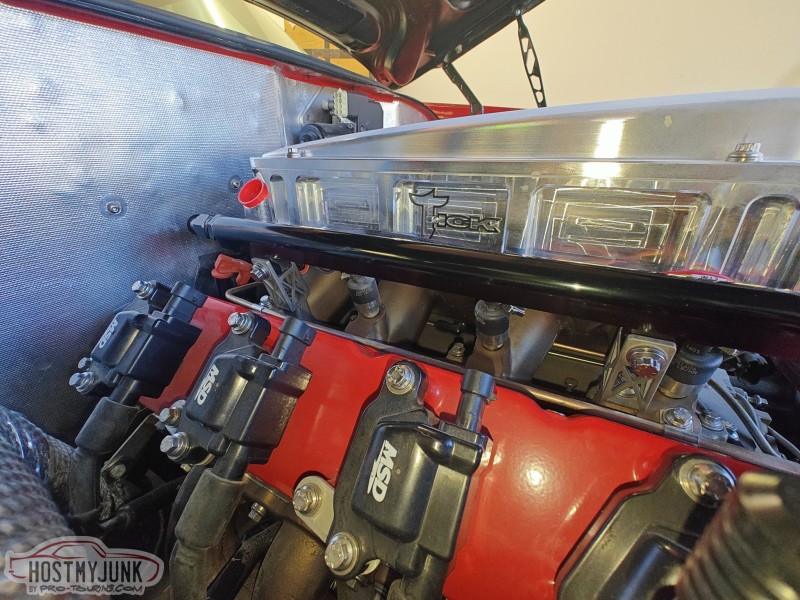
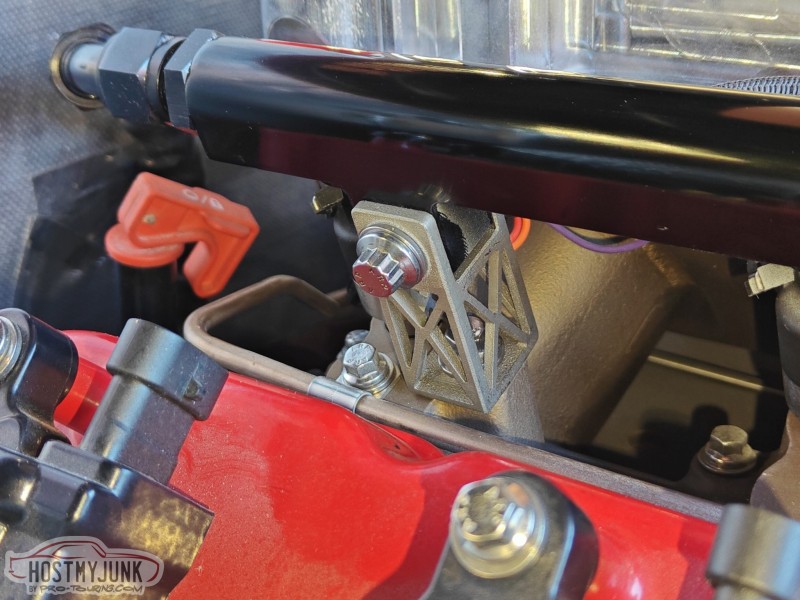
I used a bench-top drill press and a step drill to open up the holes on the front and on the bottom.

Here they are mounted to the intake and holding up the fuel rails.
Andrew
Here they are mounted to the intake and holding up the fuel rails.
Andrew


Thread Starter
Joined: Mar 2003
Posts: 10,604
Likes: 1,881
From: Little Austin
Andrew
Thread Starter
Joined: Mar 2003
Posts: 10,604
Likes: 1,881
From: Little Austin
I ran across some videos by Devin Vanderhoof. It seems that he too has discovered the Hardwire Electronics PDM products. In fact, he has become the biggest distributor in the US for Hardwire. As you may recall, I already have a PDM 25 under the dash, but after seeing the videos for the new PDM 28, I knew that's what I needed in the GTO. I will use the PDM 25 in the Cougar or the Suburban.
Here is the PDM 28 as it arrived.
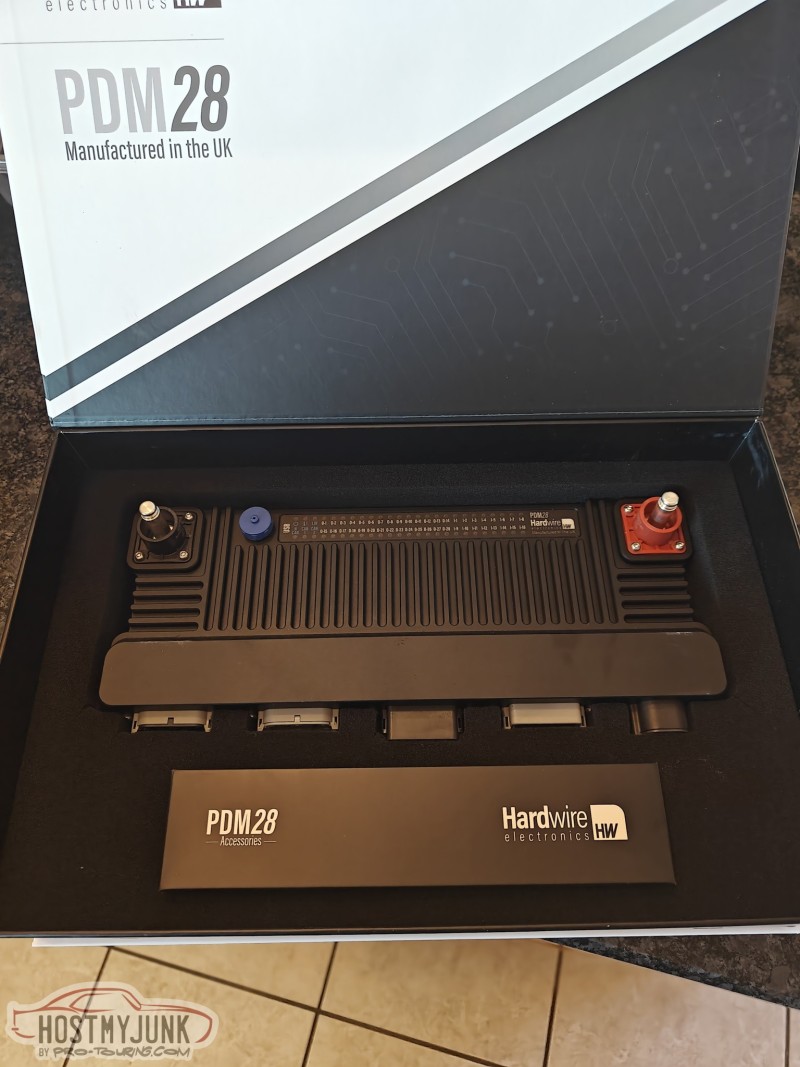
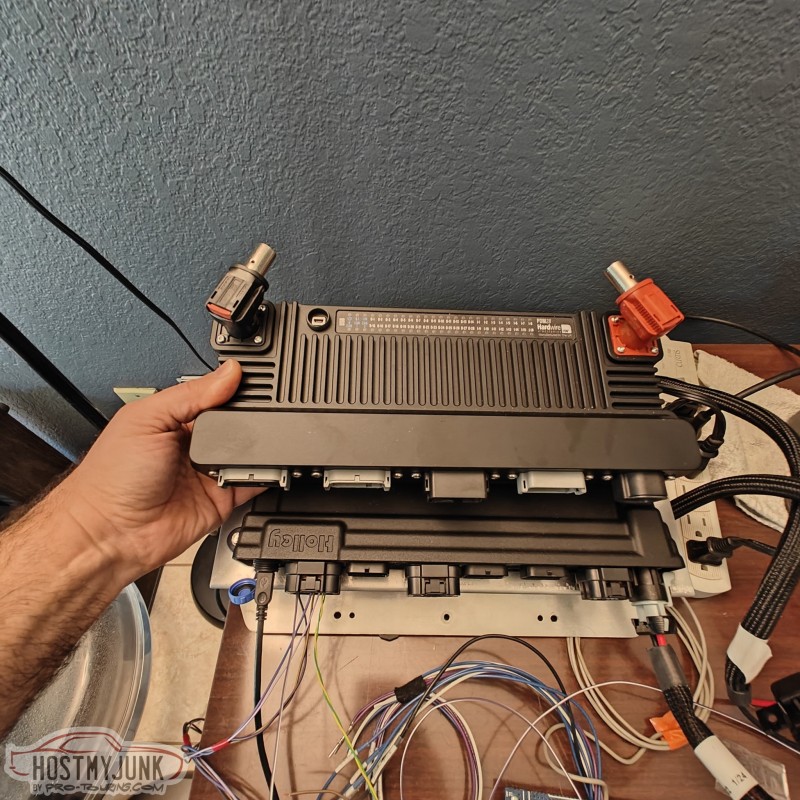
The size of the PDM 28 is substantial. Here you can see it compared to the Holley Dominator ECU. They are roughly the same size.
The reason for choosing the new PDM 28 is that it has two CAN busses. With the release of the Holly CAN documentation, the PDM 28 is fully compatible with Holley EFI.
Holley had a 3D model of the Dominator available for download.
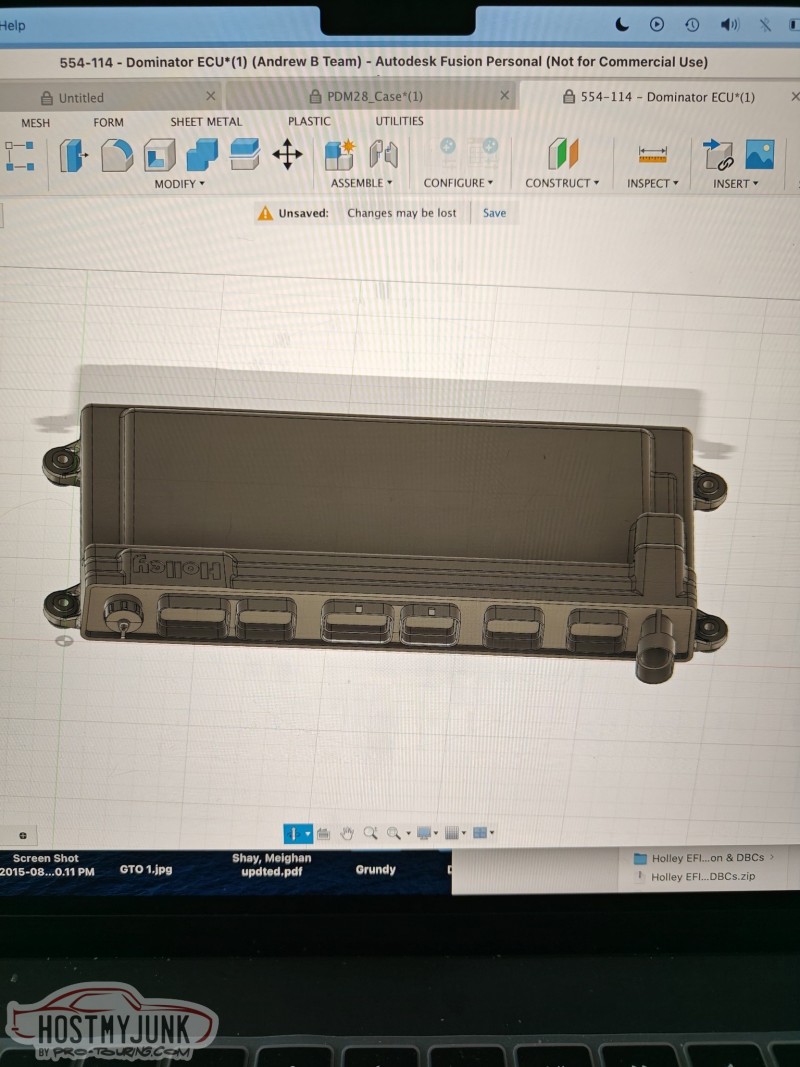
An email to Hardwire provided the 3D model of the PDM 28.

I once again used my Shining 3D Einstar 3D scanner and generated a scan of the GTO dash and glove box area.
The plan is to design a mounting system for the Dominator and the PDM in the area that used to be occupied by the glove box.
Andrew
Here is the PDM 28 as it arrived.
The size of the PDM 28 is substantial. Here you can see it compared to the Holley Dominator ECU. They are roughly the same size.
The reason for choosing the new PDM 28 is that it has two CAN busses. With the release of the Holly CAN documentation, the PDM 28 is fully compatible with Holley EFI.
Holley had a 3D model of the Dominator available for download.
An email to Hardwire provided the 3D model of the PDM 28.
I once again used my Shining 3D Einstar 3D scanner and generated a scan of the GTO dash and glove box area.
The plan is to design a mounting system for the Dominator and the PDM in the area that used to be occupied by the glove box.
Andrew


