When you click on links to various merchants on this site and make a purchase, this can result in this site earning a commission. Affiliate programs and affiliations include, but are not limited to, the eBay Partner Network.
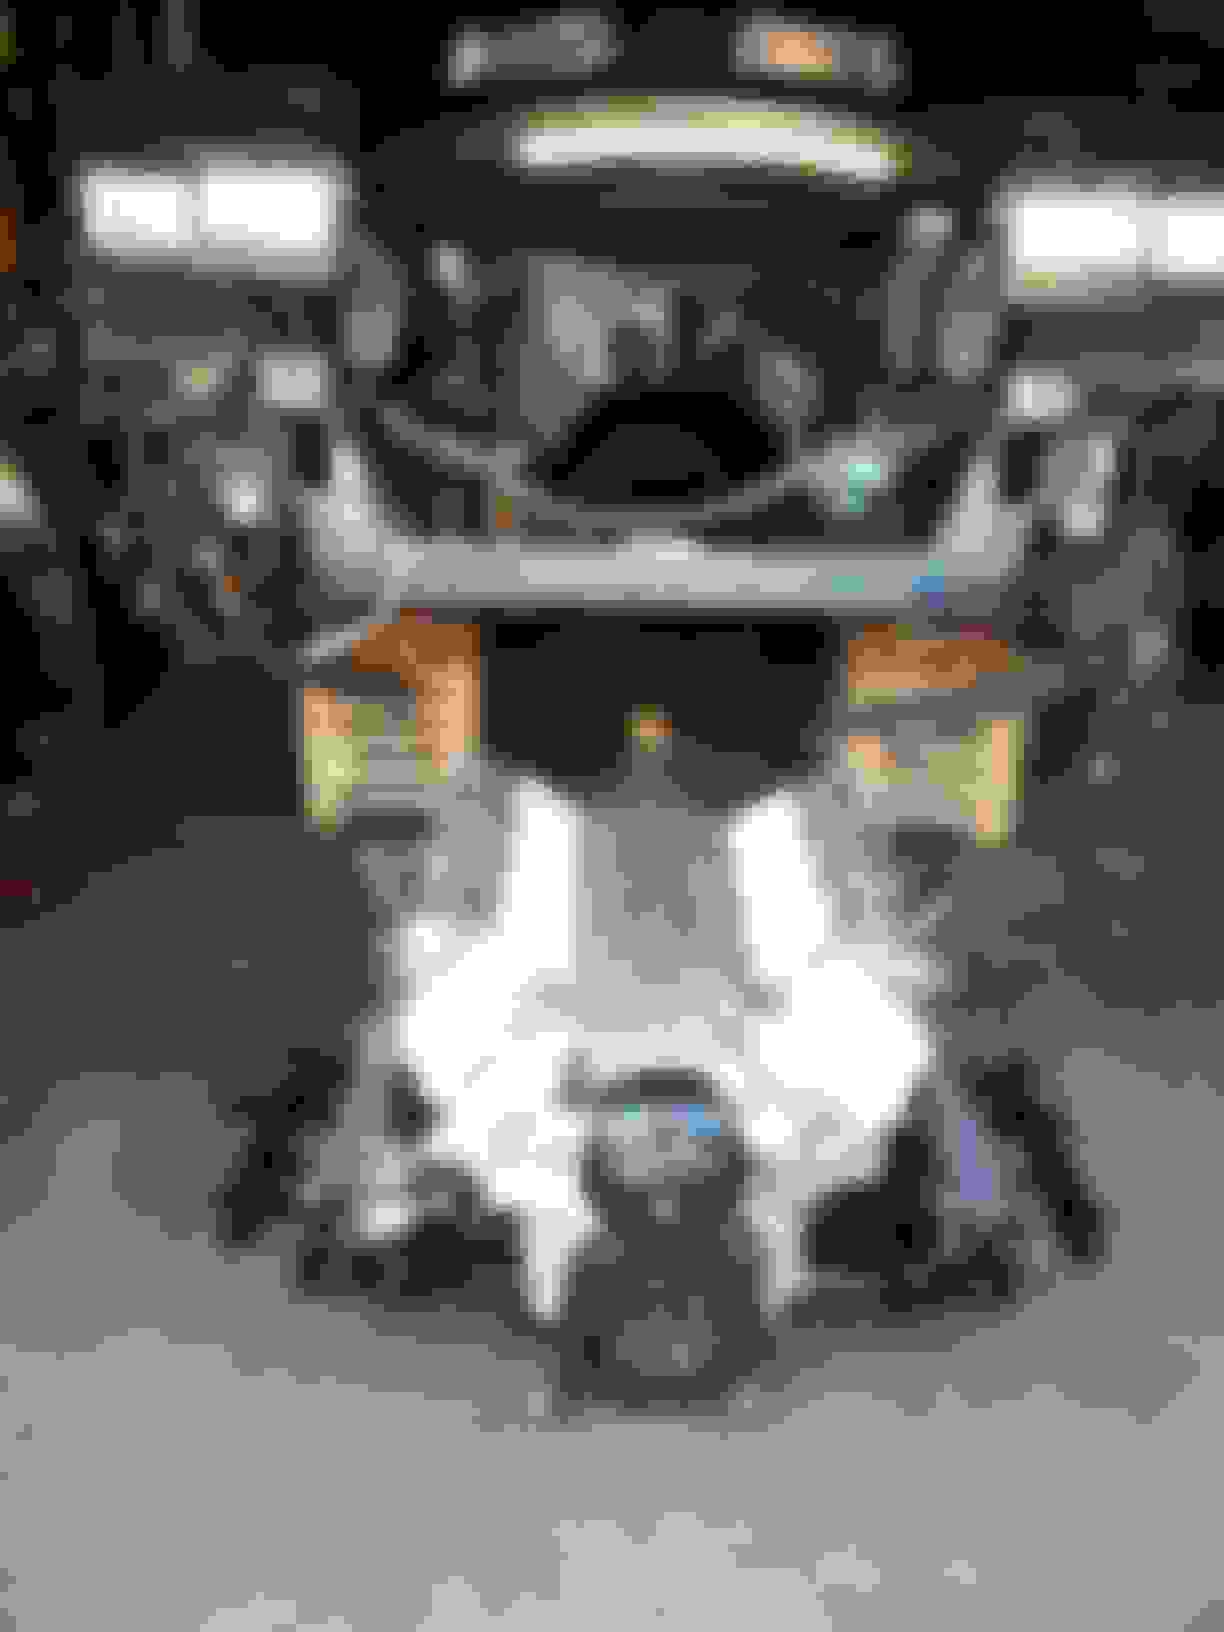
Finally got enough done to install the engine and trans in the car. I tell you what, chopping the core support out was a great mod, not only for standing the radiator up, but for allowing the cherry picker to slide in and lift the engine into place. I lifted the car up on cradles, lower ones in the rear to get the nose up, then rolled the car under with a furniture dolly under the oil pan and a trans jack under the trans. I'd already removed the factory K-member and bolted the new UMI K-member to the engine, so it was just a matter of lining up the holes. Had it in and bolted up in about a half hour, most of that being me going back and forth from the trans jack to the cherry picker and moving them up incrementally:
Very cool.
Use MLS gaskets with those manifolds and you'll never have an issue.
Mine came with those cheap perforated gaskets and they blew out on the first drive.
Wrap every nice and tight too.
Looking good my friend.
Damn it, I literally just wrapped my Y-pipe, swapped to the 1.25 A/R exhaust housing, and bolted it back in... using those perforated gaskets. FML. Guess it'll have to come out again. Any recommendations on brand?
Damn it, I literally just wrapped my Y-pipe, swapped to the 1.25 A/R exhaust housing, and bolted it back in... using those perforated gaskets. FML. Guess it'll have to come out again. Any recommendations on brand?
Factory GM MLS gaskets are the best, I sprung for those and even if a connection loosened up, tightening the nuts/bolts sealed it right back up again.
You don't have to remove the manifolds, leave the end bolts in, the gaskets are notched on the end holes, so they drop right in.
After getting the drivetrain bolted in, I went to reinstall the driveshaft and it wouldn't slide into the tailshaft far enough for me to get it into the pinion yoke. Nothing had changed except for installing a Quicktime bellhousing, which was only about 1/8" thicker due to the containment plate. So I pulled it out to inspect it and discovered that the splines in my slip yoke were twisted pretty badly. Scary, considering the car probably had all of 450 HP to the wheels previously and I'm basically going to be doubling it. Ordered myself a Sonnax chromoly slip yoke for some peace of mind. Has the bonus of giving me extra clearance to the tailshaft seal, which makes installing and removing much easier.
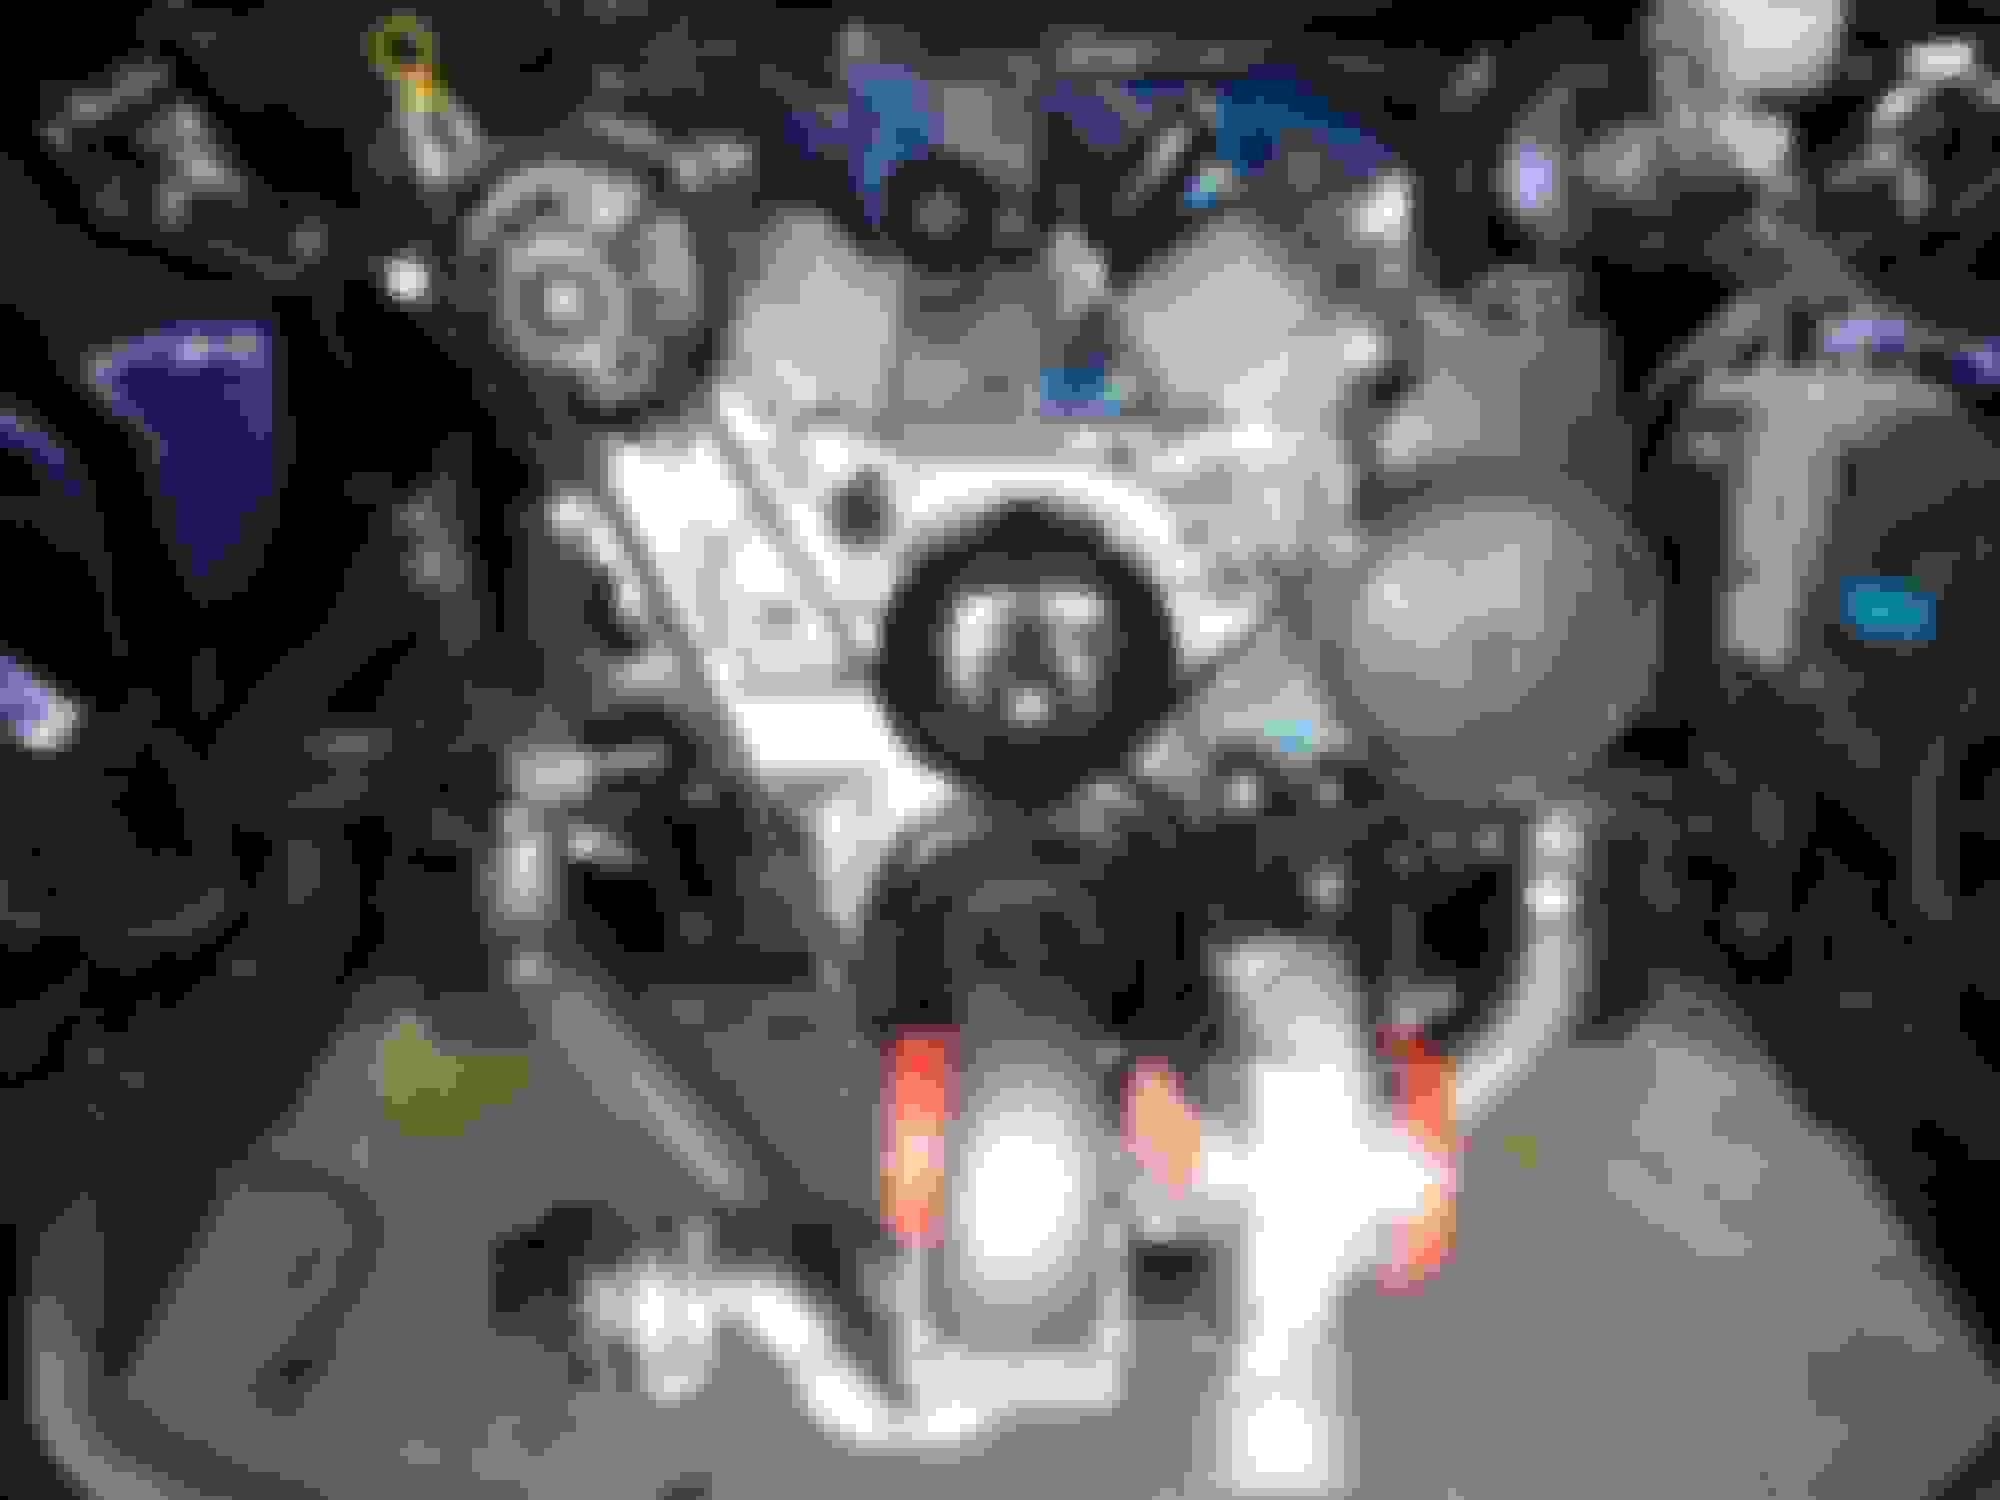
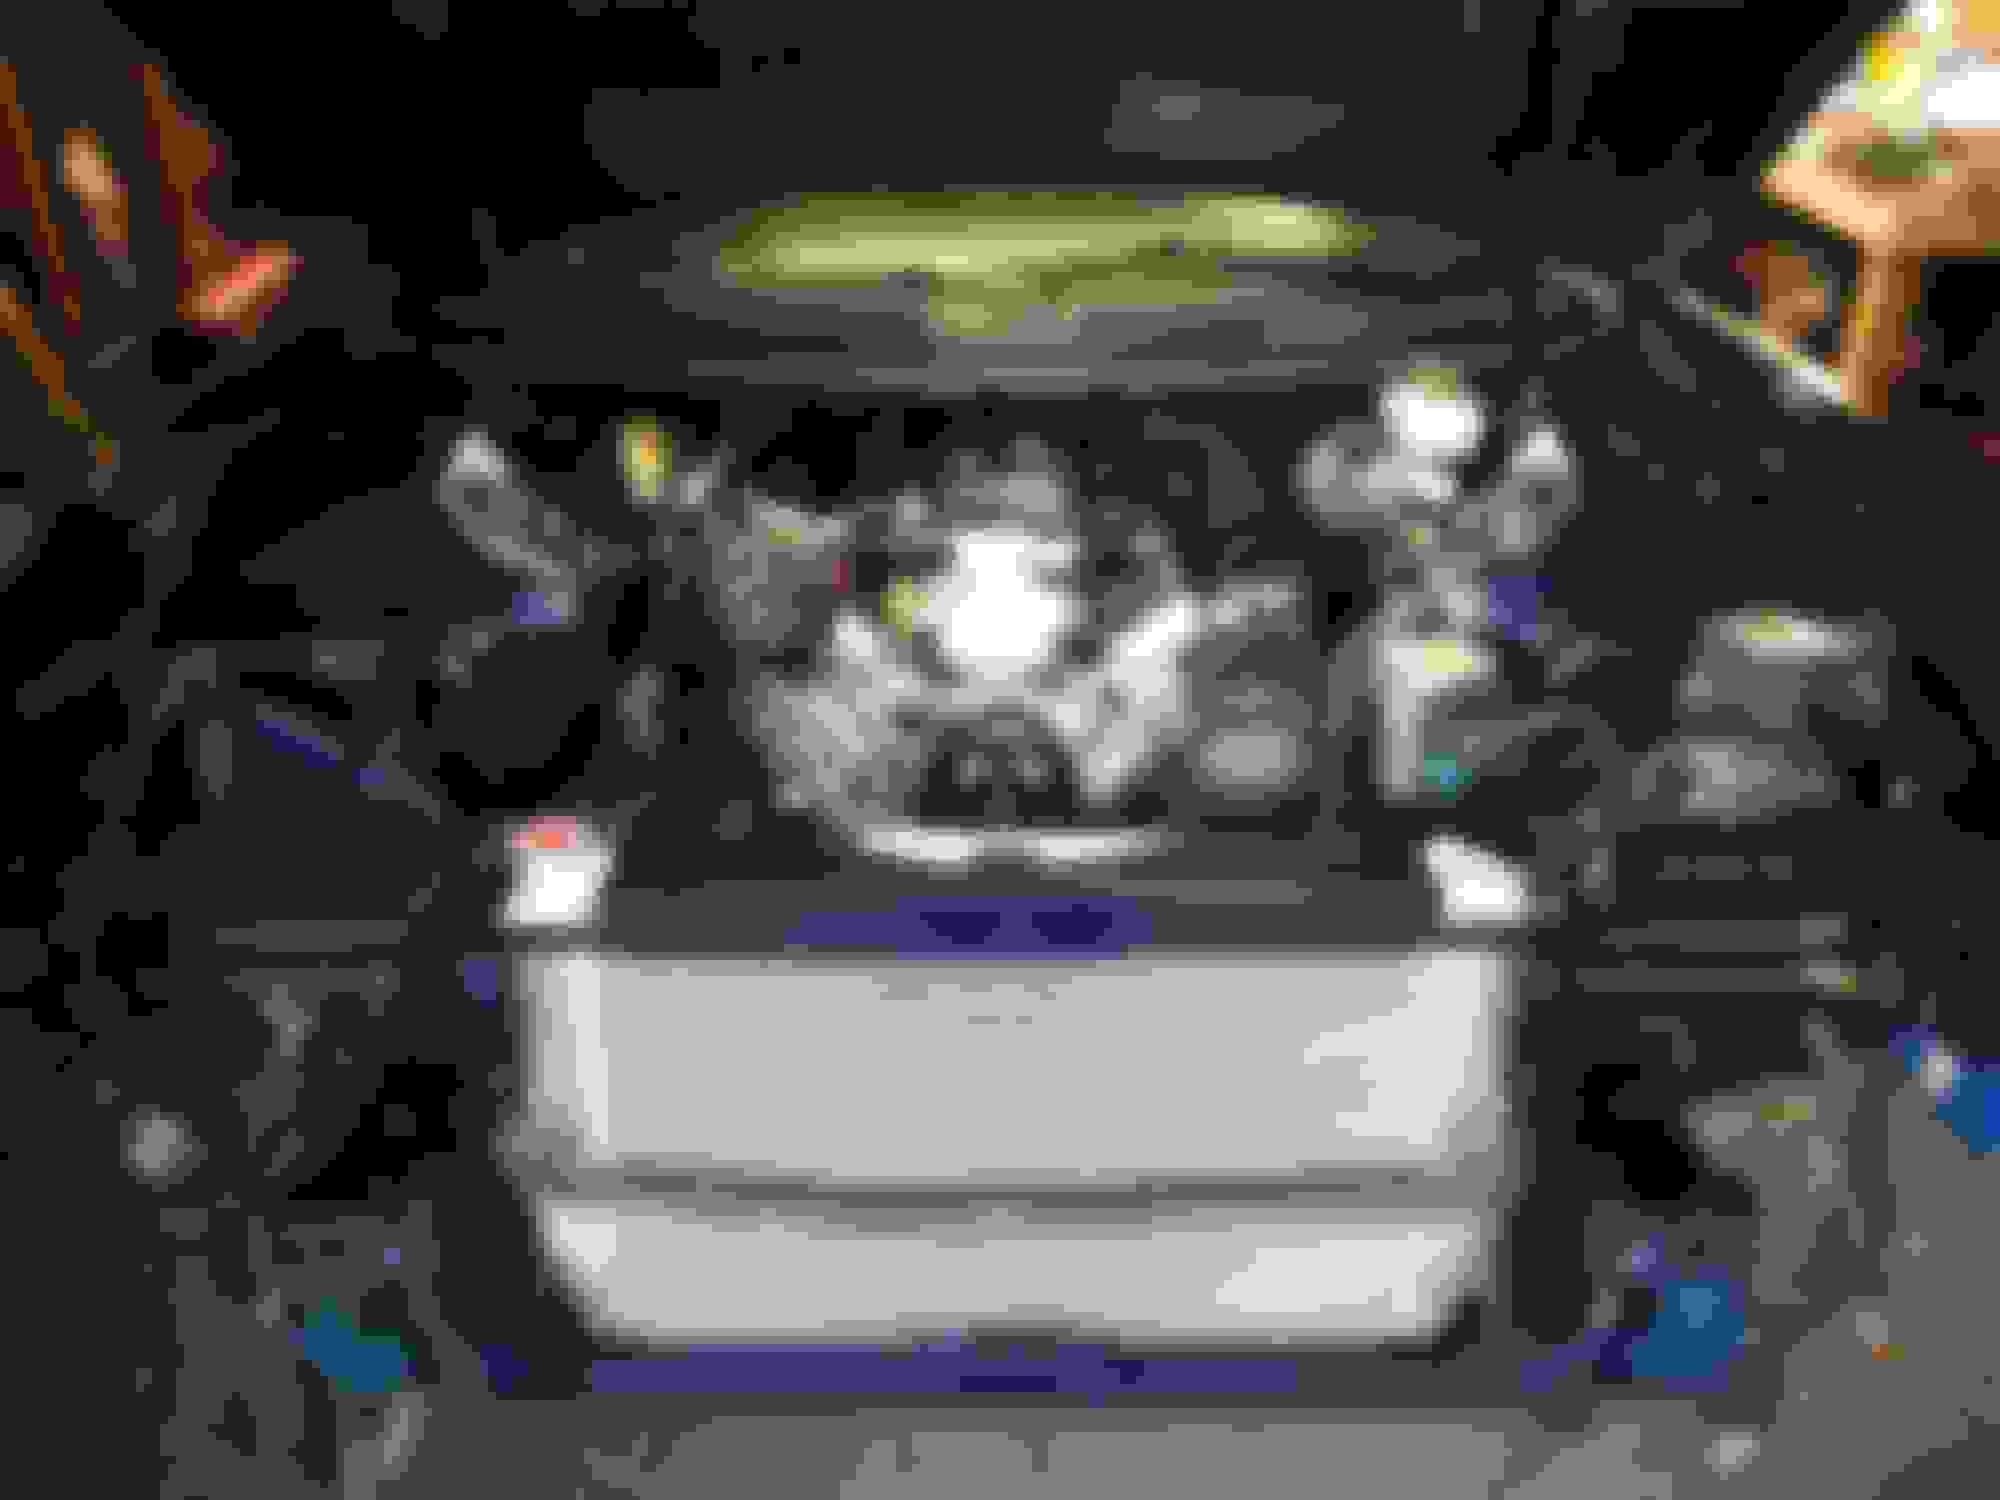
Now that the engine and trans were in, I was able to begin mocking things up for fitment and fabrication. Got my turbo and Y-pipe on, and my front accessory drive. Once those were in place, I could figure out where exactly I needed to place my radiator and get an upper mount fabricated. Found an HVAC shop near my place that bent me a nice piece of steel with a couple of stiffening ribs rolled in.
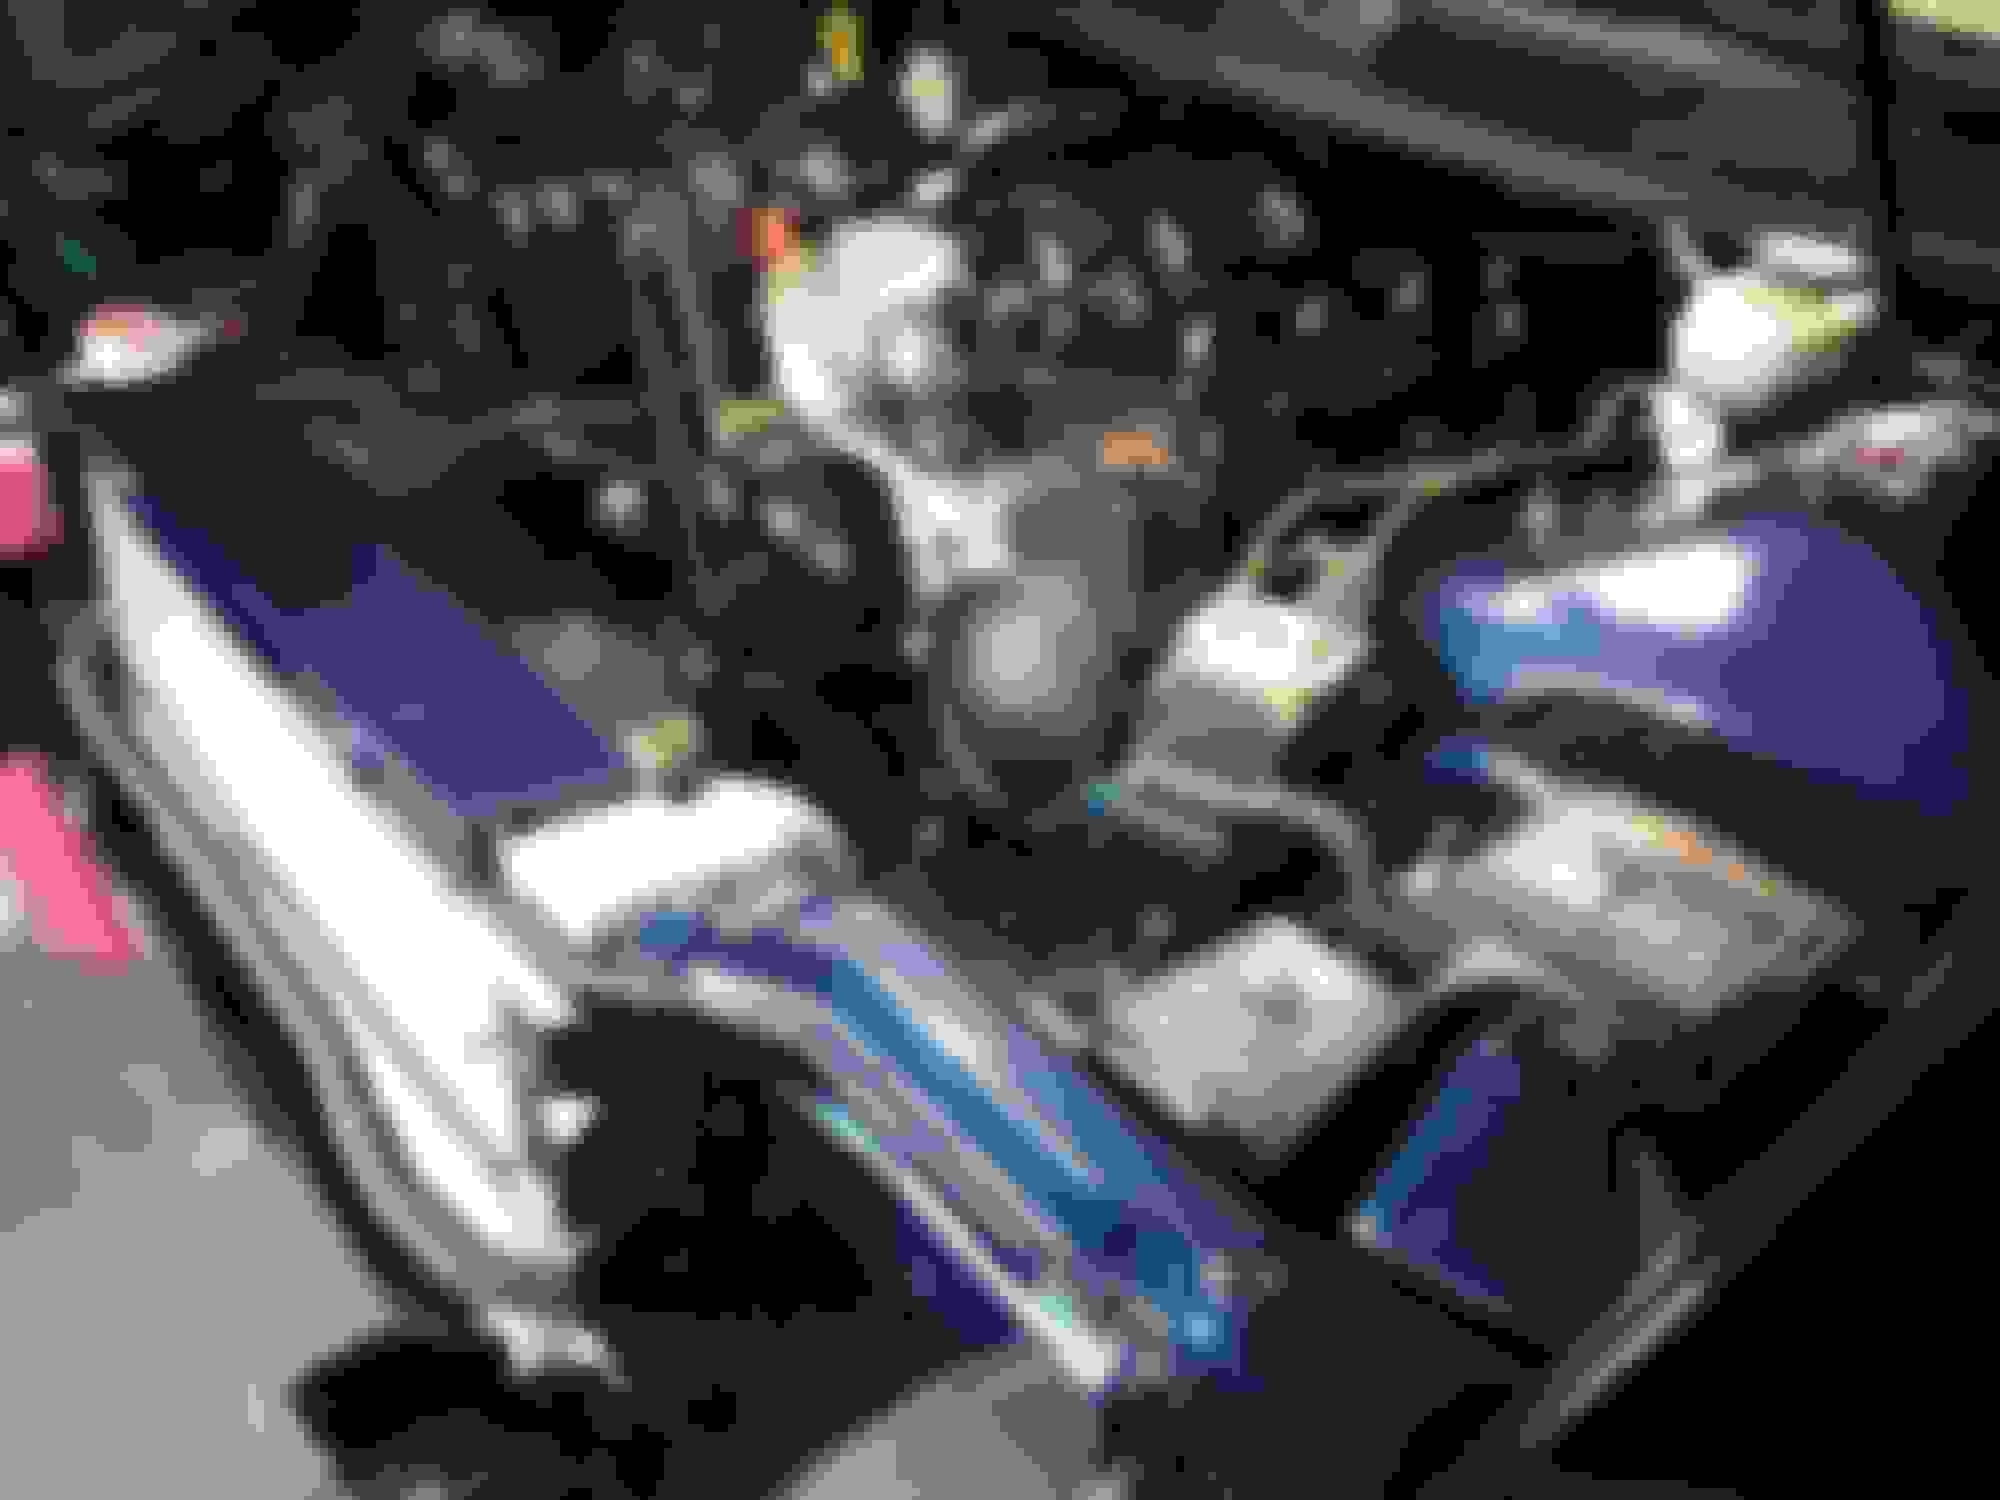
I'm much farther along than my pics indicate, but I never know when I'm going to be able to work on my car so I figured I'd get a bunch done before starting this thread. After getting the radiator mounts fabbed up and all of the little pieces and parts adjusted, I removed the headlights and everything up front so I could paint the core support and all of the new pieces. It came out pretty nice. It's not perfect, definitely got a bit of debris in the paint, but this isn't a show car. Since I figured out I couldn't use the valve covers I'd posted earlier in the thread, I bought a pair of cast aluminum ones from Summit and painted them body color. Overall, I'm pleased with the aesthetic improvements, even though half of what I painted will be covered up when fully assembled.
You can get the factory MLS gaskets for the manifold to pipe connection and I would definitely use them there as well because those blew out on me too.
looking good bro if I may ask what tensioner bracket did you use to take up the stock alternator location? or is it something you fabbed up to mount there? Im still trying to figure mine out lol
I have a Katech solid mount tensioner, which fits on a bracket that came in my Huronspeed turbo kit. The only bad thing is that the tensioner nearly hits my balancer due to the shape of the piece that has the "square" for inserting a breaker bar. I may have to grind part of it off if I ever need more tension.
You can get the factory MLS gaskets for the manifold to pipe connection and I would definitely use them there as well because those blew out on me too.
Damn, guess I'm going to be yanking my Y-pipe out again.
You missed the part where I said it's a lot farther along than in the pics, lol. It's FULLY together, as of this evening. Except wiring, which is a couple more months of work. The Y-pipe isn't that bad to get out, there's no exhaust at the moment. I actually am glad to get it out, because I'm going to spray high temp paint over the header wrap to seal in those god awful fiberglass hairs.
 06-06-2024, 05:41 PM


 if I may ask what tensioner bracket did you use to take up the stock alternator location? or is it something you fabbed up to mount there? Im still trying to figure mine out lol
