When you click on links to various merchants on this site and make a purchase, this can result in this site earning a commission. Affiliate programs and affiliations include, but are not limited to, the eBay Partner Network.
Update: I received my new S60 yesterday! I went w/ a 3.73 ratio on the S-trac diff, I had enough traction problems w/ my 3.42s on stock tire sizes so I felt that the next step up to 4.10s was too much. I also got new LCAs, TA and PHB from MWC which will be going in (keeping my stock WS6 springs, shocks and sway for now........those are easy enough to replace later if I want to without major disassembly). Started re-assembly of the E-brakes and discovered that I lost one of the little pins that go inside the adjusters. I'll be checking to see if they have these at the nearby Chevy dealer and auto parts places at lunch, if not I'll probably fab one at home and continue re-assembly. I'm looking forward to getting this back on the road.
Here it is w/ my little helper:
Last edited by JohnnyBs98WS6Rag; 08-02-2020 at 01:21 PM.
Pin that sits against the lever and pushes the e-brake band brake .197" Dia x .796" long rounded ends. So a 3/16" (.1875") x just under 13/16" long.
Thanks! That's what I'm going to do, because the only way to get the OEM pin is in a brake service kit which GM has obsoleted and is no longer available per the Chevy dealership part's counter. Tried a few other places, and found some kits on eBay for early '00 SUVs that look very similar, but I don't need the whole kit, and eBay says it won't fit the F-bod. I did find the rubber boots for the E-brake actuator lever and have 2 pairs of those on the way (~$20 / pr). Mine were split and beat up. I'll get busy today getting the rest of the brake hardware reattached to the axle and try to start the re-installation to the car.
I'm going to ask MWC and Strange tech support this question too, but figured I'd ask here: What pinion angle should I be shooting for once I get the axle installed? I didn't think to measure it before I took the broken axle out. I'm keeping springs front and back the same (factory). I'll post what their recommendations are.
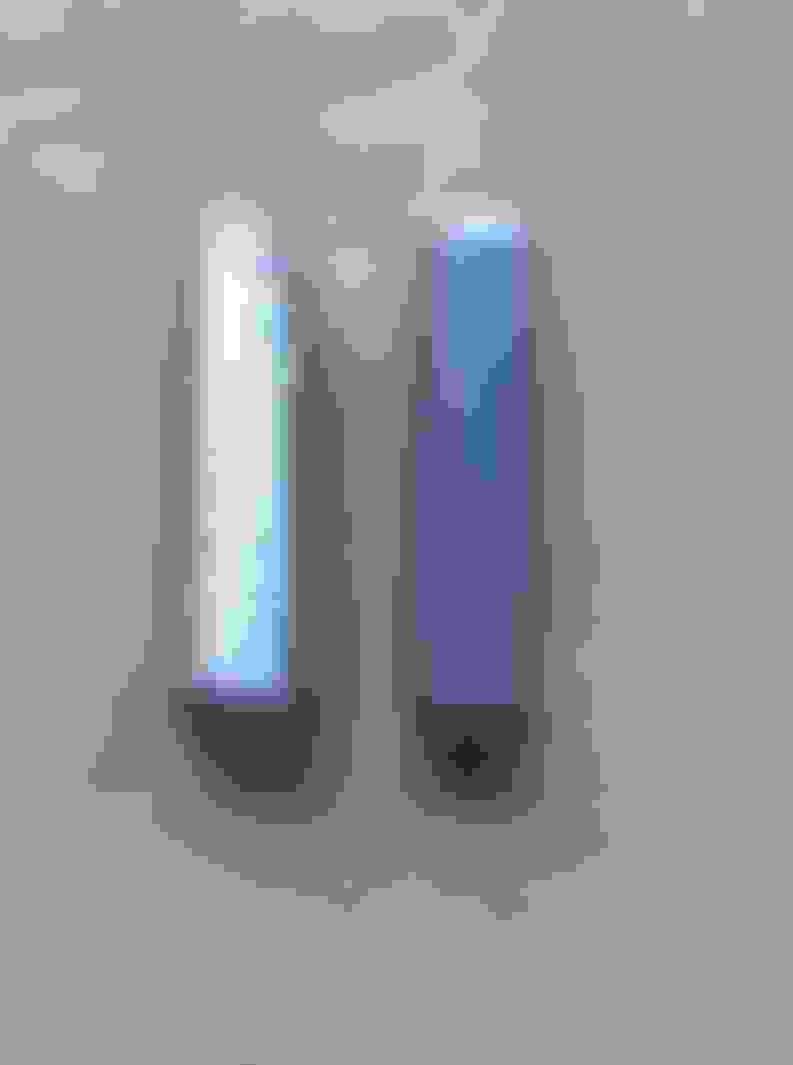
I just used rubber sheet cut to size and put a slit in it. Some members have been using baby bottle rubber nipples, very ingenious.
Aw man, that is a great idea. Thanks for adding this so folks who find this thread can see a cheap solution.
Well, Saturday I got the new axle dressed w/ my brakes and TCS harness. Since the S60 tubes are 1/2" larger in dia. than the 10-bolt, the brackets holding the brake lines needed to be clearanced to fit correctly in the upper LCA hole. BTW, those brackets block the 2nd lower hole, but not the bottom two holes, so if I need to re-mount the LCA, its just a matter of getting another bolt and using one of the bottom two holes. After helping me move it off the shipping pallet onto a dolly, my 17 /y/o daughter helped me shove it up the ramp onto the lift under the T/A, got it all hooked up w/ the LCAs, springs, shocks and PHB. I had pre-fitted the TA mount to the snout of the S60 previously. The instructions from Strange said to cut off a chunk of the upper TA mount plate plate to use the outboard holes for 2 particular brands of TAs to avoid hitting the tunnel. Since they didn't mention MWC's TA, I loosely mounted it by the inboard holes. I'll later regret this decision.
Here's a pic of the clearancing of the brake line bracket that was needed:
And how it fits on the S60 axle:
On Sunday, I got the TA mounted, which came with a replacement trans cross member that connects to the TA. I had to locate a bolt to hold the exhaust hanger once I pulled the factory TA mount off the trans (one of it's welded-in bolts also held the rear of the hanger). Once I got the rear of the TA connected to the mounting adapter, it didn't take long to realize it was interfering w/ the tunnel. So I spent a chunk of time pulling the TA mounting adapter off the S60, cutting the inboard holes off on the upper plate (a good work-out w/ the hacksaw), then went to re-install it. The rear TA bolt went in no problem, but the front one was not being cooperative. It felt like I didn't remove enough material on that top plate, so I ground off some more to no avail. That's when I realized that the TA mounting adapter was interfering w/ a rib on the S60 housing that runs through the middle of the TA mounting hole bosses. So I ground the TA mounting adapter down there until it fit. Now I'm waiting for touch-up paint to dry, so I called it a day.
Here's a pic of the TA mounting adapter clearancing:
And the rib on the S60 that required additional clearancing of the TA mounting adapter:
Last edited by JohnnyBs98WS6Rag; 08-02-2020 at 01:35 PM.
On Monday, I completed the TA installation, got the pinion angle adjusted to Strange's recommendation of 0-deg (MWC's recommendation was -1.5 to -2.0 deg, which I would probably go with if I still had rubber bushings in the suspension.........I can always re-adjust to minimize noise later). Made my driveshaft measurements and got that on order.
Tuesday, I tightened everything up and lubed. I am a little mystified why my car now sits ~3/4" higher than before, I checked to be sure the springs were properly indexed in their cushions, and there is no binding of the spherical joints of the new suspension components, nor interference of the TA w/ the tunnel. Maybe it just needs a few miles to settle down? I re-connected the brake lines and TCS harness. Now I'm just waiting on the E-brake rubber boots to finish the brake assemblies and will bleed the brakes and fill the axle w/ lube at that time. I also need to pick up some longer diff cover bolts today so that I can attach the E-brake cable guide brackets. I also need to dig-out my HPP-3 so I can reset the rear axle ratio so my speedo / odo read correctly. Then when the new chromemoly driveshaft comes in, I'll paint it, install it and take it for a spin to begin break-in. I'm looking forward to getting this on the road again. I promised my 17 y/o daughter that she can help me break it in.
Last edited by JohnnyBs98WS6Rag; 07-29-2020 at 09:38 AM.
Saturday, I got the new E-brake boots and hardware installed, re-connected the E-brake cables and guides, bled the rear brakes, and installed the sway bar using the new hardware supplied by Strange. Now all that is left is to fill with fluid and install the new driveshaft. Counting the days.............!!
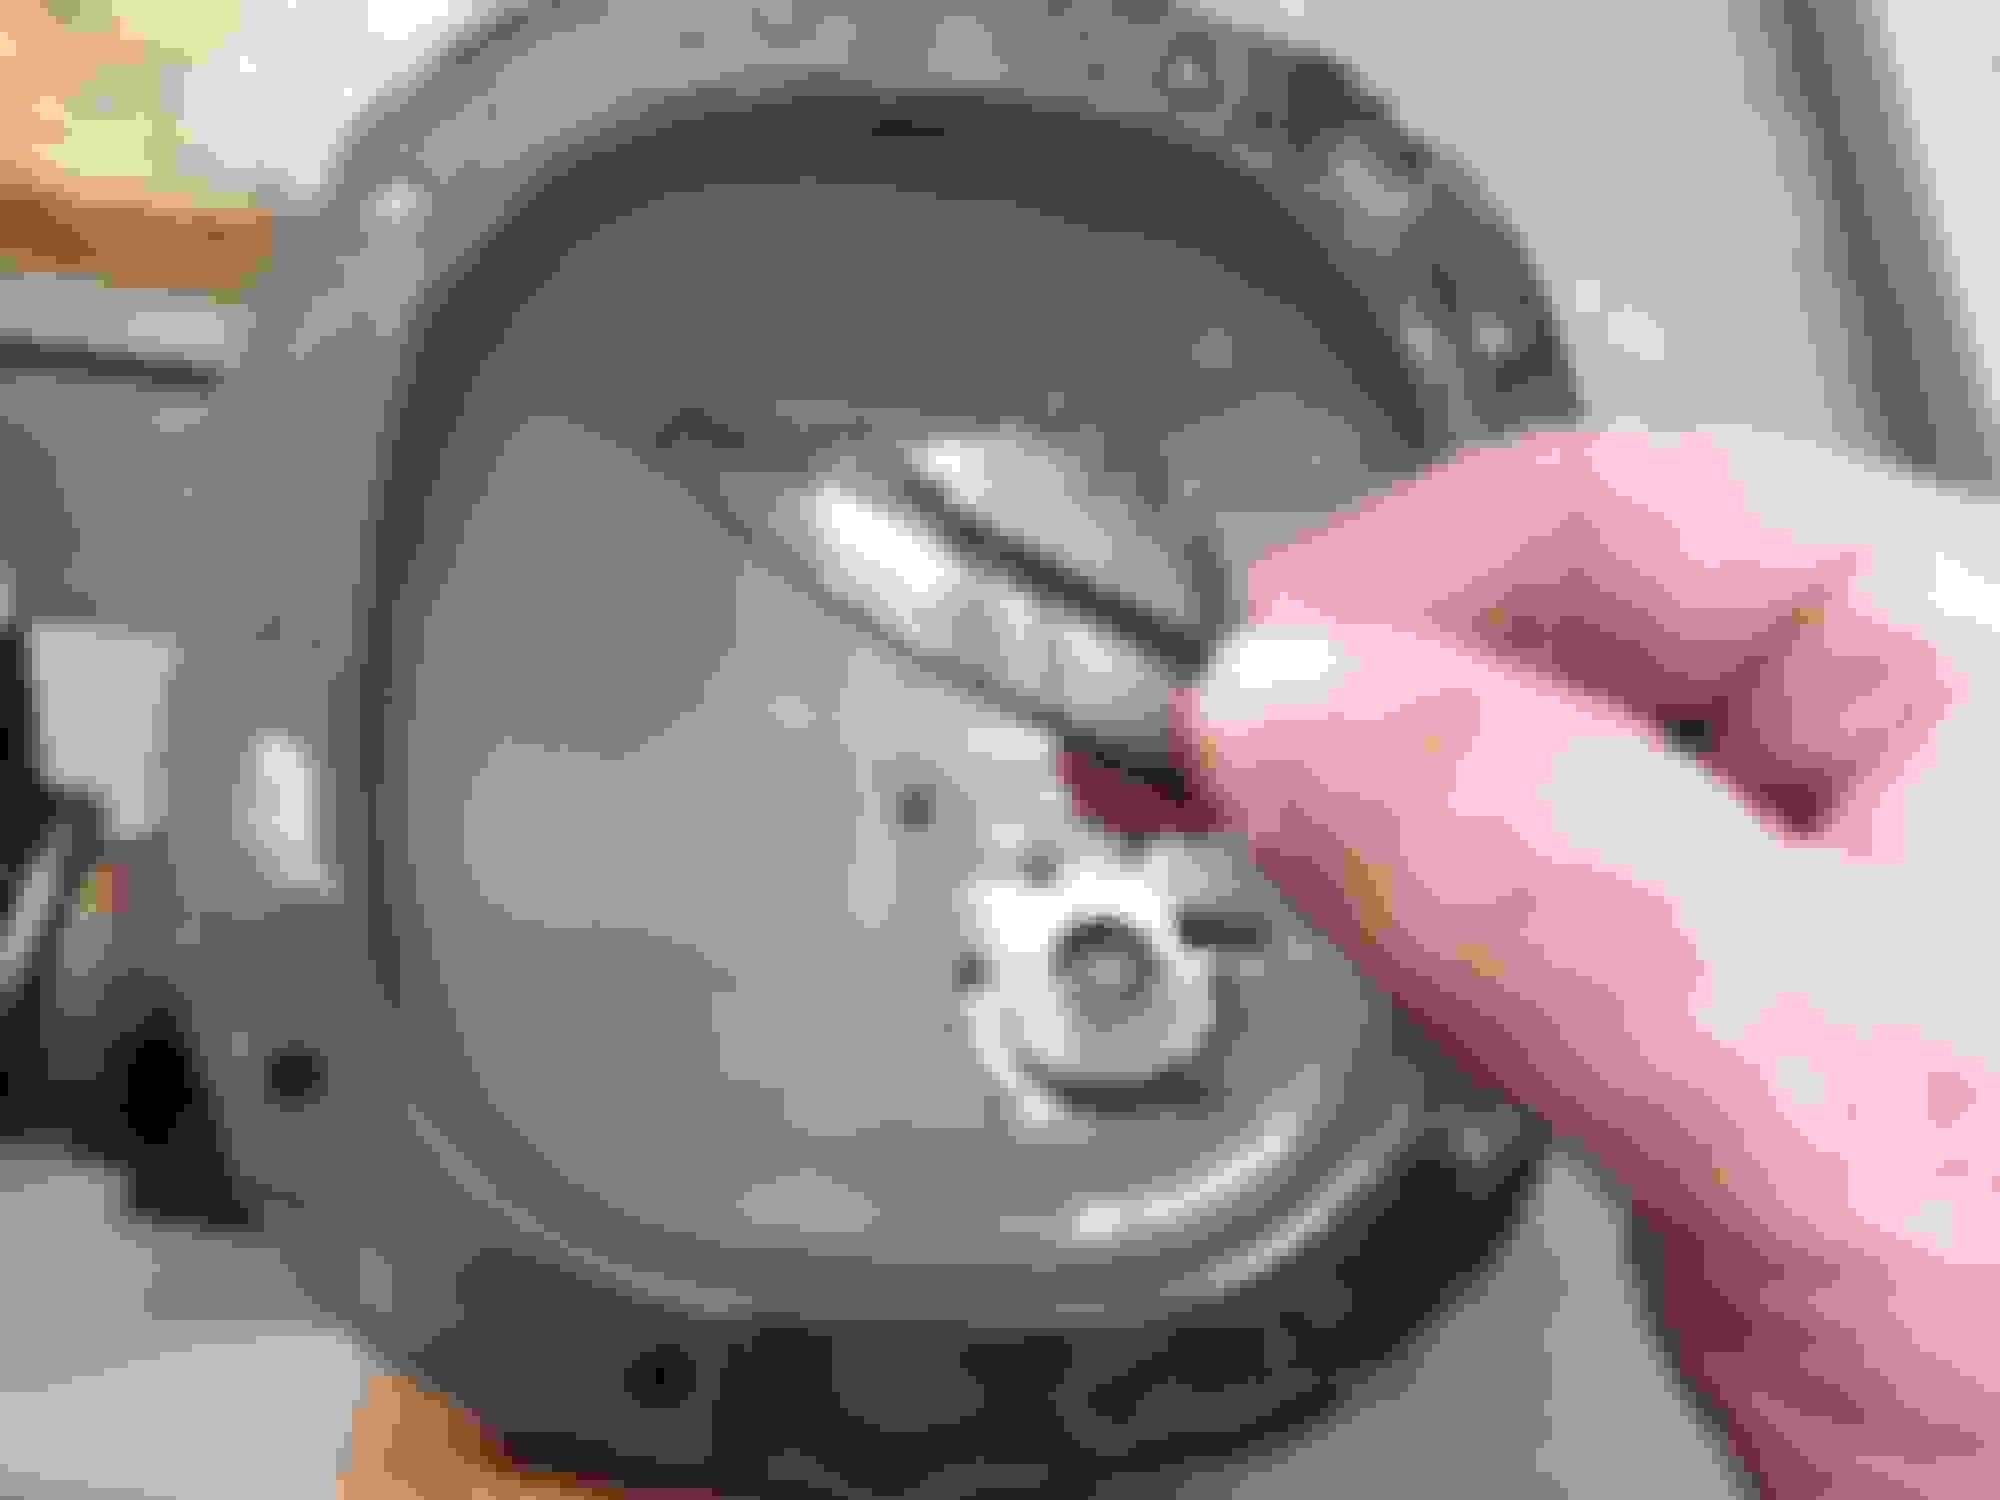
Here's a pic of my fab skills on the missing E-brake pin (used a cut-down screw):
Last edited by JohnnyBs98WS6Rag; 08-02-2020 at 01:51 PM.
UPDATE: Received my new driveshaft and got it installed. I was going to paint it, but it looked so good I didn't bother. It fit like a glove. The diff took all of the 2 qts of fluid that was recommended and didn't spill out of the fill hole in the cover, was kind of surprised at that. FINALLY got her back on the road, now to rack-up some break-in miles. Dug out my HPP3 to change my calibrate the speedo/odo to my new gear ratio, I still need to verify w/ a GPS that it is accurate. I do get a lot more road noise and drive-train noise with the solid-bushing suspension parts and TA. Comes with the territory, I'm sure I'll get used to it.
Link to the thread on adjusting my driveline angles to minimize vibration.
Last edited by JohnnyBs98WS6Rag; 10-23-2020 at 06:29 AM.
BINGO, we have a WINNER! This past weekend I removed the rear end from my car in prep for swapping in a new S60. When I loosened the cover to drain it a small piece of gear came out, so I knew things had gotten worse since this noise had started a year ago and subsequently gotten worse. Last night I pulled the cover off to remove the axles (so I can send in the brake backing plates and reluctor rings in to be put on my new rear) and BOY HOWDY, an entire pinion tooth about 2.5" long was stuck to the cover magnet, along with a bunch of smaller chips that came from the inside of the ring gear teeth that probably got whacked-off when the pinion gear broke. So my ring and pinion are trashed. The diff still looked OK, didn't see any damage to the spider or side gears. Now to get those C-clips out to pull the axles............
Bottom line: What probably started as a fractured pinion tooth creating the noise sync'd to the driveshaft eventually resulted in that tooth breaking off and taking the ring gear with it.
Here's a pic of the broken pinion tooth:
Here's a pic of the chipped ring gear teeth:
I am installing new 3.73 gears on my 99 camaro and put the wrong shims in and struggled to get the carrier out. Finally got it out but I chipped the pinion tooth! Is this to bad to run? I�m hoping not because I would hate to waste a pinion especially because I can�t find just a pinion for sale.

 07-24-2020, 09:12 AM