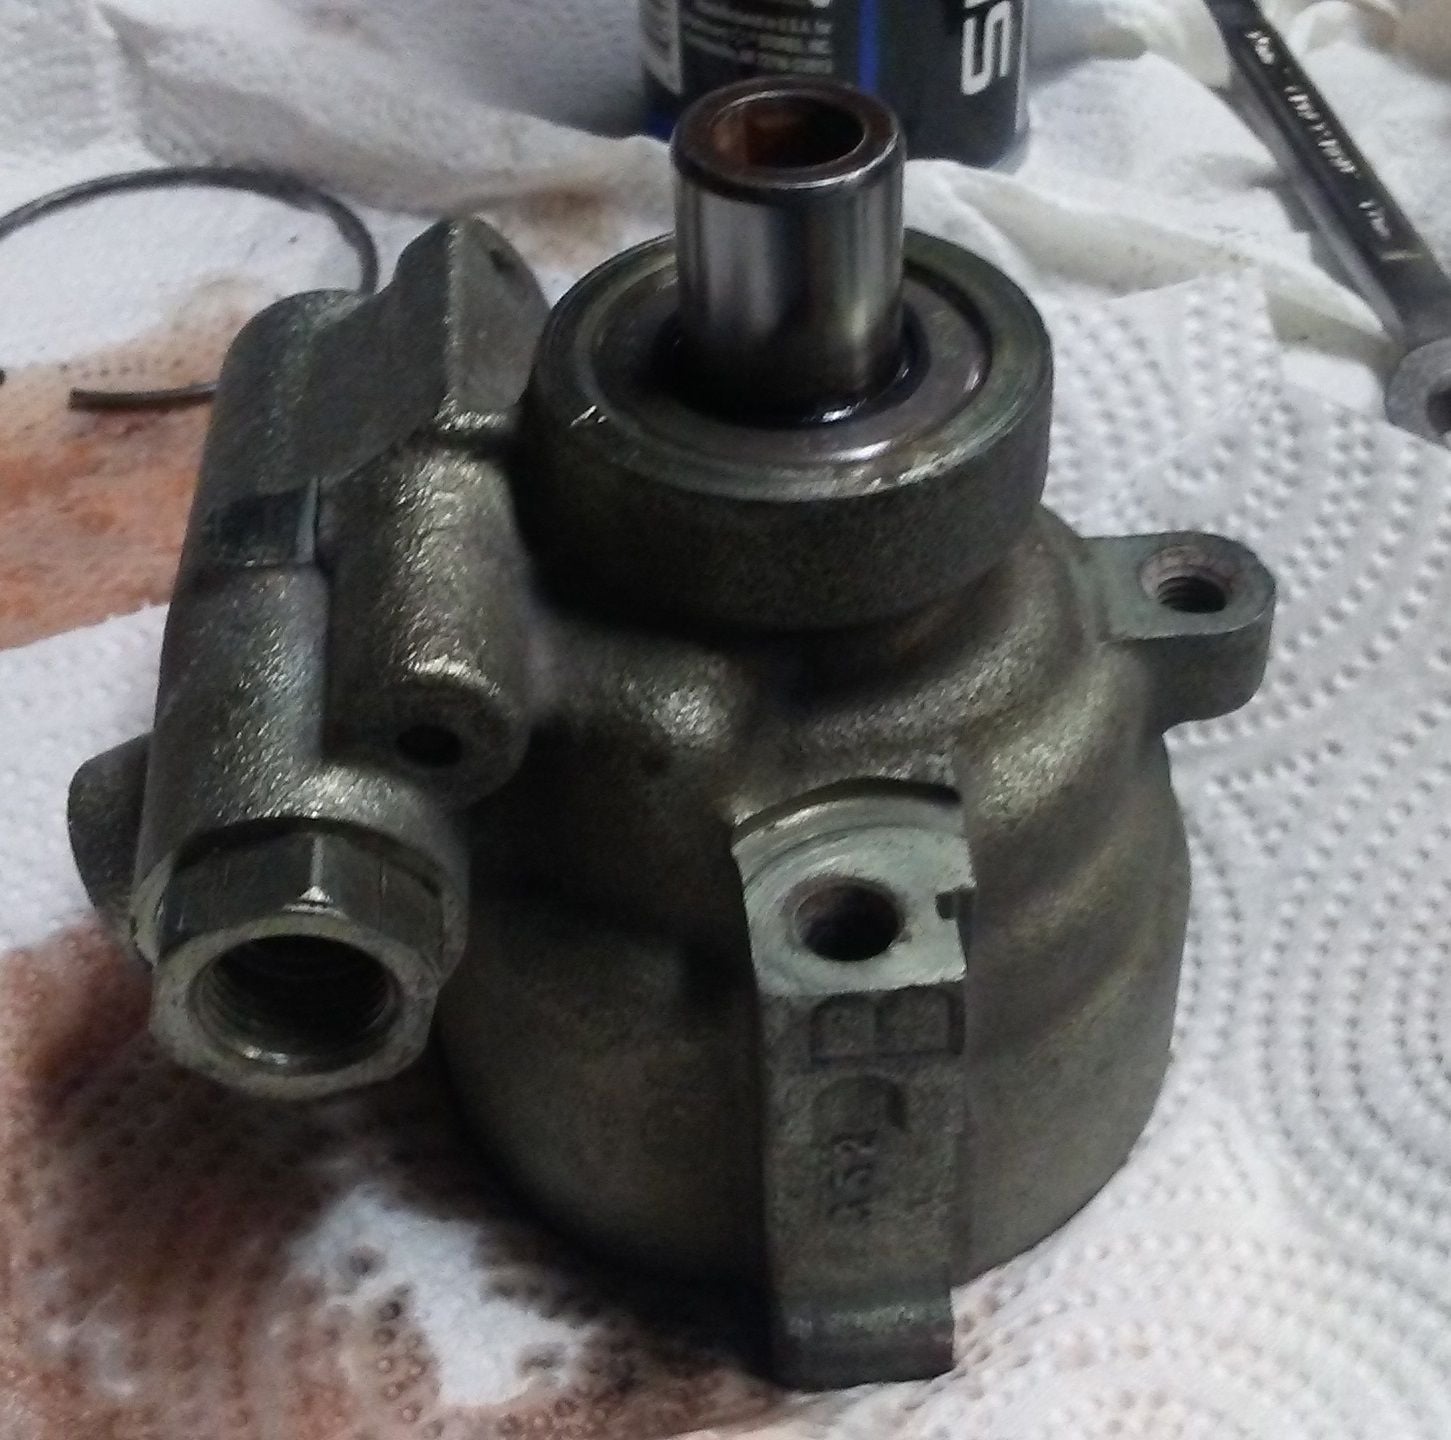
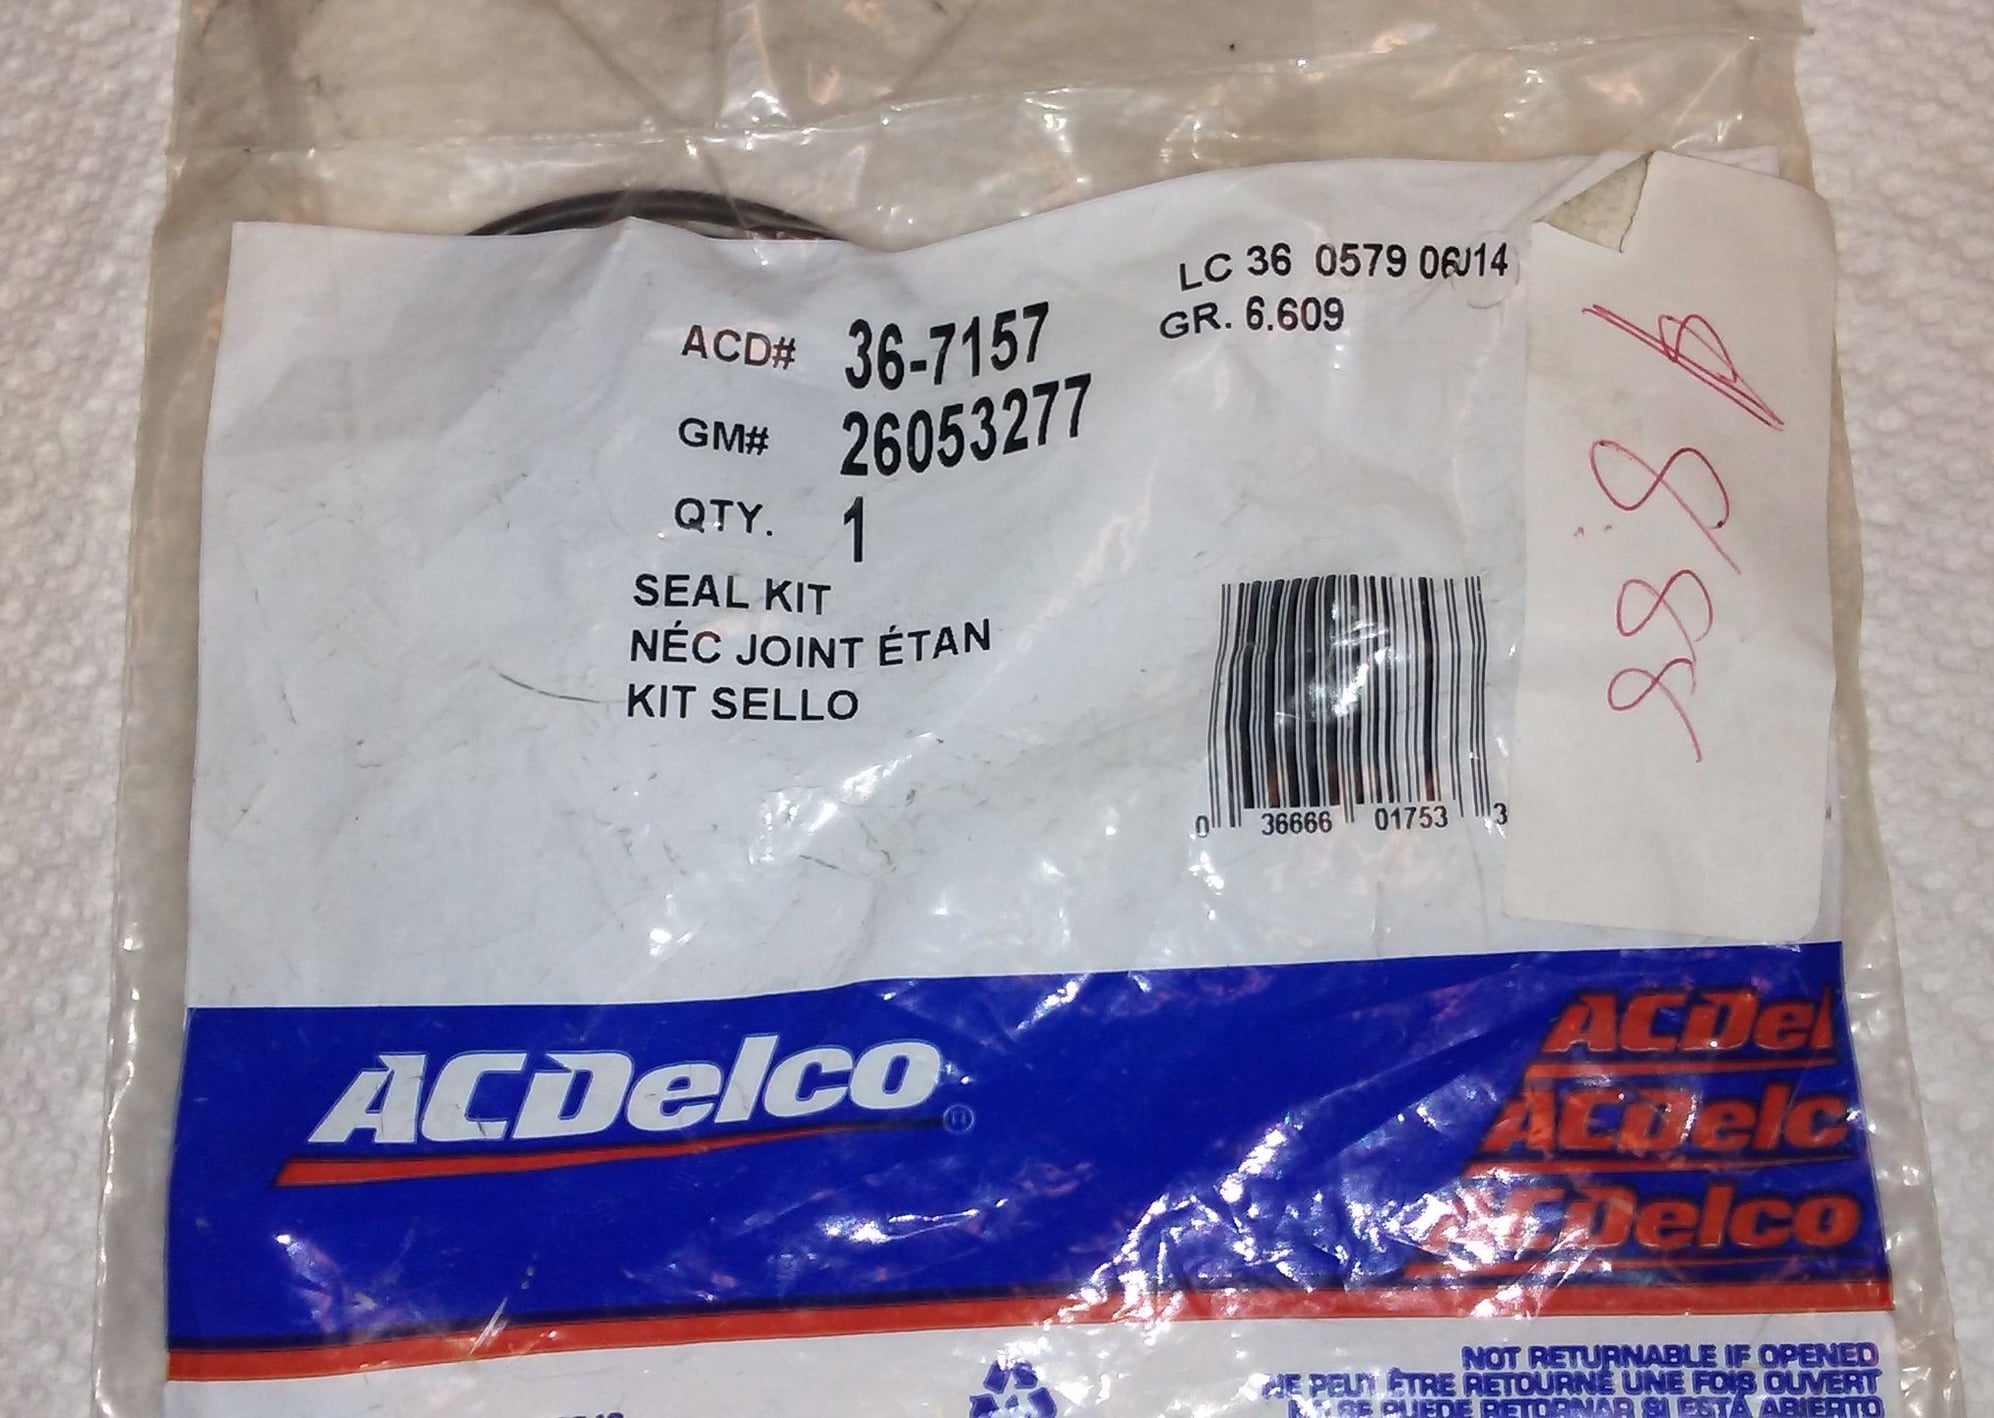
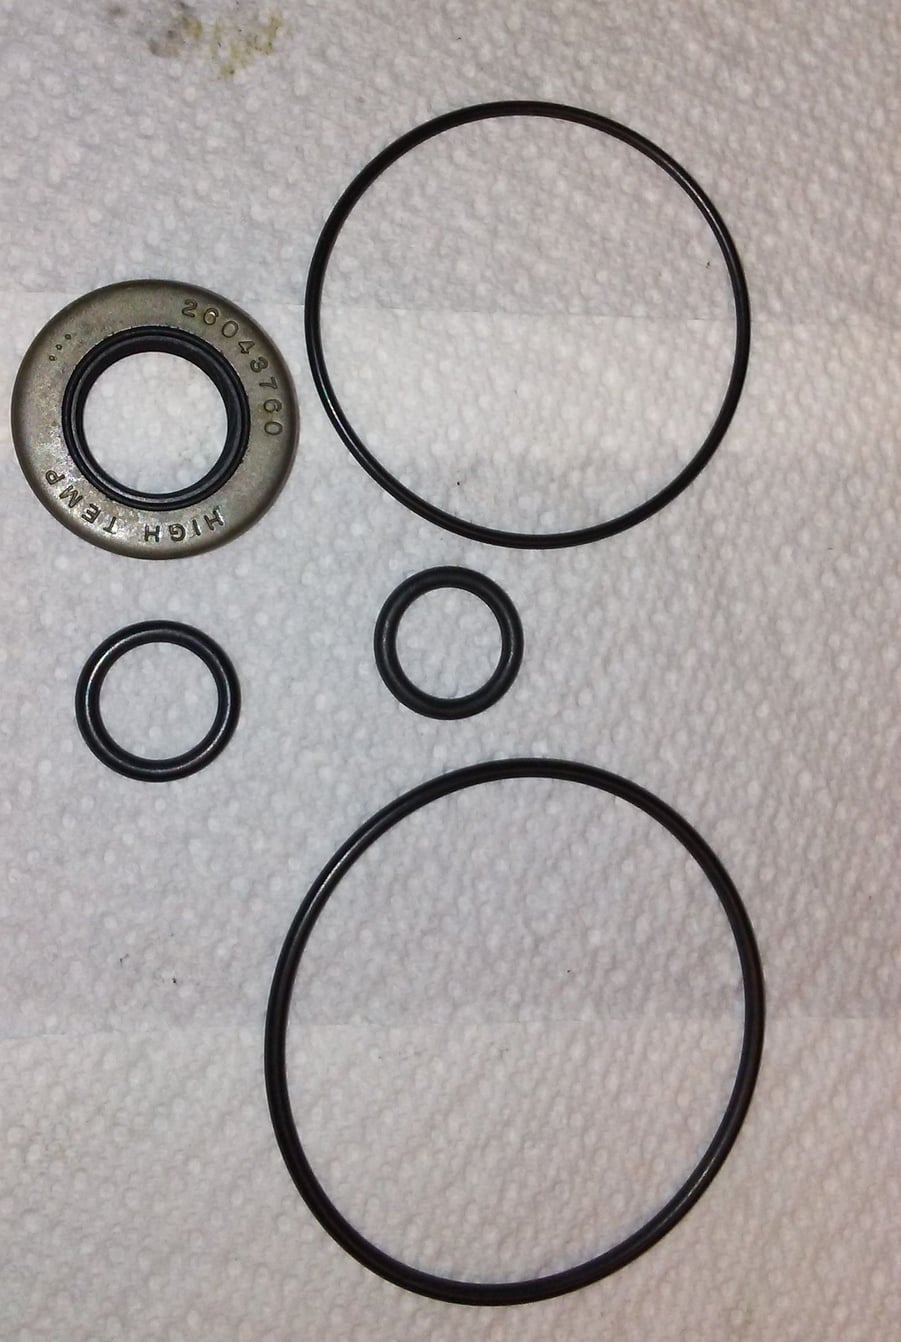
PS pump repair in PICS !
#46
when I asked the guy at PSC if there were any manuals available for repair of the pump and he said no.....I asked him where he got his repair knowledge.....he said he used to work at the factory in Saginaw 
I paid 3$ for the seal kit....and 34$ for the ring kit....so not bad to know you did it right over buying a unknown reman
in a pinch the guy at PSC said you can flip the vanes over to the unused side for a brand new edge
at the least you should be doing a seal kit as all the seals get shot with age and heat...especially the reservoir seal
i would think every couple yrs or 30k miles for a re seal ?..... for tip top shape....not shown all my pics is how nasty the insides were .....so a good clean up keeps it all fresh
#48
i really paid no attention to mine and could not obviously notice any difference between either side of the vane
i think the biggest mechanical wear item besides the vanes would be the outer rotor.....mine was smooth from wear but no scratches or any other obvious defect that might require replacement....i was hoping for a repair manual so i could find info on how to determine and measure wear limits on the hard parts....the new outer rotor was finished rough on the inside compared to the smoothness of the old worn rotor....the guy at PSC said thats what you get fresh out of the box new
by bearing...do you mean the inner pump shaft bushing ? the guy at PSC looked at the bushing and said mine looked good....not having a clue what a new one looks like or how to determine by looks if one was bad......but.....the pump shaft was smooth with no defects from wear from the bushing ....think of the valves in the head and how they ride in the valve guide....easy to install the shaft into the housing and wiggle it to feel for play....my shaft fit in the bushing TIGHT....so tight it needed some effort to install back in....the fluting of the bushing provides for plenty of lubrication of the shaft and it shows
the pump i rebuilt and in the pics was out of my 2000 bird with 230k miles
#49
i am sure some good synthetic PS fluid and a cooler installed somewhere in the return line also keeps the pump happy for a longer time ( i use both ! )
#52
Great job! I need some help myself with the power steering line (99 camaro z28). I'm replacing entire rack and steering pump and line. Looking at the power steering lines online I see they come with fluid restrictor. Do you know where this fluid restrictor installs?
#54
I'm not sure. I saw the pic and had no idea. All parts stores show same thing. I am also worried... I pulled the rack last night and the old pump and left the lines on the pump when pulling it out. I'm not sure which side the high pressure line goes into the rack. I typically take a pic when doing something like this and did not last night now worried about it. Do you know or have any pics of the power steering lines going into the rack?
#56
I'm not sure. I saw the pic and had no idea. All parts stores show same thing. I am also worried... I pulled the rack last night and the old pump and left the lines on the pump when pulling it out. I'm not sure which side the high pressure line goes into the rack. I typically take a pic when doing something like this and did not last night now worried about it. Do you know or have any pics of the power steering lines going into the rack?
be careful with the O rings on the lines....easy to tear.....if you need some O rings I have some available .........there is a O ring on the low pressure hose too
#57
Great write up. I used this to reseal mine. I say reseal, because I was not able to find the rotor and vane kit to replace them. Mine looked okay though, nothing obvious to me. The vanes were still square on the ends. I went ahead and flipped them though. You could see light wear marks on them.
When reassembling, I did not have an arbor press or hydraulic press to compress the wave spring. But a ball joint press worked great. Afterwards, I realized, that I could have used the ball joint press to compress it all and remove the big snap ring. But popping it out with a punch in the hole was no issue.
Thanks for the write up op.
Rob
#59
On The Tree
I found an ACDelco reman new in box on eBay for $80. I'm going to use this write up to rebuild the old one, which is original and keep it as a backup.
Thanks for the research and hard work put into this!
Thanks for the research and hard work put into this!
#60
sad news.....seems the rebuild kit GM 26046606 is NLA and a nationwide search comes up empty.....you can still get the rebuild kit from PSC Motorsports....just at a higher price .....I bet Turn One has access to parts but I dont think they are in the part business


