General Maintenance & Repairs Leaks | Squeaks | Clunks | Rattles | Grinds

Removing number 8 spark plug

Thread Tools
 
Search this Thread
 
Old 06-08-2024, 09:29 AM
  #1  
Teching In
Thread Starter
 
mongo730's Avatar
 
Join Date: Jun 2013
Posts: 11
Likes: 0
Received 2 Likes on 1 Post

Question Removing number 8 spark plug

I have a 1999 Pontiac Firebird Trans Am.... I changed the plugs one time... I only removed the number 8 plug with the help of God. I am about to replace my A/C compressor. Will removing the A/C compressor give me better access to the spark plugs on the passenger side? If so, I will change them before installing the new compressor.

Thank you in advance,

Charlie
Old 06-08-2024, 05:43 PM
  #2  
11 Second Club
iTrader: (3)
 
01CamaroSSTx's Avatar
 
Join Date: Feb 2015
Location: Conroe, Texas
Posts: 5,148
Received 1,882 Likes on 1,359 Posts
Default

The A/C compressor is underneath the small hoses coming out of the water pump so the answer to your question is that it's not going to help with the No. 8 plug. Yes the 6 & 8 plugs are a PITA to get at but I've found that removing the coil pack from the valve cover will give you enough room to remove those two without cussing too much and with the valve cover off it is a breeze..
The following 2 users liked this post by 01CamaroSSTx:
Treburkulosis (06-09-2024), wssix99 (06-10-2024)
Old 06-08-2024, 10:08 PM
  #3  
Teching In
Thread Starter
 
mongo730's Avatar
 
Join Date: Jun 2013
Posts: 11
Likes: 0
Received 2 Likes on 1 Post

Default

Thank you. The information is greatly appreciated. My first hill to climb will be removing the compressor. I was just hoping that if I can pass that hurdle... it may help with the plugs hurdle.

Thanks Again,

Charlie
Old 06-09-2024, 06:00 AM
  #4  
Launching!
 
Treburkulosis's Avatar
 
Join Date: Feb 2024
Location: Haslet, TX
Posts: 258
Received 124 Likes on 97 Posts
Default

I agree with removing the coil packs. That is the way that I do mine.
Old 06-09-2024, 09:01 AM
  #5  
Teching In
Thread Starter
 
mongo730's Avatar
 
Join Date: Jun 2013
Posts: 11
Likes: 0
Received 2 Likes on 1 Post

Default

Thanks for the information. I have only changed the plugs one time. I remember the video I watched on YouTube to see how to get to the plugs. The speaker said to do the Driver's side plugs first to gain confidence. He also said it was an eight hour job. I did driver's side one day and the passenger side the next. The Passenger side is definitely the hardest to get to.
Old 06-09-2024, 11:04 AM
  #6  
LS1Tech Administrator
iTrader: (3)
 
RPM WS6's Avatar
 
Join Date: Nov 2001
Location: Schiller Park, IL Member: #317
Posts: 32,257
Likes: 0
Received 1,692 Likes on 1,213 Posts

Default

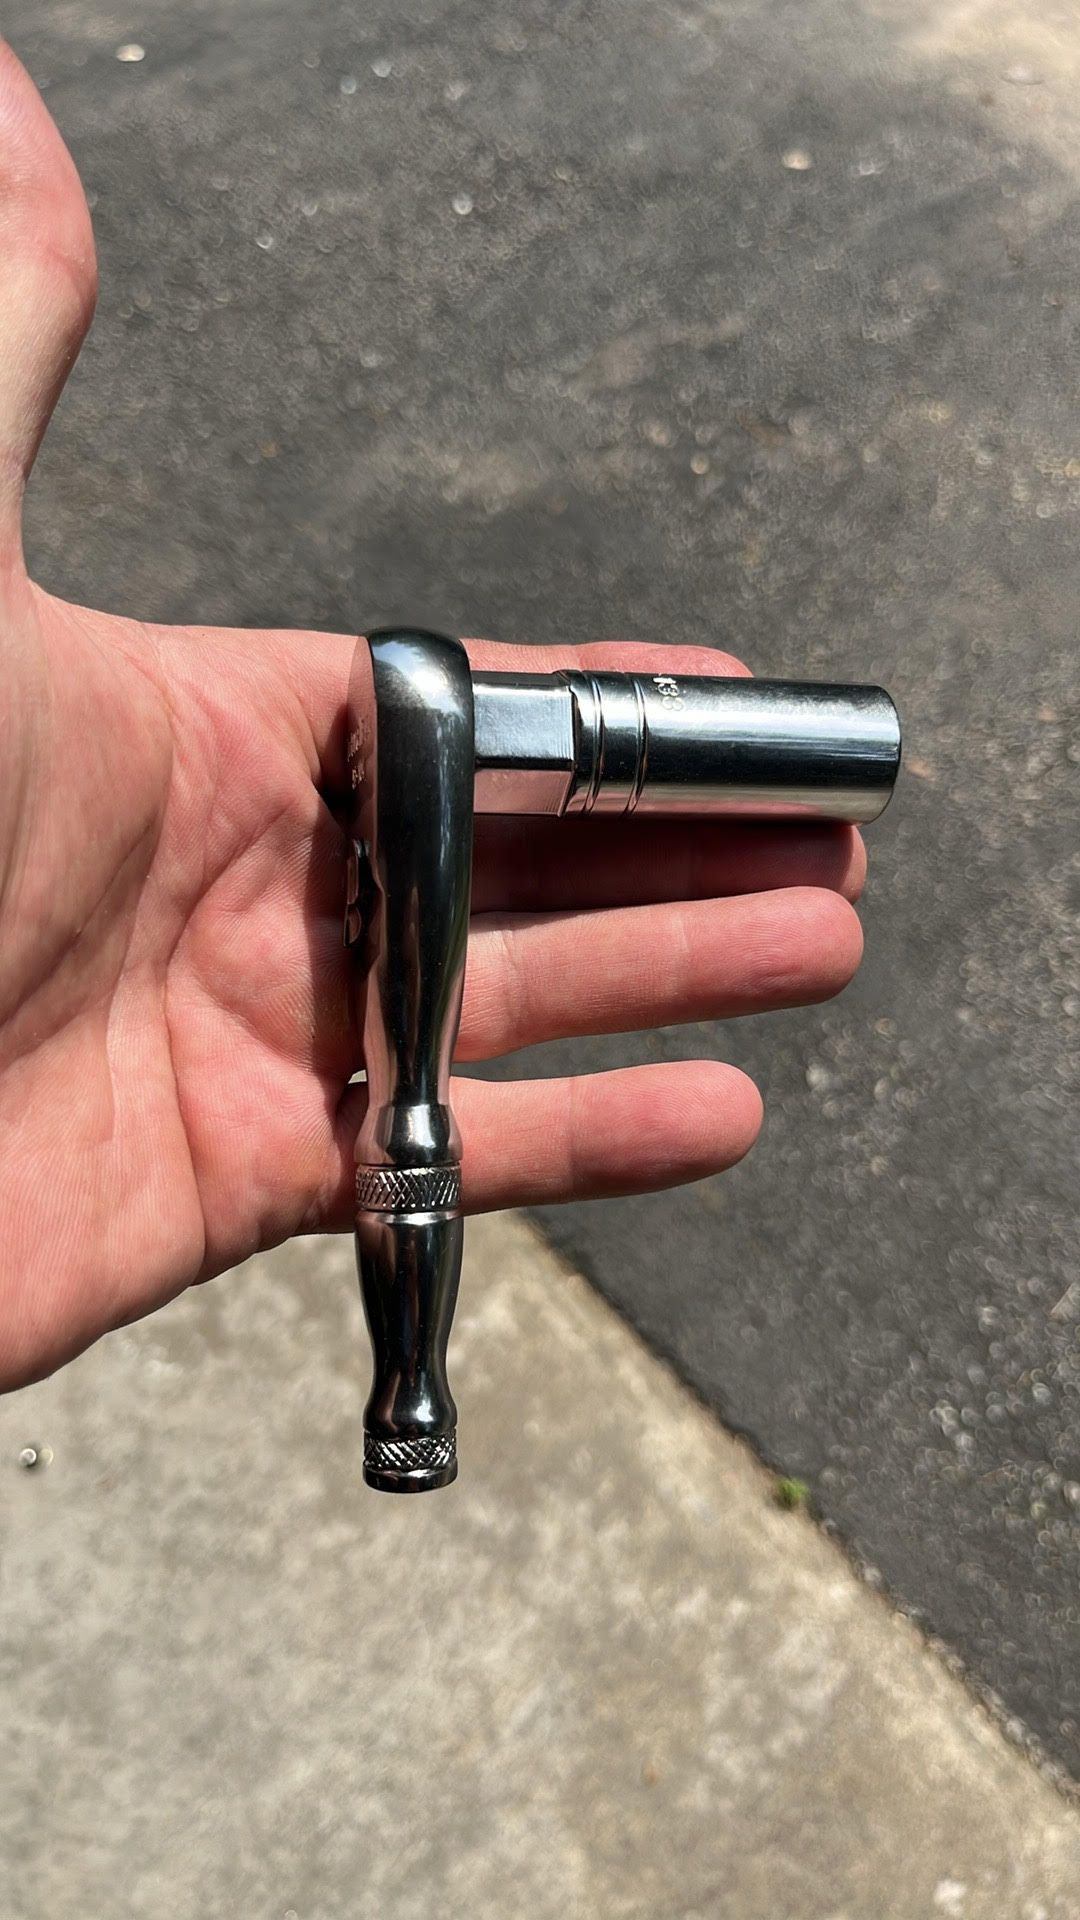
The tool you need is a small, ratcheting box-end 10mm wrench. This will make removing the back bolt of the coil rail super easy, and that's really the hardest part of gaining access.
The following 2 users liked this post by RPM WS6:
jybravo70 (06-10-2024), Treburkulosis (06-10-2024)
Old 06-09-2024, 02:10 PM
  #7  
11 Second Club
iTrader: (3)
 
01CamaroSSTx's Avatar
 
Join Date: Feb 2015
Location: Conroe, Texas
Posts: 5,148
Received 1,882 Likes on 1,359 Posts
Default

I got so fed up with removing that back bolt I eventually removed it for good. There's plenty of other ones to keep it held down..
The following 2 users liked this post by 01CamaroSSTx:
01Z0H6 (06-11-2024), jybravo70 (06-10-2024)
Old 06-09-2024, 03:02 PM
  #8  
TECH Fanatic
 
ghardester's Avatar
 
Join Date: Aug 2006
Location: Knappa, Oregon
Posts: 1,390
Likes: 0
Received 56 Likes on 45 Posts

Default

Originally Posted by RPM WS6
The tool you need is a small, ratcheting box-end 10mm wrench. This will make removing the back bolt of the coil rail super easy, and that's really the hardest part of gaining access.
This is correct and the tool you need. Once you get the coil rail out of the way, a universal knuckle on your socket wrench, an extention or two, a few skinned up hands and a lot of patience will get the job done. I did the common modification of never putting that last bolt in the coil rail back. It has been in the tool chest for many years.
The following users liked this post:
jybravo70 (06-10-2024)
Old 06-09-2024, 06:52 PM
  #9  
TECH Veteran
iTrader: (2)
 
wannafbody's Avatar
 
Join Date: Apr 2006
Location: Pittsburgh
Posts: 4,739
Received 844 Likes on 646 Posts

Default

Originally Posted by RPM WS6
The tool you need is a small, ratcheting box-end 10mm wrench. This will make removing the back bolt of the coil rail super easy, and that's really the hardest part of gaining access.
And throw that bolt in your spare bolt stash. It isn't needed.
The following users liked this post:
jybravo70 (06-10-2024)
Old 06-11-2024, 08:55 AM
  #10  
TECH Junkie
iTrader: (63)
 
01Z0H6's Avatar
 
Join Date: Nov 2001
Location: Hideaway Tx
Posts: 3,628
Received 94 Likes on 74 Posts

Default

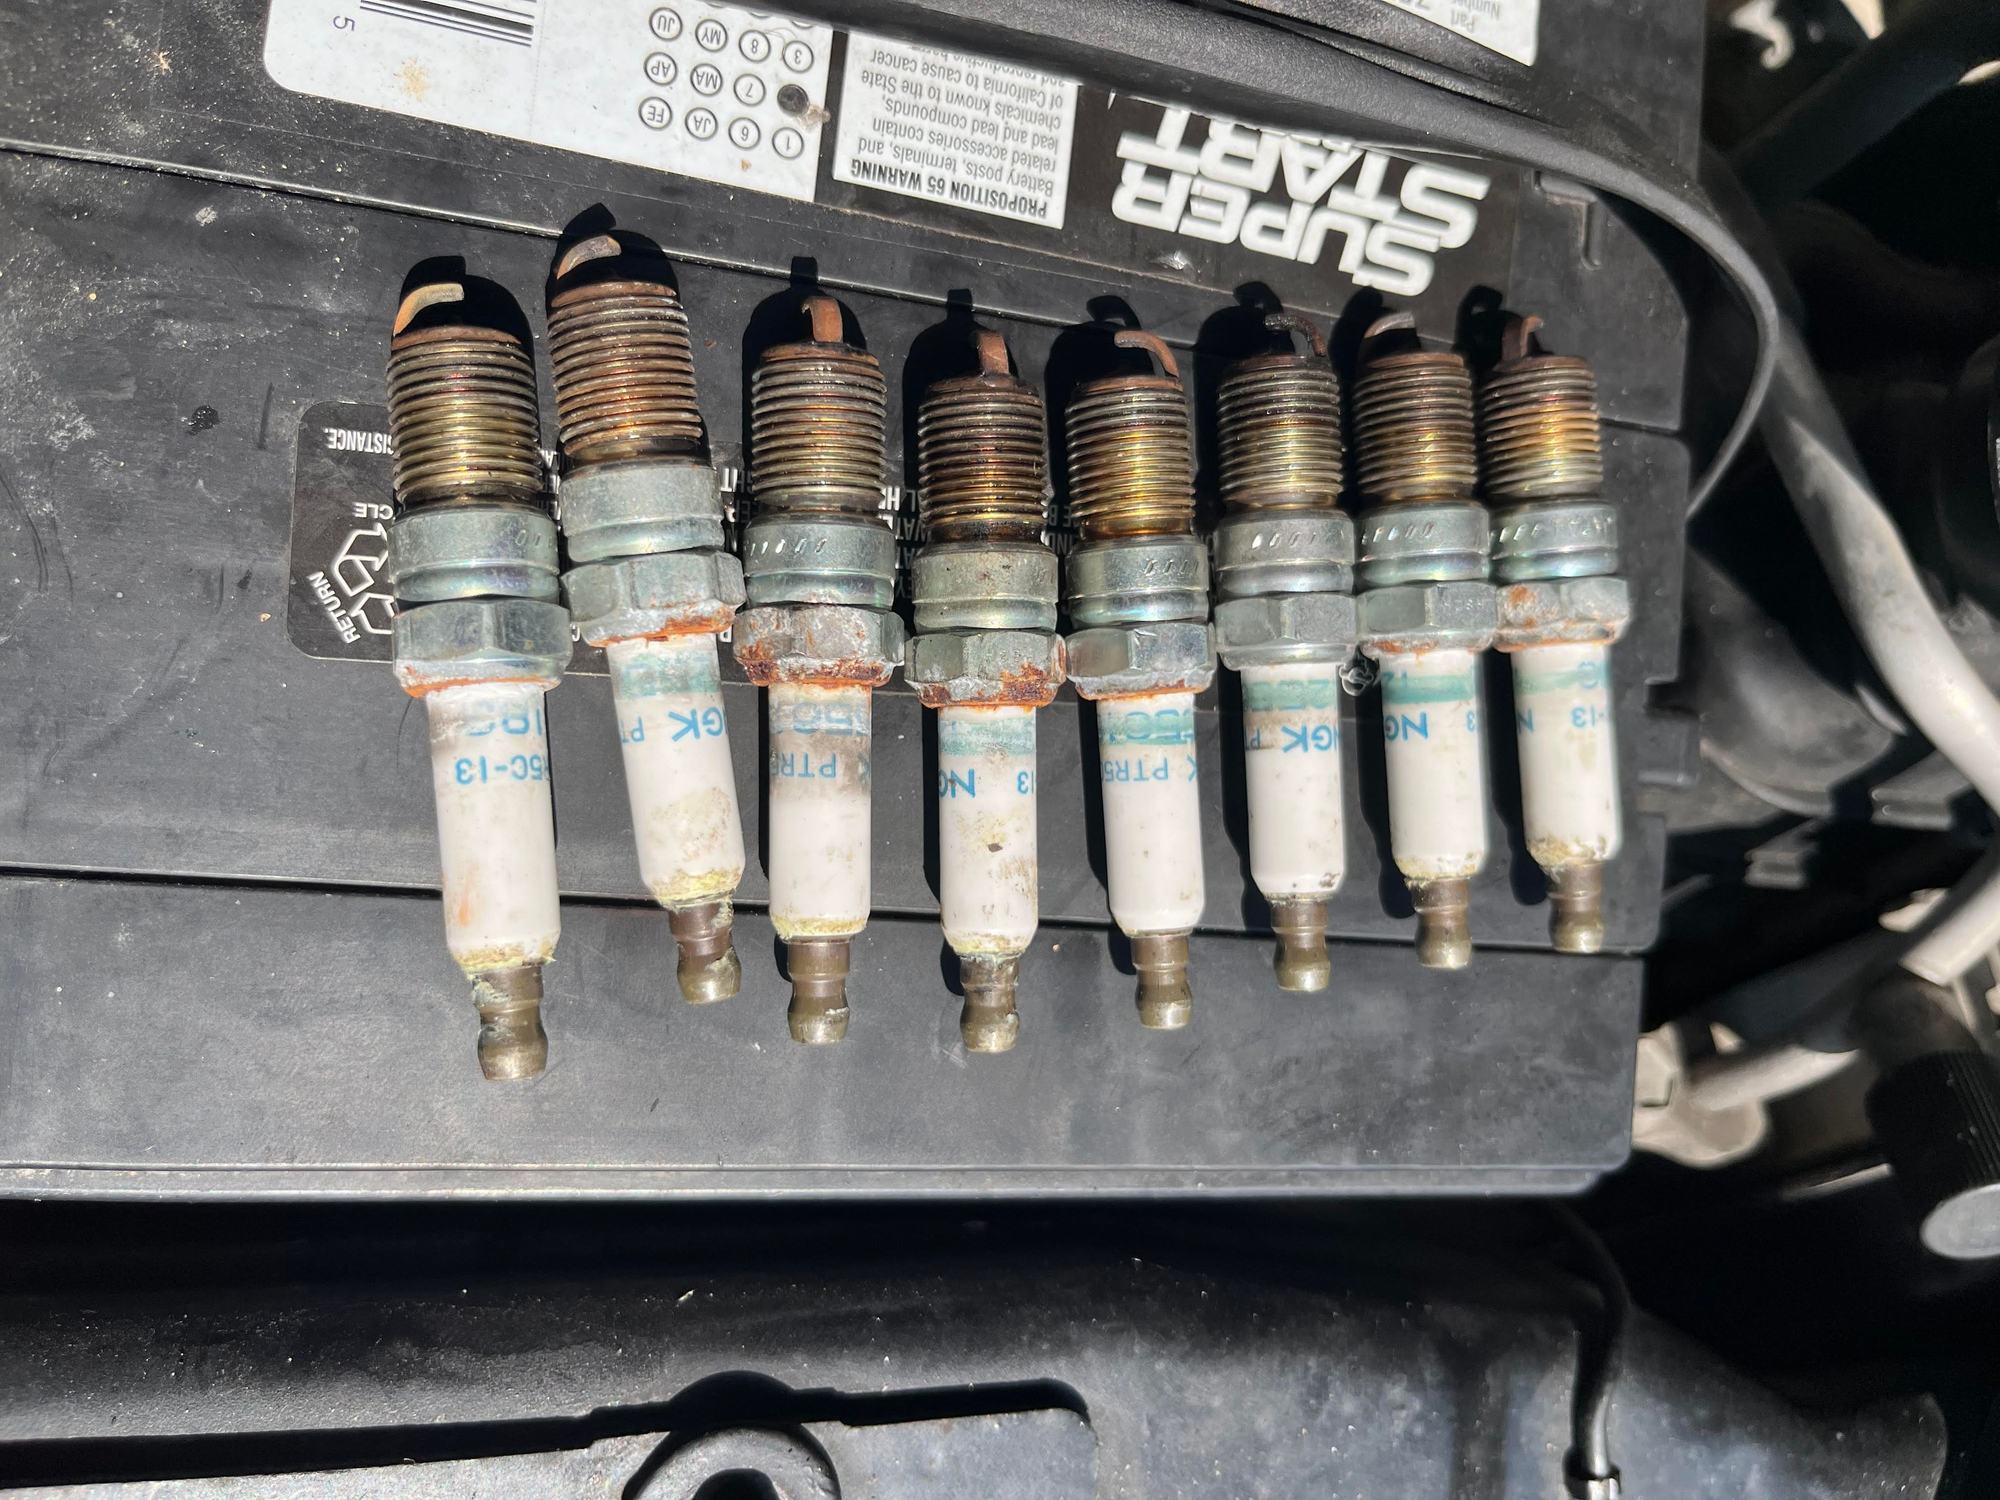
I just did this yesterday on my 99 Formula WS6... drivers side took maybe 30 min... you don't need to remove coil bracket on drivers side imho.... However, it is a must on the passenger side... that back coil bolt is a ****... As others have said... a small ratcheting 10mm wrench will make it much easier... Going to tackle #8 plug this morning... In the past, i have removed from the bottom... My plugs looked bad... Had a misfire on cyl2.... swapped coil packs from 2 to 4 We will see if its gone, or has moved to cyl4.... OR perhaps it was just the plugs... Previous owner had these gapped @ 60+!!???? I gap mine at 36... Always have..
Old 06-11-2024, 11:11 AM
  #11  
TECH Junkie
iTrader: (63)
 
01Z0H6's Avatar
 
Join Date: Nov 2001
Location: Hideaway Tx
Posts: 3,628
Received 94 Likes on 74 Posts

Default


Old 06-11-2024, 11:12 AM
  #12  
TECH Junkie
iTrader: (63)
 
01Z0H6's Avatar
 
Join Date: Nov 2001
Location: Hideaway Tx
Posts: 3,628
Received 94 Likes on 74 Posts

Default

#8 is EASY with this tool.....
Old 06-11-2024, 05:28 PM
  #13  
LS1Tech Administrator
iTrader: (3)
 
RPM WS6's Avatar
 
Join Date: Nov 2001
Location: Schiller Park, IL Member: #317
Posts: 32,257
Likes: 0
Received 1,692 Likes on 1,213 Posts

Default

Originally Posted by 01Z0H6
Previous owner had these gapped @ 60+!!???? I gap mine at 36... Always have..
.060" is the factory gap spec for the assembly line platinum tipped plugs.

I've gapped them anywhere from .050 to .060, but never tighter than that unless it's a colder heat range plug.
Old 06-11-2024, 06:03 PM
  #14  
11 Second Club
iTrader: (3)
 
01CamaroSSTx's Avatar
 
Join Date: Feb 2015
Location: Conroe, Texas
Posts: 5,148
Received 1,882 Likes on 1,359 Posts
Default

A small ratchet is my go to as well along with a short piece of 3/8" rubber hose to remove the plug once it's broke free.
The following users liked this post:
01Z0H6 (06-11-2024)
Old 06-11-2024, 06:42 PM
  #15  
TECH Fanatic
 
Bspeck82's Avatar
 
Join Date: Jan 2017
Posts: 1,734
Received 417 Likes on 302 Posts
Default

Sometimes it's easier to get to from the bottom of the car.
Old 06-11-2024, 06:48 PM
  #16  
11 Second Club
iTrader: (3)
 
01CamaroSSTx's Avatar
 
Join Date: Feb 2015
Location: Conroe, Texas
Posts: 5,148
Received 1,882 Likes on 1,359 Posts
Default

Originally Posted by Bspeck82
Sometimes it's easier to get to from the bottom of the car.
When you have a lift...Absolutely!
Old 06-11-2024, 11:21 PM
  #17  
TECH Veteran
iTrader: (2)
 
wannafbody's Avatar
 
Join Date: Apr 2006
Location: Pittsburgh
Posts: 4,739
Received 844 Likes on 646 Posts

Default

It's easier to replace #8 by removing the head.
Old 06-11-2024, 11:53 PM
  #18  
LS1Tech Administrator
iTrader: (3)
 
RPM WS6's Avatar
 
Join Date: Nov 2001
Location: Schiller Park, IL Member: #317
Posts: 32,257
Likes: 0
Received 1,692 Likes on 1,213 Posts

Default

The easiest way to replace #8 is to remove the entire passenger side shock tower with a torch.
The following users liked this post:
LilJayV10 (06-24-2024)
Old 06-12-2024, 06:31 PM
  #19  
TECH Junkie
iTrader: (63)
 
01Z0H6's Avatar
 
Join Date: Nov 2001
Location: Hideaway Tx
Posts: 3,628
Received 94 Likes on 74 Posts

Default

I have found that if you run your had up through the passenger side exhaust, you can just reach the #8 plug...
Old 06-12-2024, 09:24 PM
  #20  
TECH Veteran
iTrader: (2)
 
wannafbody's Avatar
 
Join Date: Apr 2006
Location: Pittsburgh
Posts: 4,739
Received 844 Likes on 646 Posts

Default

Originally Posted by RPM WS6
The easiest way to replace #8 is to remove the entire passenger side shock tower with a torch.
I heard of some guys cutting an access hole in the interior. I think if you remove the heater box and the block off plate you can get to #8.


Quick Reply: Removing number 8 spark plug


All times are GMT -5. The time now is 10:33 PM.