Repair your broken headlight mount!!
 08-26-2007, 08:05 PM
#1
TECH Regular
Thread Starter
iTrader: (21)
Join Date: Jan 2007
Location: Long Island, NY
Posts: 497
Likes: 0
Received 0 Likes
on
0 Posts
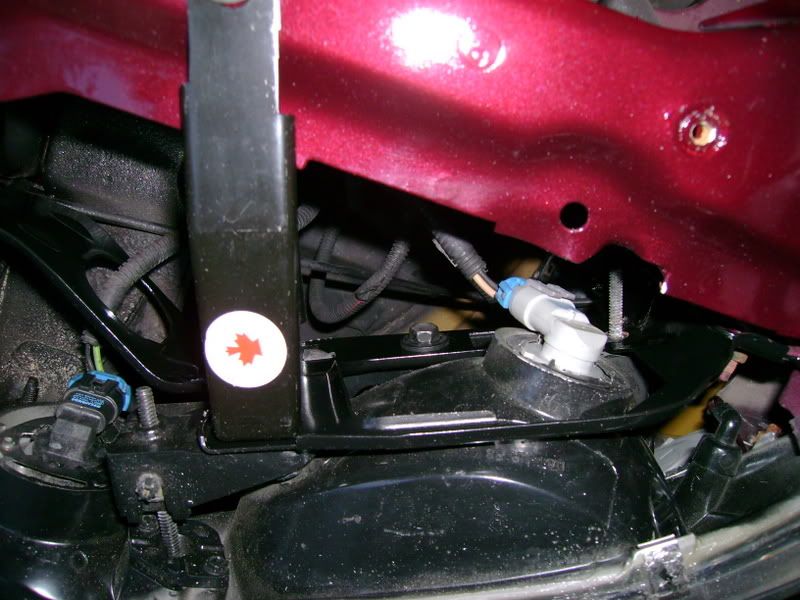
This is the 2nd drivers side headlight that broke its mounts on this car, so to avoid buying another one, I went ahead and fixed it up. Here's a step by step:
- What you start with:
Broken Headlight:
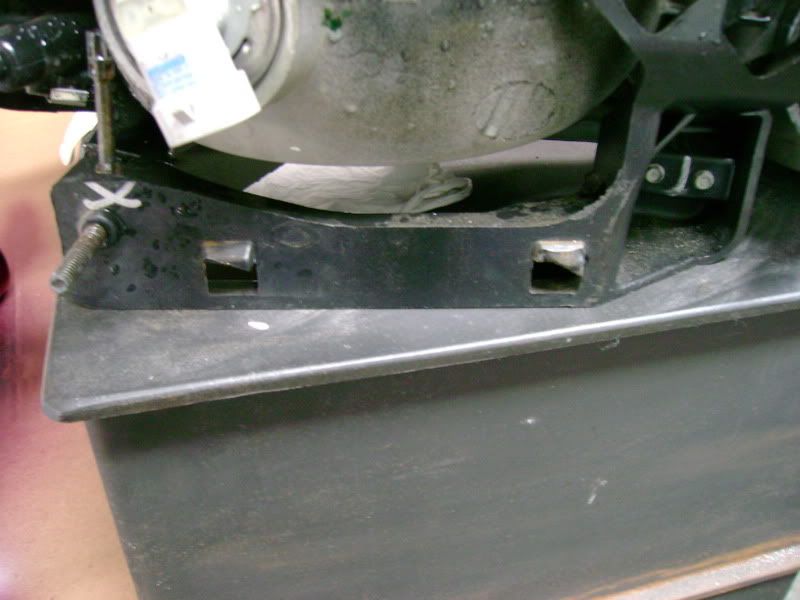
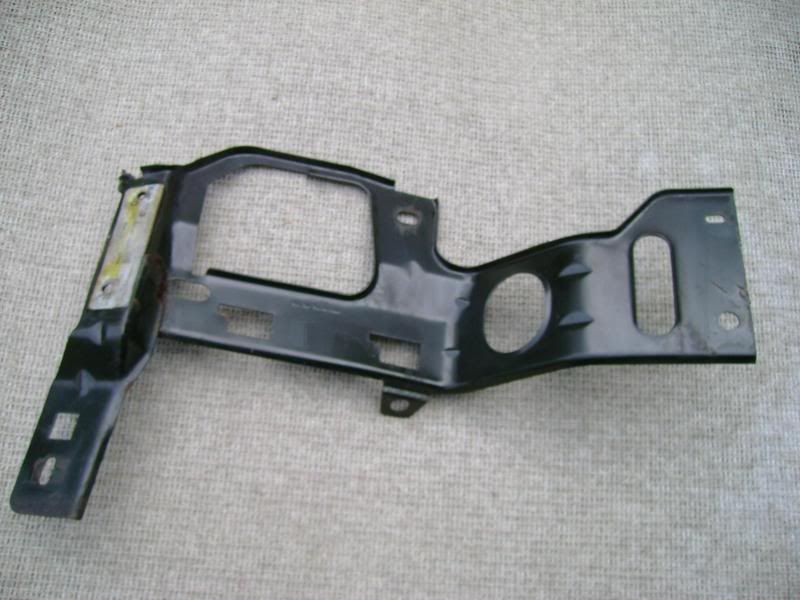
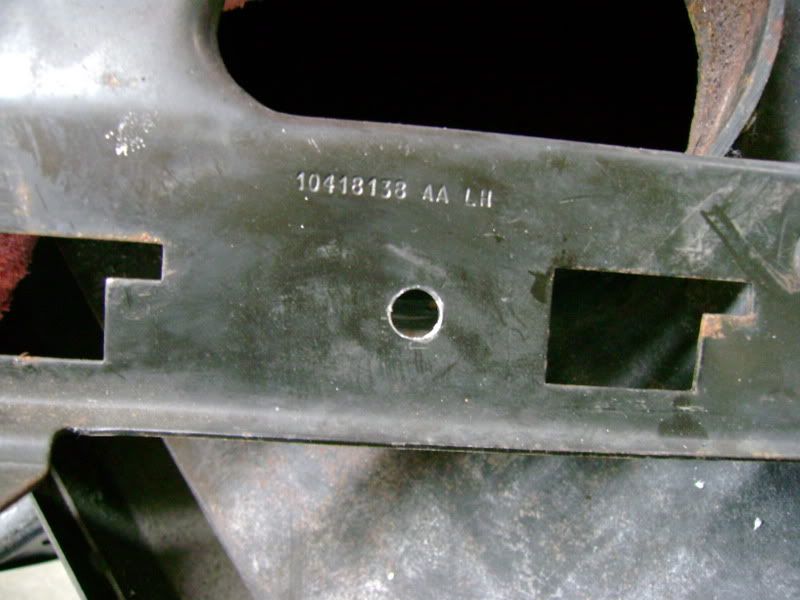
Mounting brace, removed from vehicle
I clamped the bracket to the headlight, the way it's supposed to sit when mounted. I drilled a pilot/locating hole in the approximate center, between the 2 tabs. I picked the area between the plastic webbing, in case in the future I want to add a nut in there, and fill with epoxy. Right now I just plan on tapping the plastic.
Now I separated both pieces. I found in my stash, a coarse threaded GM bolt from one of the many Cutlass Supremes I unassembled:
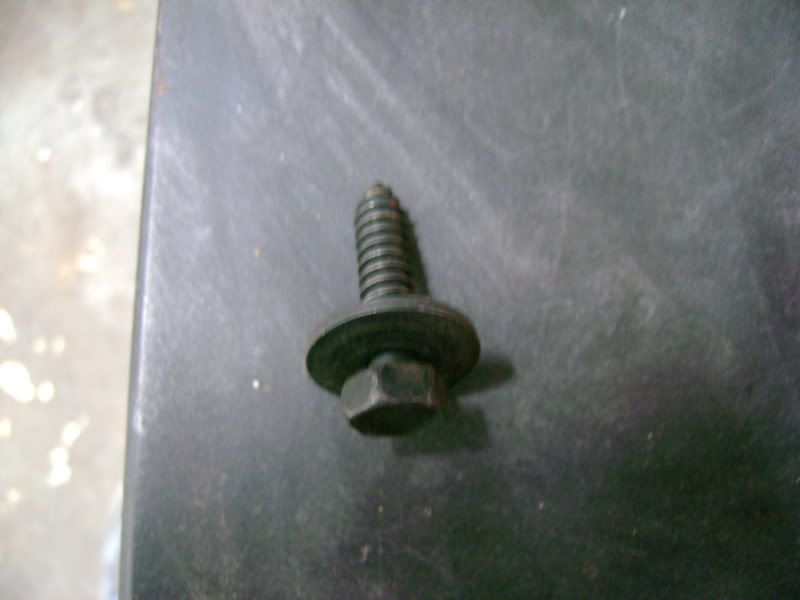
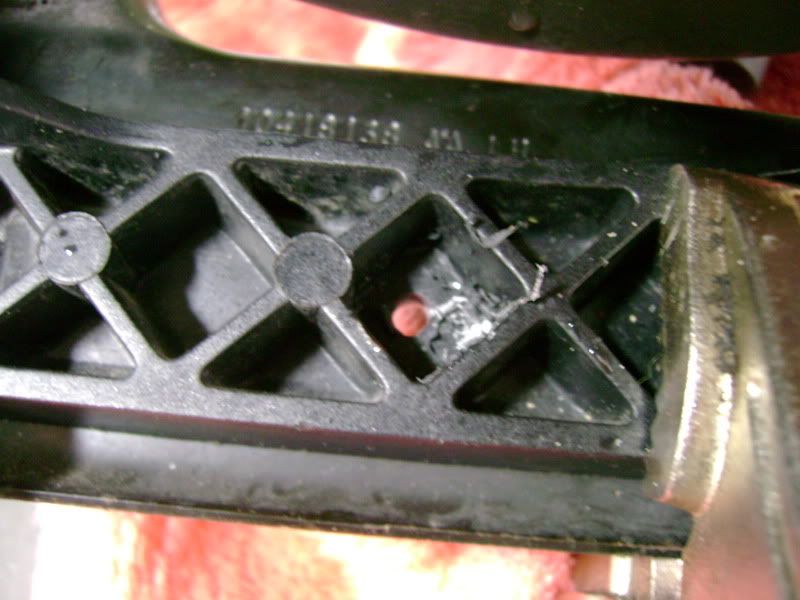
Next is to drill a hole in the plastic about the same size as the diameter of the bolt, between the threads, or slightly smaller. 7/32 works good in this case. Then I ran the bolt in and out of the plastic to create the threads. I used a slight bit of oil to ease with this.
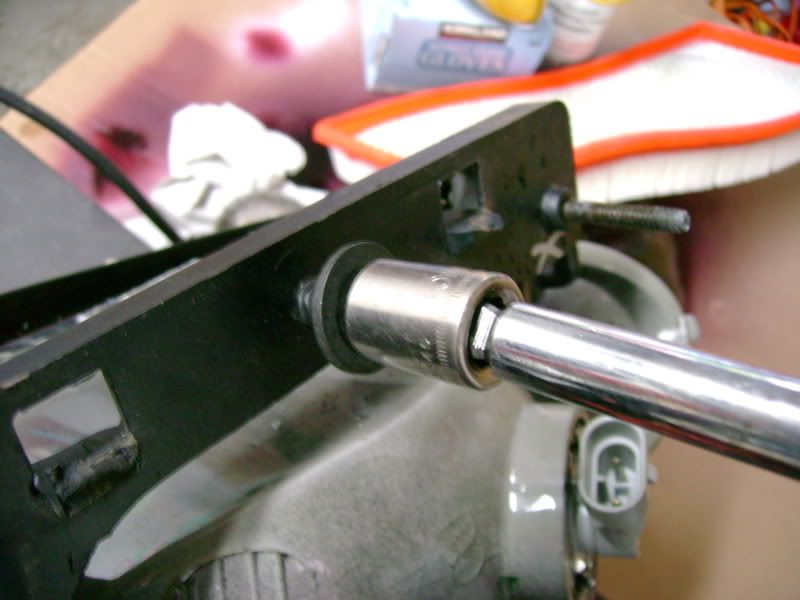
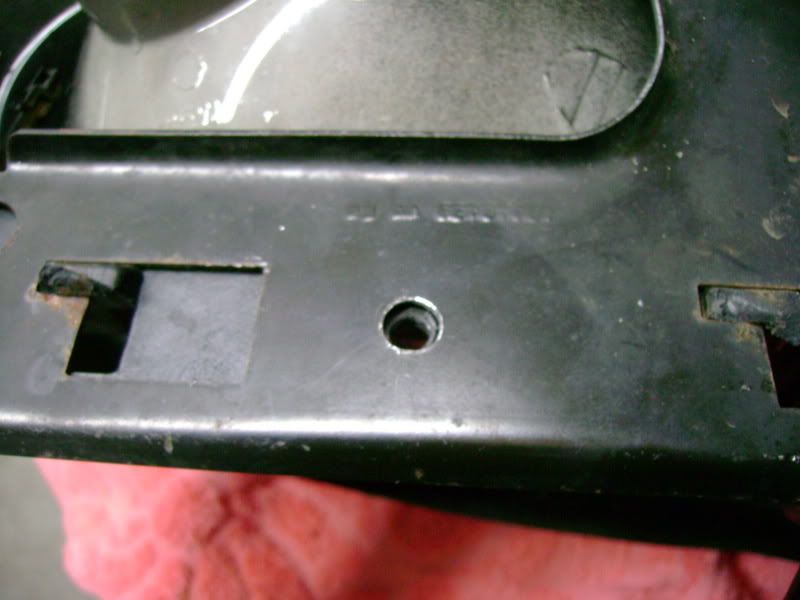
Next is to make a hole in the metal bracket. You want a size bigger than the diameter of the threads of the bolt, to allow it to slide in and out freely. 5/16 worked for me. Don't forget to de-burr the hole:
How the holes look after this, lined up:
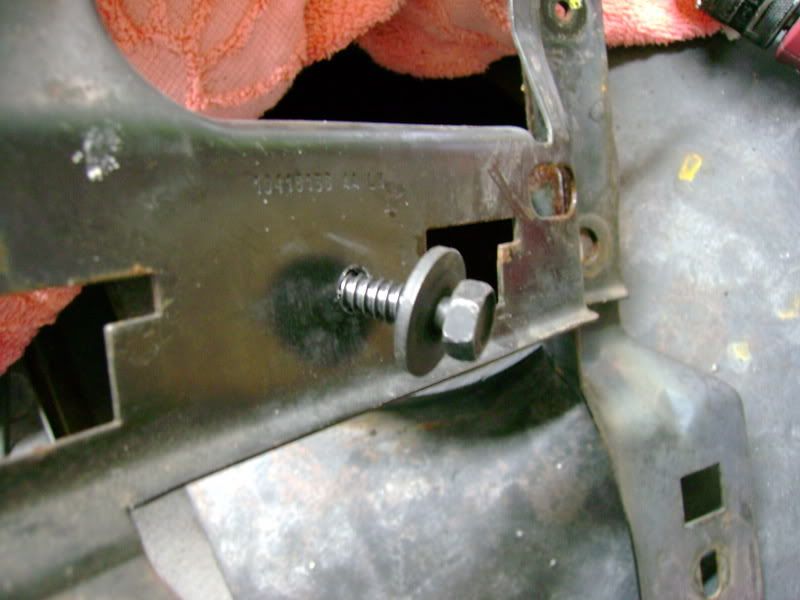
Bolt installed, make it snug but of course do not overtighten. It's best to use a nut insert or other method, but this was something I wanted to have completed today, and it works very well. This headlight's not going anywhere.

Before I reinstalled, I spray painted the bracket with rustoleum gloss black. Why not, eh?

Now I can run with this for a while. The bolt is easy to access once everything is reinstalled, so no worries there. I will post pics once reassembled to show this (waiting for the bracket to dry, among other things).
- What you start with:
Broken Headlight:
Mounting brace, removed from vehicle
I clamped the bracket to the headlight, the way it's supposed to sit when mounted. I drilled a pilot/locating hole in the approximate center, between the 2 tabs. I picked the area between the plastic webbing, in case in the future I want to add a nut in there, and fill with epoxy. Right now I just plan on tapping the plastic.
Now I separated both pieces. I found in my stash, a coarse threaded GM bolt from one of the many Cutlass Supremes I unassembled:
Next is to drill a hole in the plastic about the same size as the diameter of the bolt, between the threads, or slightly smaller. 7/32 works good in this case. Then I ran the bolt in and out of the plastic to create the threads. I used a slight bit of oil to ease with this.
Next is to make a hole in the metal bracket. You want a size bigger than the diameter of the threads of the bolt, to allow it to slide in and out freely. 5/16 worked for me. Don't forget to de-burr the hole:
How the holes look after this, lined up:
Bolt installed, make it snug but of course do not overtighten. It's best to use a nut insert or other method, but this was something I wanted to have completed today, and it works very well. This headlight's not going anywhere.
Before I reinstalled, I spray painted the bracket with rustoleum gloss black. Why not, eh?
Now I can run with this for a while. The bolt is easy to access once everything is reinstalled, so no worries there. I will post pics once reassembled to show this (waiting for the bracket to dry, among other things).
Last edited by Rhedalert; 08-27-2007 at 09:31 AM.