


ATI Damper Install

Thread Starter
Teching In
Joined: Aug 2010
Posts: 6
Likes: 0
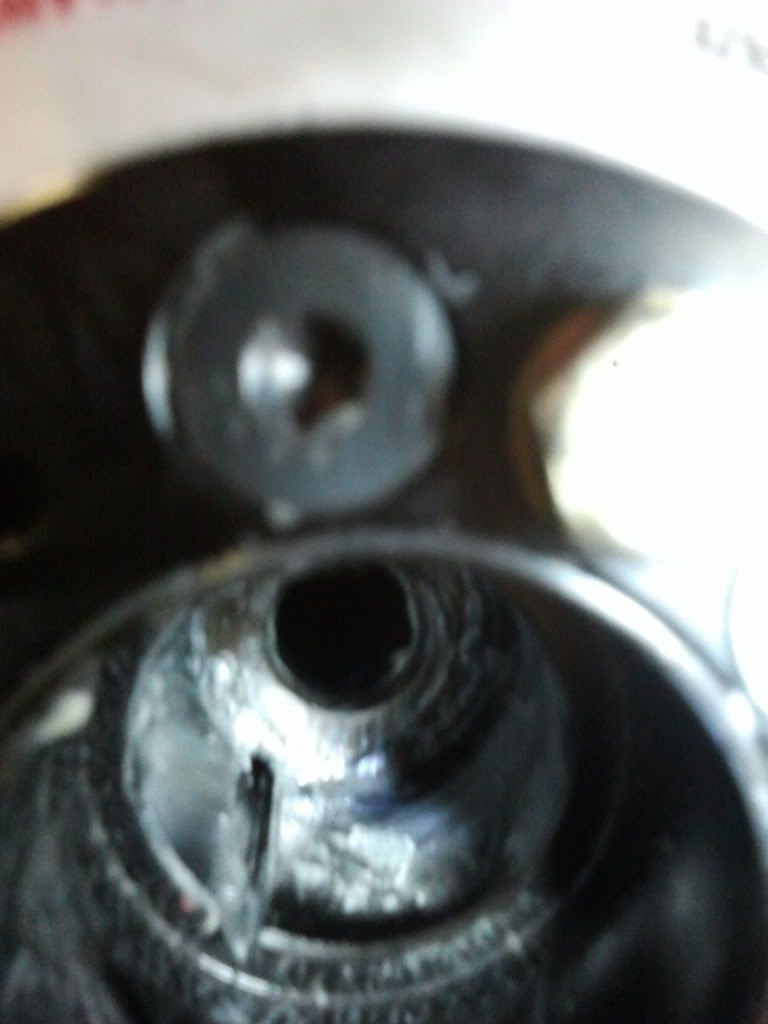
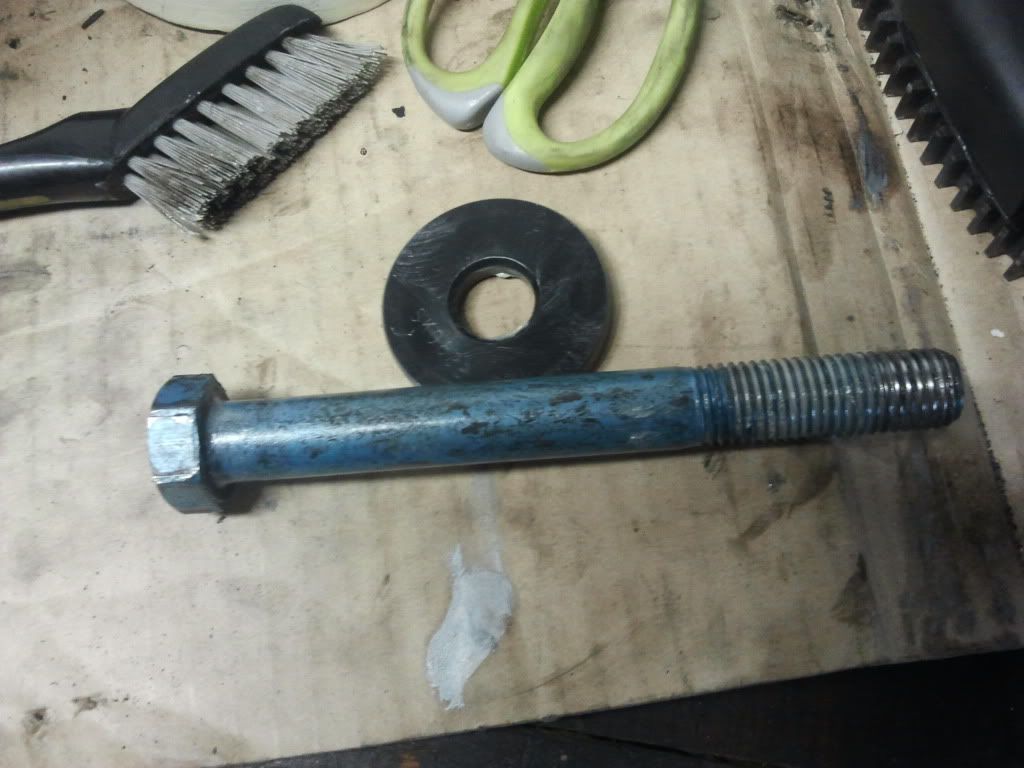
I'm trying to install a 25% U/D ATI damper and i'm not sure if it's seated completed. I used a longer blue bolt and washer than came with the damper to help seat the hub. I have it cranked down hard and It's not moving any further. It looks like it's correct. Based on comparing the location of the stock damper and this one. This hub looks pretty deep I don't believe it could go in much further anyways. However, when I go to use my replacement GM bolt it is not nearly long enough to thread in. ATI references a resuable bolt and washer but I am not sure if this it it or not. Has anyone had any experience with this? I was going to contact ATI but it's the weekend.
I have pictures I can upload if needed I just need to find a place to host.
http://www.atiracing.com/instructions/951503.pdf
Thanks
I have pictures I can upload if needed I just need to find a place to host.
http://www.atiracing.com/instructions/951503.pdf
Thanks
Thread Starter
Teching In
Joined: Aug 2010
Posts: 6
Likes: 0
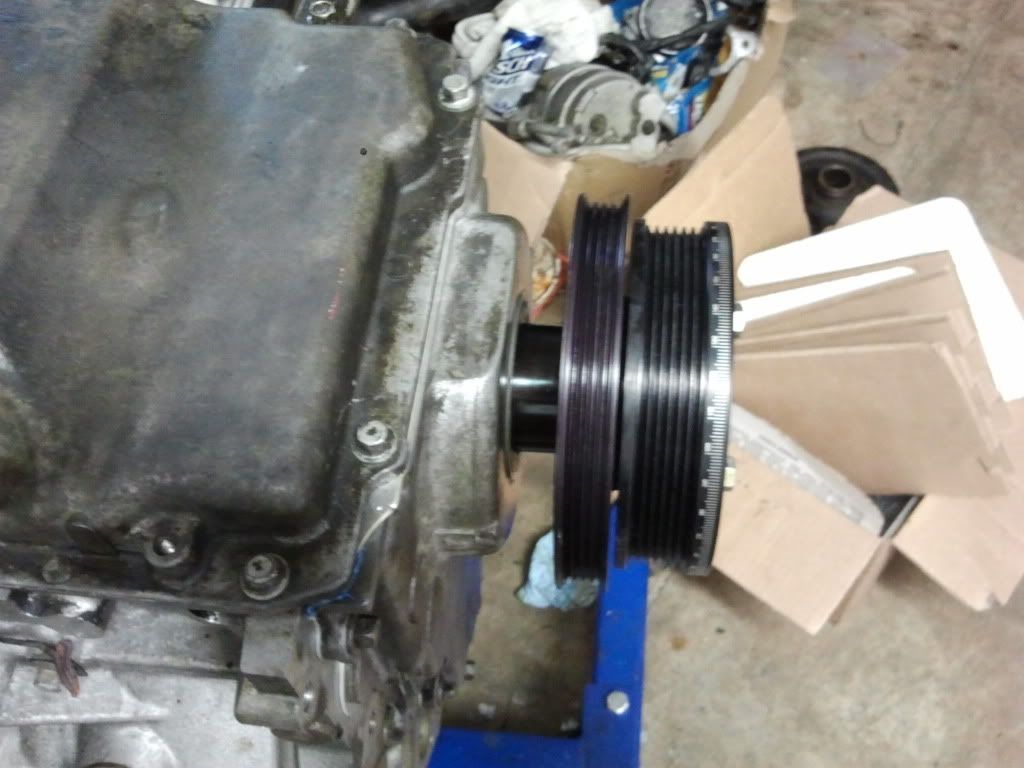
The length of the ATI hub that presses on to the snout is much longer than stock? I can't seem to find a dimension for the ATI. I saw the service manual reference for the stock damper. However, comparing the distance from the first groove to timing cover looks about the same distance as stock damper would to where it is seated now. The stock one I measured to where it looked like the front crank see was rubbing on it.
The instructions that came with it did not mention the bolt and washer that came with? However, the instructions I found on there site referenced a reusable bolt and washer (see 1st post)? Maybe what I used to install it was what I am supposed to retain it with also?
Yeah, that's out way to far!
Did you read these install instructions?
http://www.atiracing.com/instruction...LS7-Damper.pdf
Did you read these install instructions?
http://www.atiracing.com/instruction...LS7-Damper.pdf
holy sampson is that balancer not even close...it should only be like a quarter inch from the timing cover but probably less...use your A/C tensioner to eye up the belt alignment, or even use the belt itself. I dont have an underdrive pulley but when i put my balancer back on i used the ARP balancer bolt. The first time i installed it took like hour and a half. Second time i installed it (put wrong cam in lol what a stoner) it only took like 5 min because i heated the balancer up in an over to 400 degrees F for like 15-20 min, the blipped it on in small increments with a ingersol rand 1/2 inch impact gun...perfect!!! still had to torque it to spec after even though the impact had 400+ ft-lbs of torque. I could only get like 180 ft-lbs with the torque wrench...the ARP bolt makes it so you dont have to stretch the stock balncer bolt in sucessive steps...good luck pm me if you need any advice....
Trending Topics
Thread Starter
Teching In
Joined: Aug 2010
Posts: 6
Likes: 0
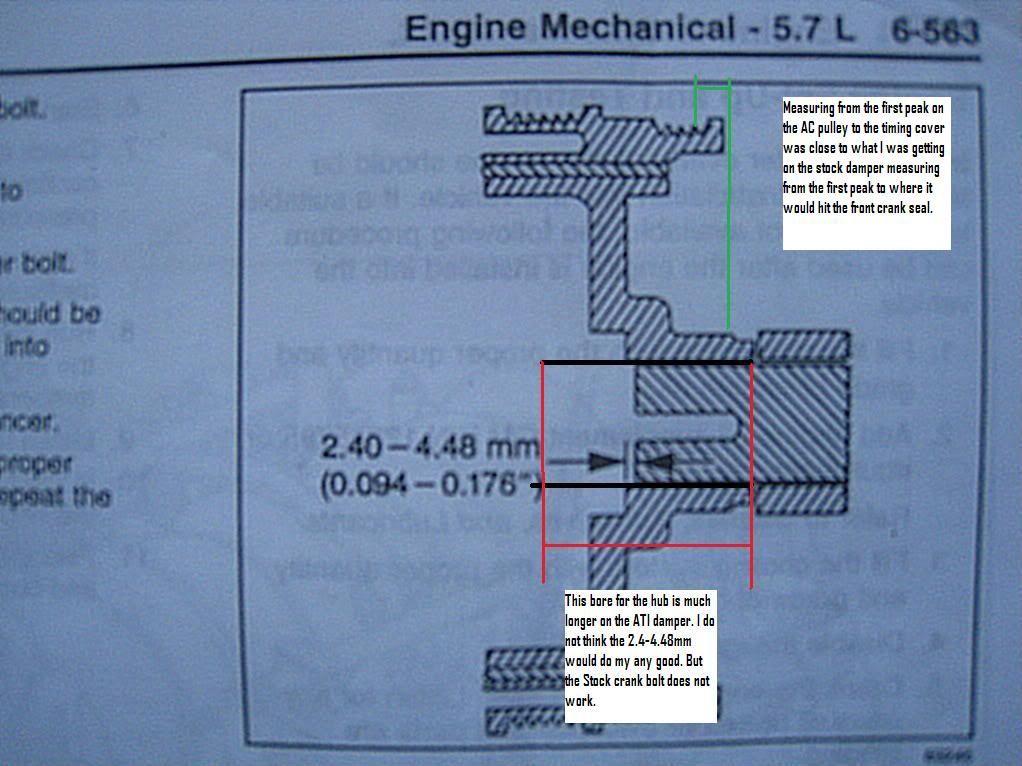
The thing is I can not move the pulley on there much farther. It looks like it's the correct distance when I measure. But the bolt is no where long enough. I got about 28 mm +/- a couple MM from the first peak of the AC pulley to the timing cover which is about what I got measuring the stock one similarly. When you measure from the lip that the head of the bolt would rest on it would be wayyy off like 20 mm + where as the stock one would be 2-4 mm. So I dunno. Maybe the pic will help.
I'm just gonna call ATI tomorrow make sure I did not screw up or they sent me the wrong P/N.
LS1 Tech Stories
The Best V8 Stories One Small Block at Time

Topdon ONE vs. Artidiag 800 BT2: Which is the Diagnostic Tablet For You?
Pouria Savadkouei
Gas Monkey Built a 6-Wheel Ferrari Testarossa With a Corvette LT4 Engine
Verdad Gallardo
7 Most Reliable High-Performance Engines GM Has Ever Built
Verdad Gallardo
Amazing '71 Camaro Restomod Is Modern Muscle Car Under the Skin
Verdad Gallardo
6 Common C5 Corvette Failures and What's Involved In Repairing Them
Pouria Savadkouei
Retro Modern Bandit Pontiac Trans AM Comes With Burt Reynolds' Autograph
Verdad Gallardo
Top 10 Greatest Cadillac V Series Performance Models Ever, Ranked
Pouria Savadkouei
Top 10 Most Powerful Chevy Trucks Ever Made!


