
PRC Heads and LSR cam swap (Build Page)
 04-10-2011, 01:16 AM
#41
Head all torqued down, pushrods installed ready for rockers
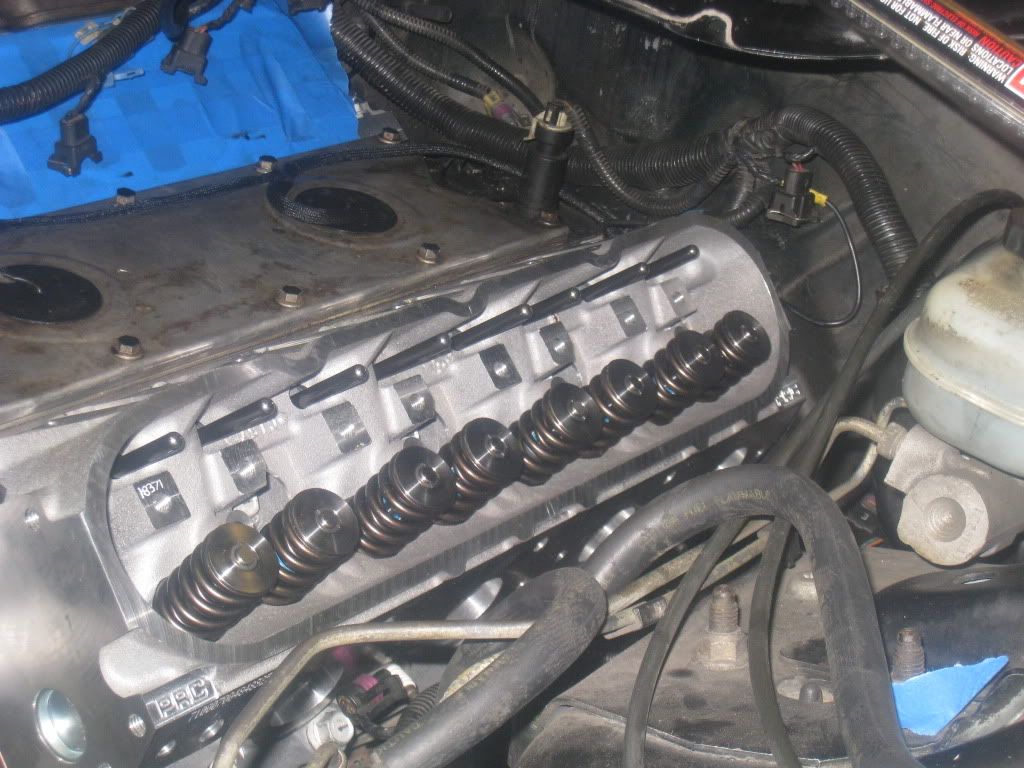
Stock rockers re-used for now, will decide if going to change after a few hundred miles are put on the car
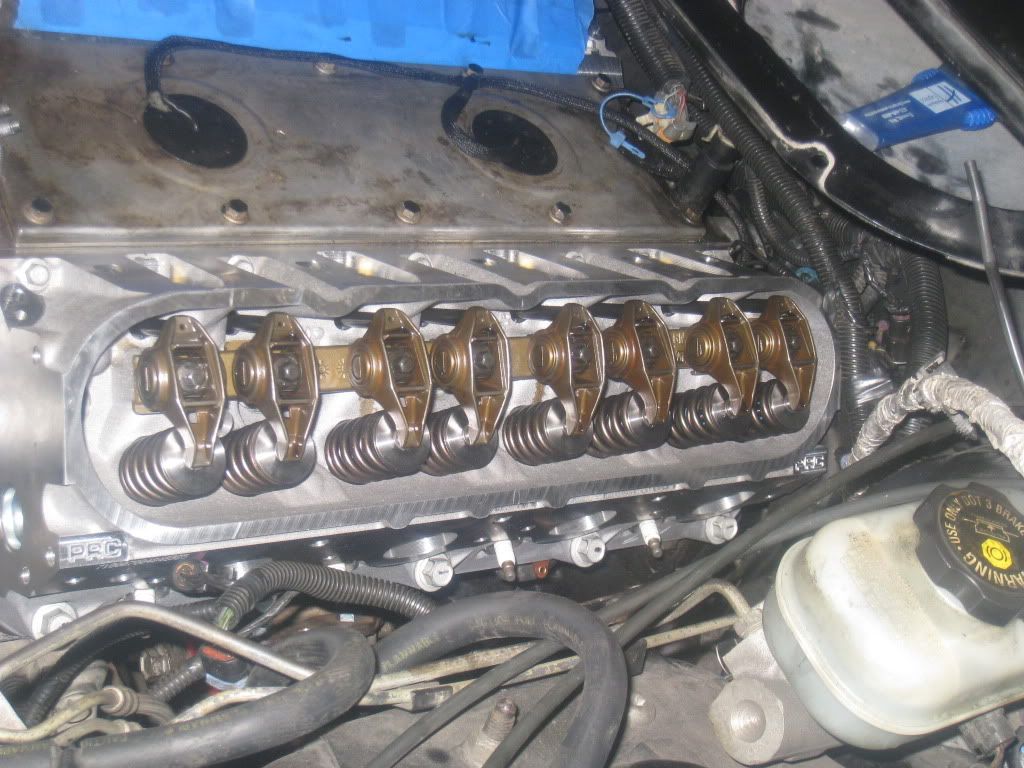
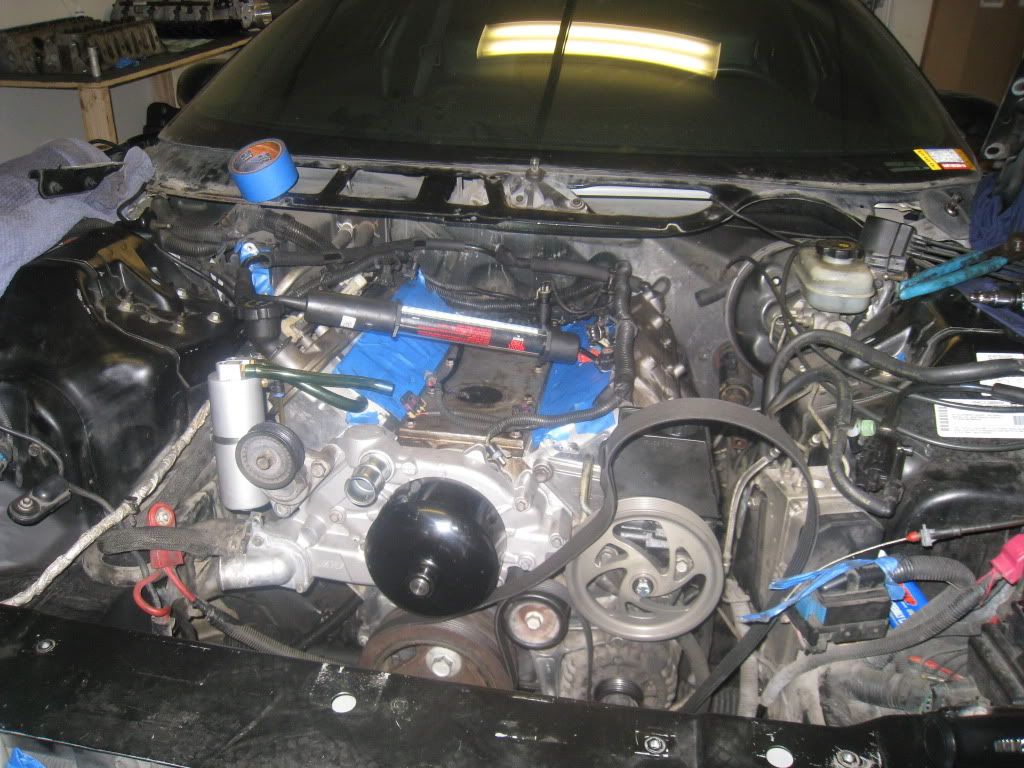
Both heads installed and ready to put cover and coil packs on.
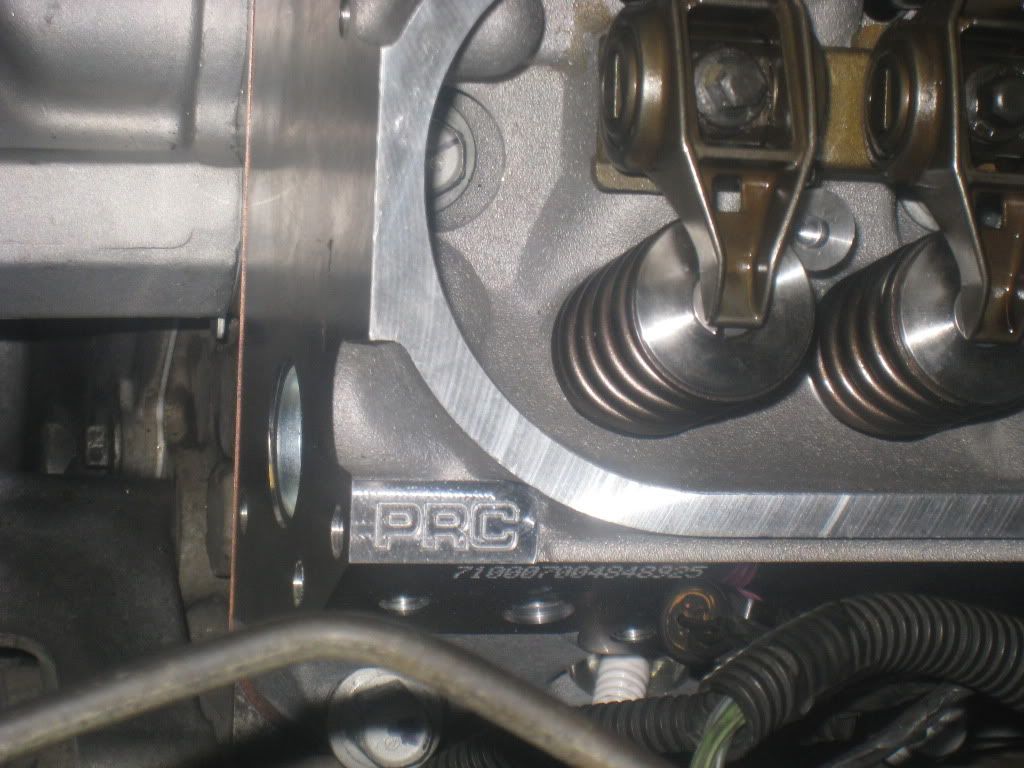
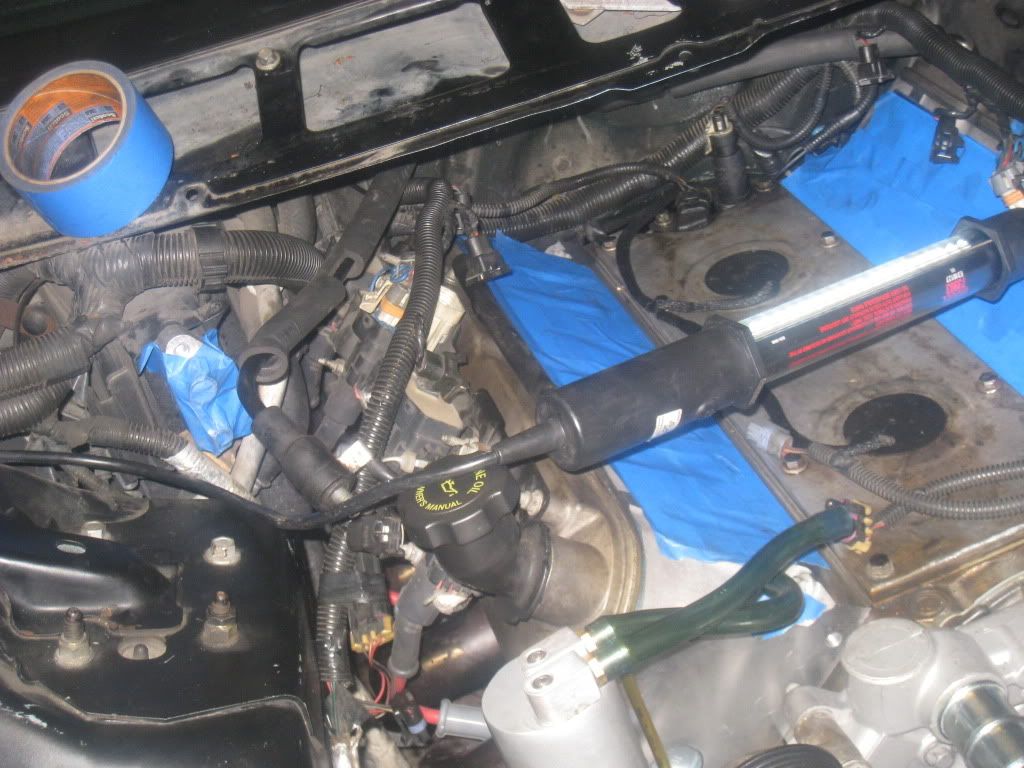
just a little shot of the 3 beautiful letters..PRC, these things are gonna take me far.
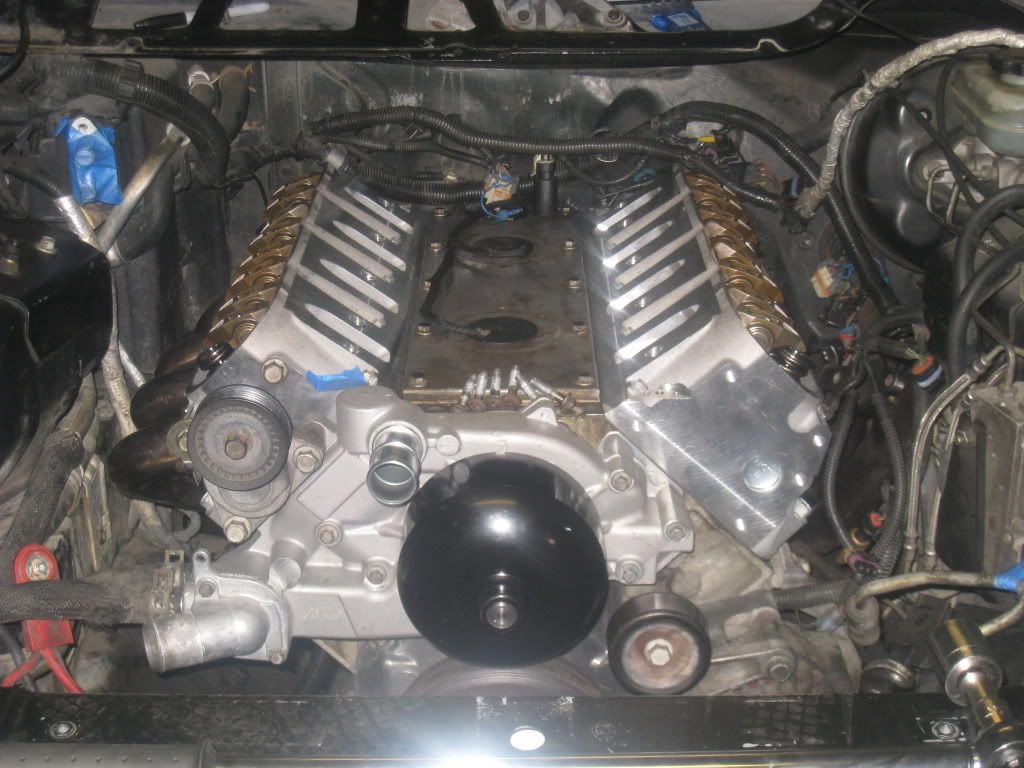
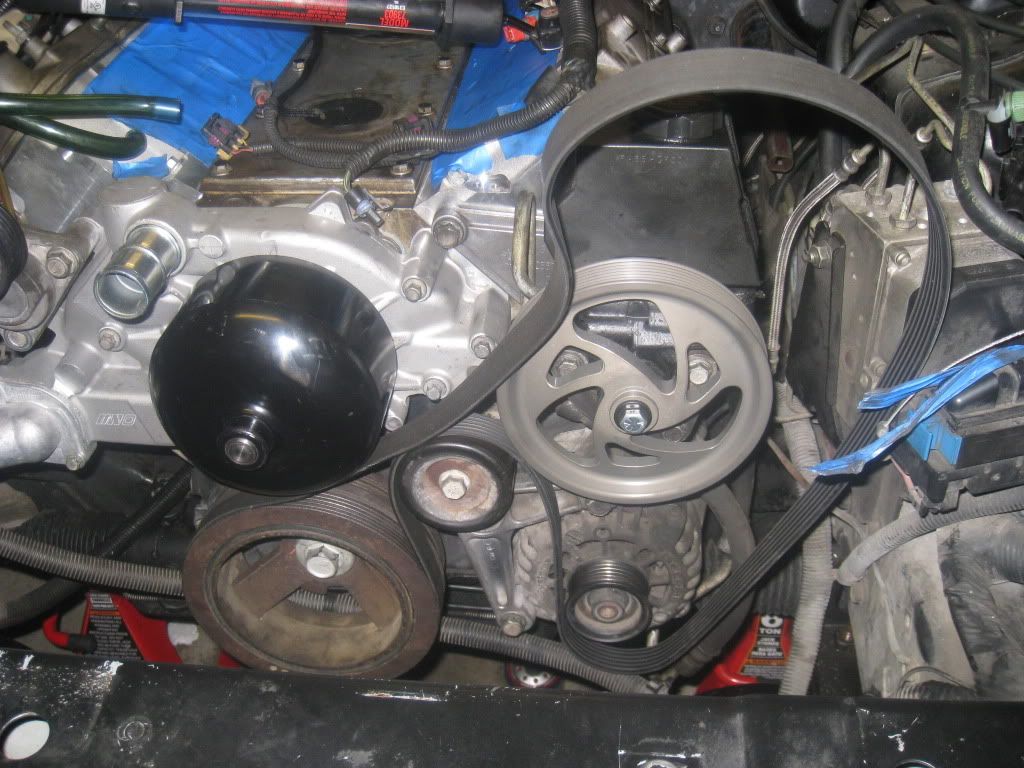
rockers torqued to 24lf lb's, valve covers installed, intake runner tapped off, power steering pump installed, new turn one pulley for PS installed, and ready for intake
coil packs installed, went in real easy.
routing the belt
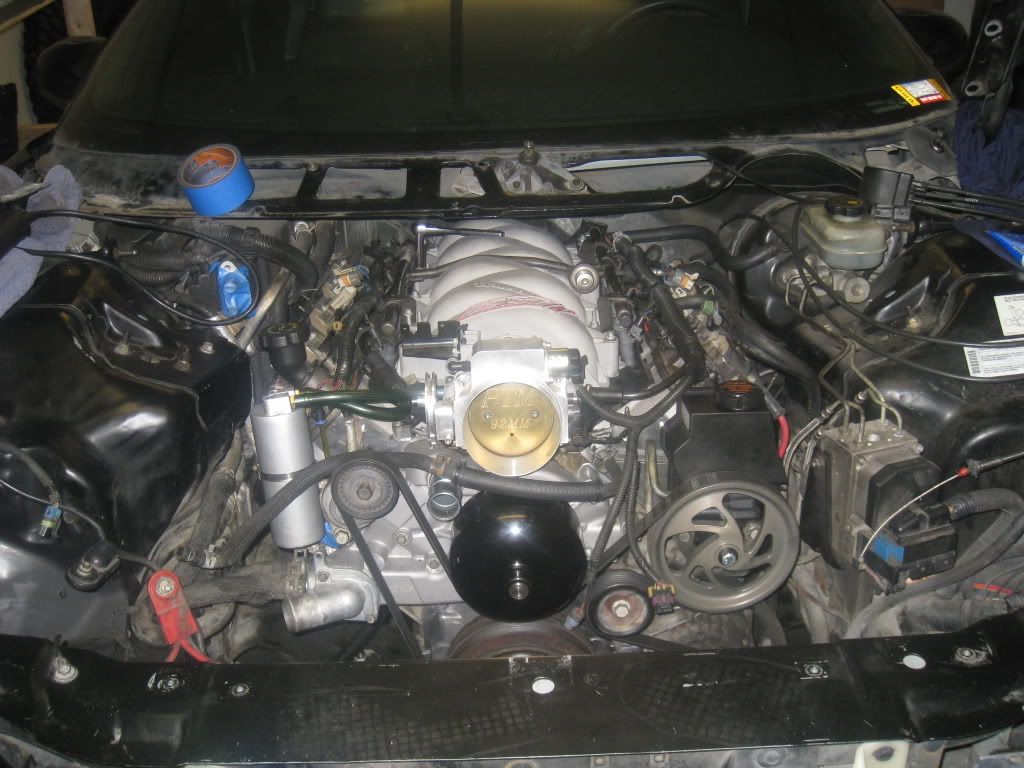
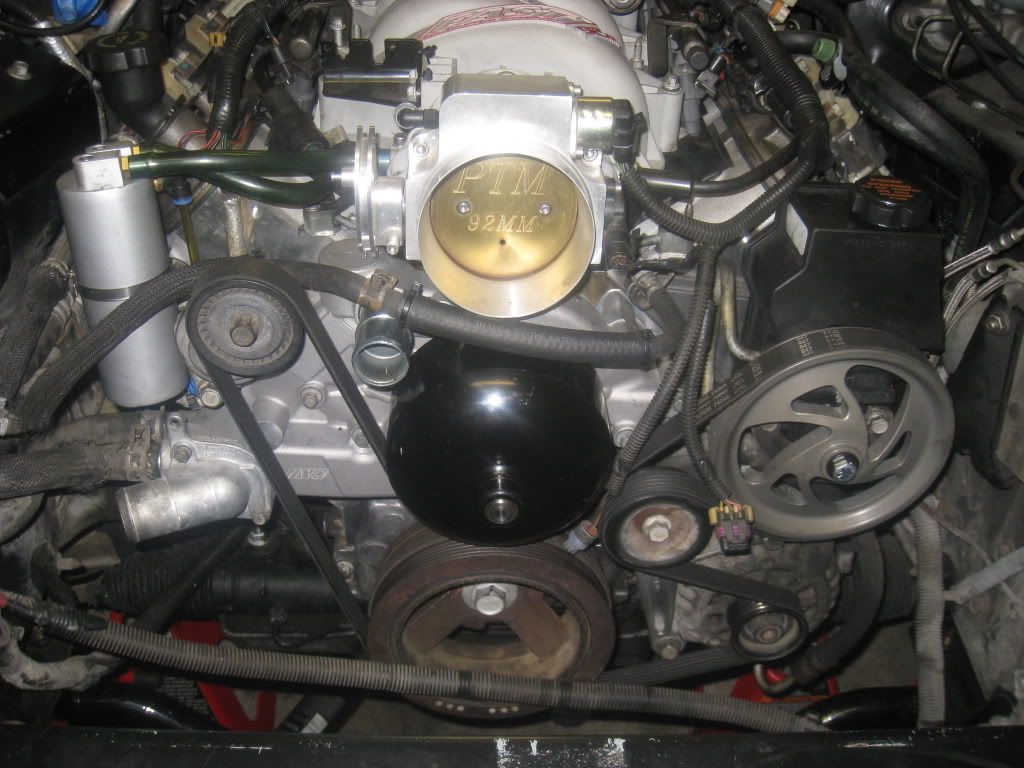
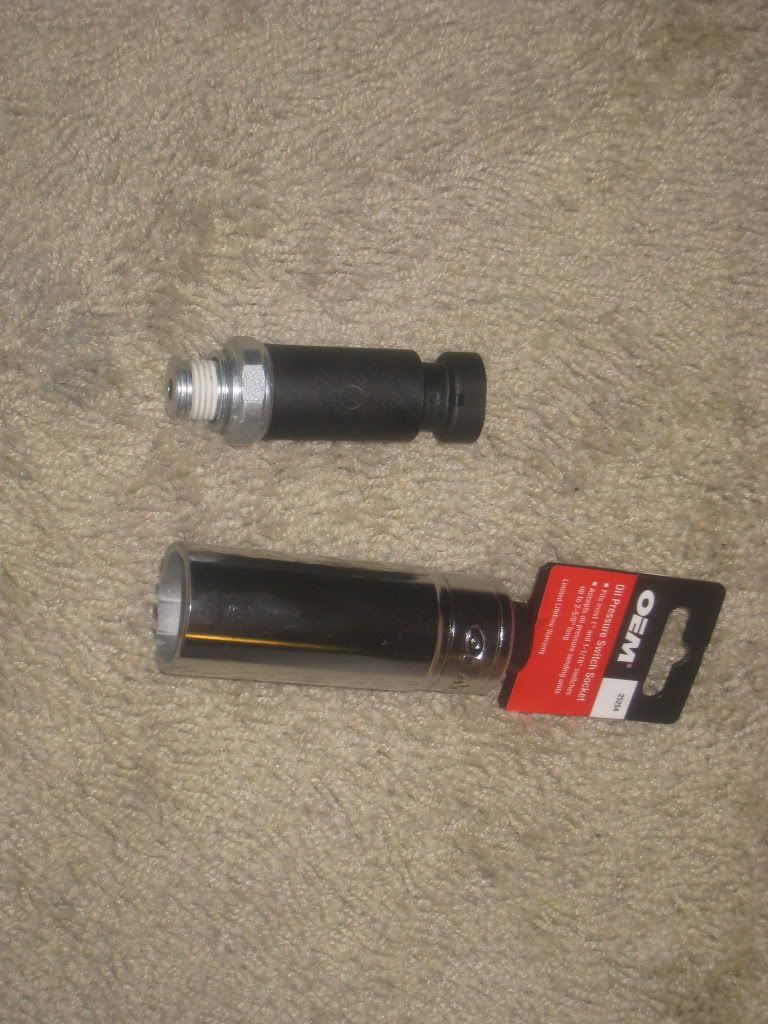
Intake installed, went in real easy, but have to remove it again to replace oil pressure sending unit, was not working right in the first place, and just forgot to change it. had to go pick up special socket from autozone.
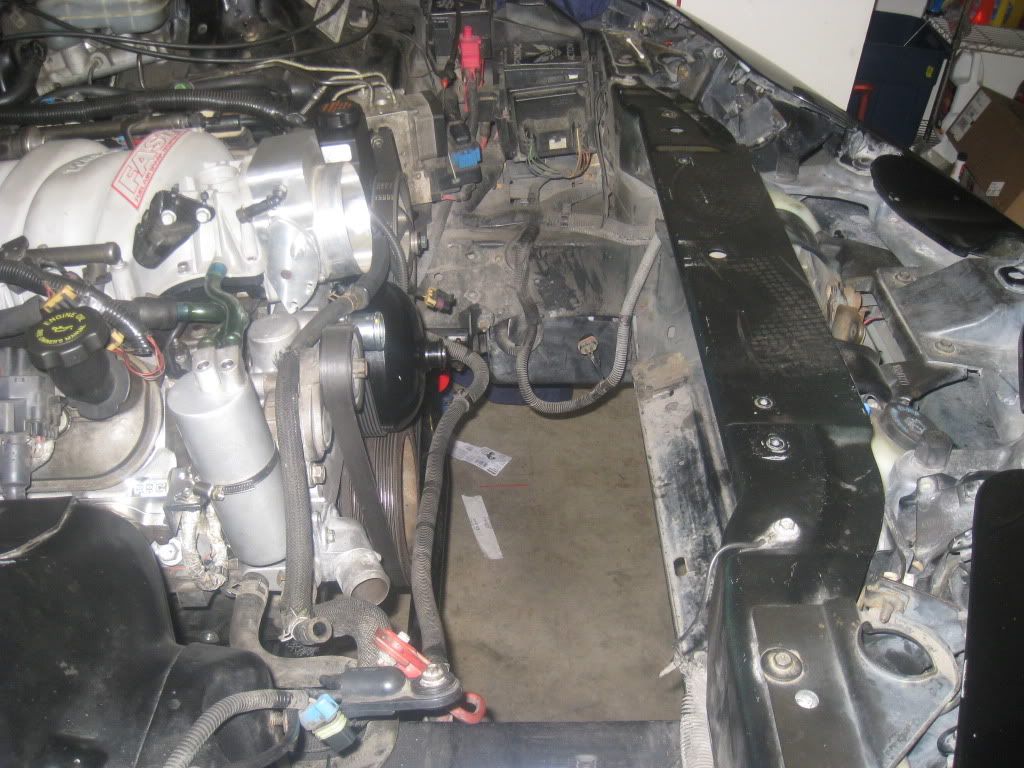
Radiator still missing, will install that tomorrow after it gets a real good reverse flush and external clean and inspect.
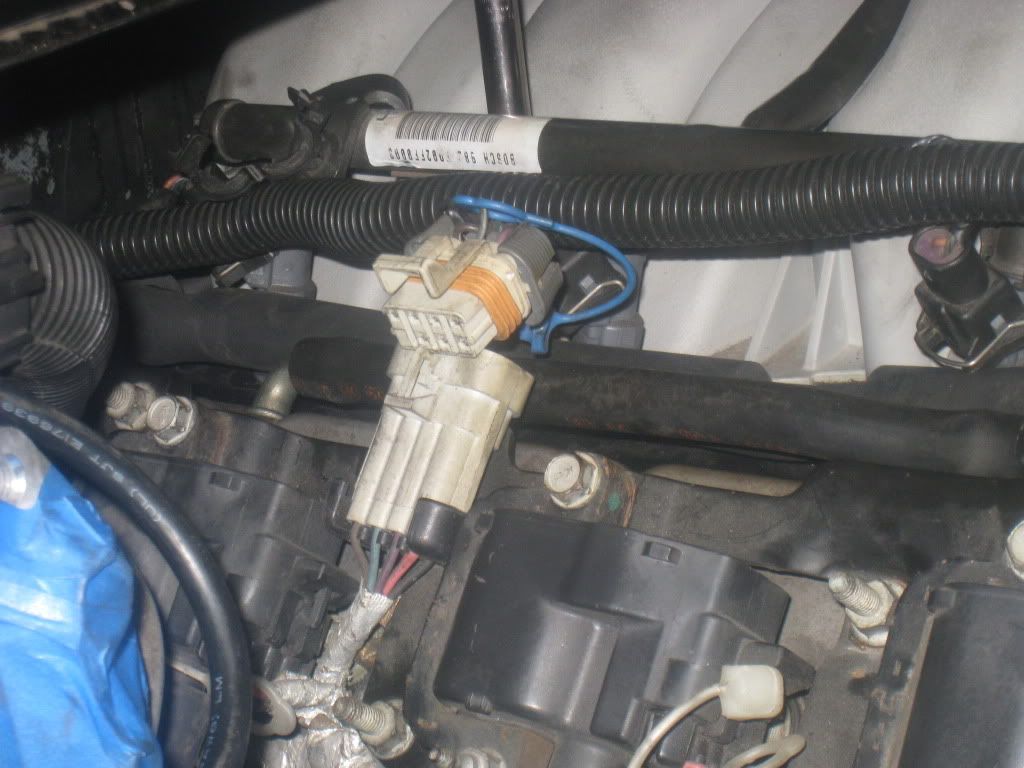
coil packs not connected, just so i dont forget to unplug them later. still have to turn over the motor a few times with starter as to get some oil to the pump before i fire this thing up.
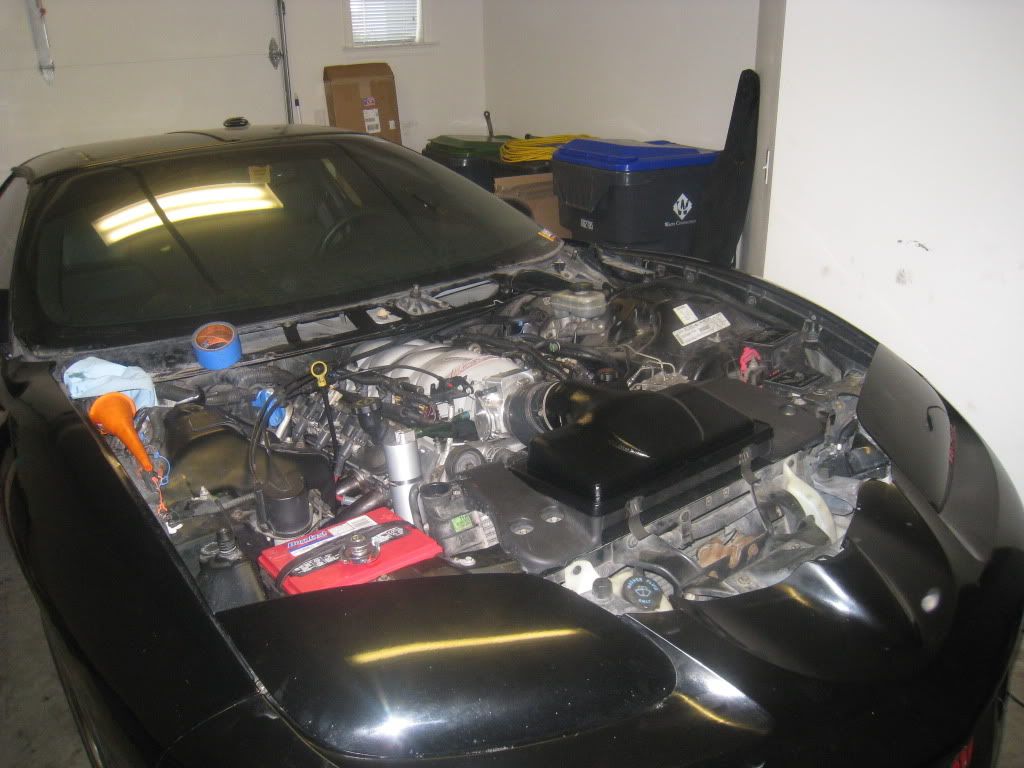
everything installed and ready to go, except for a few things like air lid and radiator, otherwise i am gonna start this thing tomorrow!!!!!!!
ok guys, this thing is gonna start tomorrow if i have to get up really early to do it. but i am really scared and really looking forward to it at the same time, hope i don't **** off the neighbors to much!
Stock rockers re-used for now, will decide if going to change after a few hundred miles are put on the car
Both heads installed and ready to put cover and coil packs on.
just a little shot of the 3 beautiful letters..PRC, these things are gonna take me far.
rockers torqued to 24lf lb's, valve covers installed, intake runner tapped off, power steering pump installed, new turn one pulley for PS installed, and ready for intake
coil packs installed, went in real easy.
routing the belt
Intake installed, went in real easy, but have to remove it again to replace oil pressure sending unit, was not working right in the first place, and just forgot to change it. had to go pick up special socket from autozone.
Radiator still missing, will install that tomorrow after it gets a real good reverse flush and external clean and inspect.
coil packs not connected, just so i dont forget to unplug them later. still have to turn over the motor a few times with starter as to get some oil to the pump before i fire this thing up.
everything installed and ready to go, except for a few things like air lid and radiator, otherwise i am gonna start this thing tomorrow!!!!!!!
ok guys, this thing is gonna start tomorrow if i have to get up really early to do it. but i am really scared and really looking forward to it at the same time, hope i don't **** off the neighbors to much!
 04-10-2011, 09:24 AM
#43
Just for something to think about...I read a lot about whether or not there was a need to "prime" the engine before starting it when I was getting ready to fire my new build up. Some people say its good, so people say it can cause premature wear and really doesn't help with getting oil pressure up. I decided not to, and just filled the oil filter with oil and got the top end stuff as oiled down as possible. I had oil pressure within literally about 1 second of it firing up....

 04-10-2011, 01:39 PM
#48
11 Second Club
iTrader: (10)

Join Date: Mar 2006
Location: Hilliard fl.
Posts: 536
Likes: 0
Received 0 Likes
on
0 Posts

Get rid of the eBay catch can they suck.I had the same one on my ttype and it sucks the Oil right back in the intake.Get you one with a baffle to block the oil from coming back up to your intake.I have had a lot of luck with the Norris catch can.Awesome right up.
04-10-2011, 02:46 PM
#49
Cool build thread !!!!.....people love pics
That cam should match puuurrrrrfectly w/those sweeeeet heads !!!!
Perhaps a comp cams trunion upgrade in the future after break in
before you swing it up in the rpms........good luck man car will fly 4sure
That cam should match puuurrrrrfectly w/those sweeeeet heads !!!!
Perhaps a comp cams trunion upgrade in the future after break in
before you swing it up in the rpms........good luck man car will fly 4sure
04-10-2011, 03:02 PM
#50
ITS ALIIIIIIIIIIIIIIIIIIIIVE!!!!!!!!!!!!!!!!!!!!!!!!!! !! start up went great. oil presure is great and temp is allready at normal. i am gonna let it idle for a few min and then shut her off. i am really happy, i have a small tick on the drivers side near the header but it is probobly a slight exhaust lead!!! cant way to get the hood back to i can drive this thing!
Video of start up soon guys
Video of start up soon guys
04-10-2011, 05:55 PM
#52
ok. today was a great day. today i got it fired up and running. finished off a few things and then started it up. went better then i could have hopped for. the oil pressure dipped to 35psi at one point, but usually idle at 40+psi and 60+psi when cold...so oil pump seems to be seated right. now i did delete the hoses for my PCV sysetm from the passanger side valve cover and only run the one from the drivers side...now i have a raging vacume so when i pull my oil cap off, the sucking goes away. so i am gonna get a little filter for that side. seem best. the tune will come when i get my hood back from the paint shop.
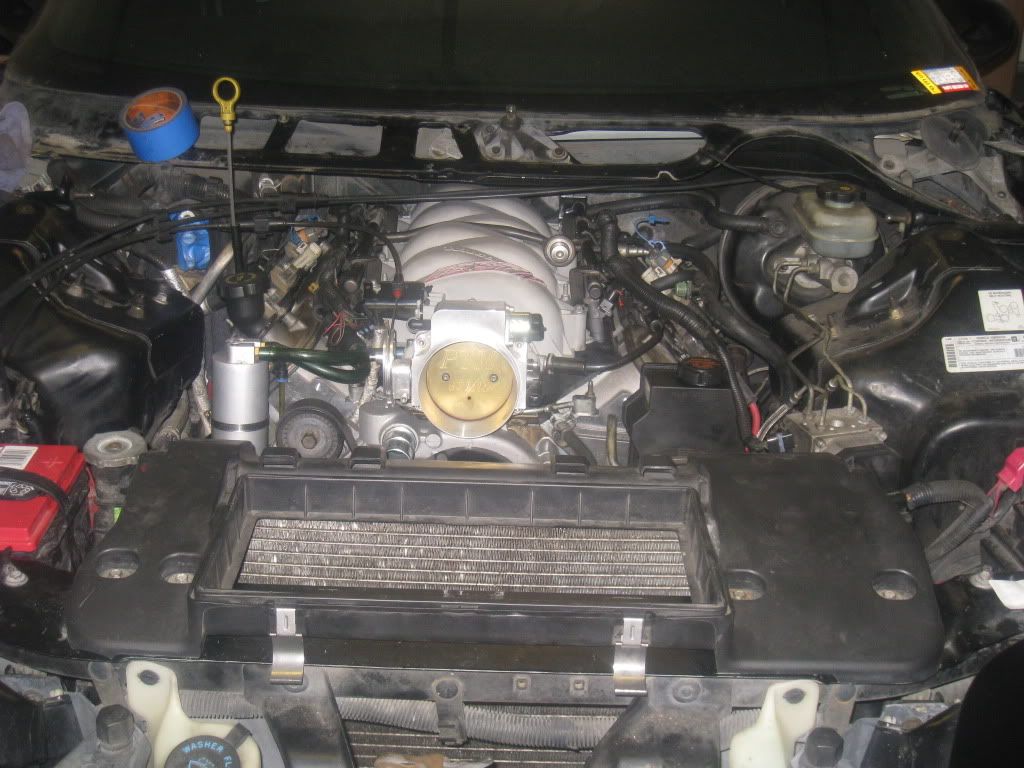
radiator and support installed fans installed, throttle cables routed to the TCS module.
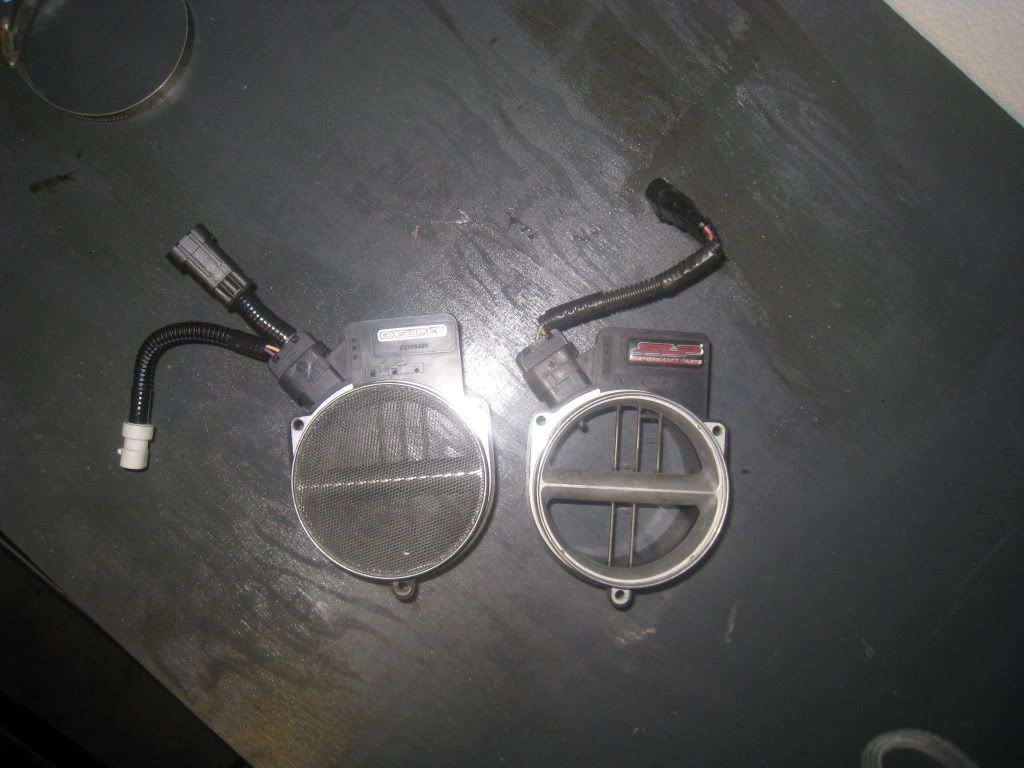
SLP MAF next to the 2003 Z06 MAF, both 85mm, SLP is coming off my car and will be for sale shortly. I like the GM MAF table better then the SLP one, especially for a heads and cam car.
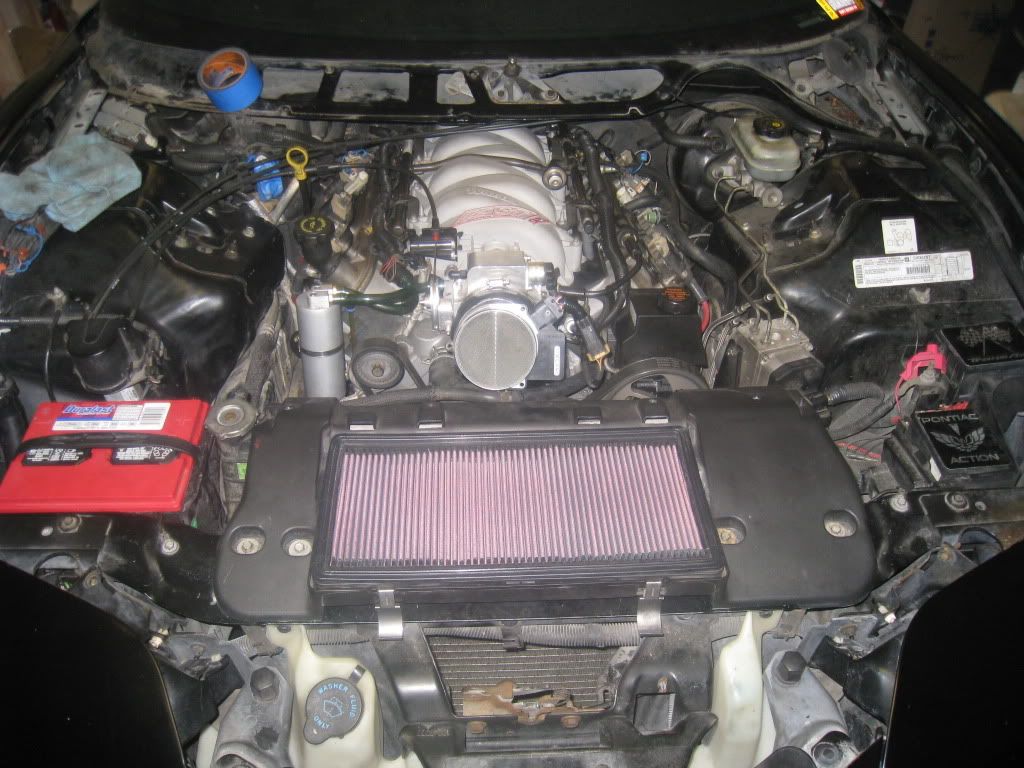
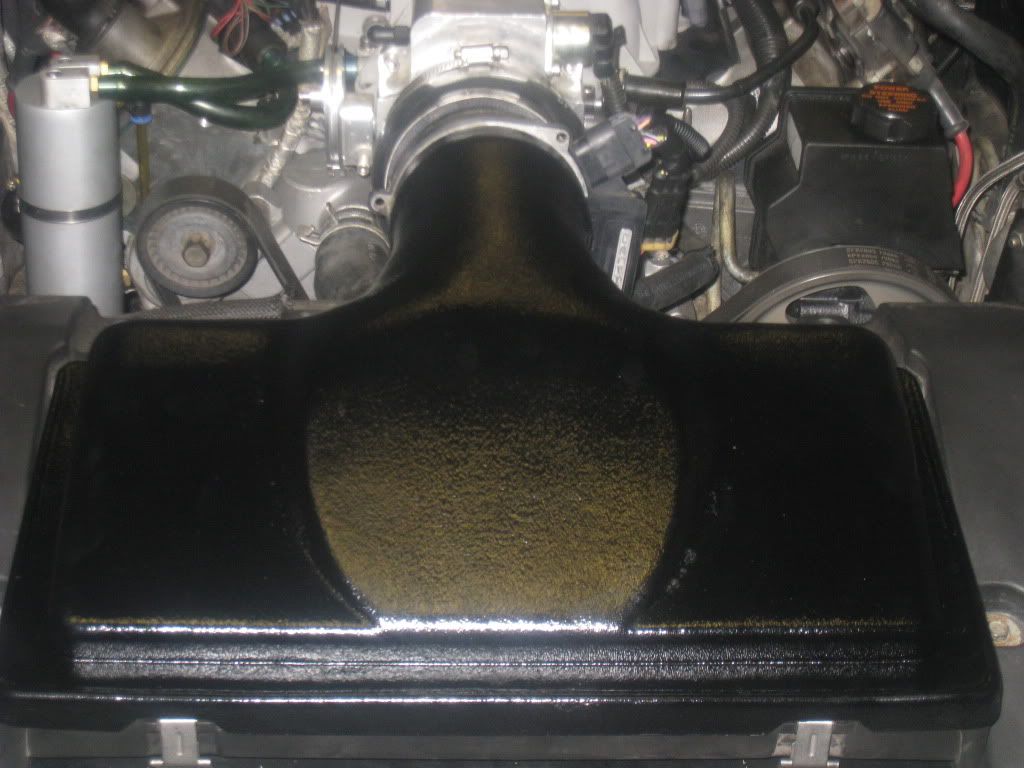
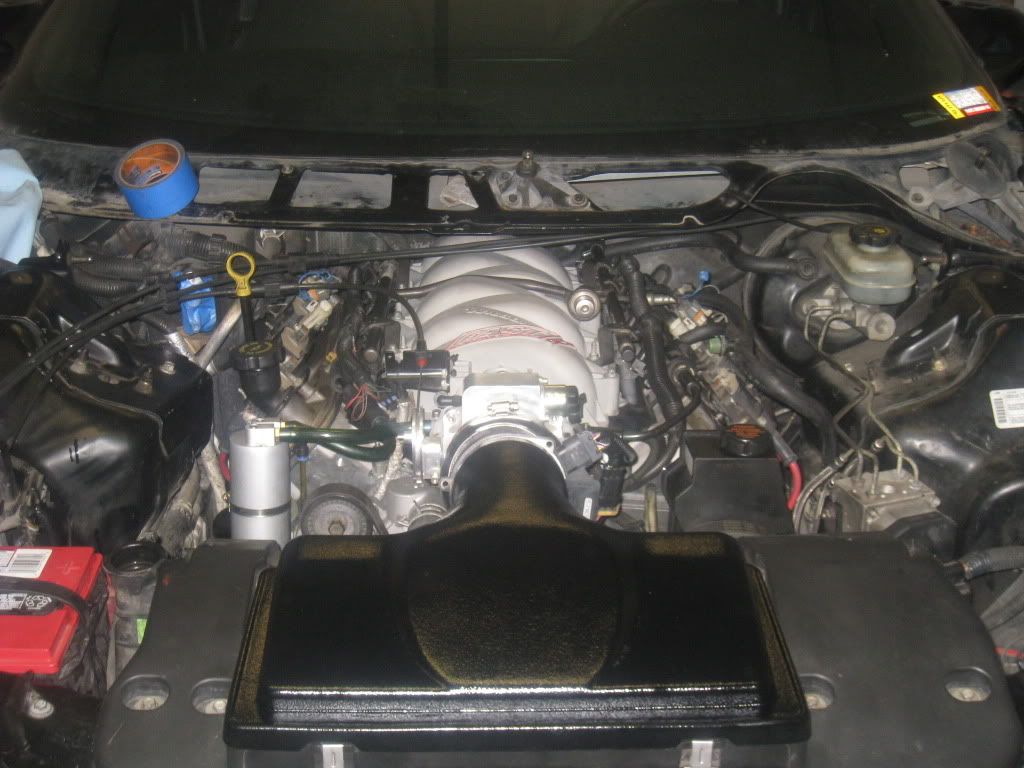
motor shot with the filter installed
FTP 98mm repainted due to leaking can of brake fluid that spilled on it.
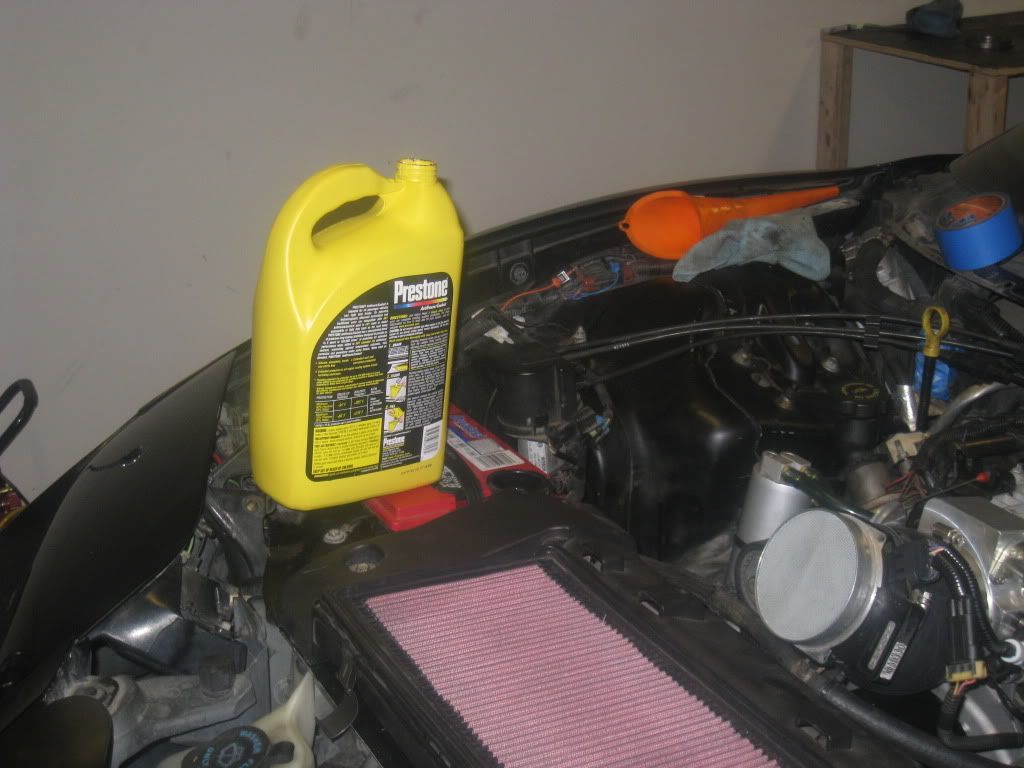
filling up the radiator with the good stuff!!!! took about 2 1/2 gallons to fill it all the way up.
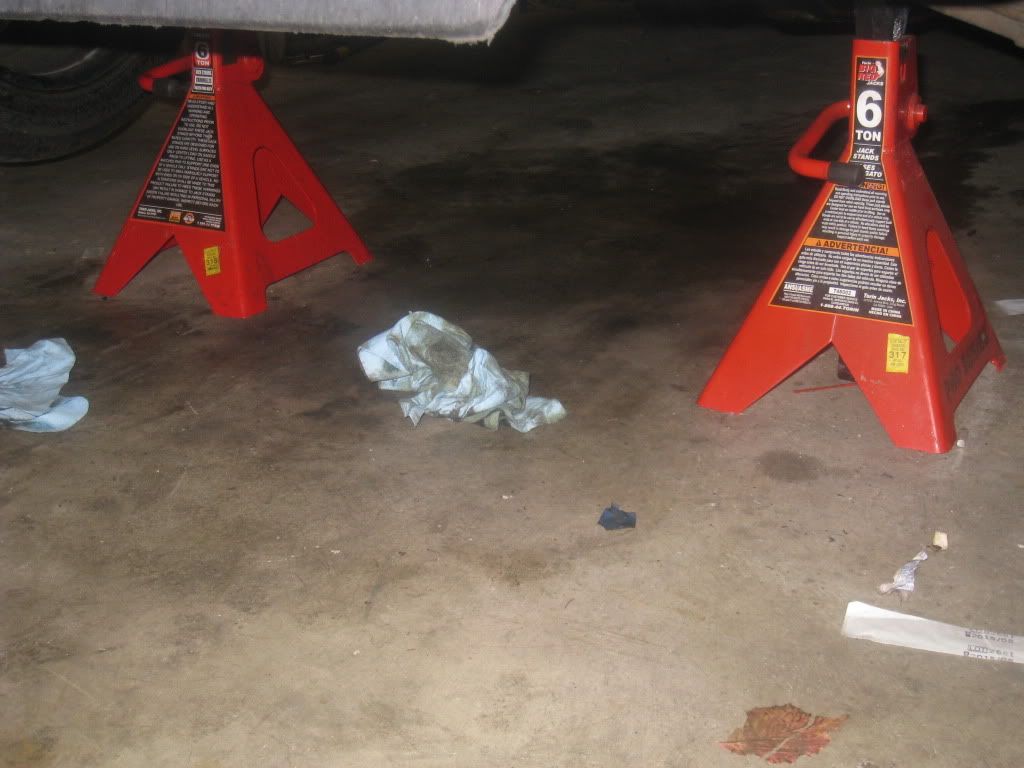
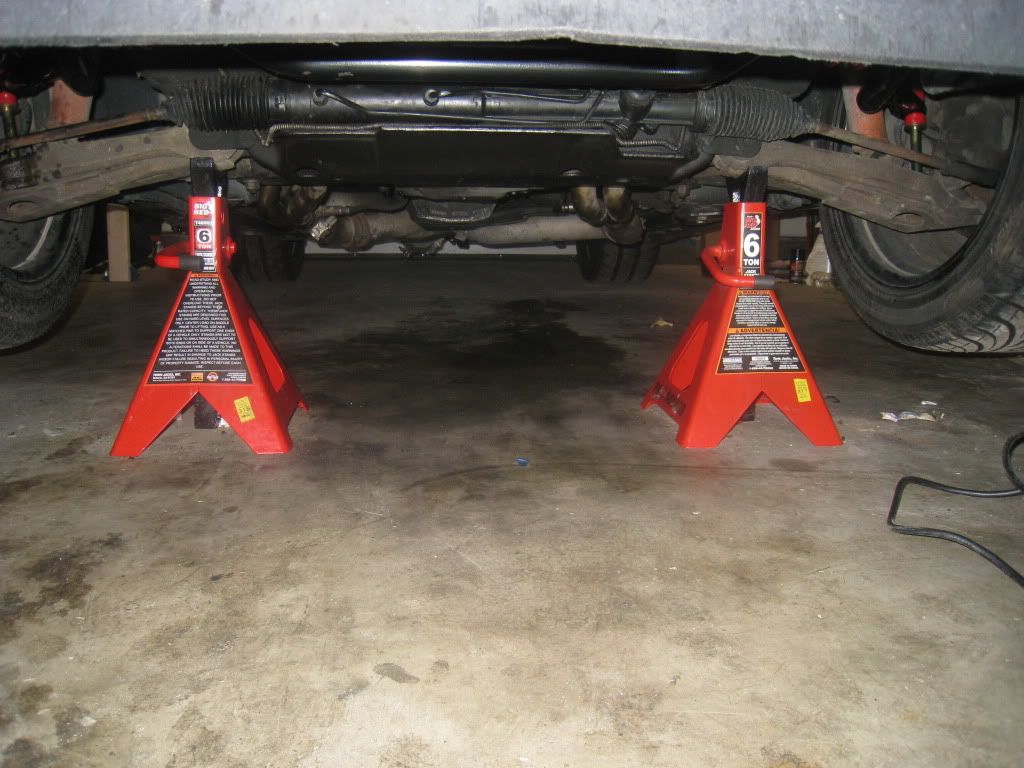
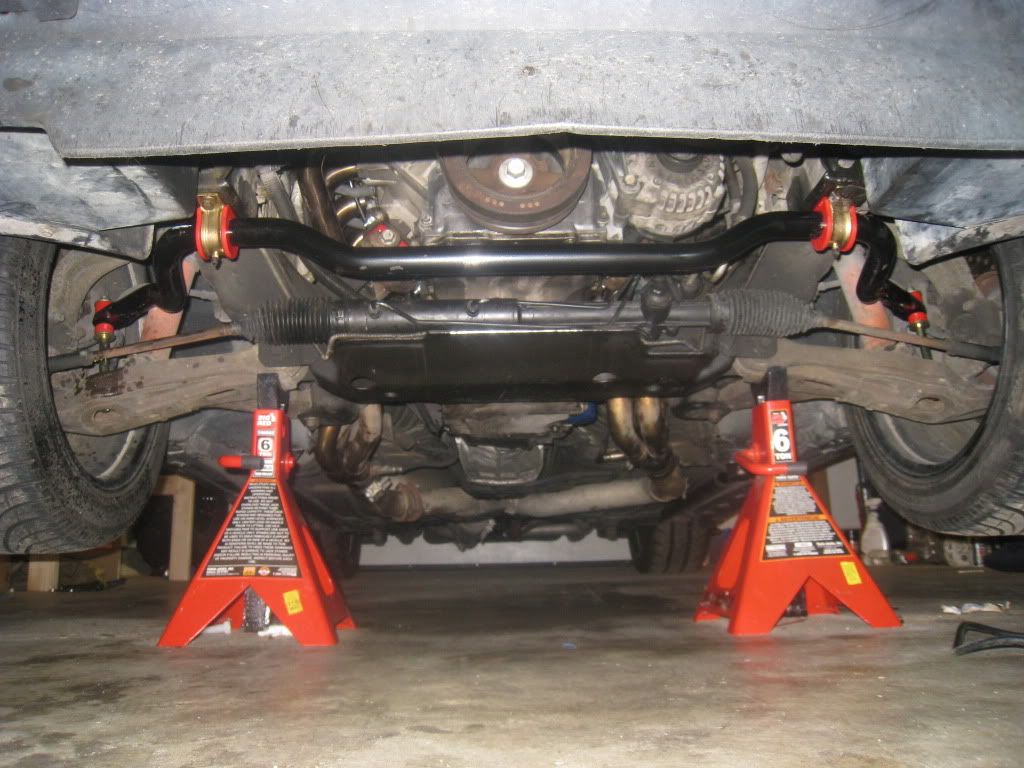
ensure the floor is clean and dry to make sure it is not leaking anything.
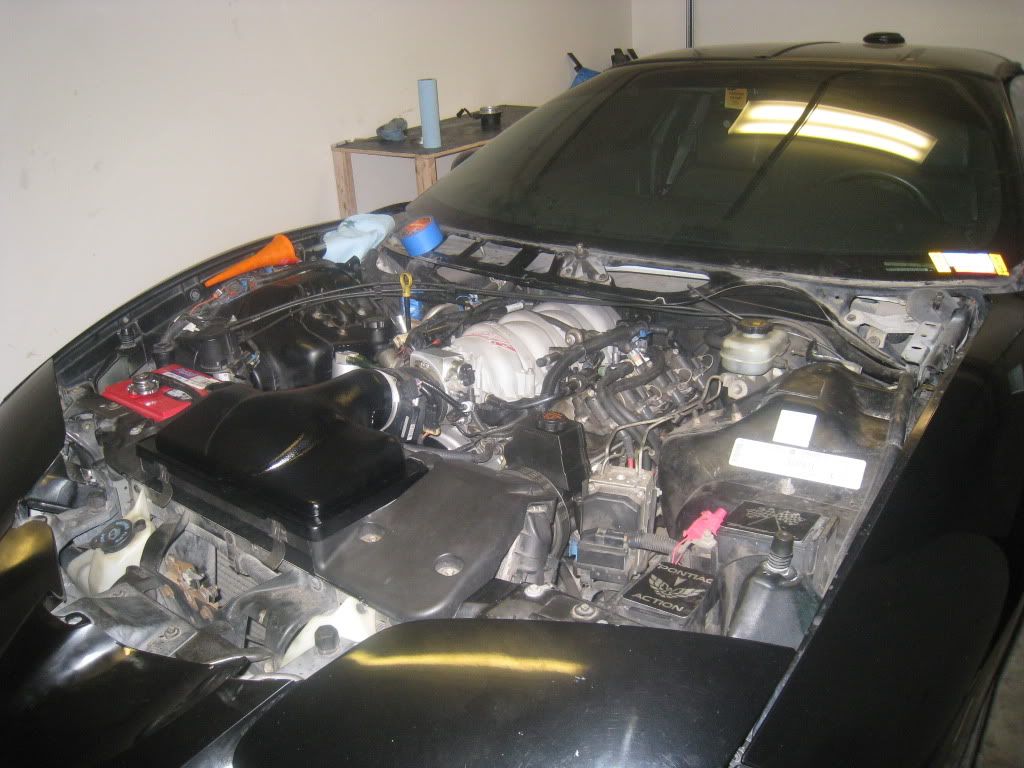
one last overview of the car before starting it up.
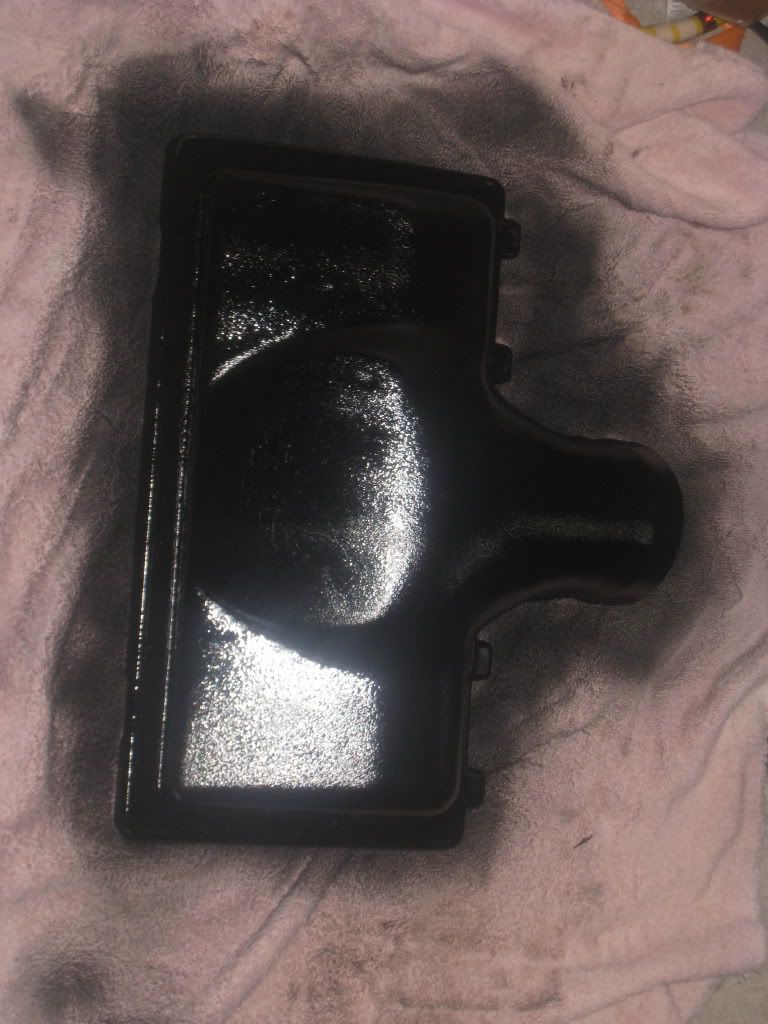
Lid all painted and intalled. still need to put the bird sticker back on the lid, bbut waiting till it fully drys so i dont feel up and paint.
Motor is ready to be fired up.
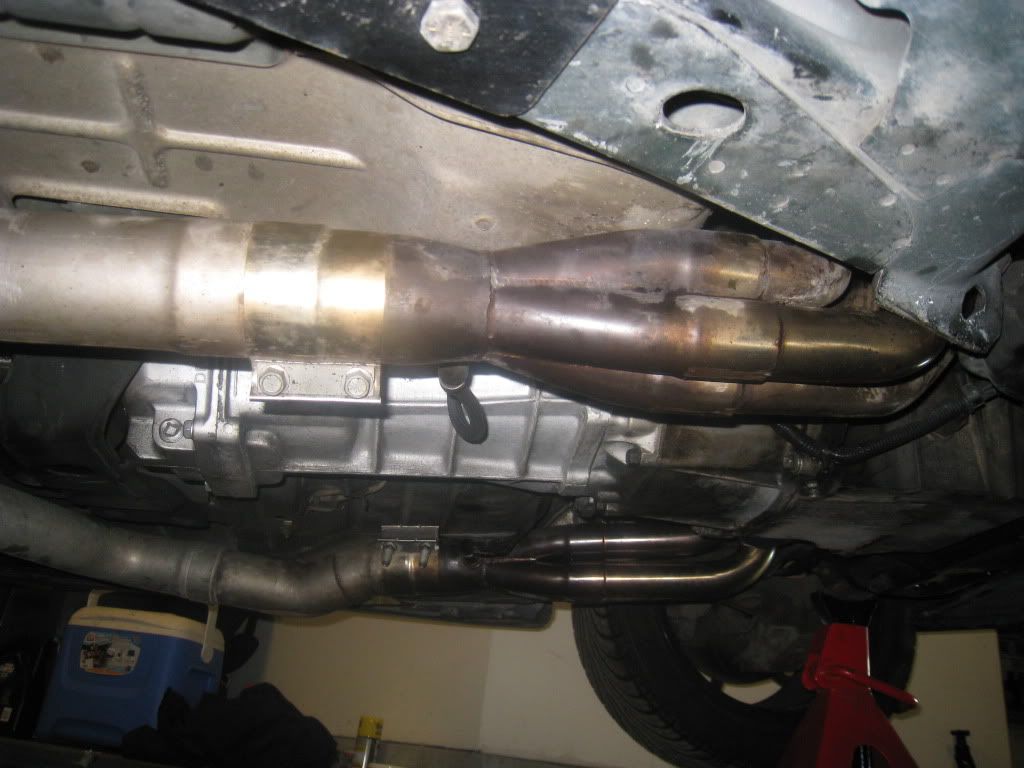
exhaust is all strapped back together fits up a little better now.
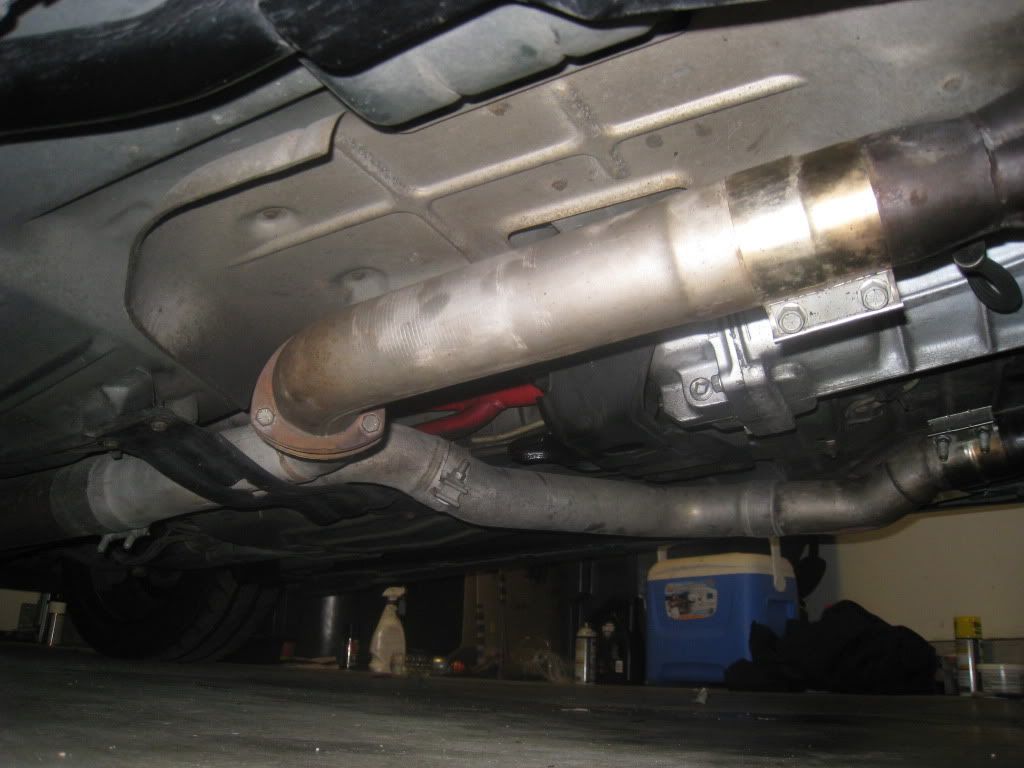
SLP LM1 is still bolted up there, till i get the QTP 4"-3" down-sizer welded to the Dynomax bullet.
no things on the floor lets start this thing
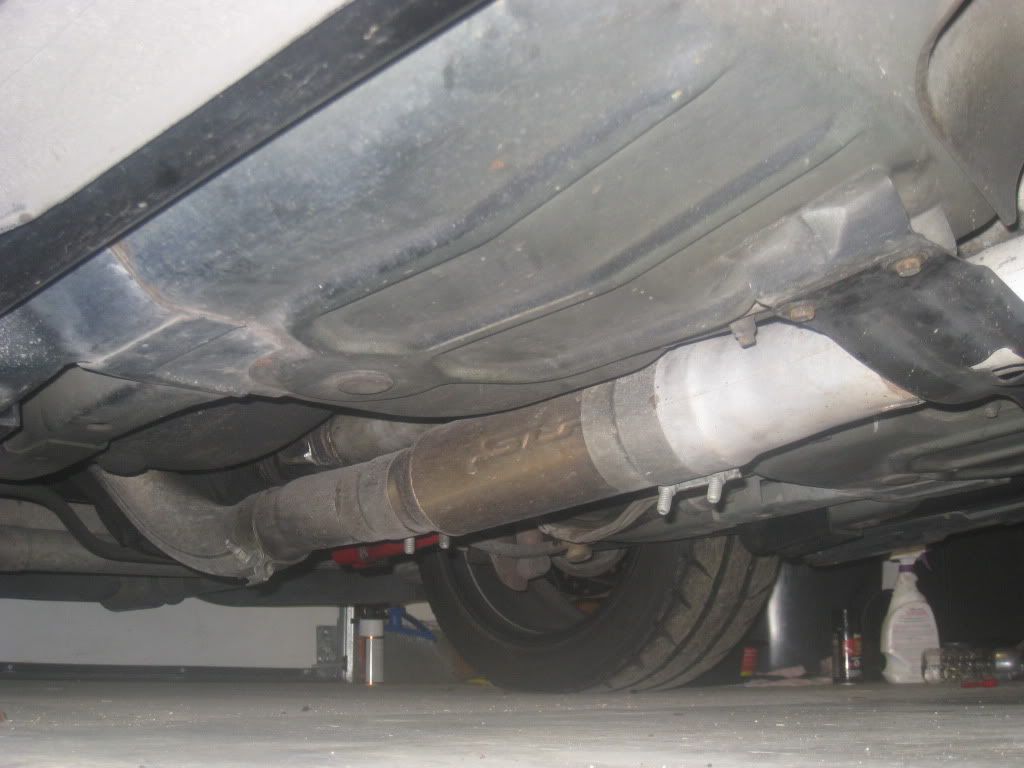
undercarriage clean, next up....first start.
radiator and support installed fans installed, throttle cables routed to the TCS module.
SLP MAF next to the 2003 Z06 MAF, both 85mm, SLP is coming off my car and will be for sale shortly. I like the GM MAF table better then the SLP one, especially for a heads and cam car.
motor shot with the filter installed
FTP 98mm repainted due to leaking can of brake fluid that spilled on it.
filling up the radiator with the good stuff!!!! took about 2 1/2 gallons to fill it all the way up.
ensure the floor is clean and dry to make sure it is not leaking anything.
one last overview of the car before starting it up.
Lid all painted and intalled. still need to put the bird sticker back on the lid, bbut waiting till it fully drys so i dont feel up and paint.
Motor is ready to be fired up.
exhaust is all strapped back together fits up a little better now.
SLP LM1 is still bolted up there, till i get the QTP 4"-3" down-sizer welded to the Dynomax bullet.
no things on the floor lets start this thing
undercarriage clean, next up....first start.
04-10-2011, 05:57 PM
#53
Video coming soon
04-10-2011, 06:09 PM
#54
ok here is the raw video of the start up and a good exhaust clip.
Enjoy
First start up.
http://www.youtube.com/watch?v=F8sTVajXFnM
and the operating temp idle
http://www.youtube.com/watch?v=cJODBu-b51o
Enjoy
First start up.
http://www.youtube.com/watch?v=F8sTVajXFnM
and the operating temp idle
http://www.youtube.com/watch?v=cJODBu-b51o
04-10-2011, 06:10 PM
#55
11 Second Club
iTrader: (14)
Join Date: Jun 2008
Location: Chicago
Posts: 317
Likes: 0
Received 0 Likes
on
0 Posts
yes i plan on a dyno tune. Ellis @ Speed Secrets is gonna tune it for me, but i am still waiting for my hood to come back from the body shop so i can drive it. i also want to pull the fast intake off again and port it a little (just grind the tabs off the ends of it) so that should be worth a few (maybe 10) extra horsepower.
Video coming soon
Video coming soon
Great. Can't wait to see the results.
04-10-2011, 09:01 PM
#58
i thought about the 231/239, but that is a little higher then i wanted, as my car sees track time sometimes, but more for a weekend cruiser. i also matched my heads for this cam. i plan to make 460rwhp with this heads and cam with tune, also i am gonna port my FAST before the tune for a few extra horses.
04-10-2011, 09:32 PM
#59
TECH Apprentice
iTrader: (8)
Join Date: Apr 2009
Location: Orange county, ny
Posts: 365
Likes: 0
Received 0 Likes
on
0 Posts
when you did the oil pump and you said you lowered the pan like it say on ls1howto, what do you exactly do ?
i got the same pump and are those bolts on the pickup tube accesible without "lowering the pan" ?
Nice work btw i am getting so worked up to do mine. I only have a day and a half to install mine though 8/
Anything else you recommend or wish you did ?
i got the same pump and are those bolts on the pickup tube accesible without "lowering the pan" ?
Nice work btw i am getting so worked up to do mine. I only have a day and a half to install mine though 8/
Anything else you recommend or wish you did ?
04-10-2011, 09:49 PM
#60
I just did my motor mounts and all i removed was the starter, compressor, and alternator and lets just say it took AWHILE.....but it was worth it in the end. Im just saying i know your pain. lol Im going heads and cam soon also.