


Home porting attempt...

Thread Starter
On The Tree
Joined: Mar 2015
Posts: 172
Likes: 1
I'm a bit stuck for options in the UK, and splashing out on some very expensive CNC heads would just about bankrupt me I think! So as I had these stock heads here I thought I would make use of them. Not my first porting job by a long stretch, but it is the first set of LS heads I've done.
5 hours in and I've got one head roughed out with the carbide cutter. Just need to finish it off with cartridge rolls and give the exhaust ports a polish.
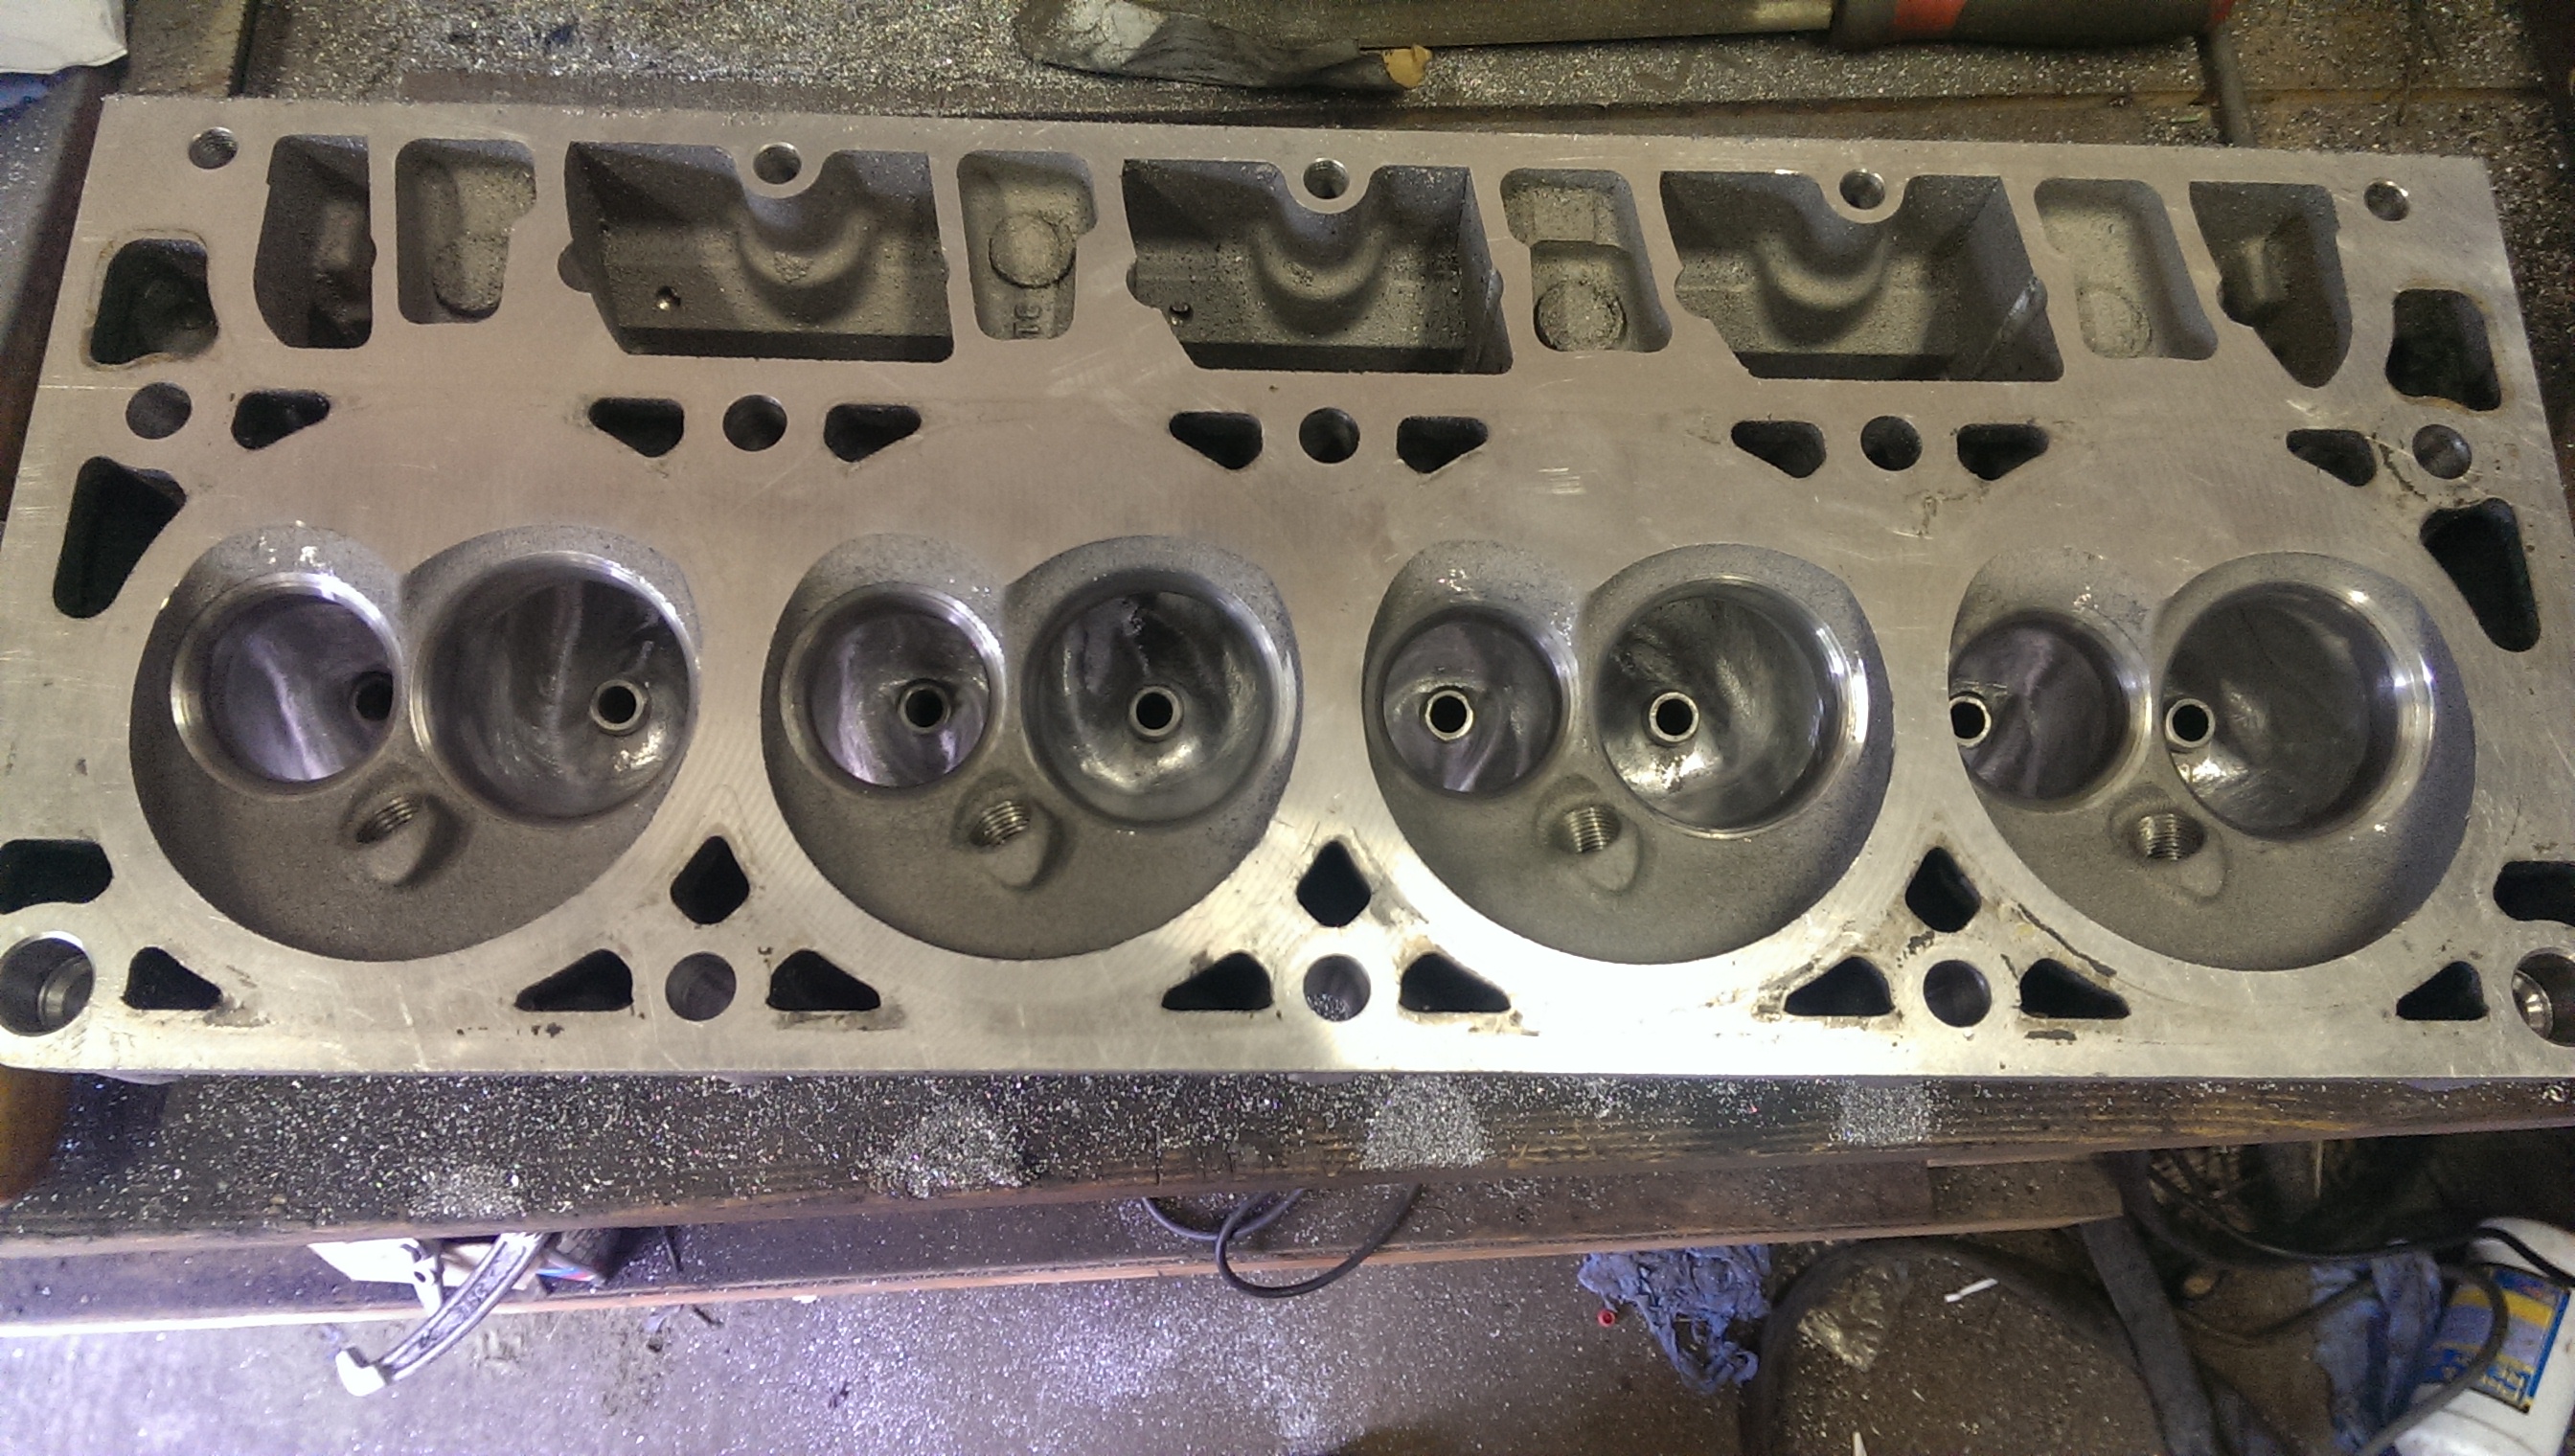
After they have been skimmed I'll polish the chambers and unshroud the valves as well.
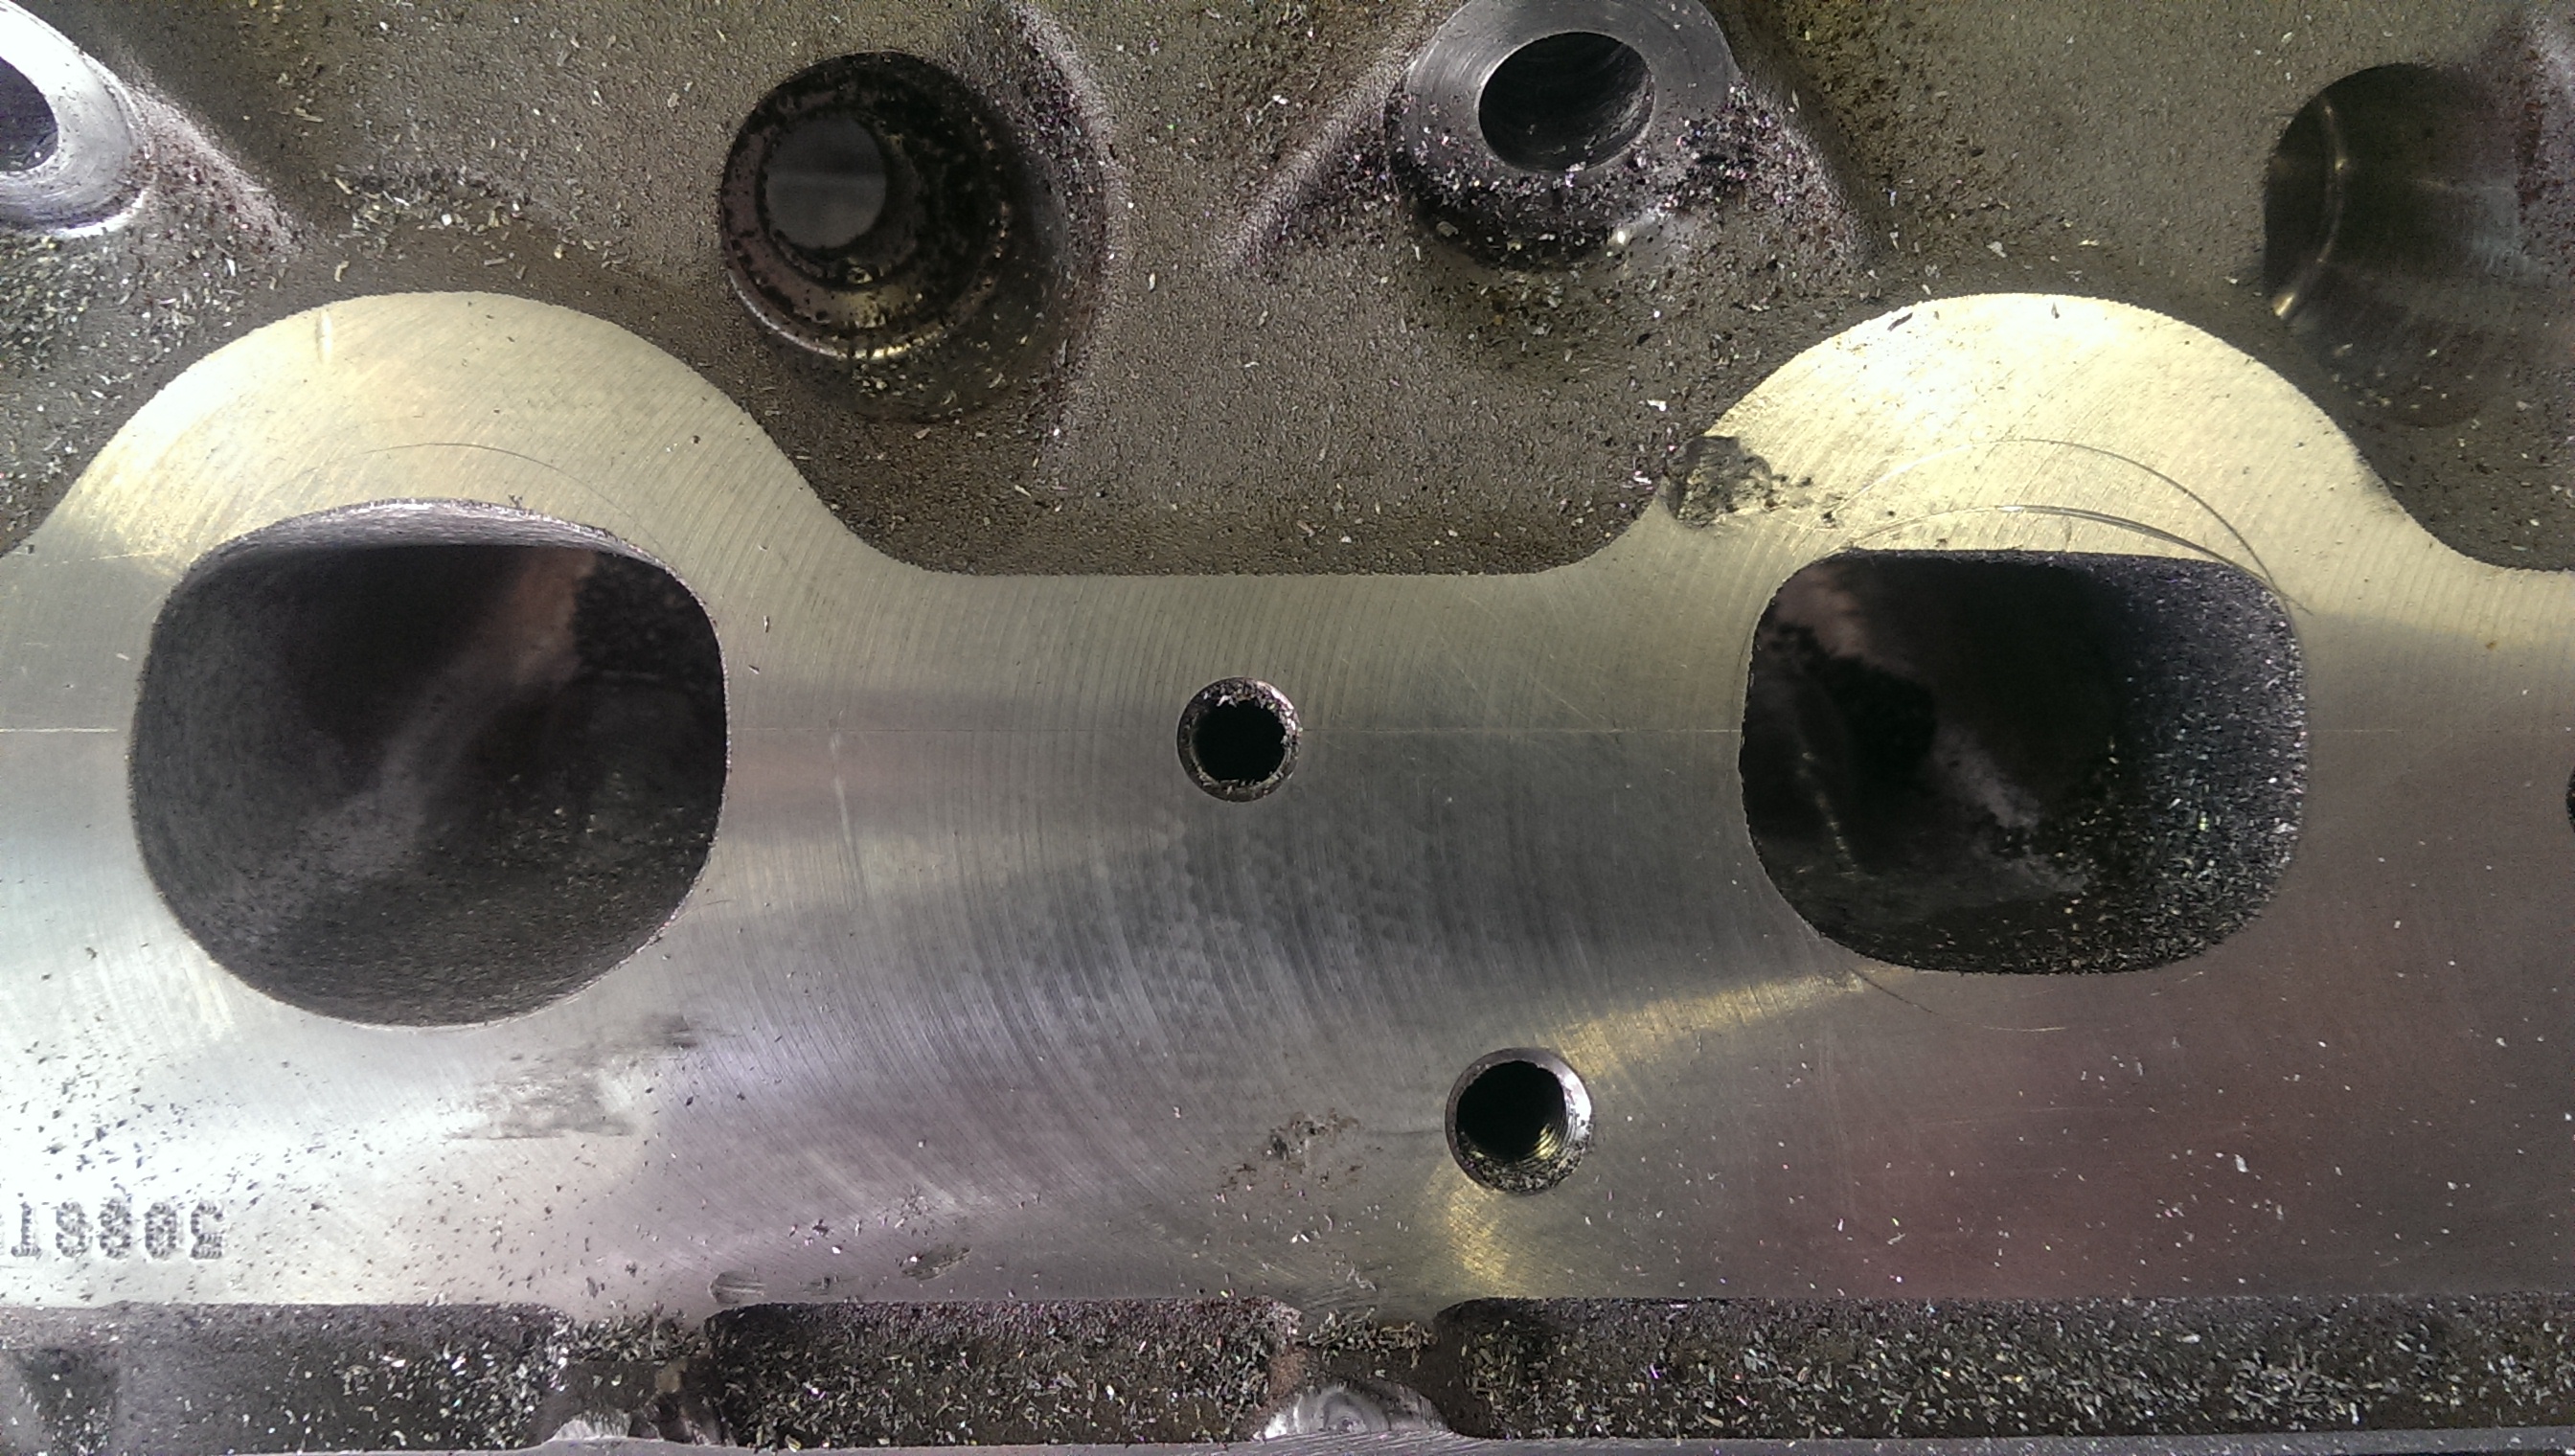
I had a scrap head here as well, so decided to drill the ports in a few places to find out how thick the walls were as I wanted to remove quite a bit of material, especially around the exhaust ports.
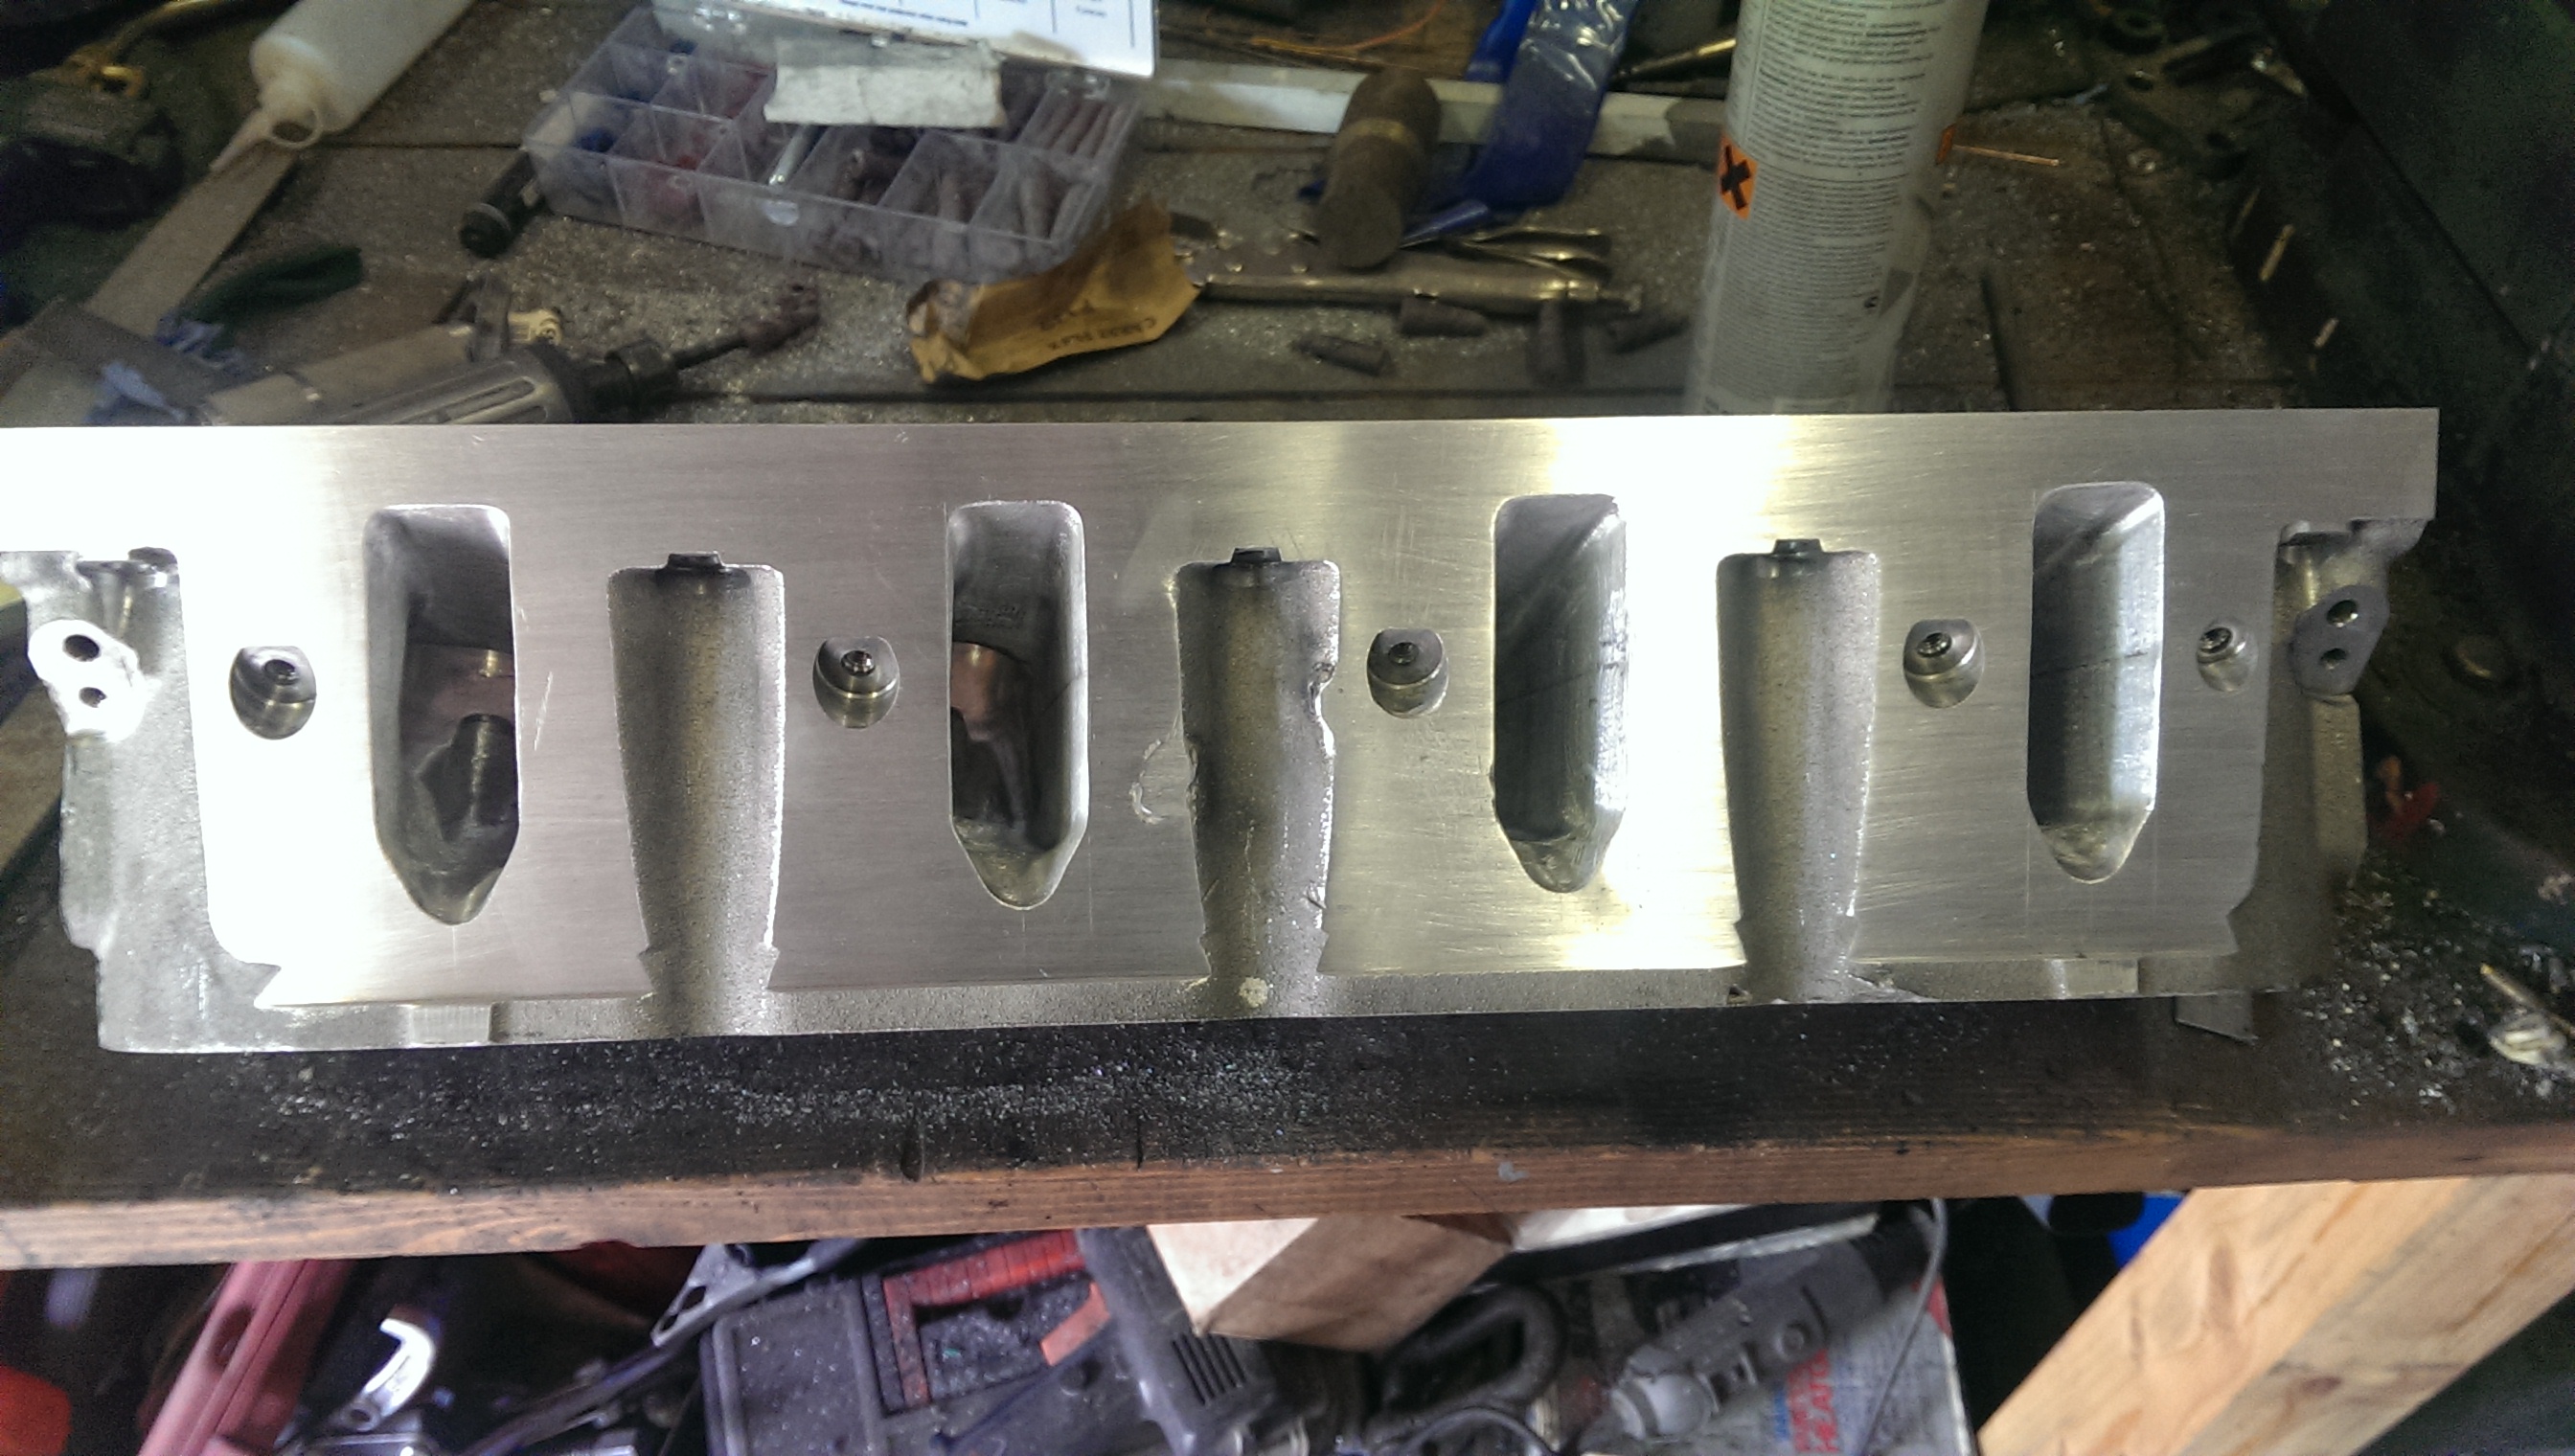
Started off by marking out the inlet ports on the face so they were all the same size.
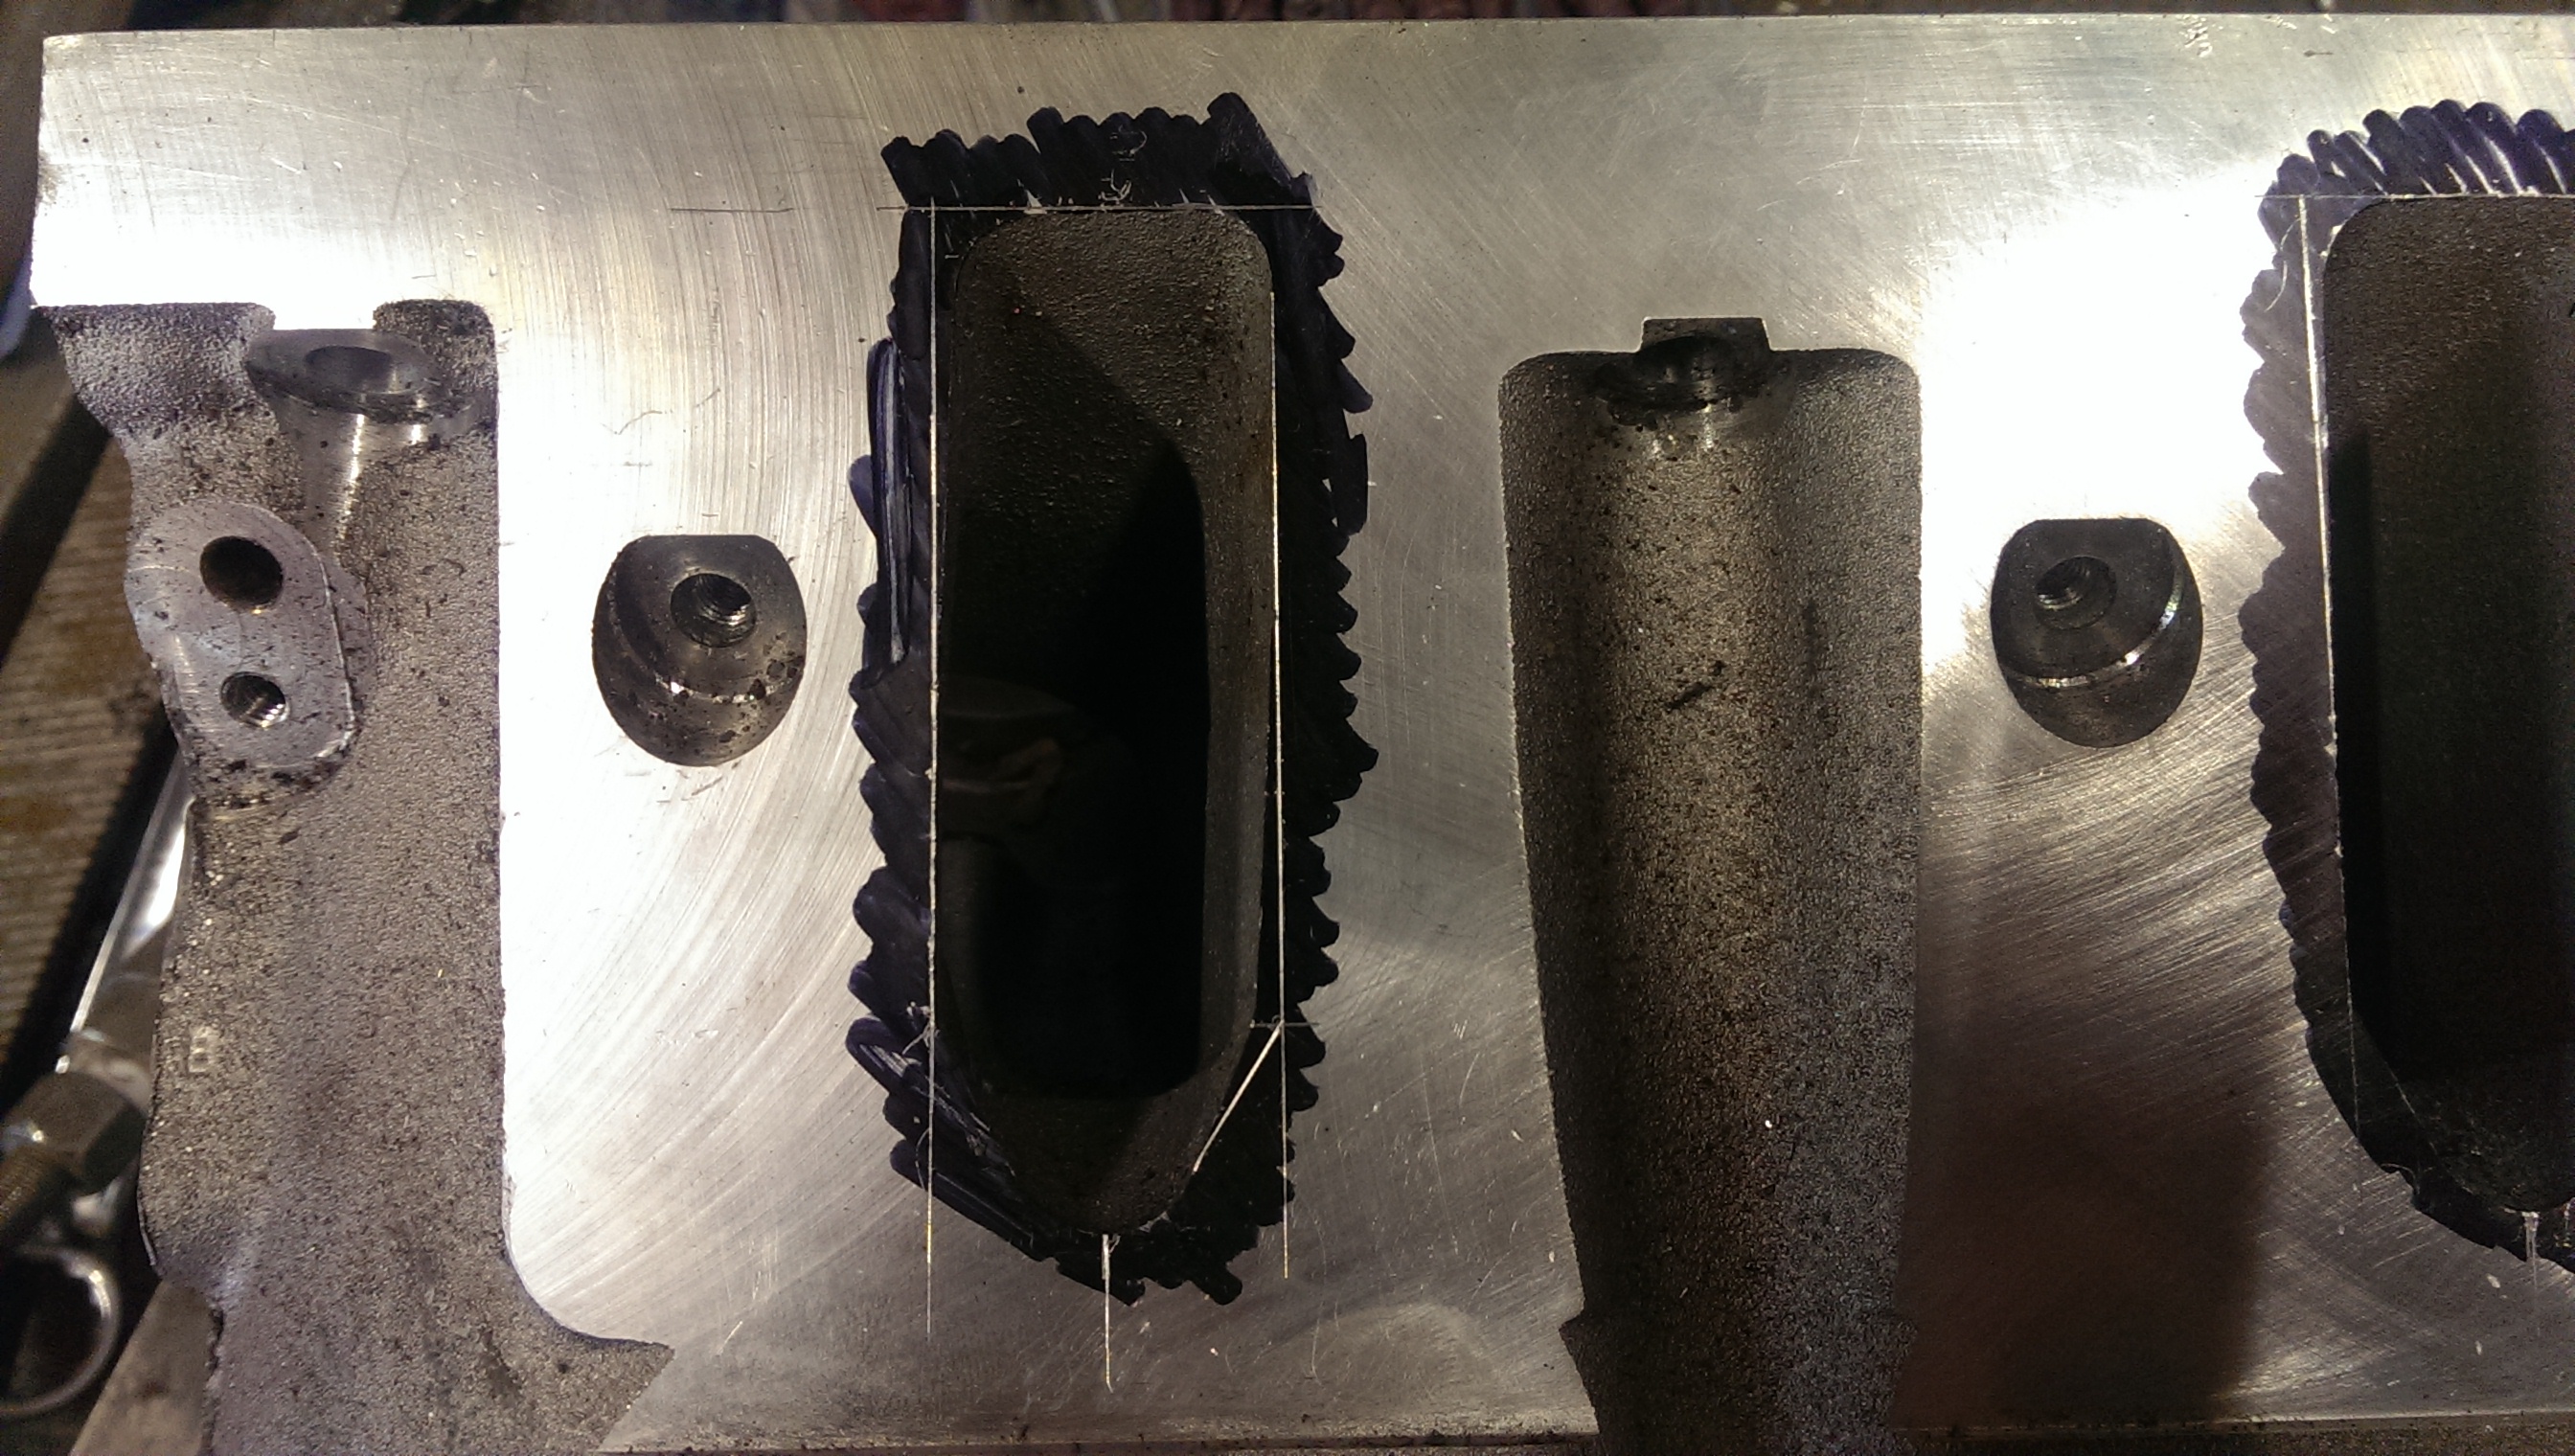
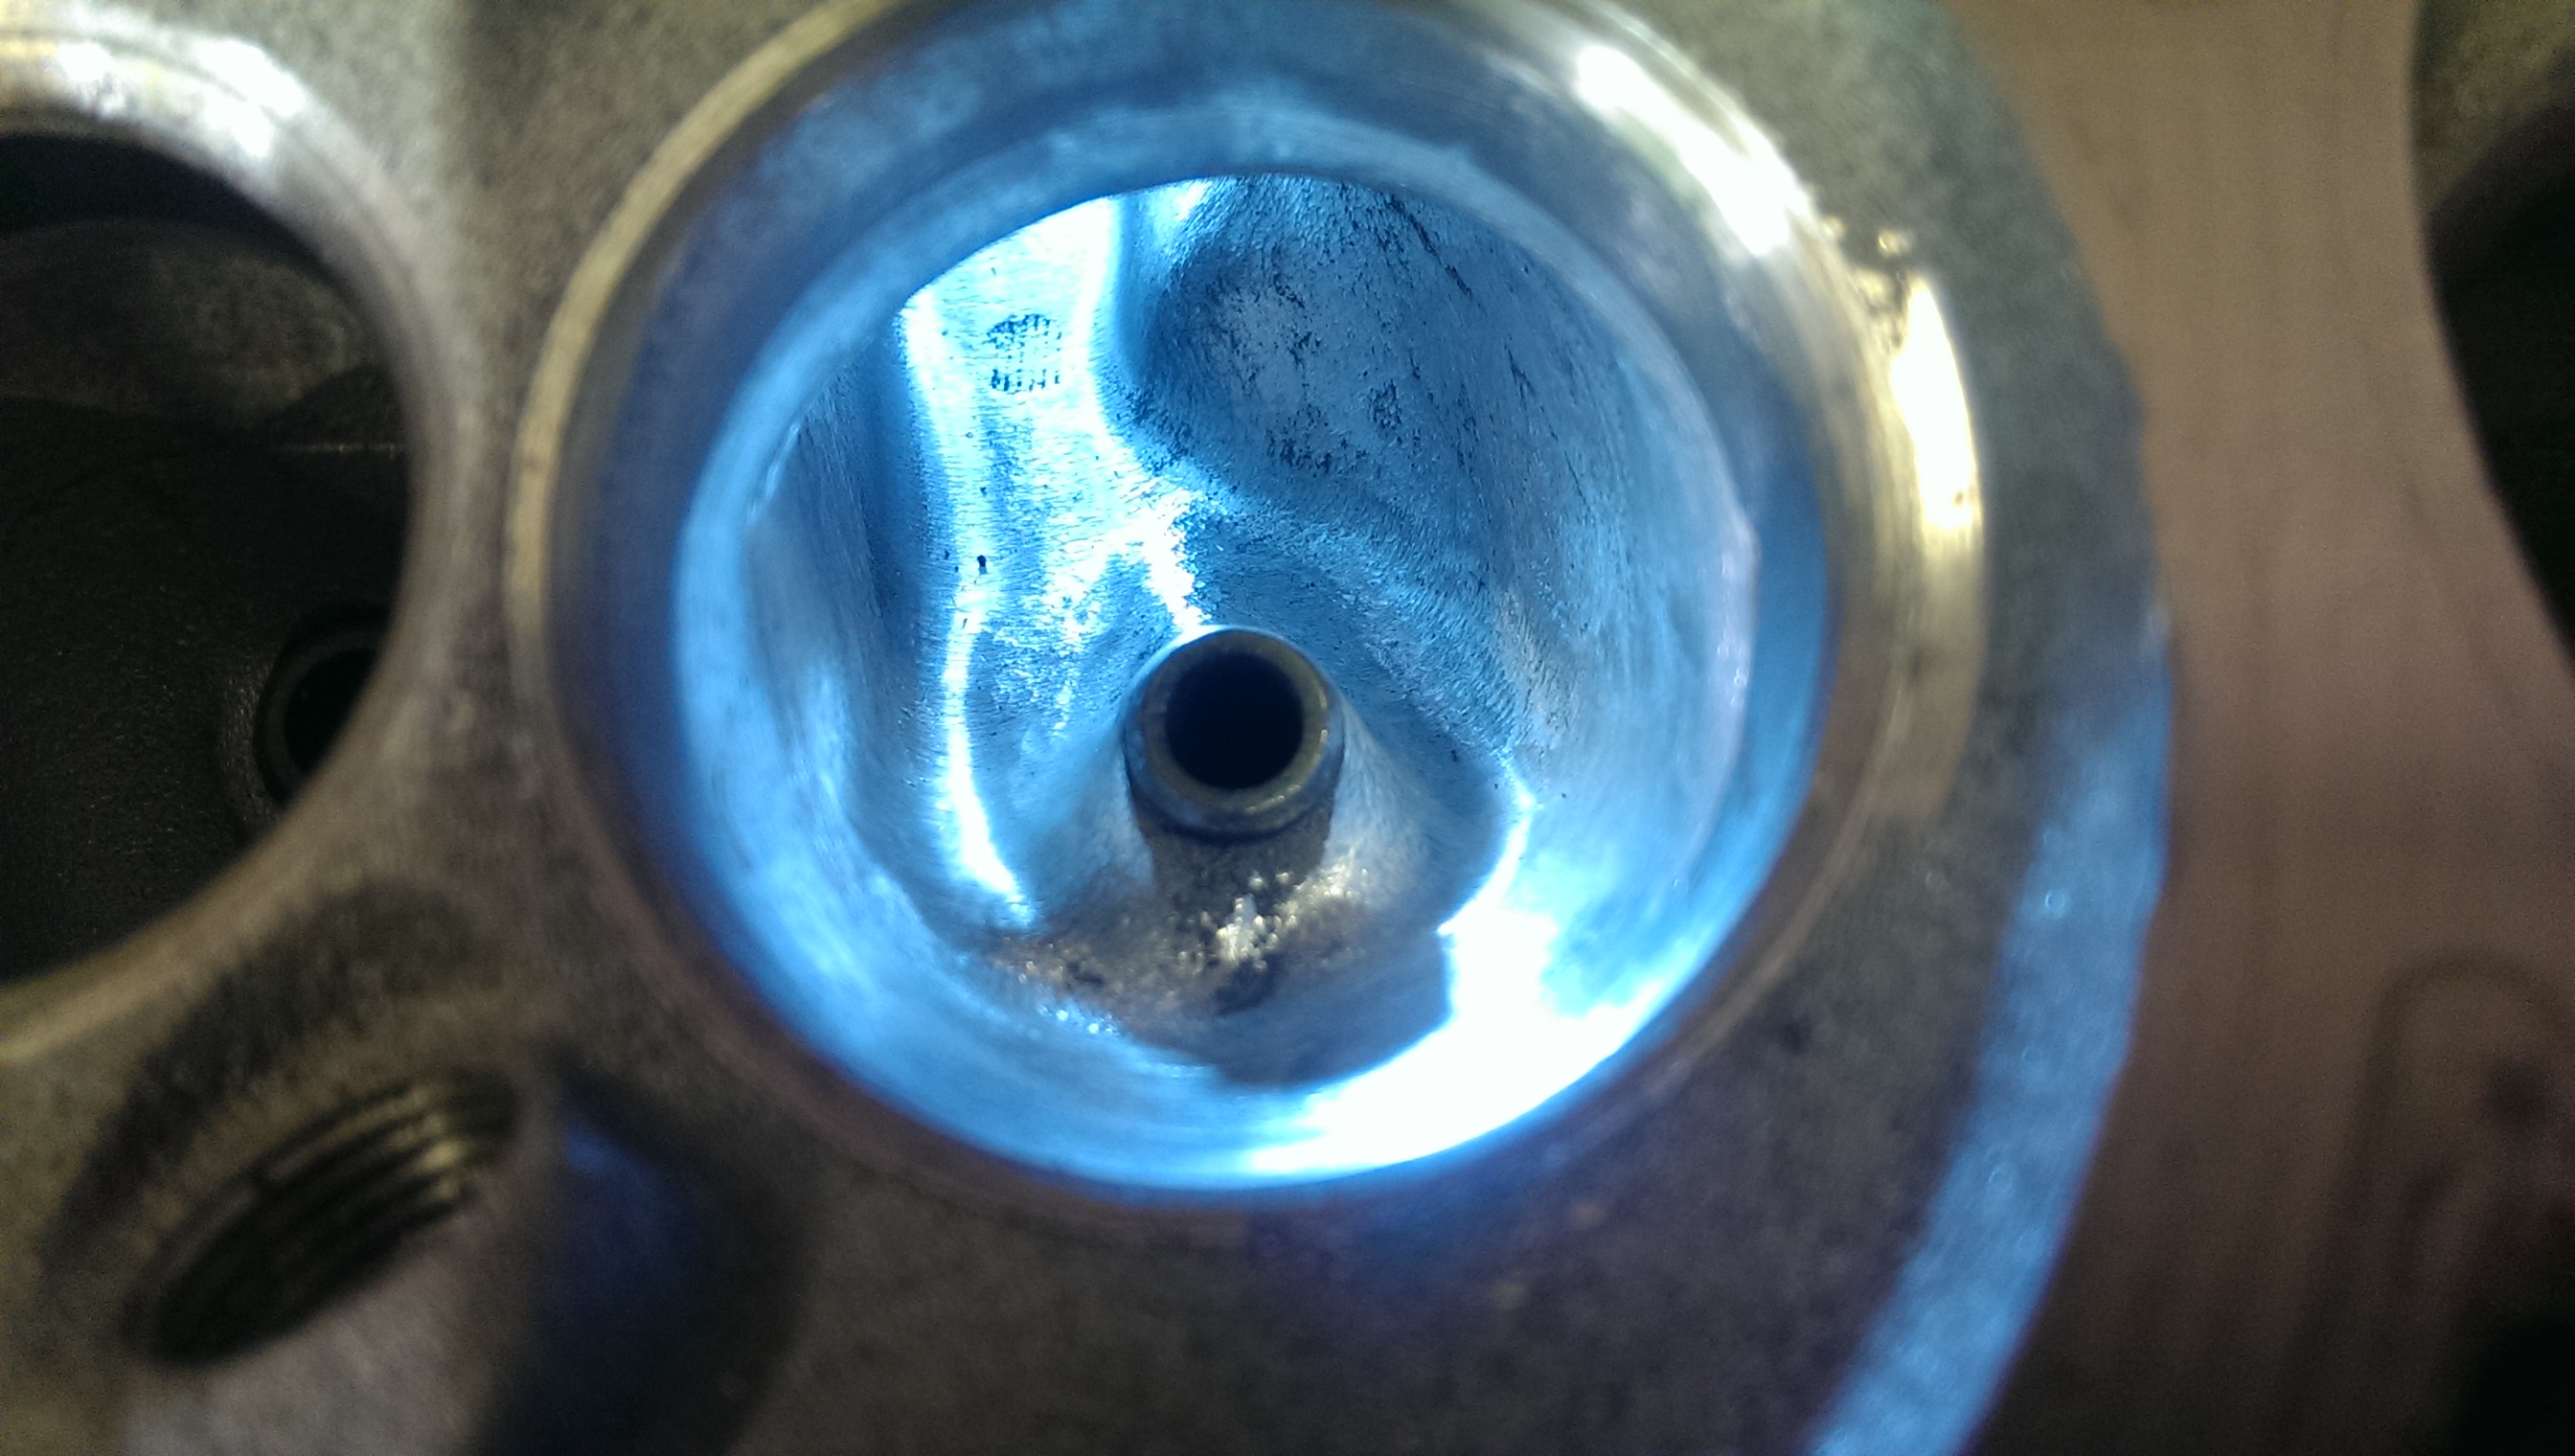
And here's a stock inlet port/valve throat, there's a big step where the cast runner meets the seat insert which you might not be able to see in the photos.
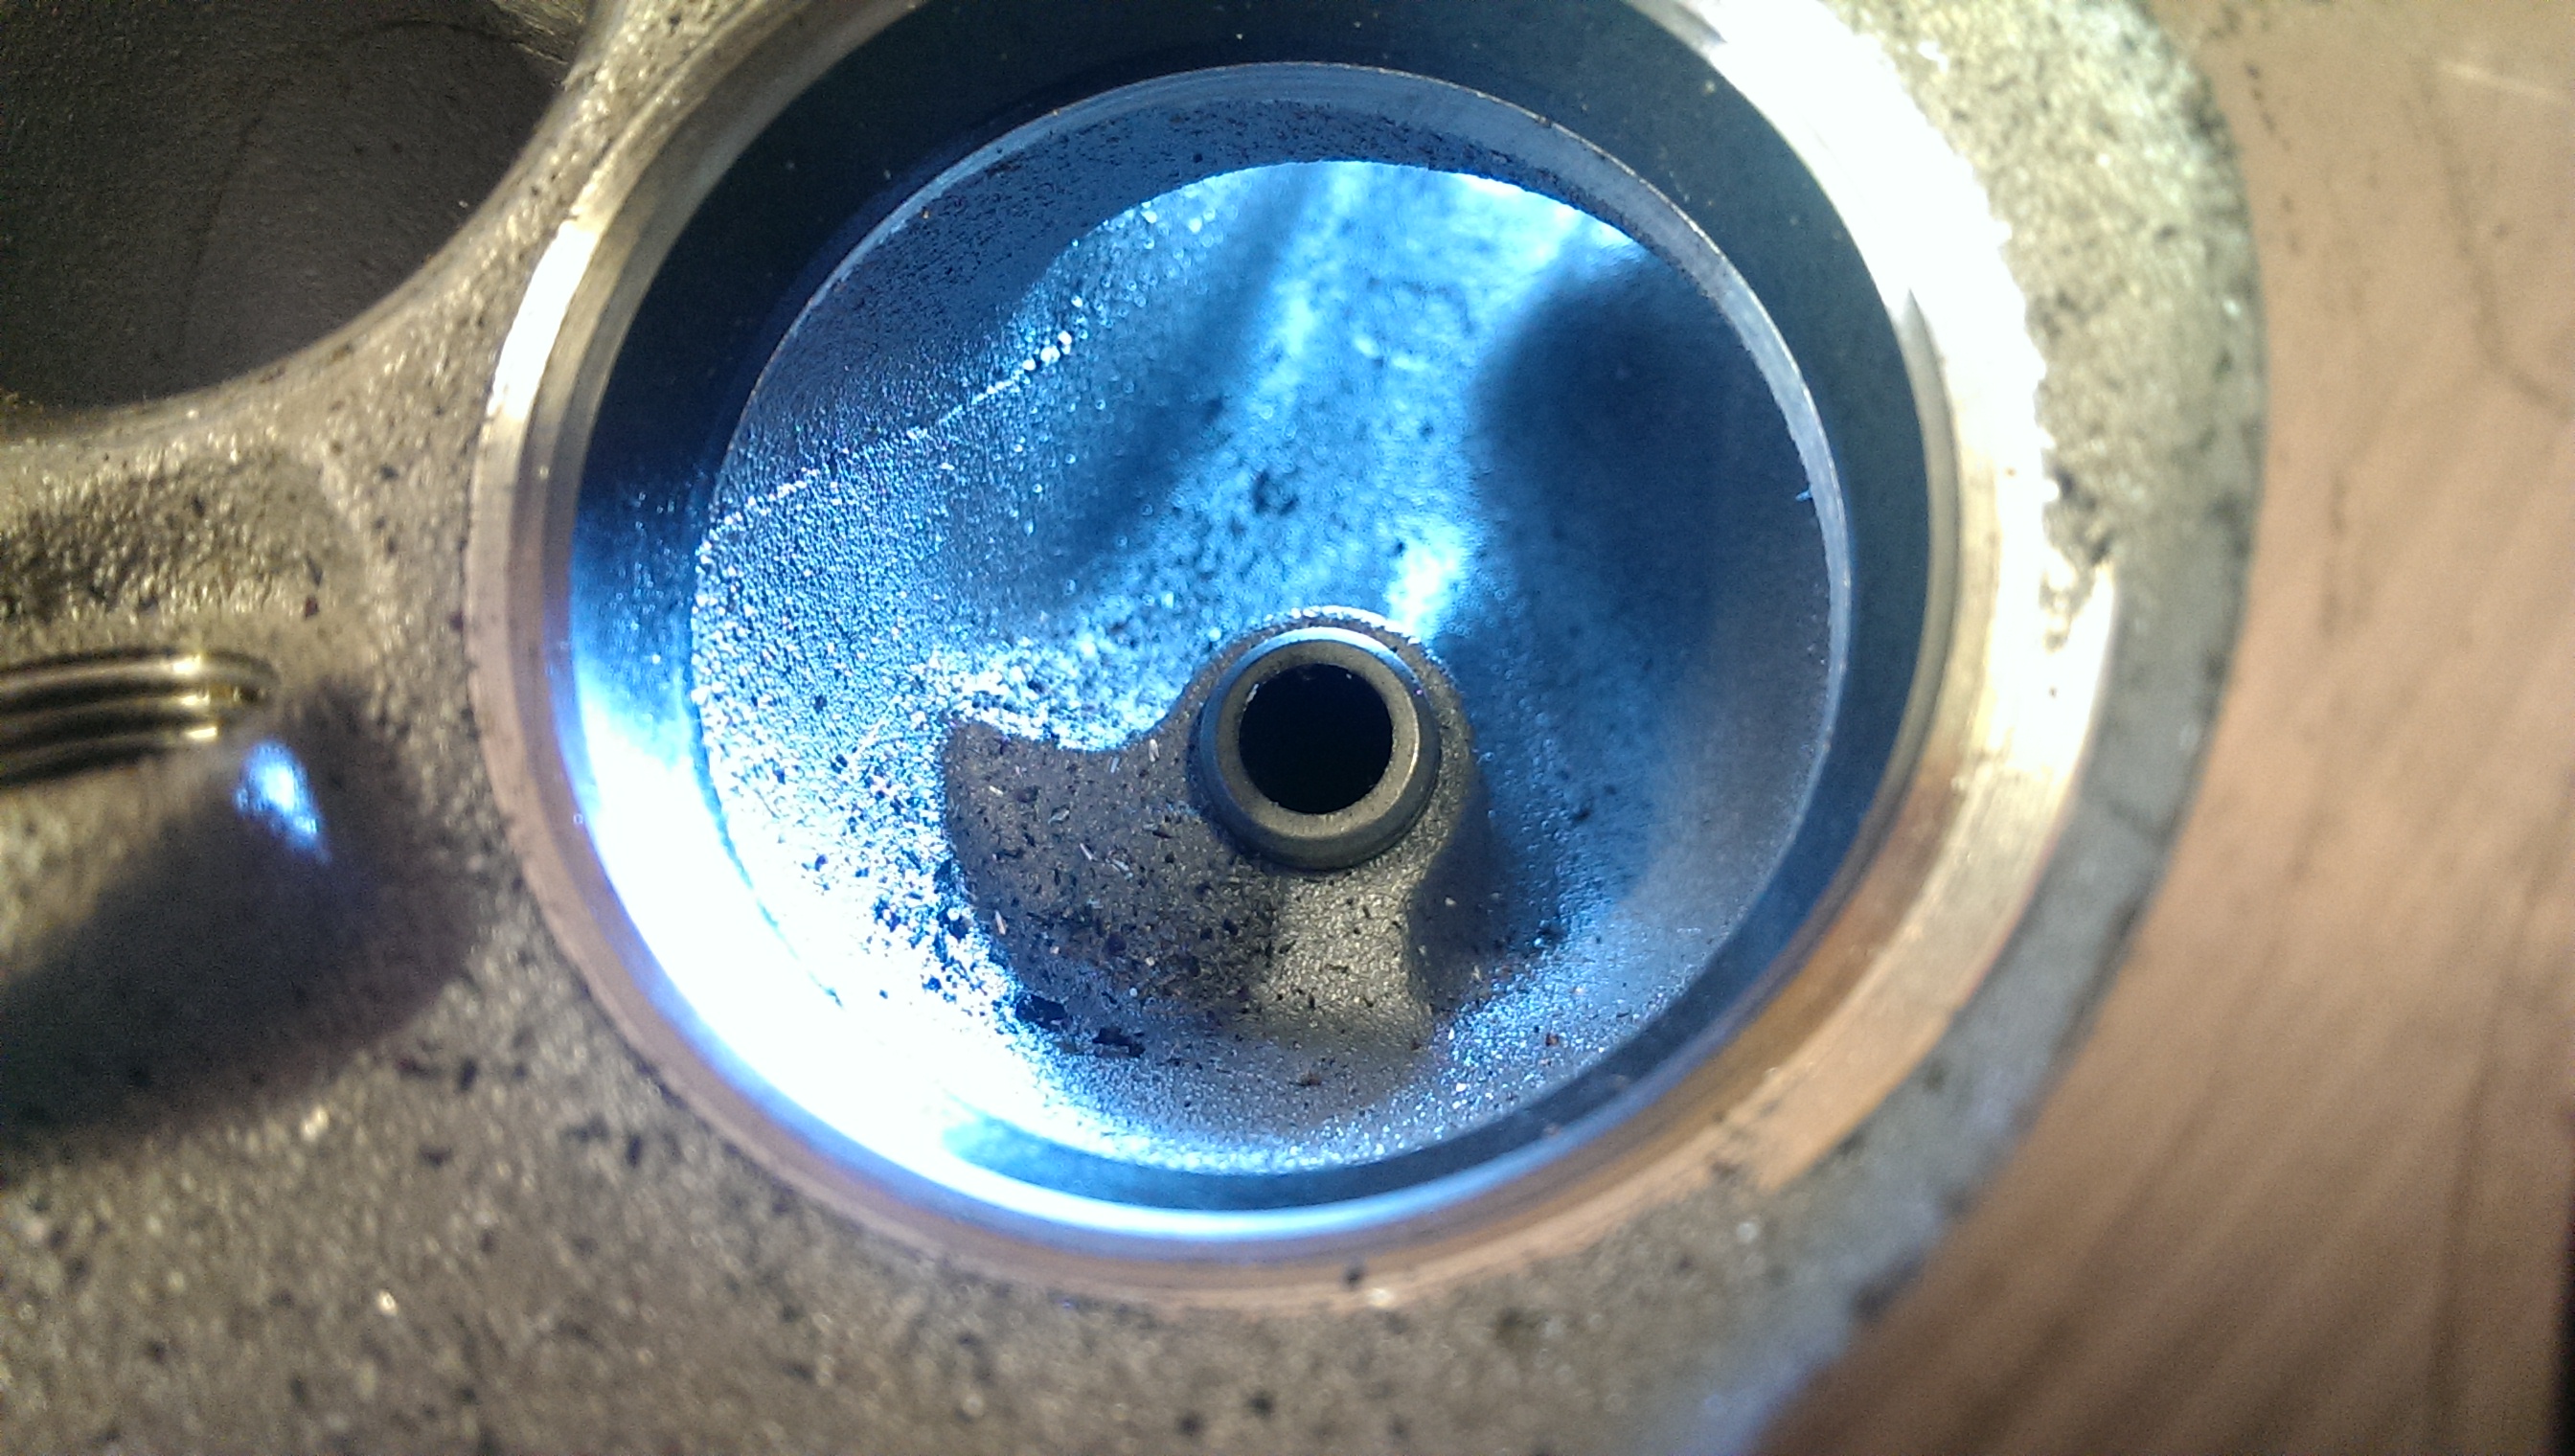
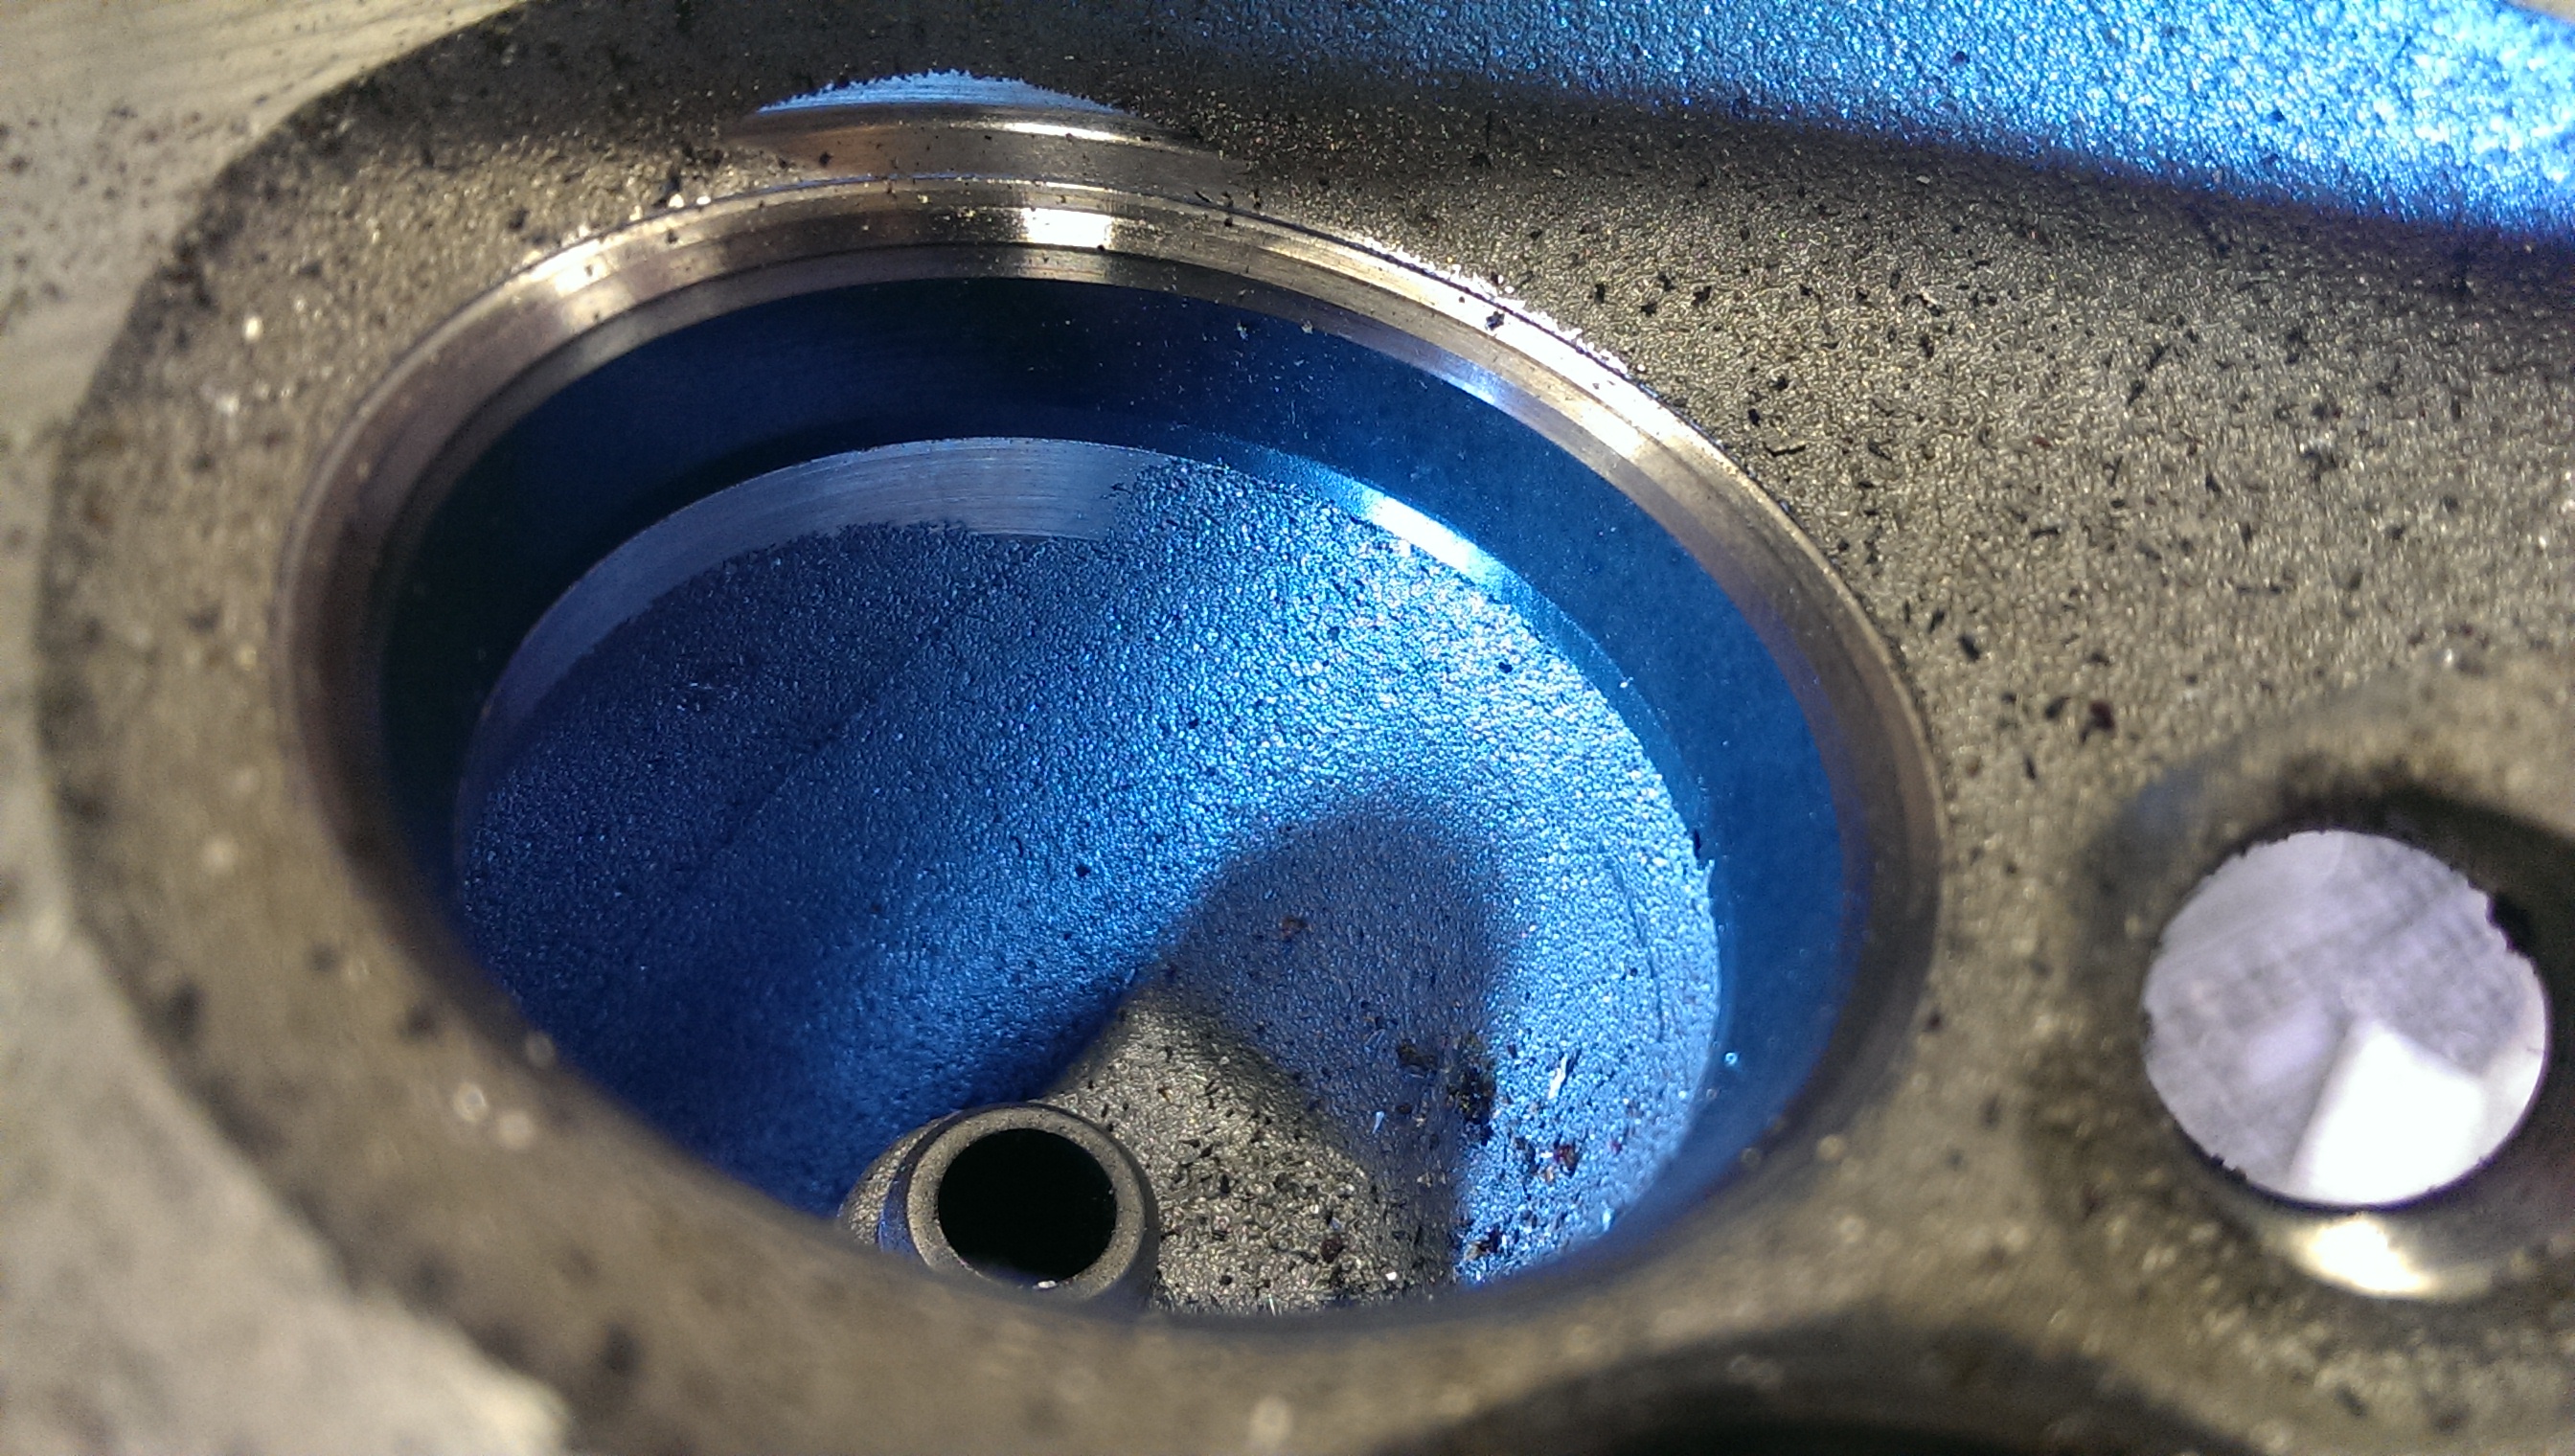
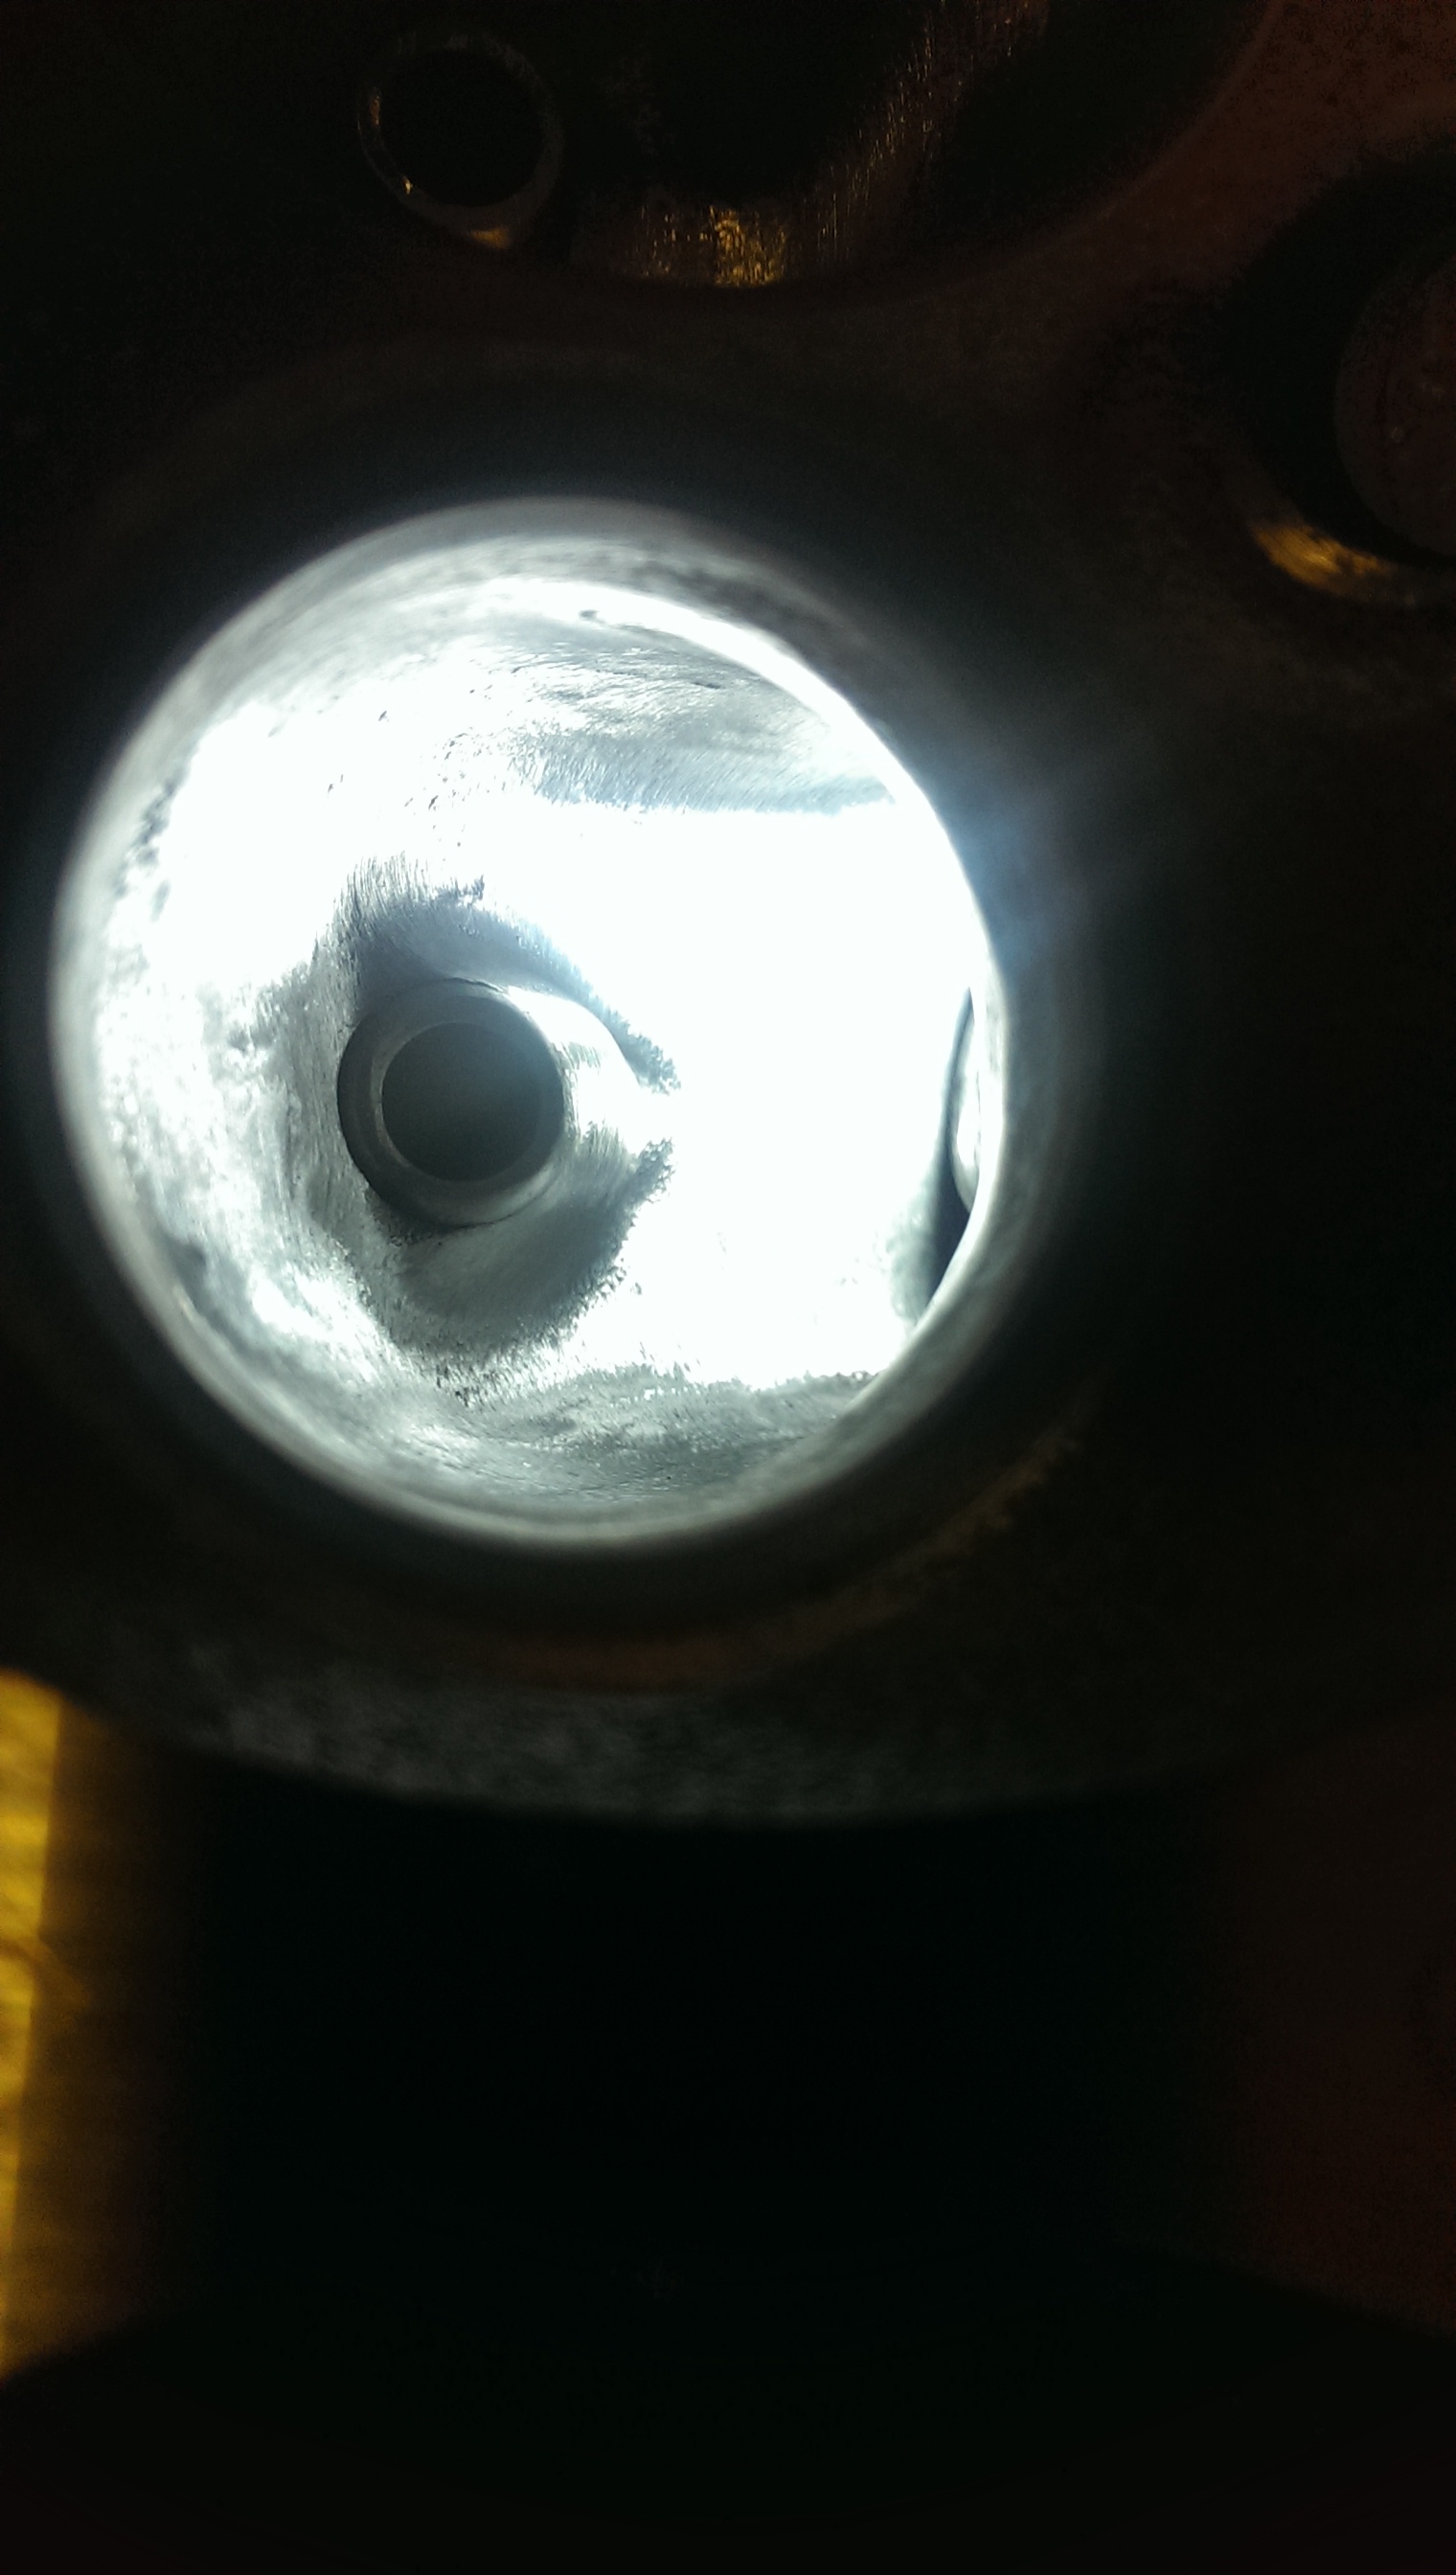
First thing I did was dive in with a big carbide cutter and blend the seat into the throat
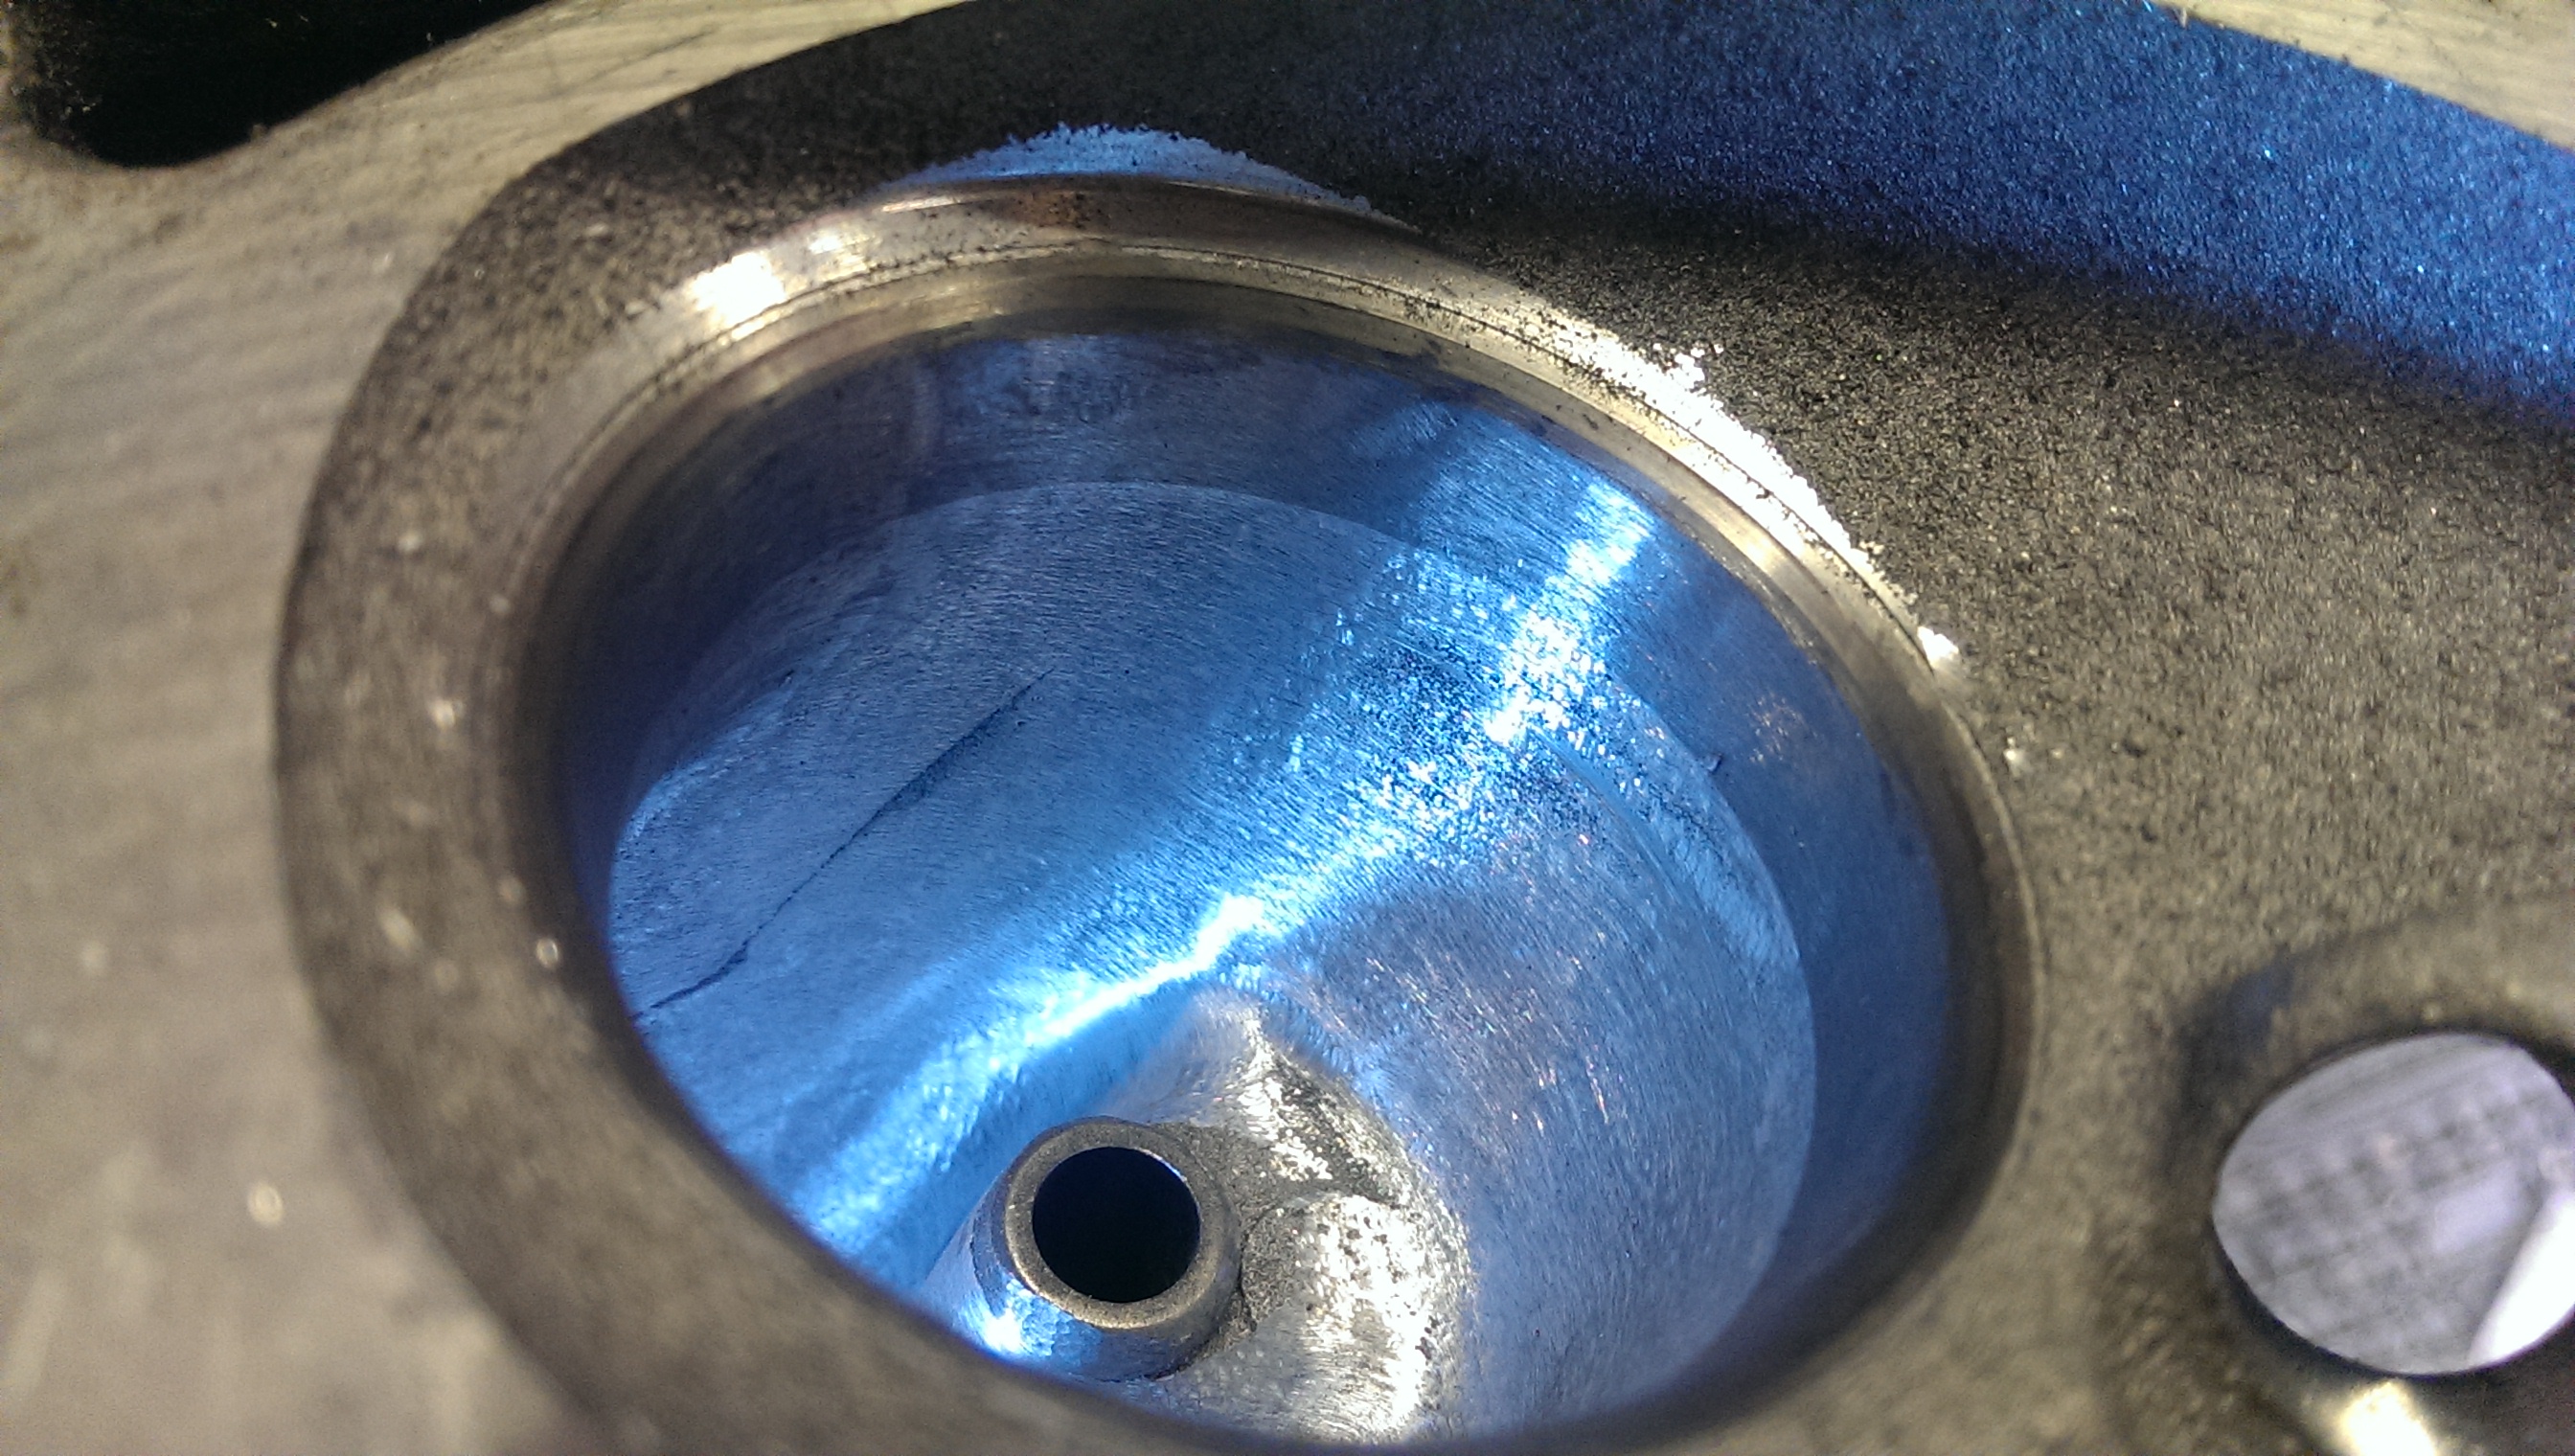
Then in with a smaller ball cutter and worked on the area around the guide. I did think about cutting the guide back, but I can't see any huge benefits from doing so?
I didn't really touch the rest of the port apart from cleaning up a few casting marks. I just need to run a cartridge roll all the way through the port to finish it off
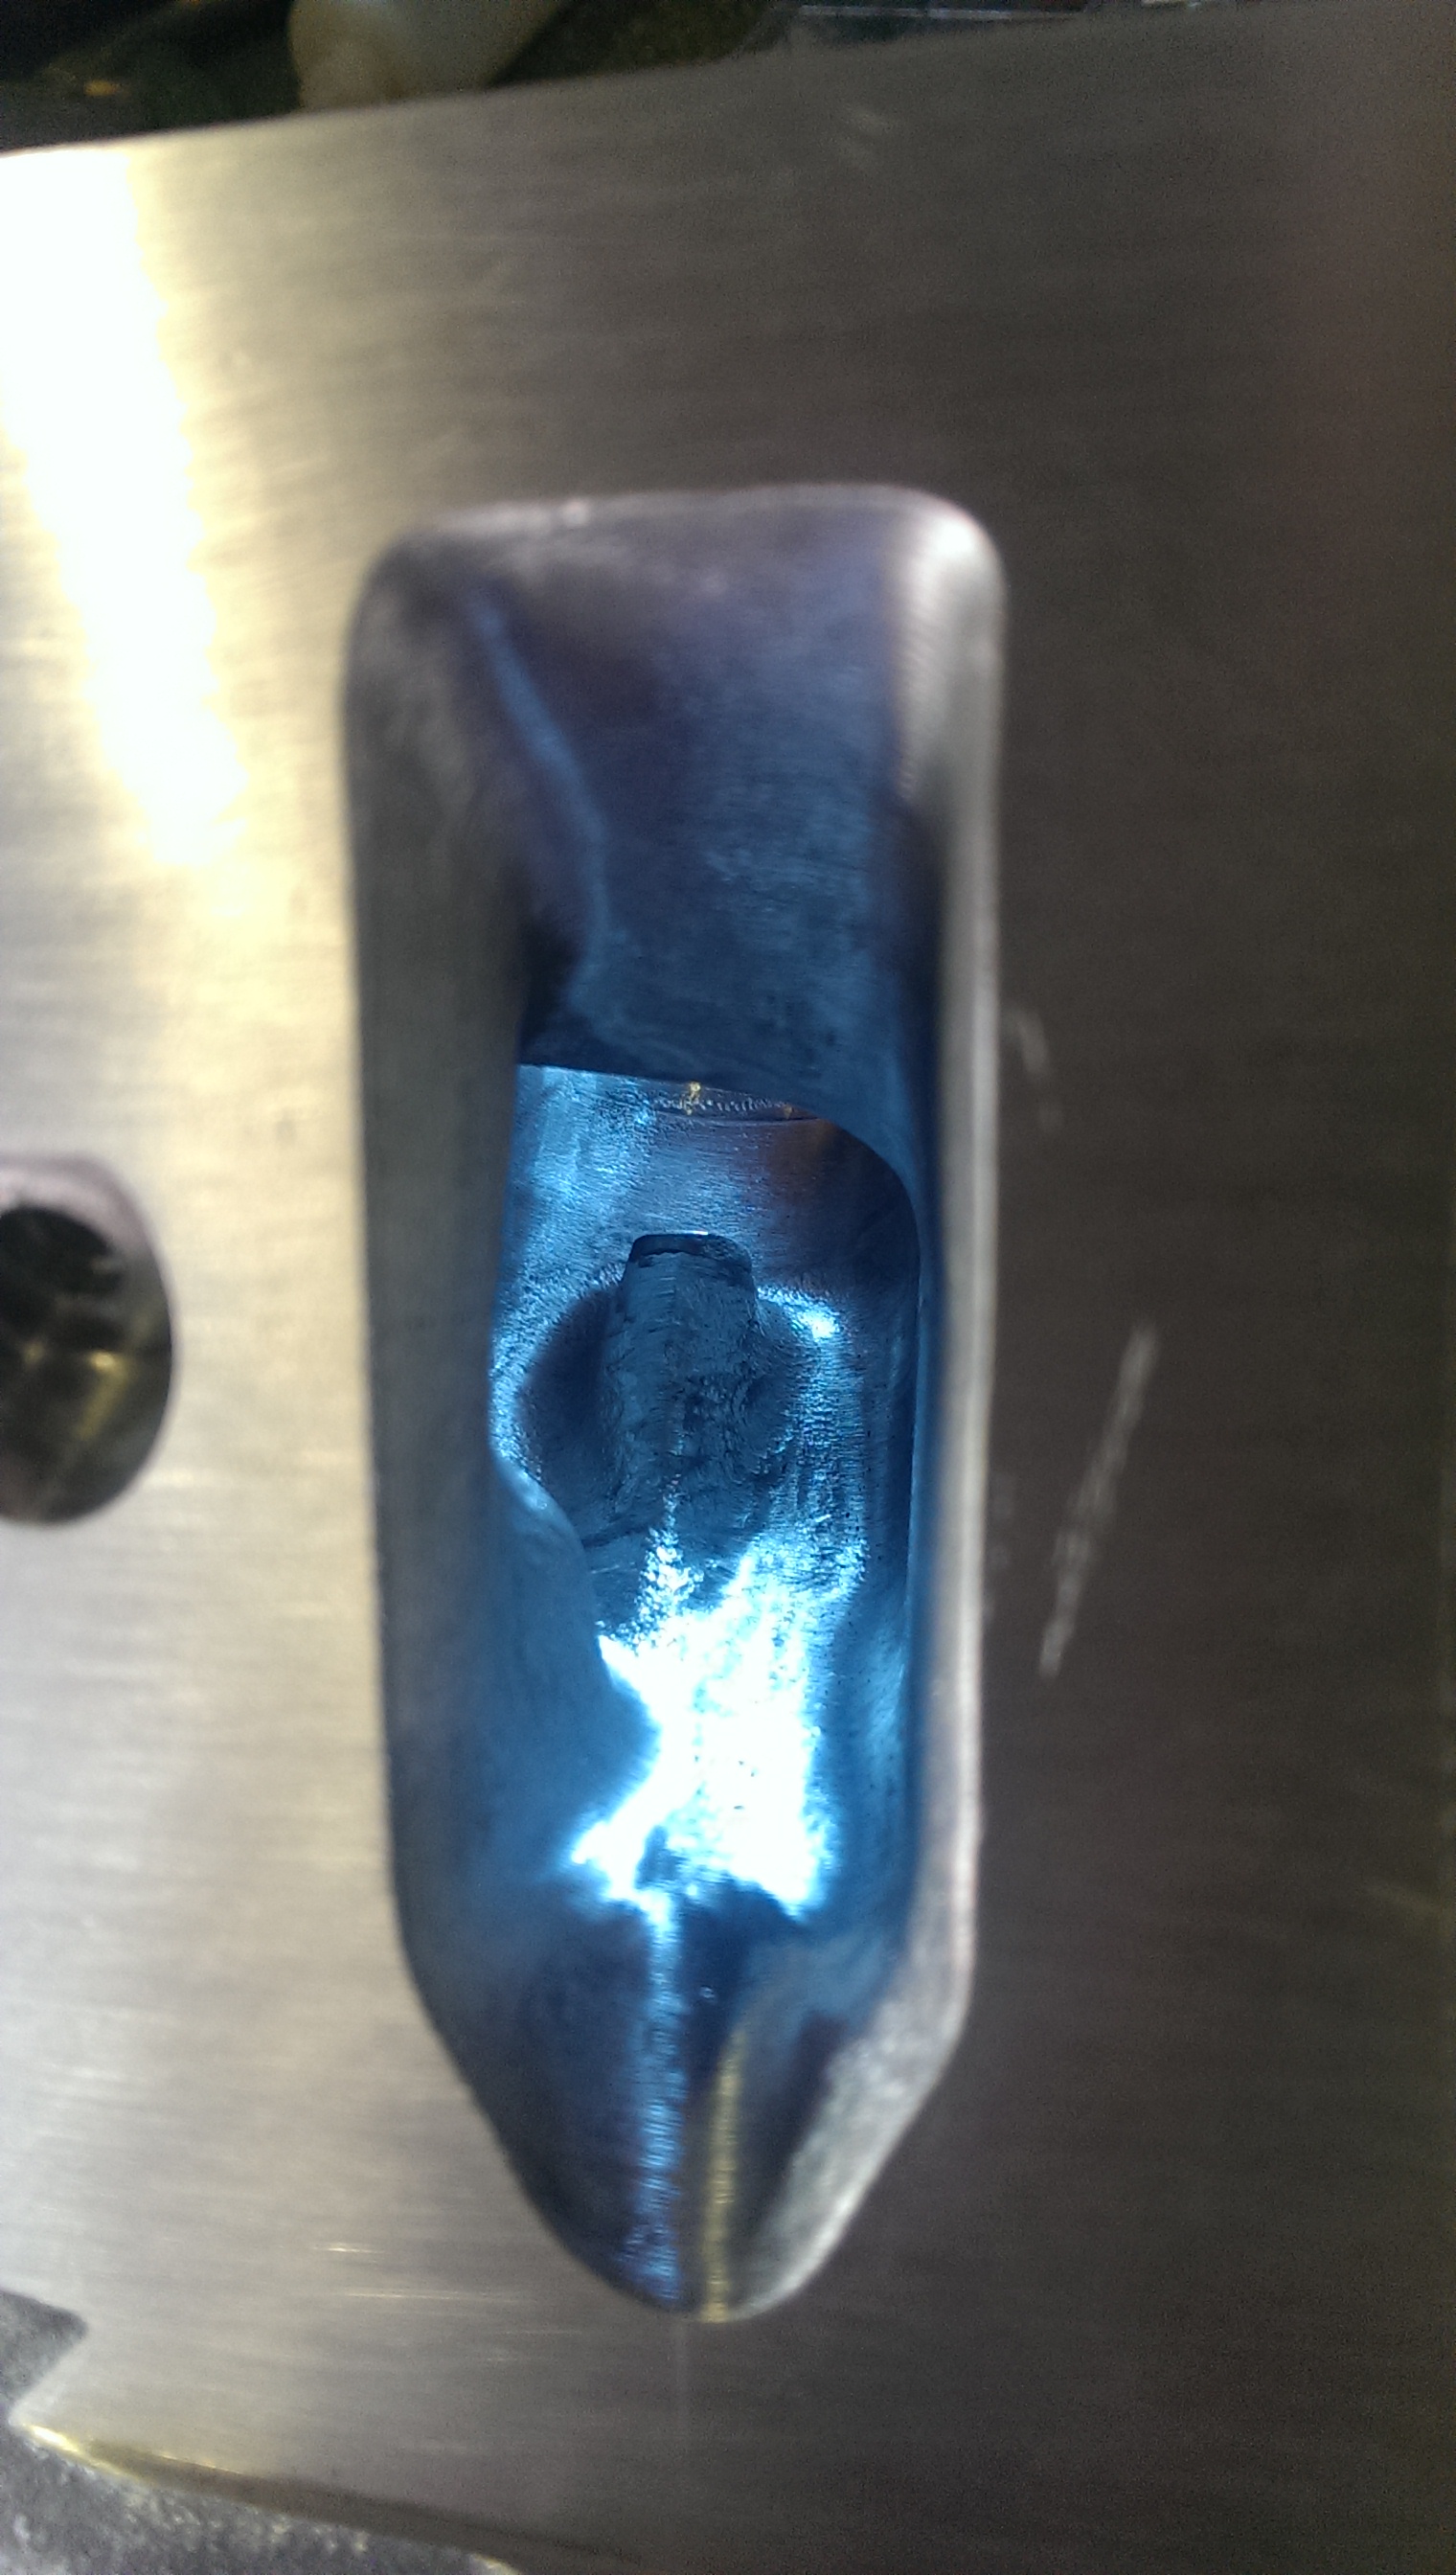
Inlet ports all squared up and equally sized
Next the exhaust ports - these were even worse where the seat meets the cast runner - but the port was a long way behind the seat insert, so all I could really do was clean it up a bit and blend it as best possible.
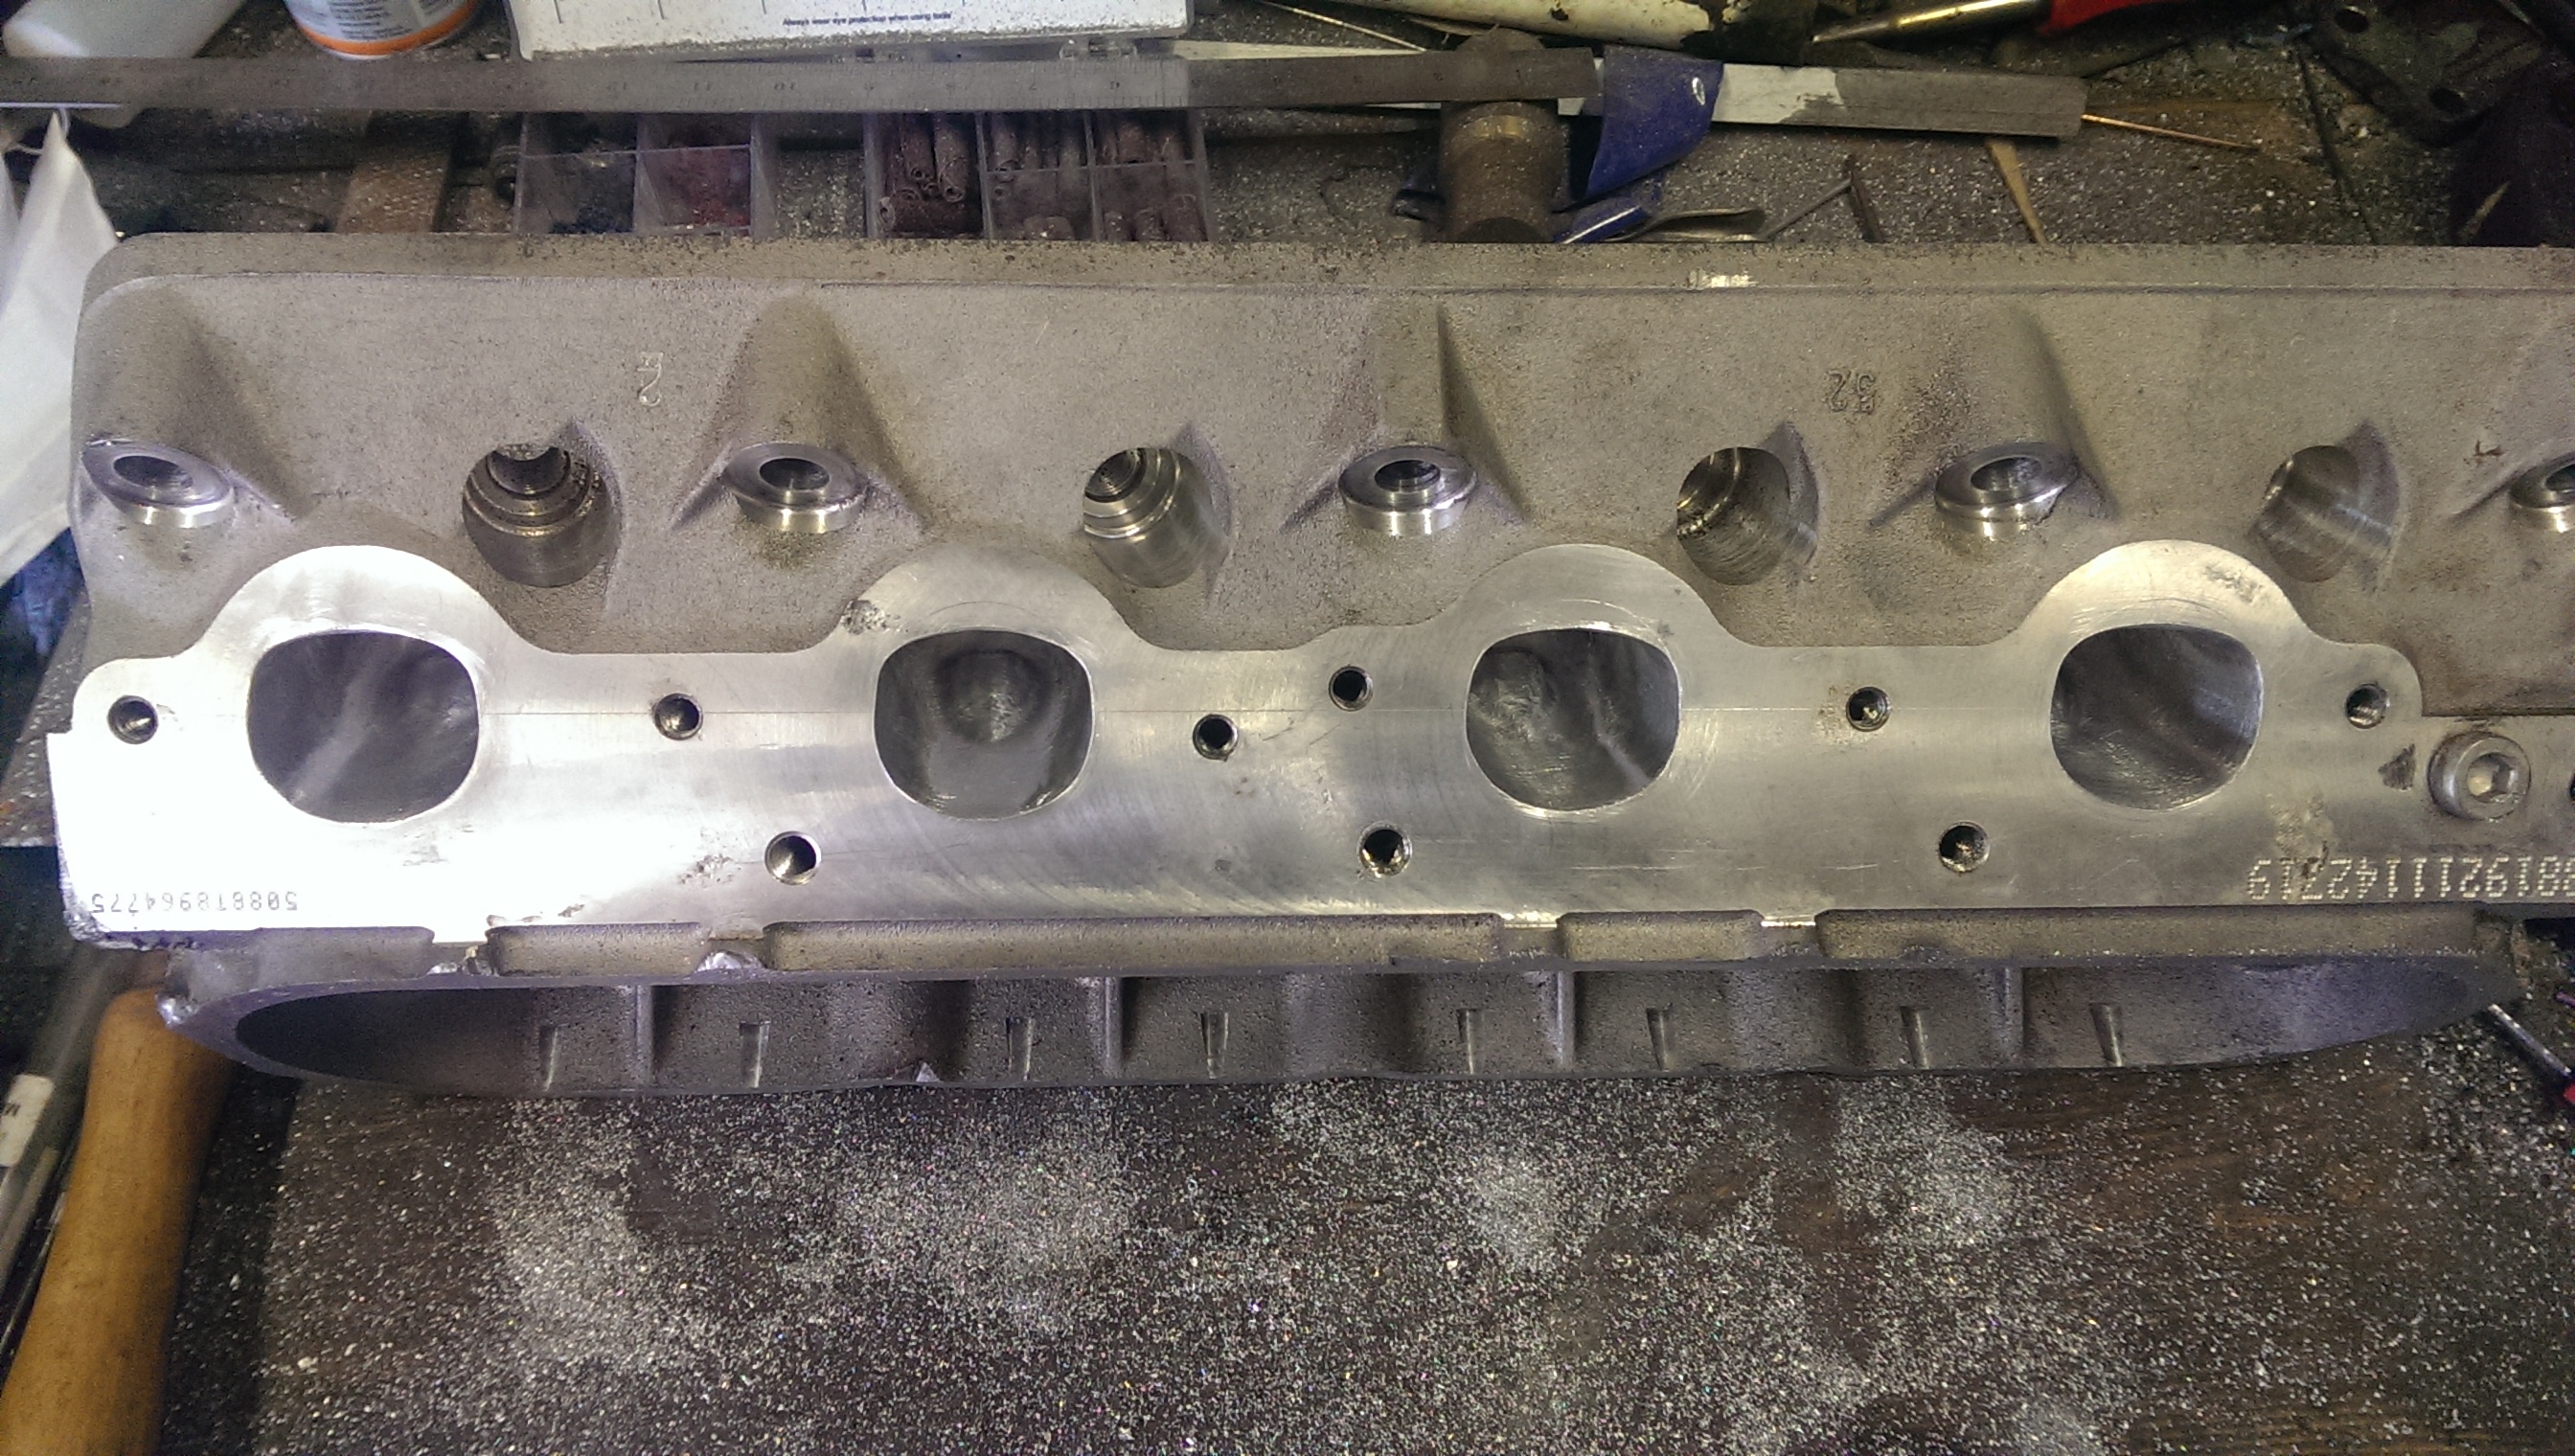
The main work on the exhaust side was at the port exit. They seem very small at the manifold, so I marked them out and then cut quite a lot of material out of the ports including on the top and bottom of the runners so as to make the port the same size all the way through.
Here's a side by side comparison
And all done
Not sure if what I've done will actually result in any gains... but it passes the time!
5 hours in and I've got one head roughed out with the carbide cutter. Just need to finish it off with cartridge rolls and give the exhaust ports a polish.
After they have been skimmed I'll polish the chambers and unshroud the valves as well.
I had a scrap head here as well, so decided to drill the ports in a few places to find out how thick the walls were as I wanted to remove quite a bit of material, especially around the exhaust ports.
Started off by marking out the inlet ports on the face so they were all the same size.
And here's a stock inlet port/valve throat, there's a big step where the cast runner meets the seat insert which you might not be able to see in the photos.
First thing I did was dive in with a big carbide cutter and blend the seat into the throat
Then in with a smaller ball cutter and worked on the area around the guide. I did think about cutting the guide back, but I can't see any huge benefits from doing so?
I didn't really touch the rest of the port apart from cleaning up a few casting marks. I just need to run a cartridge roll all the way through the port to finish it off
Inlet ports all squared up and equally sized
Next the exhaust ports - these were even worse where the seat meets the cast runner - but the port was a long way behind the seat insert, so all I could really do was clean it up a bit and blend it as best possible.
The main work on the exhaust side was at the port exit. They seem very small at the manifold, so I marked them out and then cut quite a lot of material out of the ports including on the top and bottom of the runners so as to make the port the same size all the way through.
Here's a side by side comparison
And all done
Not sure if what I've done will actually result in any gains... but it passes the time!
If you are going to reuse the 2.00" valve then you have picked up about 30 cfm, about 270 vs 240 cfm stock. if you use a 2.02-2.05" intake valve then you can get 280 cfm+ Assuming that is a 317. Remove the rocker bolt bump unit it is a hole, blend the bowls as smooth as possible, remove the swirl step completely, reduce the size of the guide boss and do a multi angle or Serdi cut valve job the these heads pick up a great deal of flow, saved a bunch of $ too.
Thread Starter
On The Tree
Joined: Mar 2015
Posts: 172
Likes: 1
Thanks guys.
Yes they are 317 heads - not ideal. But if I do decide to turbo or N2O in the future I'm sure they'll work out just fine...
My shorty burr wasn't long enough to reach the rocker bolt bump, but I'm waiting on some new ones anyway, so I'll get those removed too, thanks for the tip
I could probably do a bit more cutting around the guide bosses. Is there any benefit in cutting them back a bit? Most of the ported LS heads I've seen still have the guides/bosses in the port to varying extents.
Do you have a way to measure ? A buret or syringe graduated in mm or cc ?
There is a benefit in velocity to keeping the intake port small. If you do take out the rocker boss, I would be interested in knowing how many cc the rocker boss takes up. The 243/799/317 intake port starts out at 210 cc fyi.
There is a benefit in velocity to keeping the intake port small. If you do take out the rocker boss, I would be interested in knowing how many cc the rocker boss takes up. The 243/799/317 intake port starts out at 210 cc fyi.
Yes, there is plus to reducing the guide boss, removing the rocker bolt bumps. If you're using a double cut carbide for steel just keep it from loading up by spraying WD40 on it. Good valve job is key. Use thread sealer on rocker arm bolts afterwards.
Thread Starter
On The Tree
Joined: Mar 2015
Posts: 172
Likes: 1
Thanks again gentlemen....
I'd guess the rocker bolt boss is about 7-8cc by looking at it. I could measure the ports once I have them finished, won't be for a few days though.
I am using a double cut carbide for roughing out, cuts nice and quick, and if you don't run it too fast and push too hard it doesn't load up much. I keep an old chunk of stainless steel close to hand and if the cutter does load up I just press it into that quite hard and tend to find it clears it out in a few seconds.
Trending Topics
LS1 Tech Stories
The Best V8 Stories One Small Block at Time

Topdon ONE vs. Artidiag 800 BT2: Which is the Diagnostic Tablet For You?
Pouria Savadkouei
Gas Monkey Built a 6-Wheel Ferrari Testarossa With a Corvette LT4 Engine
Verdad Gallardo
7 Most Reliable High-Performance Engines GM Has Ever Built
Verdad Gallardo
Amazing '71 Camaro Restomod Is Modern Muscle Car Under the Skin
Verdad Gallardo
6 Common C5 Corvette Failures and What's Involved In Repairing Them
Pouria Savadkouei
Retro Modern Bandit Pontiac Trans AM Comes With Burt Reynolds' Autograph
Verdad Gallardo
Top 10 Greatest Cadillac V Series Performance Models Ever, Ranked
Pouria Savadkouei
Top 10 Most Powerful Chevy Trucks Ever Made!
