When you click on links to various merchants on this site and make a purchase, this can result in this site earning a commission. Affiliate programs and affiliations include, but are not limited to, the eBay Partner Network.
This car looks awesome in person! I was at 41 back in Nov. to help out a buddy that was there for the drift event with his LS2 swapped E36 BMW. I had the only other black Raptor there that day. As soon as I saw the pic of the Raptor I knew I've seen this TA before. Awesome car and awesome build!
This car looks awesome in person! I was at 41 back in Nov. to help out a buddy that was there for the drift event with his LS2 swapped E36 BMW. I had the only other black Raptor there that day. As soon as I saw the pic of the Raptor I knew I've seen this TA before. Awesome car and awesome build!
Thanks!!! I appreciate it!!! That was an awesome day. The cars were pretty impressive that day. The drift racing is pretty sweet to watch too. I didn't watch too much cause I was waiting in line to run most of the day. Next time you see me come and say what's up! I'll definitely be there a lot next season
Have you run your truck at the track? I wanted to run mine that day but it was too busy. I only got 3 runs in with my car but watched a ton of bad *** races.
Thanks again!
Will do. Yeah, I ran mine, but it's a stock 2010 scab w/6.2. It went a blazing 15.50@94ish? I think? I didn't even take a pic of the timeslip, since it was so bad! A stock Raptor has NOTHING out of first gear, just falls flat on it's face. I figured 411hp would pull this heavy beast into the mid 14's. It's my first Ford ever, and at this point I don't think I'll be buying another one.
Will do. Yeah, I ran mine, but it's a stock 2010 scab w/6.2. It went a blazing 15.50@94ish? I think? I didn't even take a pic of the timeslip, since it was so bad! A stock Raptor has NOTHING out of first gear, just falls flat on it's face. I figured 411hp would pull this heavy beast into the mid 14's. It's my first Ford ever, and at this point I don't think I'll be buying another one.
Lol. That's what I thought when I was first looking at them. I drove down South of Indy and I got the Roush version which is supercharged. Really wakes it up. Hits about 10# of boost from the factory and the perfect family vehicle for me . I also did the cobra jet throttle body and a tune from JDM Engineering out East. Nick over there is awesome. I bought kooks true duals and a pulley too but I want to change the plugs to a level colder before I do the other upgrades. And since there's 16 of them I haven't felt like doing it yet lol. Nick said it should be maxed at about 700 flywheel at that point lol. My tuner said he would dyno it the next time I come down. We just haven't had a chance yet because there's always something else to work on. It's not necessary but would be cool to see what it produces. Huge tires and all. Whipple makes a nice supercharger for it too. Supposed to be even better but I got a good deal on the whole package and even has a warranty lol.
Those Roush trucks are nice, but they are MONEY! I could get a NEW Escalade for what they were asking for used Roush's. I thought about an s/c of some sort, but this truck was an impulse buy. I figured I could drive it through the winter, and get what I paid for it in the spring, and not have to drive my Caddy if it's shitty out.
Those Roush trucks are nice, but they are MONEY! I could get a NEW Escalade for what they were asking for used Roush's. I thought about an s/c of some sort, but this truck was an impulse buy. I figured I could drive it through the winter, and get what I paid for it in the spring, and not have to drive my Caddy if it's shitty out.
Not a bad plan. Fun truck for the winter. I bought this truck right before they decided not to make a 2015. The dealer called me and wanted to pay me more to sell it back but I don't usually ever sell my vehicles lol. And I like mine way too much. My wife even gave it a 10/10 lol.
So I spent a few hours over the weekend on the car and I figured I'd do an update. Most of my time was reading and figuring things out. I haven't torn the car down this far before so it's fun and I don't want to mess anything up. I bought a new harmonic balancer puller so I could get my ATI damper off. Then I pulled the front engine cover and replaced the cam. That was easier than I thought actually, especially with the correct harmonic balancer remover
I decided to send my melling high pressure pump into Tony to have ported, so that will hold up re-assembly for a bit but that's ok because I can get a lot done throughout the car before I get back to that. I just figured it's a good idea because I'm not in a rush right now. Probably overkill but oh well.
So I was going to at least get the crank and cam lined up and cam gear back on but I spent hours trying to figure out where the dot was on the crank gear. Not just on that, but I was reading through articles and bothering Tony and playing around with my 1 year old but I couldn't figure it out.
There's a triangle on the crank gear if I turn it but in the picture up above piston #1 is at TDC. So the dot should be here. So after bugging Tony some more he told me that the piece in front of the crank gear is actually a separate piece for the oil pump called the oil pump drive. For some reason I missed that in the 2 books and multiple online articles lol. So I after reading some more I found out I could just pull it off real easy and see the marks on the crank gear. The oil pump drive didn't budge so I used a 3 arm puller to pull the crank gear a little forward and then I bumped it back with a big socket and a mallet. That separated the crank gear from the oil pump drive and the drive pulled right off.
And there's the mark I was looking for. At least I'll know that from now on.
Now that I have that figured out, I will get everything lined up but I want to degree the cam also so we'll see how far the cam is off to start once I line everything up. Probably overkill too but I want to learn how to do it.
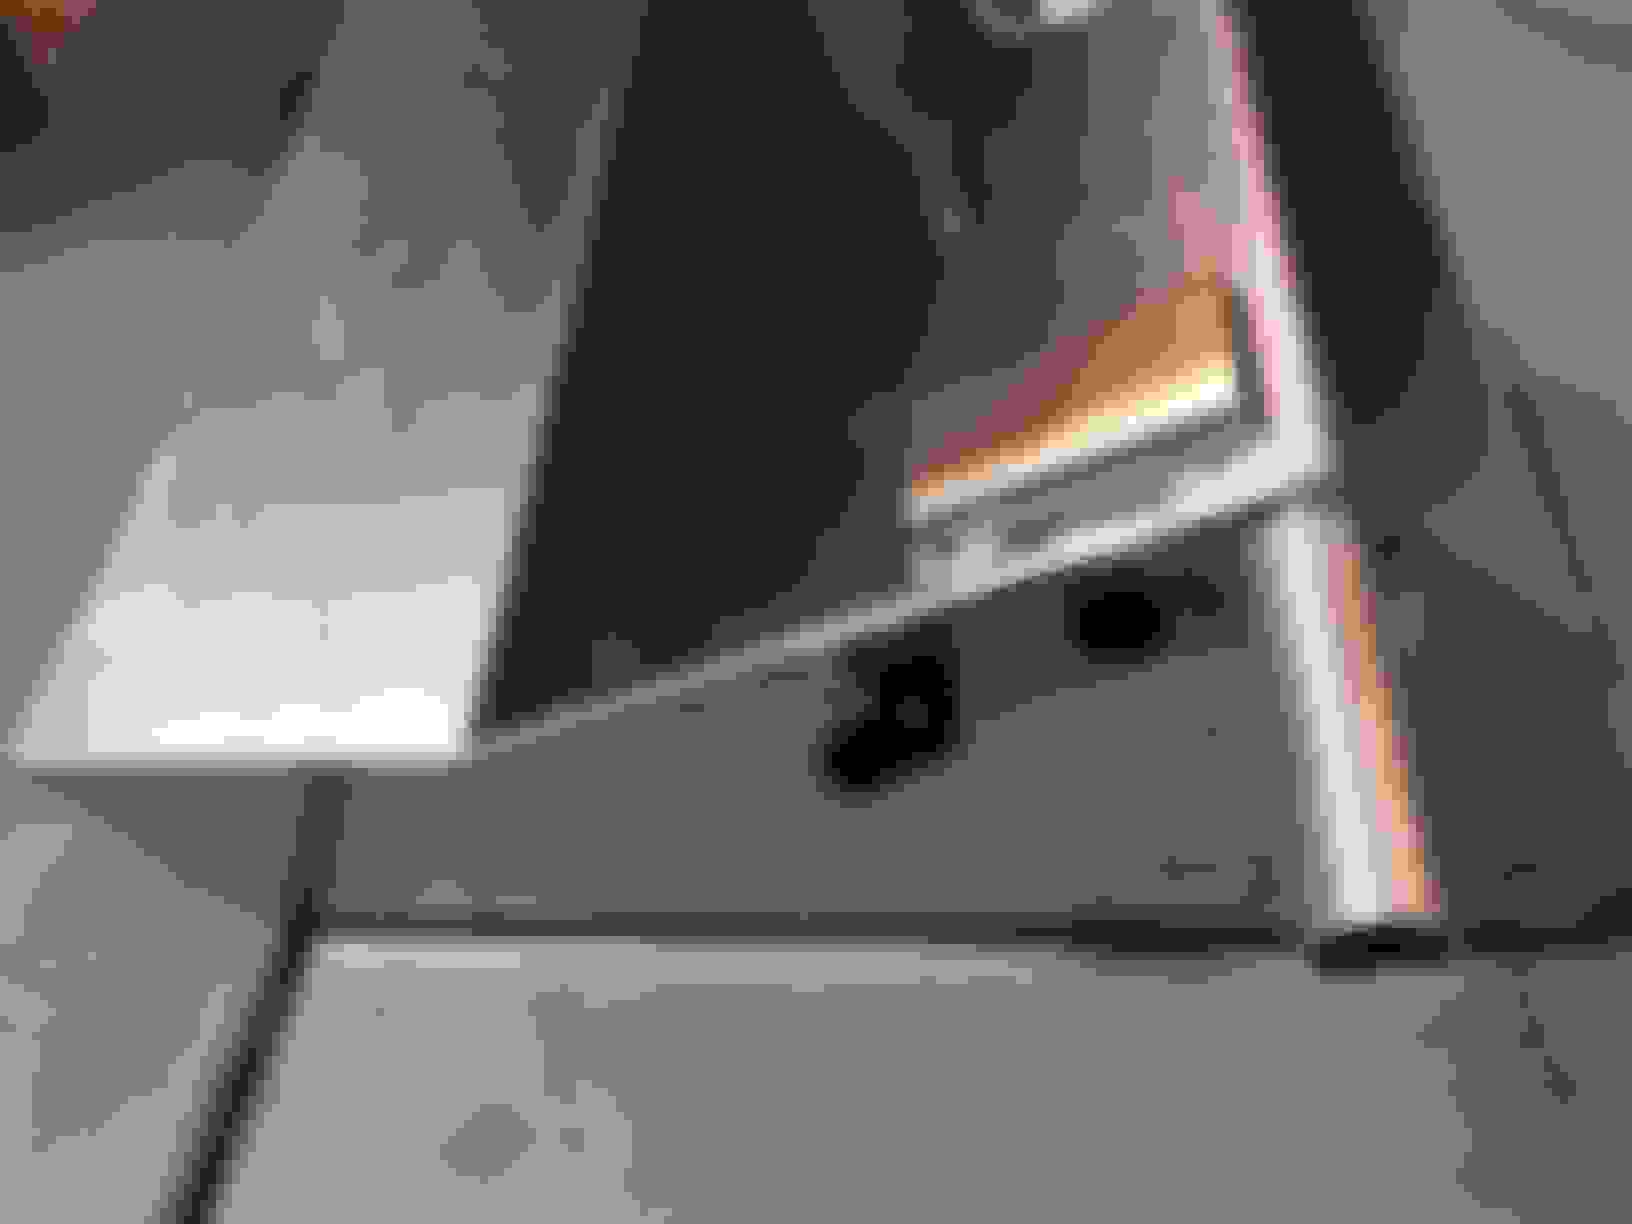
Worked on the car a little more. I finally got the fittings I need for my new sump tank from Behind Bars Race Cars. They did really nice work building this. I still need Chris to get me a block off plate for the top and install a vent there instead. I'm not going to use any of the stock system and Ive had this about a year so I ordered it with intentions of putting a sending unit in it.
I got the tank up and fitted. I had to get a little longer bolts in order to use the stock gas tank straps but it bolted up nicely. I got the return line hooked up also so that's done.
I started working on the inline pump and the feed lines but I had just enough fittings and I stripped one so now I'll just have to wait to get a few more. No big deal. I'll work on something else Making lines is a pain in the butt anyway. I like to split it up and do it a little at a time. And I'm also not sure if I want to use an Aeromotive pump on this car or the Magnaflow pump I have. It probably doesn't matter too much. Chris seemed to like the Magnaflow a lot but I thought about using it on my other build eventually because everyone seems to use Aeromotive that I read about.
I got the crank and cam figured out and timing chain mounted along with my Trick Flow adapter for LS2 timing chain tensioner.
I need to get the block cleaned up now so that I can measure for gaskets properly. Tony said using a longboard sanding block and 320 grit sandpaper. I guess I'll have to take my studs out to clean it up good enough. I didn't before but I don't want to take any chances this time.
I got my lifters ready too and installed those.
Got my fuel pump setup as far as I can until I get more fittings. The prefilter and the pump. I have the post filter, I just need an adapter for the other end of the pump and one more hose end
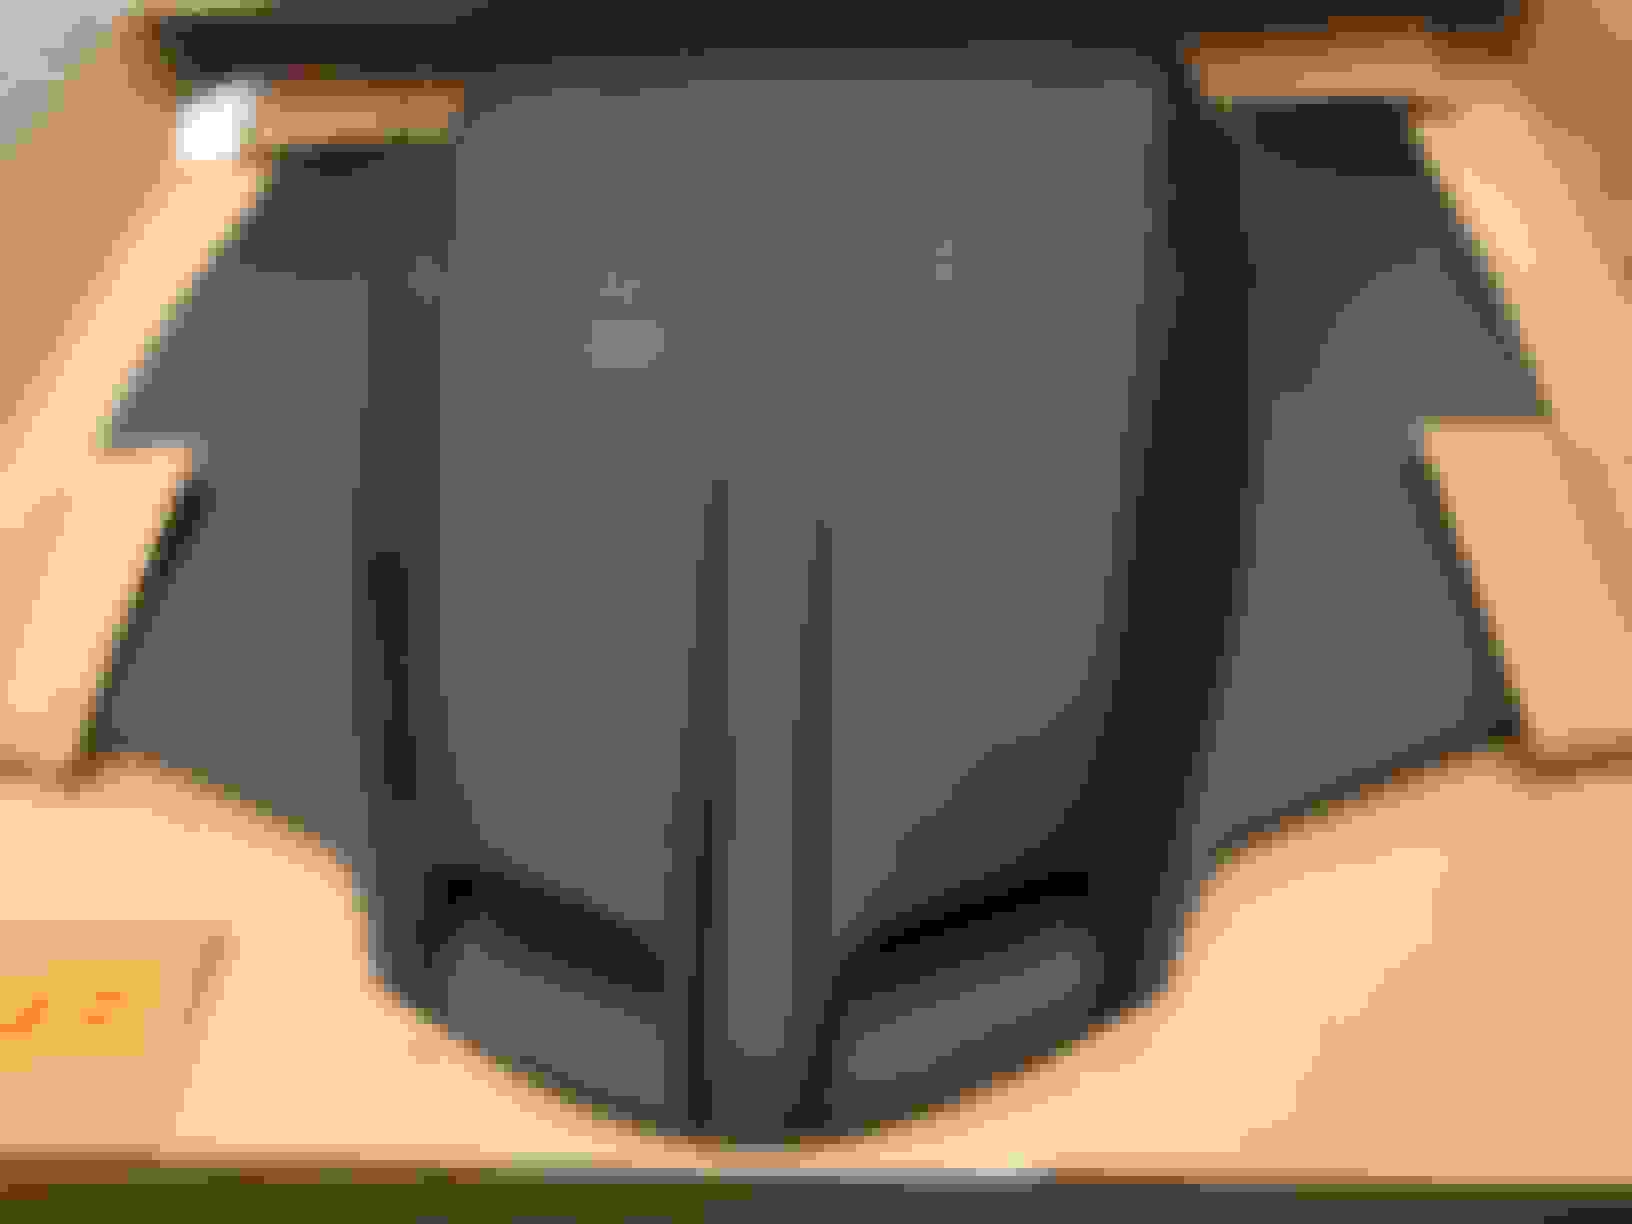
I really like the stock look too but I think this will help a lot with cooling. Also weight too because it's pin on. I'm not sure what hardware to use yet but I think I'm going to use Midwest Chassis hood frame rail kit.
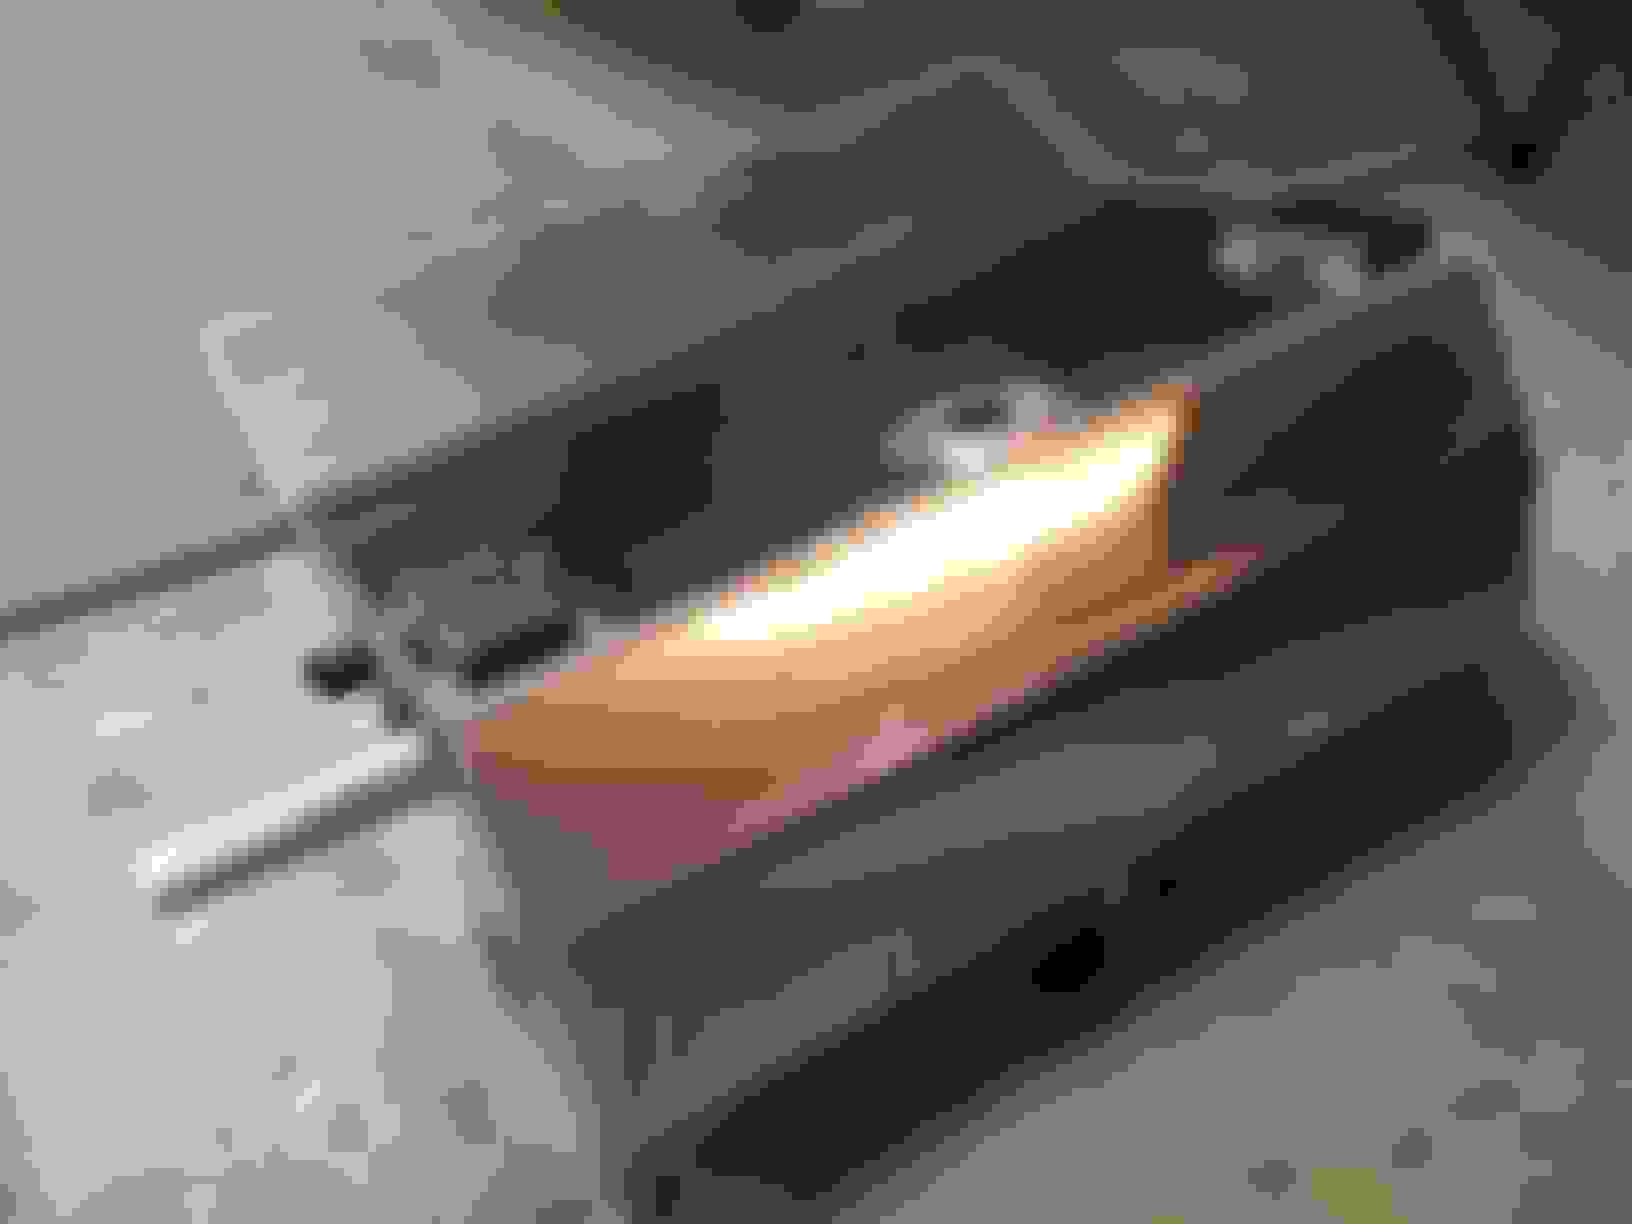
I do a lot of wood working, so I planed and flattened a 2x4 piece of oak and then attached 400 grit wet/dry sandpaper. With a bit of wd-40 it worked awesome to clean the block surface. It was a little nerve racking at first, but if you take your time it works really good. As soon as I made 4-5 passes the sandpaper would be loaded up, then I would attach a new piece. This way I never really got much debris in the cylinders.
Thanks buddy. I've seen it on a couple other members cars and it looked really good for sure. I'm going to have the body worked on last of course so it will be a little bit.
Originally Posted by 5_litre_eater
I do a lot of wood working, so I planed and flattened a 2x4 piece of oak and then attached 400 grit wet/dry sandpaper. With a bit of wd-40 it worked awesome to clean the block surface. It was a little nerve racking at first, but if you take your time it works really good. As soon as I made 4-5 passes the sandpaper would be loaded up, then I would attach a new piece. This way I never really got much debris in the cylinders.
Thanks, that sounds like a good idea too. I do some wood working too but nothing too fancy. I will just make some Christmas and birthday presents. It's fun but takes me way longer to do than most people who do it. I made my 1yo a pretty cool activity board for Christmas so we'll see if he likes it. Thanks again.


 12-18-2015, 01:49 PM


 . I also did the cobra jet throttle body and a tune from JDM Engineering out East. Nick over there is awesome. I bought kooks true duals and a pulley too but I want to change the plugs to a level colder before I do the other upgrades. And since there's 16 of them I haven't felt like doing it yet lol. Nick said it should be maxed at about 700 flywheel at that point lol. My tuner said he would dyno it the next time I come down. We just haven't had a chance yet because there's always something else to work on. It's not necessary but would be cool to see what it produces. Huge tires and all. Whipple makes a nice supercharger for it too. Supposed to be even better but I got a good deal on the whole package and even has a warranty lol.