When you click on links to various merchants on this site and make a purchase, this can result in this site earning a commission. Affiliate programs and affiliations include, but are not limited to, the eBay Partner Network.
I agree.
They will be explosive off idle and in the mid range but will be down in hp up top.
The afr 215 head is a better match for a 6.2
You could go to a 235 head but it would be a bit flat down low till it was stroked.
if the OP has plans of doing a stroker engine 416 I would get the 235cc.
It�s an auto trans car, so explosive midrange will be just fine.
I�m in the short block about $1700 which includes forged rods/pistons. The goal was just to replace the tired LS1.
I dynoed the old LS1 last year. When I get this done and put some miles on it, I�ll dyno again and see how it compares.
I built a wood fixture to hold the engine while I finish dressing it (flywheel, clutch, trans, harness, headers, etc.) for install....
I built the fixture out of wood, because I had wood on hand ... Getting ready to drop the engine off the stand onto the fixture ... Engine on fixture ... I had some clearance issues around the oil plumbing on the drivers side ... Passenger side no such issues ... Sitting on fixture, ready for new clutch to go on ...
The clutch is on, but I can't mate the transmission until I get the slave cylinder dimensions corrected. I may get a new slave from Carolina Clutch, or I may go whole hog and put a Tilton adjustable in there. It's only money. :-)
My engineering group built one out of wood. I don�t even remember why. Assembled it on top of the eng bldg (3 stories) and flung electronic parts across the parking lot.
Working on this between camping trips with the wife. She teaches, it's her summer off, so we're going on camping trips every few weeks during the summer. I have ~10 days now between trips, so I'm working on getting the engine back in the car. It will go back in without the intake manifold.
I have two potential issues. The front sway bar may interfere with the ATI damper. That would be an easy fix ... move it forward half an inch or so. The hood may have a clearance issue with the new LSXr intake manifold. I hope I don't need sheet metal work on the hood to make it clear ... that would be expensive to maintain the stock look. I could hack it, but that's not what this car is about. Fingers crossed. :-)
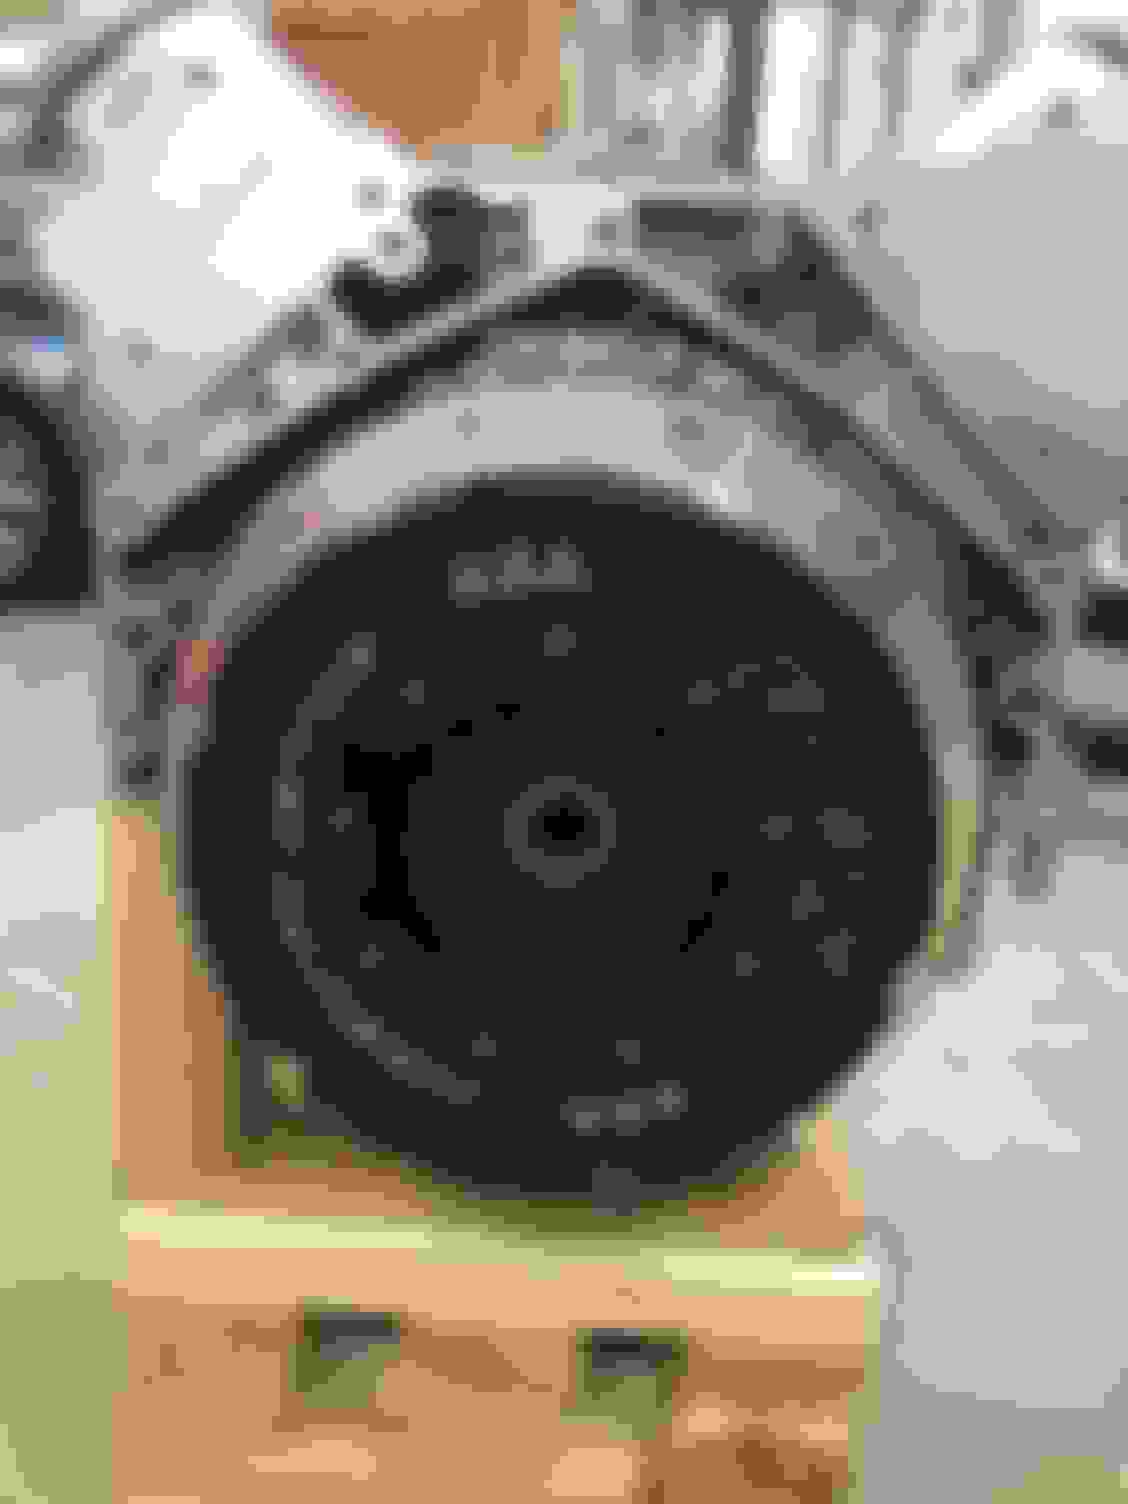
It took almost a month to figure out the solution to the RPS BC2 Carbon Clutch install issues. Long story short, the slave cylinder I had was not able to collapse far enough to provide the necessary diaphragm finger to throwout bearing clearance. A stock 2009 Camaro slave was all that was required. I also shimmed it up .093", using aluminum shims I got from ebay (to save weight over the Tick steel shims). Some may laugh at my weight savings there, but this is a sports car. If you watch the ounces, the pounds take care of themselves. It weighs 2400# and will have close to 500 rwhp with this engine. I especially watch weight on the front axle, in order to keep the weight distribution suitable for nice handling in the corners. That was one of my major motivations for going to the RPS clutch assembly, which is 25# complete. The Mantic twin disc setup it replaced worked awesome (will be for sale, only ~5000 miles), but weighed 37# (stock Corvette parts I used to start were 52#). That's fine for a Camaro or 'Vette, but this is a Miata. Doesn't need that much flywheel/clutch weight.
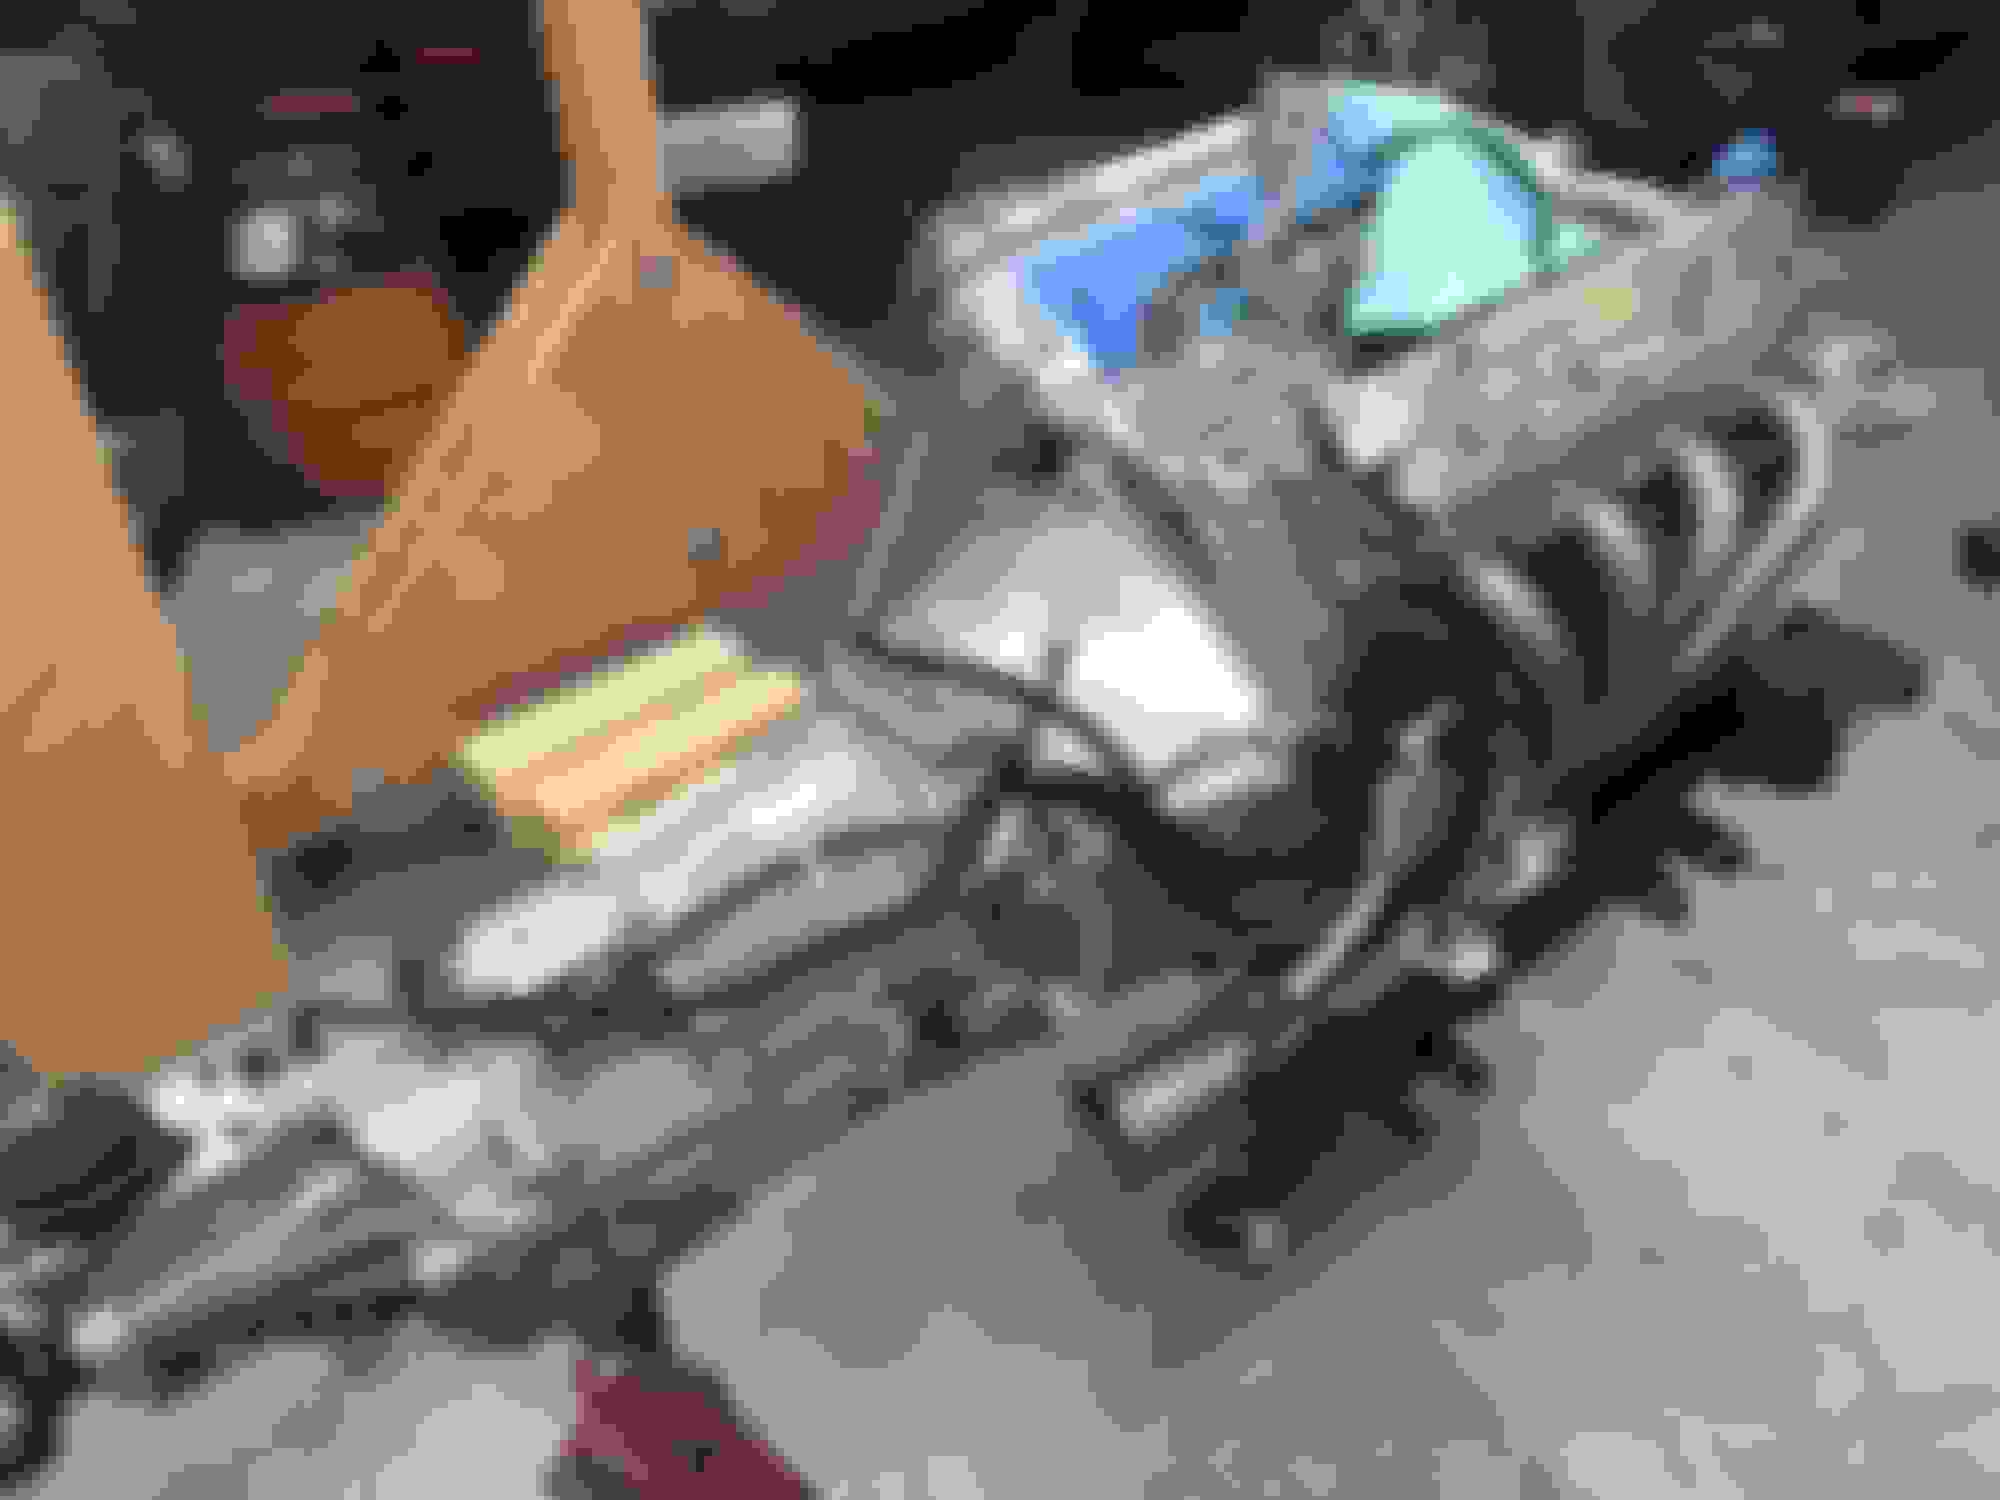
The part of the harness that stays on the motor is now installed. I moved the knock sensor on the drivers side forward to get it away from the header. The wires were getting crispy in the stock location. Accessories are back on, except for alternator, which lives on the lower right. I want to prime the engine with oil before I install it.
Last edited by grubinski; Jul 29, 2020 at 07:35 PM.
Getting closer, I'm going to prime it with oil tomorrow, and perhaps get it installed into the chassis.
You can see the custom wiring I did to make it easier to install/remove the powertrain. A lot of stuff is easier to do with the engine out, because Miata == clearance issues. You can see the plumbing for the remote filter / thermostat under the drivers side header. The steering shaft runs between the header tubes to the rack, which bolts on to the crossmember. Tight clearances to both the starter and front subframe on the passenger side header.
Don know how I missed that before. That is awesome!! Have you thought to put a monorail across the top beam to make trolly for X-Y movement?
It has casters on the bottom, so what limited movement I can do is accomplished with the whole thing. I didn't want to make it too extra long, just long enough to fit over the front fenders of the car.
LOL. When I ran the numbers, it was something like 7000#. That's plenty of safety factor. I'm an EE, not an ME, so I wasn't going to get cute and cut it close. :-)
Gas Monkey Built a 6-Wheel Ferrari Testarossa With a Corvette LT4 Engine
Slideshow: The controversial Ferrari F6 swaps its original flat-12 for a Corvette Z06-derived LT4 V8 and sends power to four rear wheels through a custom-built drivetrain.
7 Most Reliable High-Performance Engines GM Has Ever Built
Slideshow:These GM engines didn't just make huge power, they survived abuse, boost, track days, and six-digit mileage with a reputation for refusing to quit.
6 Common C5 Corvette Failures and What's Involved In Repairing Them
Slideshow: From wobbling harmonic balancers to failed EBCMs, these are the issues that define long-term C5 ownership and what repairs typically involve.
Retro Modern Bandit Pontiac Trans AM Comes With Burt Reynolds' Autograph
Slideshow: A modern Camaro transformed into a retro icon, this limited-run "Bandit" build blends nostalgia with brute force in a way few revivals manage.
Top 10 Greatest Cadillac V Series Performance Models Ever, Ranked
Slideshow: Cadillac didn't just crash the high-performance luxury vehicle party, it showed up loud, supercharged, and occasionally a little unhinged...