


Restoring my 1995 Bird..
Kudos to yeah man... thats rough at what happened but on the bright side once your done with it she will look like showroom again if not better. Keep up the good work and post more pics of your progress!

Thread Starter
TECH Apprentice
iTrader: (1)
Joined: Jun 2008
Posts: 303
Likes: 0
From: Fort Worth, Texas
what did you use to paint down in the valleys around the t-top whether stripping? it looks a LOT better than the bare stock look
car is looking amazing man, can't wait to see it all come together. your definately going to have a beautiful car that will actually be VERY enjoyable to drive
car is looking amazing man, can't wait to see it all come together. your definately going to have a beautiful car that will actually be VERY enjoyable to drive
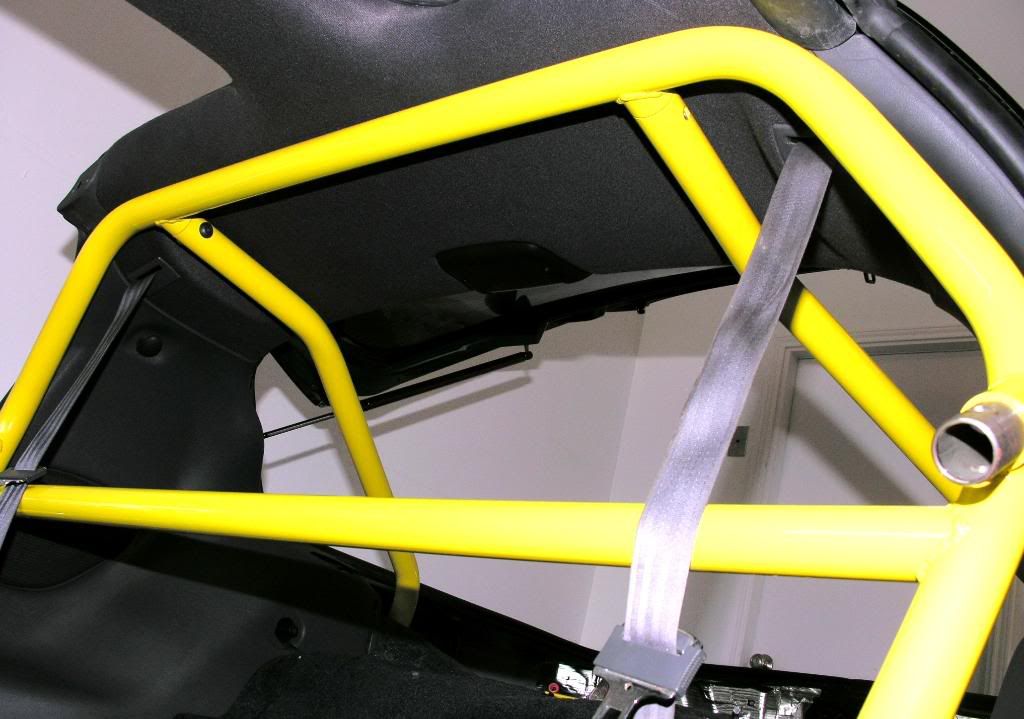
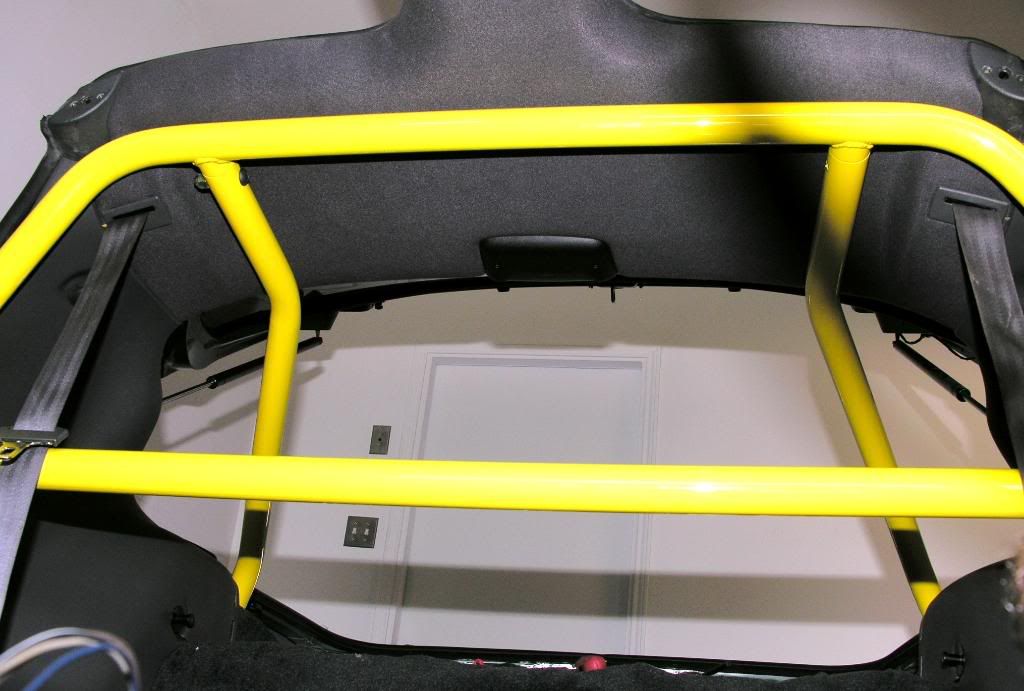
(side note).. I DID install the roll bar first.. LMAO! It was a nightmare trying to work the carpet around that thing.. So, I took it out and decided to do some "reverse engineering".. LOL
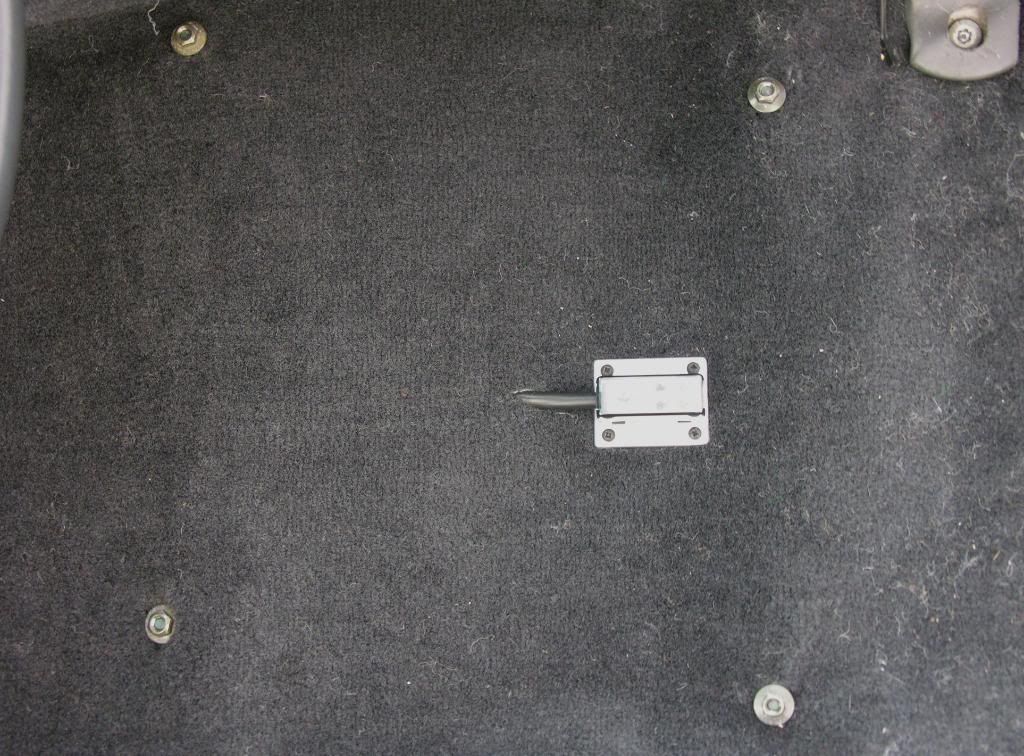
First things first this morning.. I installed my 4 AWG distribution block as an access point, for my "grounding" needs. It will be out of view, under the drivers seat.
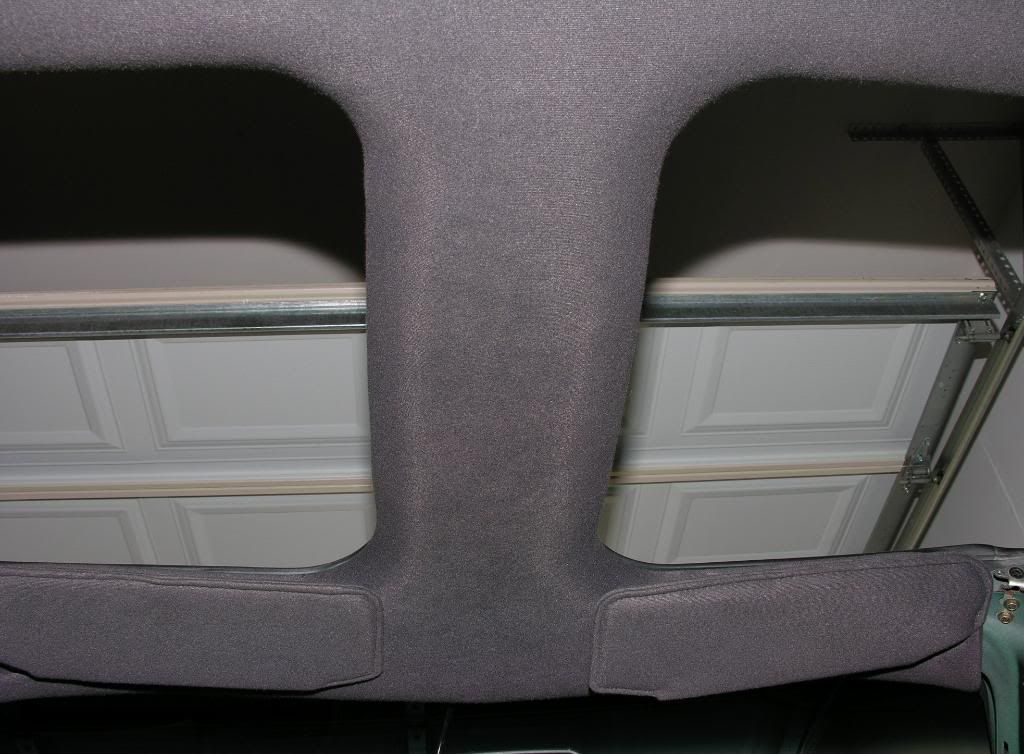
Next, I installed the headliner and sun visors..
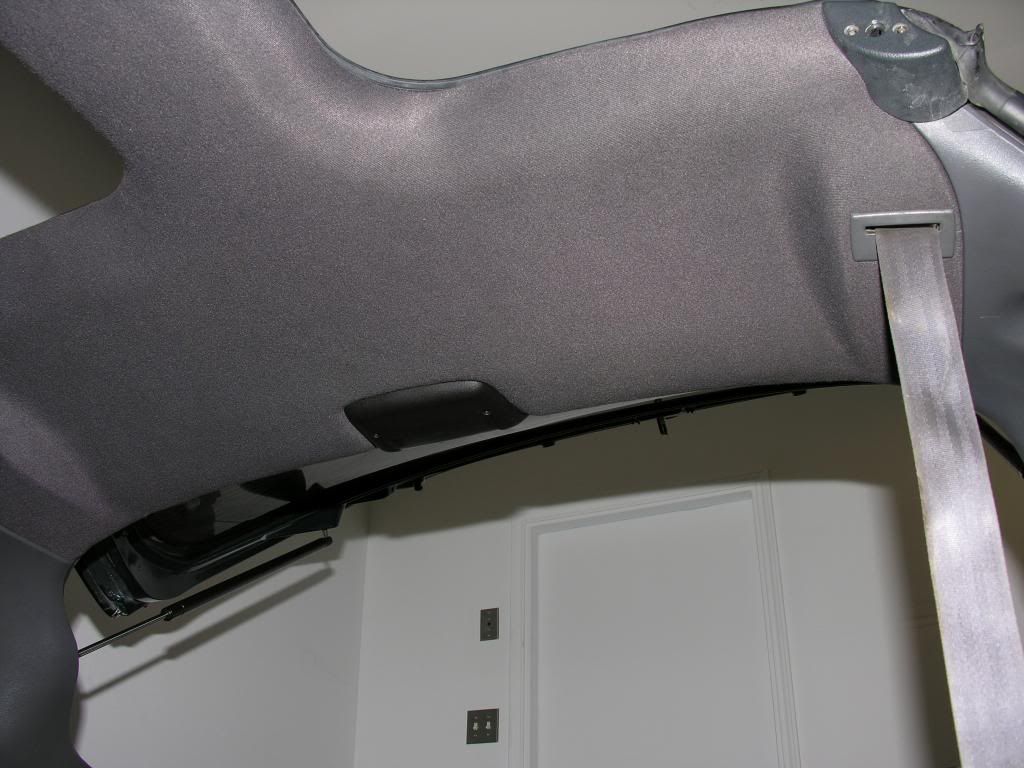
Also installed the sail panels, dome light and seat belts..
Finally, I "re-installed" the roll bar.. As it sits in there right now, it's "loose and unbolted" in there at the moment..
Thread Starter
TECH Apprentice
iTrader: (1)
Joined: Jun 2008
Posts: 303
Likes: 0
From: Fort Worth, Texas
Thread Starter
TECH Apprentice
iTrader: (1)
Joined: Jun 2008
Posts: 303
Likes: 0
From: Fort Worth, Texas
LS1 Tech Stories
The Best V8 Stories One Small Block at Time

Gas Monkey Built a 6-Wheel Ferrari Testarossa With a Corvette LT4 Engine
Verdad Gallardo
7 Most Reliable High-Performance Engines GM Has Ever Built
Verdad Gallardo
Amazing '71 Camaro Restomod Is Modern Muscle Car Under the Skin
Verdad Gallardo
6 Common C5 Corvette Failures and What's Involved In Repairing Them
Pouria Savadkouei
Retro Modern Bandit Pontiac Trans AM Comes With Burt Reynolds' Autograph
Verdad Gallardo
Top 10 Greatest Cadillac V Series Performance Models Ever, Ranked
Pouria Savadkouei
Top 10 Most Powerful Chevy Trucks Ever Made!

Hennessey's New Supercharged Silverado ZR2 Has 700 HP
Verdad Gallardo
Coachbuilt N2A Anteros Is an LS2-Powered C6 Corvette In Italian Clothes
Verdad Gallardo
Thread Starter
TECH Apprentice
iTrader: (1)
Joined: Jun 2008
Posts: 303
Likes: 0
From: Fort Worth, Texas
(Synthetic Carpet Fiber Carpet Padding ~ NOT THE FOAM PADDING)
Thread Starter
TECH Apprentice
iTrader: (1)
Joined: Jun 2008
Posts: 303
Likes: 0
From: Fort Worth, Texas
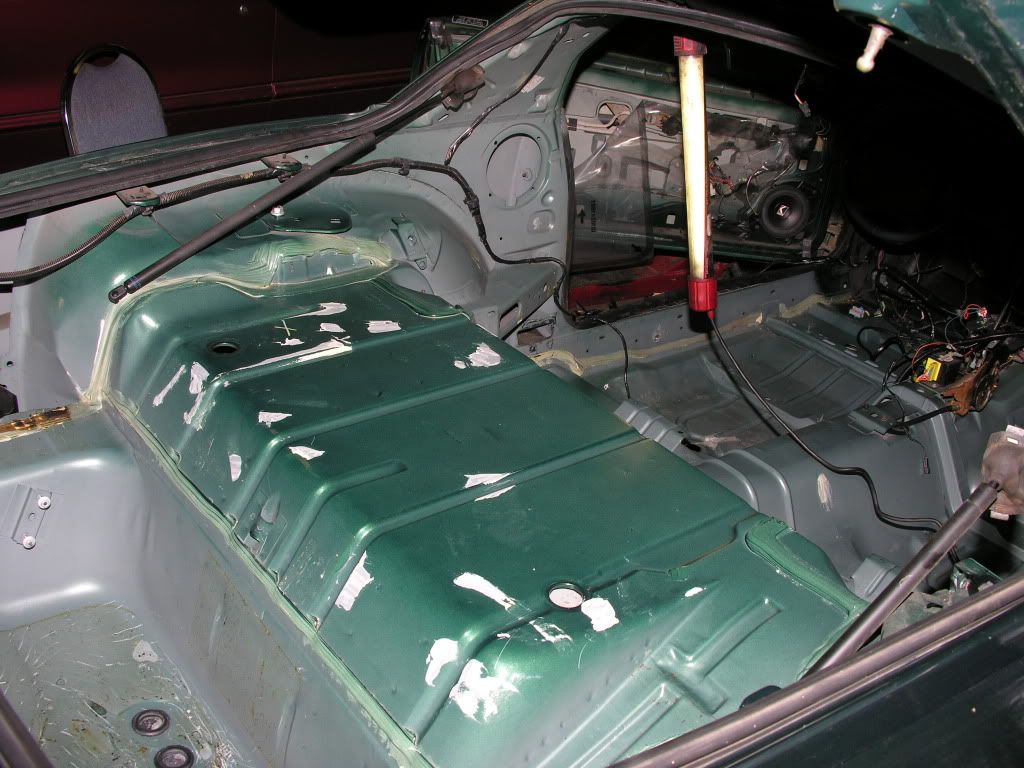
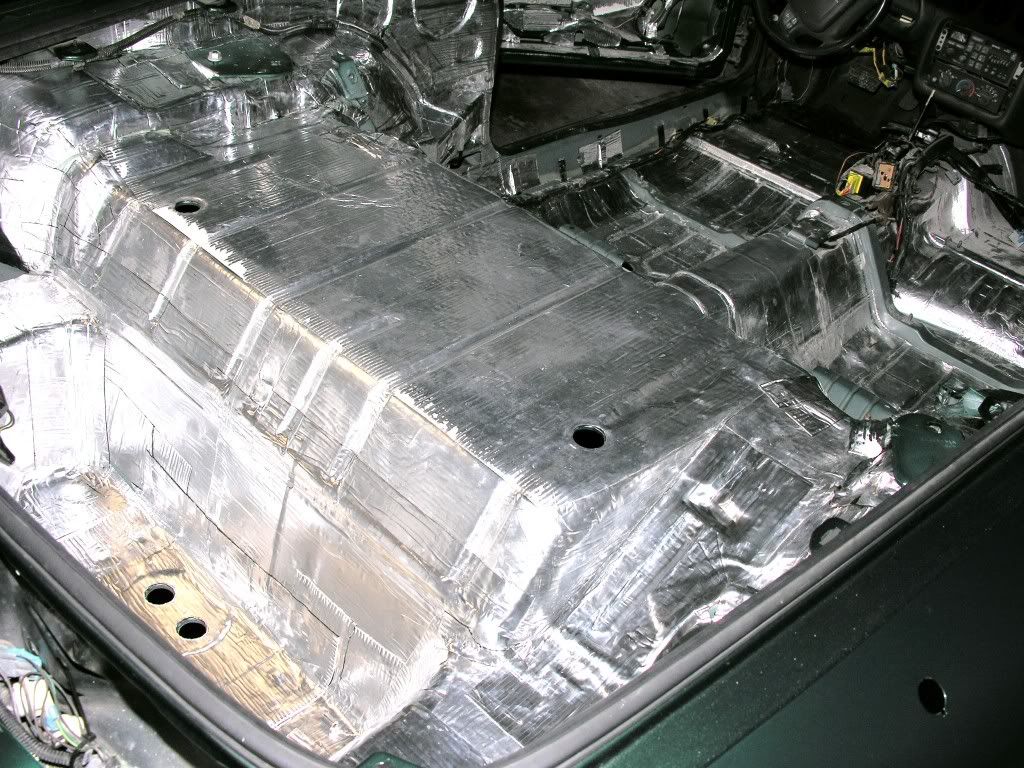
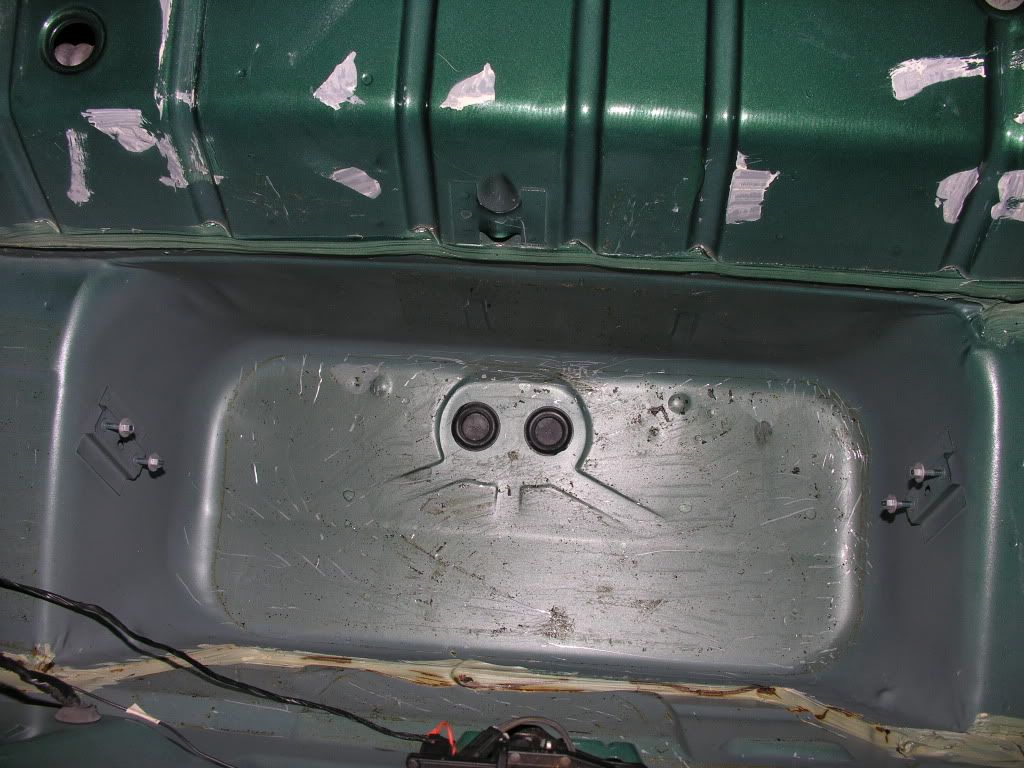
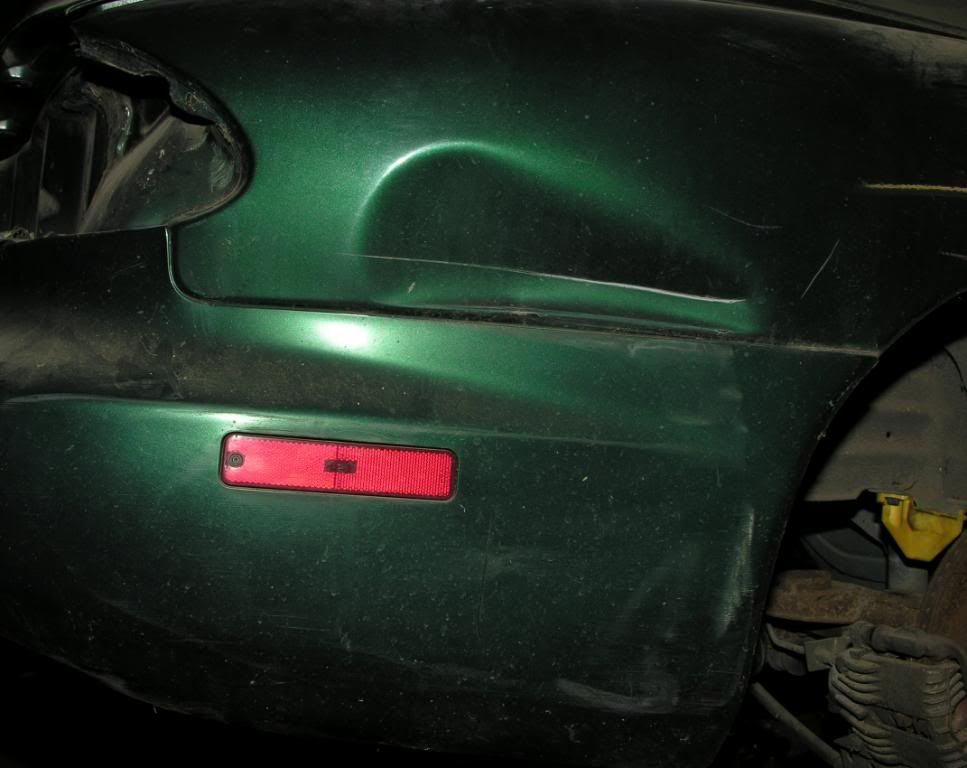
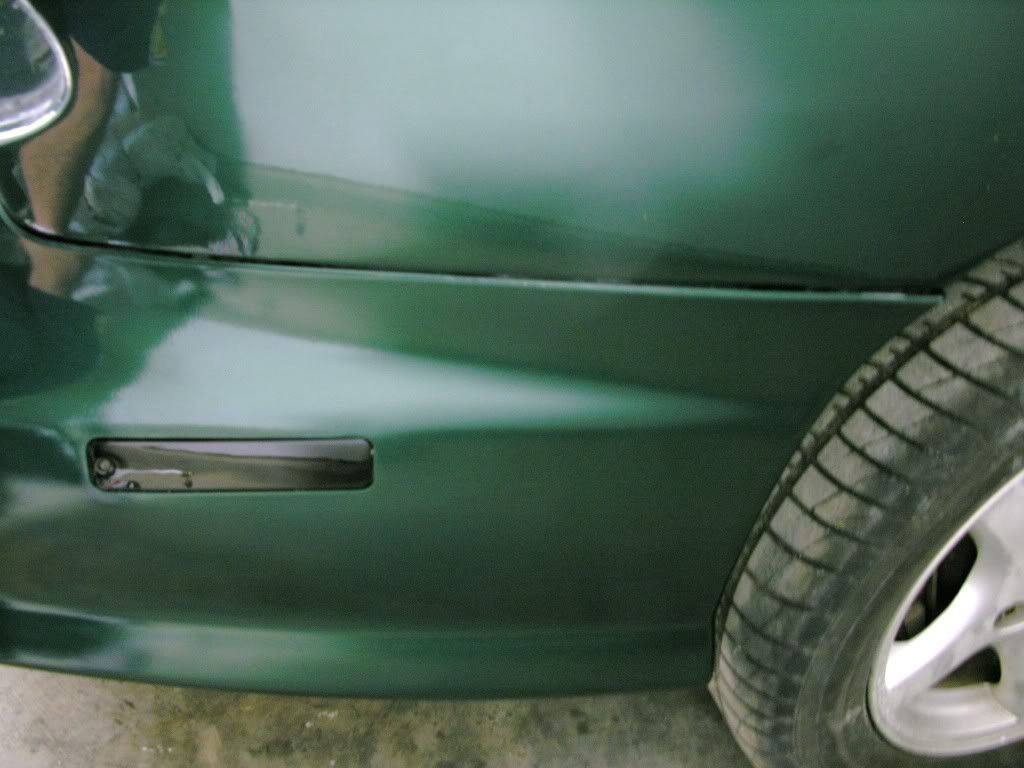
OK.. I got another day off today (but it's my wife's birthday). I probably won't get much accomplished today but I did find a few BEFORE and AFTER shots that I found interesting..
_______________________
_______________________
_______________________
_______________________
Is the bar MS or moly? This thing is going to be a rolling tank weight wise. I like the fact you cut out the rear seat brackets. Those things are a pain in the *** to remove with all of the factory spot welds.
Thread Starter
TECH Apprentice
iTrader: (1)
Joined: Jun 2008
Posts: 303
Likes: 0
From: Fort Worth, Texas
Thanks for the compliment! I went with the MS roll bar.. I did take the time to weigh it before installation. It weighed 78 pounds. I remember one of the guys telling me that the same moly bar for my car weighs about 65 pounds. So, I saved several hundreds of dollars for roughly 15 pounds. LMAO, I've lost 15 pounds since I've gotten back on my training / diet schedule.. hehe. In addition to removing the rear seat mounts and rear seats, I also removed my t-top trunk mounts, spare tire and factory jack.. So that helps off-set some of the extra weight. I would venture to say that I have only added at most, maybe 75 pounds of "extra weight" to the entire car. Very acceptable for a restored street car. Although the car will be an "aggressive street car" it will most definitely NOT be race car or gutted out daily driver.
Last edited by officermartinez; May 9, 2009 at 01:29 PM.
Thread Starter
TECH Apprentice
iTrader: (1)
Joined: Jun 2008
Posts: 303
Likes: 0
From: Fort Worth, Texas
Edge Racing 4L60E 3000RPM Converter (w/ anti-ballooning plate) - $565
New windows (minus the rear window) $438
Custom Upholstered Dash - $400
Moroso Cold Air Intake System - $180
New GM MAF $228
BBK 52mm Throttle Body 1994-97 LT1 - $305
PowerForce+Plus harmonic race damper LT1- $175
MSD LT1 Pro Billet Optispark Distributor - $289
GM Performance Parts LT4 Hot Cam Hydraulic Roller Cam - $150
MAC Headers w/ Y Pipe (ceramic coated by Performance Coating Specialties) - $675
SLP Loudmouth I Exhaust - $490
Random Technology RACE High-Flow Catalytic Converter - $259
Comp Cams Magnum 1.6:1 Roller Rockers - $190
Comp Cams LT1 Hydraulic Roller Lifters - $190
SLP Line Lock kit - $140
Wolfe Racecraft Full 6-point roll bar - $625 + $200 custom powder coated
Cold Fusion 200HP Wet Nitrous Kit, 20 lbs bottle, warmer, progressive controller, misc parts - $1,485
Racetronix Fuel Pump Performance Bundle - $230
UMI Performance 3-Point Subframe Connectors - $300
UMI Performance Engine/Strut Bay Brace - $95
Corvette ZR1 Rims (2) 17x9.5" + (2) 17x11" custom powder coated - $1,400
Sumitomo Tires (2) 275 40ZR 17's + (2) 315 35ZR 17's - $675
TransGo 4L60E Shift Kit - $130
Beefed up rebuilt 4L60E - $1700
MSD 8.5mm Black Super Conductor Spark Plug Wires - $110
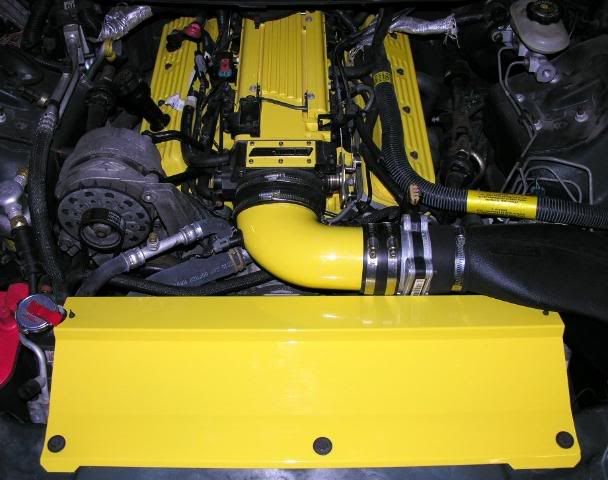
Vortech Aluminum Intake Elbow custom powder coated - $125
BMI Custom Powder Coated Aluminum Radiator Shroud - $200
LT1 Block .030 over, TRW forged pistons + powder coating - $ Ughhhhh
(4) new slotted / cross drilled rotors and brake pads - $509
(4) brake calipers and front spindles + powder coating - $270
(2) door handles + powder coating - $60
(2) new rear hatch shocks - $68
Misc fel-pro gaskets - $ Can't remember
New interior carpet - $200
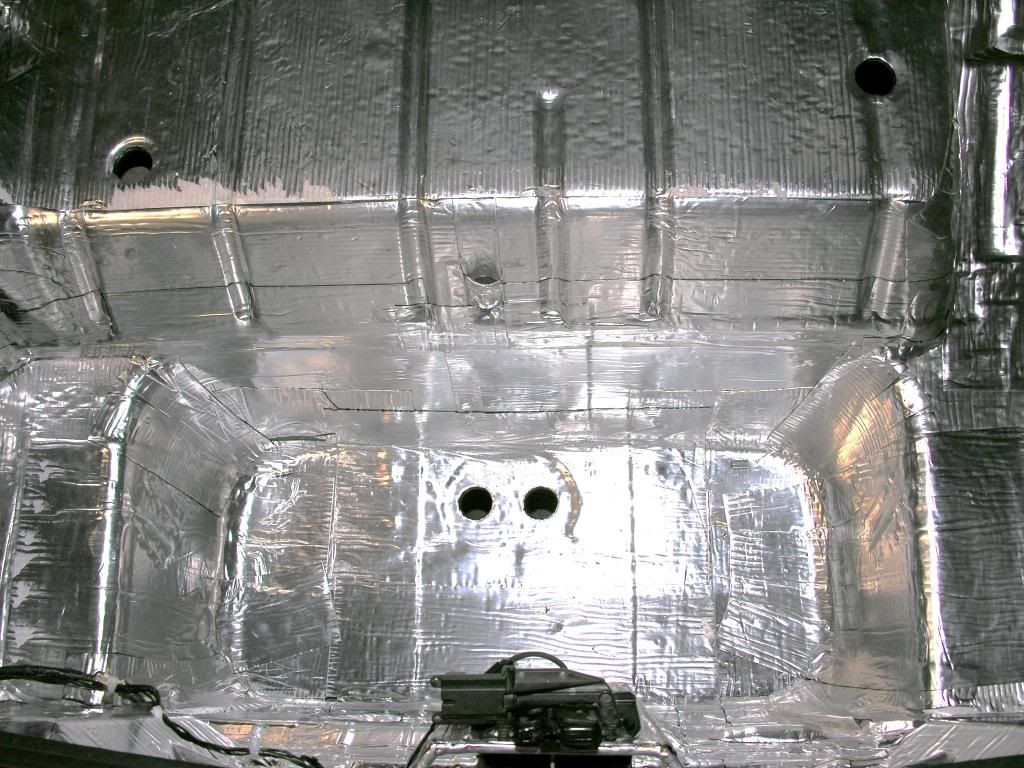
Fatmat (200 sq ft) $200
6LE front air splitter - $284
Rear Axle Bump Stops - $78
Replacement Rear Sway Bars - $26
Used (like new) center console - $150
Used (like new) misc interior panels - $200
Both front seats, headliner, sunvisors and door panels upholstered - $725
Roll bar mountable speaker dual speaker pods + powder coating - $225
Used T/A rear hatch, T/A front / rear bumper cover, side skirts, hood - $750
Paint and body work - $5500
Pavlock Perf. tinted rear tail lights, blinker lights and 3rd brake light - $275
KeeAudio double din bezel - $125 (give or take a few $$)
Cleaned / Dipped gas tank and radiator - $170
New window motors and new head light motors - $280
Used upper dash pad - $85
*** I'm sure there is more that I forgot to write down but you can get an idea about my general restoration costs so far.. Kind of depressing when I look at this list.. lmao!
Last edited by officermartinez; Jun 27, 2009 at 05:32 PM.
Thread Starter
TECH Apprentice
iTrader: (1)
Joined: Jun 2008
Posts: 303
Likes: 0
From: Fort Worth, Texas
I purchased a speaker box and it REALLY sounded awesome. It's only (2) 10" Toby woofers but you seriously have to hear it, to believe it. I thought I would be able to "squeeze" them into the empty rear seating area but it was a no go. Sooooo, I will see what I can do. The wife wasn't happy at all that I dropped almost $600 on this Toby speaker box.
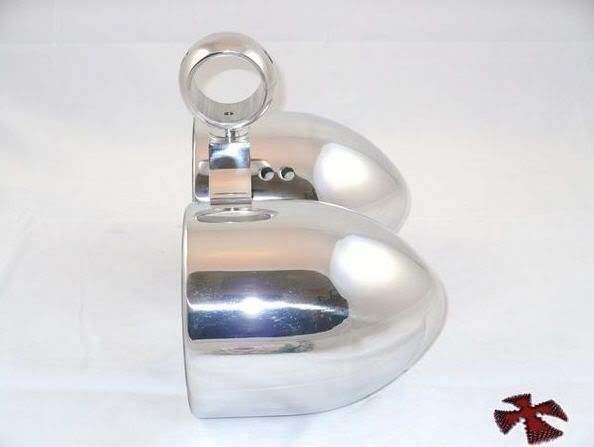
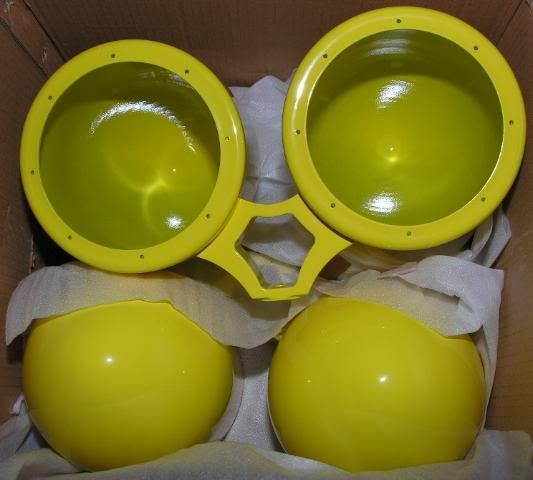
I dropped it into place on top of the flat portion of the trunk. I temporarily installed my drivers seat and saw that the top portion of the speaker box is about 1 - 2 inches higher than my rear spoiler (when looking through my rear view mirror). This is NOT where I had planned on placing the box.. This is gonna set me back a bit as it would force me to "re-design" the back seat area. For now, I'm not gonna worry about it and will move on to completing the interior install.. On a really cool note, for those of us who have roll bars in our cars, I found a company on eBay who makes speaker pods that are light weight aluminum (intended for marine use). They mount on a wake board bar on a boat. However, I noticed that the diameter of mount was the exact diameter of the tubing on my roll bar.. WOOHOO! I can basically mount speakers ANYWHERE in my car around my roll bar. I purchased two pods and each pod will hold (2) 6.5" speakers.. so that's (4) 6.5" speakers. I sent the pods to TOP KOAT Powdercoating and had em matched to my roll bar.. Here they are (polished aluminum ~ uncoated) :
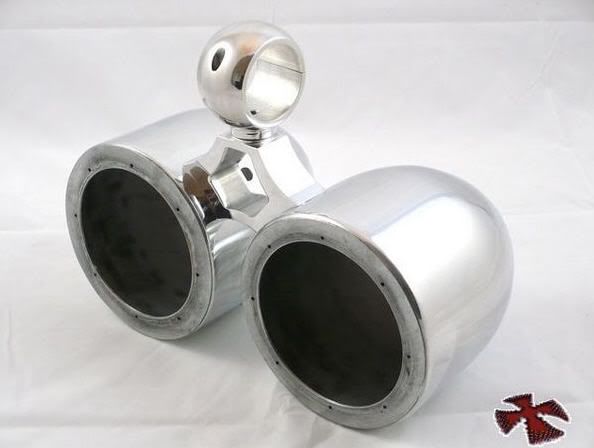
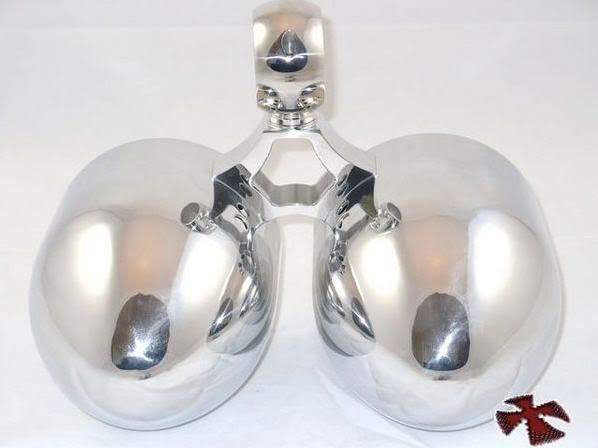
After powder coating:
If I can line these pods up pretty much behind my ears (centered on the backside of my head), I will have the perfect left / right audio seperation (stereo) sound that I want. It also means that I won't have to buy high power amplifiers just to hear my music. I KNOW my car will be LOUD. Headers, SLP Loudmouth 1 exhaust, 5" exhaust tips.. Ughhhhhh, yep, it's gonna be LOUD. So, this makes a great way to hear my music OVER my car without cranking the heck out of my volume on my car stereo.
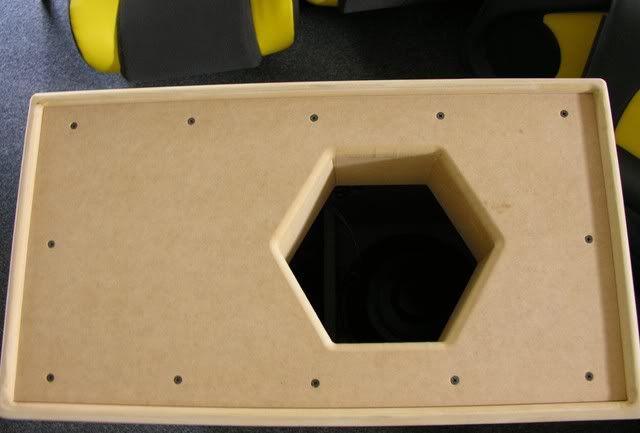
Oh, here is the speaker box.. I went down to a local high end speaker company, the Toby Speaker Company (on Montgomery St. here in Fort Worth, Texas) and spoke with them on custom building me a "modded" box setup based on their Ranger Bandpass designed box. You can't even see the two little 10" woofers but the sound is absolutely phenominal..
I dropped it into place on top of the flat portion of the trunk. I temporarily installed my drivers seat and saw that the top portion of the speaker box is about 1 - 2 inches higher than my rear spoiler (when looking through my rear view mirror). This is NOT where I had planned on placing the box.. This is gonna set me back a bit as it would force me to "re-design" the back seat area. For now, I'm not gonna worry about it and will move on to completing the interior install.. On a really cool note, for those of us who have roll bars in our cars, I found a company on eBay who makes speaker pods that are light weight aluminum (intended for marine use). They mount on a wake board bar on a boat. However, I noticed that the diameter of mount was the exact diameter of the tubing on my roll bar.. WOOHOO! I can basically mount speakers ANYWHERE in my car around my roll bar. I purchased two pods and each pod will hold (2) 6.5" speakers.. so that's (4) 6.5" speakers. I sent the pods to TOP KOAT Powdercoating and had em matched to my roll bar.. Here they are (polished aluminum ~ uncoated) :
After powder coating:
If I can line these pods up pretty much behind my ears (centered on the backside of my head), I will have the perfect left / right audio seperation (stereo) sound that I want. It also means that I won't have to buy high power amplifiers just to hear my music. I KNOW my car will be LOUD. Headers, SLP Loudmouth 1 exhaust, 5" exhaust tips.. Ughhhhhh, yep, it's gonna be LOUD. So, this makes a great way to hear my music OVER my car without cranking the heck out of my volume on my car stereo.
Oh, here is the speaker box.. I went down to a local high end speaker company, the Toby Speaker Company (on Montgomery St. here in Fort Worth, Texas) and spoke with them on custom building me a "modded" box setup based on their Ranger Bandpass designed box. You can't even see the two little 10" woofers but the sound is absolutely phenominal..
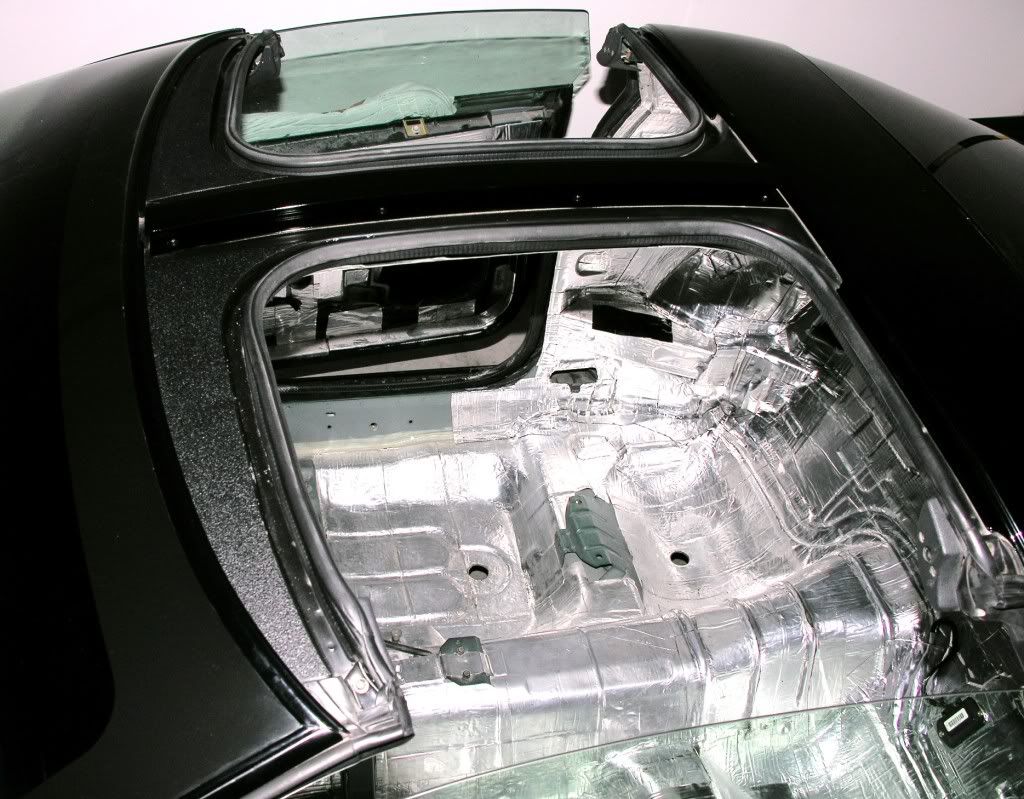
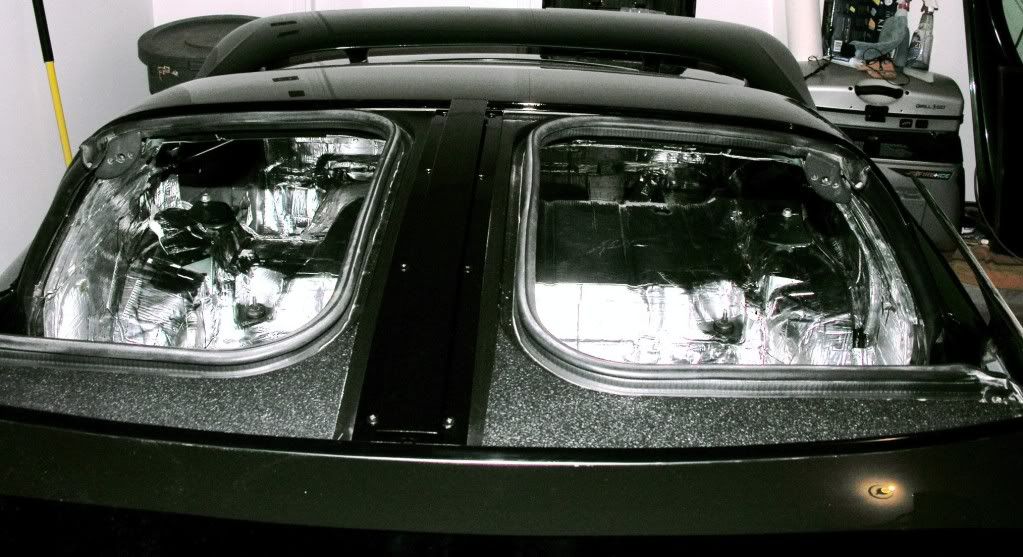
Hmmmmm.. I wonder if photobucket is back up? Can you see them now? Here are two more pics for ya.. I spent today, working on my roof (t-top area). Those cinder blocks caused a lot of damage so I think I have corrected everything now. I drove over to Kennedale, Texas to pick up my T-Top bar from TopKoat powdercoating and it is now installed on my car. It came out GREAT! I am very happy with the over all results of my efforts.. (sorry if the photo's kinda suck.. I didn't have enough lighting):
Thread Starter
TECH Apprentice
iTrader: (1)
Joined: Jun 2008
Posts: 303
Likes: 0
From: Fort Worth, Texas
It's basically a commercial grade rock chip deflector type material.. I will PM you the link (non sponsor).