
1/24 Scale Trans Am Project/Peterbilt Custom Transport


 03-08-2011, 10:07 PM
#225
Teching In
Join Date: Sep 2006
Location: Alberta, Canada
Posts: 5
Likes: 0
Received 0 Likes
on
0 Posts

Wow, this thread is nothing short of AWESOME!
Chaman, your skill and attention to detail is top notch, and your photography skills are great to be able to capture all of the fine details of what you are doing. Keep it up man! This is GREAT!
I love the seat cover! LOL. I was wondering how you were going to go about 'weathering' the interior, and that is the perfect touch short of being able to tear the plastic seat apart and have a spring hanging out or something. I noticed the hole that you did tear into the seat cover though, and that is excellent!
But.... it IS in his real car, which is what this model is based on.  Besides, seeing the 'Corvette' under the hood of a model or a real car makes you realize that there is more here than meets the eye.
I'm looking forward to seeing your updates Chaman!
Chaman, your skill and attention to detail is top notch, and your photography skills are great to be able to capture all of the fine details of what you are doing. Keep it up man! This is GREAT!
I love the seat cover! LOL. I was wondering how you were going to go about 'weathering' the interior, and that is the perfect touch short of being able to tear the plastic seat apart and have a spring hanging out or something. I noticed the hole that you did tear into the seat cover though, and that is excellent!
I'm looking forward to seeing your updates Chaman!
04-22-2011, 11:28 PM
#226
Wow, this thread is nothing short of AWESOME!
Chaman, your skill and attention to detail is top notch, and your photography skills are great to be able to capture all of the fine details of what you are doing. Keep it up man! This is GREAT!
I love the seat cover! LOL. I was wondering how you were going to go about 'weathering' the interior, and that is the perfect touch short of being able to tear the plastic seat apart and have a spring hanging out or something. I noticed the hole that you did tear into the seat cover though, and that is excellent!
But.... it IS in his real car, which is what this model is based on. Besides, seeing the 'Corvette' under the hood of a model or a real car makes you realize that there is more here than meets the eye.
I'm looking forward to seeing your updates Chaman!
Chaman, your skill and attention to detail is top notch, and your photography skills are great to be able to capture all of the fine details of what you are doing. Keep it up man! This is GREAT!
I love the seat cover! LOL. I was wondering how you were going to go about 'weathering' the interior, and that is the perfect touch short of being able to tear the plastic seat apart and have a spring hanging out or something. I noticed the hole that you did tear into the seat cover though, and that is excellent!
But.... it IS in his real car, which is what this model is based on.
I'm looking forward to seeing your updates Chaman!
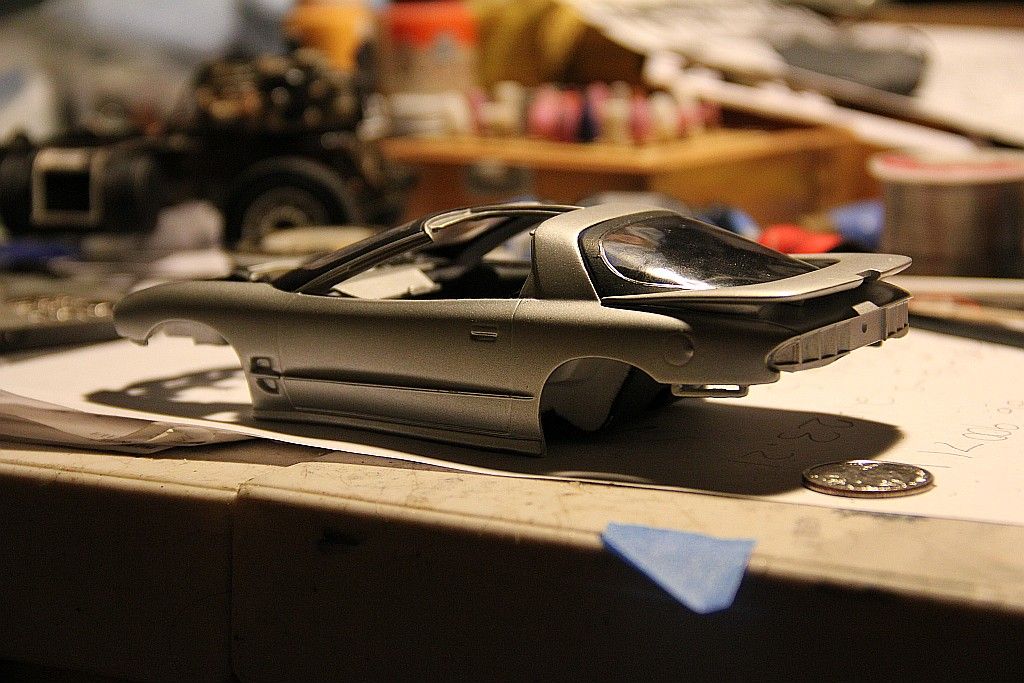
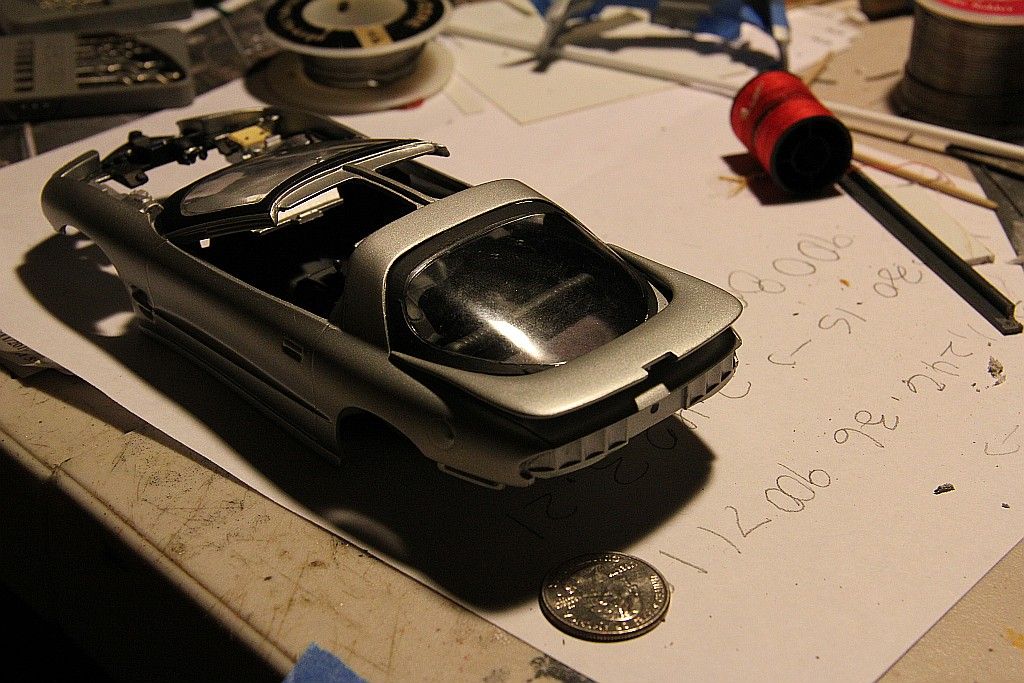
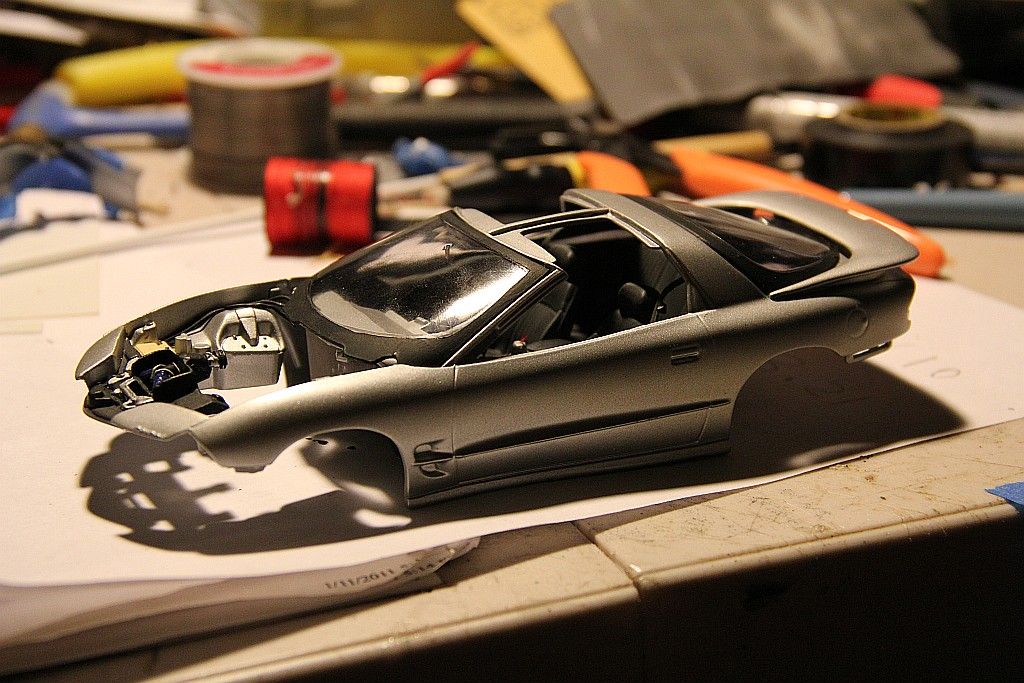
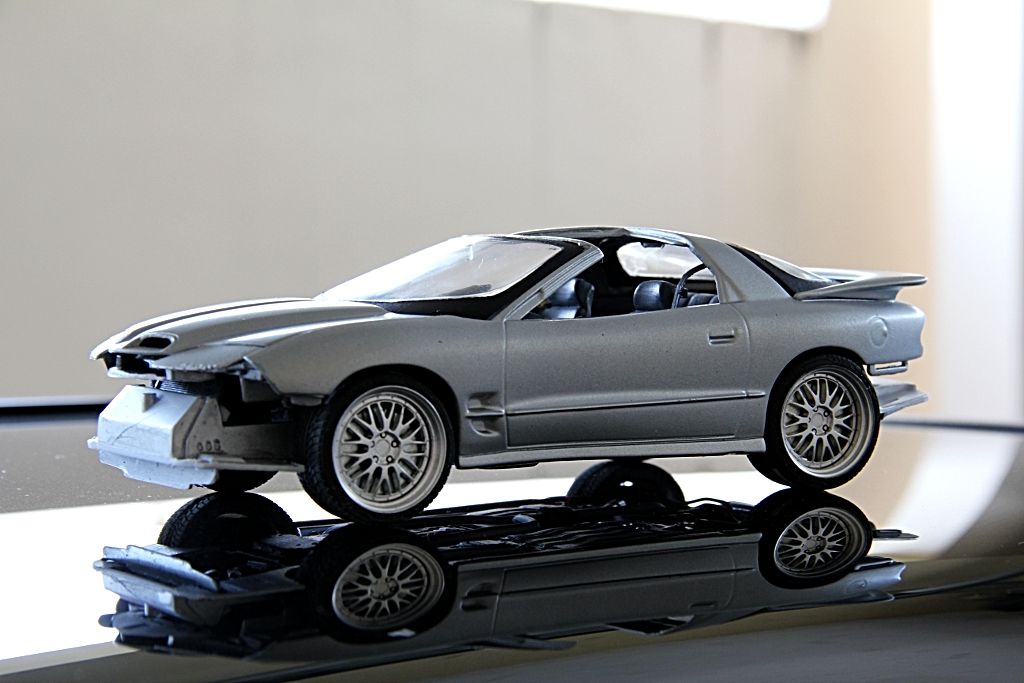
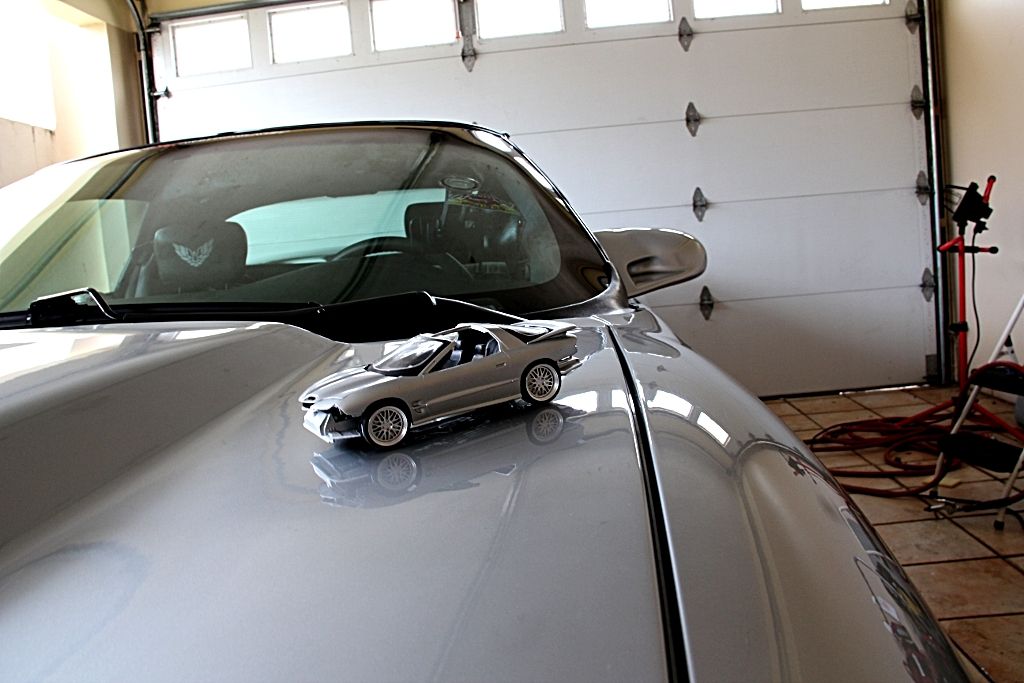
Ive been busy lately but today I took some time off to continue with this "little" project.
Windows were masked and prepared for final fitting.
Here are some pics:
I like the look of it so far. Lets see how it looks in the end.

 04-23-2011, 08:53 PM
#229
Who knows maybe I will add them. Its a static model after all.

 05-06-2011, 10:54 AM
#233
TECH Enthusiast

Very nice, I really need to finish my 35th LE model.
 05-21-2011, 05:04 PM
#237
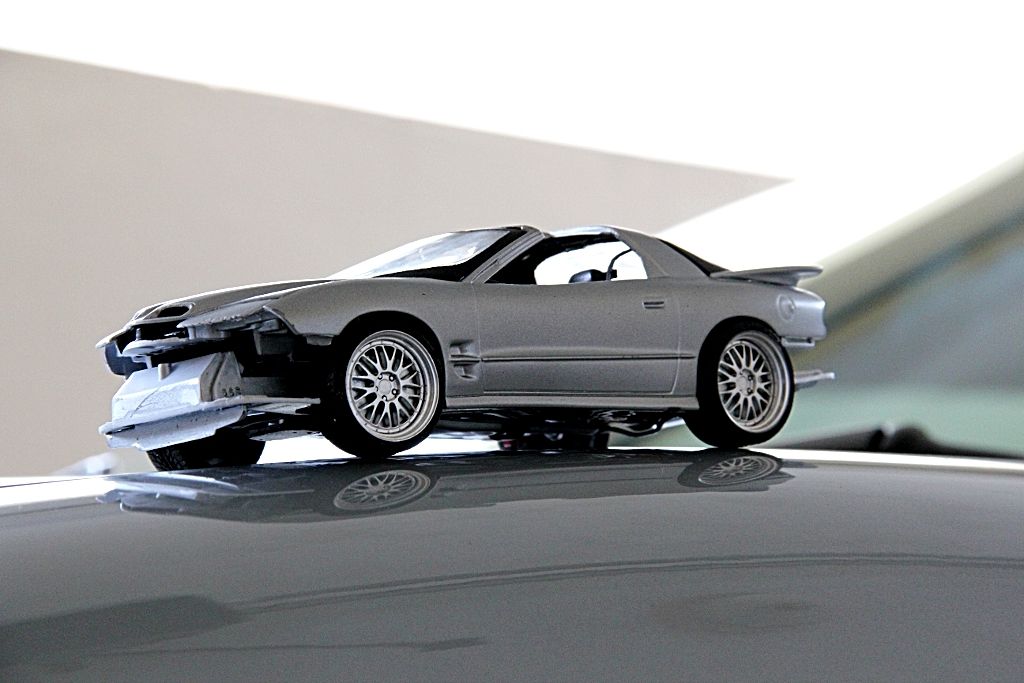
Update:
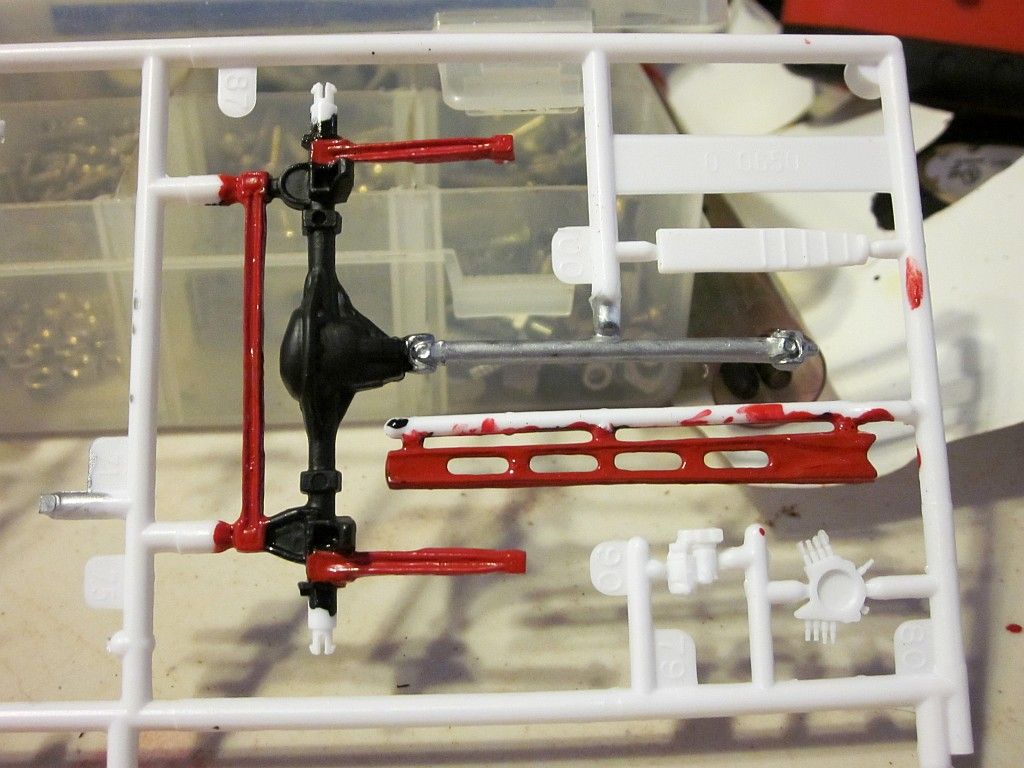
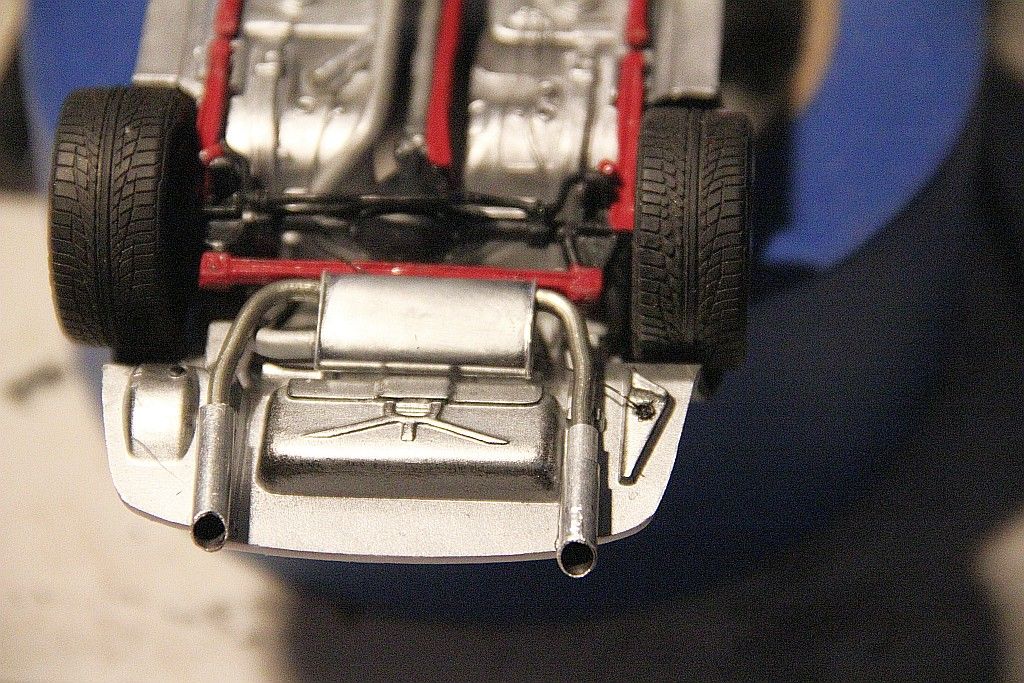
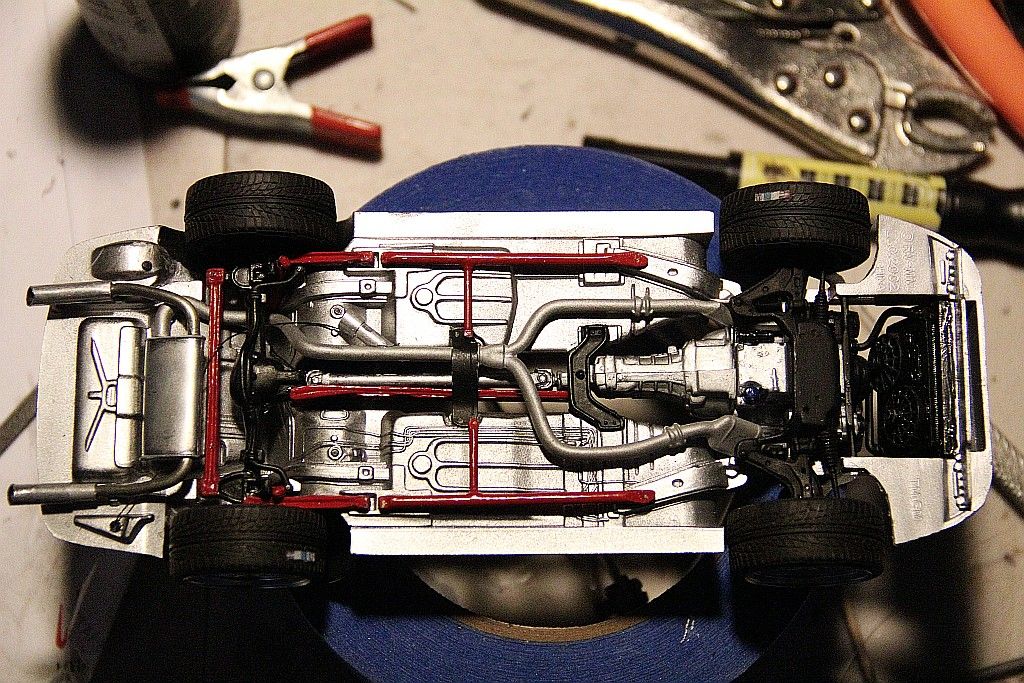
Finally I got some free time! Car got new disc brakes, also I detailed the chassis. Notice the cat back made with real tubing and aluminum.
I plan to add the most detailing possible. Notice the cable going from the cutout. Some nice detailed pics of the Trans Am's chassis would be welcomed.
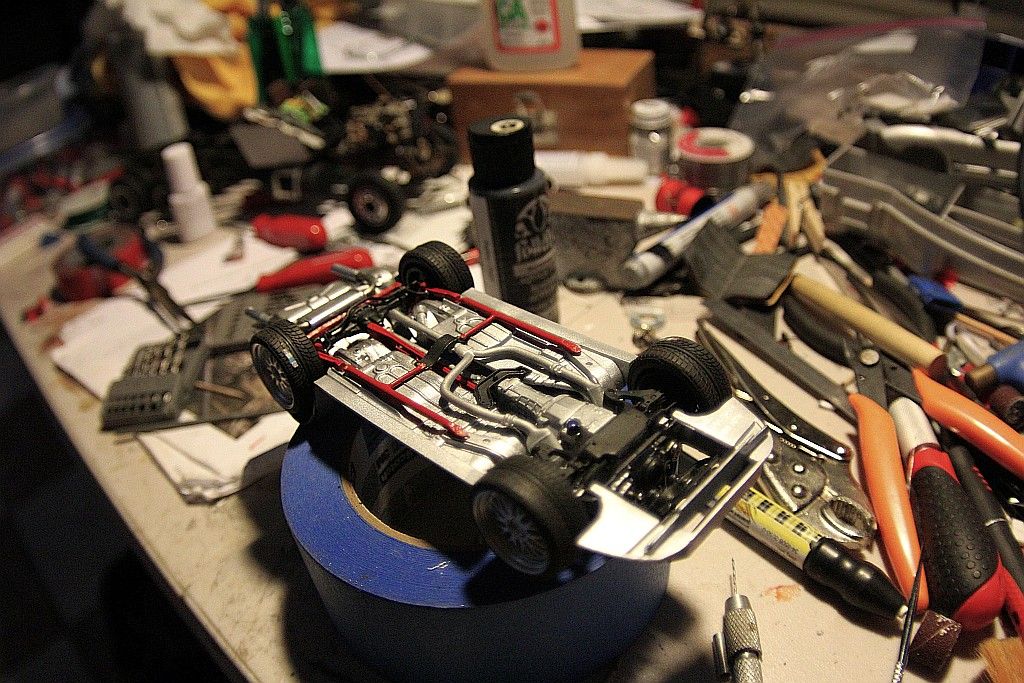
Here it is... '
Check out the mess on the table....my wife is a saint!
Finally I got some free time! Car got new disc brakes, also I detailed the chassis. Notice the cat back made with real tubing and aluminum.
I plan to add the most detailing possible. Notice the cable going from the cutout. Some nice detailed pics of the Trans Am's chassis would be welcomed.
Here it is... '
Check out the mess on the table....my wife is a saint!
