1/24 Scale Trans Am Project/Peterbilt Custom Transport


 12-18-2010, 10:25 AM
#64
Update:
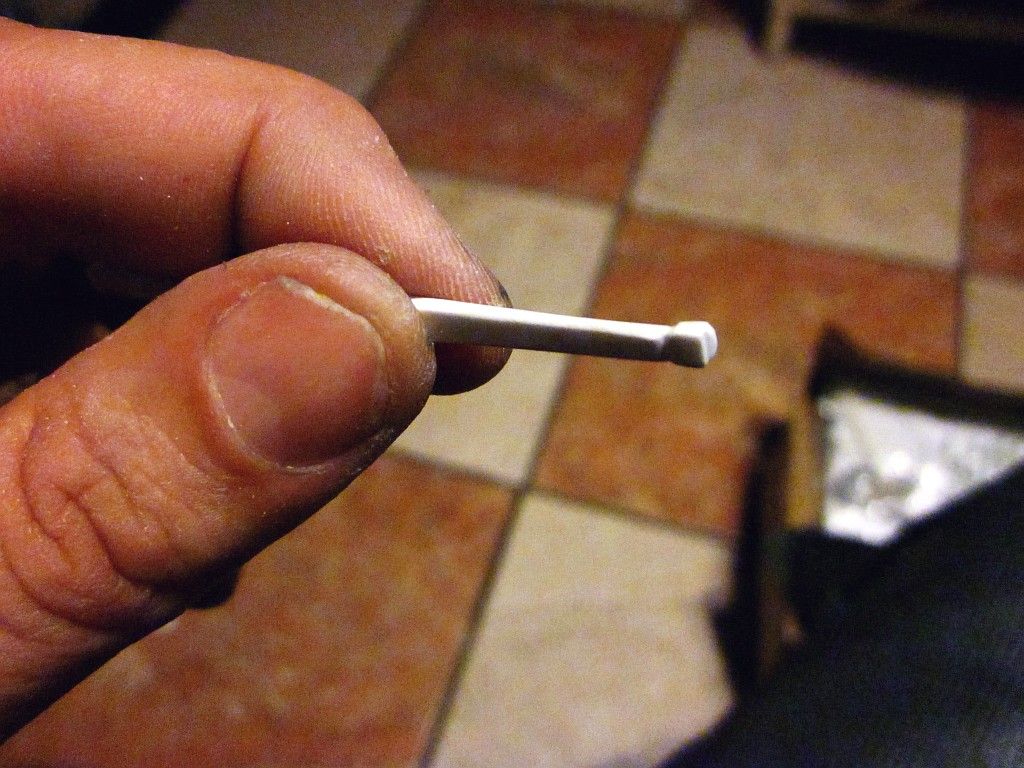
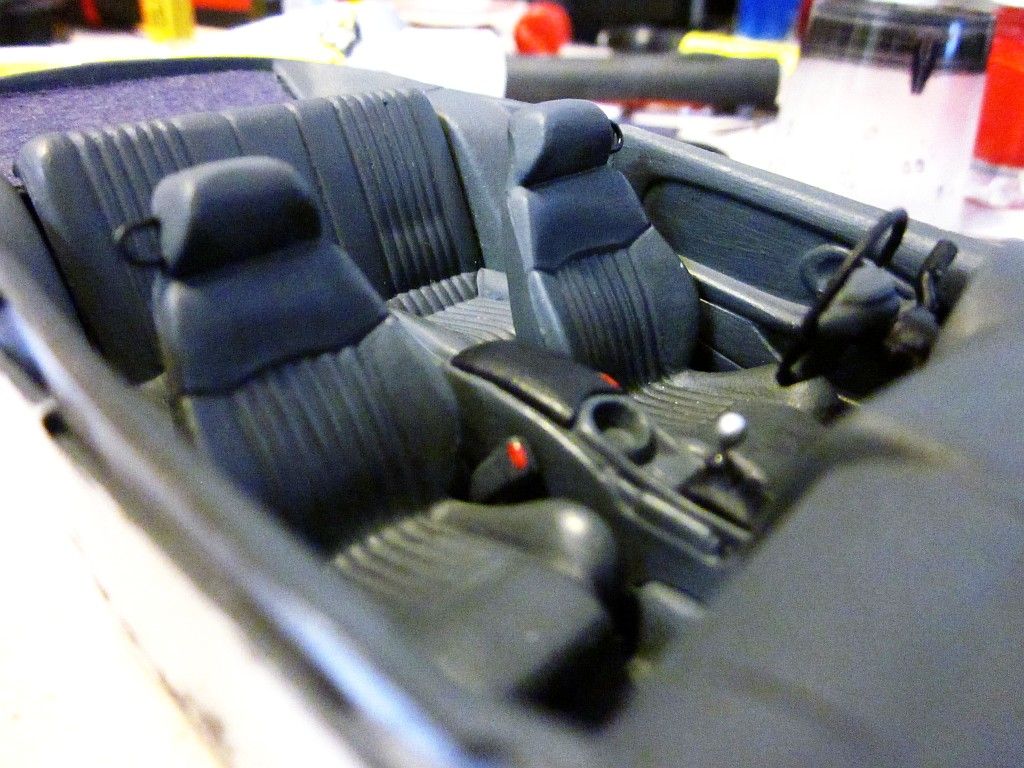
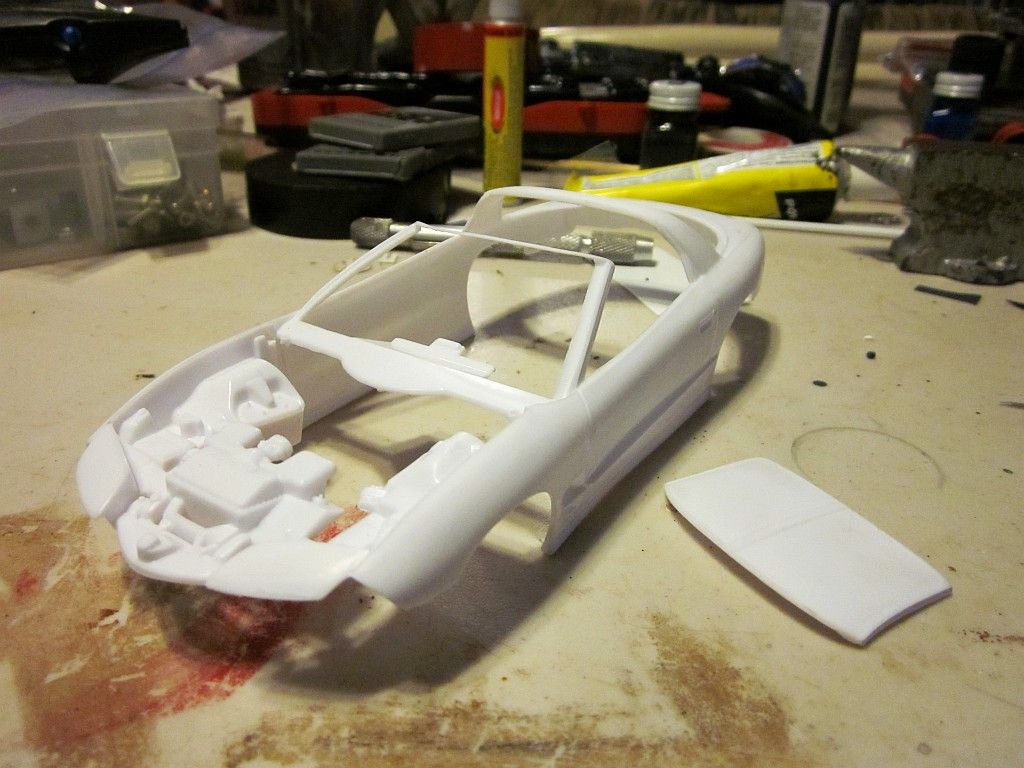
Interior is 98% complete. I added the seat belts buckets and the steering wheel tilt lever. Im waiting on some material to add the seat belts per se.
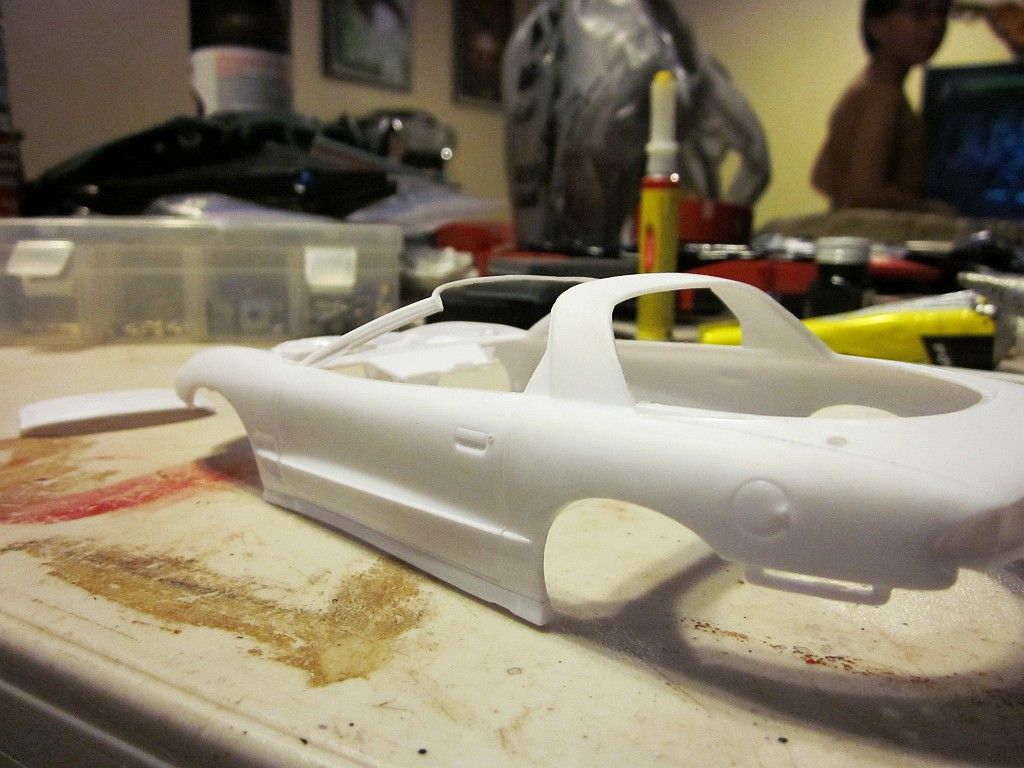
Work over the body started last night.
Seat belt buckets carved from a styrene scrap:
Buckets installed:
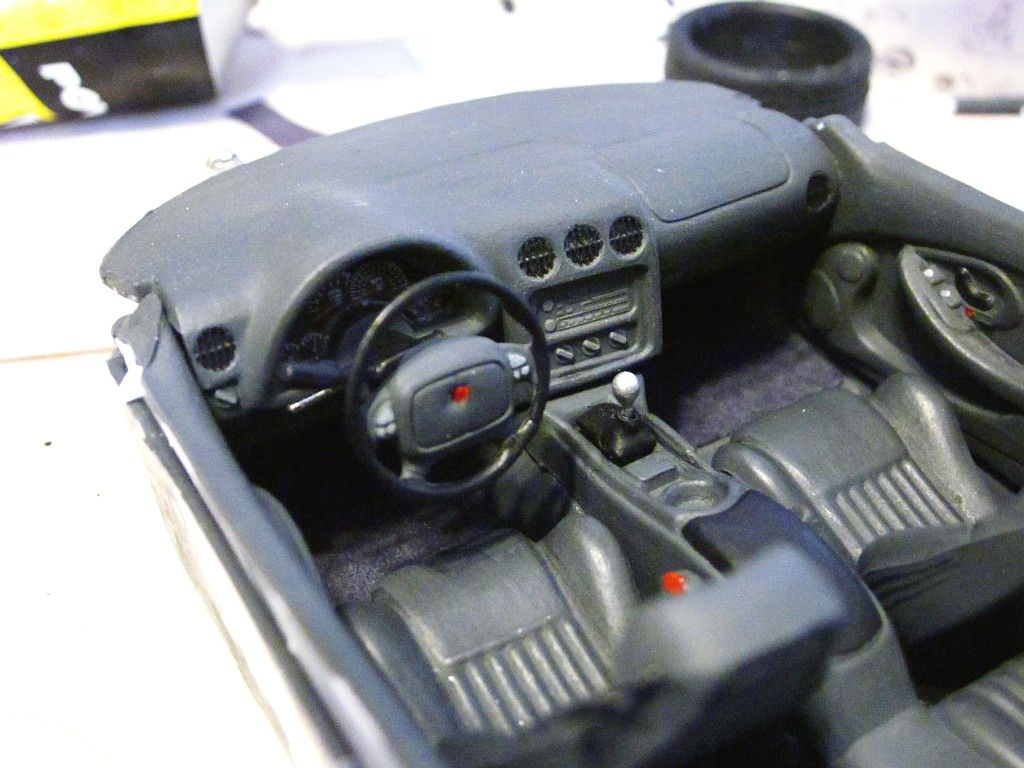
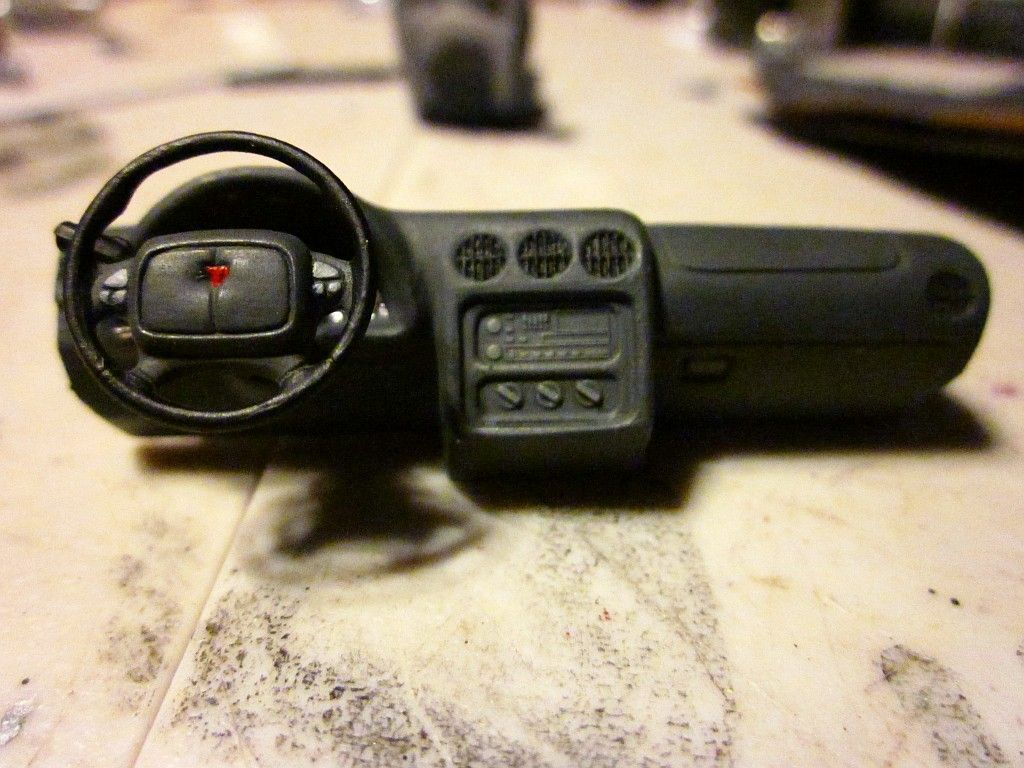
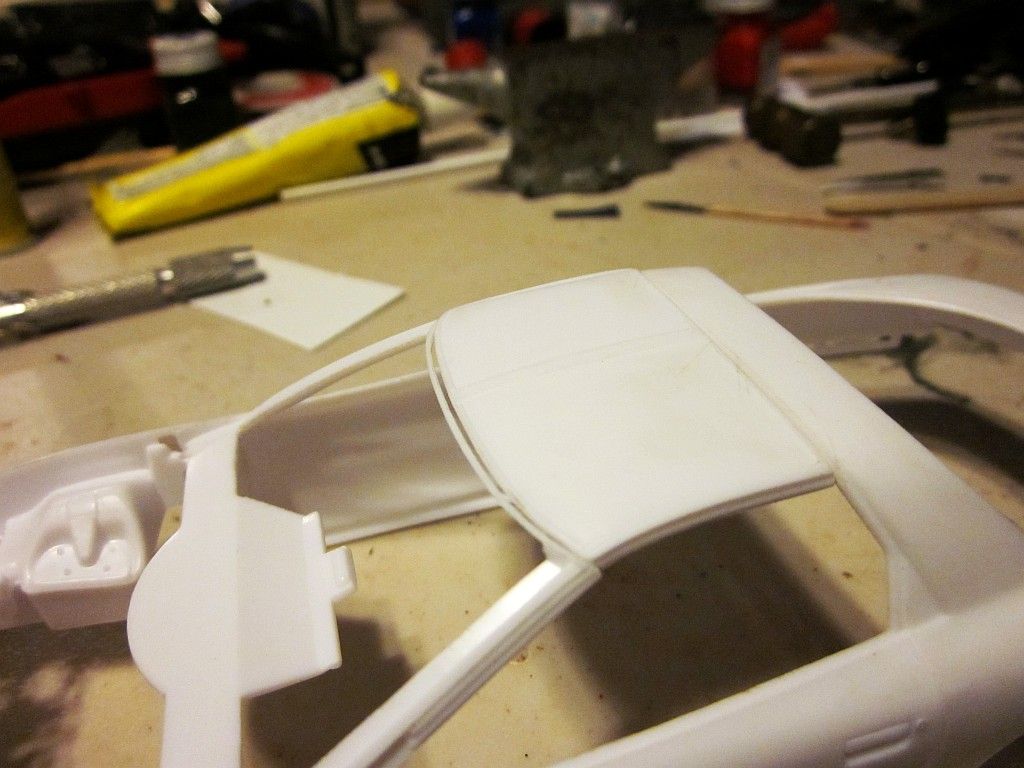
Detail of finished dash:
Interior is 98% complete. I added the seat belts buckets and the steering wheel tilt lever. Im waiting on some material to add the seat belts per se.
Work over the body started last night.
Seat belt buckets carved from a styrene scrap:
Buckets installed:
Detail of finished dash:
12-18-2010, 12:25 PM
#65
Did you kit come with an overlay for the radio and the HVAC stuff? Mine did and i tried to put it on and it was not working AT ALL lmao plus my stuff doesnt look factory so i just left it like yours... Its coming together really well i love it i cant wait to see the body work!
12-18-2010, 05:11 PM
#67
Did you kit come with an overlay for the radio and the HVAC stuff? Mine did and i tried to put it on and it was not working AT ALL lmao plus my stuff doesnt look factory so i just left it like yours... Its coming together really well i love it i cant wait to see the body work!

Thanks guys! I have another kit as this one and Im thinking of doing a Pro Stock type of build, maybe a diorama showing it at the tree pulling the front wheels!! Ideas...I have too many and so little time...LOL!
12-18-2010, 05:25 PM
#68
Yeah i kind of gave up on mine after i dropped it... Haha but yours is looking sick! You should do two of them almost identical and do one in "Negative" and one in "Postive" like a picture  like an all white one with black wheels and an all black one with white wheels and such then put them side by side with some sort of picture scheme... Idk thats just the first thing that came to mind lol
like an all white one with black wheels and an all black one with white wheels and such then put them side by side with some sort of picture scheme... Idk thats just the first thing that came to mind lol  12-21-2010, 02:43 PM
#70
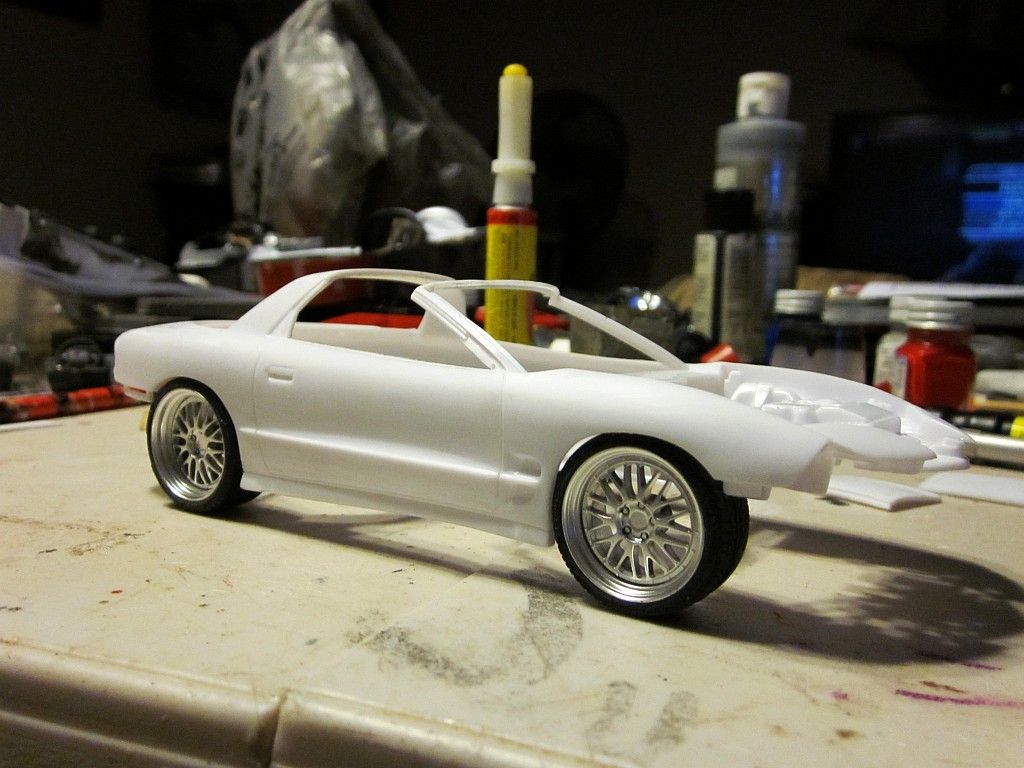
Update:
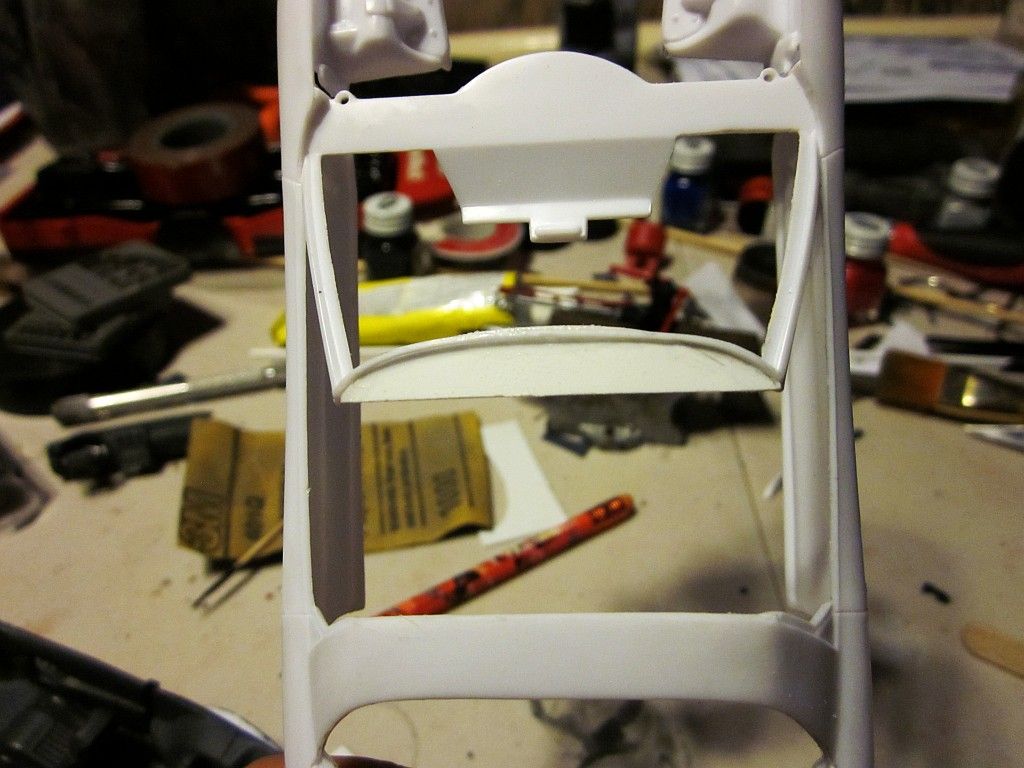
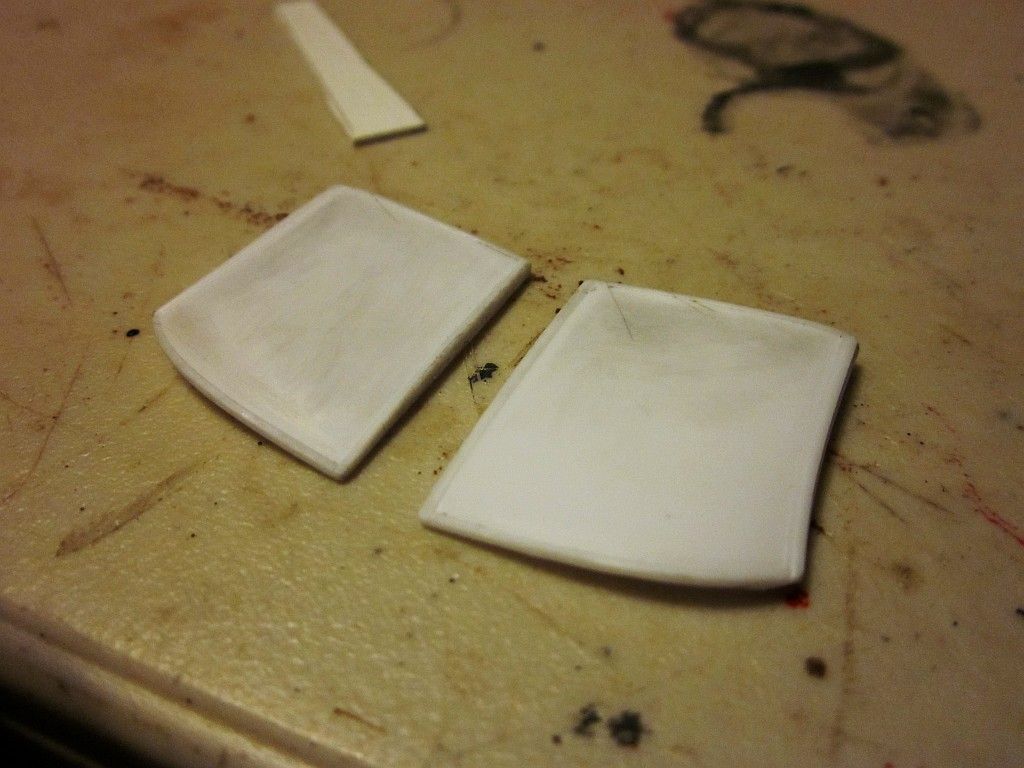
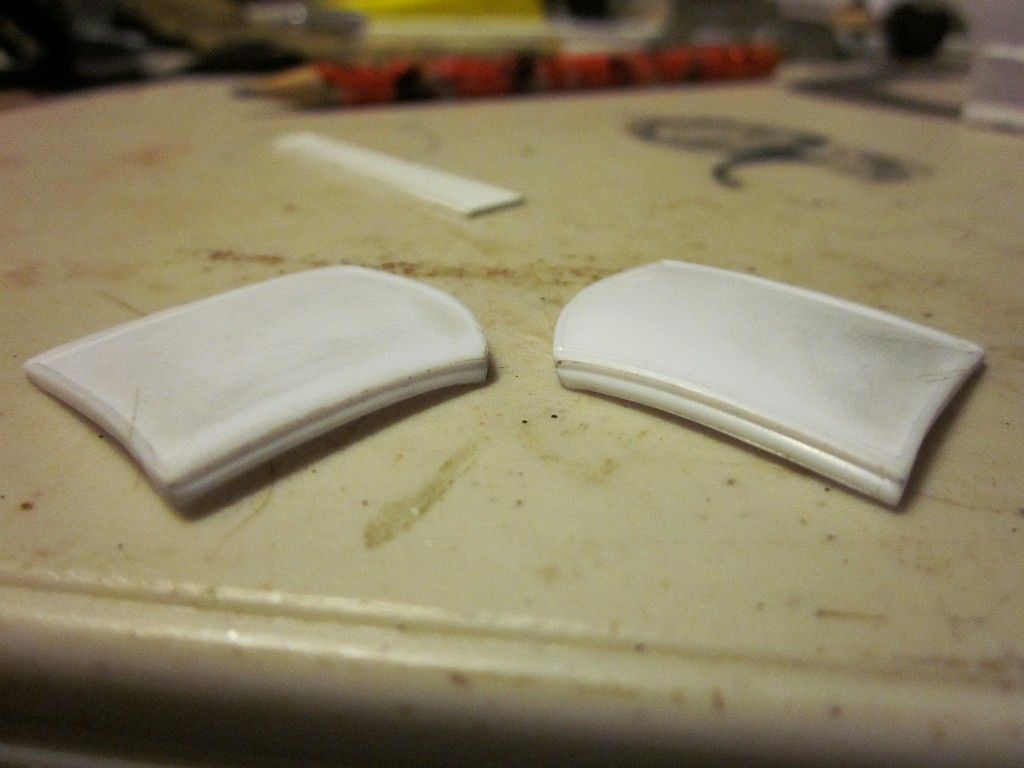
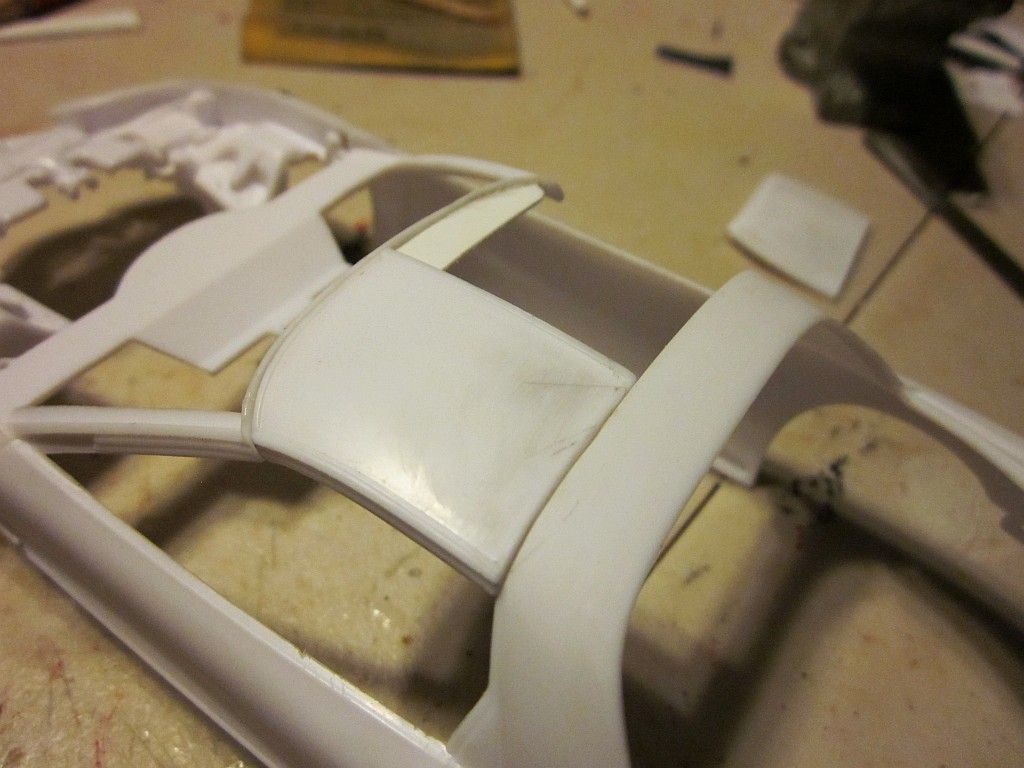
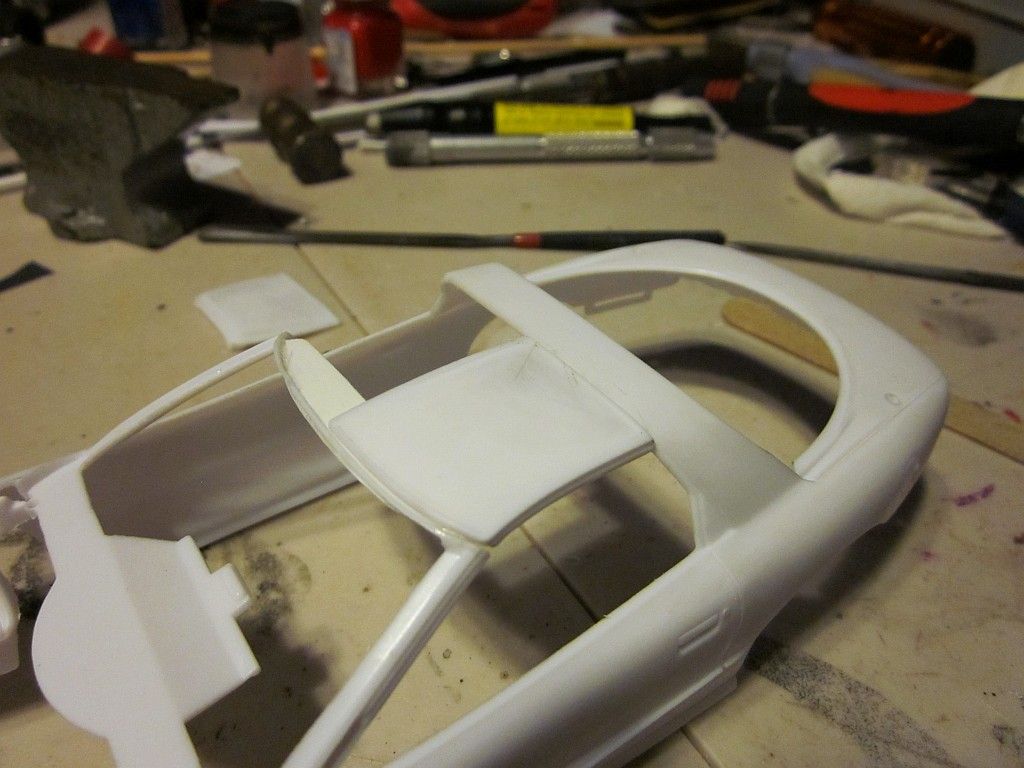
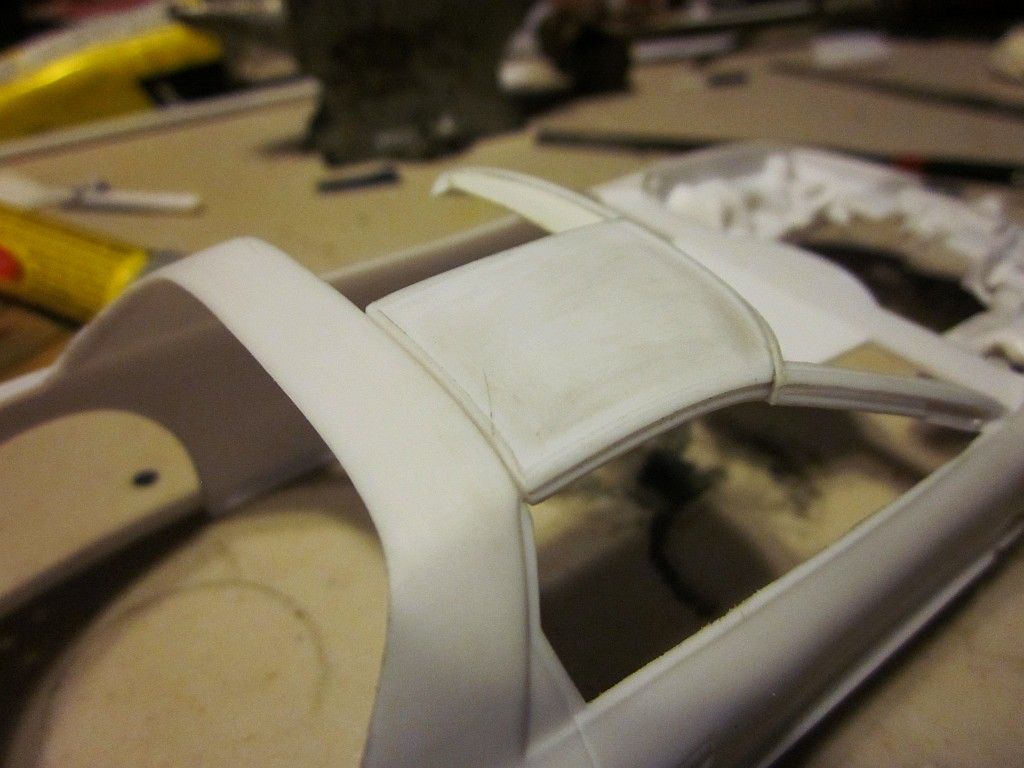
Here is a thing Ive never tried. I cut the T-tops to make them removable and functional. I had the guts to try it since I have another body around to use in case I managed to damage this one. Now I need to fabricate the structure under the T-tops to add realism and support. Notice the very thin upper windshield area which correlates to the 1:1 weatherstrip. I consider a miracle I was able to cut without slashing through it!
Here is a thing Ive never tried. I cut the T-tops to make them removable and functional. I had the guts to try it since I have another body around to use in case I managed to damage this one. Now I need to fabricate the structure under the T-tops to add realism and support. Notice the very thin upper windshield area which correlates to the 1:1 weatherstrip. I consider a miracle I was able to cut without slashing through it!
12-21-2010, 05:27 PM
#72
TECH Veteran
iTrader: (7)
Join Date: Jun 2006
Location: Bay Area California
Posts: 4,409
Likes: 0
Received 0 Likes
on
0 Posts
Looking good. EDITED ha Pin head worked out nicely!
What did you use to remove the t-tops? The lines are very straight.
Can't wait to see the finished product.
What did you use to remove the t-tops? The lines are very straight.
Can't wait to see the finished product.
Last edited by Ls1CamaroGuy87; 12-22-2010 at 07:54 PM.
12-21-2010, 07:35 PM
#74
On The Tree
iTrader: (1)
Join Date: Jul 2008
Location: St.Peters, MO/ Carbondale, Il
Posts: 118
Likes: 0
Received 0 Likes
on
0 Posts

I started my revell camaro thanks to this thread. Gives me something to do over break. Howd you end up doing the details on the gauge cluster?


 12-22-2010, 05:41 PM
#80
On The Tree
iTrader: (4)

Join Date: May 2007
Location: Las Vegas, NV..but originally from Oregon!!
Posts: 172
Likes: 0
Received 0 Likes
on
0 Posts
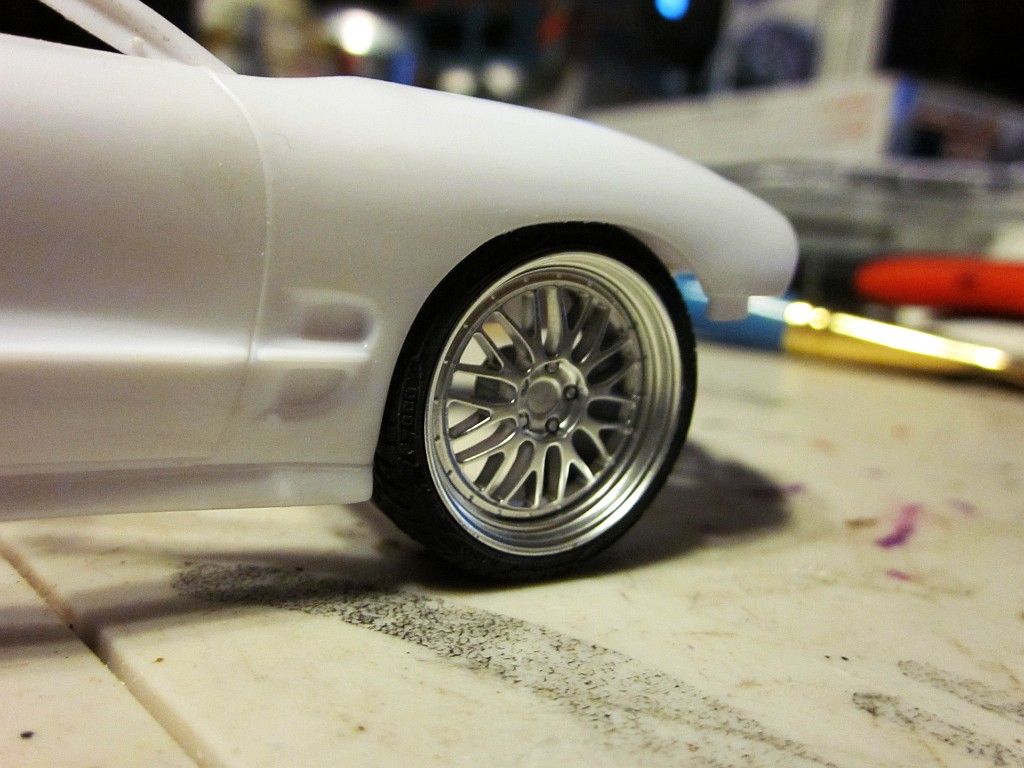
your welcome for the wheels. I stopped building a few months ago and sold over 600 unbuilt kits. I figured since I wouldnt use them, I'd send them to somebody who would.
Nice job on the ttops, the fit about as well as the real ones, which makes your model very accurate
Here's a few kits I built before I quit.
[IMG]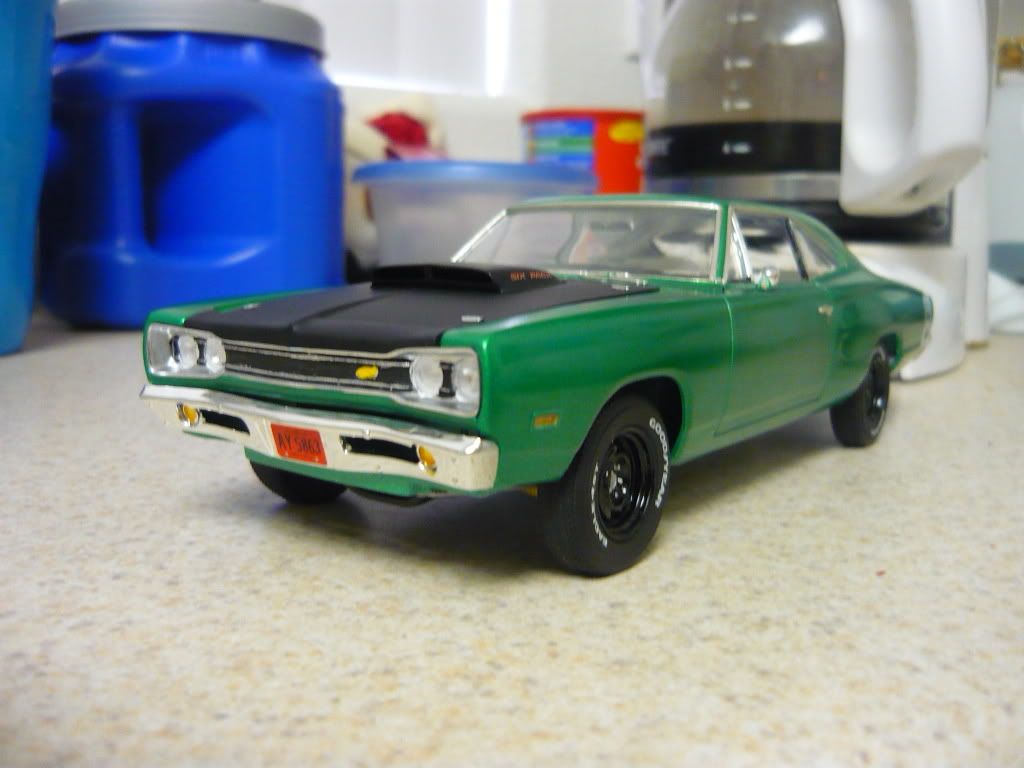 [/IMG]
[IMG]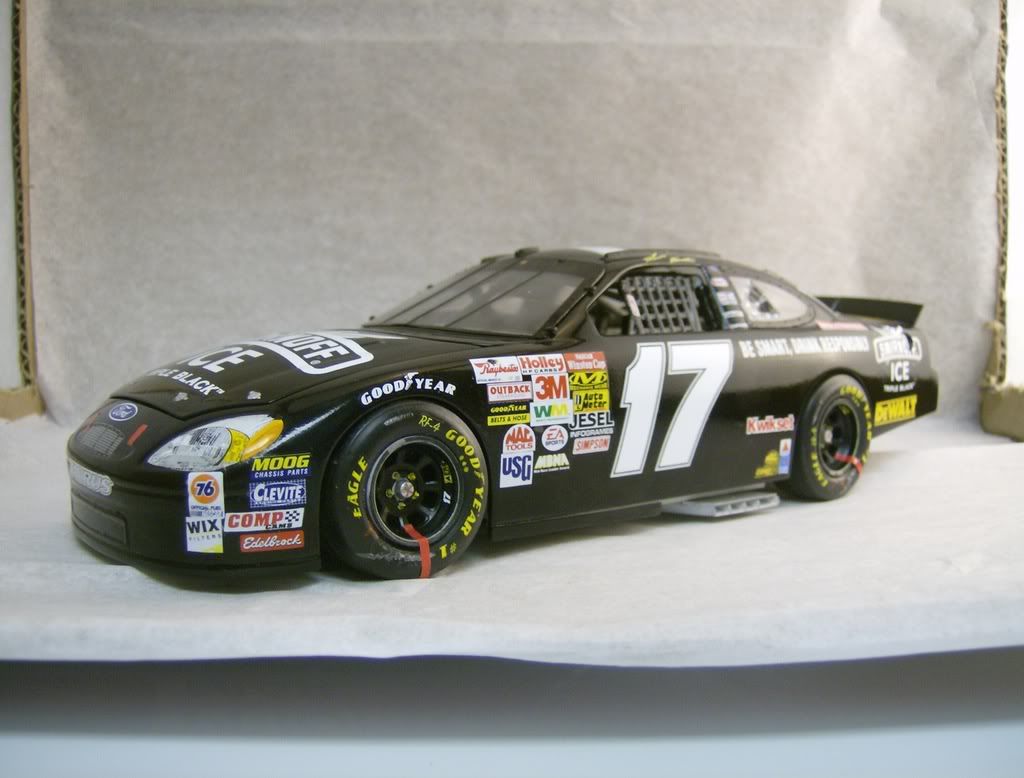 [/IMG]
[IMG]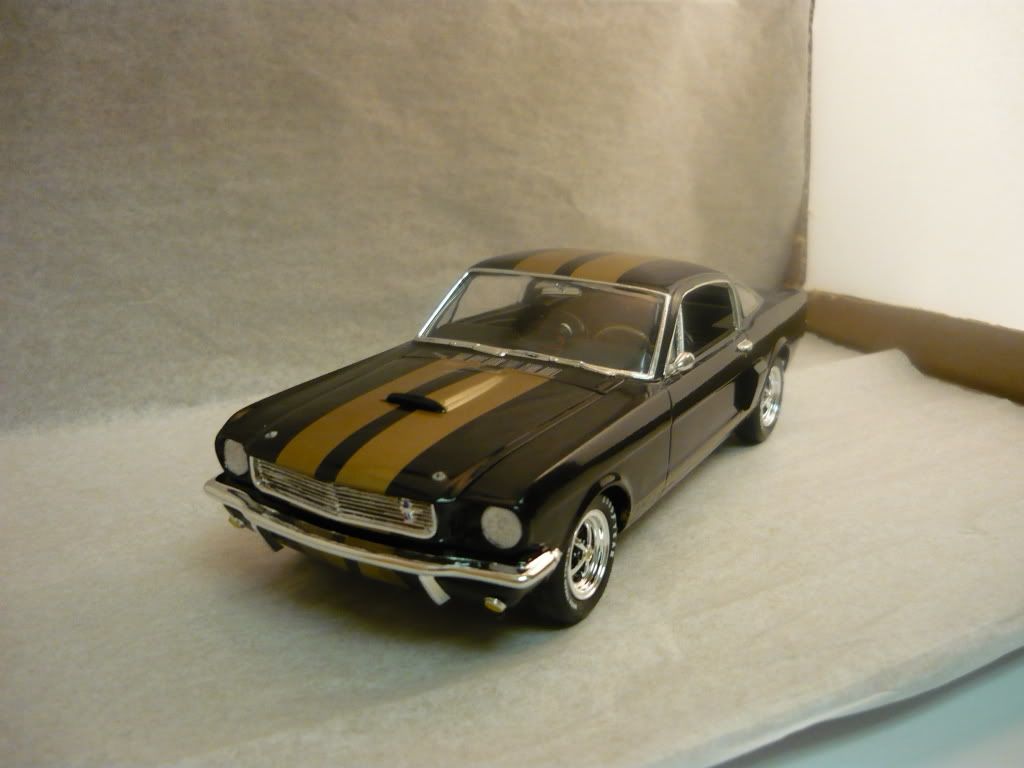 [/IMG]
[IMG]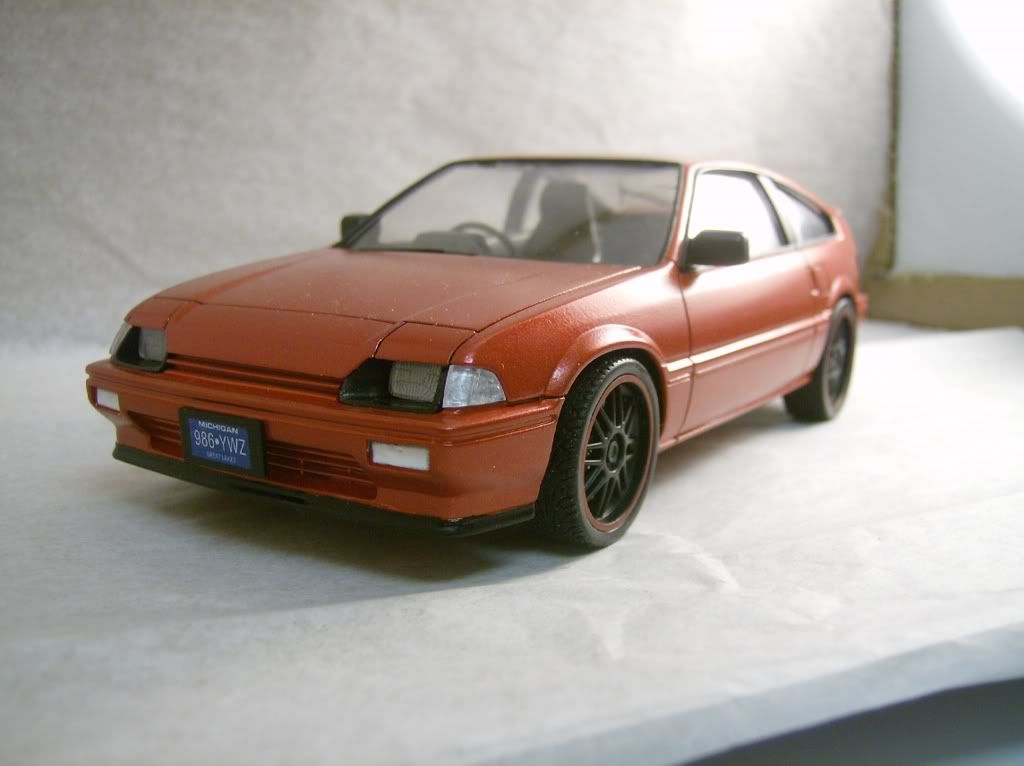 [/IMG]
[IMG]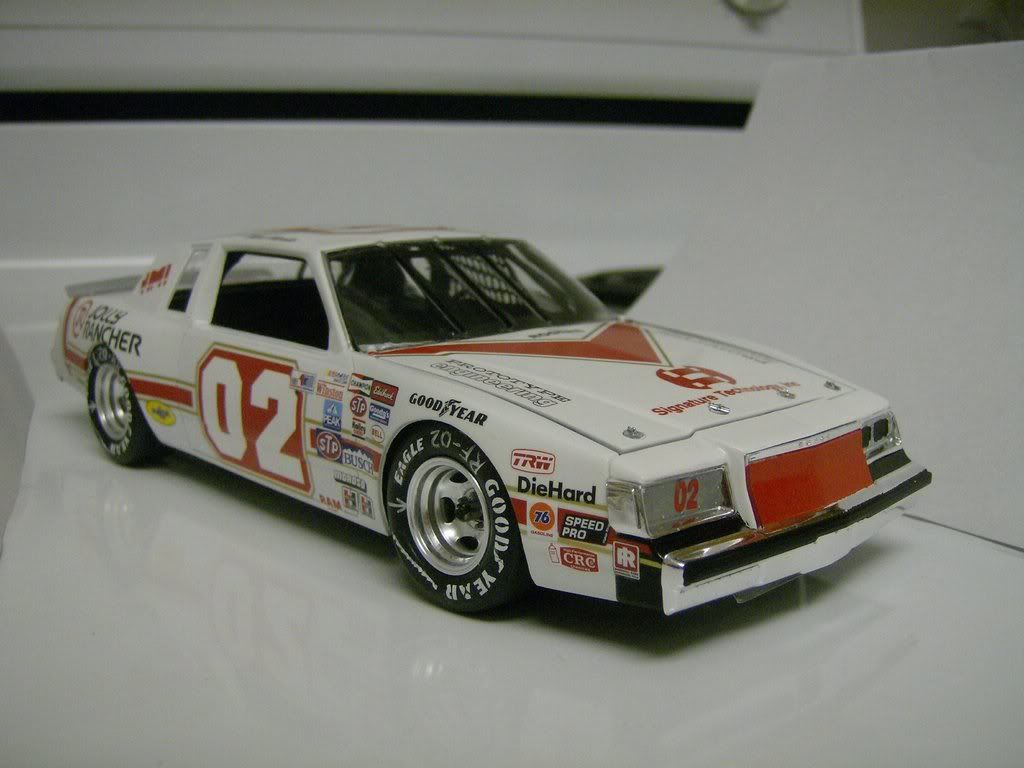 [/IMG]
Nice job on the ttops, the fit about as well as the real ones, which makes your model very accurate
Here's a few kits I built before I quit.
[IMG]
[/IMG][IMG]
[/IMG][IMG]
[/IMG][IMG]
[/IMG][IMG]
[/IMG]