
C5 HSW Wet Plate install pic's
 05-13-2010, 03:47 PM
#1
On The Tree
Thread Starter
iTrader: (2)

Join Date: Nov 2009
Posts: 168
Likes: 0
Received 0 Likes
on
0 Posts

I thought I throw this out there if anyone can use it as a reference. This is my first install and as a noob to nitrous I feel that if you have a basic understanding you can set up a kit yourself especially with great web sites like this. I will be asking questions as I move along. This is what I did so far.
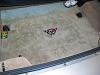
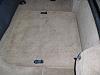
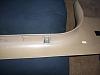
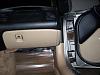
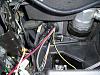
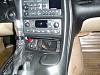 this is where the switch plate will go.
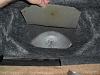
 This is where the MicroEdge will go.this is the way it looks now.
 another view .
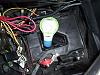
 the "now" battery area.
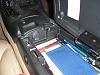
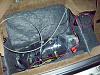
 the way it looks before the bottle goes in.
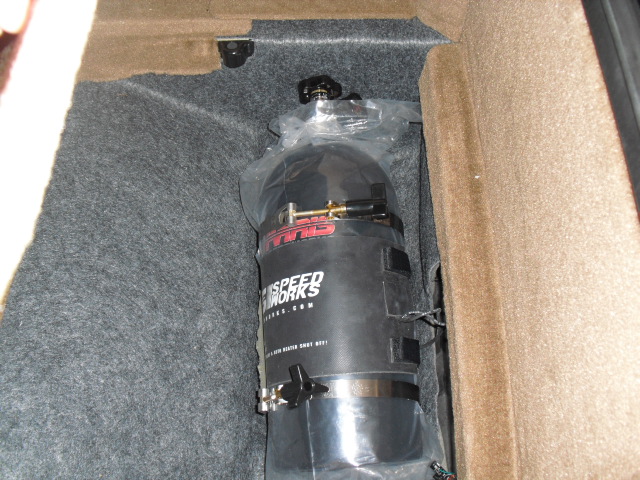
 This is where the bottle will live.
 and this is the cut away I made to sink the bottle in real low.
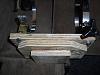
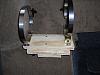
 The bottle holder I made from plywood.
 This is the fitment as you can see it sits low. I will post up more in the next post
 this is where the switch plate will go.
 This is where the MicroEdge will go.this is the way it looks now.
 another view .
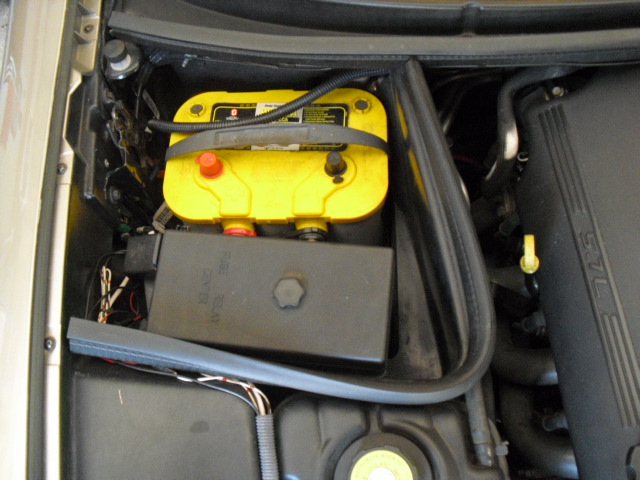 the "now" battery area.
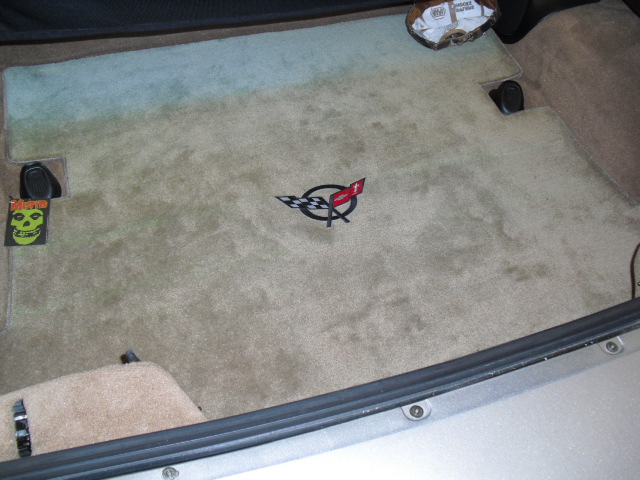 the way it looks before the bottle goes in.
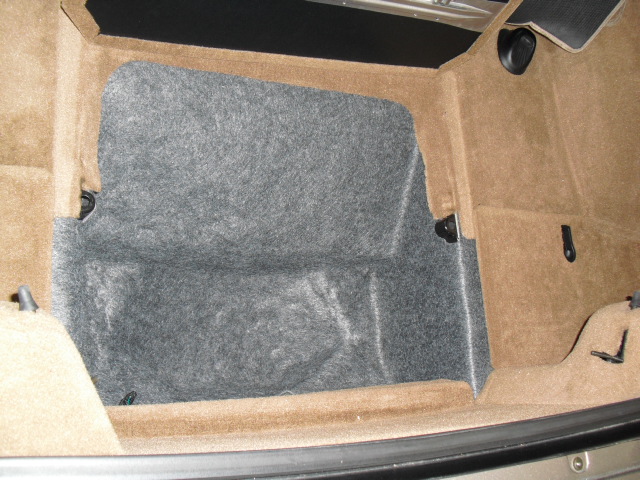 This is where the bottle will live.
 and this is the cut away I made to sink the bottle in real low.
 The bottle holder I made from plywood.
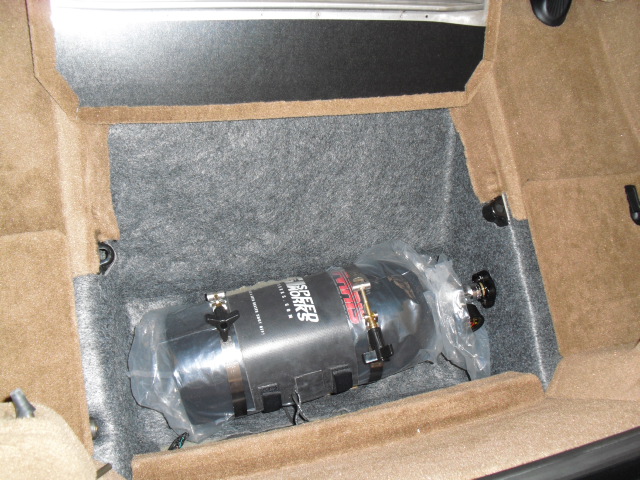 This is the fitment as you can see it sits low. I will post up more in the next post
 Last edited by camscam02; 05-13-2010 at 05:07 PM.
 05-13-2010, 04:11 PM
#2
On The Tree
Thread Starter
iTrader: (2)
Join Date: Nov 2009
Posts: 168
Likes: 0
Received 0 Likes
on
0 Posts
Continuation of post #1
 This is another view of placement.
 Lid on top so its totally hidden.
 Its tight but workable.
 Side view of mount .I had to stagger the size down in order for it to fit flush with bottom. I used gorilla glue to hold it in.
 Bottom view.
 side view.
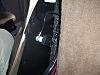
 Nitrous line,pwr for heater, switch,& grnd. I lifted up carpet to run over & behind the seat area.
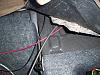 closer view. I did run wire wrap protector over the wire portion before closing that part up.
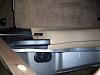
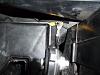
 Here are those lines going over the hump behind pass side seat. The speaker is right above the lines and they tuck in nicely into that area without removing the cover . I only needed to remove the floor trim and seat belt cover trim for running the lines.
 . This is where the lines will be running along the pass. side .I will leave the black line to run behind the ash tray area for the heater switch the rest will go through the firewall gromet behind the battery. Its much easier to work with the seat out and the battery needs to be removed to get to the firewall gromet.
 This is another view of placement.
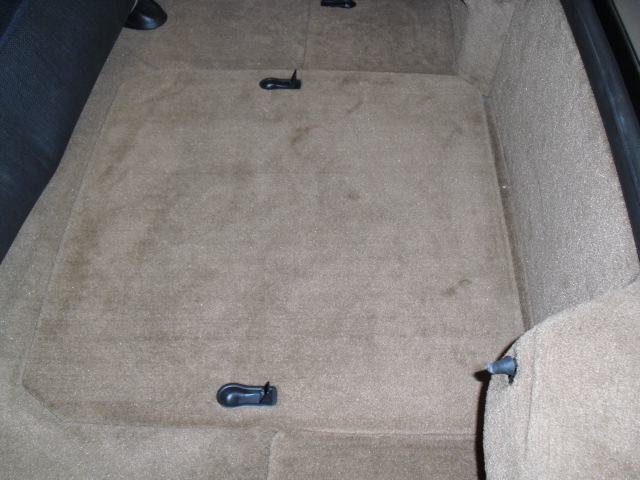 Lid on top so its totally hidden.
 Its tight but workable.
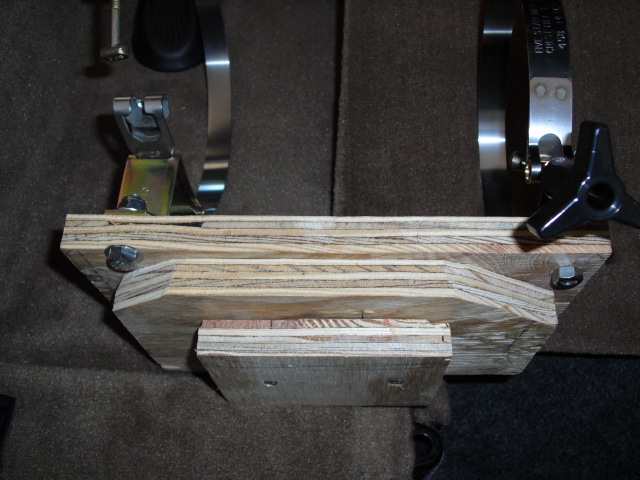 Side view of mount .I had to stagger the size down in order for it to fit flush with bottom. I used gorilla glue to hold it in.
 Bottom view.
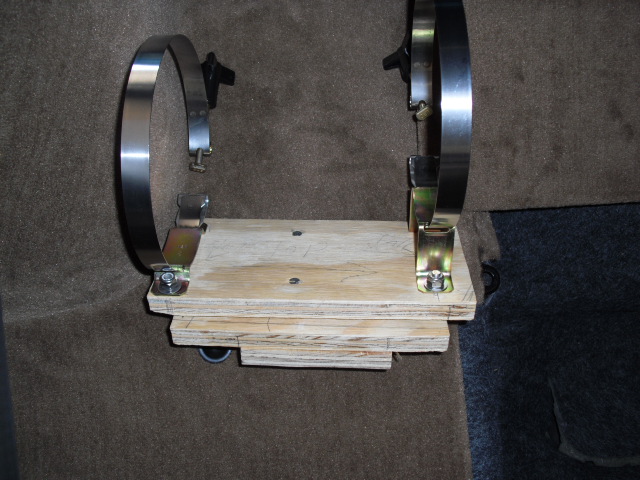 side view.
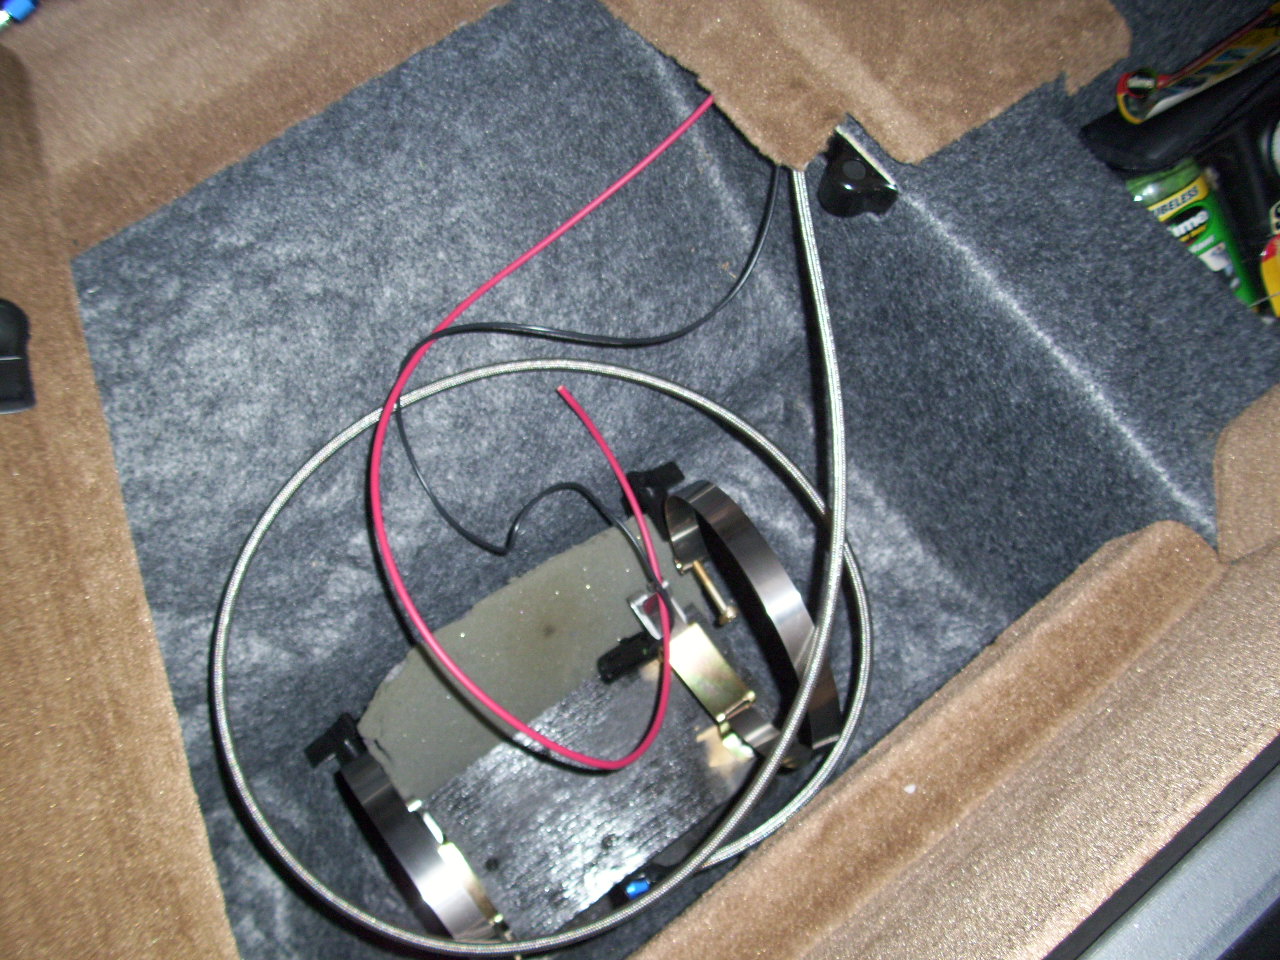 Nitrous line,pwr for heater, switch,& grnd. I lifted up carpet to run over & behind the seat area.
 closer view. I did run wire wrap protector over the wire portion before closing that part up.
 Here are those lines going over the hump behind pass side seat. The speaker is right above the lines and they tuck in nicely into that area without removing the cover . I only needed to remove the floor trim and seat belt cover trim for running the lines.
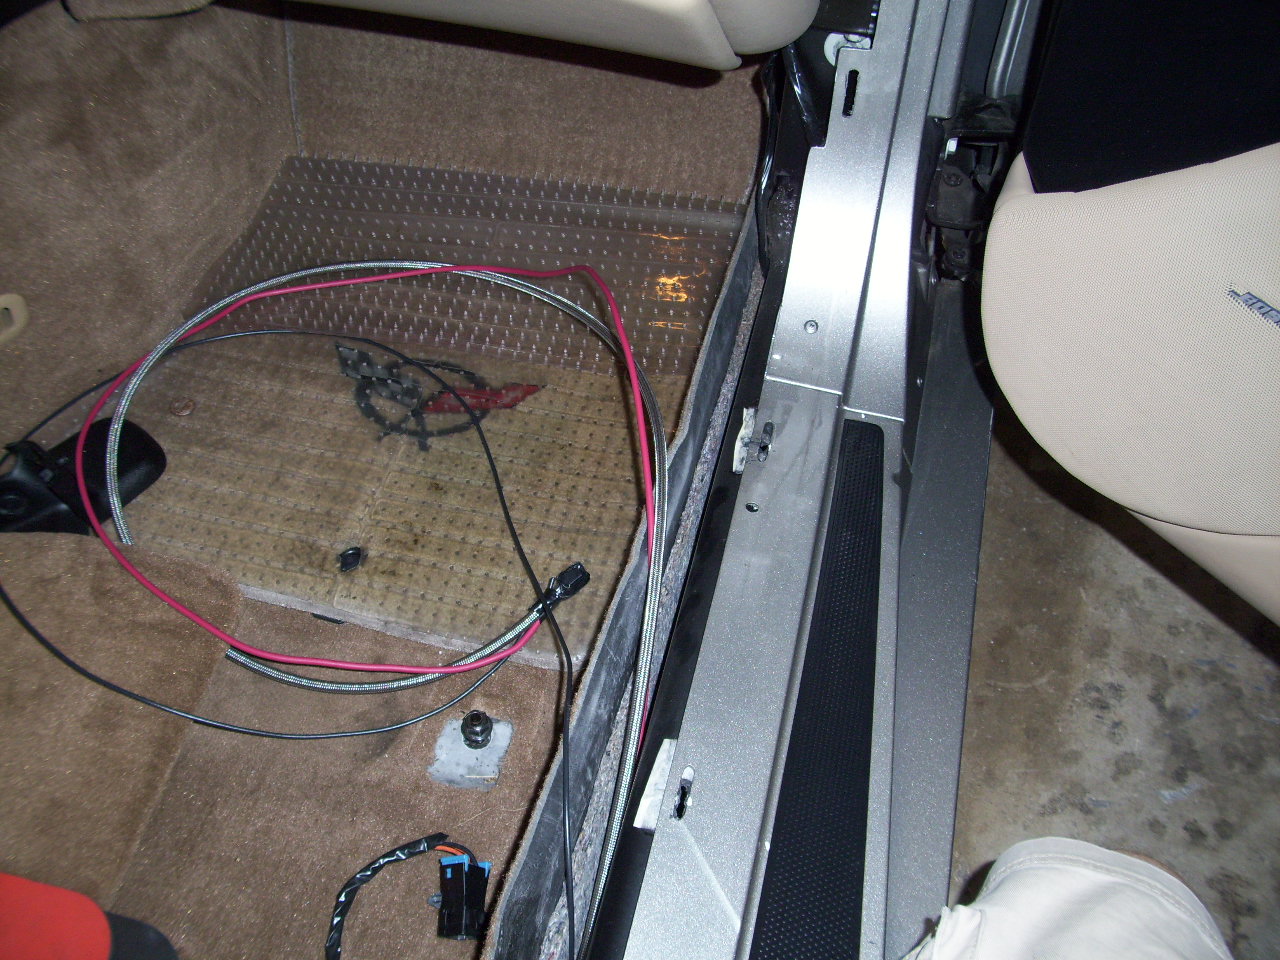 . This is where the lines will be running along the pass. side .I will leave the black line to run behind the ash tray area for the heater switch the rest will go through the firewall gromet behind the battery. Its much easier to work with the seat out and the battery needs to be removed to get to the firewall gromet.
 Last edited by camscam02; 05-13-2010 at 05:07 PM.
05-13-2010, 04:47 PM
#3
On The Tree
Thread Starter
iTrader: (2)
Join Date: Nov 2009
Posts: 168
Likes: 0
Received 0 Likes
on
0 Posts
Got a few more pic's here.
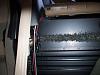
 Here again are the lines along the pass side. They tuck into a channel almost as if it was made for nitrous.
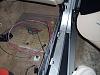
 This is the seat belt cover panel that needs to be removed. You can see where the clips are located so when they are removed you know where to pull from.
 Clip location along door sill plate cover.
 close up of those clips.
 This module behind the seat belt cover is good for a ground & it is where I grounded the bottle heater and press sensor wires.
 Another view of that ground area.
 seat belt cover back in place.
 door plate back in place.
 Kick panel back in. ( I don't see any nitrous lines
 Here again are the lines along the pass side. They tuck into a channel almost as if it was made for nitrous.
 This is the seat belt cover panel that needs to be removed. You can see where the clips are located so when they are removed you know where to pull from.
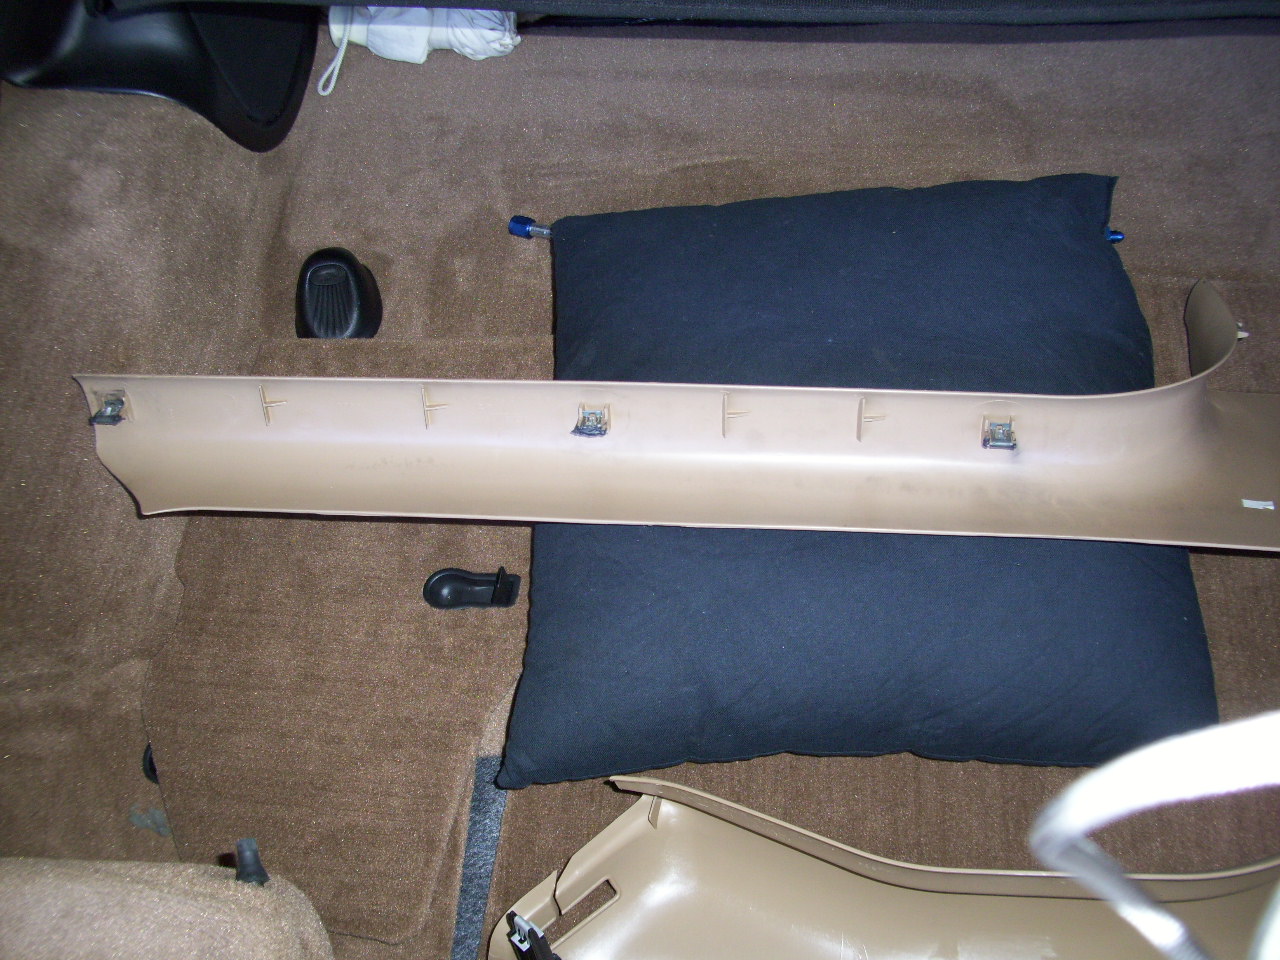 Clip location along door sill plate cover.
 close up of those clips.
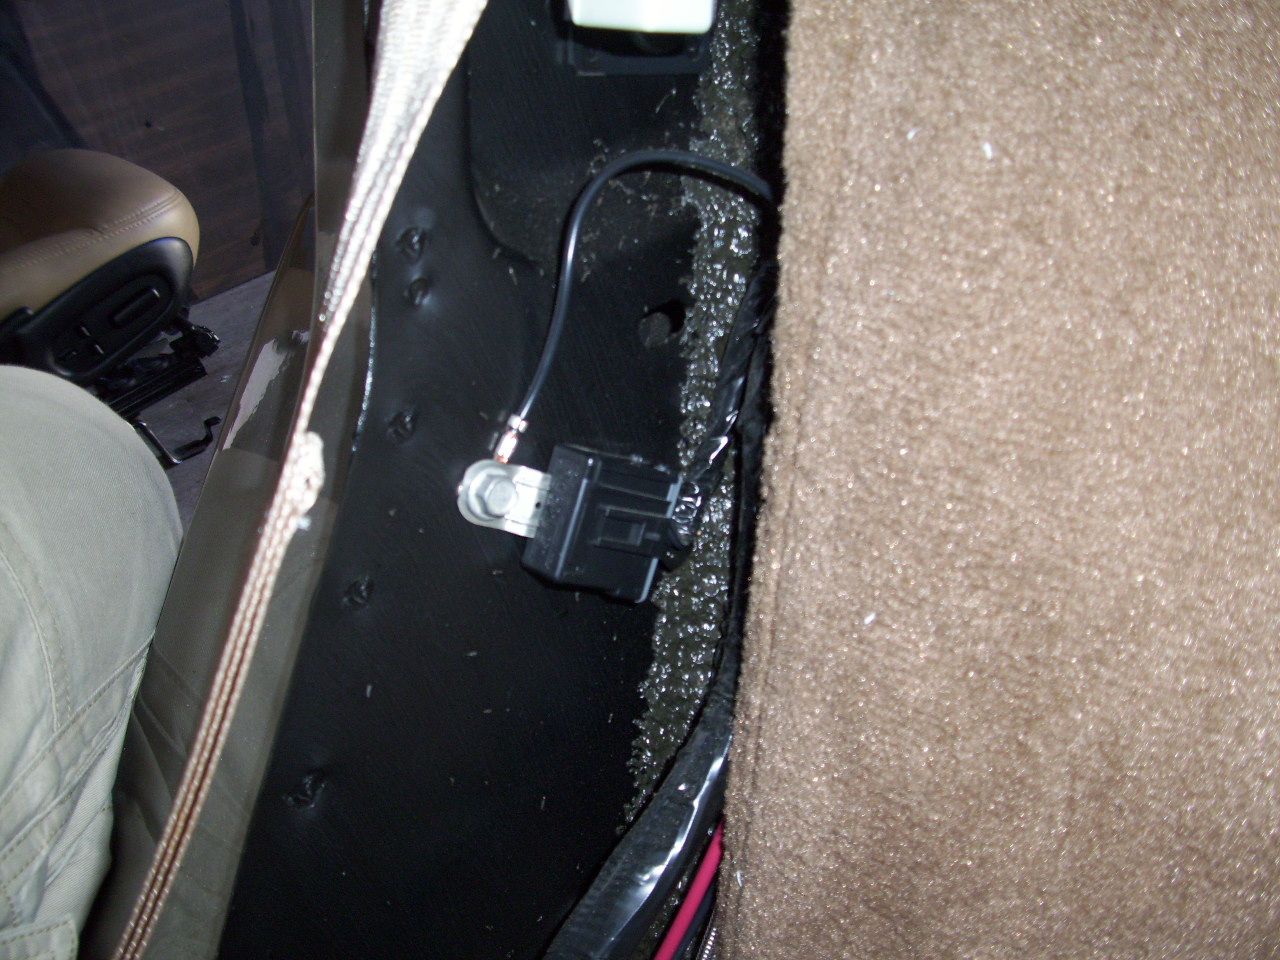 This module behind the seat belt cover is good for a ground & it is where I grounded the bottle heater and press sensor wires.
 Another view of that ground area.
 seat belt cover back in place.
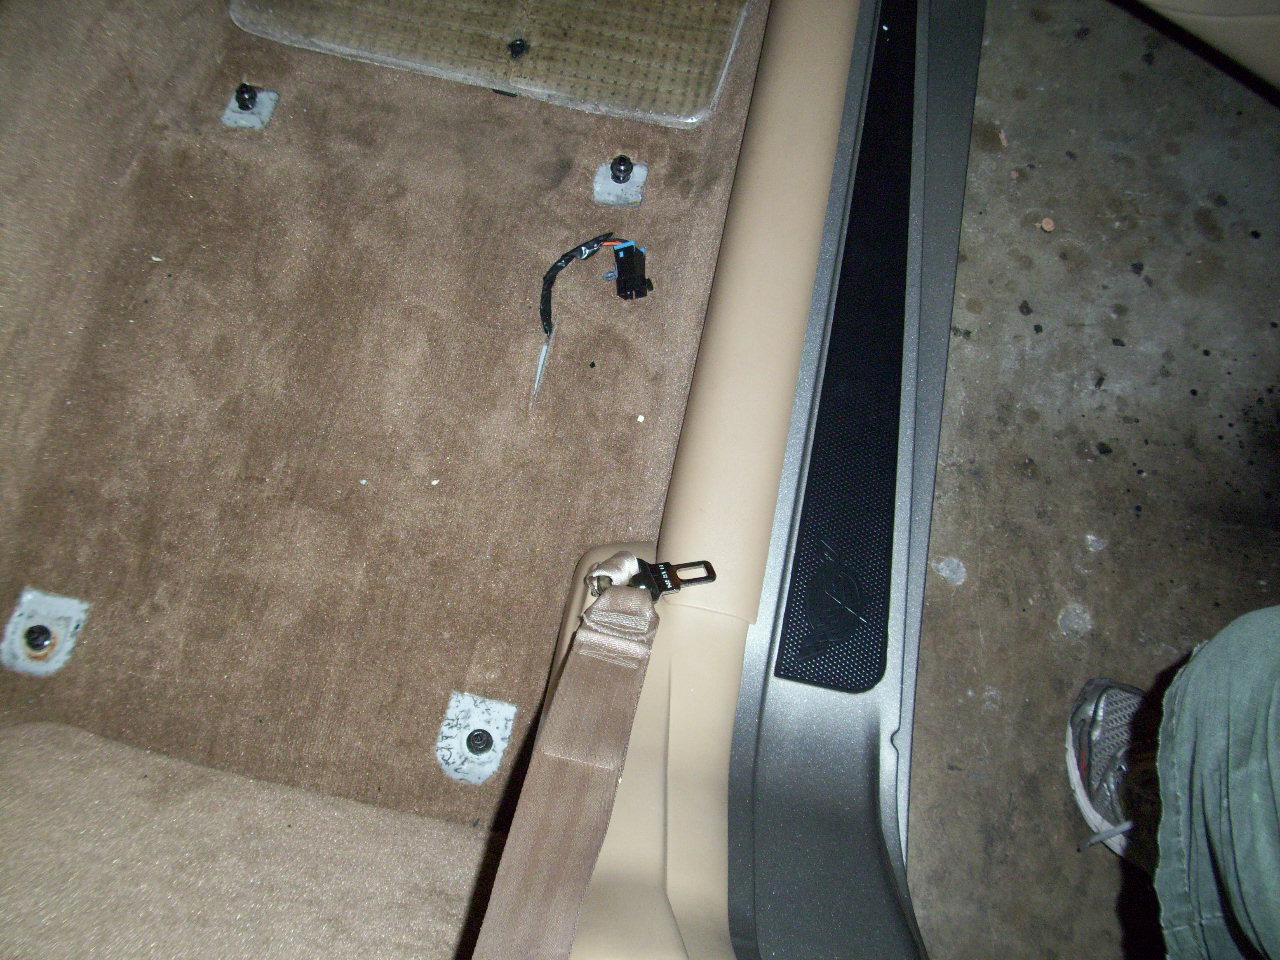 door plate back in place.
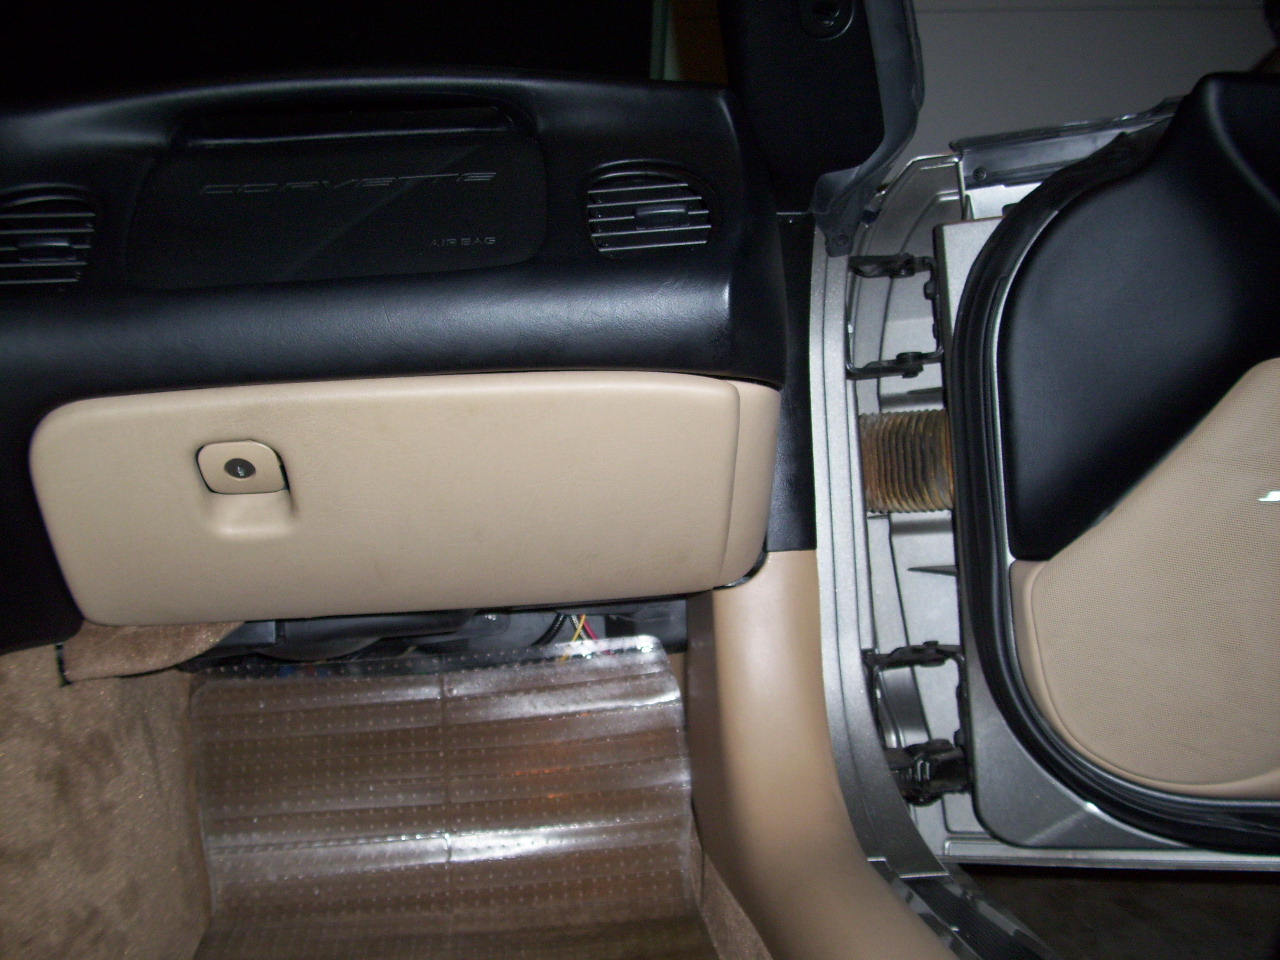 Kick panel back in. ( I don't see any nitrous lines
 Last edited by camscam02; 05-13-2010 at 05:07 PM.
 I had trouble uploading the pics under the threads, only 10 pics at a time?
05-13-2010, 05:25 PM
I had trouble uploading the pics under the threads, only 10 pics at a time?
05-13-2010, 05:25 PM
#7
On The Tree
Thread Starter
iTrader: (2)
Join Date: Nov 2009
Posts: 168
Likes: 0
Received 0 Likes
on
0 Posts
More pics of Bottle set up,switch plate and line routeing.
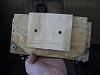
 I cranked up the angle on the mount plate from the original by adding 2 spacers between the plywood.
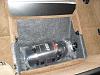
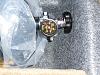
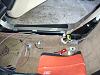
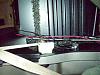
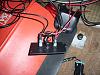
 press. switch and filter along with pwr line & fuse.
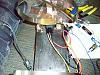 Relay mounted on plate.
 front view of relay.
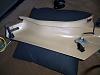
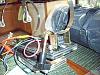
 All wired in Bottle . I just need to shorten some of the lines before final hook up and get them better organized.

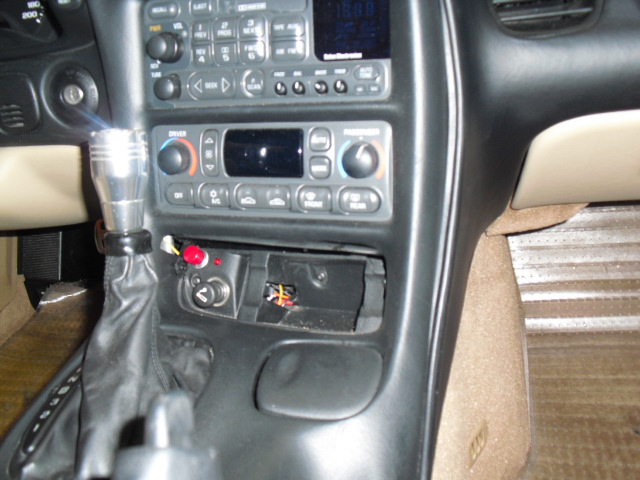
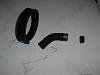
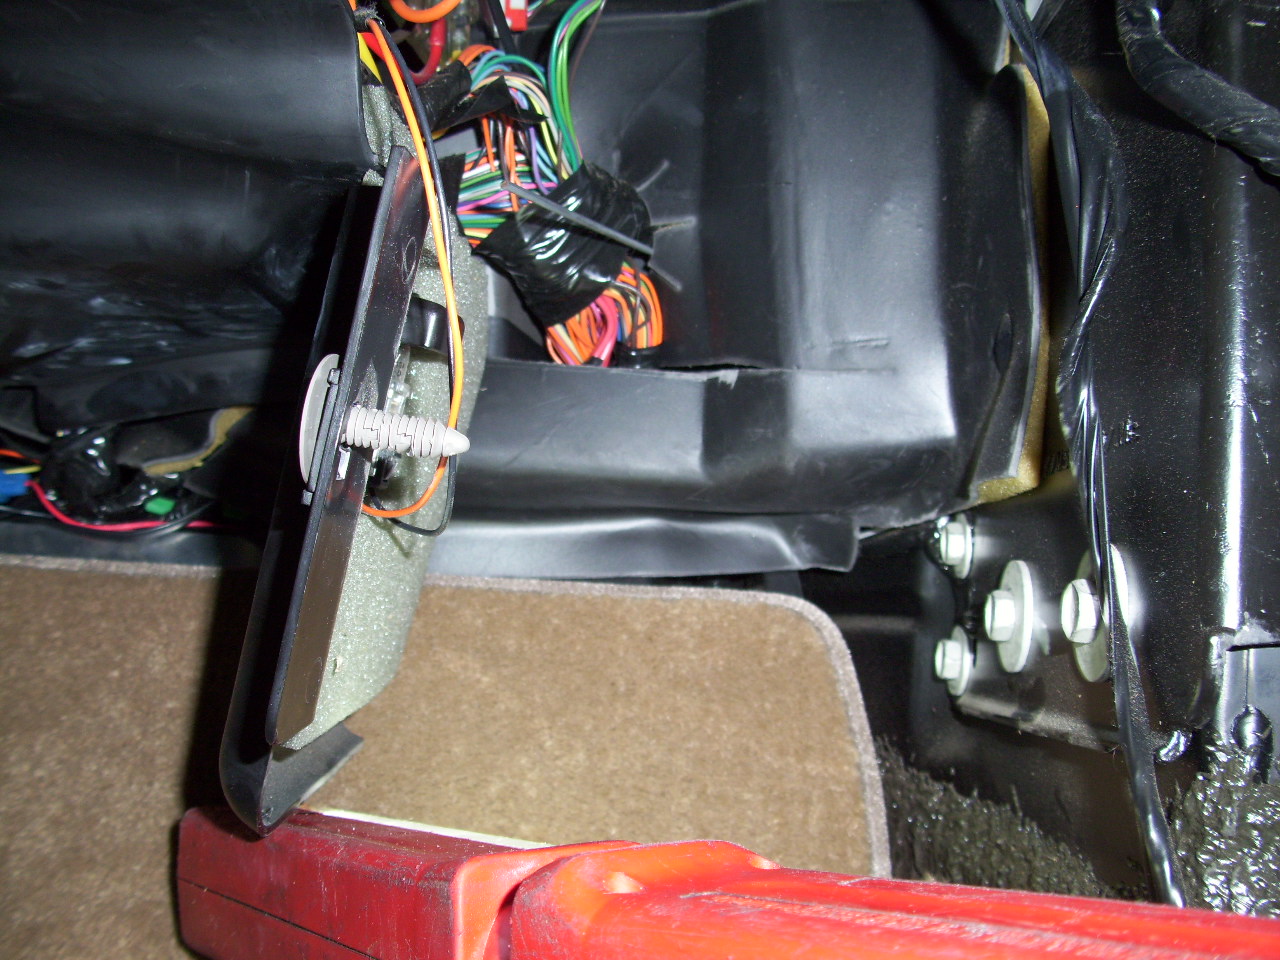
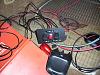 I fabed up this switch plate for the ash tray area.
 Wired up back of switch plate.
 This is the engine side firewall gromet that will be used to route all lines into engine bay. I had to make a small slit with a scalpal in order to expediate the passasge way.
 I cranked up the angle on the mount plate from the original by adding 2 spacers between the plywood.
 press. switch and filter along with pwr line & fuse.
 Relay mounted on plate.
 front view of relay.
 All wired in Bottle . I just need to shorten some of the lines before final hook up and get them better organized.
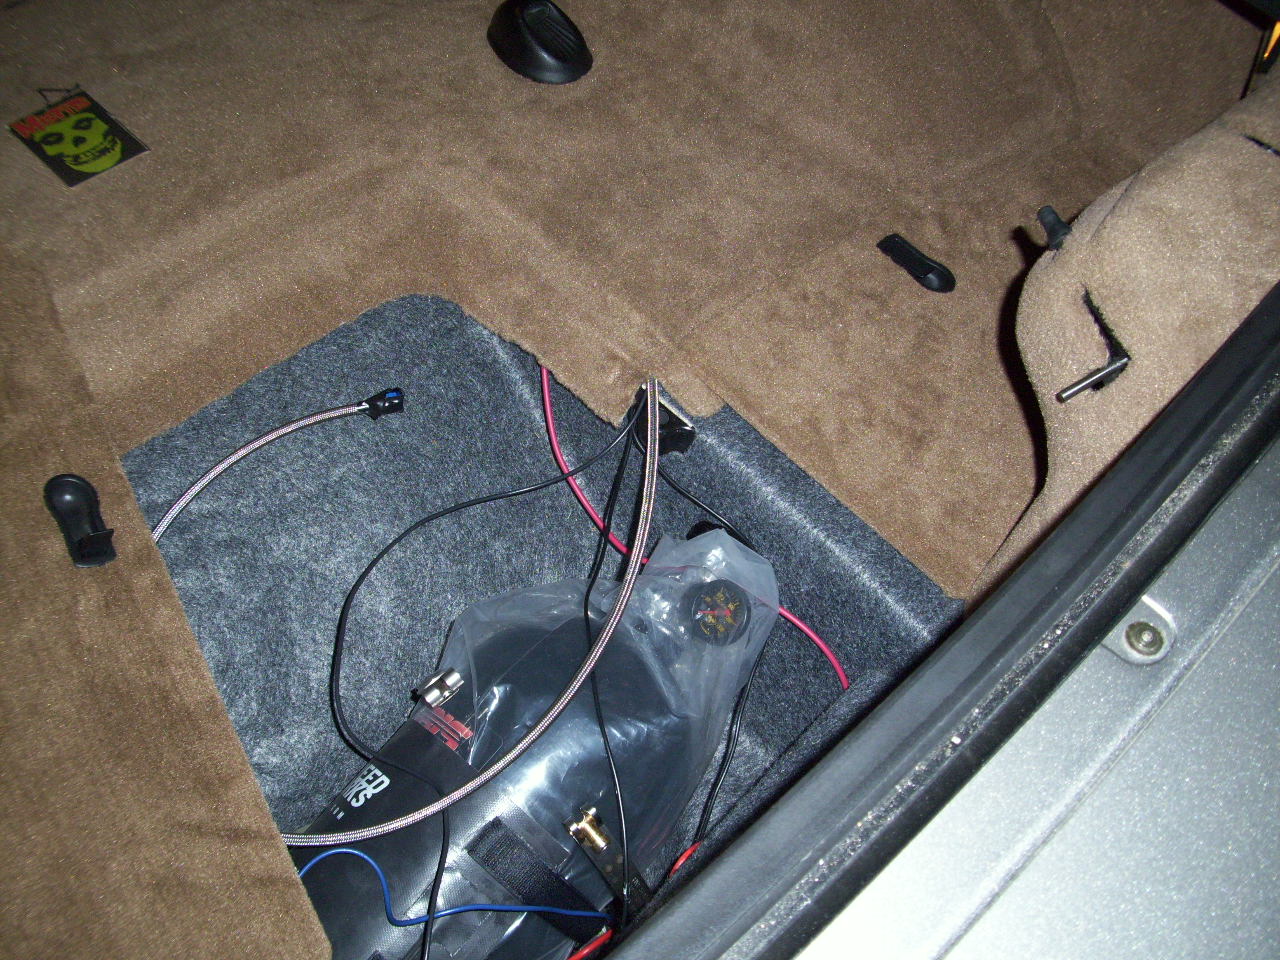
 I fabed up this switch plate for the ash tray area.
 Wired up back of switch plate.
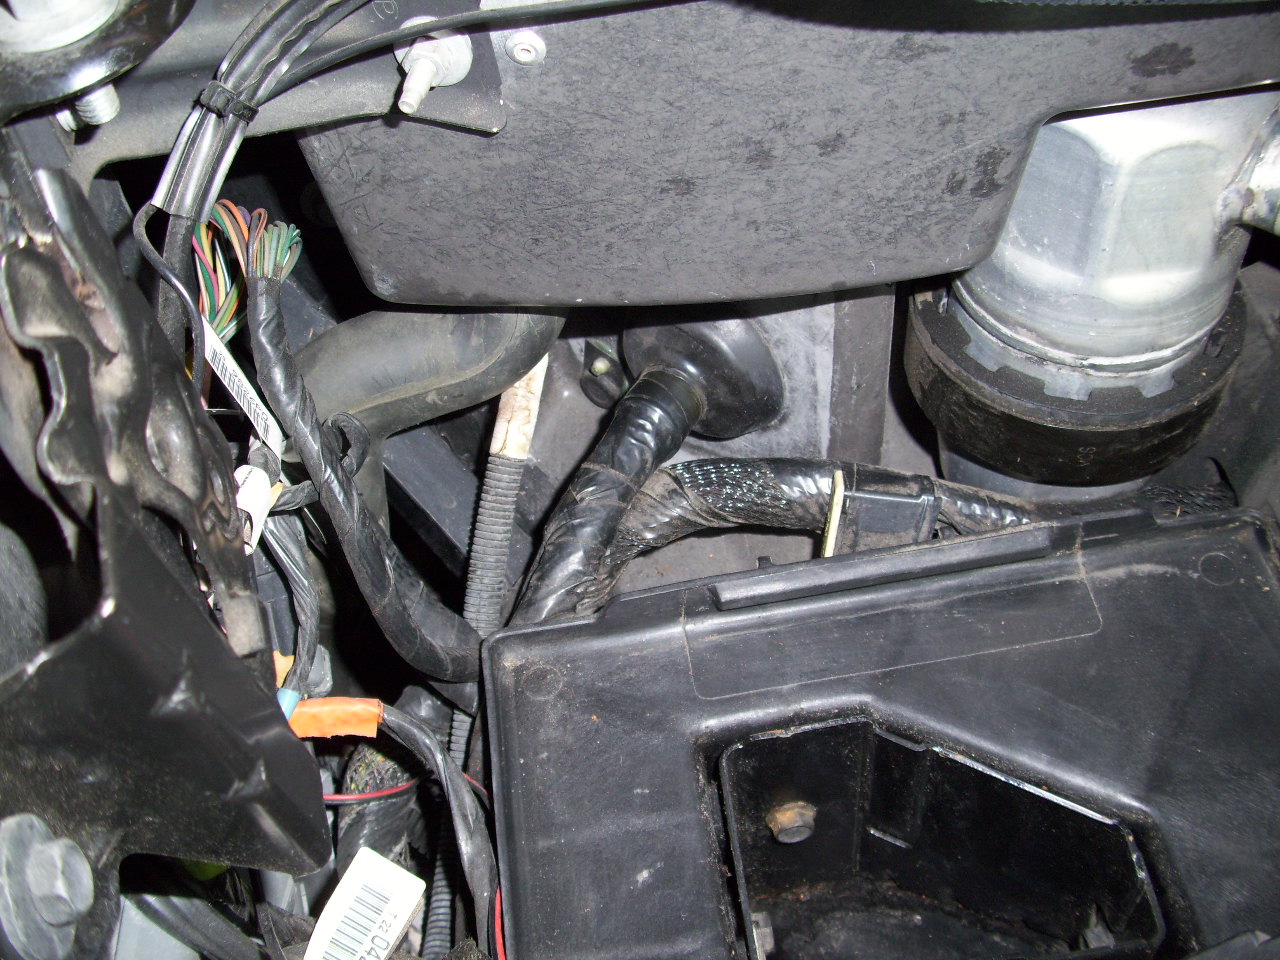 This is the engine side firewall gromet that will be used to route all lines into engine bay. I had to make a small slit with a scalpal in order to expediate the passasge way.
 Last edited by camscam02; 05-13-2010 at 05:31 PM.
Trending Topics
05-13-2010, 06:11 PM
#8
On The Tree
Thread Starter
iTrader: (2)
Join Date: Nov 2009
Posts: 168
Likes: 0
Received 0 Likes
on
0 Posts
Here we go with the firewall line feed & plate kit install.
 You can see all the other wires from the dash that go through this gromet.
 This is the nitrous line, red pwr line for the bottle heater, Microedge harness& a few more lines just in case. I used a soft steel rod with a hook bent onto the end and tape the lines to it. I than pulled from the outside & pushed from inside under the dash to coax them through. It would be nice to have someone helping on one end.
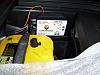
 Ths battery tray area. Get a marker like this to label all the lines that you will be running as it will become a wire jungle very soon. Walmart has them.
 This is the ground post under the battery that I will use for all noids & anything else that will be under the hood. I cleaned it up and used 10g wire.
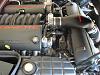
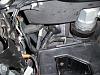
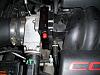
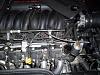
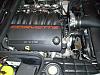
 The C5 needs to have the power steering fluid resv. moved foward with spacers. You can see that above the belt to the right.
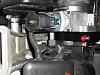 another view of the spacer and the plate installed. I put soft rubber red caps on the jet area's to keep it clean from debris.
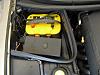
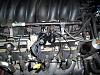
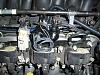
 plate attached. No big deal after the air filter is removed ,just 3 bolts hold in the 78mm plate.
 Another view of the HSW plate.
 I had to do some trimming in order to get the Air filter & Pwr steering relocate in . The large ring on the left was trimmed 1 inch in order to get the Haltech assembly on & the hose for the power steering resevoir needed a 1/2 inch trim otherwise it was pinched off & I felt it would restrict the flow. The original hose was prebent. After it was trimmed the fitment looked fine.
 You can see all the other wires from the dash that go through this gromet.
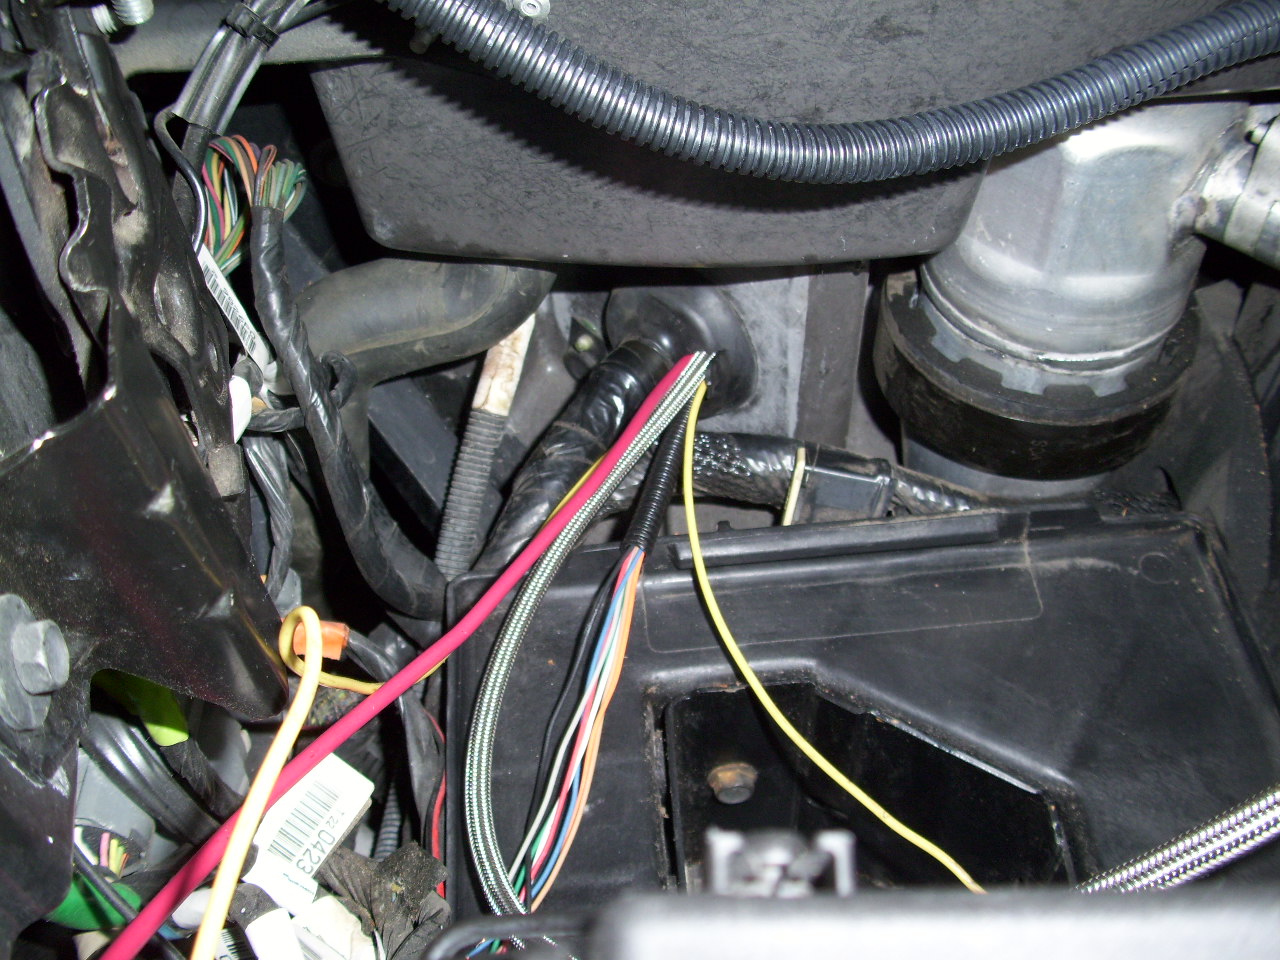 This is the nitrous line, red pwr line for the bottle heater, Microedge harness& a few more lines just in case. I used a soft steel rod with a hook bent onto the end and tape the lines to it. I than pulled from the outside & pushed from inside under the dash to coax them through. It would be nice to have someone helping on one end.
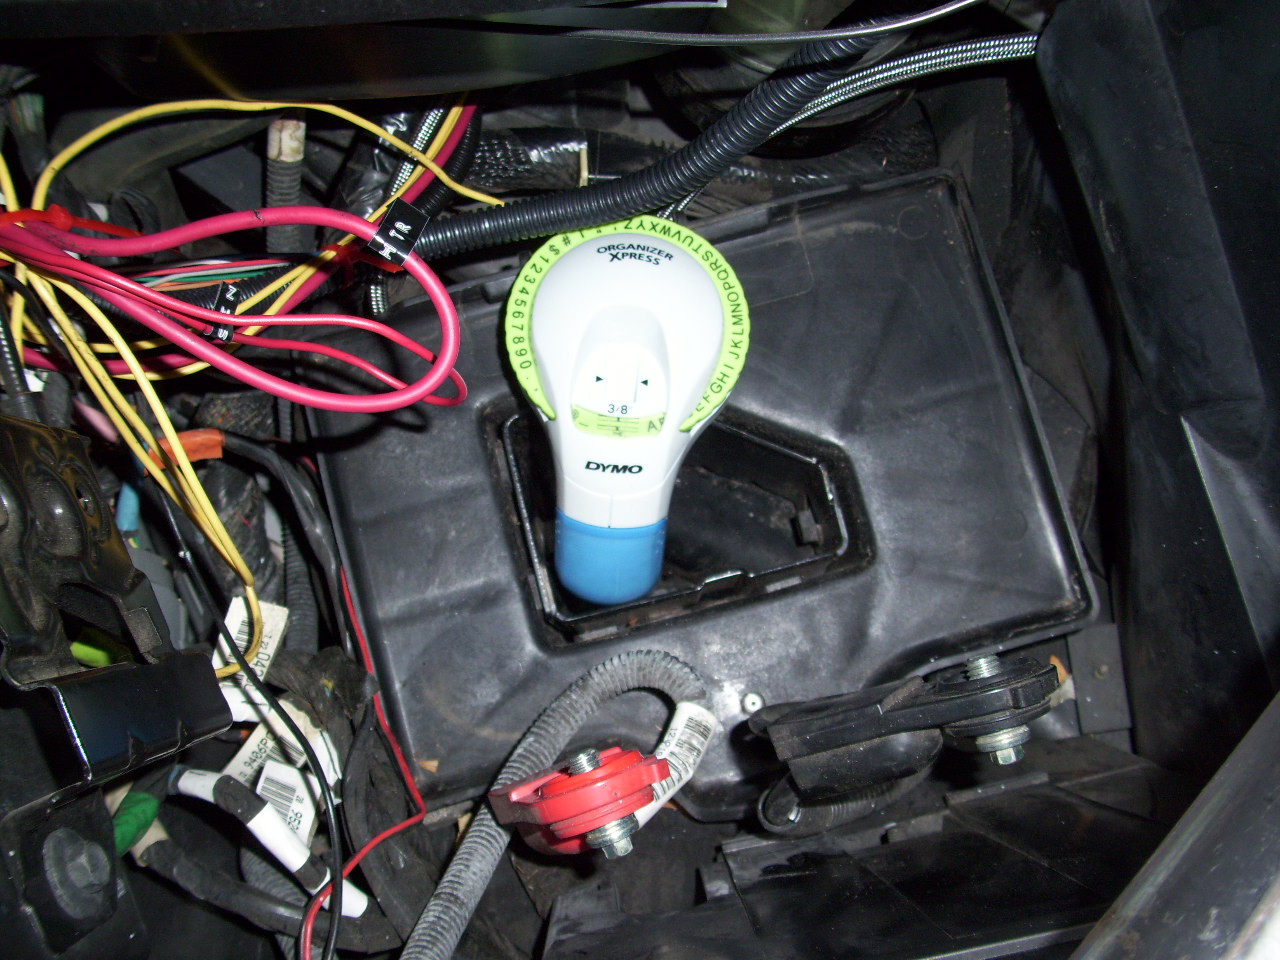 Ths battery tray area. Get a marker like this to label all the lines that you will be running as it will become a wire jungle very soon. Walmart has them.
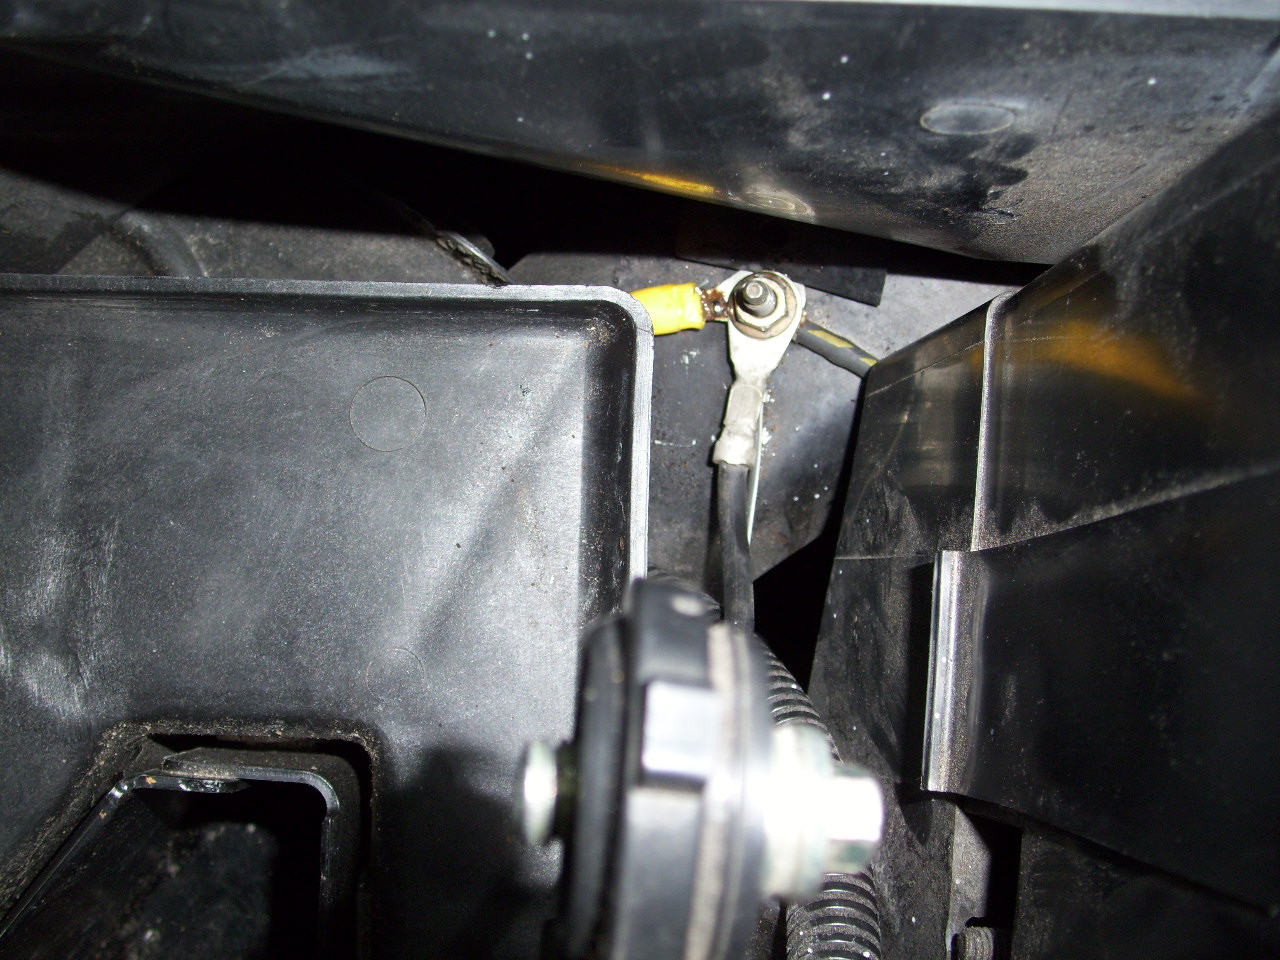 This is the ground post under the battery that I will use for all noids & anything else that will be under the hood. I cleaned it up and used 10g wire.
 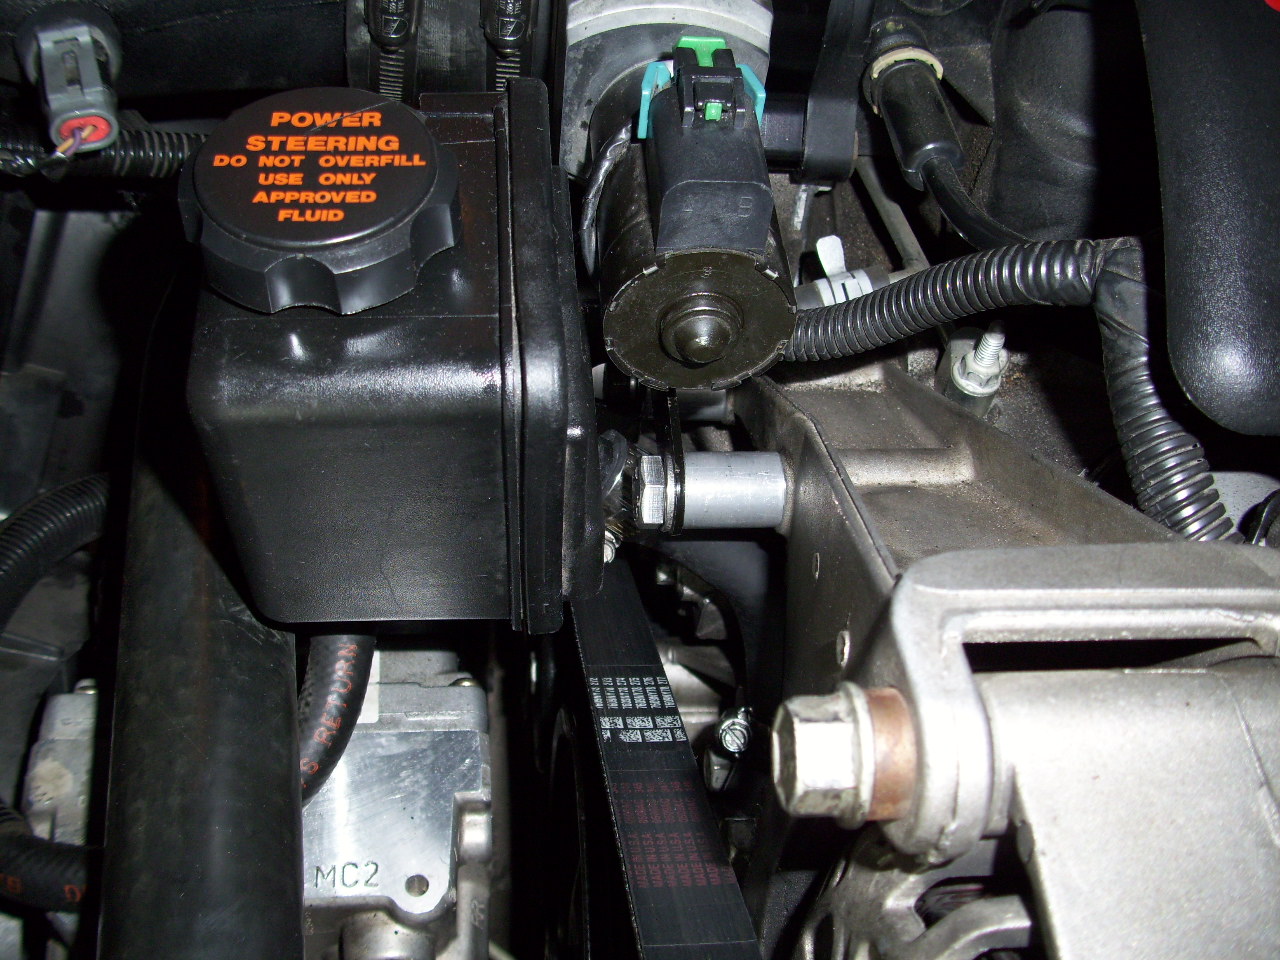 The C5 needs to have the power steering fluid resv. moved foward with spacers. You can see that above the belt to the right.
 another view of the spacer and the plate installed. I put soft rubber red caps on the jet area's to keep it clean from debris.
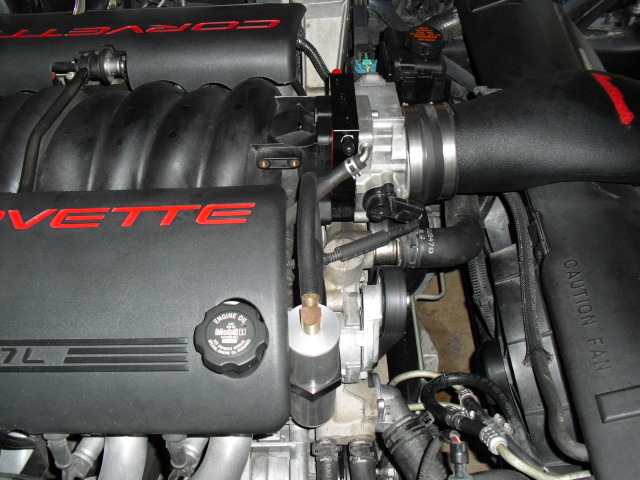 plate attached. No big deal after the air filter is removed ,just 3 bolts hold in the 78mm plate.
 Another view of the HSW plate.
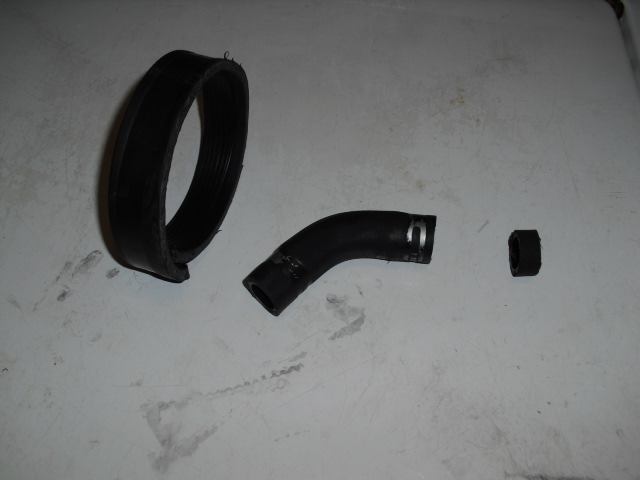 I had to do some trimming in order to get the Air filter & Pwr steering relocate in . The large ring on the left was trimmed 1 inch in order to get the Haltech assembly on & the hose for the power steering resevoir needed a 1/2 inch trim otherwise it was pinched off & I felt it would restrict the flow. The original hose was prebent. After it was trimmed the fitment looked fine.
05-13-2010, 06:30 PM
I had to do some trimming in order to get the Air filter & Pwr steering relocate in . The large ring on the left was trimmed 1 inch in order to get the Haltech assembly on & the hose for the power steering resevoir needed a 1/2 inch trim otherwise it was pinched off & I felt it would restrict the flow. The original hose was prebent. After it was trimmed the fitment looked fine.
05-13-2010, 06:30 PM
#9
On The Tree
Thread Starter
iTrader: (2)
Join Date: Nov 2009
Posts: 168
Likes: 0
Received 0 Likes
on
0 Posts
Noids going in
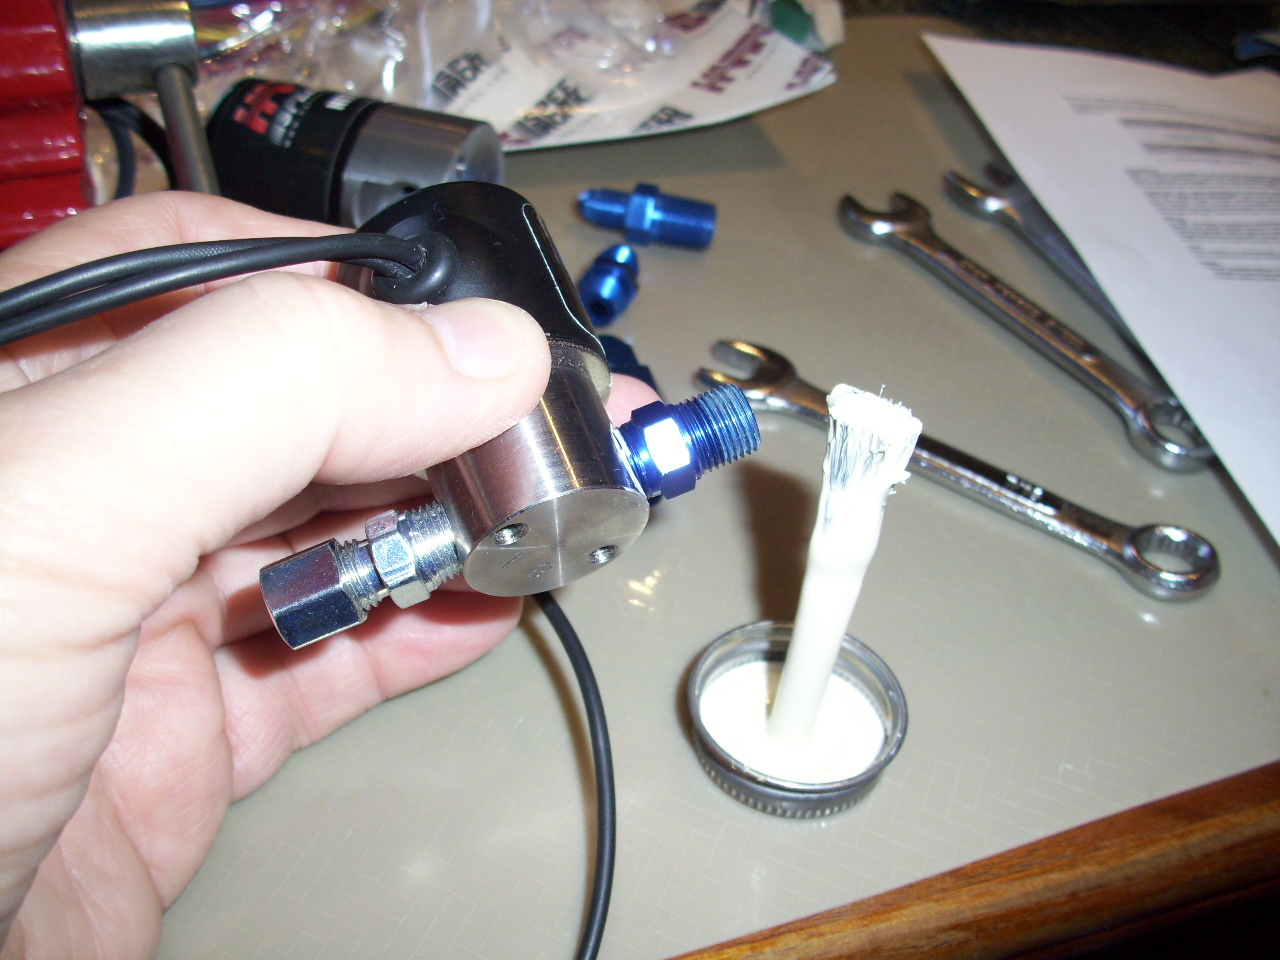
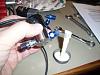 attaching nitrous & purge noids with teflon paste.
 and this what it looks like.
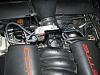
Thsi is where the noids for nitrous will go.
 I had to bend the noid brackets a bit to fit them in.
 Close up.
 The LNC-002 will sit here.
 This is the LNC-002 plug ins to the coil pack. One for each side.
 Cover back on with noids and LNC in place.
 I had to mount the fuel noid on the outside as there was no room with the LNC coil pack & noid to live together less even getting the cover to fit.
 lines attached to plate with my 75 shot pills in place. I used a FPSS before the fuel noid that did fit under the cover.
 attaching nitrous & purge noids with teflon paste.
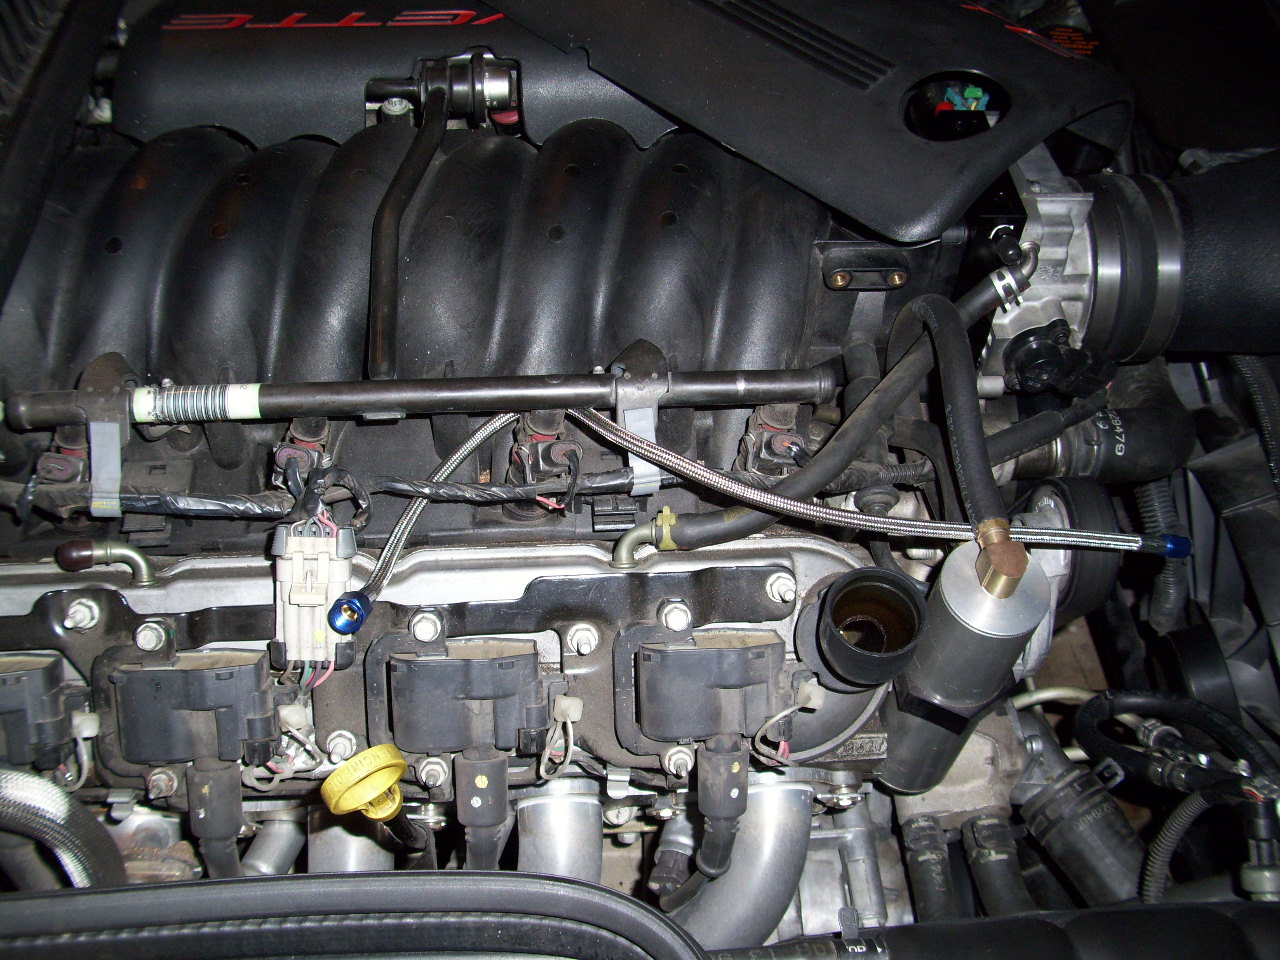 and this what it looks like. Thsi is where the noids for nitrous will go.
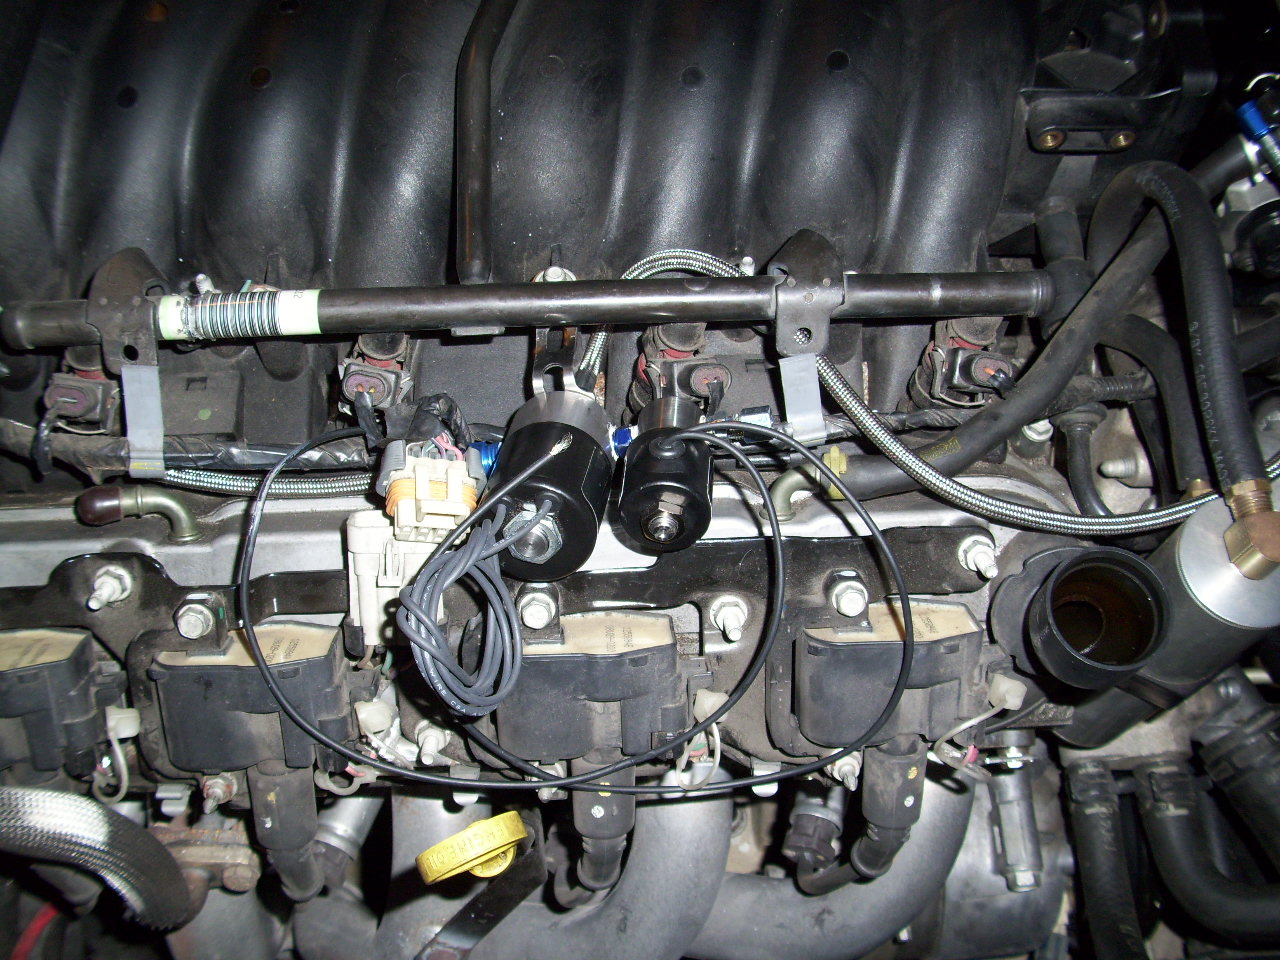 I had to bend the noid brackets a bit to fit them in.
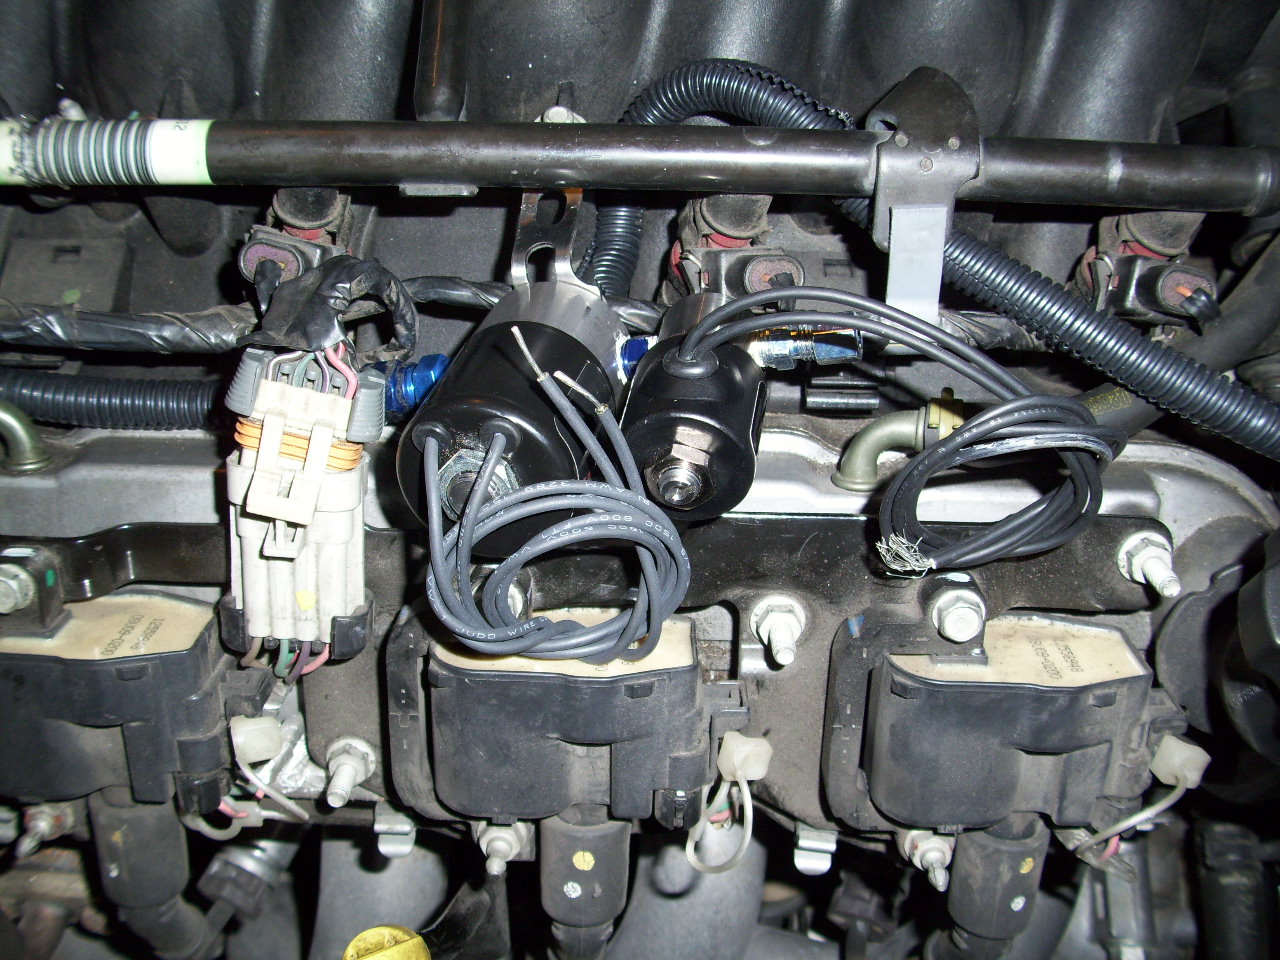 Close up.
 The LNC-002 will sit here.
 This is the LNC-002 plug ins to the coil pack. One for each side.
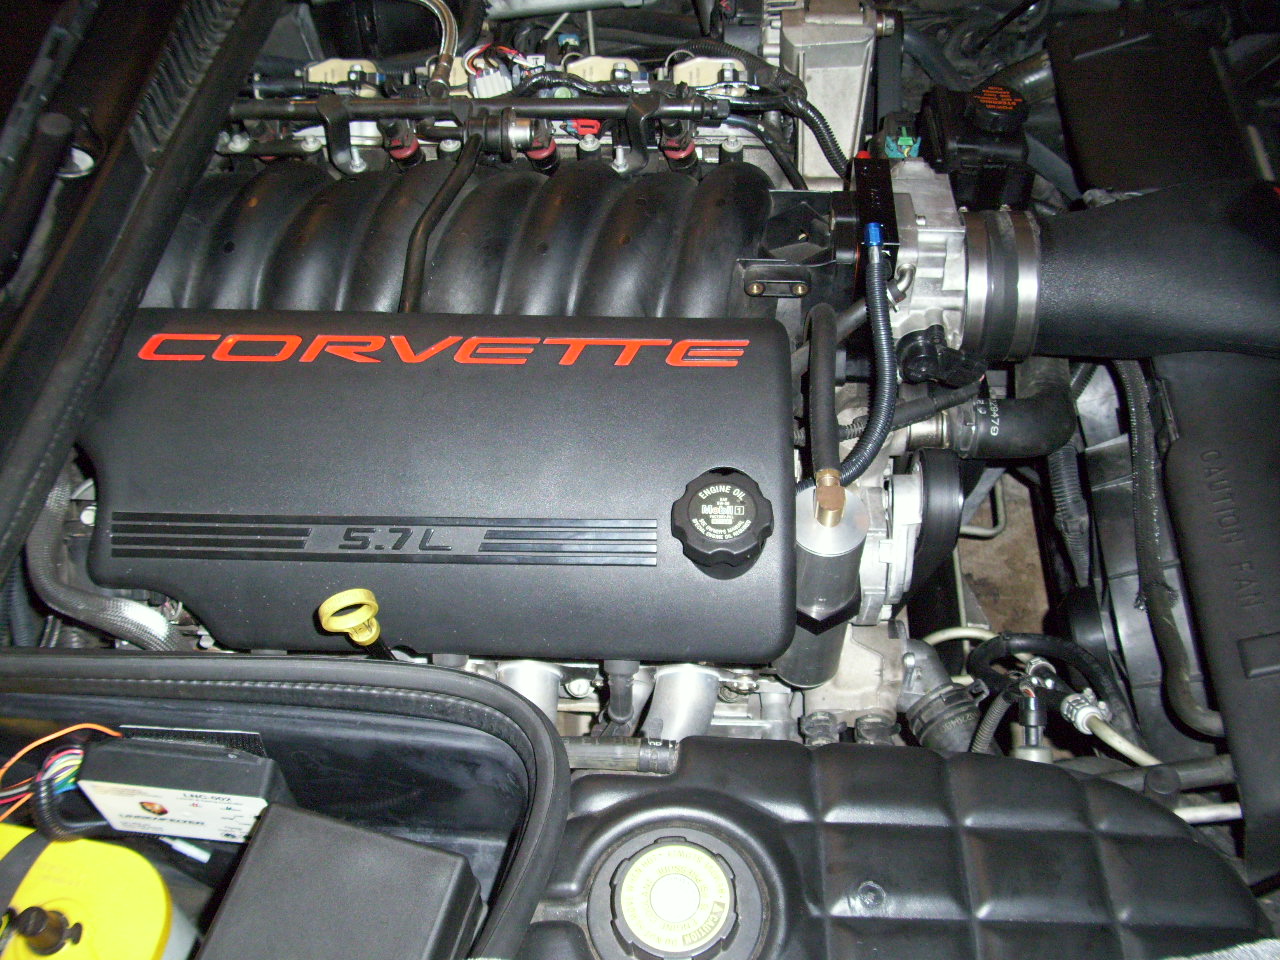 Cover back on with noids and LNC in place.
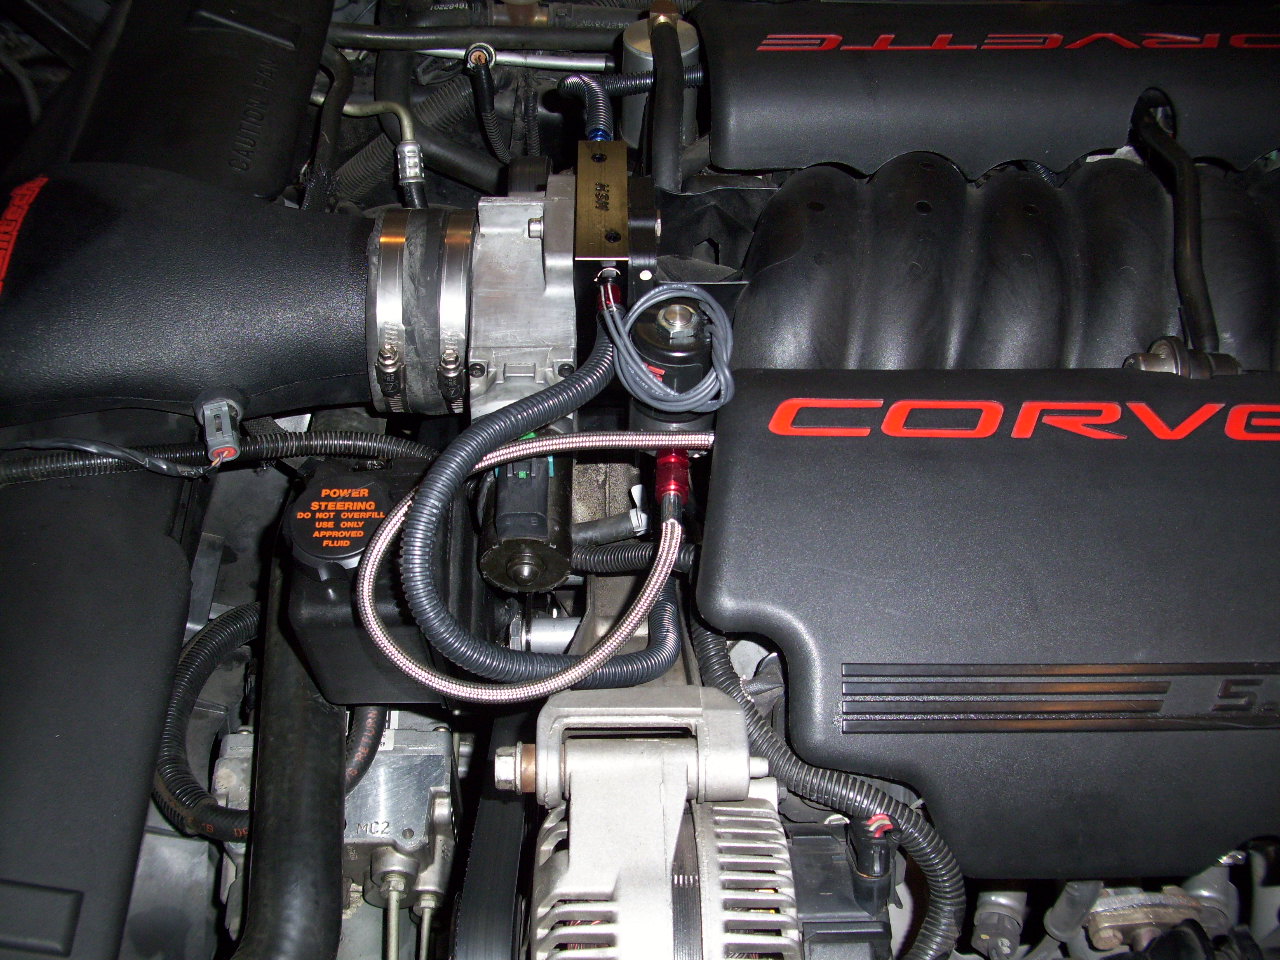 I had to mount the fuel noid on the outside as there was no room with the LNC coil pack & noid to live together less even getting the cover to fit.
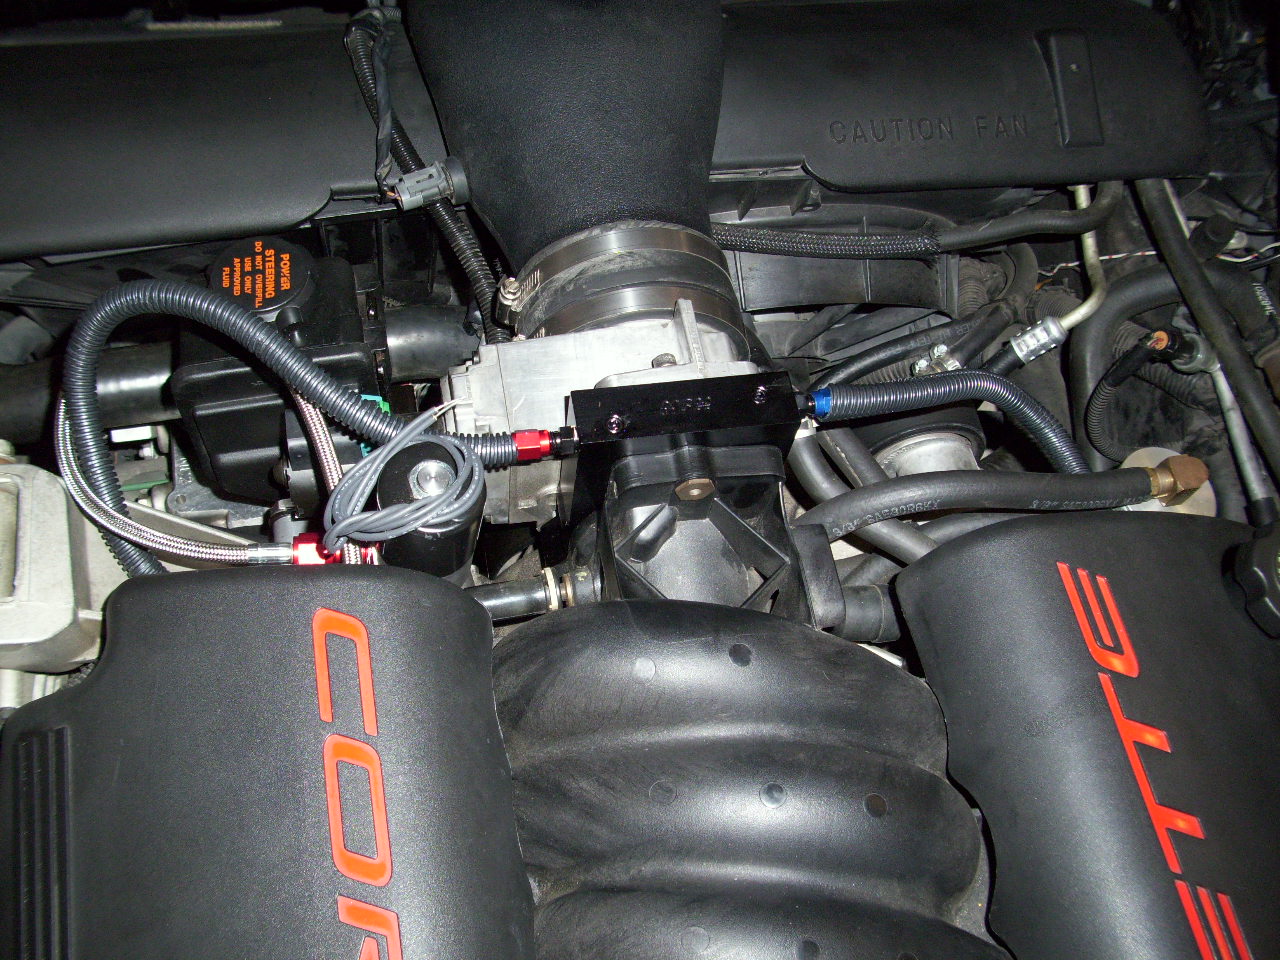 lines attached to plate with my 75 shot pills in place. I used a FPSS before the fuel noid that did fit under the cover.
05-13-2010, 06:41 PM
lines attached to plate with my 75 shot pills in place. I used a FPSS before the fuel noid that did fit under the cover.
05-13-2010, 06:41 PM
#10
On The Tree
Thread Starter
iTrader: (2)
Join Date: Nov 2009
Posts: 168
Likes: 0
Received 0 Likes
on
0 Posts
Last set of plate & purge set up pics. The wiring & switch plate will hopefully go in next week.
 Plate and lines hooked up. I ran black wire protector covers on the Nitrous & fuel lines going into the plate.
 You can see the aluminum purge line exiting from the front under the cover.
 Purge line heading south & foward.
 Purge line to front lower position. I also ran the black plastic wire protector cover over the aluminum purge line in order for it to blend in with its black environment.
 This is where the purge line exits its top center of license plate air grill. If you look hard its about 4 rows down from top of grill.
I hope these pics can help someone out.
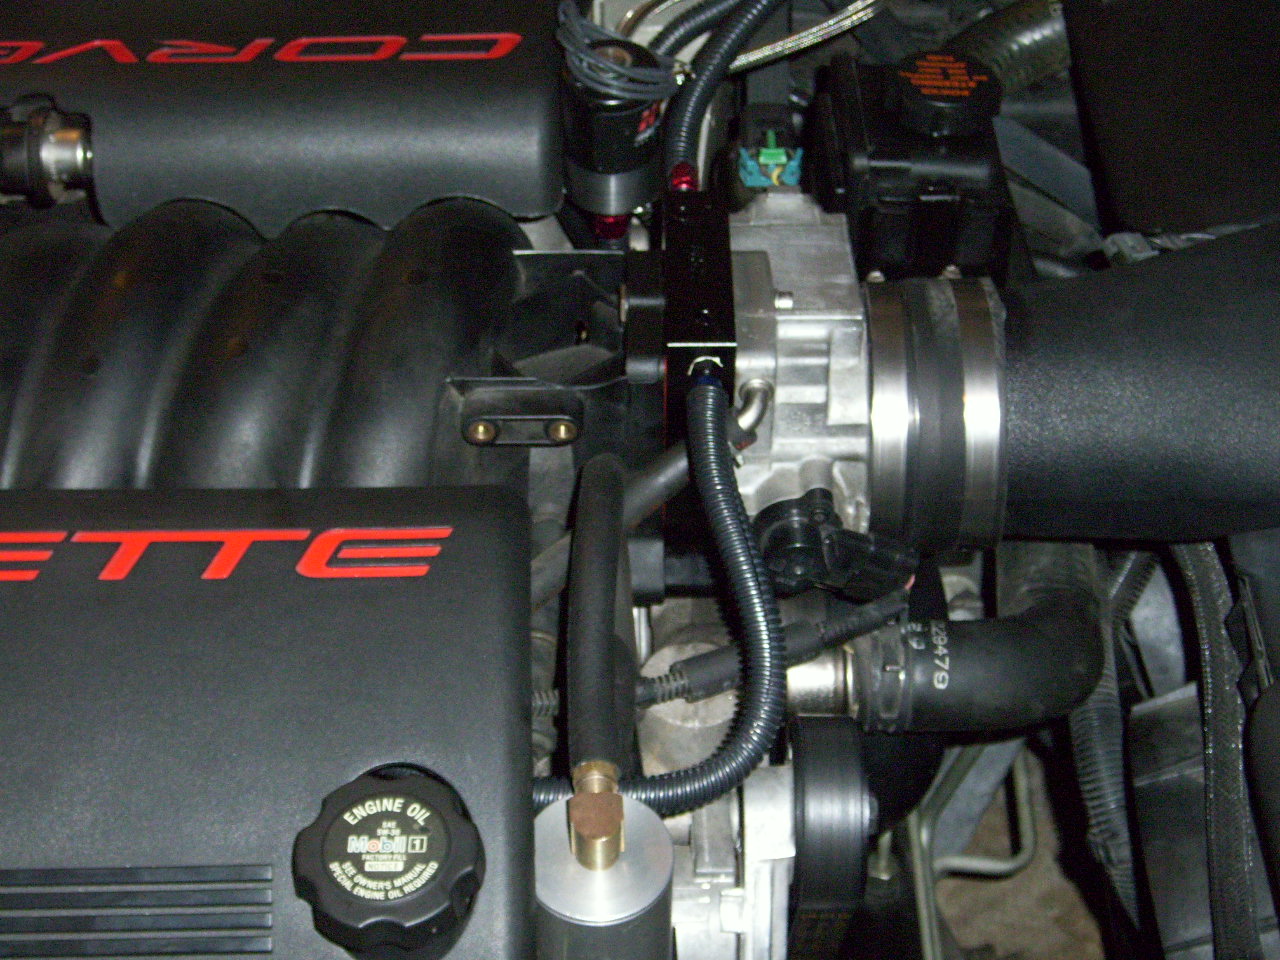 Plate and lines hooked up. I ran black wire protector covers on the Nitrous & fuel lines going into the plate.
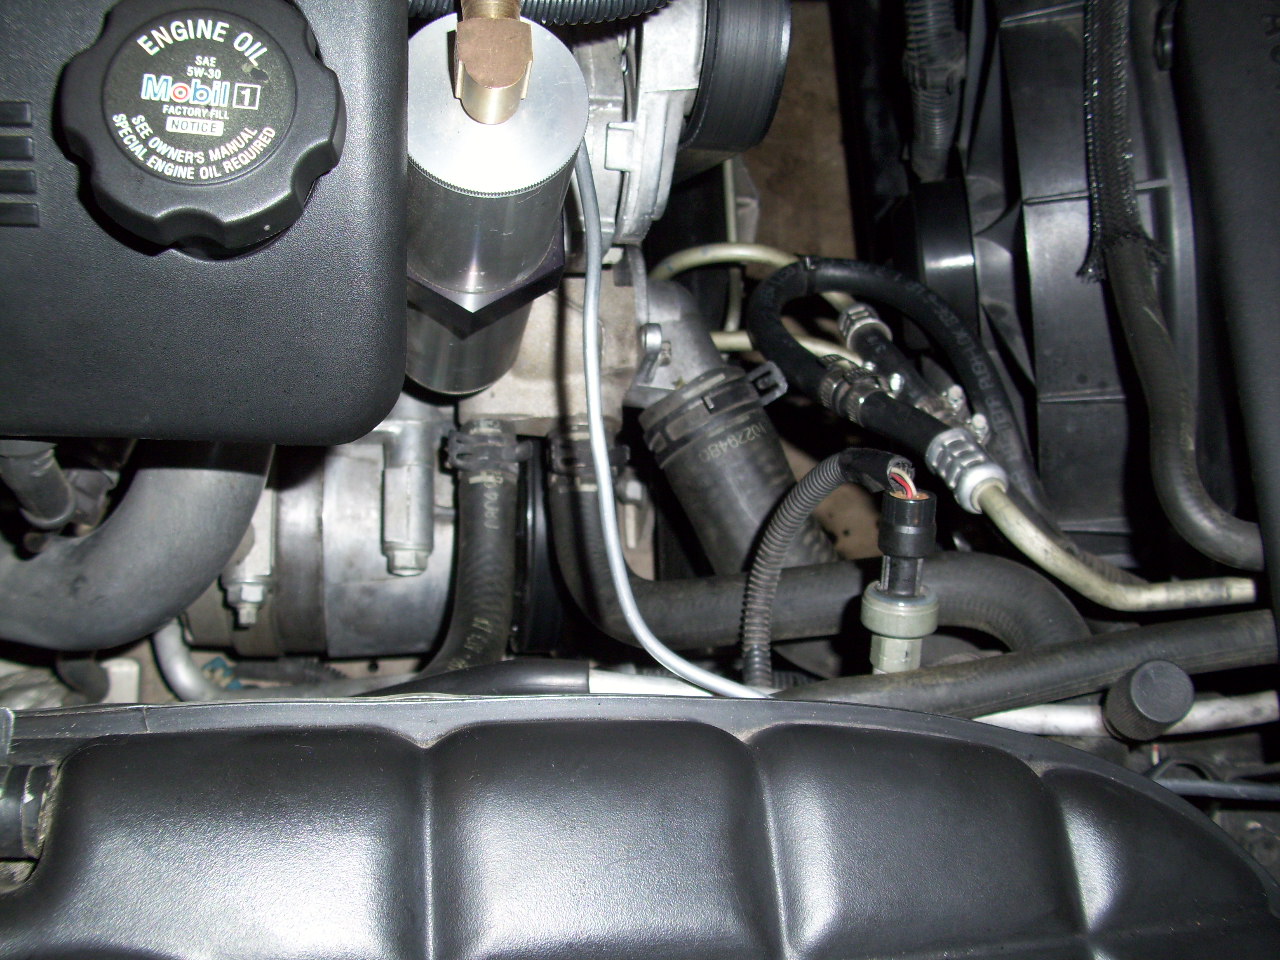 You can see the aluminum purge line exiting from the front under the cover.
 Purge line heading south & foward.
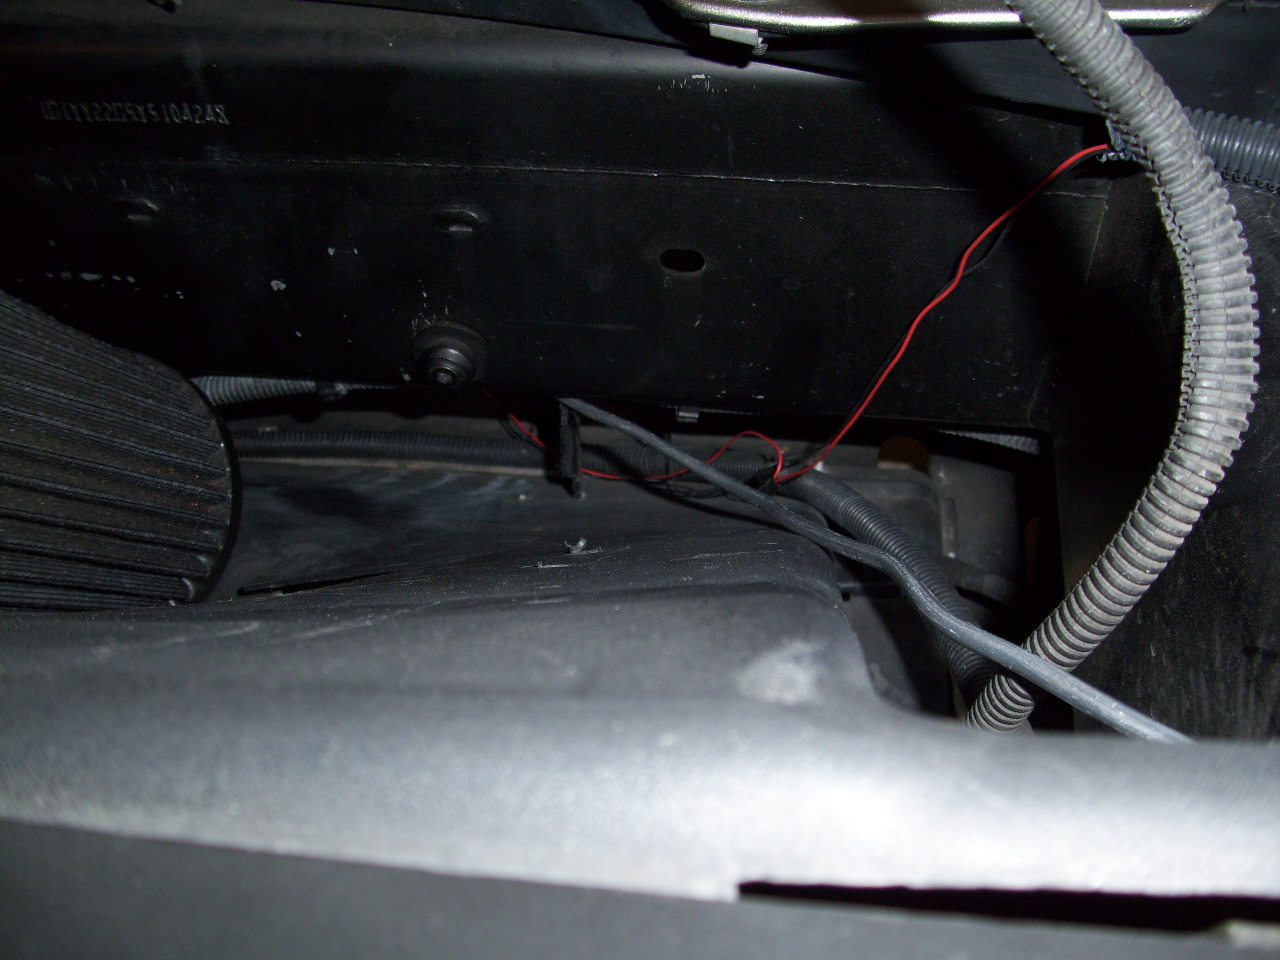 Purge line to front lower position. I also ran the black plastic wire protector cover over the aluminum purge line in order for it to blend in with its black environment.
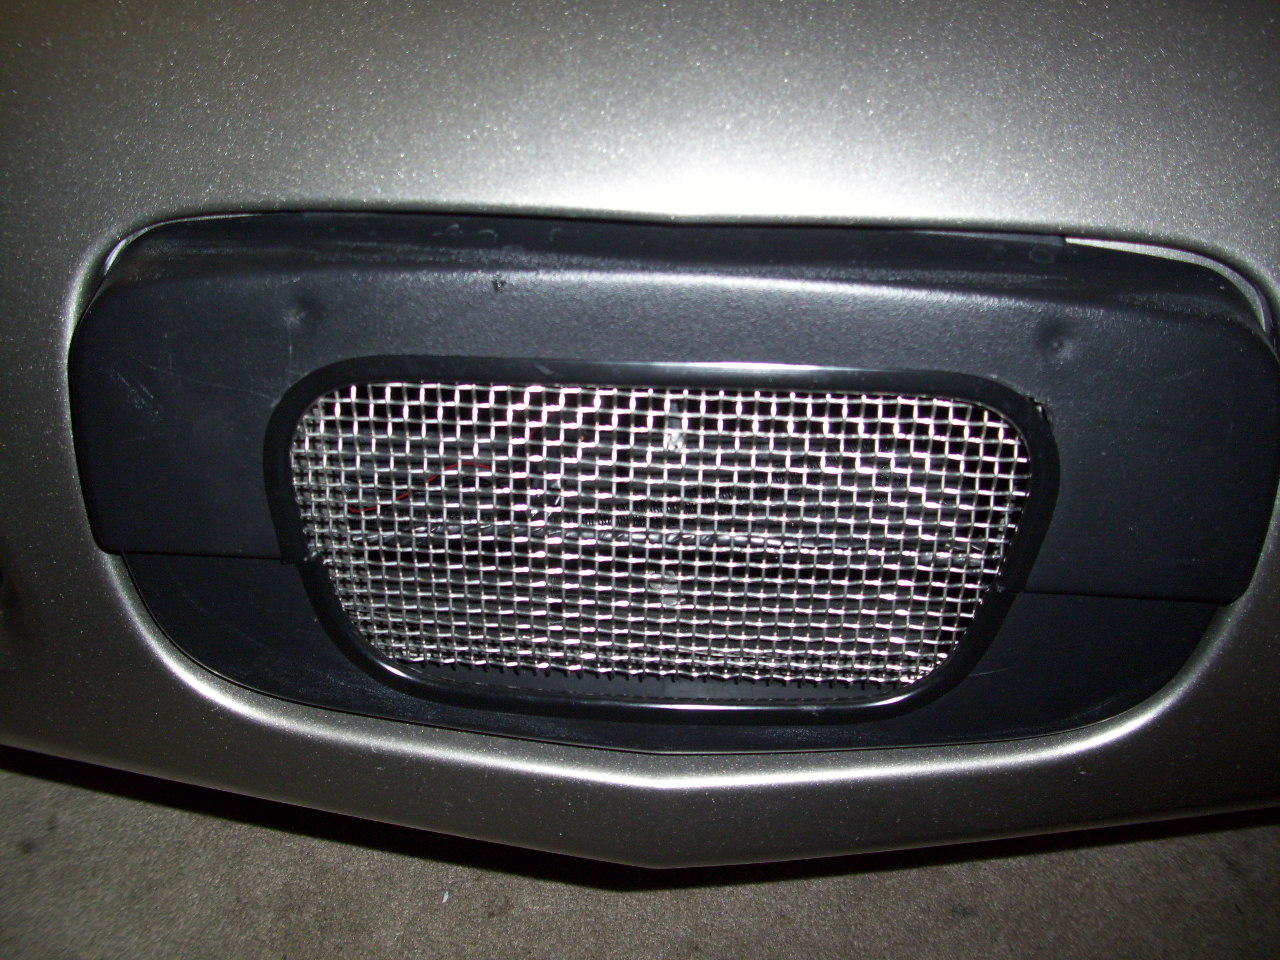 This is where the purge line exits its top center of license plate air grill. If you look hard its about 4 rows down from top of grill.
I hope these pics can help someone out.
05-14-2010, 08:36 PM
#13
im sure this will help the noobs with their install if they are not too positive, when i instaled my first nitrous kit it was the hsw 90mm kit on my gto
and thought they made it str8 forward, then also installed the nitrousoutlet window switch, and i was very hesitant cuz im not like a pro at wiring
but it was str8 forward as long as you take your time double check, you will be good
but nice to see ya post this
and thought they made it str8 forward, then also installed the nitrousoutlet window switch, and i was very hesitant cuz im not like a pro at wiring
but it was str8 forward as long as you take your time double check, you will be good
but nice to see ya post this
05-15-2010, 04:25 PM
#14
On The Tree
Thread Starter
iTrader: (2)
Join Date: Nov 2009
Posts: 168
Likes: 0
Received 0 Likes
on
0 Posts
Thanks for the appreciative replies. I will try & do more photo's when I start the wire up for the Noids, LNC-002, MicroEdge, & switch panel, Well everything else that is.
I will try & do more photo's when I start the wire up for the Noids, LNC-002, MicroEdge, & switch panel, Well everything else that is. 