


My nitrous install thread...!

Teching In
Joined: Jul 2012
Posts: 44
Likes: 0
pretty nifty.. have been thinking of jumping on the spray wagon myself... didn't realize how much thought had to go into these setups... would be fun though.. good luck..
Last edited by tuckin22; Apr 22, 2014 at 09:30 PM.

TECH Resident
Joined: Jan 2009
Posts: 869
Likes: 0
From: In the moment...
The only problem I see with mounting your microedge allllllll the way over there is you gotta either:
A)Have extremely long arms to change your ramp on the fly
or
B)Get out of the car and walk around anytime you want to make adjustments
I would want my progressive somewhere close within reach so if Im at the track and I see a bunch of people knocking the tires off I can change it on the fly.
A)Have extremely long arms to change your ramp on the fly
or
B)Get out of the car and walk around anytime you want to make adjustments
I would want my progressive somewhere close within reach so if Im at the track and I see a bunch of people knocking the tires off I can change it on the fly.

Thread Starter
TECH Apprentice
iTrader: (4)
Joined: Jan 2006
Posts: 374
Likes: 1
From: Rogersville, MO
The only problem I see with mounting your microedge allllllll the way over there is you gotta either:
A)Have extremely long arms to change your ramp on the fly
or
B)Get out of the car and walk around anytime you want to make adjustments
I would want my progressive somewhere close within reach so if Im at the track and I see a bunch of people knocking the tires off I can change it on the fly.
A)Have extremely long arms to change your ramp on the fly
or
B)Get out of the car and walk around anytime you want to make adjustments
I would want my progressive somewhere close within reach so if Im at the track and I see a bunch of people knocking the tires off I can change it on the fly.
Thread Starter
TECH Apprentice
iTrader: (4)
Joined: Jan 2006
Posts: 374
Likes: 1
From: Rogersville, MO
Thanks
Well my rear end setup and gears only have about 300 miles on them so I am still taking it easy. I have also changed plans slightly and ordered a 15 lb bottle. The goal is to have the rest of the kit installed by this weekend minus the bottle.
Well my rear end setup and gears only have about 300 miles on them so I am still taking it easy. I have also changed plans slightly and ordered a 15 lb bottle. The goal is to have the rest of the kit installed by this weekend minus the bottle.
Thread Starter
TECH Apprentice
iTrader: (4)
Joined: Jan 2006
Posts: 374
Likes: 1
From: Rogersville, MO
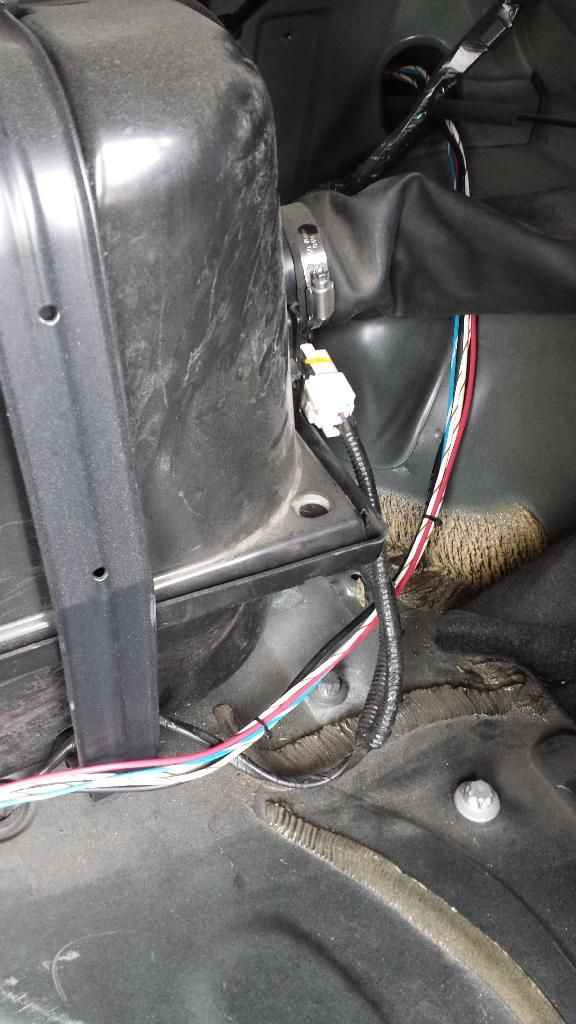
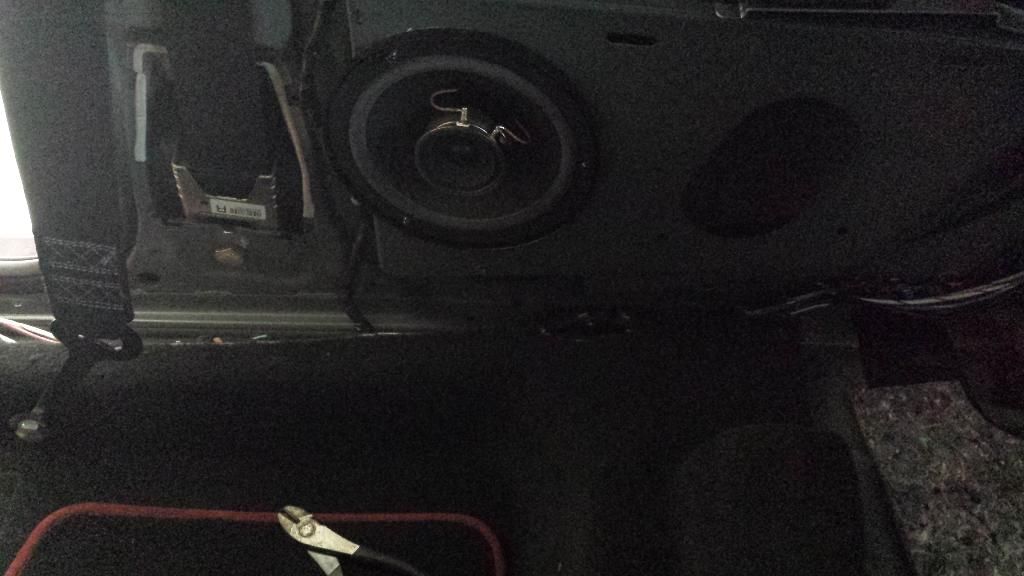
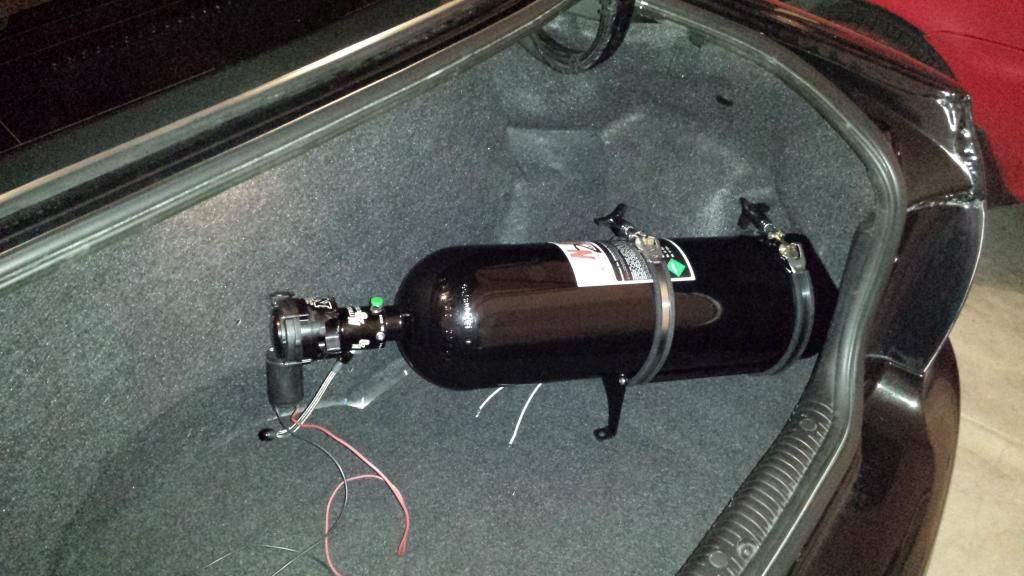
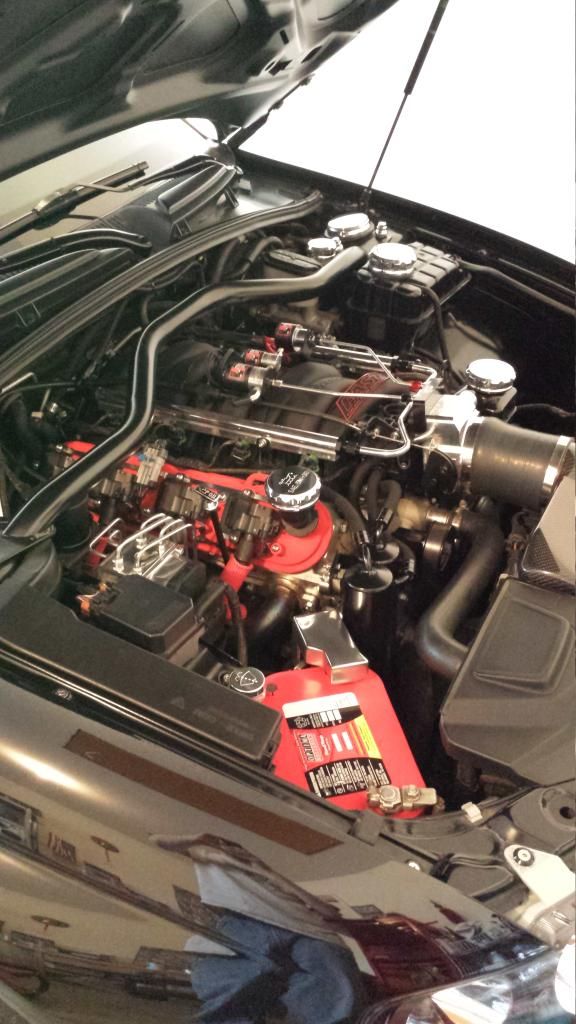
Might not look like much but I actually made great progress today. Made my harness that is going to the trunk and got it all routed through the car. This consisted of removing the rear seats, rear side panel, front kick panel, and trim beside the door.
I also found the perfect place to mount my terminal strips...they will be super accessible yet hidden out of site. Very happy with this find.
Also figured out what area of the glovebox I can cut out to route the wires through.
Anyway, here are a few pictures.
Sorry about the dirty gas tank.
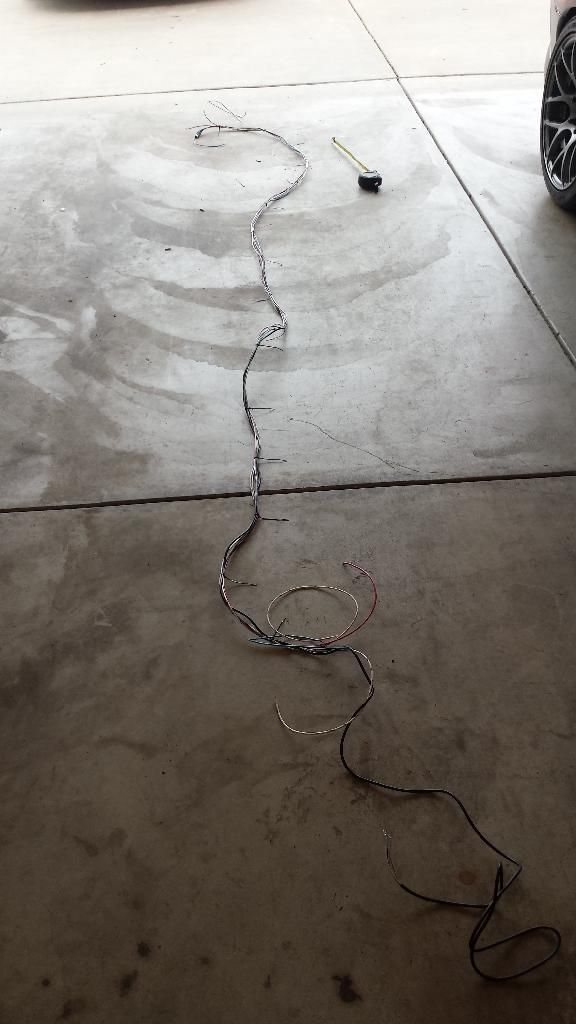
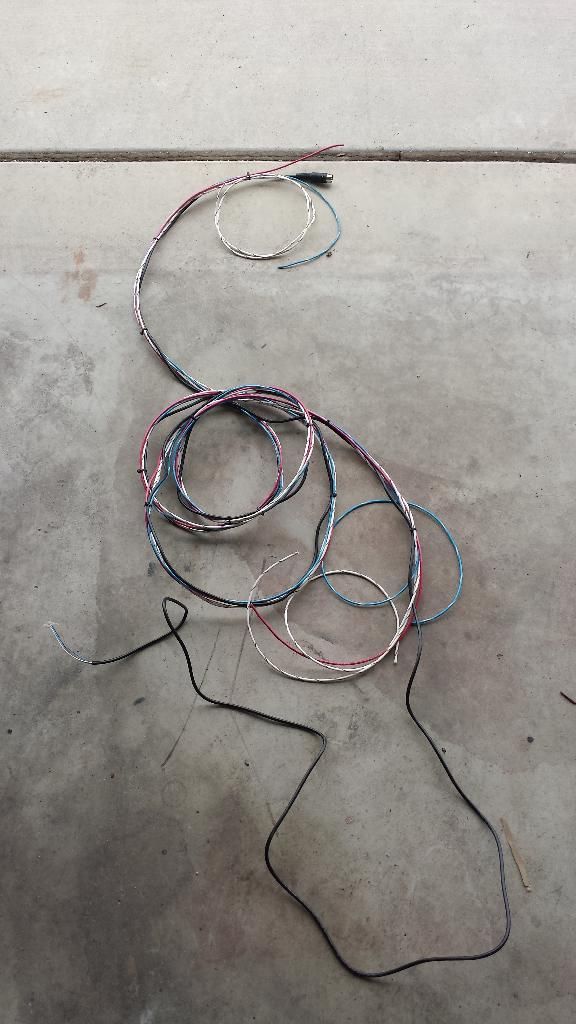


If you notice the tape measure in the first pic you will think I am crazy. I was putting a ziptie every 8" on the harness. I was also able to ziptie it to the factory harness inside of the car.
Although it does not look like I have made much progress at all on this thing, the hardest part is behind me. That was the planning.
I also found the perfect place to mount my terminal strips...they will be super accessible yet hidden out of site. Very happy with this find.
Also figured out what area of the glovebox I can cut out to route the wires through.
Anyway, here are a few pictures.
Sorry about the dirty gas tank.


If you notice the tape measure in the first pic you will think I am crazy. I was putting a ziptie every 8" on the harness. I was also able to ziptie it to the factory harness inside of the car.
Although it does not look like I have made much progress at all on this thing, the hardest part is behind me. That was the planning.
LS1 Tech Stories
The Best V8 Stories One Small Block at Time

Topdon ONE vs. Artidiag 800 BT2: Which is the Diagnostic Tablet For You?
Pouria Savadkouei
Gas Monkey Built a 6-Wheel Ferrari Testarossa With a Corvette LT4 Engine
Verdad Gallardo
7 Most Reliable High-Performance Engines GM Has Ever Built
Verdad Gallardo
Amazing '71 Camaro Restomod Is Modern Muscle Car Under the Skin
Verdad Gallardo
6 Common C5 Corvette Failures and What's Involved In Repairing Them
Pouria Savadkouei
Retro Modern Bandit Pontiac Trans AM Comes With Burt Reynolds' Autograph
Verdad Gallardo
Top 10 Greatest Cadillac V Series Performance Models Ever, Ranked
Pouria Savadkouei
Top 10 Most Powerful Chevy Trucks Ever Made!

Hennessey's New Supercharged Silverado ZR2 Has 700 HP
Verdad Gallardo Thread Starter
TECH Apprentice
iTrader: (4)
Joined: Jan 2006
Posts: 374
Likes: 1
From: Rogersville, MO
They work now. Photobucket said I was too popular.
Teching In
Joined: Jul 2012
Posts: 44
Likes: 0
seeing just the thought in this, it is going to come out both sic and perform as well.
Why you ditch the braided though? Gonna cut it close with your throttle cable or something like that?
Thread Starter
TECH Apprentice
iTrader: (4)
Joined: Jan 2006
Posts: 374
Likes: 1
From: Rogersville, MO
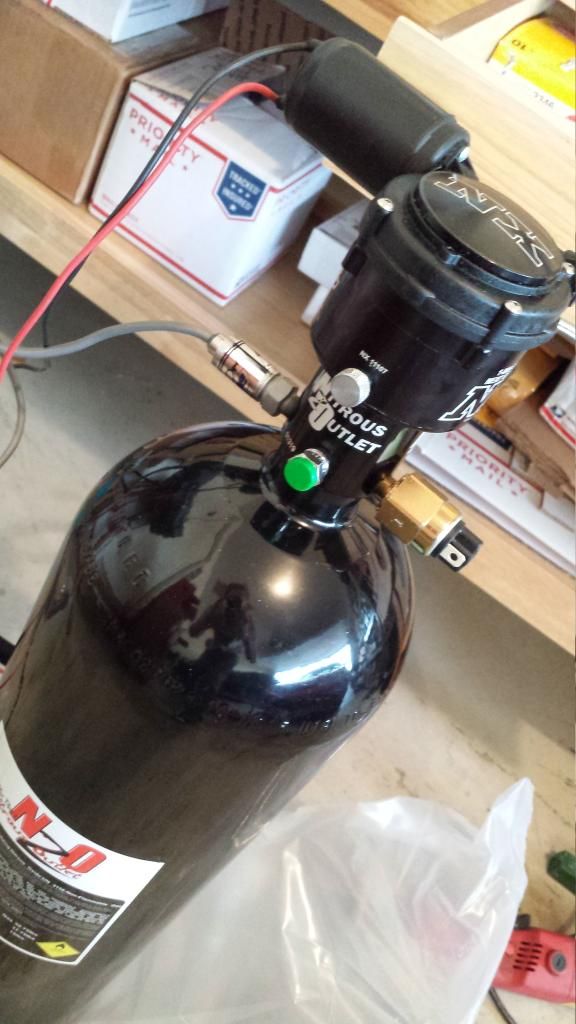
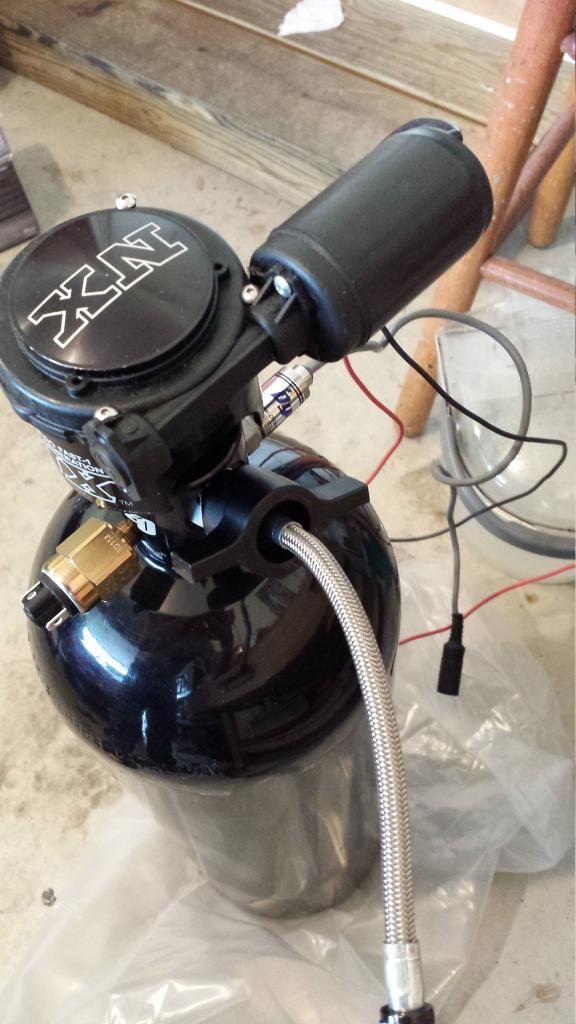
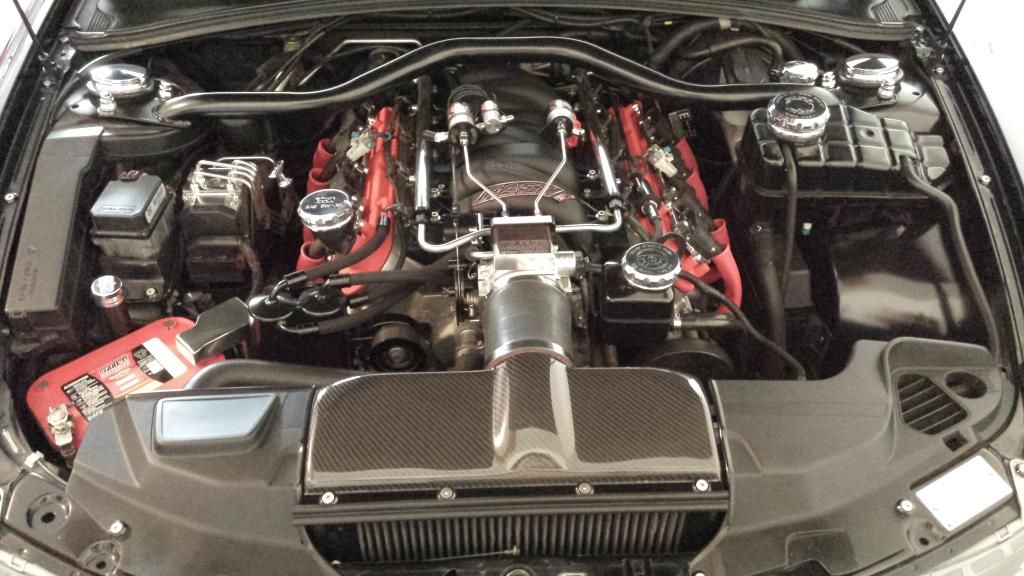
The problem with the braided above was the hardline kit for the plate was going to interfere unless I did some ridiculous tall braided hose that would have rubbed the hood lol. I think the polished hardline will look even better when I have the other hardlines in that area.
Teching In
Joined: Jul 2012
Posts: 44
Likes: 0
Ahh got ya... Yeah definitely will look good with more... you gonna do as much hardline as possible?
I know that hardline is a lot more work and harder to make look good, but when you take your time it is well worth it.. as far as looks go...
I know that hardline is a lot more work and harder to make look good, but when you take your time it is well worth it.. as far as looks go...


Thread Starter
TECH Apprentice
iTrader: (4)
Joined: Jan 2006
Posts: 374
Likes: 1
From: Rogersville, MO
Thank you.
The hardline is -6 and 3/8".
Thread Starter
TECH Apprentice
iTrader: (4)
Joined: Jan 2006
Posts: 374
Likes: 1
From: Rogersville, MO
Well it really is unfortunate how slow this install is going. Worked on it for a few hours today.
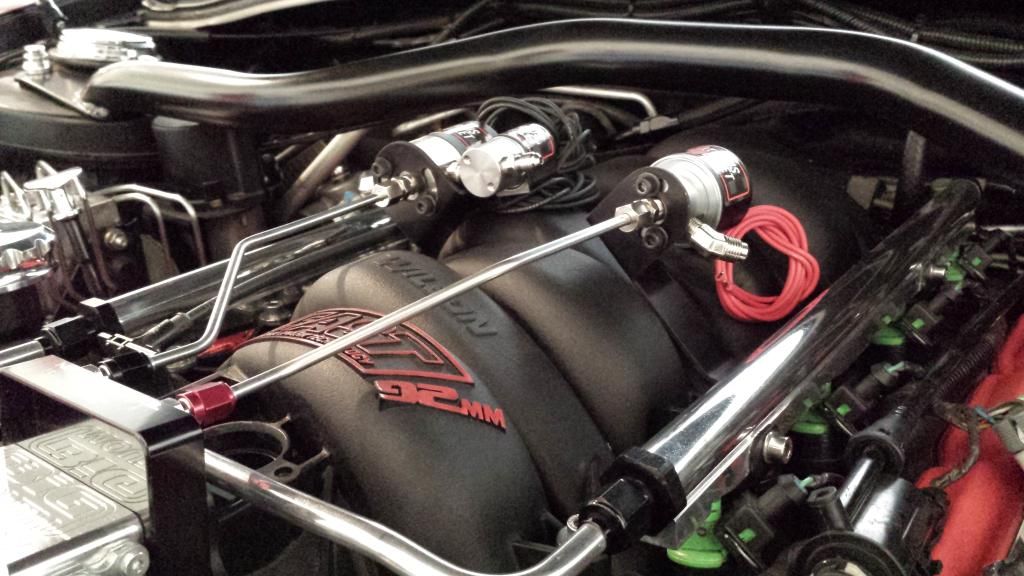
Had to modify my billet bottle line wingnut (cut the ends off) to make it work with the remote opener. Also had to clock the top of the opener to make it work in the trunk. Assembled the bracket and installed the rubber pieces on it to keep the bottle from getting scraped up. Also installed my new 45 degree inlet fittings on the solenoids and got the fuel solenoid mounted. Sourced some nice black allen head bolts and washers for the solenoids to brackets.
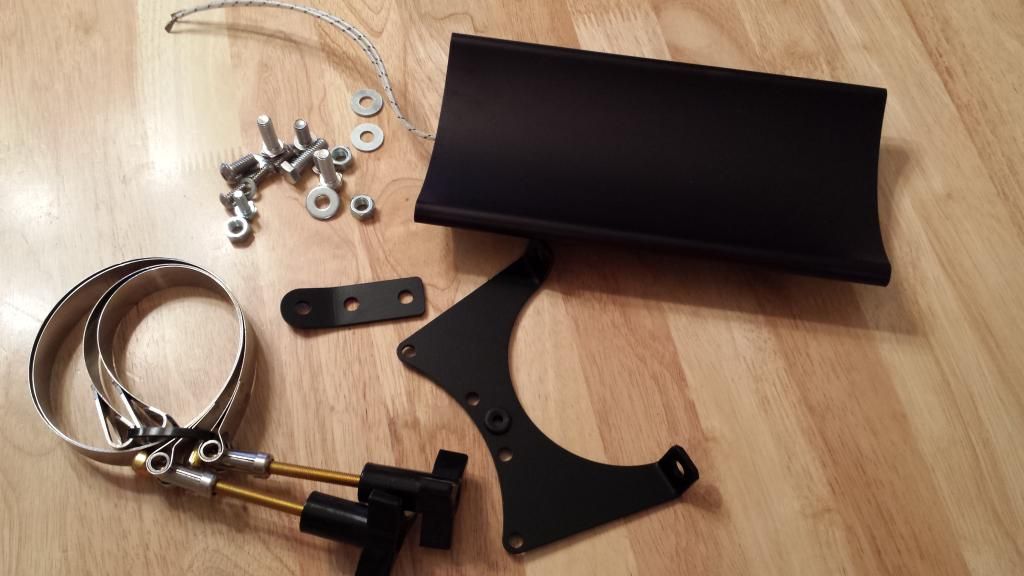
Had to modify my billet bottle line wingnut (cut the ends off) to make it work with the remote opener. Also had to clock the top of the opener to make it work in the trunk. Assembled the bracket and installed the rubber pieces on it to keep the bottle from getting scraped up. Also installed my new 45 degree inlet fittings on the solenoids and got the fuel solenoid mounted. Sourced some nice black allen head bolts and washers for the solenoids to brackets.


