Dzus rails - - - for hood-nose
 04-14-2011, 12:10 AM
#1
11 Second Club
Thread Starter
iTrader: (103)
Join Date: Aug 2005
Location: South of West Point Iowa
Posts: 2,633
Likes: 0
Received 1 Like
on
1 Post

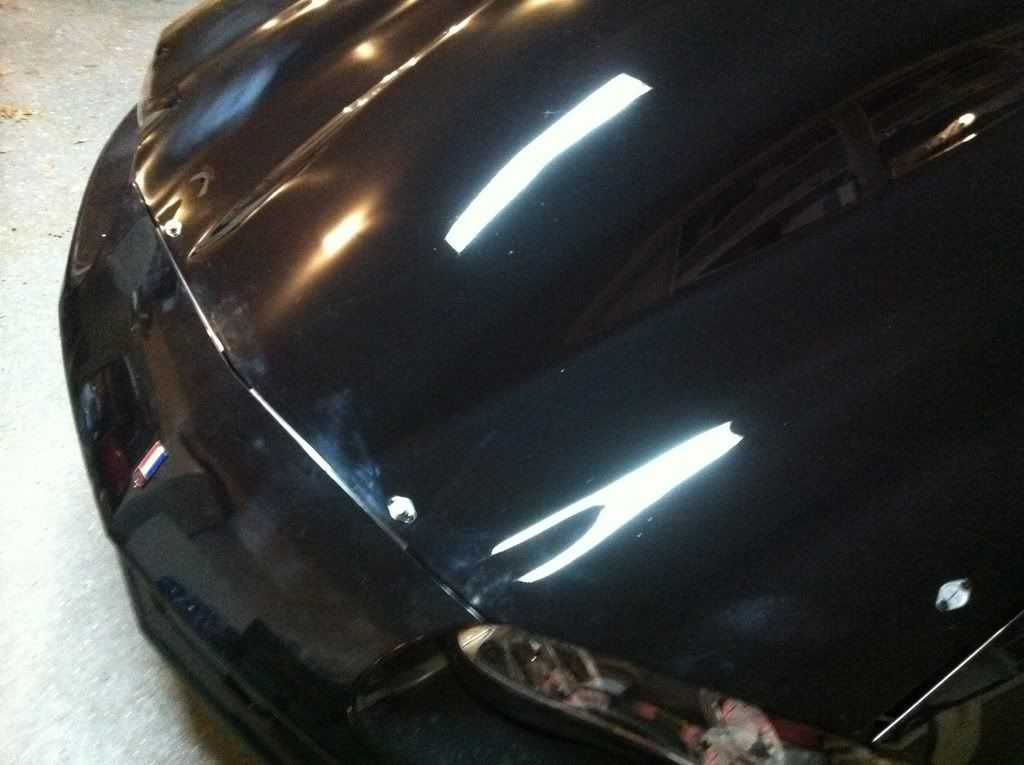
Well, I was pretty fortunate late last year to pick up another Sunoco (wide to the windshield) and it was already black and had previous dzus'. The spacing wasn't the hottest, but it made sense sort of. Move forward to the past few days when I've finally got the car back on the road and have the hood on it  Now, I am closing in on done with the appearance (buffing out some scratches and removing a few paint bubbles to go) and will probably redo the side rail dzus' but I didn't have any holding the nose down. As I approached 55-60 mph, I would be greeted with the hood starting to shake and rattle against the windshield. While a speed-limiter of this nature is effective, it's also potentially expensive were the glass to break or hood to snap! I foresaw this a little and over the winter, picked up a few parts from Racecraft for the nose and rear. The brackets they provided were very easy to install. Since my hood already had a pair of dzus buttons in, rather than removing them and re-drilling, I modified the nose-rails to better align my existing dzus buttons. Chopped a little here from each rail, filed it a smidge and here we are.
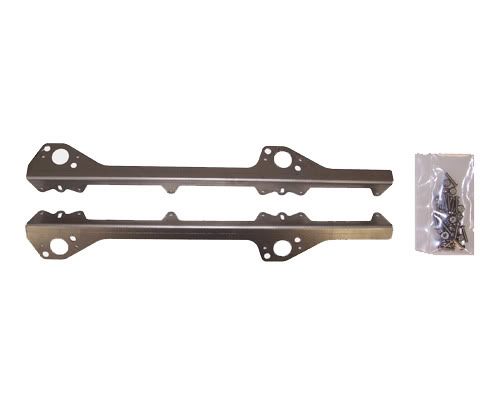
Original rails...
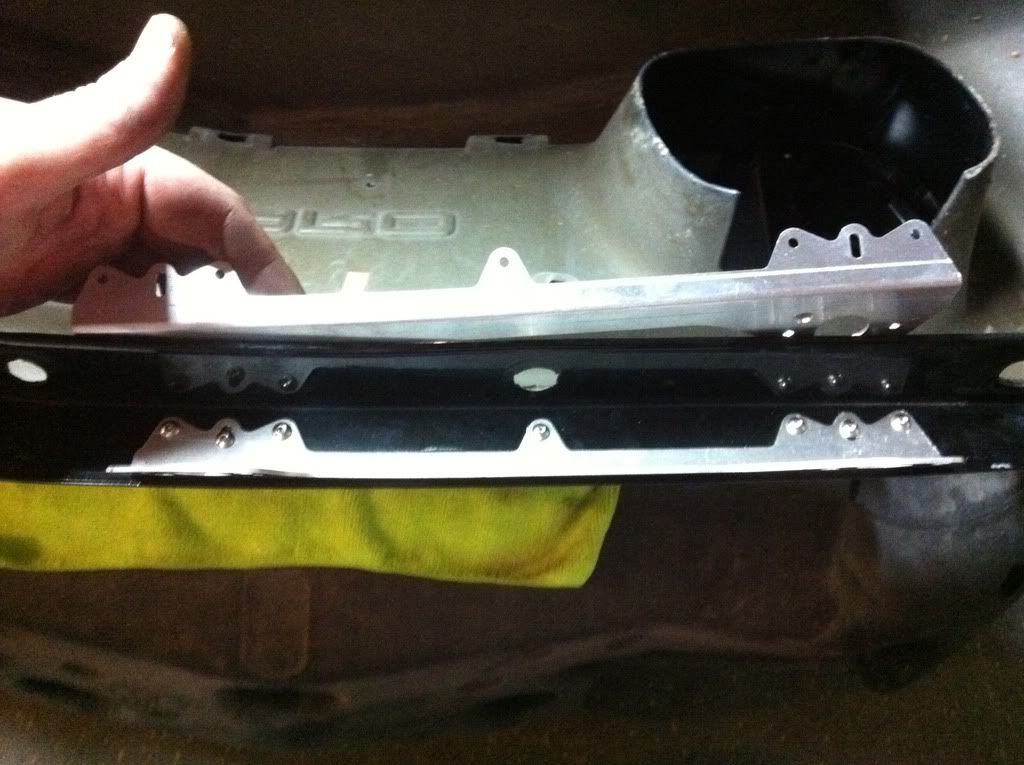
Slightly shaved rails...
The hardware package that came from Racecraft included all the nuts and screws needed. While I'm sure they're strong enough, I would have liked to have seen washers as well, but took care of that myself.
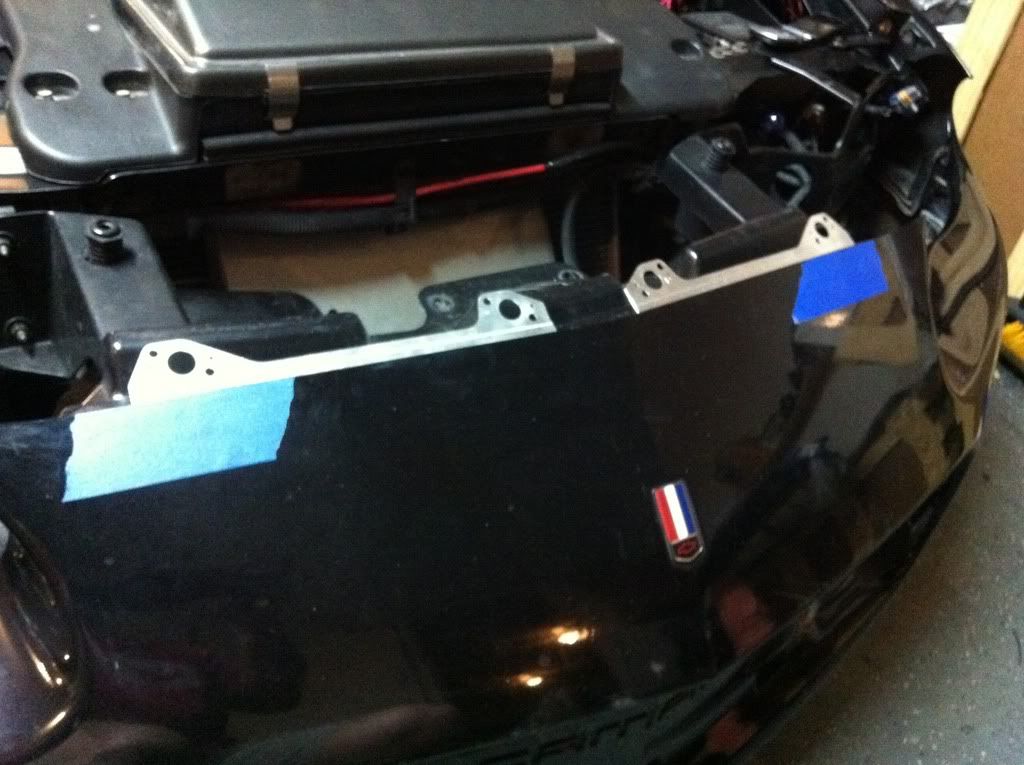
I first put blue masking tape along the edges of the nose where I had my dzus buttons already so as to align with them (reverse of normal if you've never done this).
Before drilling holes, it's important to figure out the height you plan on running the rails to compensate for the thickness of your hood. Thicker hood, lower rails and vice-versa. As I'm running a thin hood, I measured about 8 times both the hood and the rails in place.
Next I drilled 1 hole where the end of the rail will mount. I put one of the screw/washer/nuts in place to hold it and pivot the rail as needed to the the height right on the other side, added the same screw/washer/nut pairing and then the remaining 5 holes were drilled and assembled.
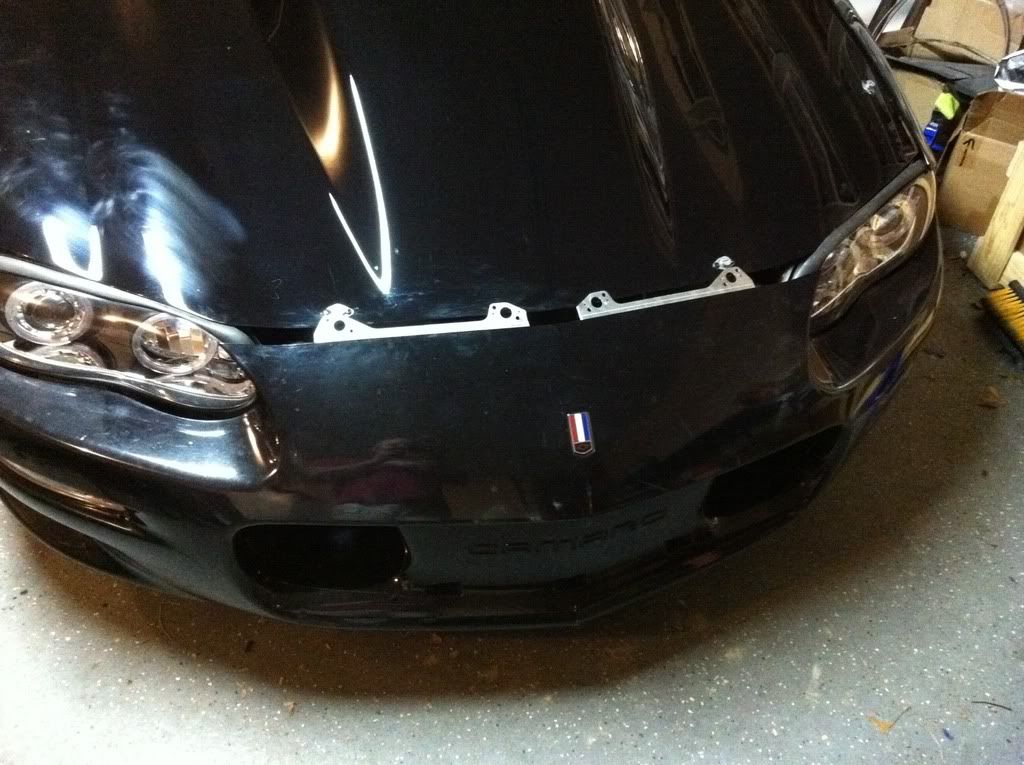
Repeat for other side. . .
While the instructions on Racecrafts site are good, I figured as often as I see questions about dzus rails and mounting, I thought I would post up.
One part I didn't get in yet (thought I had ordered from another supplier) were the black rivets and more dzus springs. I'll be fixing that later this evening.
Start to finish including removing and re-installing the bumper cover, might have been 90 minutes. This is almost the last piece of my car I've never removed (until tonight).
Thanks for reading
D
Now, I am closing in on done with the appearance (buffing out some scratches and removing a few paint bubbles to go) and will probably redo the side rail dzus' but I didn't have any holding the nose down. As I approached 55-60 mph, I would be greeted with the hood starting to shake and rattle against the windshield. While a speed-limiter of this nature is effective, it's also potentially expensive were the glass to break or hood to snap! I foresaw this a little and over the winter, picked up a few parts from Racecraft for the nose and rear. The brackets they provided were very easy to install. Since my hood already had a pair of dzus buttons in, rather than removing them and re-drilling, I modified the nose-rails to better align my existing dzus buttons. Chopped a little here from each rail, filed it a smidge and here we are.Original rails...
Slightly shaved rails...
The hardware package that came from Racecraft included all the nuts and screws needed. While I'm sure they're strong enough, I would have liked to have seen washers as well, but took care of that myself.
I first put blue masking tape along the edges of the nose where I had my dzus buttons already so as to align with them (reverse of normal if you've never done this).
Before drilling holes, it's important to figure out the height you plan on running the rails to compensate for the thickness of your hood. Thicker hood, lower rails and vice-versa. As I'm running a thin hood, I measured about 8 times both the hood and the rails in place.
Next I drilled 1 hole where the end of the rail will mount. I put one of the screw/washer/nuts in place to hold it and pivot the rail as needed to the the height right on the other side, added the same screw/washer/nut pairing and then the remaining 5 holes were drilled and assembled.
Repeat for other side. . .
While the instructions on Racecrafts site are good, I figured as often as I see questions about dzus rails and mounting, I thought I would post up.
One part I didn't get in yet (thought I had ordered from another supplier) were the black rivets and more dzus springs. I'll be fixing that later this evening.
Start to finish including removing and re-installing the bumper cover, might have been 90 minutes. This is almost the last piece of my car I've never removed (until tonight).
Thanks for reading
D
Last edited by Duffster; 04-14-2011 at 12:16 AM.
