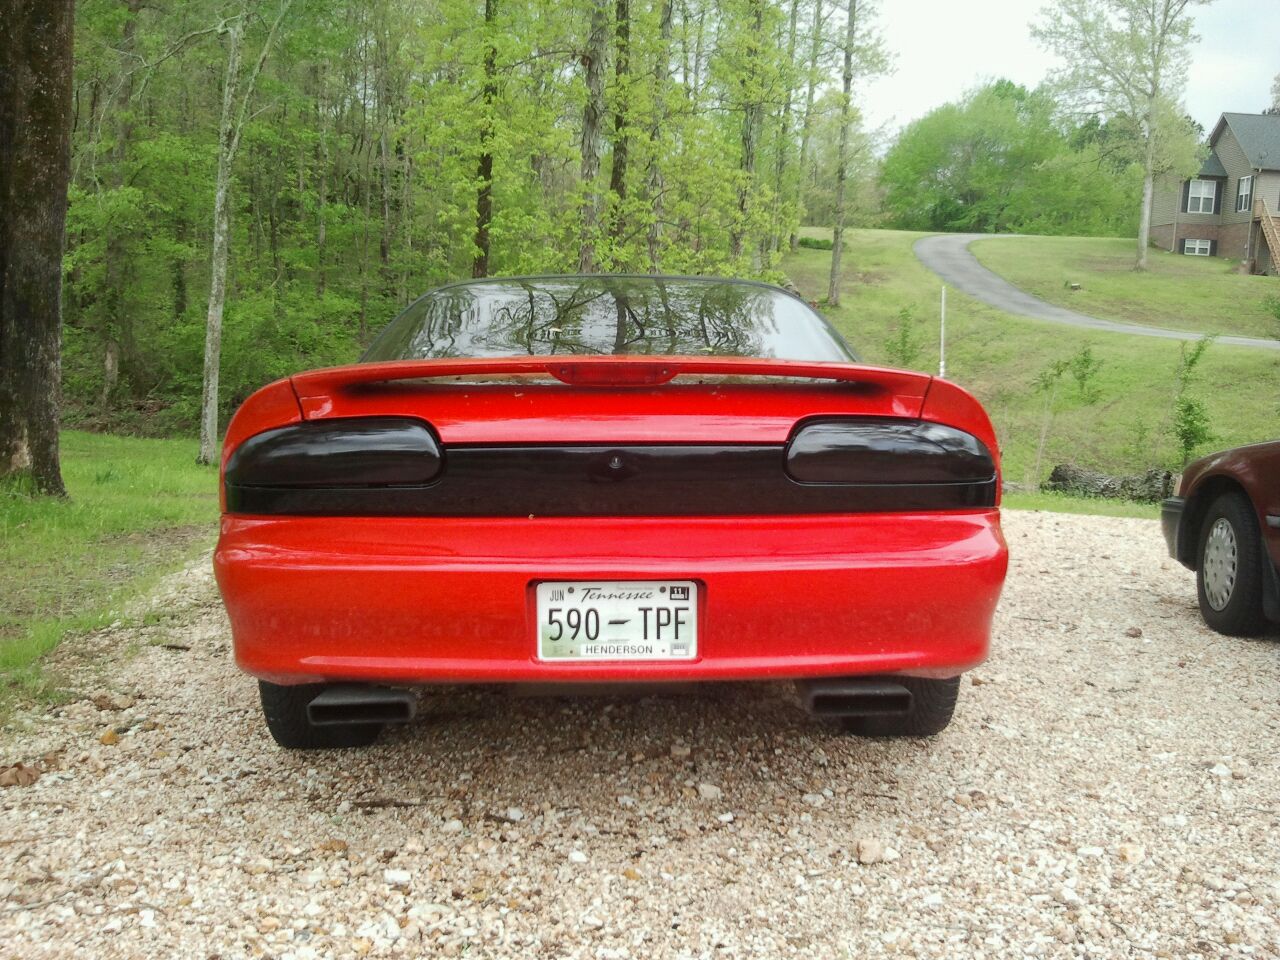
For those with shaved rear CAMARO tail panels, questions in here.
 05-13-2011, 02:39 PM
#1


In the process of doing mine, got the letters and key hole filled with glass and most of the center section sanded down.
Now do you guys sand the whole panel down bare, also what step would I use for body filler so I wont see the letters and key hole when painted over?
If you have pics of the process post em up please.
Now do you guys sand the whole panel down bare, also what step would I use for body filler so I wont see the letters and key hole when painted over?
If you have pics of the process post em up please.
 05-13-2011, 07:50 PM
#2
When I did my friend's panel I used a dremel to get the paint out of the letters and a DA to get all the paint away from where any filler was gonna go. Short hair fiberglass filler filled it in and got sanded down. A coat of lightweight filler went over the top of that and I block sanded that by hand to make sure everything was flat, smooth and matched the rest of the surface. I sanded the rest of the panel with 320 grit by hand to get out the factory orange peel. He wanted it black (from red) so I didn't primer the whole thing, just used primer sealer where the filler was. The primer will reveal any little pinholes you might have and I used spotting and glazing putty to cover a couple of those. That got soft-block sanded and another coat of primer sealer was applied. When dry I wet sanded the primer with 400 grit to get out any dust, debris or bugs since we did it all outside. After that it's apply color and clear coats. I wet sanded the clear and polished and buffed it out to a mirror-like shine!
05-13-2011, 11:13 PM
#3
TECH Apprentice
When I did my friend's panel I used a dremel to get the paint out of the letters and a DA to get all the paint away from where any filler was gonna go. Short hair fiberglass filler filled it in and got sanded down. A coat of lightweight filler went over the top of that and I block sanded that by hand to make sure everything was flat, smooth and matched the rest of the surface. I sanded the rest of the panel with 320 grit by hand to get out the factory orange peel. He wanted it black (from red) so I didn't primer the whole thing, just used primer sealer where the filler was. The primer will reveal any little pinholes you might have and I used spotting and glazing putty to cover a couple of those. That got soft-block sanded and another coat of primer sealer was applied. When dry I wet sanded the primer with 400 grit to get out any dust, debris or bugs since we did it all outside. After that it's apply color and clear coats. I wet sanded the clear and polished and buffed it out to a mirror-like shine!
05-14-2011, 12:16 PM
#4
I didn't get any debris in the color coat so I went straight to clear. If you do get debris, use 1000 grit wet over the entire panel, not just the spots. I used a spray gun for all but the primer. After the clear Id just got a couple LITTLE pieces of like fuzz that stuck on there. It had WAY less orange peel effect than factory but I wanted an impressive, mirror-like finish so I wet sanded with 1000 grit and went straight to 2000 so I wouldn't get over aggressive on myself and rub through. I spent a LOT of time with the 2000. I used a Meguires medium cut polish on a wool pad on my non-orbital polisher to get it looking like glossy paint. Then I used Meguires fine cut on a foam egg-crate pad to make it look like glass.
Trending Topics
05-14-2011, 11:39 PM
#9
Yes. I used a firm foam block to hand sand it after the DA. Also use the same block for the wet sanding of the clear. Always use a block or your fingers can leave a ripple effect. The block I use I got at o'reilly for like 4 bucks. it's 1/4" thick, 6" long and 2 1/2" wide I think. Made by 3M.
05-15-2011, 08:24 AM
#11
TECH Apprentice
whytry, (a little off topic) the picture in your sig, is that a current picture of your car? If so, whats your ride height (ground to top of wheel arch) 'cause that looks damn good! Any trouble with bottoming out the front shocks, axle bumpstops, etc? Thanks!
Any trouble with bottoming out the front shocks, axle bumpstops, etc? Thanks!
05-15-2011, 10:13 AM
#13
TECH Apprentice
 05-15-2011, 03:07 PM
#15
TECH Apprentice
You know what they say..."once you go black"...  I've been going back and forth on paint color. I'd went over to the East Bay not long ago and saw three Camaros in the span of 4 miles and all three had black painted tail panels. I'm not so sure I want to go black right now.
I've been going back and forth on paint color. I'd went over to the East Bay not long ago and saw three Camaros in the span of 4 miles and all three had black painted tail panels. I'm not so sure I want to go black right now. 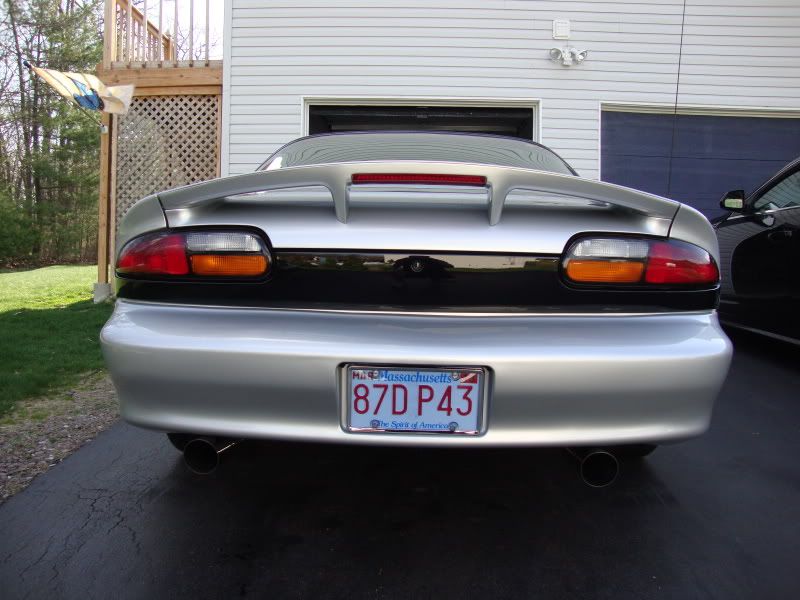
 like the outline of it.
05-23-2011, 01:07 PM
like the outline of it.
05-23-2011, 01:07 PM
#20
After sanding the filler I applied a filler primer over the filler and went just over the edges. I wet sanded with 400 grit just to get it smooth, not trying to remove it. Then I covered that with primer sealer. I used a foam block and 800 grit wet to smooth it out and feather the edges. You shouldn't see any filler primer. If you go thru apply another coat of sealer primer and sand again. Then apply your color and clear coats.