
New Car gets a new face lift!
 05-24-2008, 08:25 PM
#21
On The Tree
Thread Starter
Join Date: Sep 2006
Posts: 101
Likes: 0
Received 0 Likes
on
0 Posts
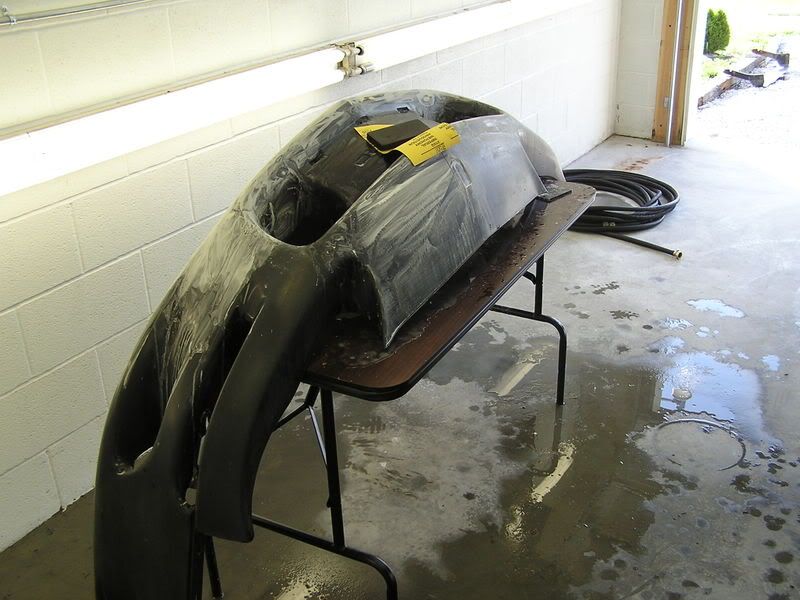
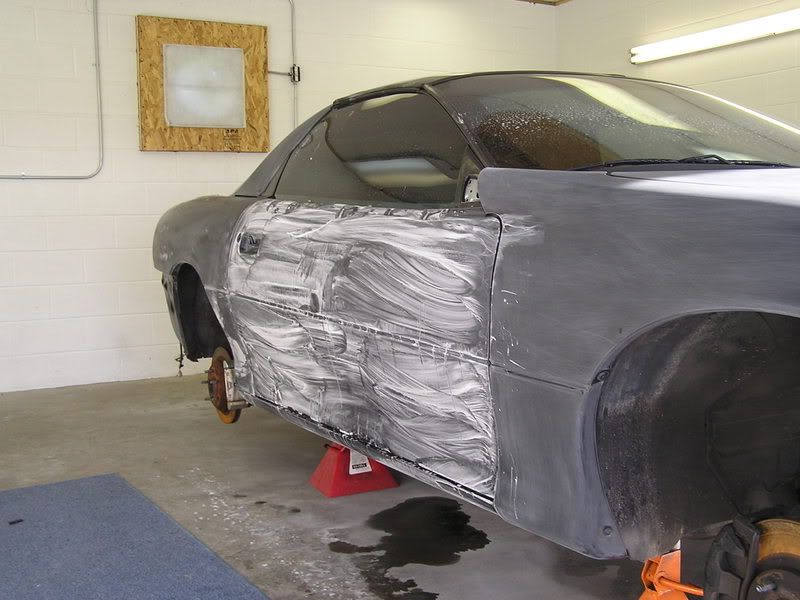
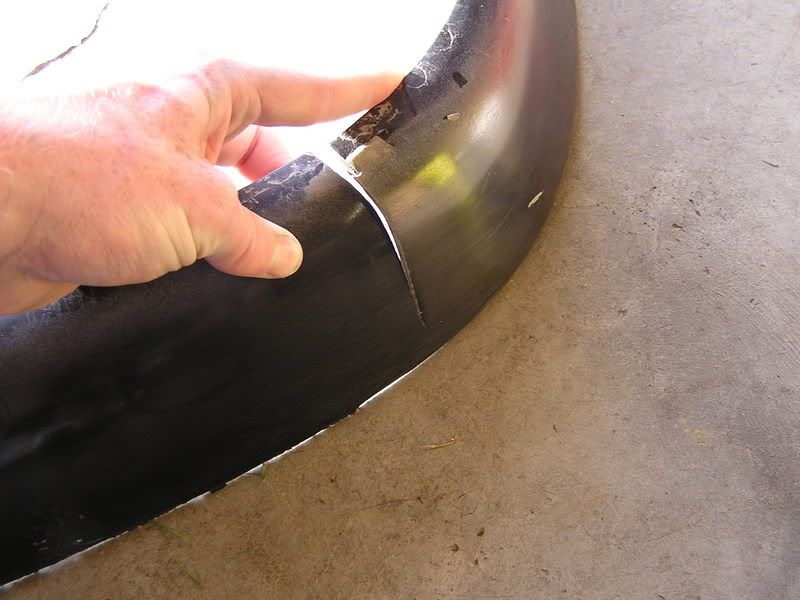
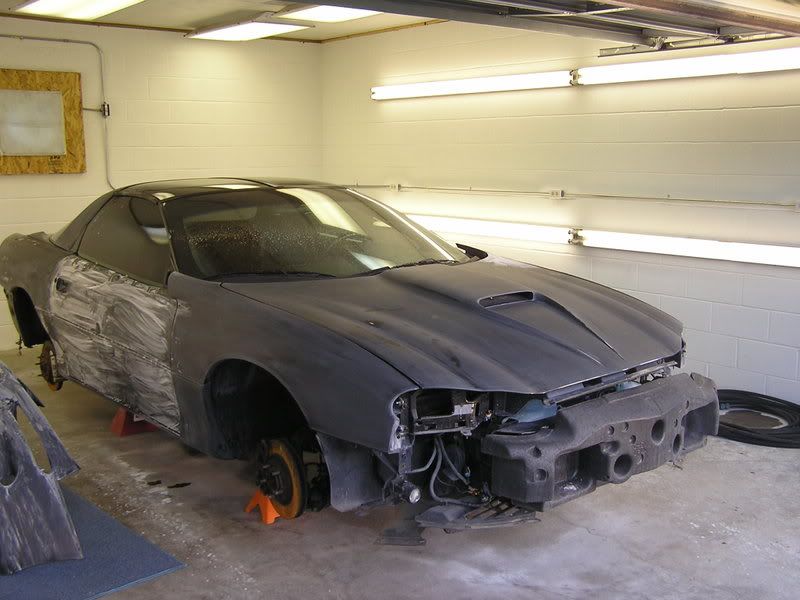
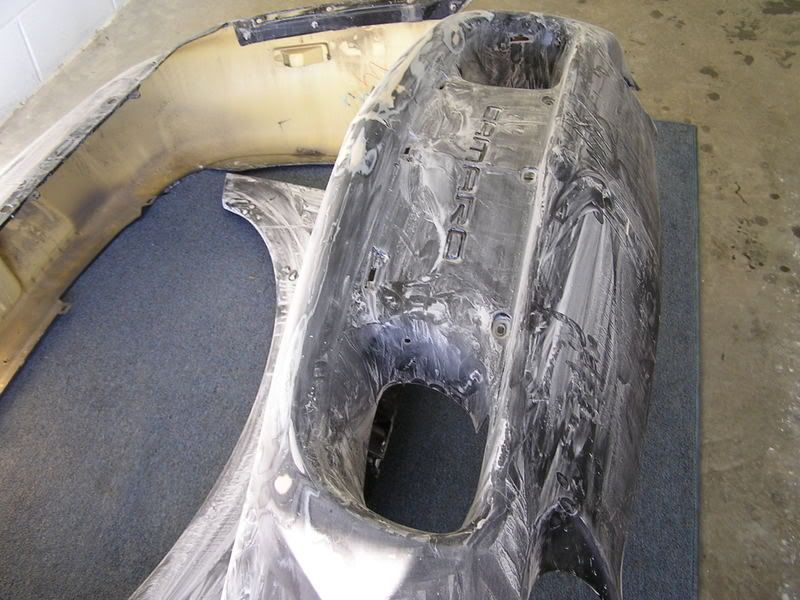
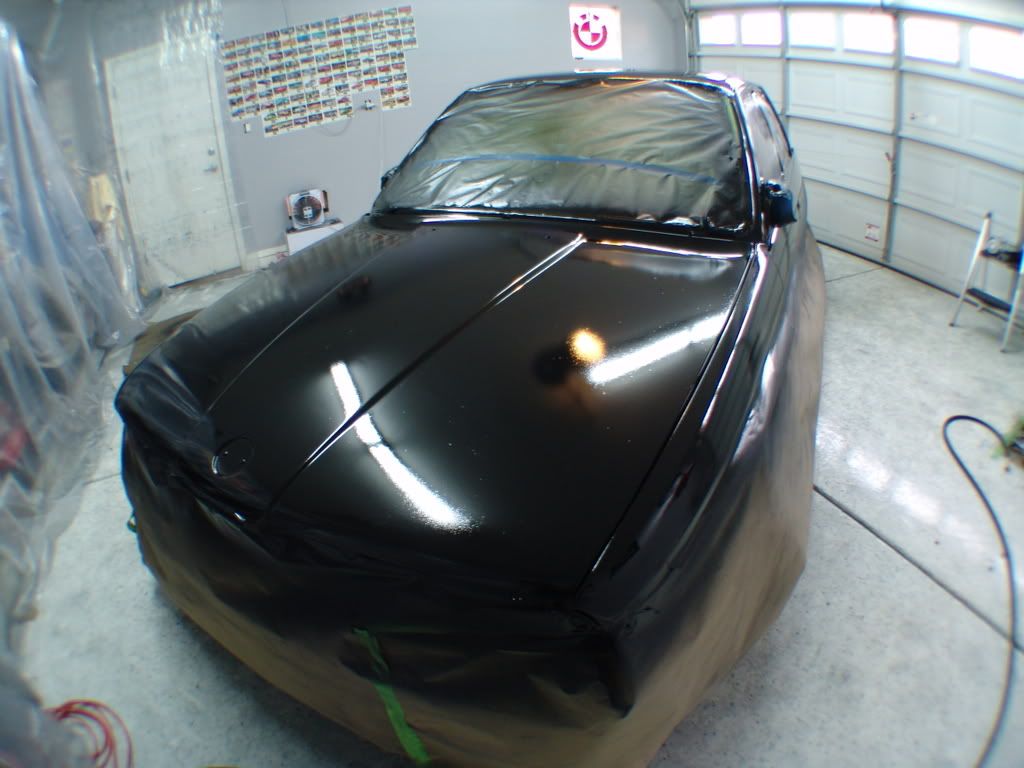
I went ahead and finished the first layer of sanding, this was the 220 grit. The previous owner had a slight accident with a chained-link fence, but all was sanded smooth. I also took several pictures of the rear valance that was requested. Primer should be on in a couple days. Oh did I mention this was my first experience with painting a car.

 05-28-2008, 10:40 PM
#25
On The Tree
Thread Starter
Join Date: Sep 2006
Posts: 101
Likes: 0
Received 0 Likes
on
0 Posts
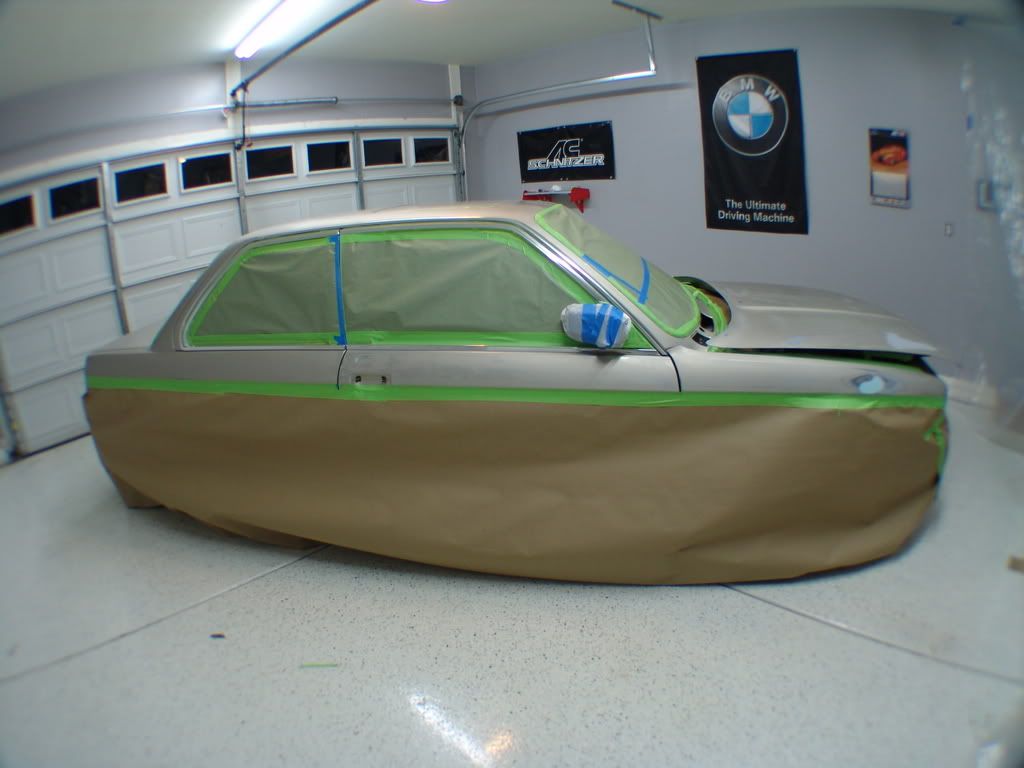
Quick questions, should I primer it and then place all of my pieces on the car, then paint it or paint it and then all of th pieces. Also, I was wondering if anyone had a spider lift in the east TN area that I could borrow for a couple of days?
05-28-2008, 11:11 PM
#26
TECH Resident
iTrader: (17)
Join Date: Sep 2006
Location: AZ
Posts: 838
Likes: 0
Received 0 Likes
on
0 Posts

I would spray all of the pieces individually then put them on afterwords... I painted my buddies car and it came out pretty well... Its all about the prep..
3 Stage Wet Sand...
Primer...
2 Stage Wet Sand...
Paint and Clear...
2 Stage Wet Sand the Clear...
Then buff and polish (High speed buffer, multiple pads, etc...) = Done
There was more little stuff in between.. just be thorough and it will turn out good.
3 Stage Wet Sand...
Primer...
2 Stage Wet Sand...
Paint and Clear...
2 Stage Wet Sand the Clear...
Then buff and polish (High speed buffer, multiple pads, etc...) = Done
There was more little stuff in between.. just be thorough and it will turn out good.
Last edited by 71-Camaro-98; 05-29-2008 at 12:17 AM.


 ...
...  06-07-2008, 12:00 AM
#37
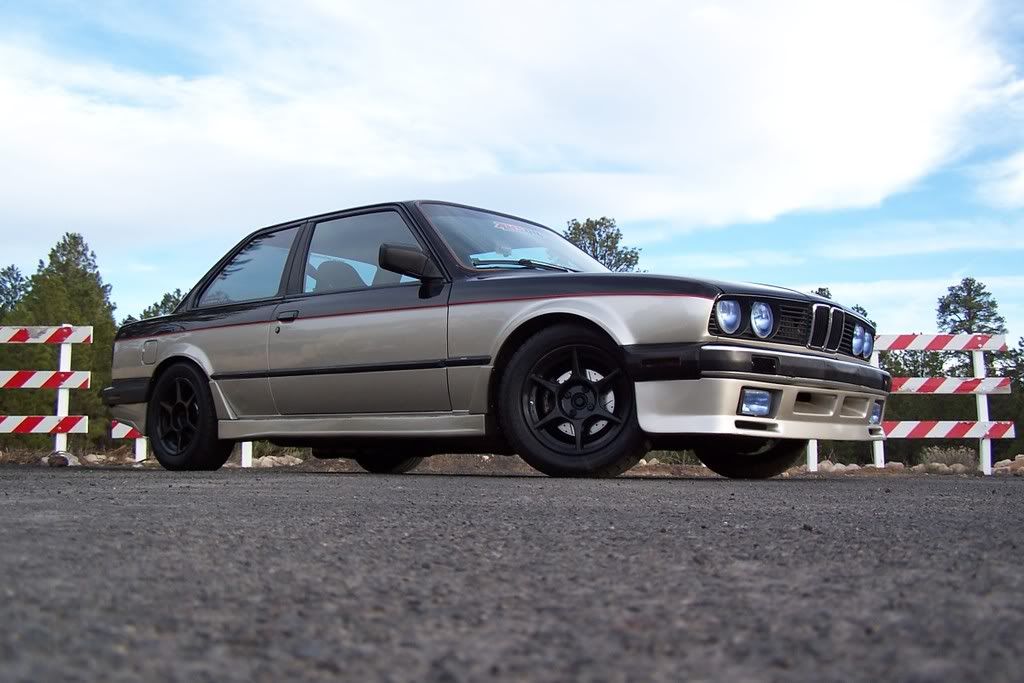
Your car looks, i wouldnt say great, but like its going to look great? lol. I love that e30 i am doing a 87 purpose built drift car. E30 M3 wide body and all kinds of crap. I love it! Camaros and e30's in one thread...awesome!
06-07-2008, 09:09 AM
#38
TECH Fanatic
iTrader: (14)

Join Date: Jun 2008
Location: Wichita, KS
Posts: 1,109
Likes: 0
Received 0 Likes
on
0 Posts
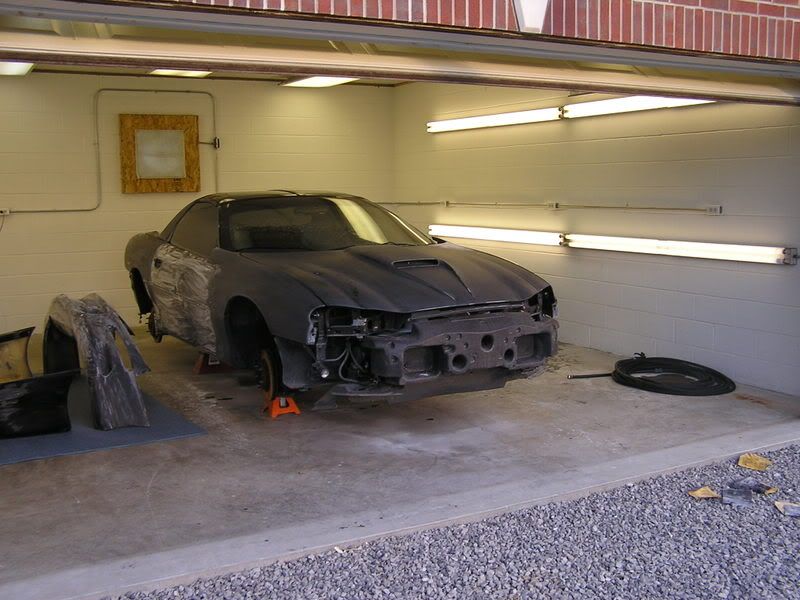
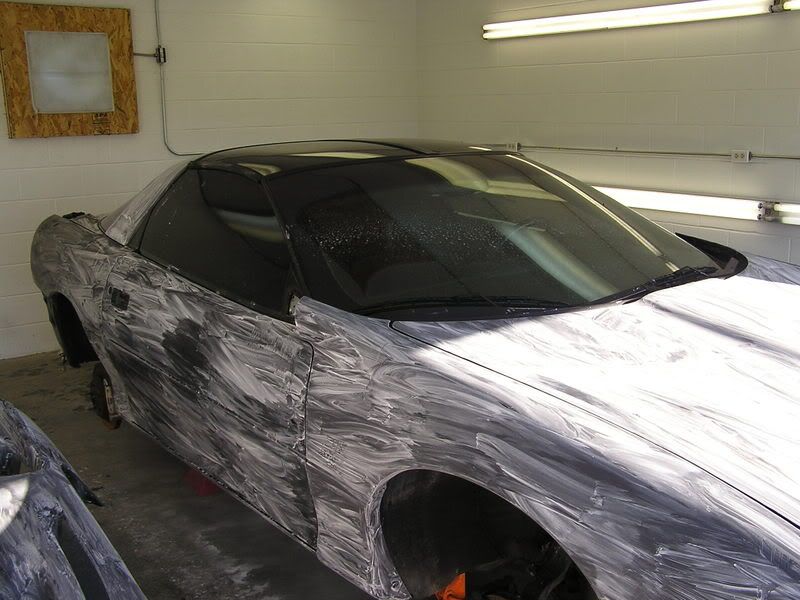
looks like your hand sanding. invest in some sanding blocks. will turn out a little less wavy. nice work space btw.
edit- didn't see the block in the first pic. lets see some primer!
edit- didn't see the block in the first pic. lets see some primer!
Last edited by 67goatman455; 06-07-2008 at 09:12 AM. Reason: didn't look closely
06-07-2008, 12:00 PM
#39
TECH Fanatic
iTrader: (1)

Join Date: Aug 2005
Location: San Diego
Posts: 1,080
Likes: 0
Received 0 Likes
on
0 Posts
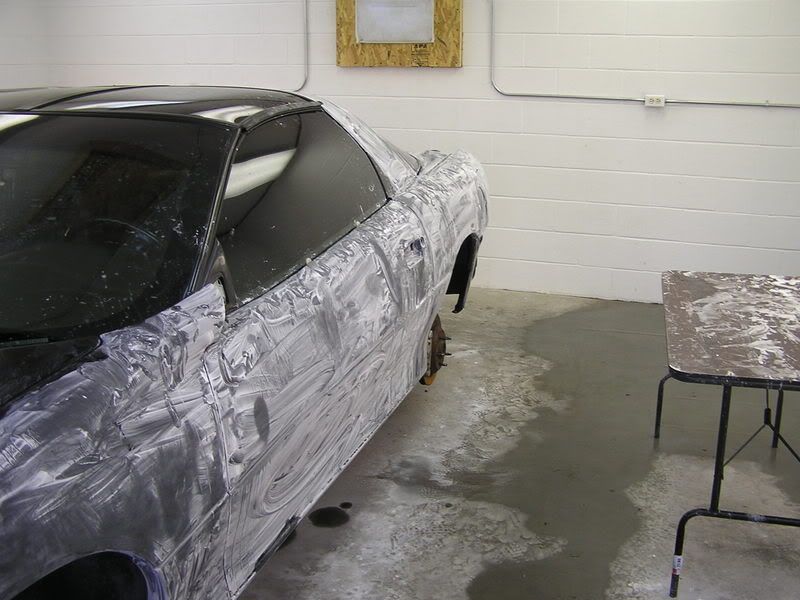
I really hope you didn't sand the entire car with 220 grit, that was unnecessary and will take a lot of 400 grit sanding to get rid of, and whats worse is you won't see all of the scratches.
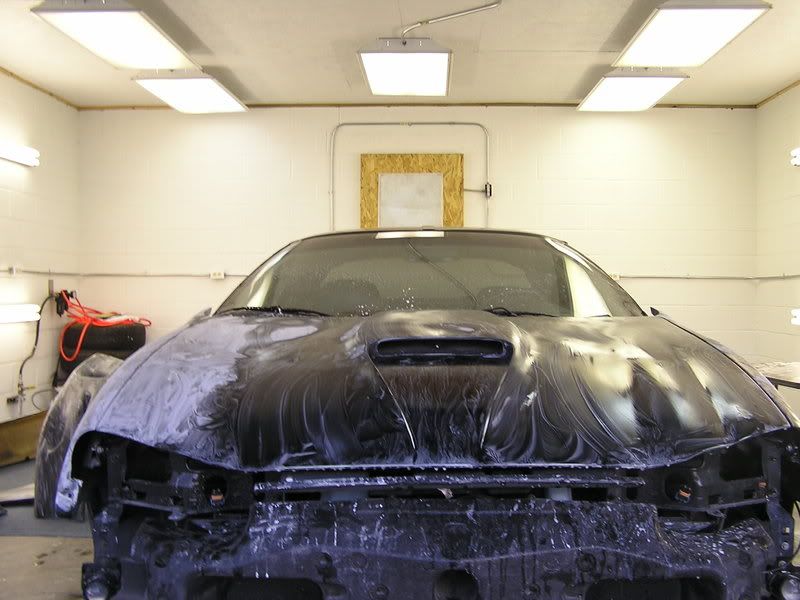
Judging from the pictures, you're not using nearly enough water when wetsanding, even if you thought you were, the car would not be that caked with material, use more! You're just clogging the sandpaper by not using enough water and it's not doing 100% of the sanding of the panel.
I just read that you're shooting primer over the whole car, that makes the 220 scratches fine, but still not necessary unless the whole car was a mess, even then you should have attacked the areas themselves and not done the whole car.
After you're done priming, Let me tell you the key to a flawless prep job:
http://www.eastwoodco.com/jump.jsp?i...emType=PRODUCT
Use this over the entire car once dry, and thoroughly but gently soak the panel you're going to be sanding with water from a sponge. Do not use a hose or any other method until the guide coat has been sanded into the primer. The water and act of sanding it kind of locks the guide coat into the primer. A hose with a spray nozzle, used like washing a car will just wash the stuff away. Now sand the car using the dry guide coat until it disappears and your distinctiveness of image should be amazing when you paint and buff. But be carefull with a block, use a soft wetsanding pad for much of the primer sanding, otherwise on an area like the hood, you will put edges into the corners and body lines that will be visible after paint when trying to use a hard block.