When you click on links to various merchants on this site and make a purchase, this can result in this site earning a commission. Affiliate programs and affiliations include, but are not limited to, the eBay Partner Network.
I recently picked up this Rebuilt Salvage title car. (In AZ they put Rebuilt before salvage after the car has passed inspection so it can be registered.)
There was no collision damage, it was flooded, presumably in a wash in Tucson, since it had a lot of brown, talcum fine dirt in the nooks and crannies. There was no electrical damage or rust. Everything works but the power antenna. Normally I wouldn't be this adventuresome, but the guy I got it from drove it 15k miles in 3 years, problem free. He bought it from the guy who got it at the salvage auction, and I think all he did was change the fluids and let it dry out. How do you dry out a flood car in southern AZ? Park it outside, Mother Nature does the rest!
My plan is to clean the car up, make repairs as necessary, and change the interior to red. I will try to remember that every dollar I put in this car will never come back. So far I have: cleaned under the hood, removed the fans shroud, flushed thru the rad and condenser, replaced the DRL bodies, flushed out the overflow bottle, changed eng. and trans. oil + filter. New air filter, used SLP airbox lid.
New LMC truck headlights (very nice mod), repainted the shrouds.
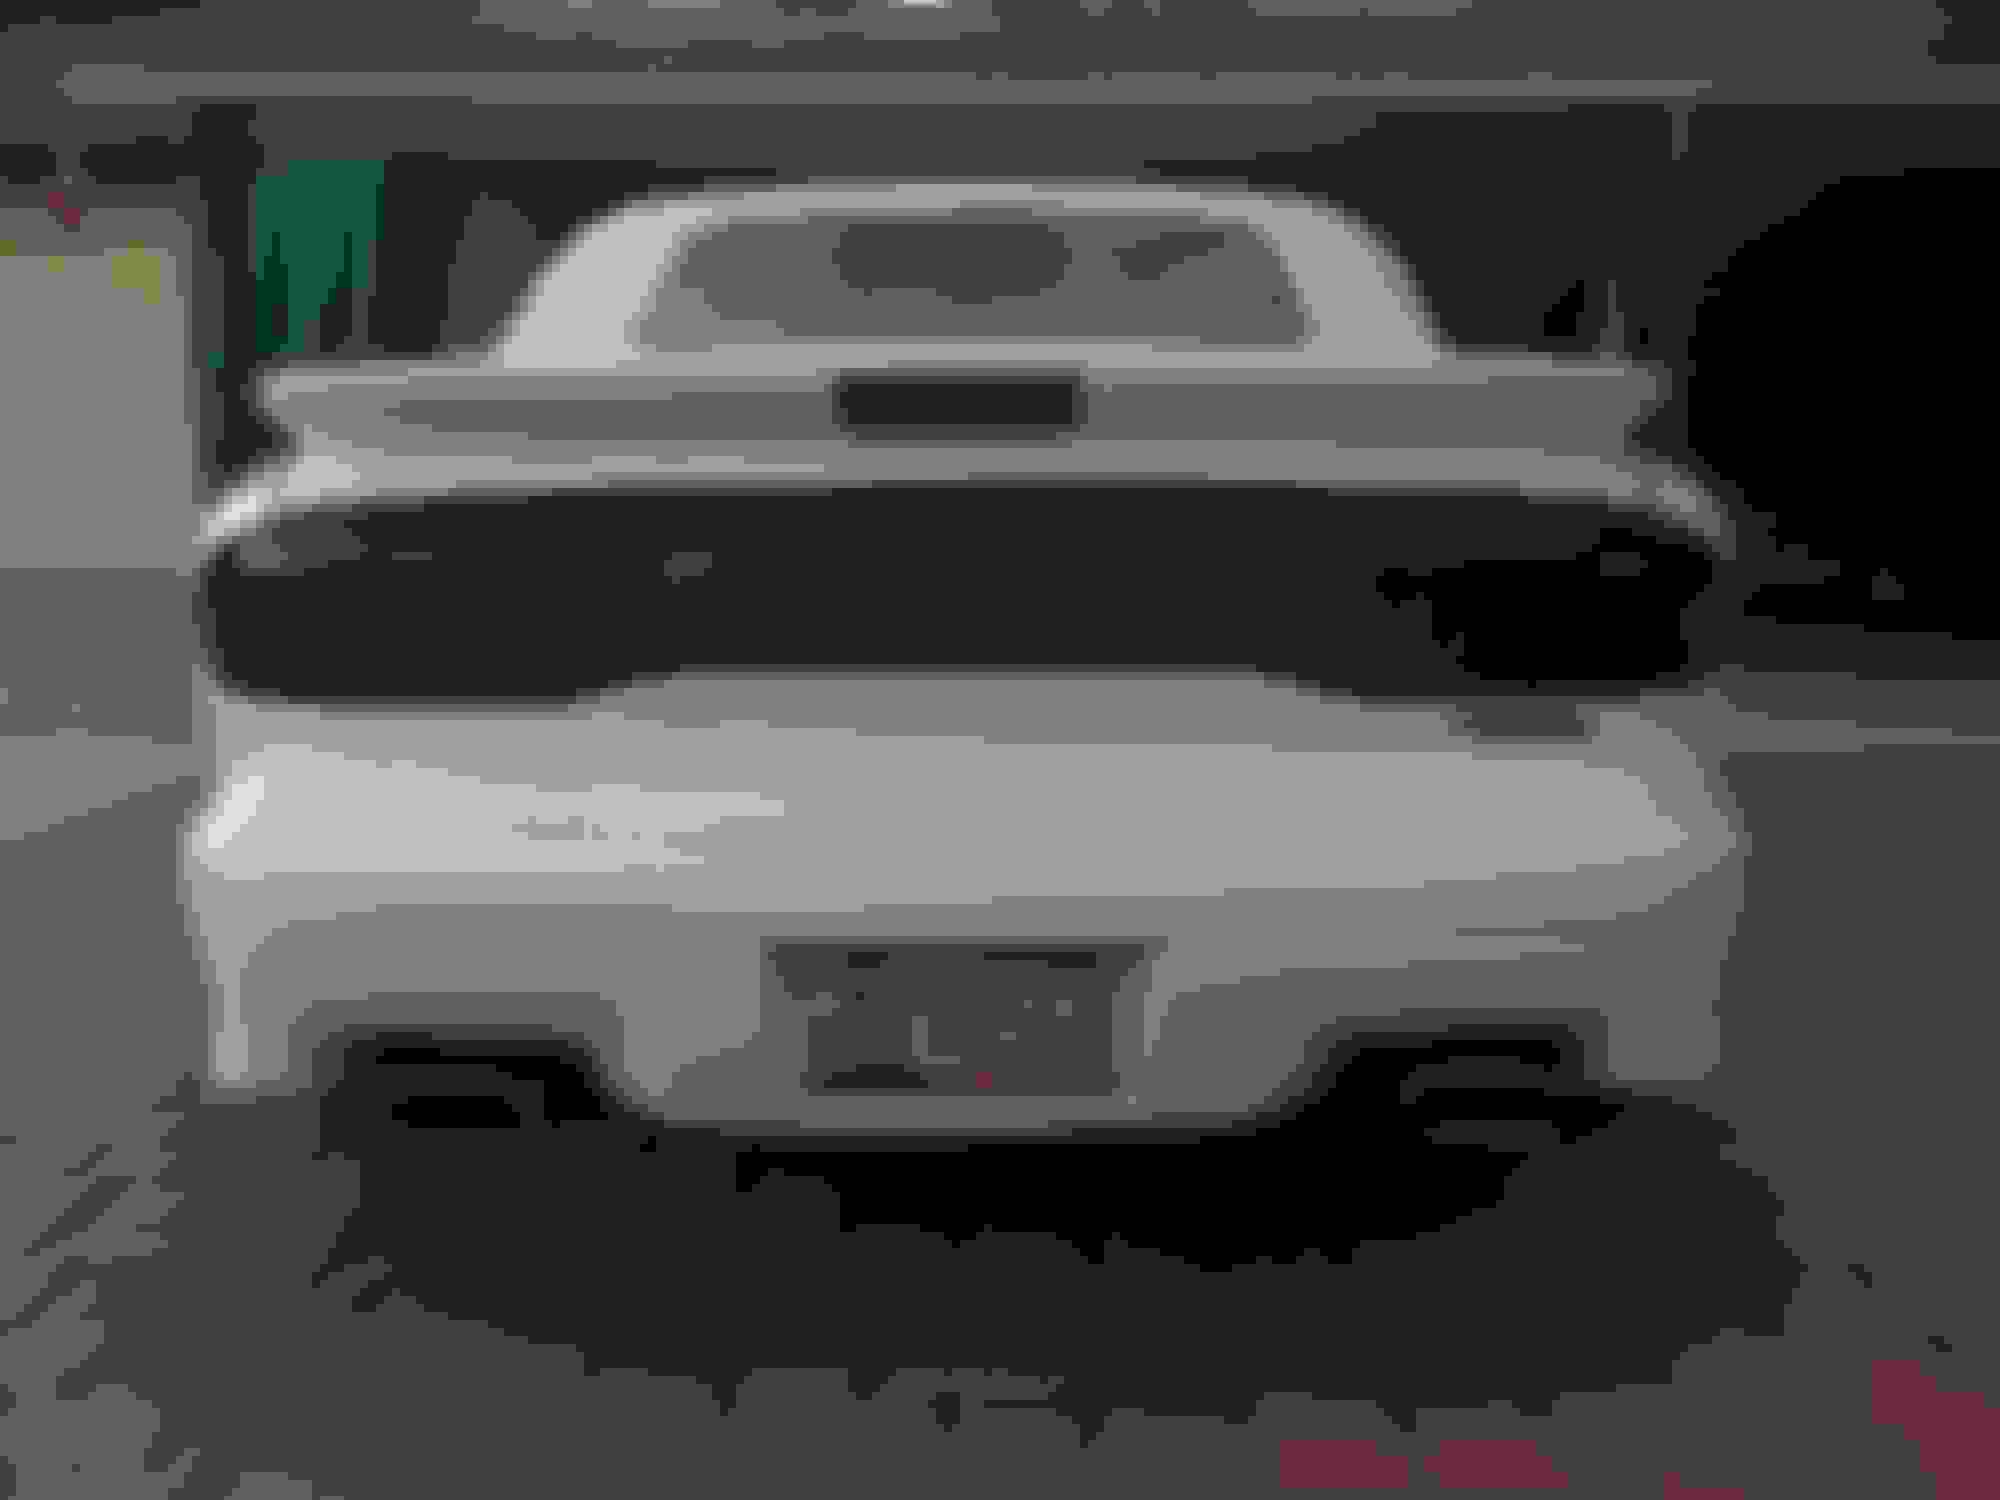
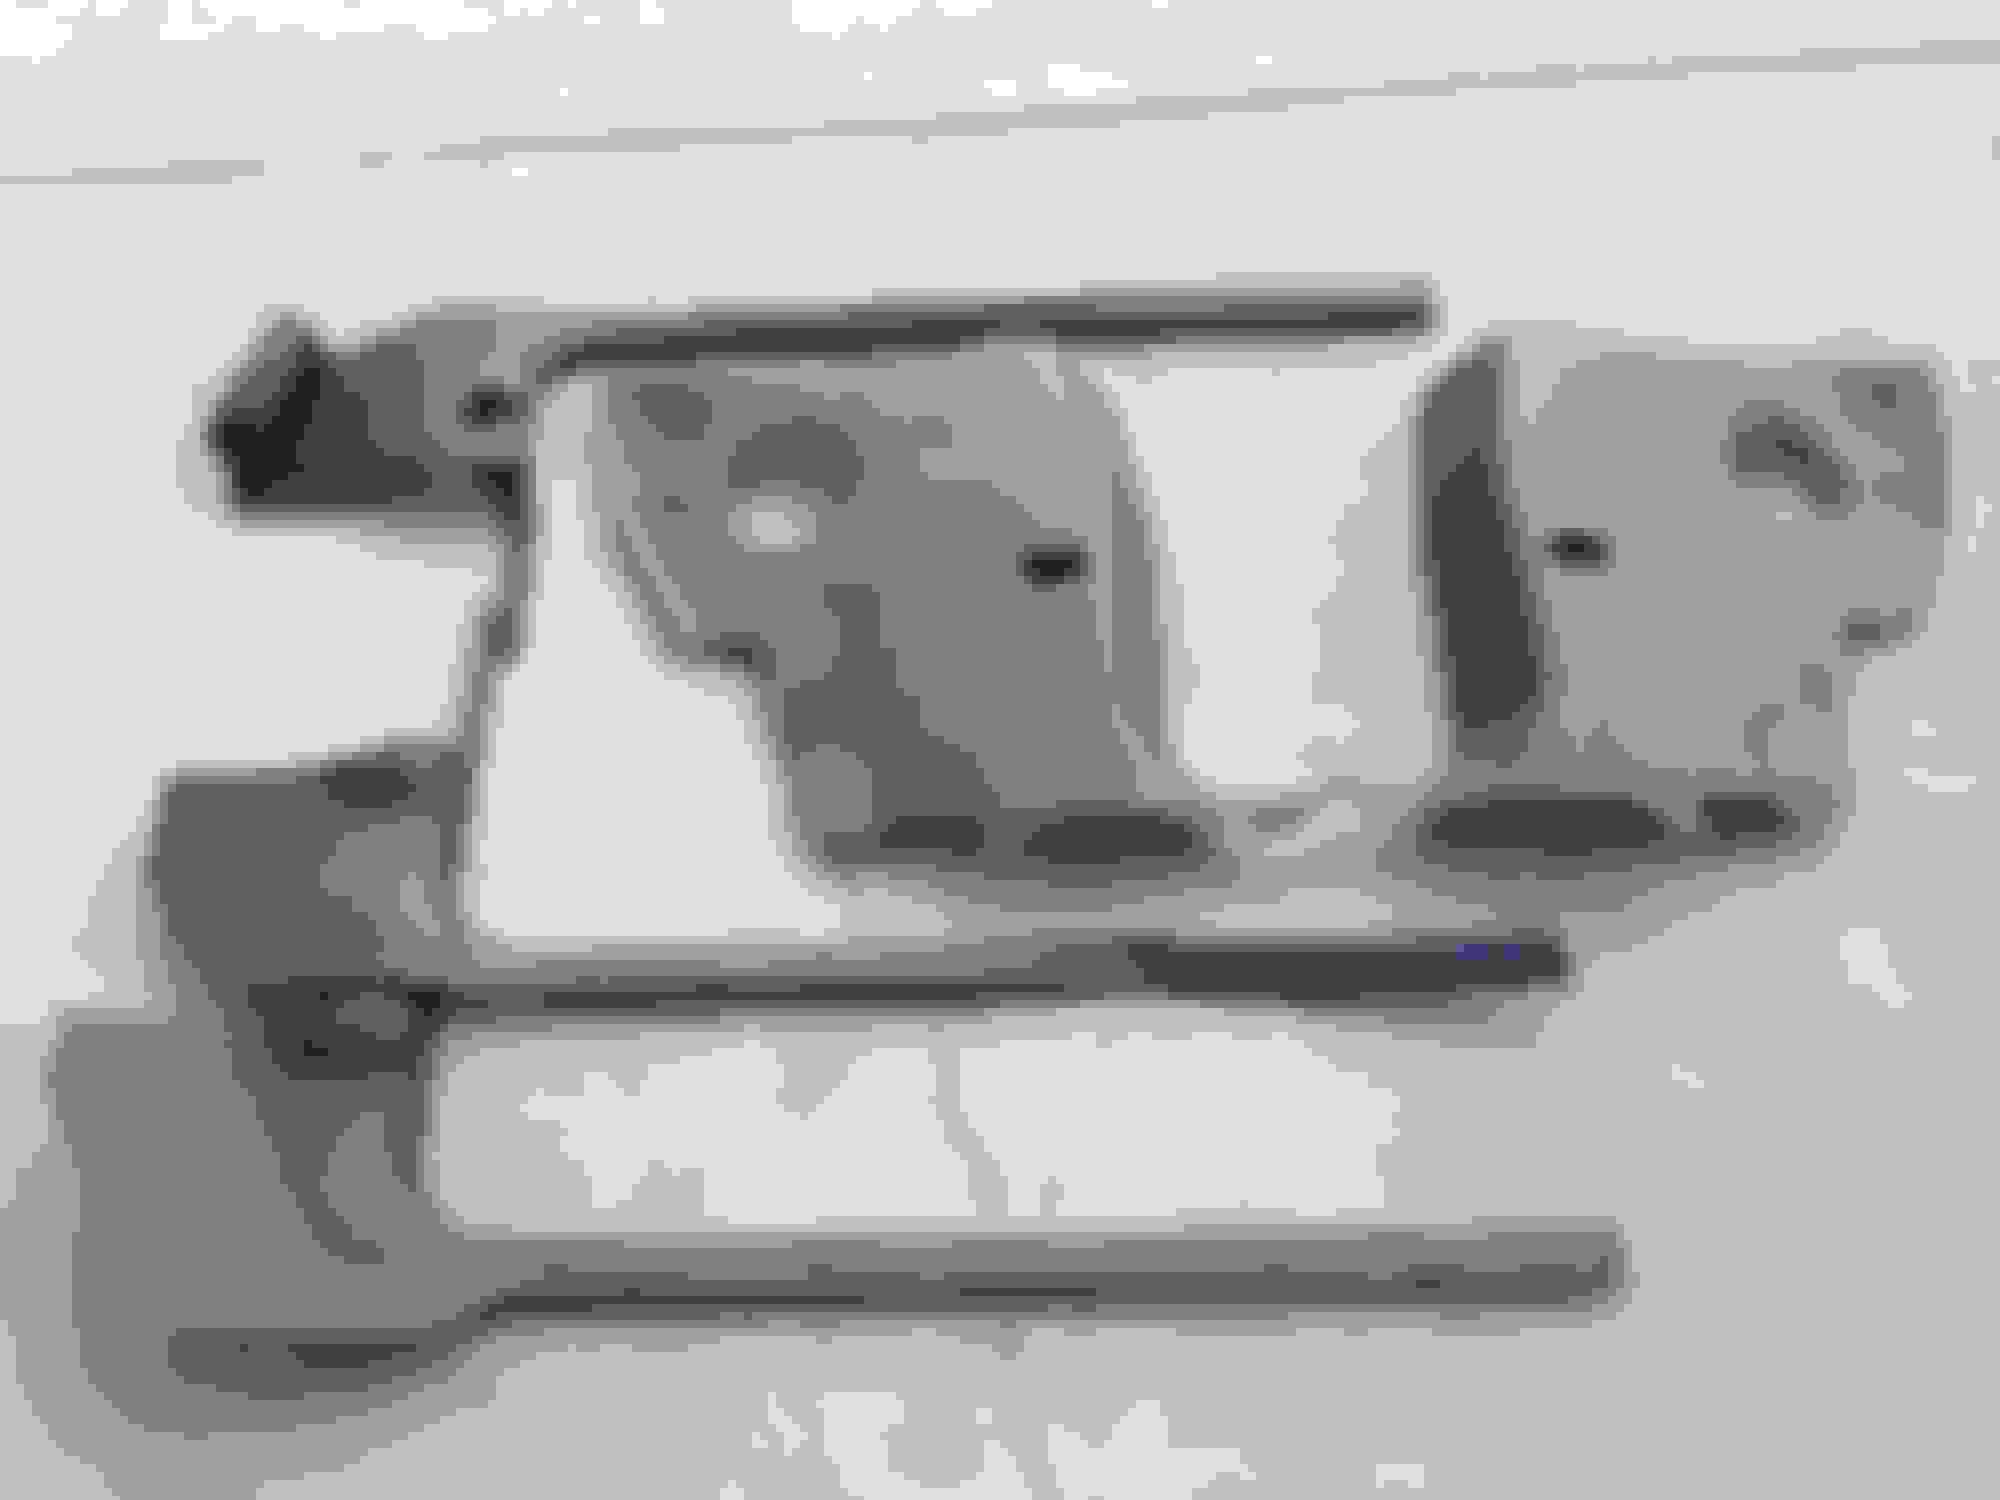
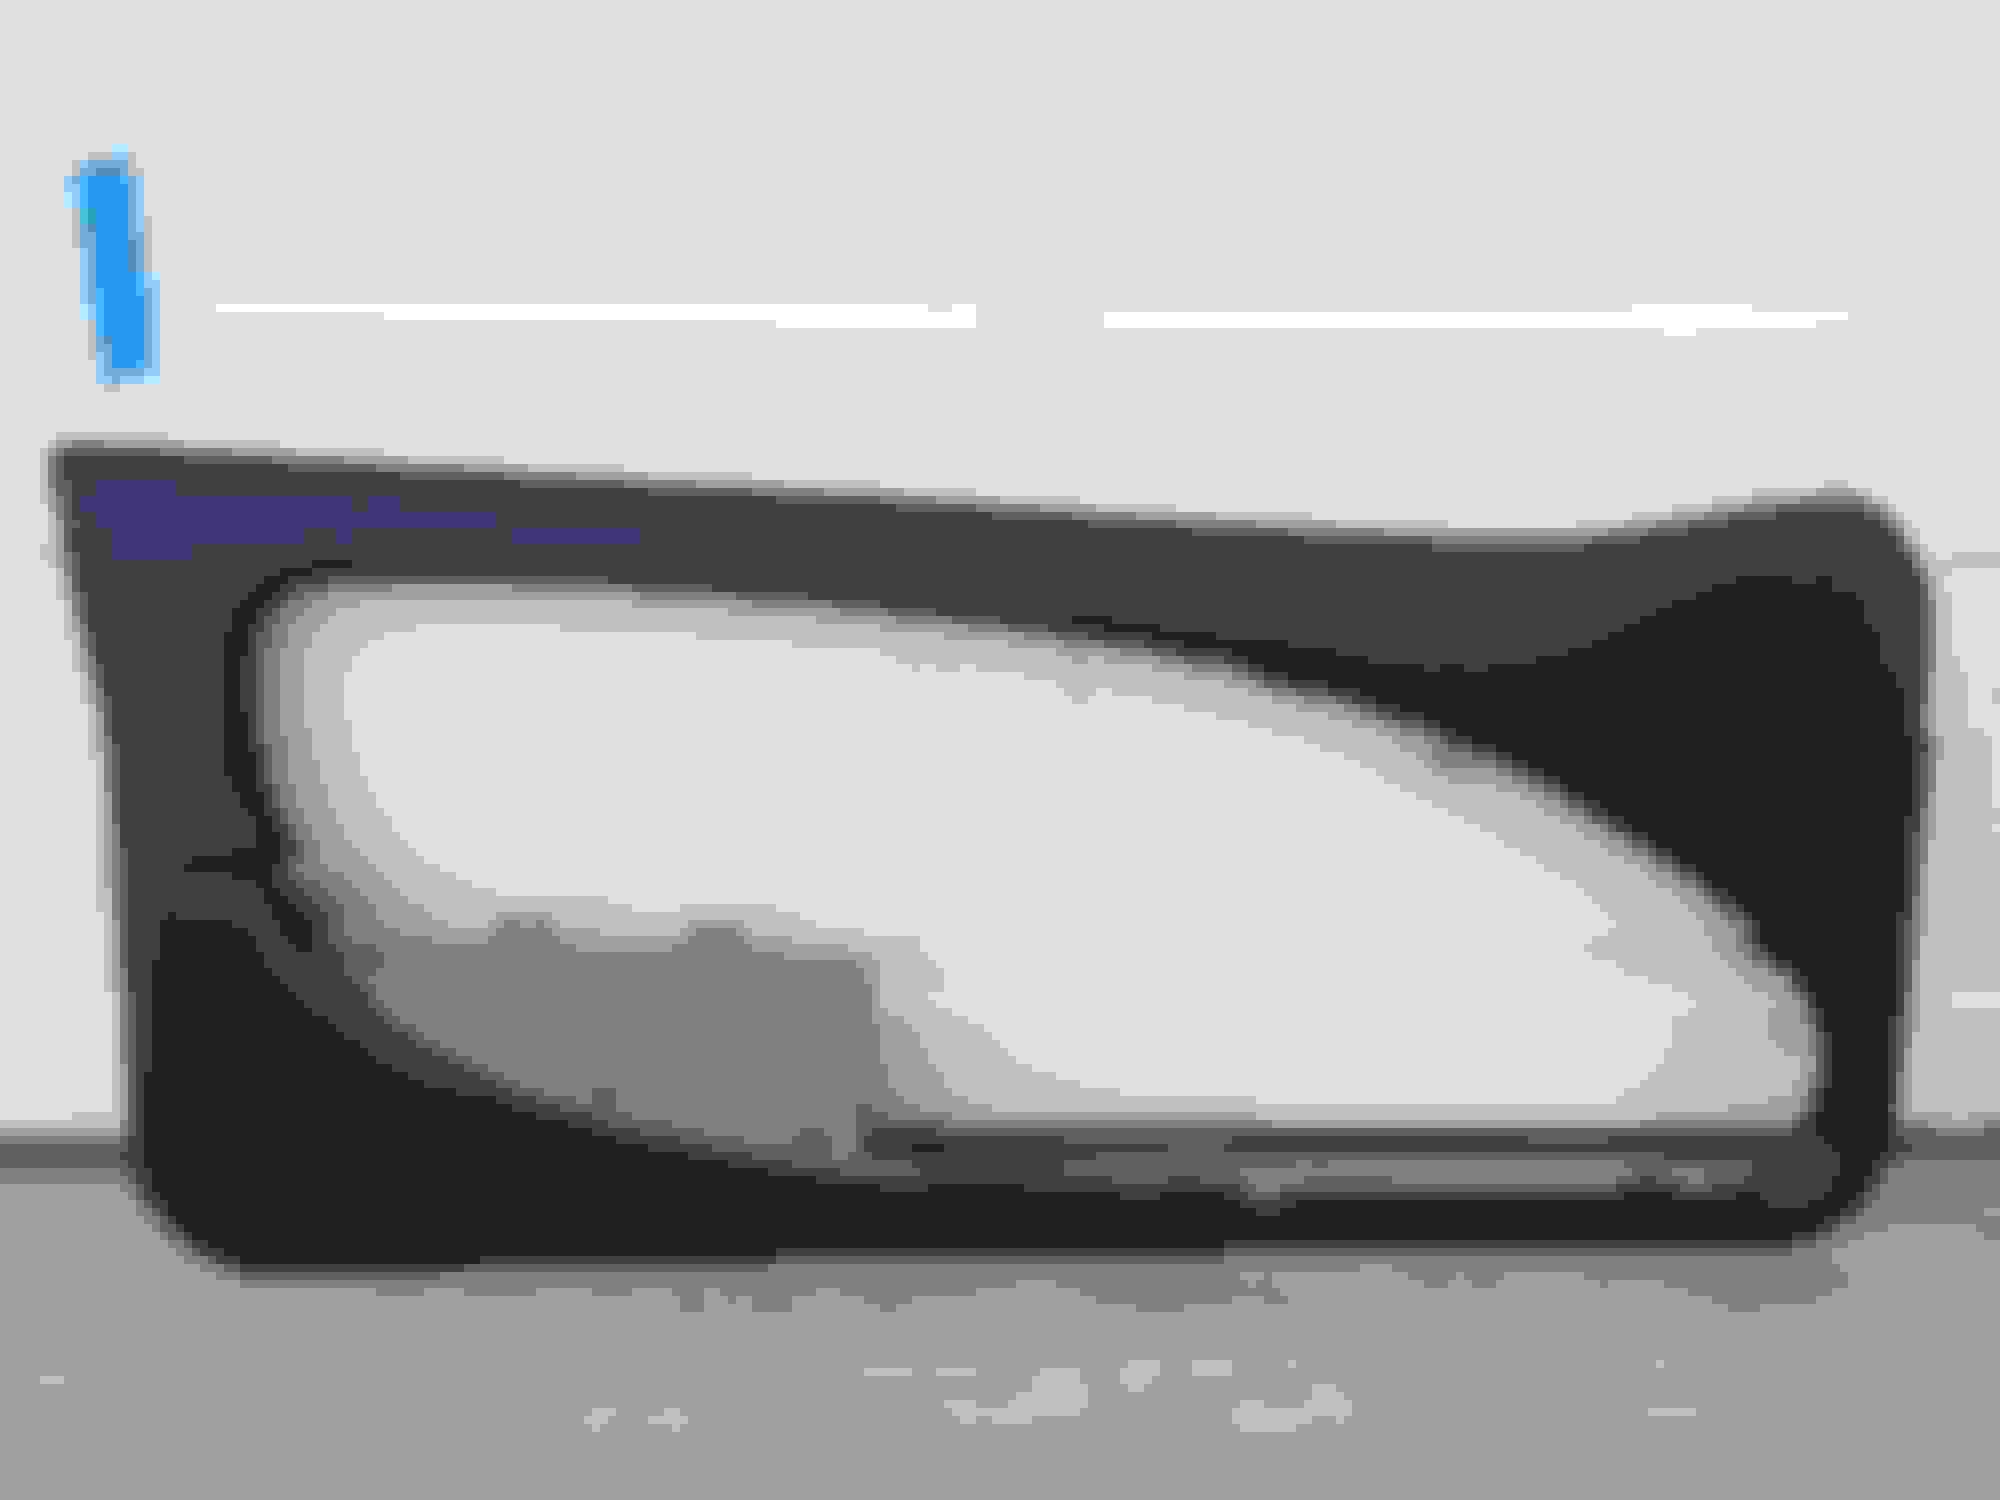
Both tail lights were cracked. I got a nice used Rt. from a local guy parting his '98, along with a standard antenna (2 bucks!) and misc. bits.
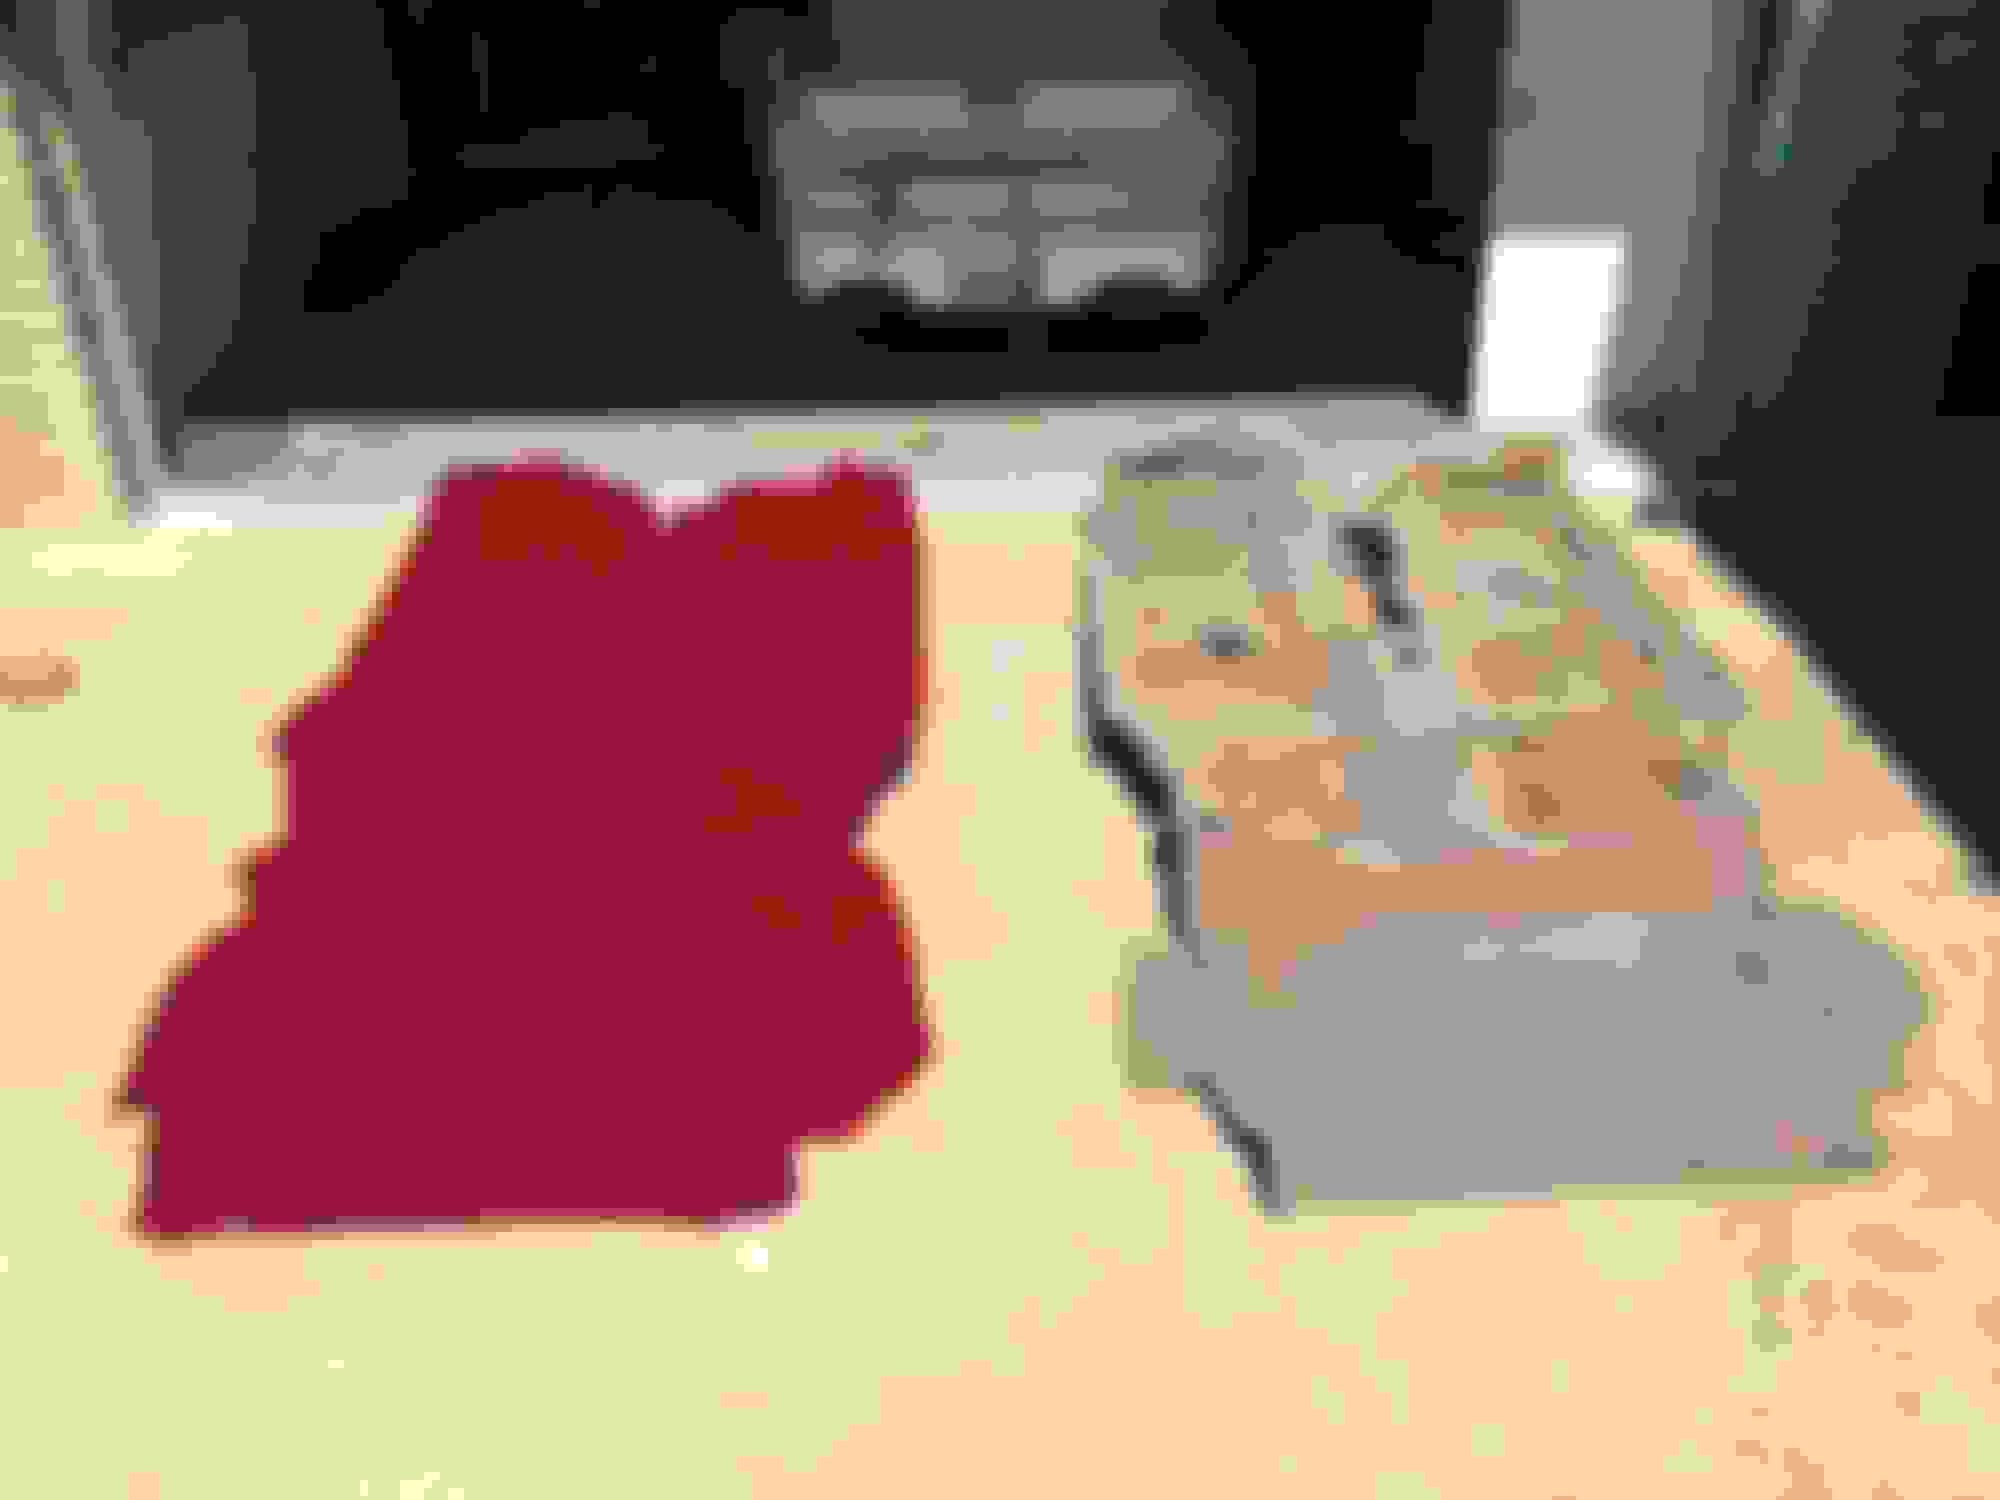
I have a new red carpet coming from Stock Interiors. I hope to begin stripping the interior this week.
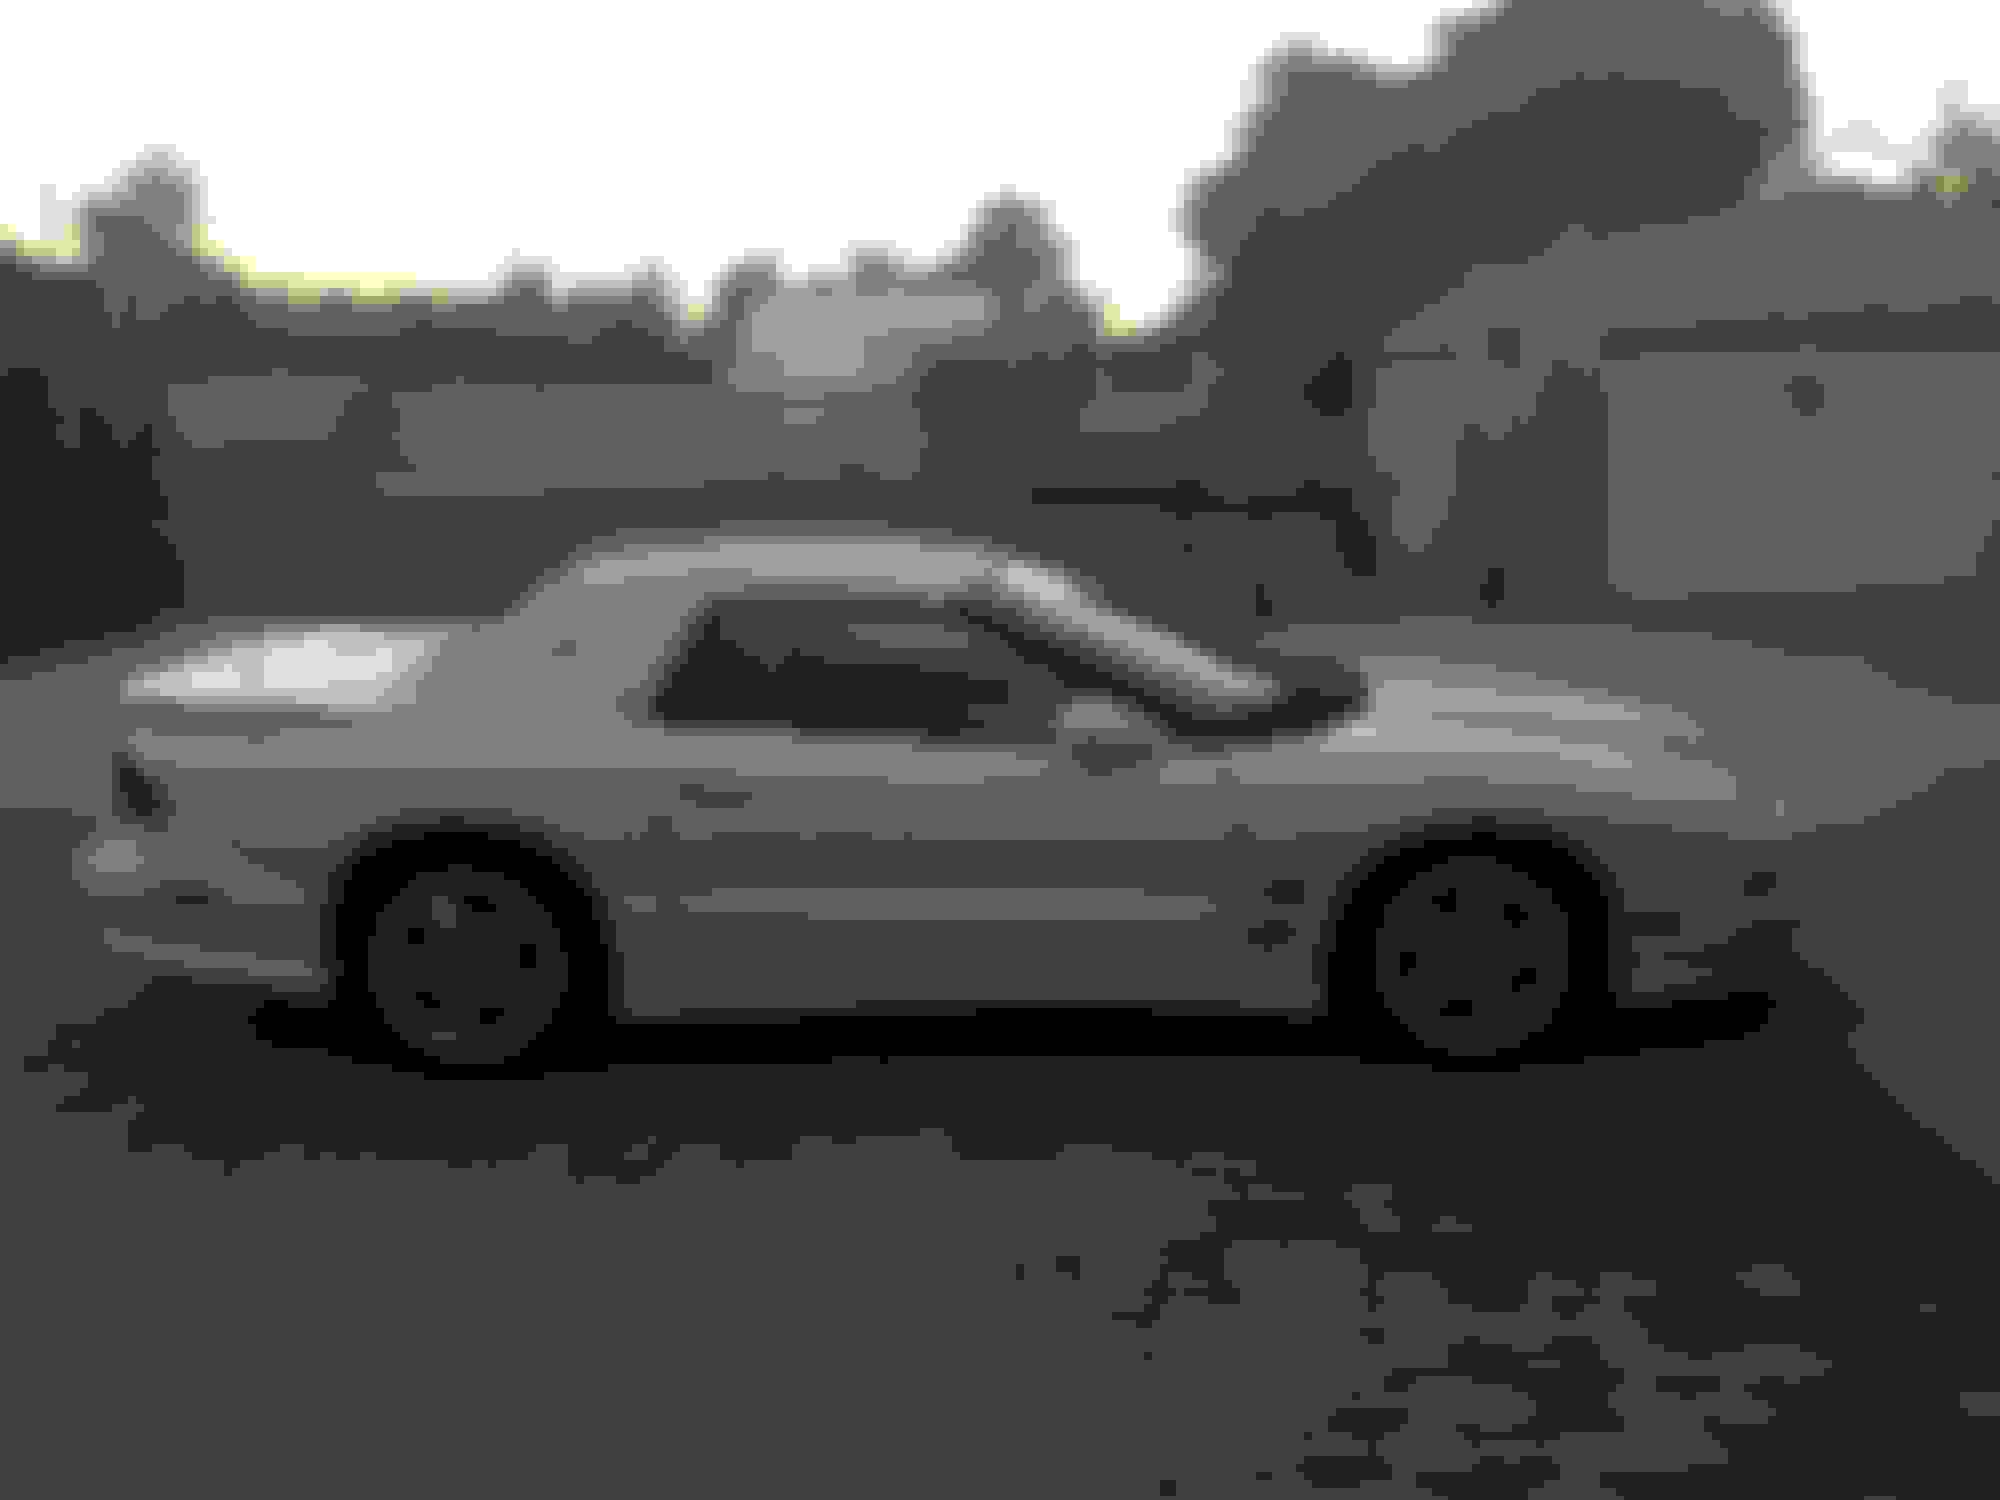
Here are a few "before" pics. The interior is really dirty. Didn't help that the PO lived on a dirt road and doesn't like vacuuming.
I stripped the interior to install a new red carpet. The inside panels will be dyed to
match (I hope), using SEM products. The leather on both buckets needs repair. Not sure yet if I will repair and dye, shell out for new upholstery, or just soldier on after a good cleaning.
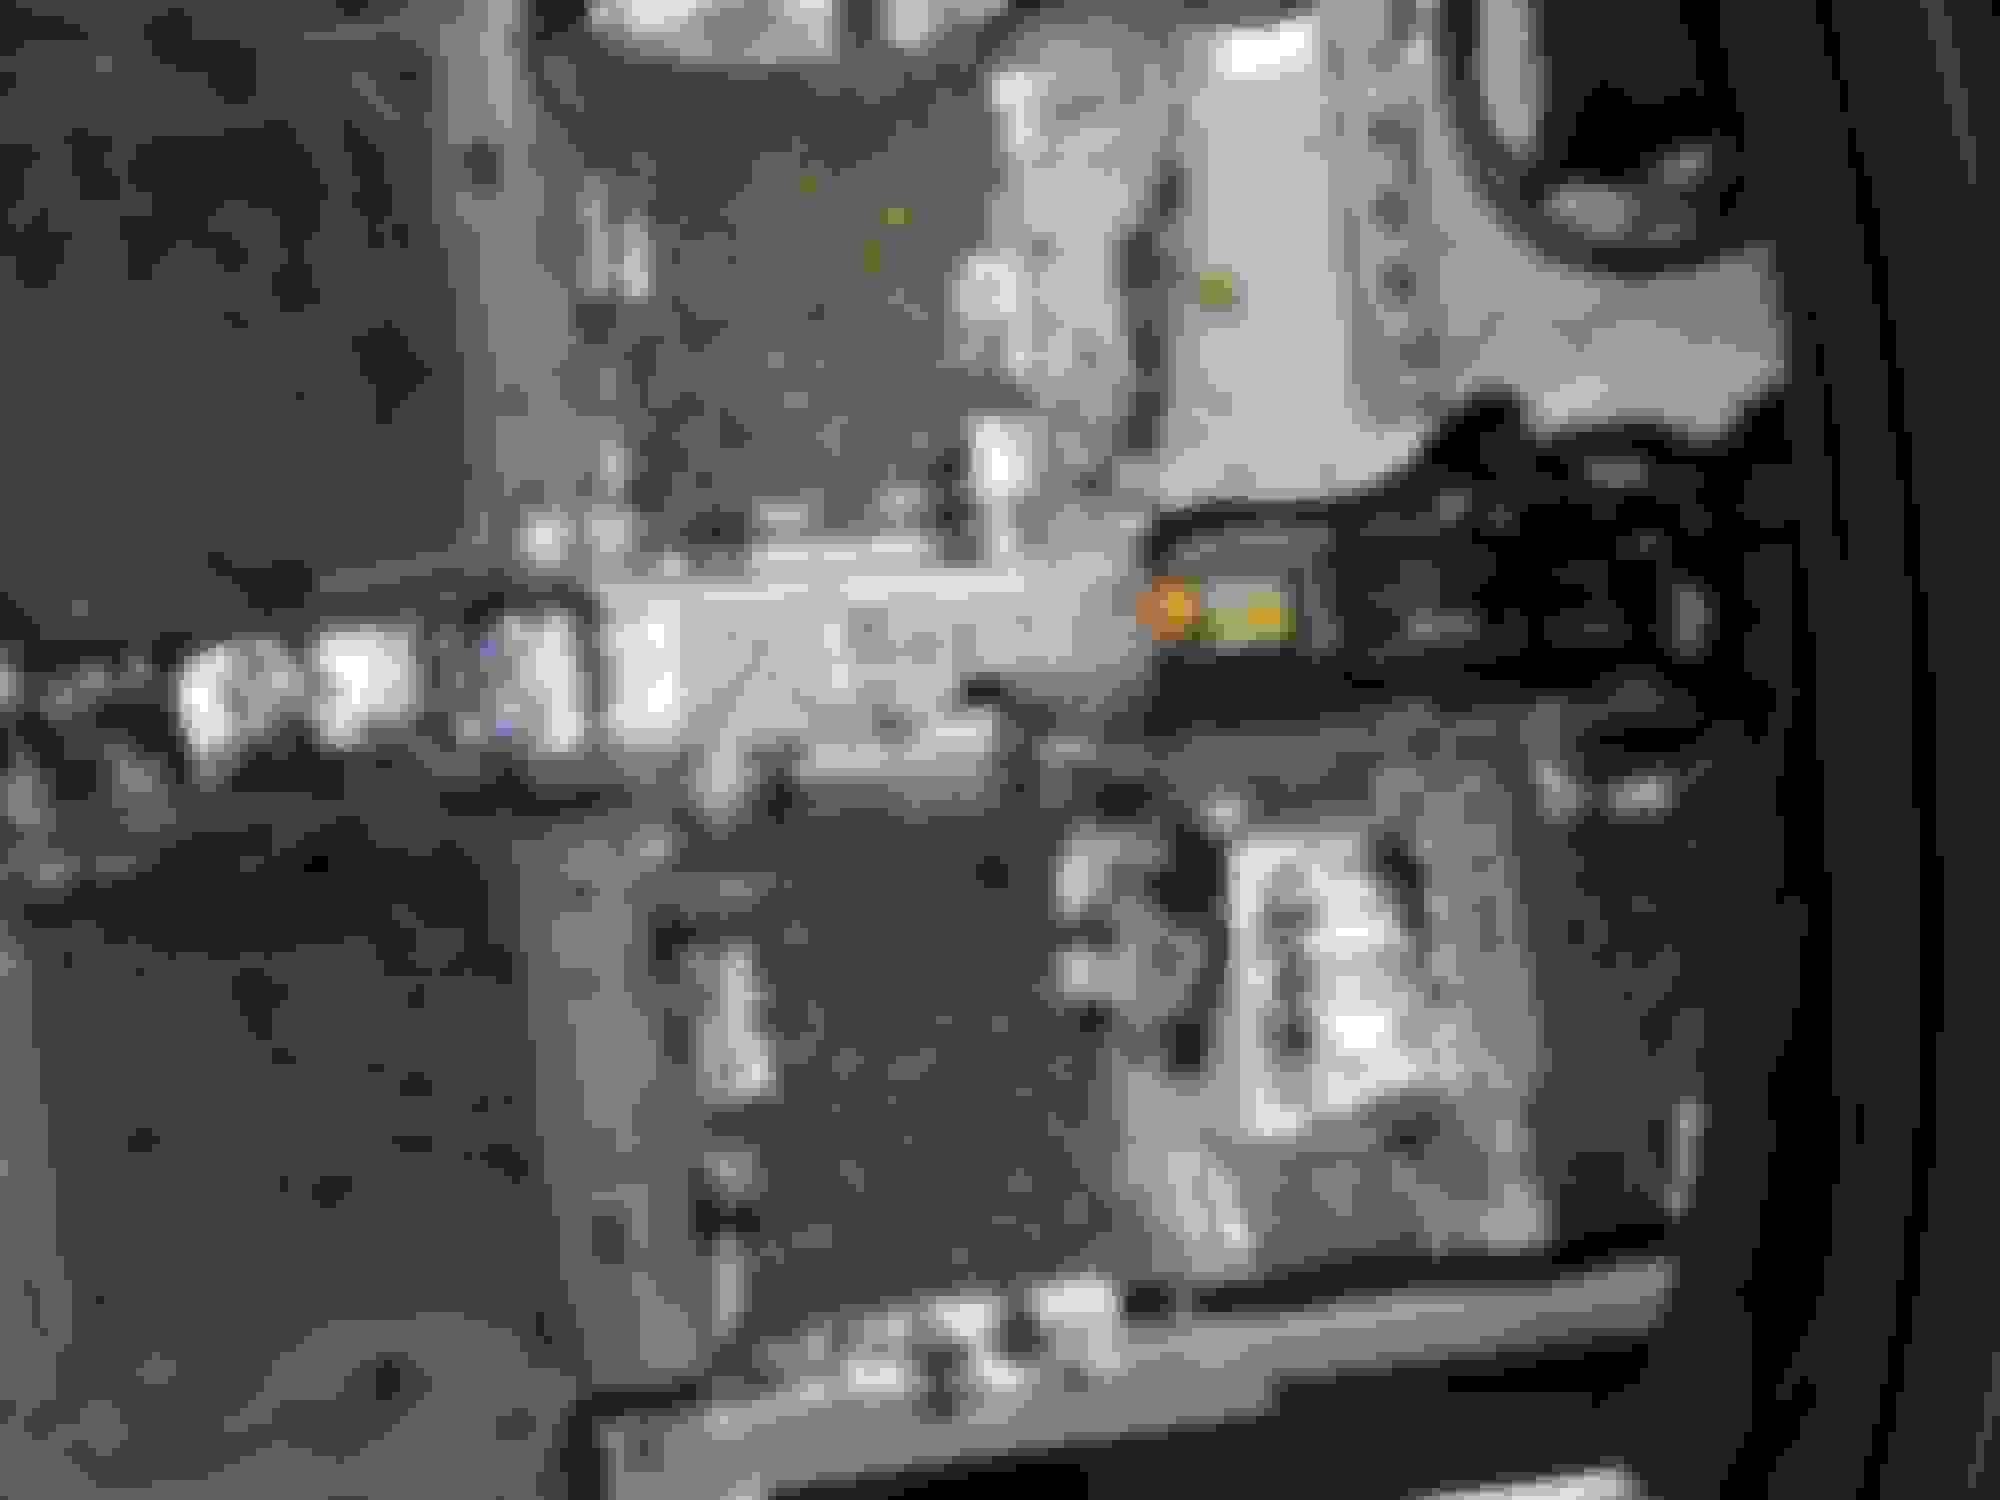
The shifter area was pretty dirty.
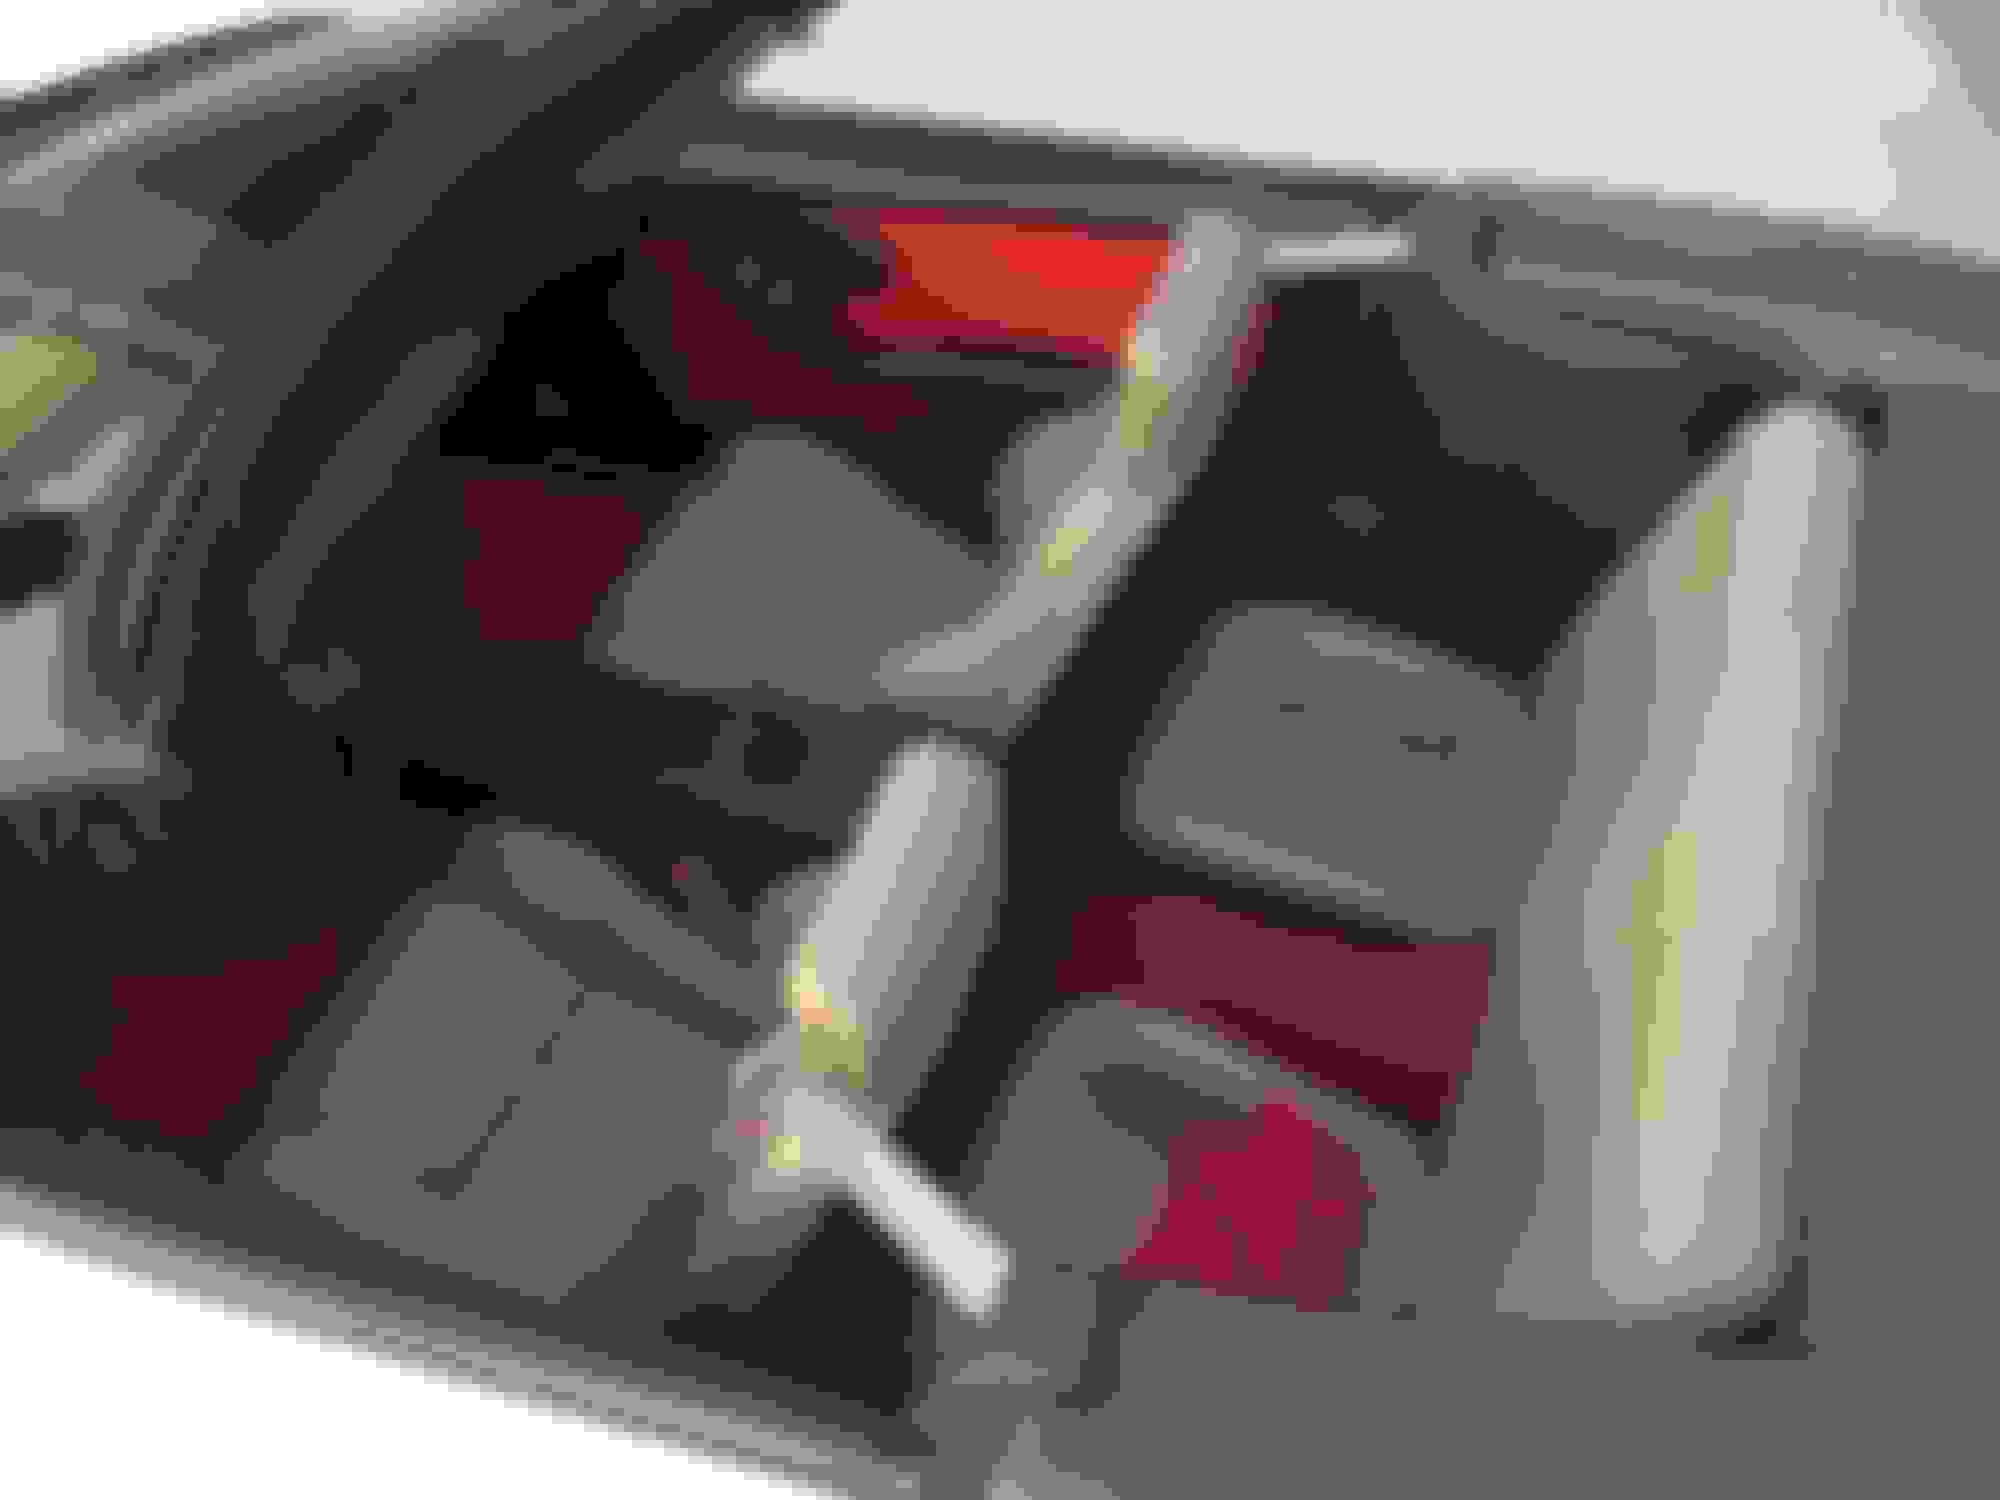
The carpet had no backing, so I put padding and Dynamat down after cleaning the floor and wiring looms.
Thanks fredrodz. If you ever get up this way, look me up!
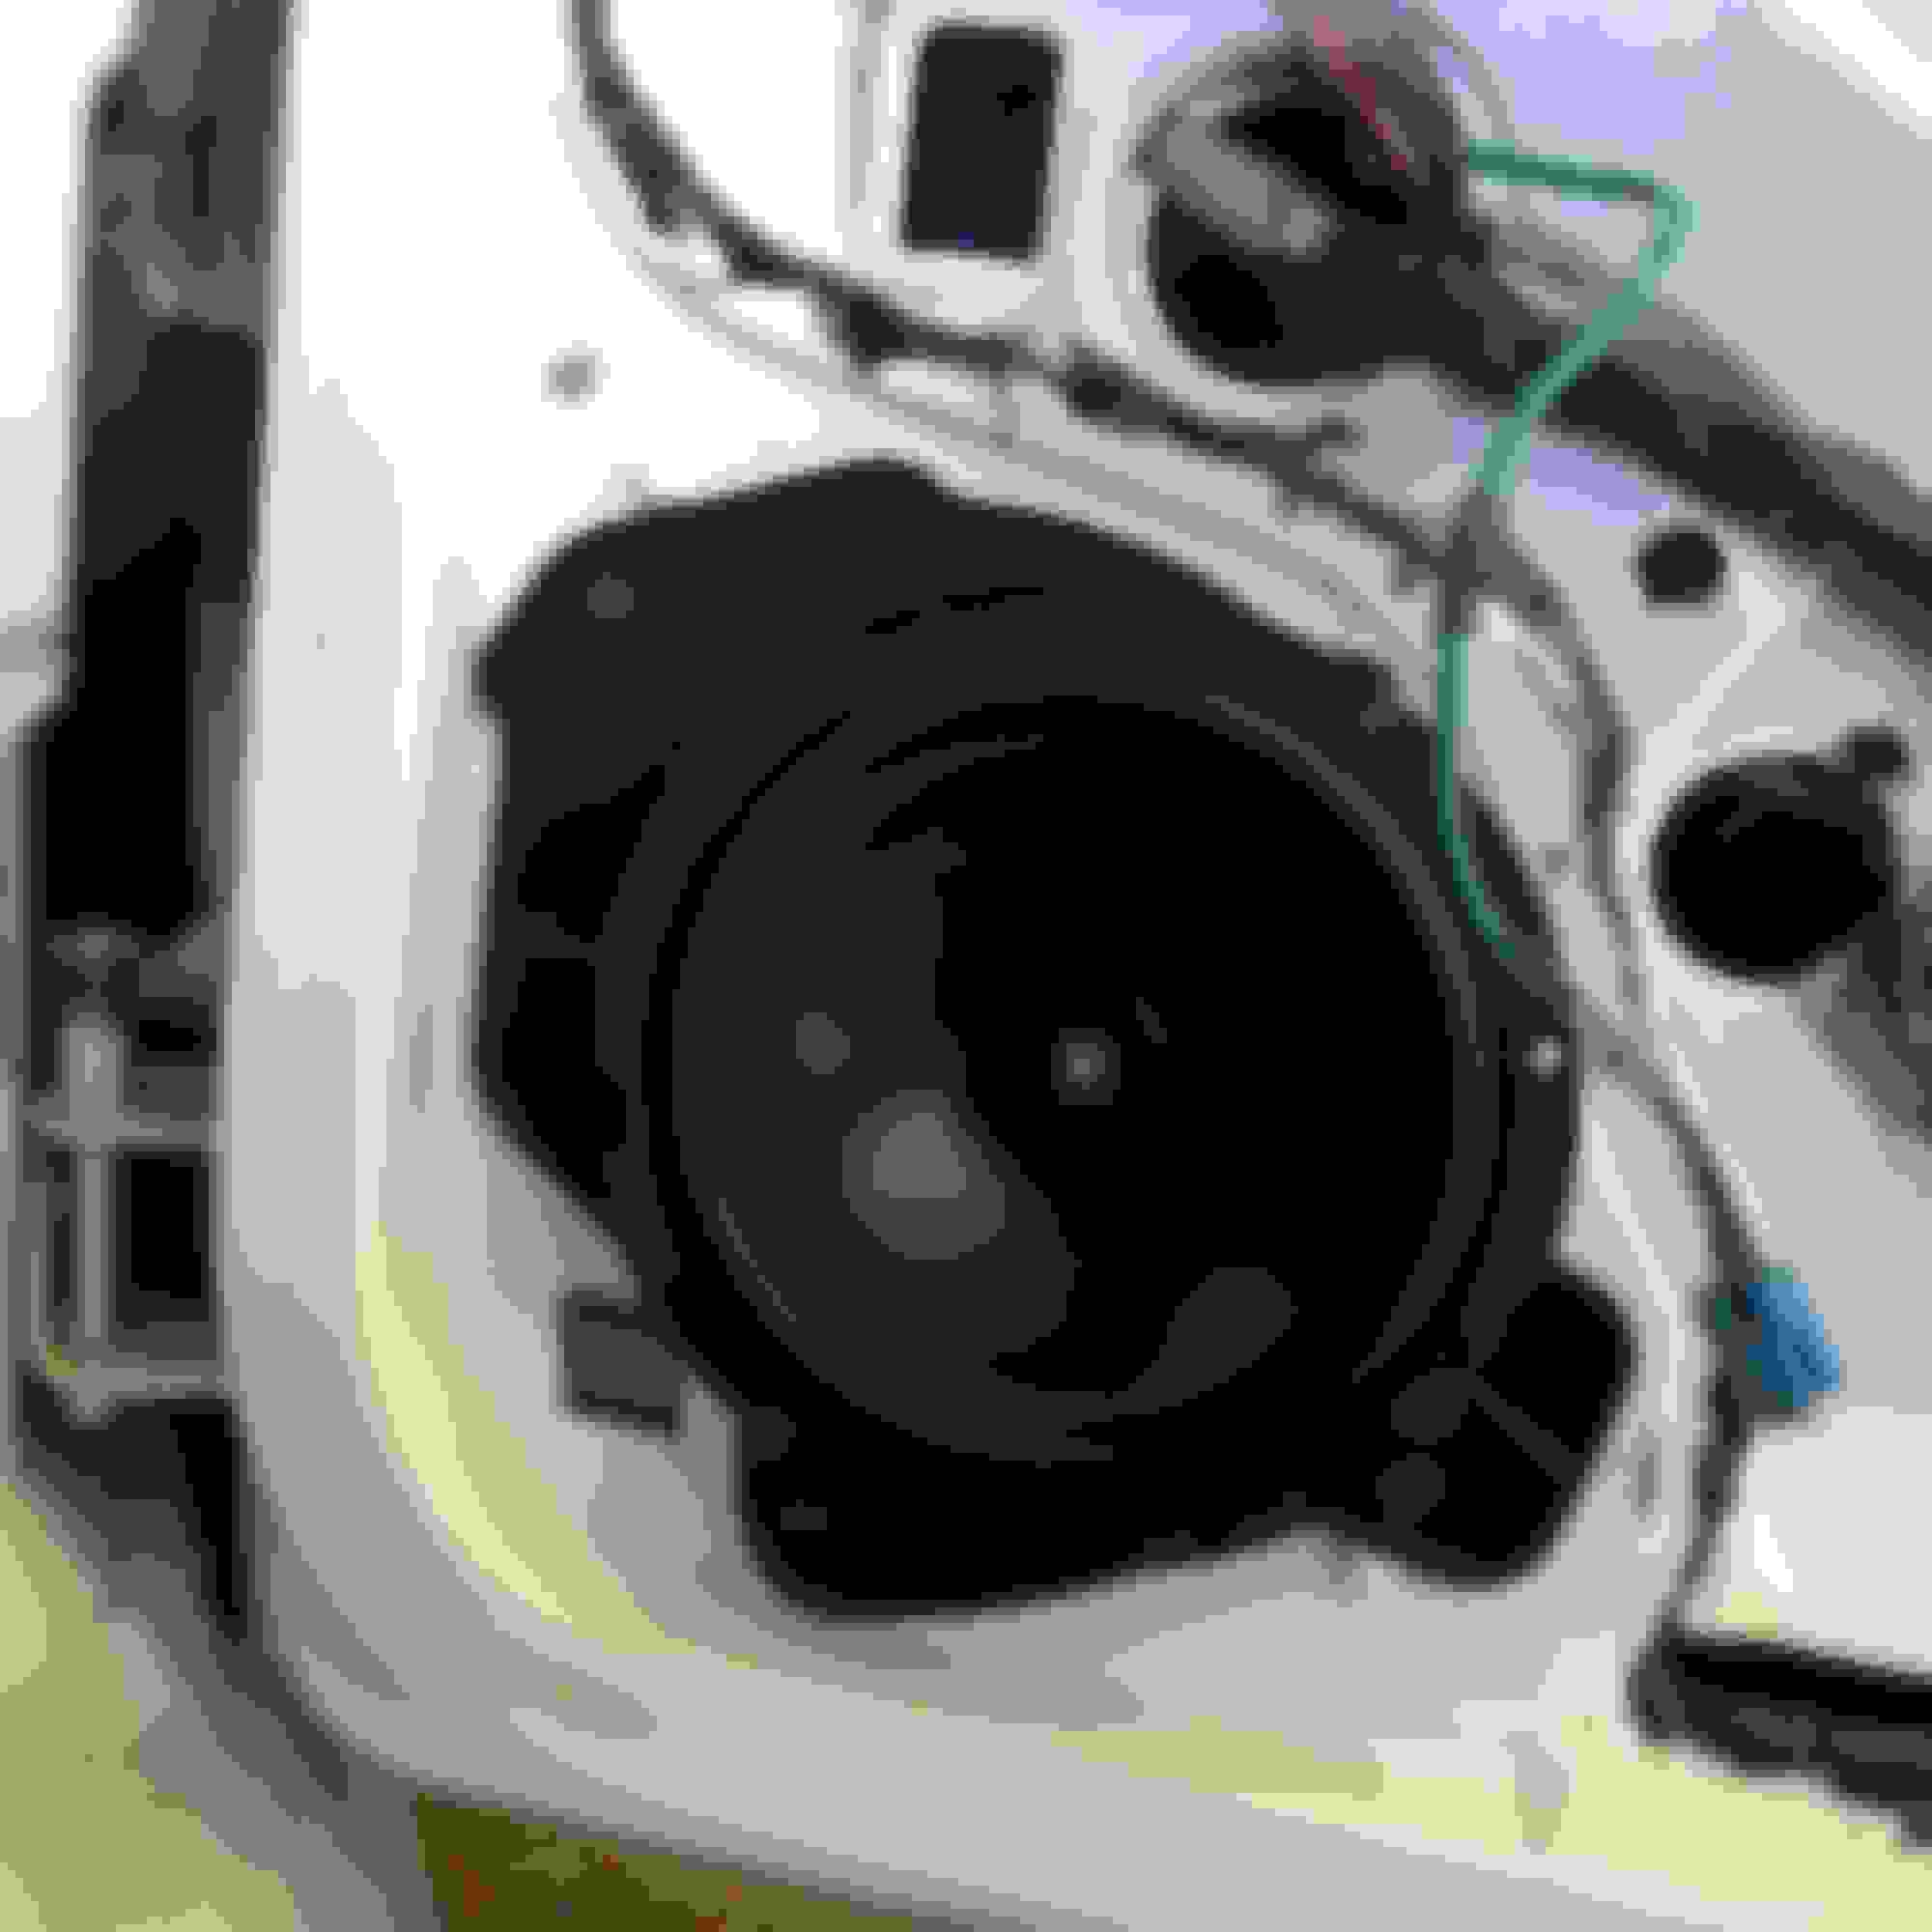
This weekend I replaced the pass. window motor. Not a bad job. One thing the vid's I watched forgot to mention is when you drill out your motor housing for thicker (1/4") screws, you also have to drill out the mounting bracket in the door.
I used 1/2" long ones with hex heads, they worked out great. You can see them in this pic. Nylock nuts are a good idea, too.
I've been buying interior panels to restyle, saving the lt. neutral (tan) originals in case I ruin them. I bought marine grade black vinyl with a grain similar to OE, gluing it over the door panels and rear sail panels. I did this mostly because I couldn't find any nice ebony, white, or red OE convertible panels.
My work is not pro quality, but I learned a lot, and the panels look much better than tan, IMO. The vinyl has a richer feel than the hard plastic.
I didn't take before pics of the tan door panels, but here are the sail panels (grey), and kicks (2 ebony, 1 grey). They are all from Camaros, but notice the grey pass. kick (the straight one) curves down on the bottom, taking away a little foot room. Also, the sail panels were so scratched, they had to be covered, painting wouldn't have helped. Maybe there was a badger fight in that car!
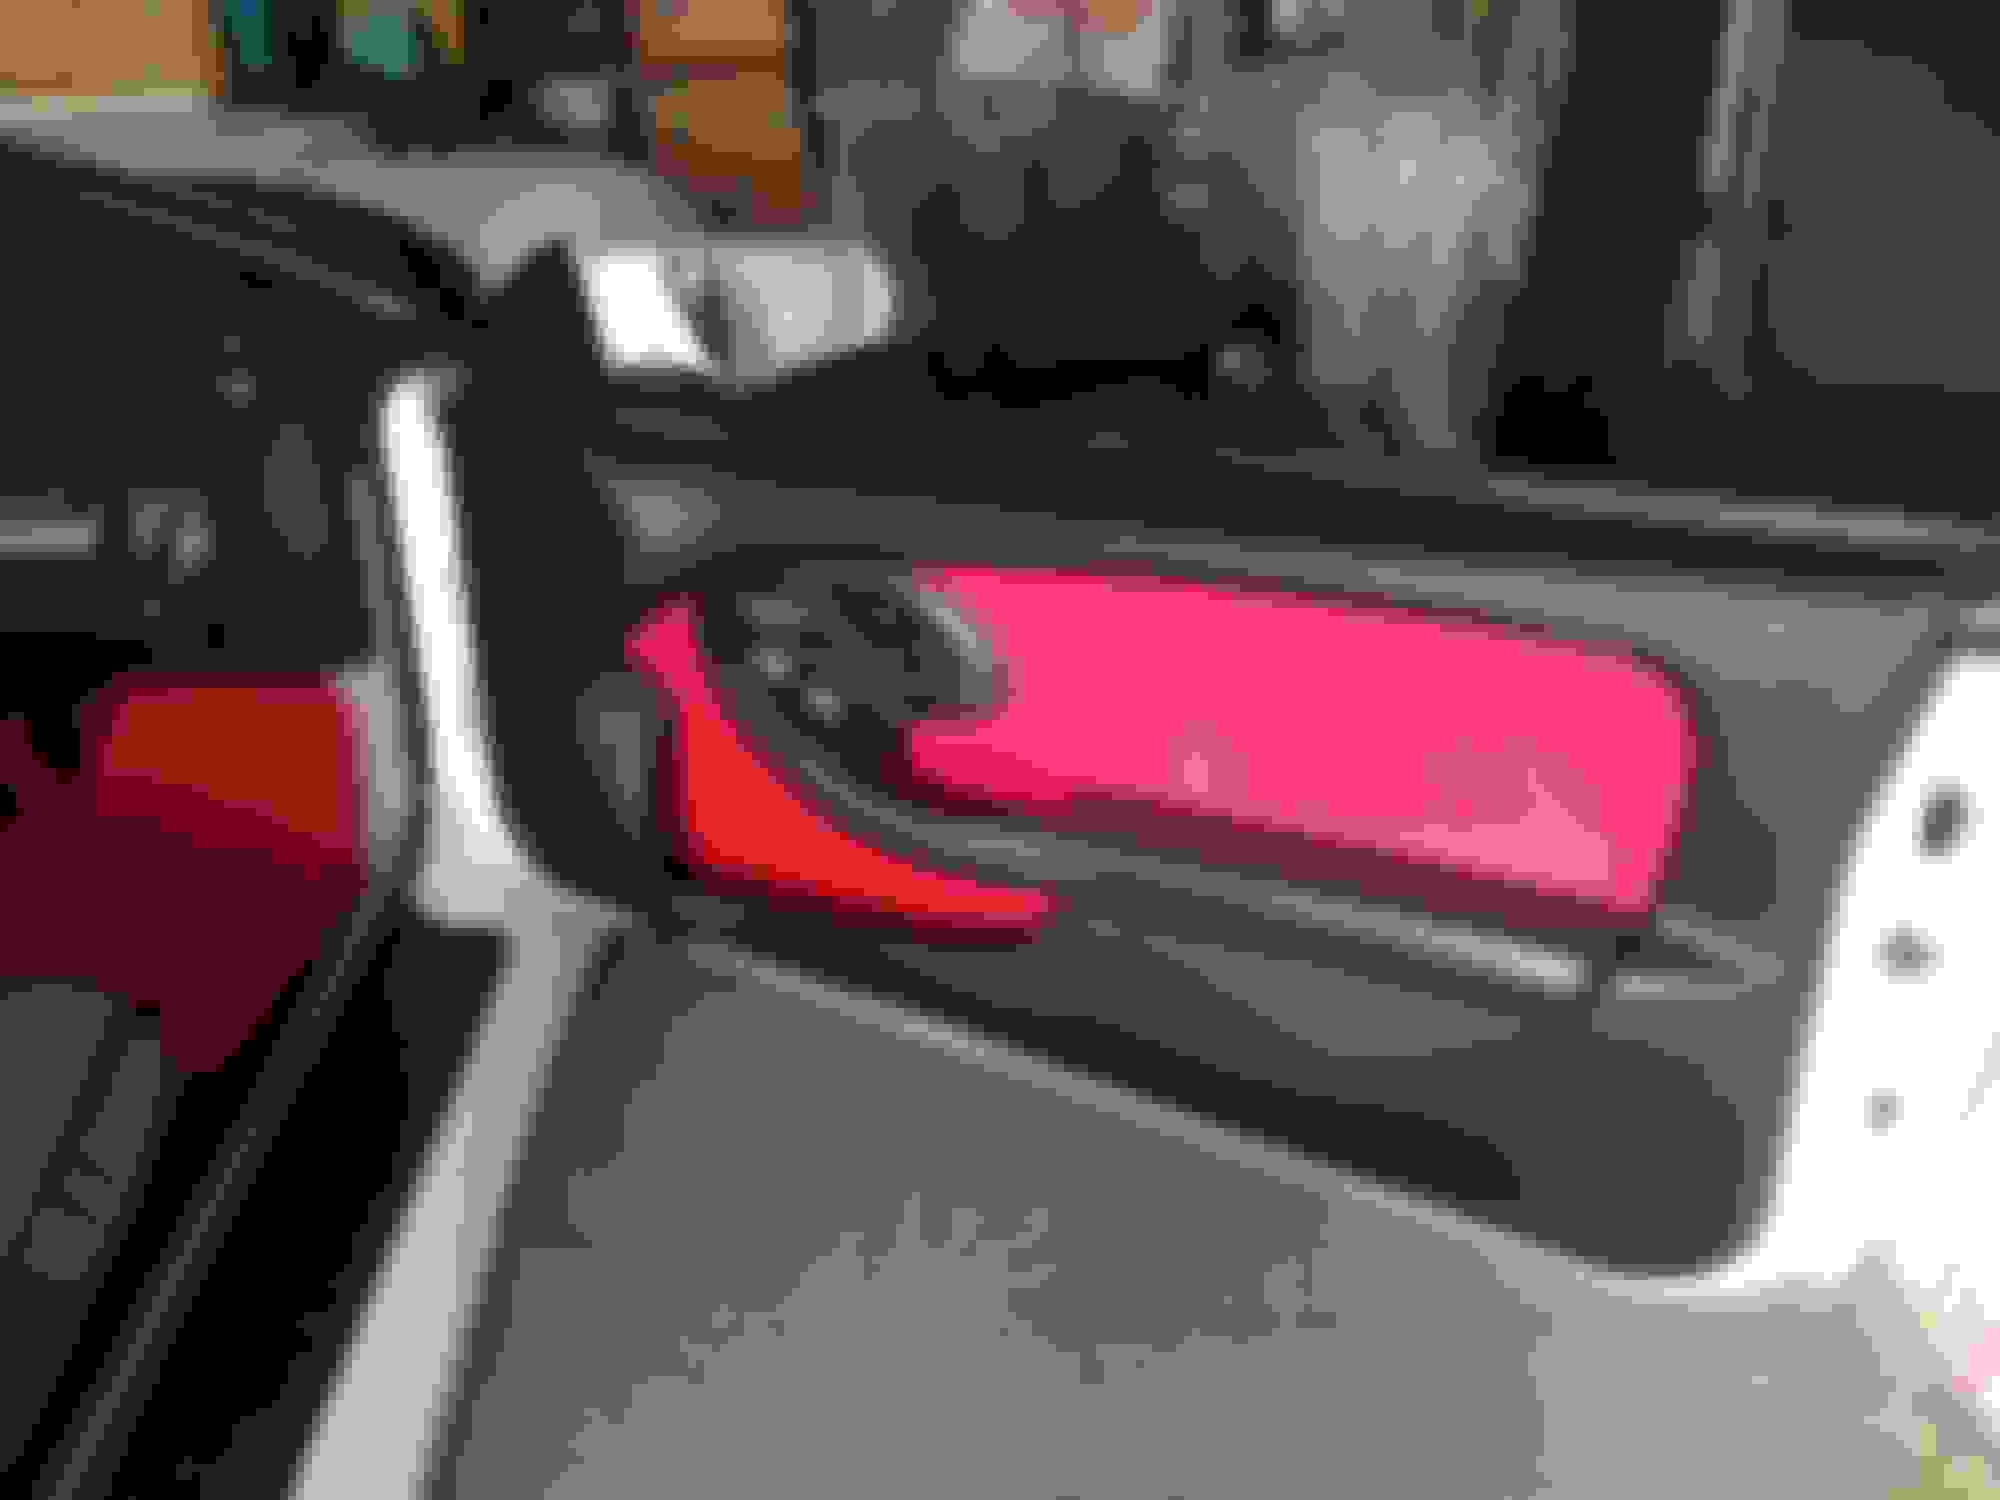
GM didn't build the door panels to be re-used, that's for sure. I wanted contrasting inserts, and to removing the map pocket and armrest is necessary. Re-attaching them was an ordeal. Masking off and repainting the insert would not have looked as good, tho. I used red perforated vinyl.
I also replaced all the speakers while everything was apart.
I've been buying interior panels to restyle, saving the lt. neutral (tan) originals in case I ruin them. I bought marine grade black vinyl with a grain similar to OE, gluing it over the door panels and rear sail panels. I did this mostly because I couldn't find any nice ebony, white, or red OE convertible panels.
My work is not pro quality, but I learned a lot, and the panels look much better than tan, IMO. The vinyl has a richer feel than the hard plastic.
I didn't take before pics of the tan door panels, but here are the sail panels (grey), and kicks (2 ebony, 1 grey). They are all from Camaros, but notice the grey pass. kick (the straight one) curves down on the bottom, taking away a little foot room. Also, the sail panels were so scratched, they had to be covered, painting wouldn't have helped. Maybe there was a badger fight in that car!
GM didn't build the door panels to be re-used, that's for sure. I wanted contrasting inserts, and to removing the map pocket and armrest is necessary. Re-attaching them was an ordeal. Masking off and repainting the insert would not have looked as good, tho. I used red perforated vinyl.
I also replaced all the speakers while everything was apart.
I put the "caps" on the sail panels finally. Bummer that the paint on one immediately scratched off when the tonneau touched it. Guess it really makes a difference what formula you use. I used SEM Classic Coat, which is for leather and vinyl, which must be more flexible (softer) than Color Coat, which is for plastic, vinyl, carpet, and velour. I have another set that I wrapped with the same vinyl, but it was too thick to form seamlessly, and they looked...not good. Not optimistic about any paint standing up to the scuffing that takes place when inserting the tongue of the tonneau into the slot. Maybe I'll redo them with thin vinyl wrapping material.
Great Job on the Interior. I just took out mine too and thank god im not putting it back in. If you need a small part that can be shipped cheaply from California to Iowa let me know...I'm parting out my 2000 WS-6 T-top.
Thanks. I know the tan seats don't look right in there. I was thinking black or cream with red inserts, but after seeing pics of a car with door panels like mine and black/red seats, it looked too busy. Now I'm leaning toward all red or cream, with red stitching, and black seatbelts.
Finally got off the pot about the upholstery. I dropped off the back seats a couple weeks ago. I'm going with red vinyl with perforated red suede inserts, and black thread in the french seam. The front buckets will be the same, but in leather. I've been painting the plastic seat belt parts black, and will have black belts. I still have to paint the setbacks and side trim black. I don't want to paint the "gills", so
they will be left out.
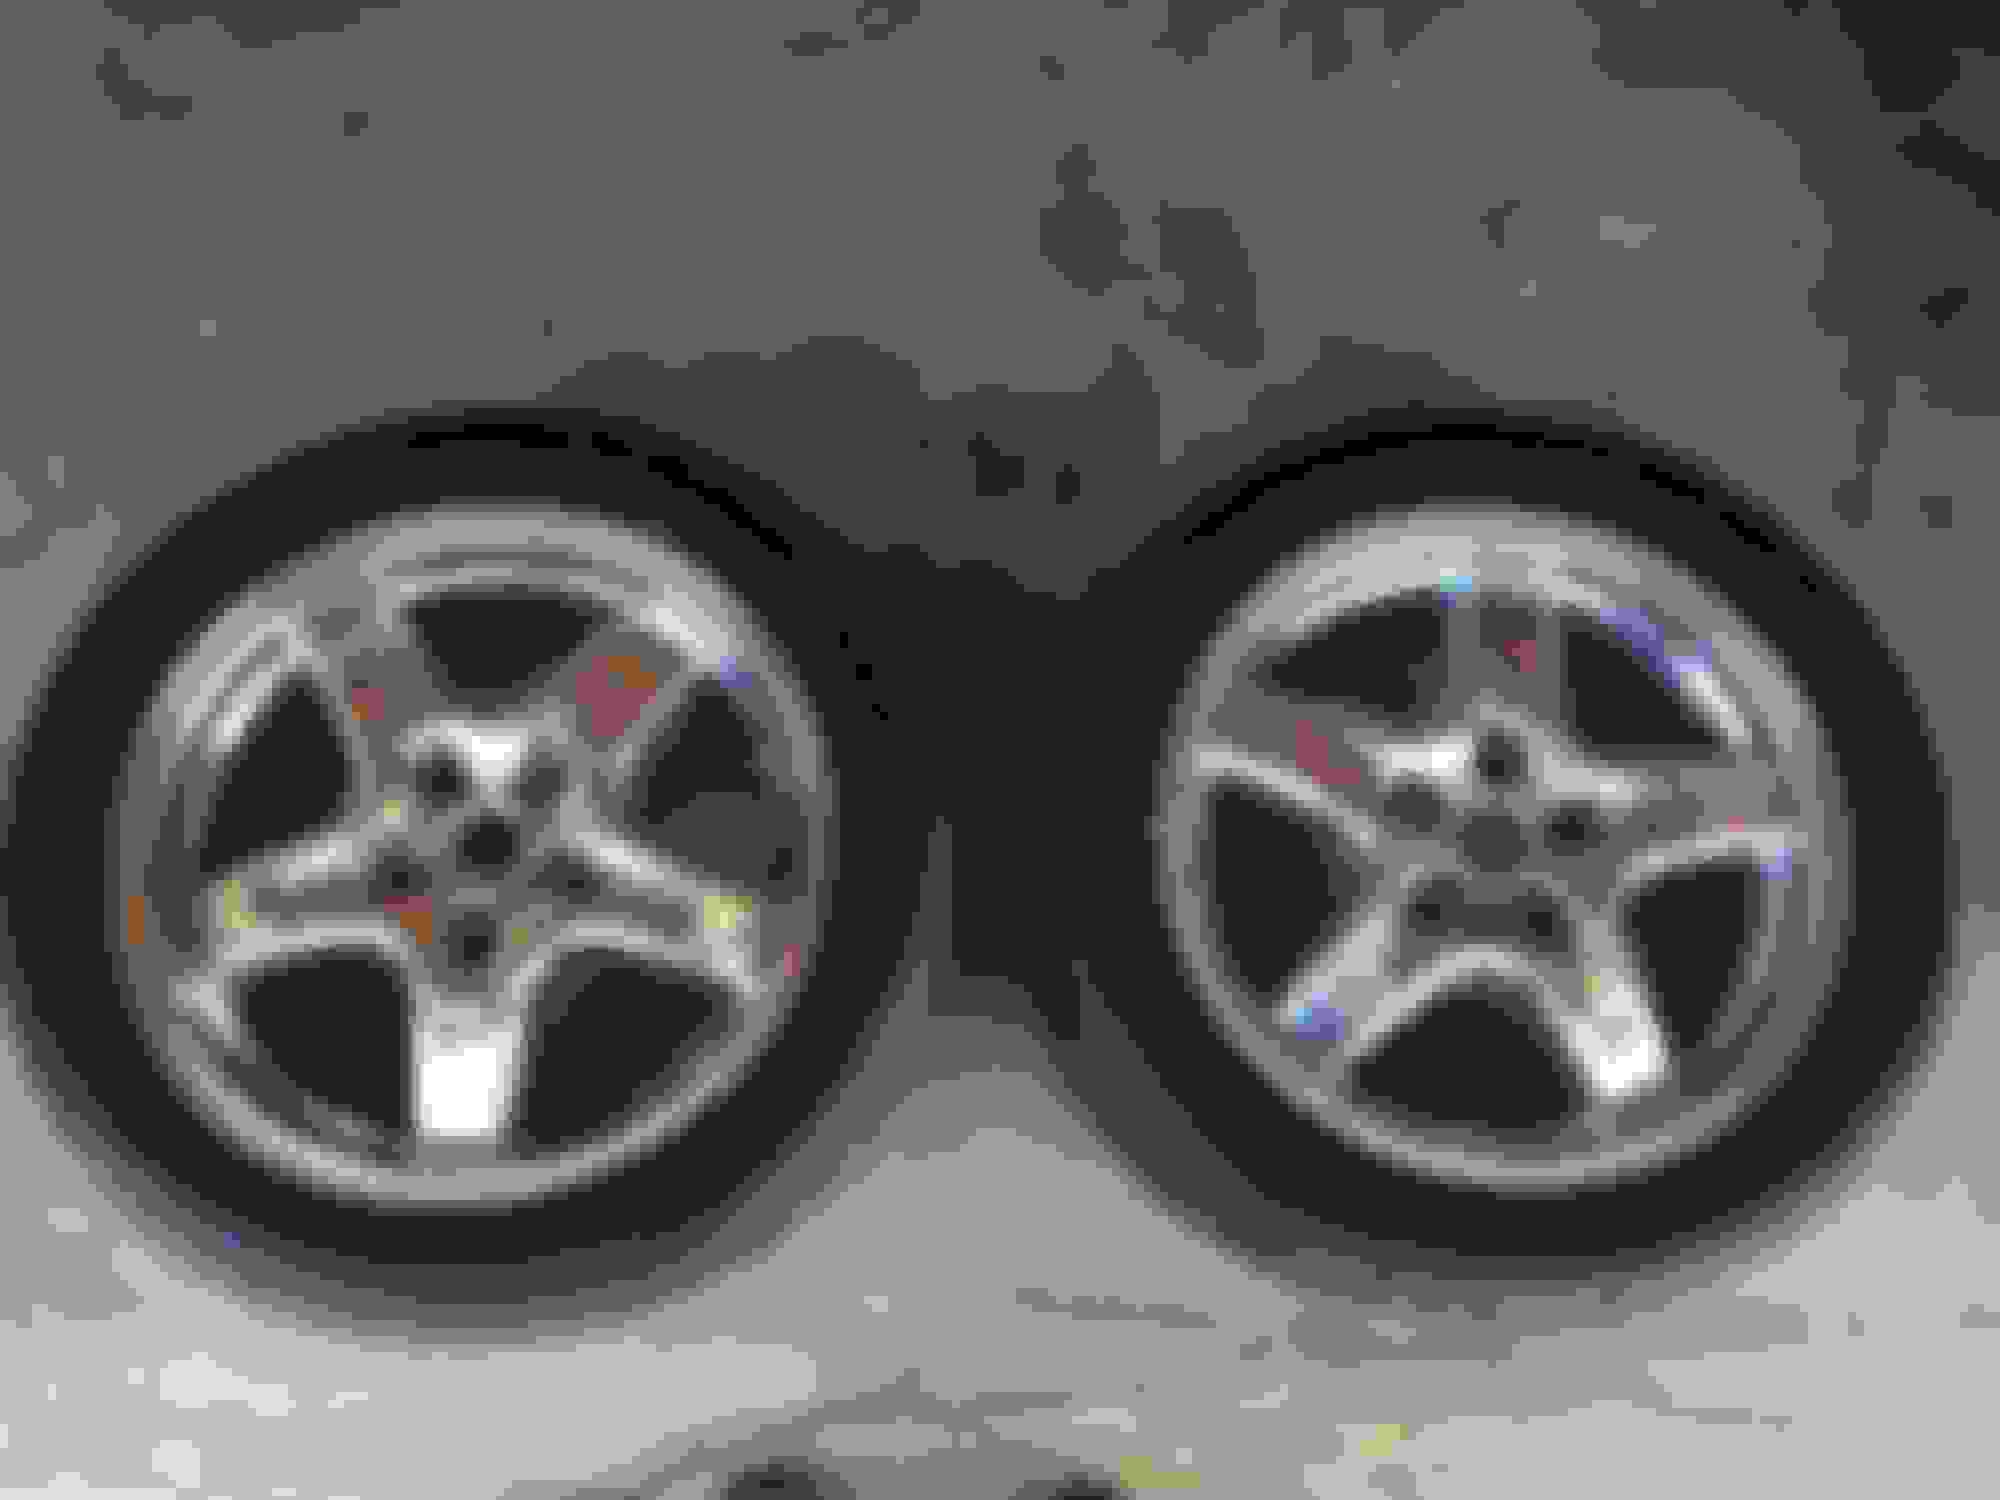
I was going to have the wheels polished, but balked at the prospect of having to remove the tires. I'm doing it myself to save the $480. I got Jasco stripper. It does the hardest part of the job: getting the clear coat off. The better you prep the wheel, the better it works. But it will stain the tire if you let it set for more than a minute or 2. I was able to "save" the first tire. The second one, I masked. It still required multiple coats in spots. I also learned not to clean the residue off with a 3M "scratch" pad. Now I know how they got that moniker! Made a lot of work for myself for the polishing stage. The second one, I just kept rinsing with the hose and agitating with a nylon brush. Left a scratch-free surface that will be much faster to polish.
I also am touch-up painting the body around the wheel wells. The PO ran thru some tar, and painted textured black on part of the pass. rear. I removed most of the texture and painted with white primer and Krylon Industrial Tough Coat. Matches so close, I might use it on the headlight doors.
Also epoxied a crack in the plastic rocker panel trim, and painted all the hubs.
The calipers cleaned up very well, too. No painting necessary.
First wheel polished is on the left.
Almost forgot the tips!
Two more wheels and wheel wells to go.
Thanks.
The wheels are back on, and the body around them is fresh looking. I got the rear seats back, and the new black belts are in. When I took the buckets in, the upholstery guy said I could come back with the plastic trim pieces I want to wrap, and use his glue gun. He loads it with vinyl & landeau top adhesive, better stuff than the contact cement I had been applying with a brush at home. I was going to paint them (lazy), but that was a bad idea. The belts dragging across them would be tough on the paint.
Unfortunately, he also said the plastic "gills" on the sides of the backrests will have to be re-used; he doesn't think the vinyl will hold up long term being screwed to the seat frame. So the gills will be painted black and sewn onto the new seat covers. I'm hoping the red leather will really pop, surrounded with black shells.
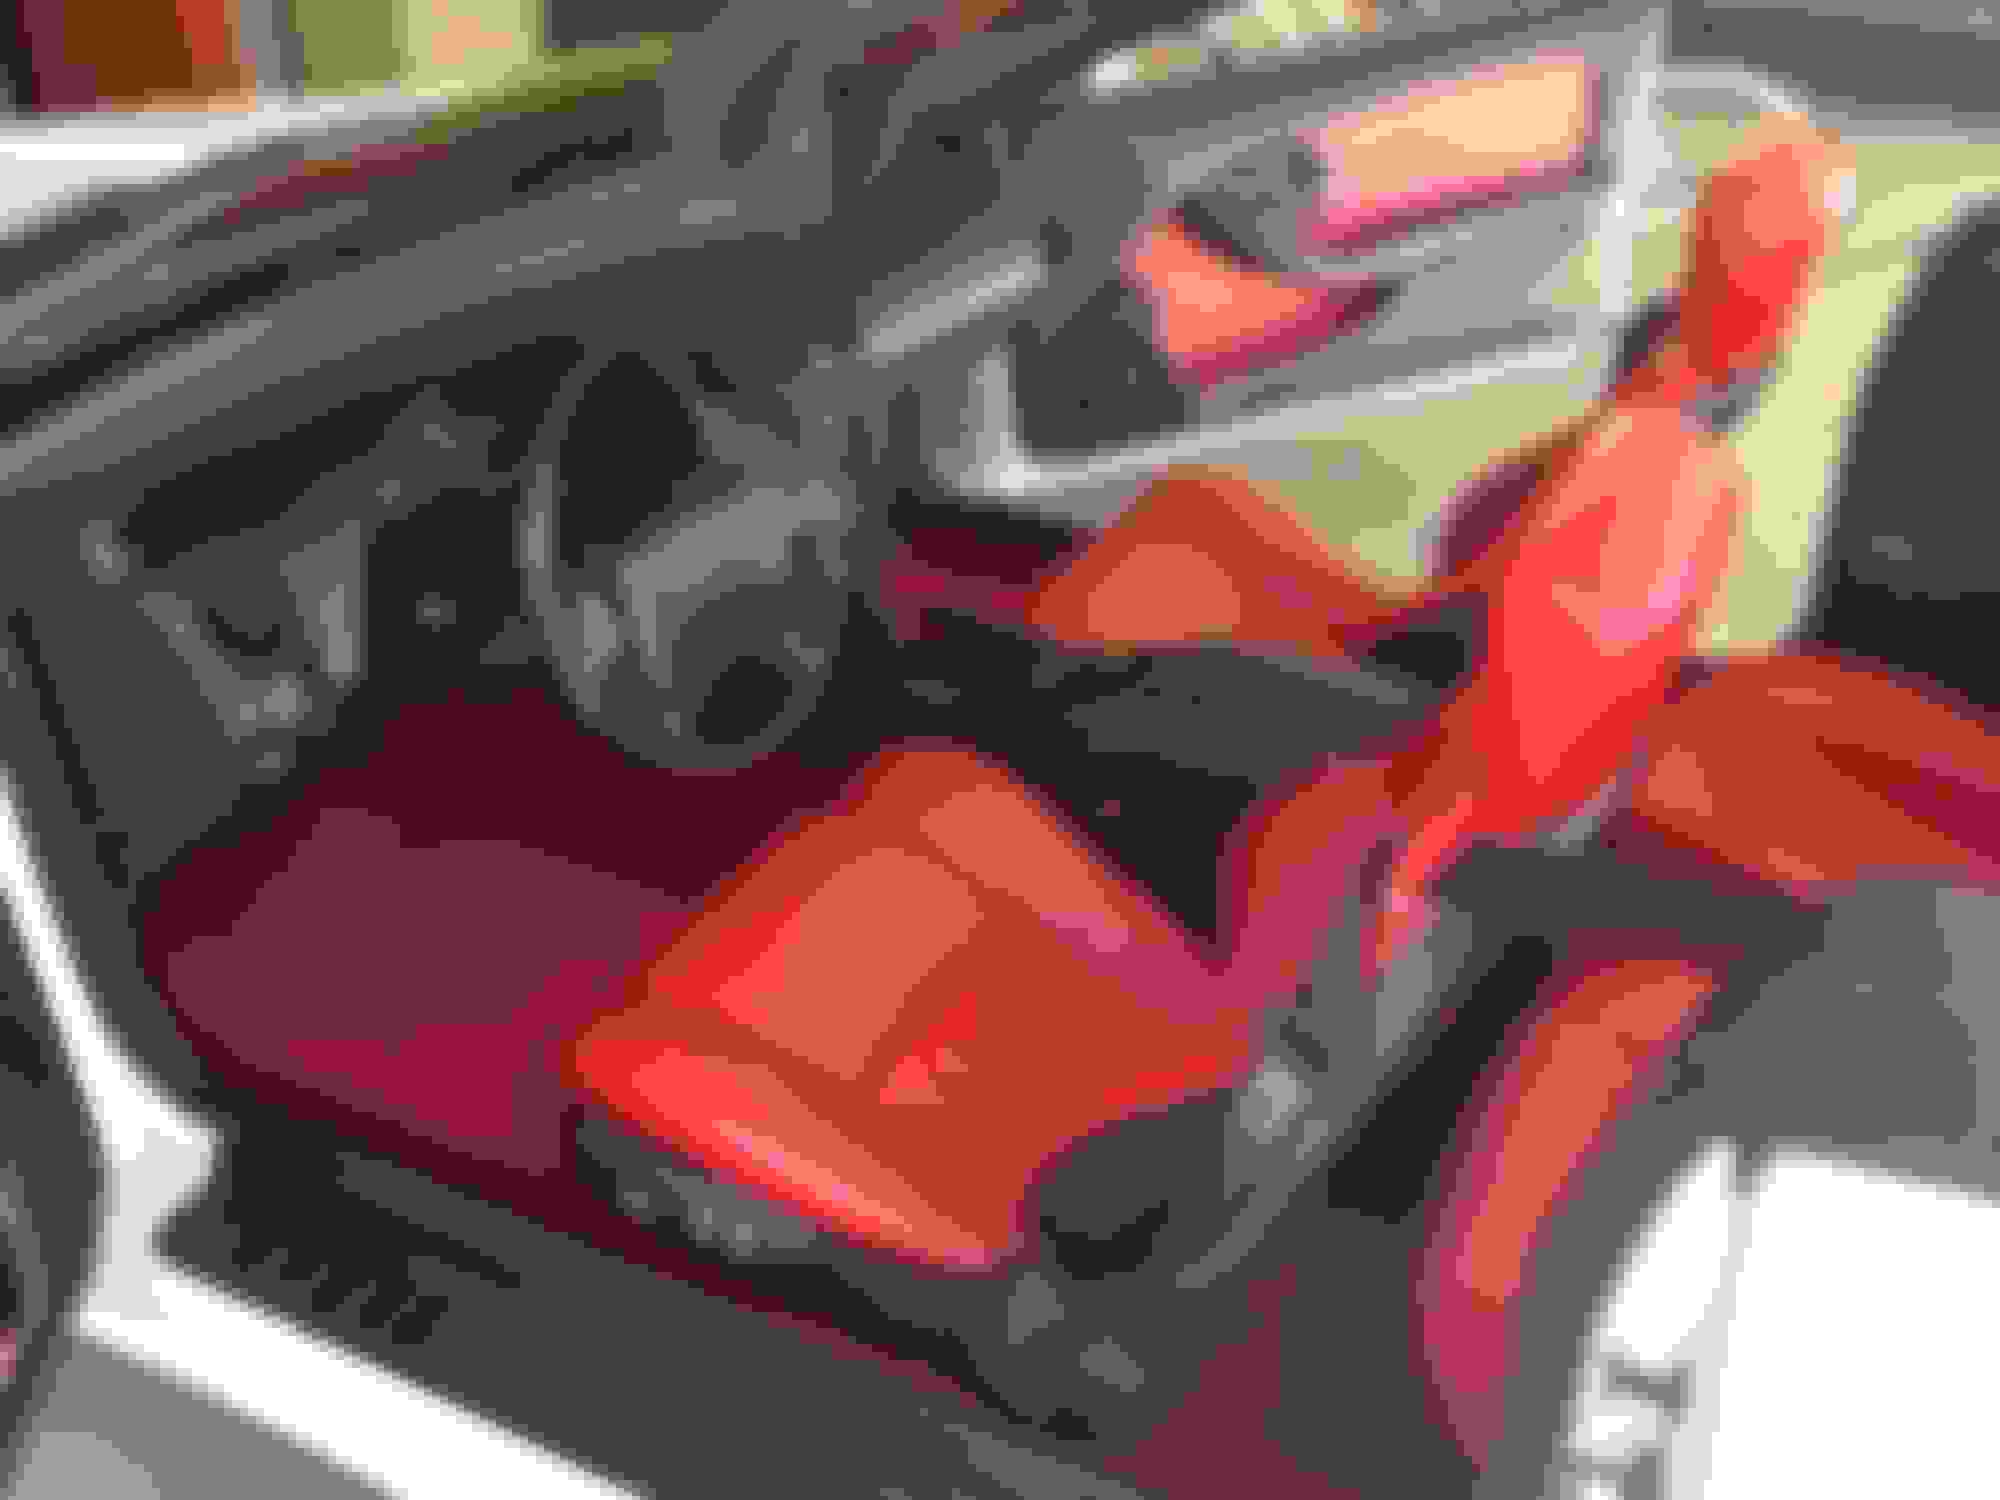
The tan is gone! Yay I finally have the color combo I wanted before I bought this car. I was lucky enough to have a 78 T/A coupe white w red interior. The car got stolen less than a month after going thru it mechanically. It already looked good, only 52k on it. Anyway...
I found a nice young man with his own small shop in Tempe. He worked with me on painting the shells and other plastic plastic trim for the seats. He wrapped the lower side pieces with the same vinyl used on the door panels/sail panels. I had to trim out the holes for the switches and touch-up with brush paint. They won't click the right way if they're in too tight. He did foam work, too. Nice work, A!
His father and I put new belts thru the buckles and retractors. I was thinking about red, but glad its black now.
The seats in back are vinyl and suede, the fronts leather/suede with vinyl trim/headrests. Black stitching on the french seams, and epaulets on the shoulders for the seat belt. A naked headrest looks better, IMO.
 09-05-2015, 02:52 PM