When you click on links to various merchants on this site and make a purchase, this can result in this site earning a commission. Affiliate programs and affiliations include, but are not limited to, the eBay Partner Network.
Steam port fittings on the back of the head were another battle. I’m beginning to wonder why I’m wasting so much time, energy and money on this LT1. It’s not a lot of money but the time bending over this engine was really getting on my nerve. If I didn’t, then the car would have been just a project sitting in the garage so I really wanted to be able to drive the thing from time to time while I did my upgrades to the suspension and chassis. So I kept plugging away at it.
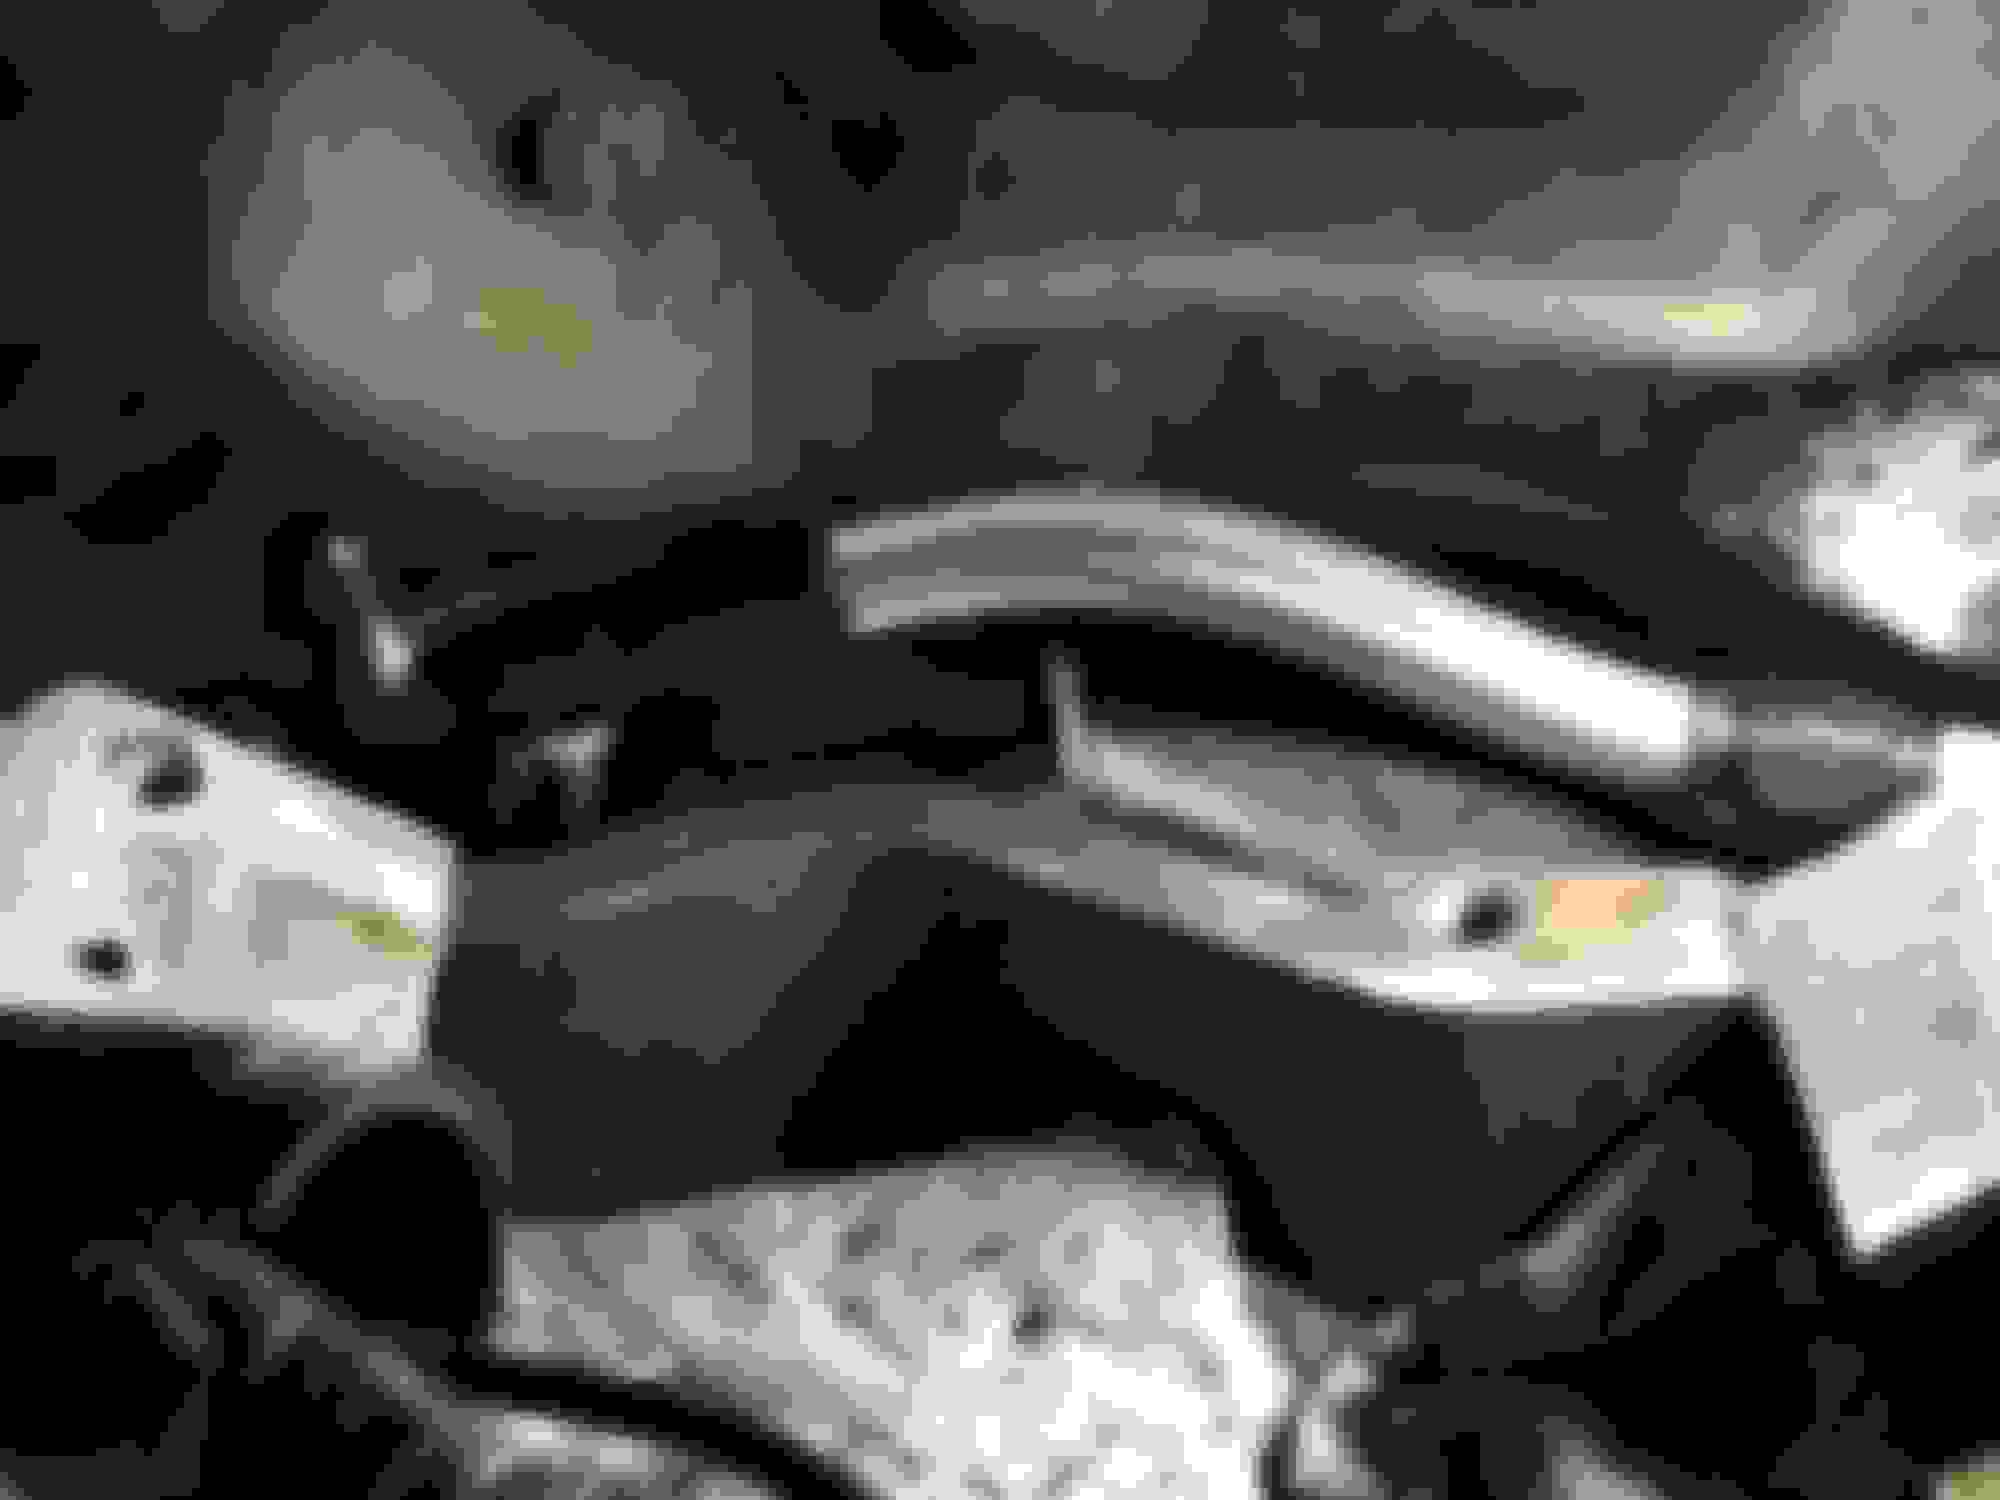
You can see the crud in the fitting. This was passenger side. In hindsight it would have been easier to break these loose when the engine was warm but I didn’t think that far ahead. I had to work this side out by going in and out until it finally gave up and came out.
The drivers side was a completely different story. It wouldn’t budge!! I ended up breaking the line off the fitting so I could put a wrench on the flat spots on the fitting itself to see if I could work it loose. I got it to move but there’s not much swing in there and the banjo bolt wasn’t moving. Ended up rounding the head on the bolt.
I had to dent the firewall in a little in order to get my breaker bar and extractor socket in there.
These extractor sockets have saved my butt a few times with exhaust manifold bolts or anything else that had a rounded head.
This time it didn’t do me any justice. Time for plan B.
You can see in this picture that the bolt has a good size washer built into it to seal the aluminum fitting against the head. I used this to my advantage.
I put a nut in the grounding clamp of my mig welder and set it against the washer on the bolt and somehow, without being able to see what I was doing got it to weld on. The heat from welding it combined with a big wrench I was able to thread it out.
Then I moved to the EGR tube. I found that a 3/8” pipe plug would work to seal off that passage. I almost just bought headers but then I would have to do more work to the exhaust and I’m already past the line in the sand that I drew earlier.
Plug in and passage blocked. I had the stainless plug laying around so that’s what I used.
While the intake was off, I gave it a good scrub down in the parts washer followed by a trip thru the sandblast cabinet. A nice coat of black engine enamel and I can justify putting this back on.
I also did the same with the hardware. But used cast aluminum engine enamel.
I went with AN fittings for the vent lines. I have a bunch of fittings and line around the garage from previous and current projects so it made it an easy choice for me.
I did however have to run down to the local performance shop and grab the tee fitting you see in the picture.
I didn’t blast and paint the throttle body but I did get a rebuild kit for it and cleaned out all the passages and the crap that was in the coolant passage.
Intake back on and buttoning everything up before filling it for what seems like the 20th time with coolant.
Here you can see the new line all together and going back up to the radiator to bleed any air out of the system.
Now I’m ready to drive it again before winter hits.
Since it got cold and crappy out, the Firebird was just parked in the garage for the season. I decided to give the paint a little attention. My plan is to do a complete paint job but not until I can get it running with the new engine in.
Being a 94, it’s far from perfect. There are scrapes and scratches and a few dings here and there. Supposedly the guy had a cover on the car when it was parked until it finally shredded from the wind and climate. That might explain these.
I picked up one of those Duplicolor pens and started doing some touch up here and there.
Then I started wet sanding the door. I’m hoping to get the clear to shine when I’m done.
I sanded into it and then applied some touch up to the scratches. Then sanded again. A lot of tedious work and I’m only praying that I’m not going to be thru the clear coat by the time I reach 3000 grit paper. I’m being easy as I can on it.
With the door looking good, the rest of the car looks like crap. Had to do the front fender and then I’ll work my way around the car. Time consuming but I think it’s buying me time before I do a paint job.
I picked up some longer studs because with these wheels I’m only grabbing maybe 5 threads.
Old studs pushed right out with a few trigger pulls of the air hammer. New studs, yeah, they won’t get in there without pulling axle or I’ve seen some grind on the caliper mounting bracket but I’m not doing that.
Looks like I need to replace my seals anyway. So ordered a set of Yukon bearings and seals.
Always make sure you use the proper tool when installing studs. I used to use an old lug and washers and I’ve had threads get boogered that way. Never messed up a thread with this stud installer.
While I was waiting on the seals and bearings I clean, blasted and then painted the diff cover. I broke out the airbrush and did the Formula V8 on it. You’ll never see it but I like using the airbrush and playing with different stuff. I think it came out good. I clear coated it when I was done.
As previously mentioned, I’m going to be upgrading the brakes on this thing. For the front I’m thinking either Sam’s kit or just do the Caddy brakes. Either way, I had to get some spindles. Picked them up on eBay. Gonna get the POR treatment after I get them blasted. I’m also gonna throw a new set of hub bearings on them.
After looking into the brake upgrade a little deeper I realized that I need a bigger rim then the 17” I have on there now. I just got these tires and they have less than 200 miles on them so I can’t get rid of them yet. I’ll wait til 800 miles.
So I picked up some calipers and brackets, also from eBay. They aren’t what was was in the picture. They are PBR calipers. Don’t know much about them and was hoping someone here would. I made a different post about them asking for info but that went unanswered. I might just send them back and get another set.
Anyone who has any info on this, I’m all ears.
It would be nice getting away with just swapping out the bracket but I don’t know if that’s possible. I may just go buy one from the parts store and see if it fits. Or bring this crap with me and match it up. Either way, you see my issue.
I placed an order with Spohn Performance for their Pro torque arm with del-sphere joints, chrome moly panhard bar with same joints and also their lower control arms with same joints. I’ve heard good things about their pro TA and them joints. Didn’t want poly or the noise of heims.
So while that was coming from PA, I decided to remove the rear bumper cover to ditch the crash pad behind the cover. I’m making my own support bar but ran into an issue. Little bit of surface rot. I’ll take that down and patch if I have to but it’ll be nice and clean when I’m done.
This is not a plug by no means. I purchased this stuff based off my own personal research. I know that the short TA is not ideal for the M6 car and what I’m going for but it’s massive and I’ve seen guys with big power have zero issues with this arm.
Pulled the Factory TA off and installed the new one.
Subframe connectors showed up. Before I can install them I have to clean up some surface rust and paint the undercarriage while I can still get to it. I’m gonna modify these SFC and tie them into the front TA mount. I have tubing, a bender and a notcher.
I am going to be getting another driveshaft but in the meantime I’m gonna run what I have. Once I have the new rear axle ready to go in I’ll get my new 3.5” aluminum shaft.
I cleaned up the factory shaft with a wire wheel and then hung it for paint. I sprayed and wiped it down with grease and wax remover and then slapped on the POR15.
Order new Spicer joints. The other ones were factory still. Had to melt the plastic out of them and use my ball joint press to get them out. I can’t believe how good they were considering they are from 1994.
Figured I might as well grab some new straps and bolts. They’re cheap and I like putting new parts on.
After the POR15. I’m sure I can find someone that wants this shaft when I’m ready to upgrade.
From advise I’ve gotten on here I decided to go with factory springs but do the heater hose mod. I ordered Moog replacement springs instead of AC Delco because they are a little shorter so I should be looking at 7/8-1” drop. That shouldn’t be enough to warrant putting on the LCA relocation brackets. But I have them just in case I don’t like my LCA angles. I’m gonna plug everything in an online calculator to get roll center and see if I need to make adjustments.
I also placed an order for some Koni Sports on car adjustable shocks. I won’t say where I got them from because it’s not a site sponsor but as a consumer I shop for prices but I’d also like to say I’m a big supporter of small business especially local ones.
Put the LCA in place to test fit the SFC. As you can see, I have some cleaning and painting to do on the undercarriage. I can’t install the SFC until I have this thing on its own weight. Then I’ll bend and notch some tube and tie everything in together.
I found some bad spots on the floor here. I’m gonna pull the carpet and dissect this and peel the sheet metal away and patch in all new stuff. My cage is gonna be near this on the floor so I need this to be solid. It’s not interfering with the installation of the SFC because where they go is solid. They tuck up on the inside of the rocker panel, invisible from the side of the car. Just surface rust there but it’s solid. I couldn’t get the wire wheel on an angle grinder to dig through it. I’m gonna slap on some rust converter after cleaning it and wiping it down with wax and grease remover. After that dries I’m gonna POR15 it all. After SFC are in, I’m planning on spraying the entire underside with rubberized undercoating. Either that or single stage paint like I’m gonna use in engine compartment. Not set on anything yet.
You might be going LS, but you know your way aroynd an LT1!
Great work so far.
Thanks, I've not messed with too many LT1's. That whole optispark and cam driven water pump thing has me shaking my head at GM. That was about as dumb as the L31 Vortec engine with their spider injection, plastic timing cover and the cam/crank correlation issues.
If those are c5 pbr’s you will be ok on 17”. I have that on my ‘94. You will need the bob bishop bracket or whatever they are calling it now to bolt the calipers on. They are about 200. Have seen a few vendors carry them. I am running them on my car with c5 brakes and 17” wheels. You will have to cut the ears on the lt1 upright so the bracket and brakes clear.
 03-19-2018, 03:58 PM