When you click on links to various merchants on this site and make a purchase, this can result in this site earning a commission. Affiliate programs and affiliations include, but are not limited to, the eBay Partner Network.
Hey everybody! Get ready for a novel and a somewhat pic-heavy post:
It's been a long time, but I am coming back to the LS world after forcefully leaving it back in 2011. Starting this thread to document the journey of the new car - not sure how quickly the project will move and not 100% on the end goal yet (does a project car ever hit 100%?), but will be posting as regularly as possible to the best of my ability.
I posted my backstory in the Introductions section, but here is a brief rundown:
I'm actually on old-school user here (u/n Rushin, since 2007) but haven't logged in since 2015 and cannot recover the account (no access to the email address to reset the password - oh well!).
In a past life, I did own an '02 Z28 - a hardtop 1SC, no-option daily-driven HCI/stall/built 4L60/250 shot. All the work and tuning on it was done by me and my friend/mentor through my teenage and early-20s years. Ran 11s easily on a bad day on a 175 wet shot and a 275 drag radial and (probably) would have ran high-10s if... it had the opportunity to. Unfortunately, it was stolen from me back in November 2011 and I haven't been in an LSx car since. My one regret was not taking more pictures of the car before it was stolen. Here is one from around April 2011, before it was lowered, but pretty much how it sat when it left my hands:
Over the years, I've gone through several Nissan 240s, a pretty fun turbo 2JZ build in a 2003 Lexus GS300 that I daily drove, and several bikes. The speed itch never went away, but life did define some purchases along the way. Since my ownership of the Z, I've gotten two degrees, moved out of state, been through several work opportunities, got married, bought a house, and had a kid.
In the present day, I still own an '05 GSXR 750 (owned***, more on this later), a '13 Lexus GS daily, and the only V8 cars in my life are a '97 Dodge Ram beater with 217k miles and the wife's '20 Lexus GX. Now that my son has been born, I've been itching to get back into a project car that we can learn and work together on over the coming years and have started looking at F-bodies with fervent passion again. Was hoping this time to go the 6-speed route and in a T/A (but definitely was not against finding another catfish), and to possibly go the FI route with a turbo setup. After my stint in the 2JZ world, I've come to appreciate forced induction a ton and, given the state of the aftermarket now (compared to when I was in it) for LS platforms, I figure it would be easier than ever.
Fast-forward to last week: I lucked up on a fella posting a 2000 black on black Trans Am on Facebook Marketplace (the only reason I get on FB any more). The car looked to be sitting for some time, but mostly complete and ready for a new owner. Running the Carfax on it showed a clean title history, no wrecks, with 5 owners. I offered to trade my 2005 GSXR-750 straight up and made the deal last week. After several hiccups in the logistics of getting the car home (including destroying my left index finger in the process of initially moving the car), it finally arrived at my garage last Saturday (7/22).
The full details of the car: 2000 Pontiac Trans Am - sleek beak, auto, ~140k miles. It's a 2.73 gear GU2 car, bone stock internals/trans, with questionable maintenance history. The AC is said to be charged and working - very important for us here in the south and the AC will stay on this car forever (I think...). It has an "SLP Loudmouth" exhaust on it (the quotes are imperative since I cannot confirm it's a true Loudmouth) and MSD plug wires, but otherwise is stock. A previous owner took off the factory airbox to install a "cold (see, hot) air intake" and "relocate" the fuse boxes by boogerwelding the fuse box bracket to the strut mount. The EGR has also been halfass removed. The story goes that the previous owner was daily driving it, and it overheated on him going down a city street. He ended up leaving the car on the side of the road and it was flagged for towing by the police department (hence the writing on the hatch). He had the car towed to his apartment complex, but AAA ended up losing the keys to the car, so the steering wheel is locked (thankfully the wheels are straight). And so it sat for approximately 2 months until I purchased the car.
Make no mistake, the car needs A LOT of love and TLC - it's covered in filth, scratched to hell, and has mismatched wheels and tires. The front bumper support is pushed in and the bumper itself is scathed from what looks to have been a sideswipe. Nevertheless, it has great potential. The factory paint should clean up well, the interior is complete, none of the glass is cracked or chipped, and most importantly, the dash is not cracked (albeit the door panels are... of course)!
Here are some pictures of the FB listing and how it arrived at our house:
Don't mind the mess - we're slowly cleaning out the house and organizing the garage now that the newborn has arrived. It's a tight fit with the truck in the garage! Thank goodness Harbor Freight is 5 minutes away and stocks dollies - it'll be on them for a bit while we sort out the engine and see if we can get it cranking/running.
As you can see, the car is profusely pissing trans fluid for some reason and mucking up the garage floor - we'll have to investigate than soon. The first ever thing done to the car was getting rid of a Kobalt Tools sticker on the rear bumper (you might be able to see the cleanish circular spot to the right of the license plate recess in the last picture compared to the FB photo). Next post, we'll go into more detail on the motor and start the disassembly (slowly, since I'm working with 1.5 hands for the next few weeks) and do a couple minor QOL upgrades.
It's nice to be back in an F-body and on the forum after so many years gone! The nostalgia definitely hits hard and I can't have my son growing up with a slow car, so this will be his first foray into the automotive world (selfishly, I missed driving and wrenching on the poor man's Vette with its shitty GM interior). Stay tuned for more!
Well the weekend was eventful for sure and we made some mild progress on the car! The following post is not in chronological order, so don't pay too much mind if something is in one pic and not another.
I finally applied for the title to the T/A and started the path of acquiring new ignition/door keys to the car. Let's just say that the local parts guy at the Chevy dealer that stocks VATS keys is not the sharpest tool in the shed. After a rigamarole of coaxing info out of him, he finally stated that there's only a 50/50 chance that they would be able to pull the correct key and resistor values for the car once the title arrives - we'll just have to cross that bridge when we get there. I'm aware of how to bypass VATS and just get a locksmith to cut a key, but I'm not going down that route yet. Just for good measure, I tried unlocking the steering wheel using the keys from my stolen Z28 (yes, I have them as a keepsake after all these years!)... no dice.
We also had my brother in law come to town with his wife to visit the kid over the weekend, so we spent some time wrenching on the car together on Saturday and doing a parts run to the local Pull-A-Part on Sunday. There was only one Firebird in the three yards that surround us here in ATL, but it just so happened to be a '99 MY that was put on the lot back in April. Given that it's been sitting for so long, I didn't get my hopes up for anything good left on it; nevertheless, we took a gamble and drove the hour there to see what all it had and browse around the sections for ***** and gigs. Funny enough, it had pretty much everything needed to put together the front end on the T/A (we'll work on that later in this post)!
We also stumbled upon a wrecked Impulse Blue '05 GTO there that still had the seats in it that I was tempted to pull and flip, but I was in my daily and not the truck, so we left them there for the next guy (if you're in ATL and want some GTO seats, go check out East on row 110ish, I think). The leather was very stiff, but they looked salvageable with enough cleaning and conditioning.
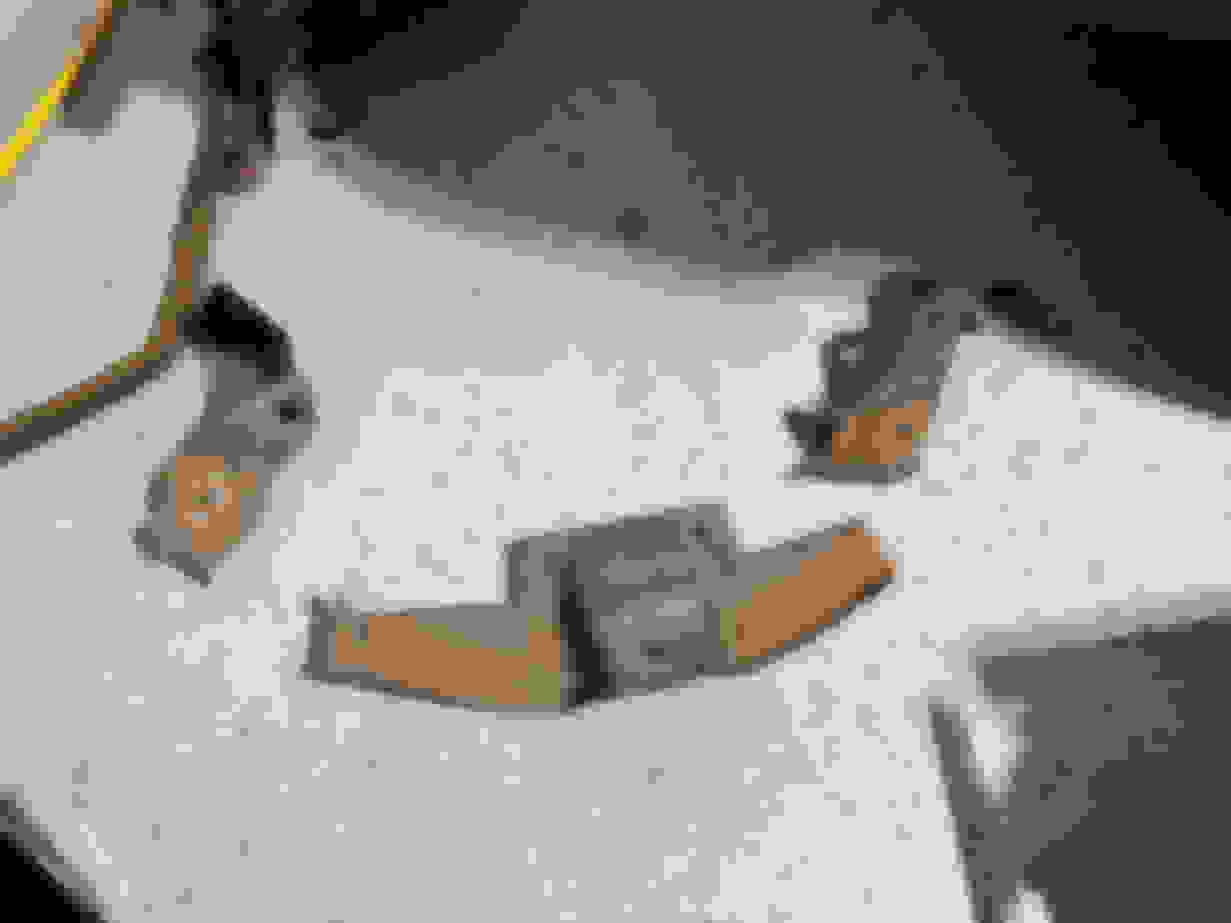
As a whole, we left with: RH headlight assembly and cover, LH headlight assembly and cover, driver's headlight trim ring, both fogs, front bumper support, fuse box bracket, and the trunk divider that goes under the hatch. I'm thinking I'll probably just sell the spare driver's headlight and the white covers to make the money back that I spent at PAP, plus some.
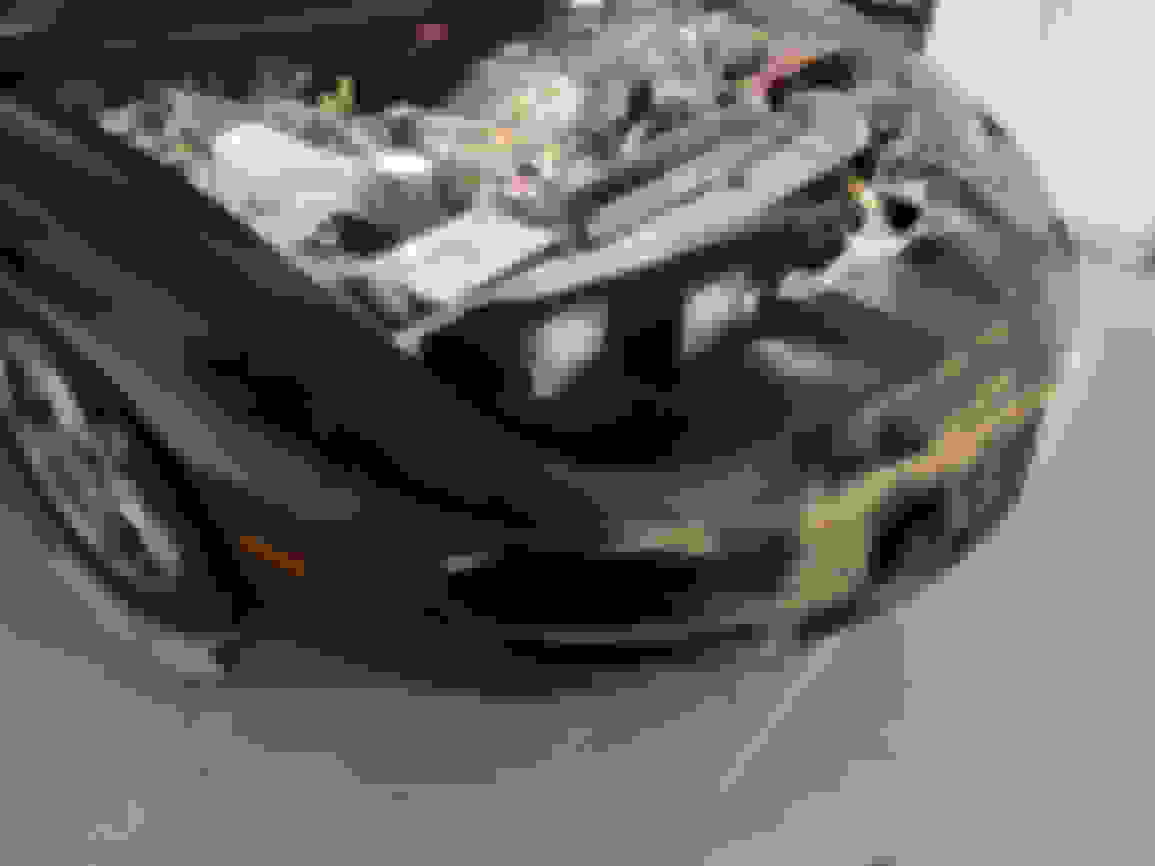
Now the reasoning behind pulling these parts (besides the fact that they are way more valuable than what PAP charges for them) is due to the obvious front end damage that our T/A has experienced in the past. As seen in the first picture below, the passenger's side HL is stuck in the open position due to the bumper pushing it open. The crash bar behind the bumper also experienced damage and will be replaced - fortunately, the seller included a new crash bar that included some fog lights (not in great shape) with the sale of the car.
On Saturday, we began to disassemble the front end to take stock of the damage. This poor car definitely got a good love tap! Overall, it turned out to be very minor in the grand scheme of things. The bumper support broke into three pieces, the passenger headlight frame is broken and floppy, the crash bar was hella bent, it bent the three-bolt mounting tabs on the frame (just cocked the pinch welds, no damage to frame), and the bumper itself has a small hole in it along the scrape. All in all, very easy fixes and the salvage parts above will remedy all but the paint damage. The main PITA was removing the top nut on the crash bar on the bent passenger's side. Prying and hammering finally gave us enough room to get to it with a pass-thru socket - you can see how weirdly bent it is in one of the last pics below.
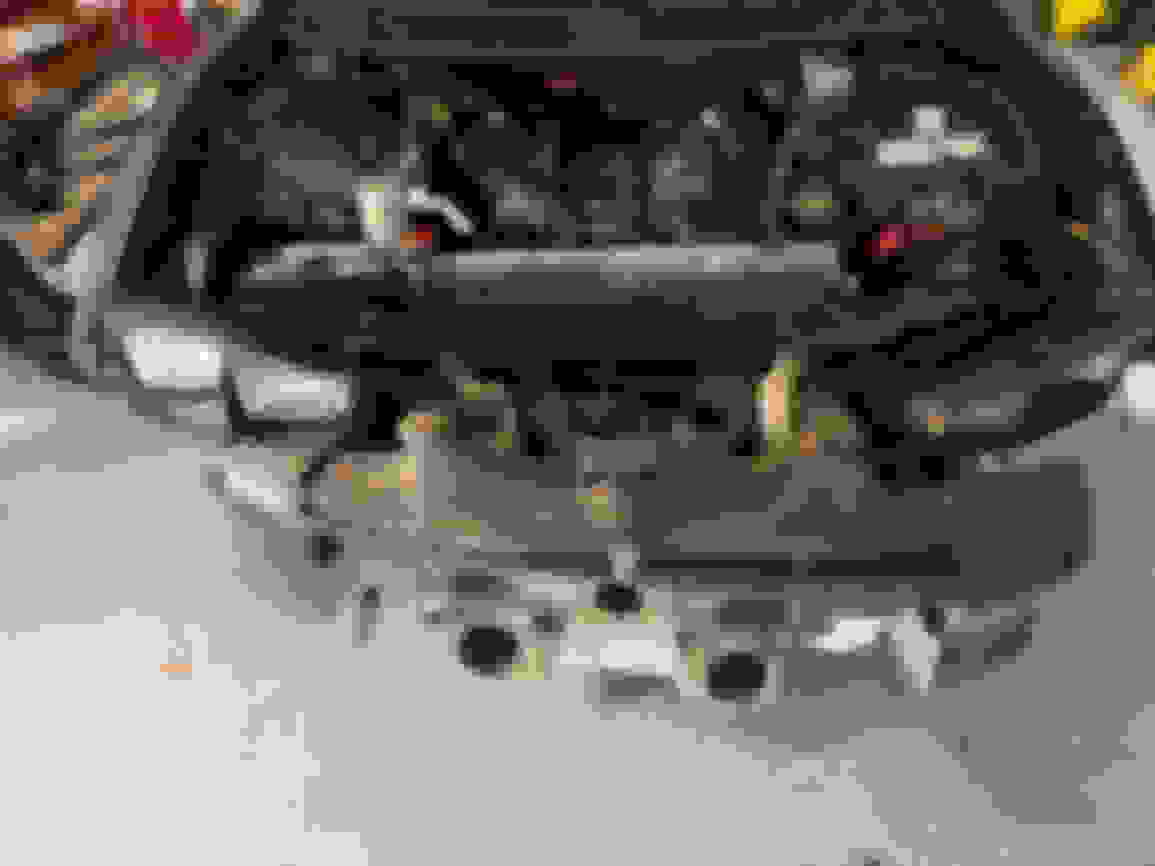
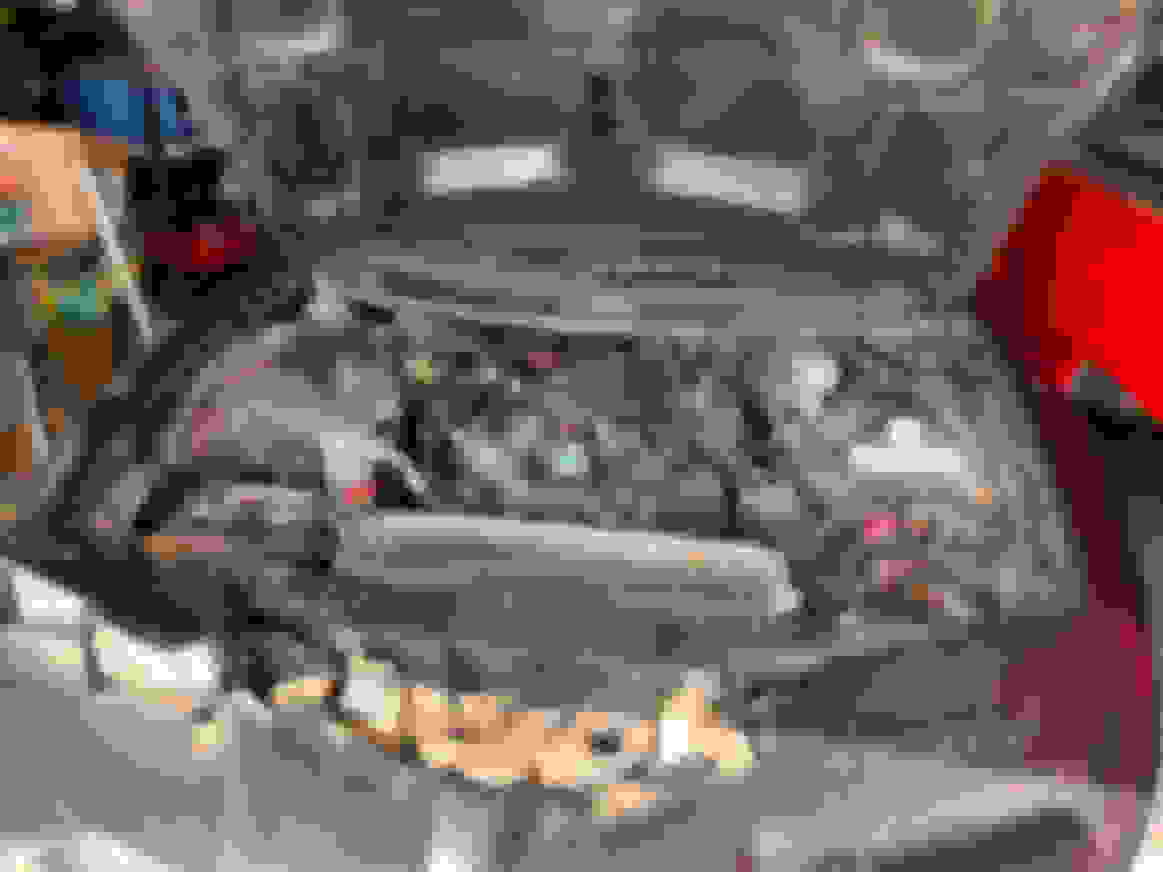
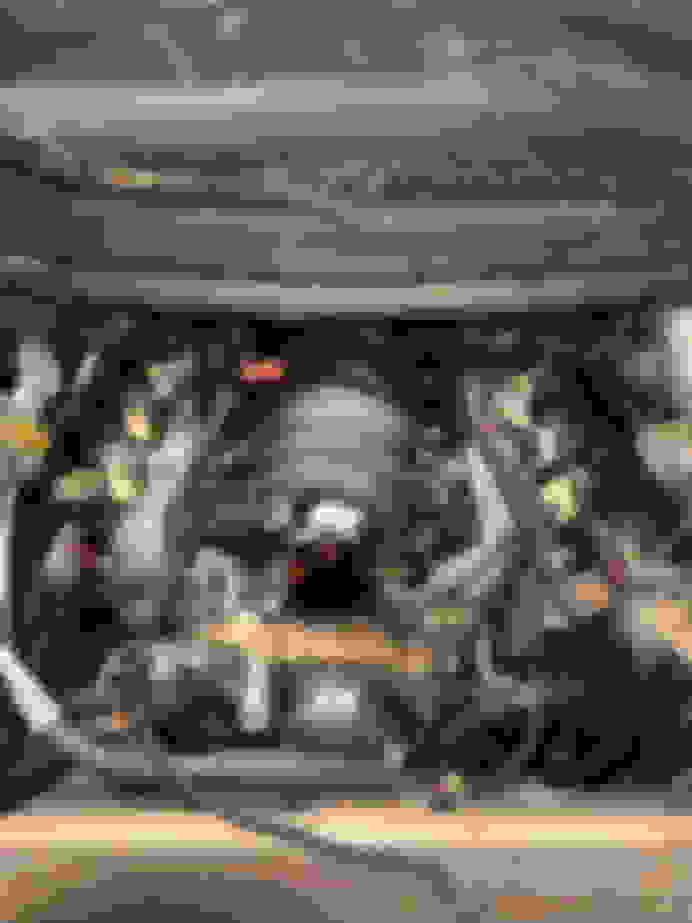
The keen eye may have also spotted that the intake manifold is not on the car in the pics above. This is due to my work back in the middle of last week (I told you this wasn't chronological...) - I decided to begin the process of inspecting the damage to the engine. As noted in the last post, the previous owner mentioned that the car overheated and he suspected that he blew a head gasket... we'll see about that!
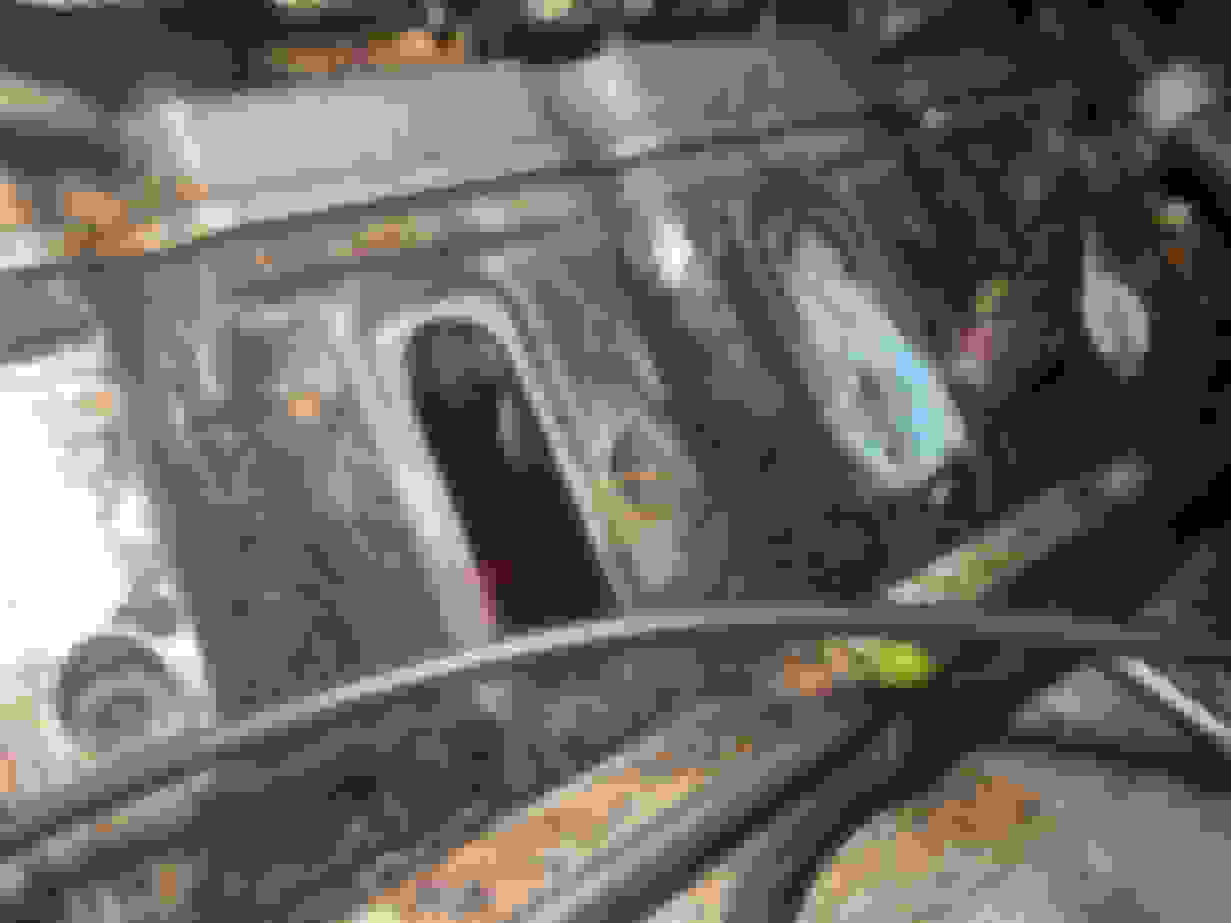
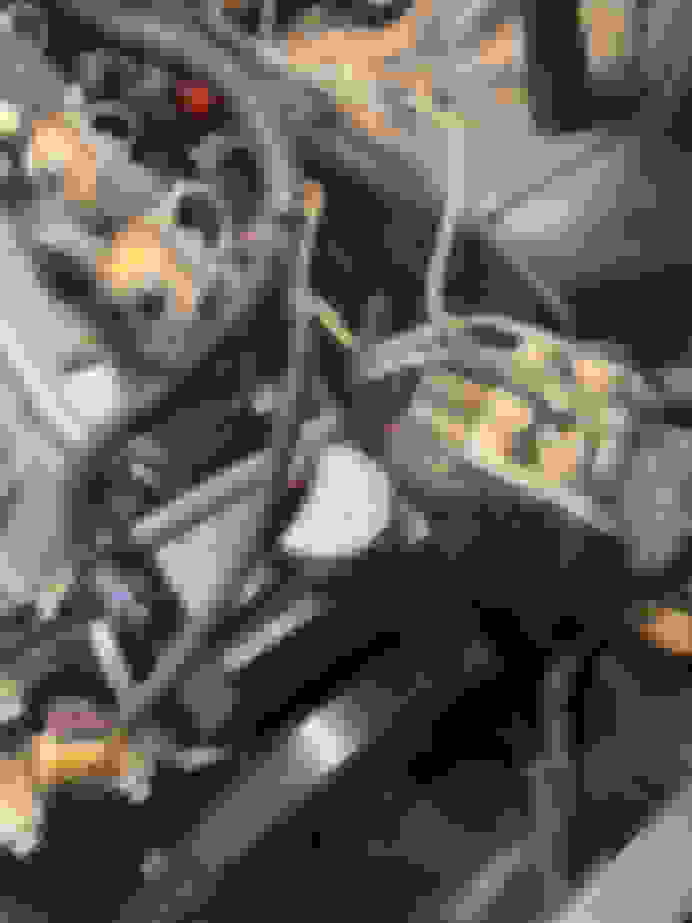
Wednesday night, I took the first picture below, turned the car around inside the garage on dollies after playing musical cars with the truck and the Lexi (plural for Lexus), took the last pic seen in the previous post, and began the teardown of the engine bay (remember, I'm a finger down, so I'm working slow as molasses here unfortunately!) to inspect the damage. To my surprise, even though all of the manifold bolts had been removed, the intake wouldn't budge. Now this isn't my first, or even tenth, rodeo with an LS intake, so I was a bit bamboozled... until I realized that the intake bolt between 4 and 6 was broken off inside the head... great.
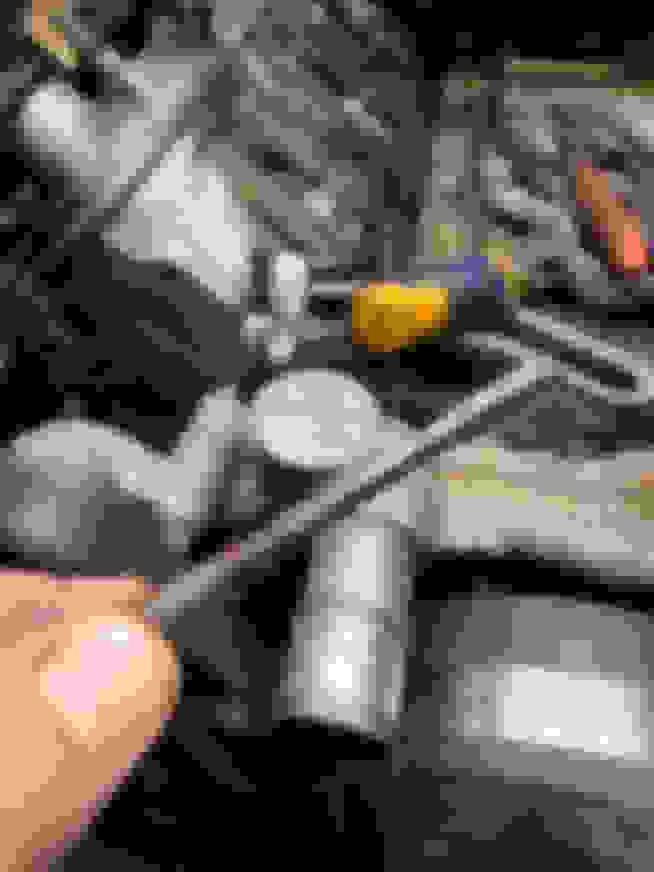
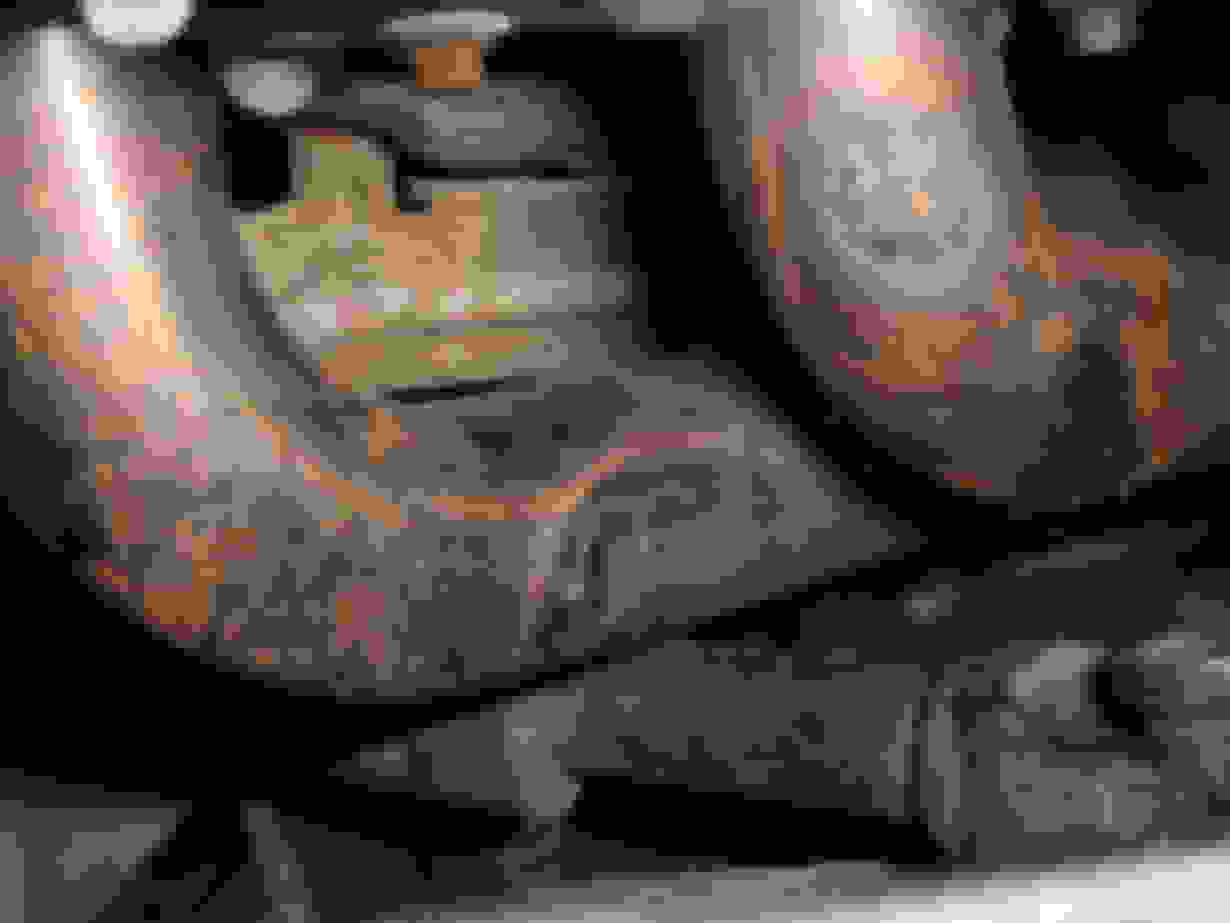
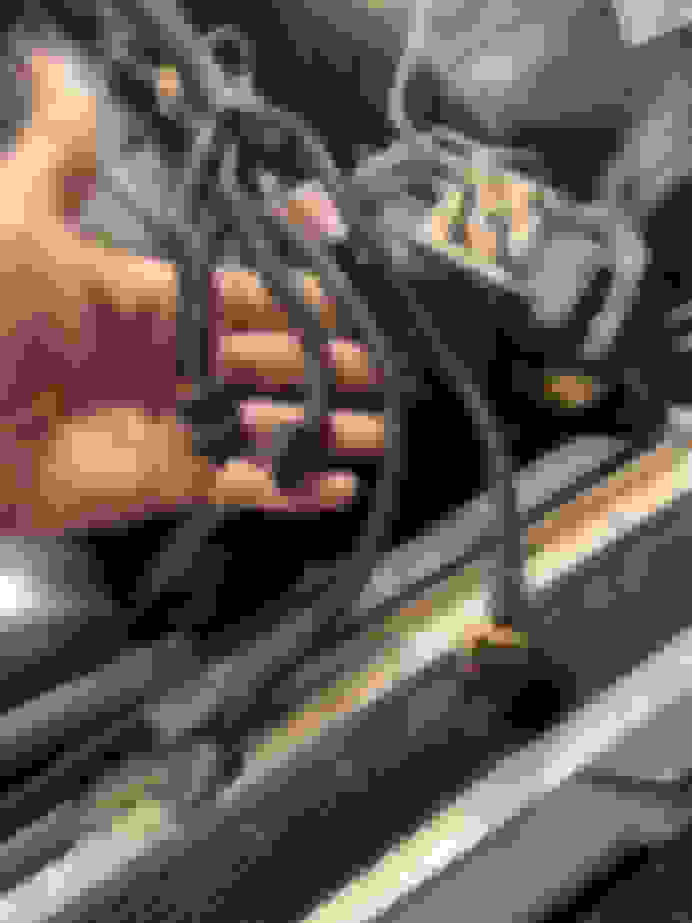
After relocating the EGR hoses and moving the harnesses on both sides, I carefully pryed up between the intake and water pump to reveal this:
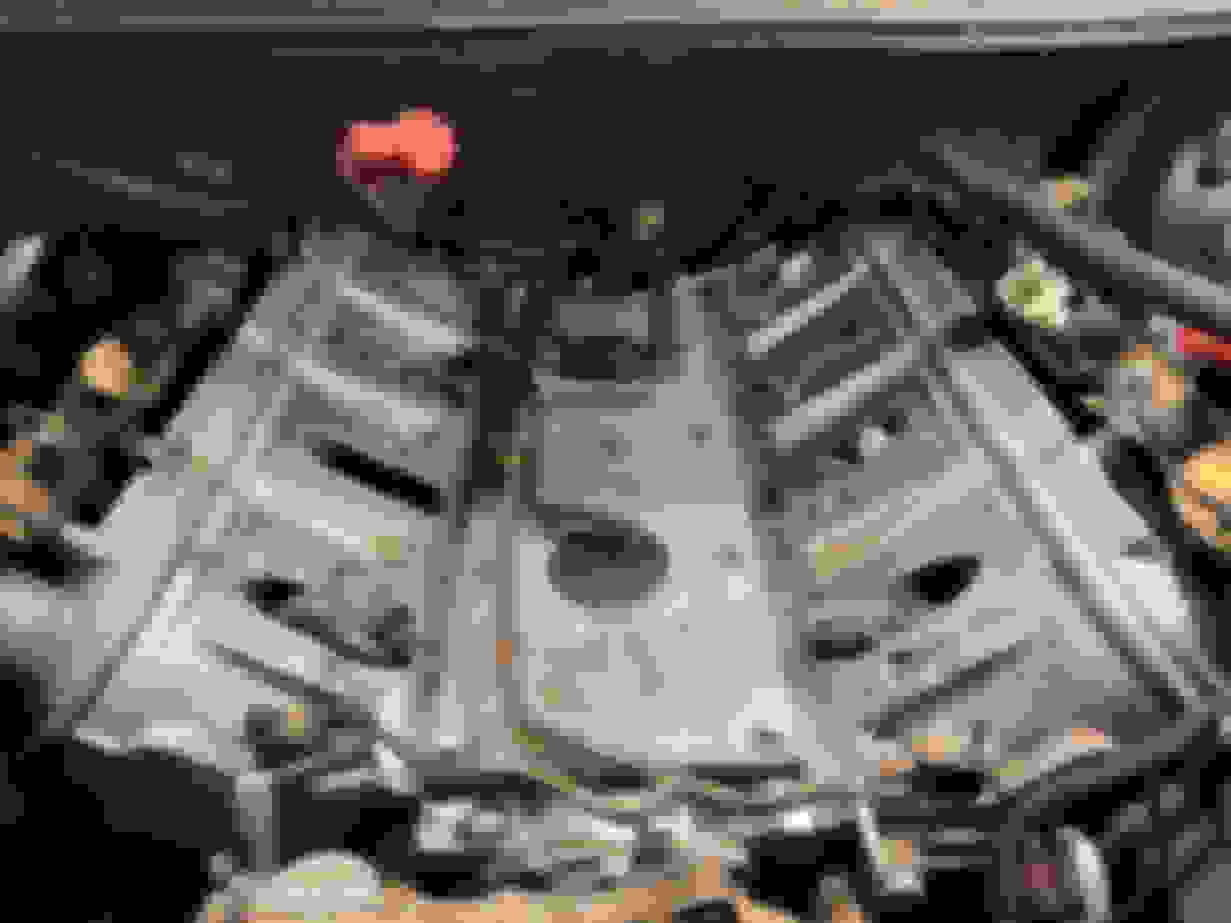
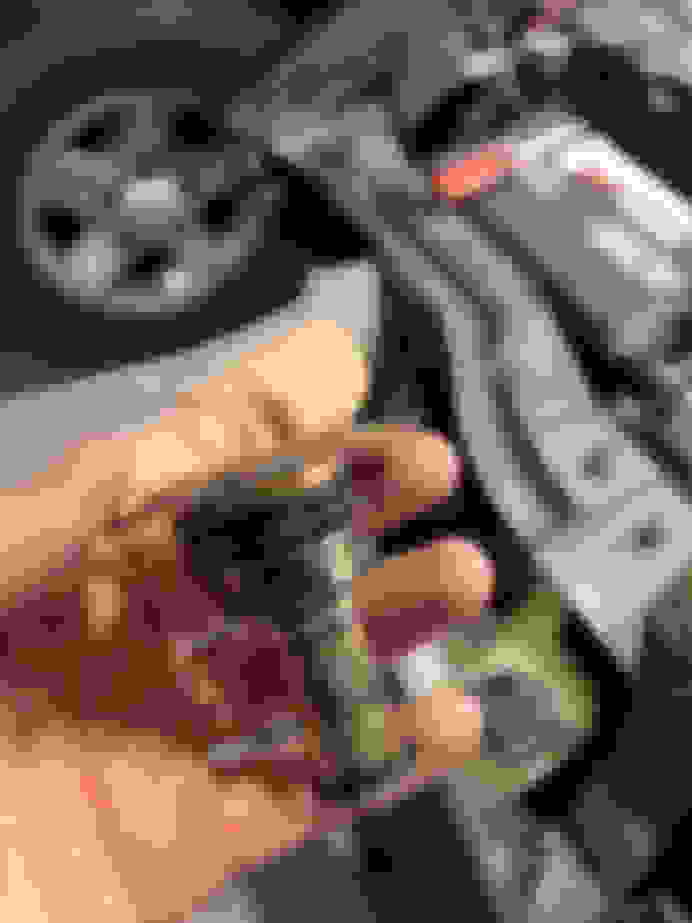
Yep, fun stuff! Looks like water intrusion and it's rustier than the Titanic. Everything under the intake is gross - leaves, dead bugs, oil, my automotive purchasing decisions, etc... Expecting the worst but hoping for the best, I decided to soak it in penetrant. Hoping for the best worked! For all of you DIYers and mechanics out there: I highly recommend trying ACF-50 to break **** like this free and preventing rust (it can be used as a wipe-on coating I believe). The can does say "keep away from children," so I'm technically not allowed to use it, but I'm not good at following the rules. I cannot count how many times I've tried PB Blaster or WD-40, just to go back to this stuff and pull out something rusty... and it seemed to have worked with this bolt, removing it with some vice grips and slow, methodical turning after about 10 mins of soaking and scraping away the garbage. I was worried about breaking it further off in the head or that it was cross-threaded, but everything checked out and the bolt hole threads in just fine. Celebrating success didn't last long, however, as I figured if water was here, it was elsewhere. Sure enough, both runners for 4 and 6 had standing water in them...
The liquid was 100% water and no coolant. My best guess is that the lack of one intake bolt caused water to seep in from sitting in the rain/condensation pooling over the two months that the car did not move. Still currently don't think it's a head gasket.
I ended up vacuuming out and shop toweling out as much water as I could, for now. Unfortunately, at this point it was almost 1 a.m. and I decided to call it a night. Before closing up shop, I went ahead and replaced the hatch struts that I ordered right after I bought the car, just as a last little success for the evening. As much as I hate leaving this post on a cliffhanger, in the next one we'll go over some cleanup, plug and wire removal (holy **** I didn't miss how annoying #8 is on these cars!), and borescoping the motor. I'm hoping with enough cleaning and soaking with Marvel Mystery Oil (dunno what's in it...) or maybe some ATF, the motor will spin. Or maybe it already does... Stay tuned!
Next update waiting to be approved by moderator. It�s a sizable one. Didn�t get a chance to see why it needs approval, but guessing it�s due to my low post count.
Got my old account back thanks to a very helpful mod on here!
Originally Posted by blackbyrd
Good stuff on the tear down, im betting if you get the plugs out and vaccum out that water she will spin.
Glad to see someone bringing one of these back to life
Yeah it's definitely nostalgia pushing me back into these, alongside wanting my son to learn hands-on skills and enjoy the auto world in the future. Who knows what the aftermarket will look like if everything goes EV, but at least he might enjoy knowing how to work on "old" ICE cars down the road. But I also feel there is some value in keeping these cars out of junk yards/crushers, especially it being a dead-label Pontiac. Might be a modern classic of sorts in the future - probably won't fetch 911 or 'Cuda money, but will be cool at a car show in a couple decades!
There has definitely already been some progress on the car - I won't give too much away, but I'll just say that there is still crosshatching in a certain cylinder.
My son is 7 I'm hoping I peak is interest as I rebuild my 71. He's fascinated by the shop, but attention span is short.... which at this stage none of the work is quick. Just keep trying to get him engaged in the work.
crosshatching is a good sign! eagerly await the good news!
This week, we have received the title (but still haven't ran out to get a key). As mentioned in a previous post, cylinder numbers 4 and 6 didn't look good, but the borescope showed that only cylinder 4 was actually in jeopardy. I won't upload the video, but I'll say that it had standing water in it. Looked like a swamp inside. Nevertheless, we vacuumed it out as best we could and turned the motor over - fortunately, nothing was bound up and it looked somewhat decent after a few spins. Apologies in advance for the terrible picture quality - cheap Scamazon borescope, but it gets the job done on the phone:
I ended up filling the cylinder up with ATF to clean it up. I left it in there for approximately 2 days and then drained it (see: spewed it everywhere by spinning the motor over!). Fortunately for us, this seemed to have done quite well, as I could now see crosshatching on the cylinder walls. There is still some very slight surface rust inside, but I'm not too concerned, as I'm already starting to make plans for an actual engine build for the car down the road. For the time being, our only goal is to get it running and driving again.
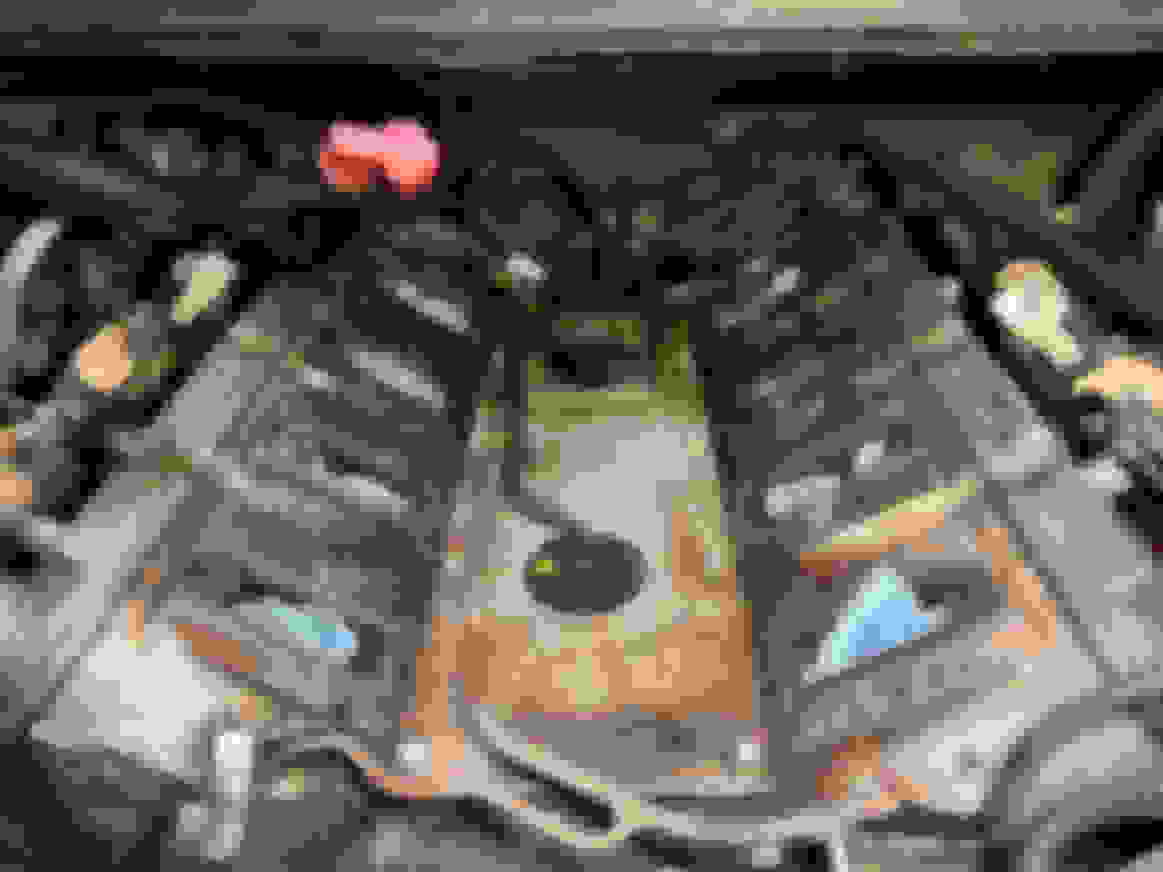
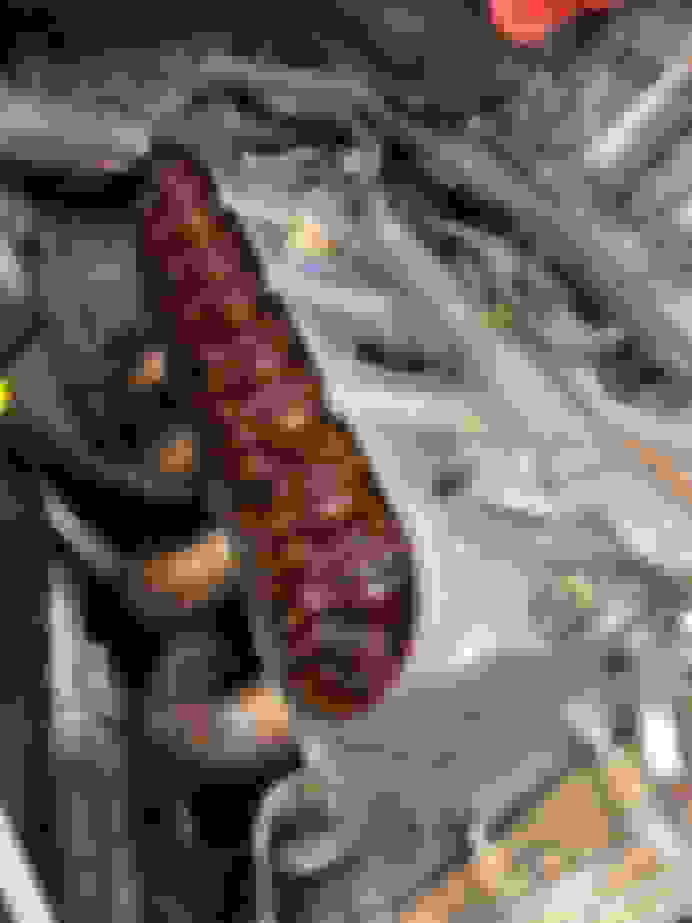
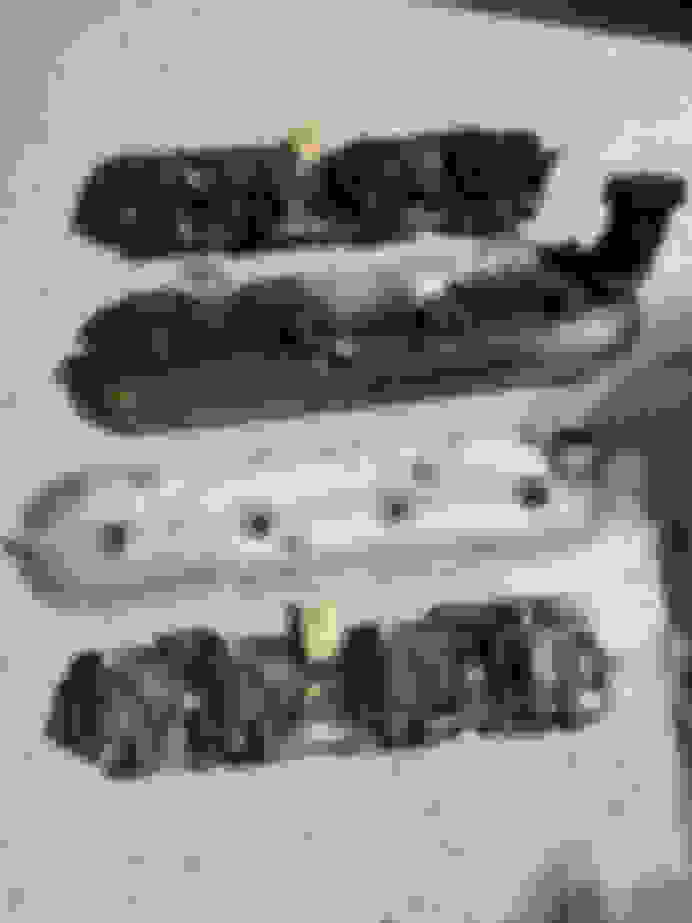
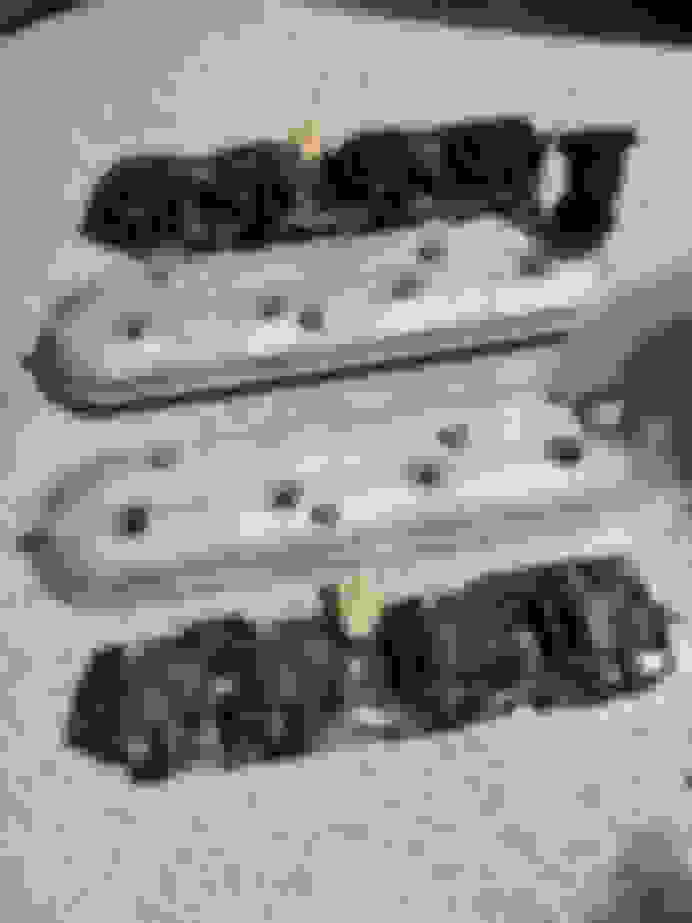
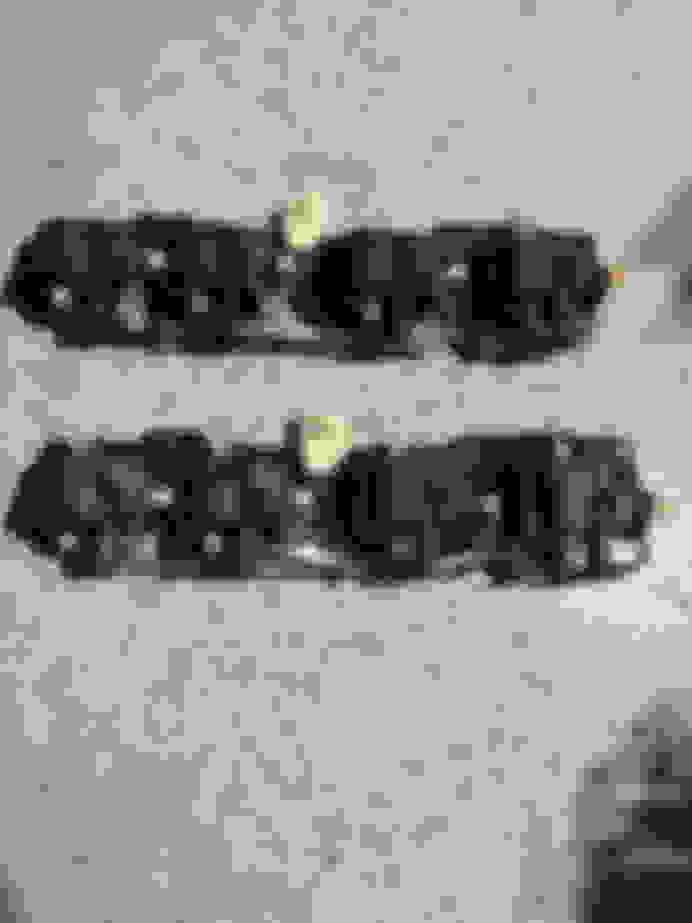
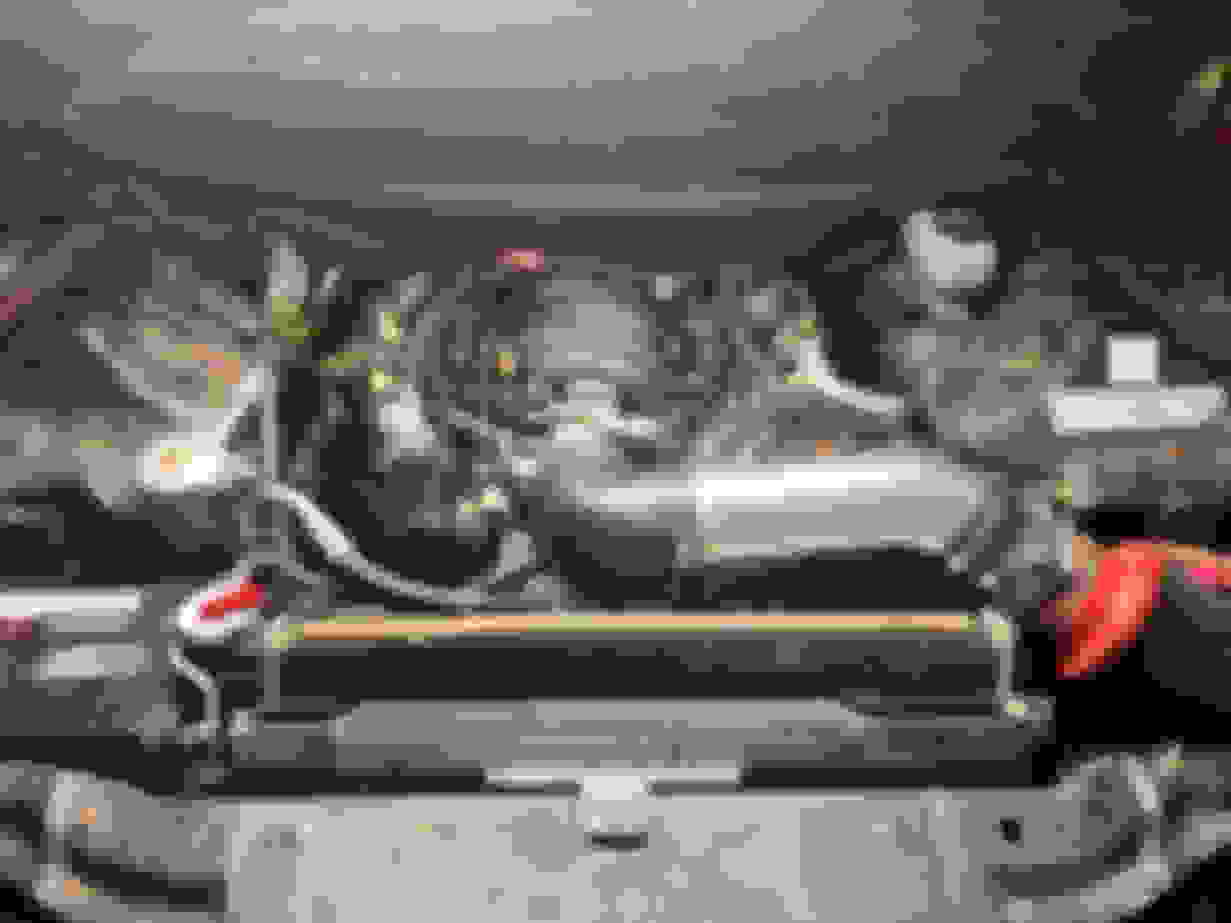
After taking care of the problem child cylinder, I took out all of the plugs and started cleanup duty on the top end of the engine. As seen in pictures past, the thing is disgusting and covered in grime. Enjoy the photo dump below. As a refresher, the first picture is of the "before cleaning" stage.
The wife might not be happy, but looks like some Hookers came with the car! Plugs looked decent and for some reason the previous owner ran NGK TR6s, making me wonder if they threw some timing in it for the colder plugs. Assuming it was done properly, this car might have a tune on it, given the headers and plugs. As you can see, I also cleaned up some of the loom on the harness. Since I work in the wiring industry, I get connectors and wire for virtually nothing and eventually I will probably depin and remove any unnecessary wires/connectors and reloom with Expando instead, for a more modern and clean look. For the time being, the split loom will have to do and will look OEM. I also replaced the makeshift EGR delete plug with a milled aluminum one purchased online. This should clean up the look and remove the metal tube that mildly impedes airflow into the intake. Lastly, I pulled out all of the EGR/AIR hoses and will eventually be pulling the AIR pump once HPTuners arrives.
I put everything back together on the top end and left it at that. Next order of business is to clean and install the TB and the makeshift hot air intake that the previous owner created - remember, I'm only trying to get the car running currently!
While I was working, our resident indoor bug deterrer decided to sneak out into the garage and inspect my work. I don't think she approved.
looking good, man those are some dirty *** rocker arms, guy must not have kept up on oil changes. Once you get it running you should just soak that whole engine bay down with degreaser and pressure wash it. I've actually found those aluminum wheel cleaners work pretty good with oil and grease staining on aluminum..worth a shot.
looking good, man those are some dirty *** rocker arms, guy must not have kept up on oil changes. Once you get it running you should just soak that whole engine bay down with degreaser and pressure wash it. I've actually found those aluminum wheel cleaners work pretty good with oil and grease staining on aluminum..worth a shot.
Oh yeah this thing will be getting an entire ext/int/engine bay detail and paint correction on the factory paint soon. Wheel cleaner is actually all I use on engine bays as a whole because it works so well LOL!
never thought of using wheel cleaner..... may have to try that on my l92 that needs cleaning
Definitely try it - I�ve used several different ones and the best I�ve found to be for me is the Meguiar�s Hot Rims wheel cleaner that comes in a purple translucent bottle. I have about 3-4 bottles of it at any one time just because I use it so often!
That and a bit of agitation from a brush tends to get almost anything looking almost new.
Originally Posted by WBO_COTTO
Nevermind, just saw the trade you did. you sgould do like a 1 off color
I�ve thought about it, but this is actually my first ever black car, so the goal is to keep it that way for a while. If it did get a color change, I really like the Lunar Rock color on the new 4Runners or possibly the Moonstone Grey on the VW GTIs (ironic that they�re both named after the moon�). Maybe vinyl wrap? Dunno yet!
When your car experiences damage or color fading, the cost to paint car hood often stands out as the most noticeable area, impacting the overall aesthetics. Naturally, you wouldn't want to drive a vehicle that appears worn and damaged.
Last edited by subhanalikhan; 08-10-2023 at 05:26 AM.
As promised, another update incoming; this one won't be very pic heavy, but we did reach a milestone - the TA finally started up and moved under its own power!
I'll begin with the key situation: early last week, I visited one of my local, closest to me, Chevy dealers and got them to overnight an ignition key to cut with the correct VATS and tooth code. The following day, they received it and then miscut the key and had to order another blank overnight.. sweet! Basically everything in ATL is a 30 minute drive away, so I'm in over two hours now of just driving for this key. Oh well. Fortunately, on the third visit to said dealer, they cut it (seemingly) correctly and cut a door key for me as well. ~3 hours of total windshield time and $100 later, I had an OEM ignition and door key.
Unfortunately for me, I had my suspicions that the ignition cylinder had been replaced in the past, and these suspicions flared up even higher when the new door key worked while the ignition key did not. Proceed to steering wheel removal... after removing the air bag and seeing that the threads in the steering wheel were stripped, I was 99% sure the ignition cylinder had been replaced in the past. Took me about an hour, but I recut the threads with a size up to accept the steering wheel puller and disassembled the column - lo and behold, the VATS wire was cut off from the lock cylinder finally confirming 100% that someone had been in it before and replaced it. I installed a new lock cylinder bought from O'Reilly's and threaded the VATS wire down correctly (might use it in the future, not sure yet). After some digging, I found the resistor harness created by a previous owner - it was shoddily wrapped in electrical tape and stuffed into the spaghetti of wires under the steering column. In a pic below, I actually cleaned it up and heatshrunk it so that it looks better and doesn't flop around as much.
Finally, I reconnected the battery and gave the motor about 10 seconds of cranking with no fuel to try to build some oil pressure. It seemed to crank well and didn't have any galloping or weird noises - time to send it! Fuel pump relay installed, I twisted the key... it lives! Sounded pretty good, barring the clear unmetered air I was feeding it because I had the intake pipe disconnected from the TB. #1 injector o-ring looks to be leaky as well - I rotated the injector a bit and it sealed, but I've got some o-rings on order now to replace them all. Afterwards, I dropped the car on the ground off the dollies and topped up the trans fluid - still need to fix the leak, but it looks to be the pan gasket.
Tested the trans by going a scooch forward and backwards - brakes work okay, car moves, and hasn't exploded yet, all good!
I ended up moving the TA out into the driveway to bleed the coolant system a bit and drive it around the culdesac - so far, it's only been thru the first two gears but I'm hoping the weather permits me to drive it a bit further around after giving it a first wash sometime this week. The heat index feels like 169 degrees outside and washing a black car in direct sun is not the easiest of tasks with a hand I cannot get wet yet. Anyway, I'm also to a point where I want to start reassembly of the front end components. Still looking for a front bumper and in talks with a body shop - torn between trying to salvage the current one and get it plastic welded and resprayed, or just getting a good used one and paint-matching it. Stay tuned for more soon!
Vid of first startup: here (Excuse the rough idle)
 07-28-2023, 11:08 AM