When you click on links to various merchants on this site and make a purchase, this can result in this site earning a commission. Affiliate programs and affiliations include, but are not limited to, the eBay Partner Network.
Looks pretty similar, my guess is that it would be splitting hairs to tell the difference of there even is one. I went with NEGP because a buddy I run with (who has an extreme attention to detail) used them with good results. They even hooked me up when my dumbass put the bad reverse gear in the box instead of 1st gear and so they polished the gear for no charge except shipping of course.course.
I assume no rules against gear polishing in CMC? Also noticed you still have the skip shift solenoid in your case. ICT Billet has an aluminum bolt to fill the hole and knock a pound or two off your weight
Gear polishing isn't addressed in the rules, it's one of those things we'd never bother to check for anyway. Nobody wants to take home a motor or trans in a box. I was wanting to get rid of that solenoid, I'll give ICT a look. My 93 never had that anyway, this trans is a 94 or 95 unit.
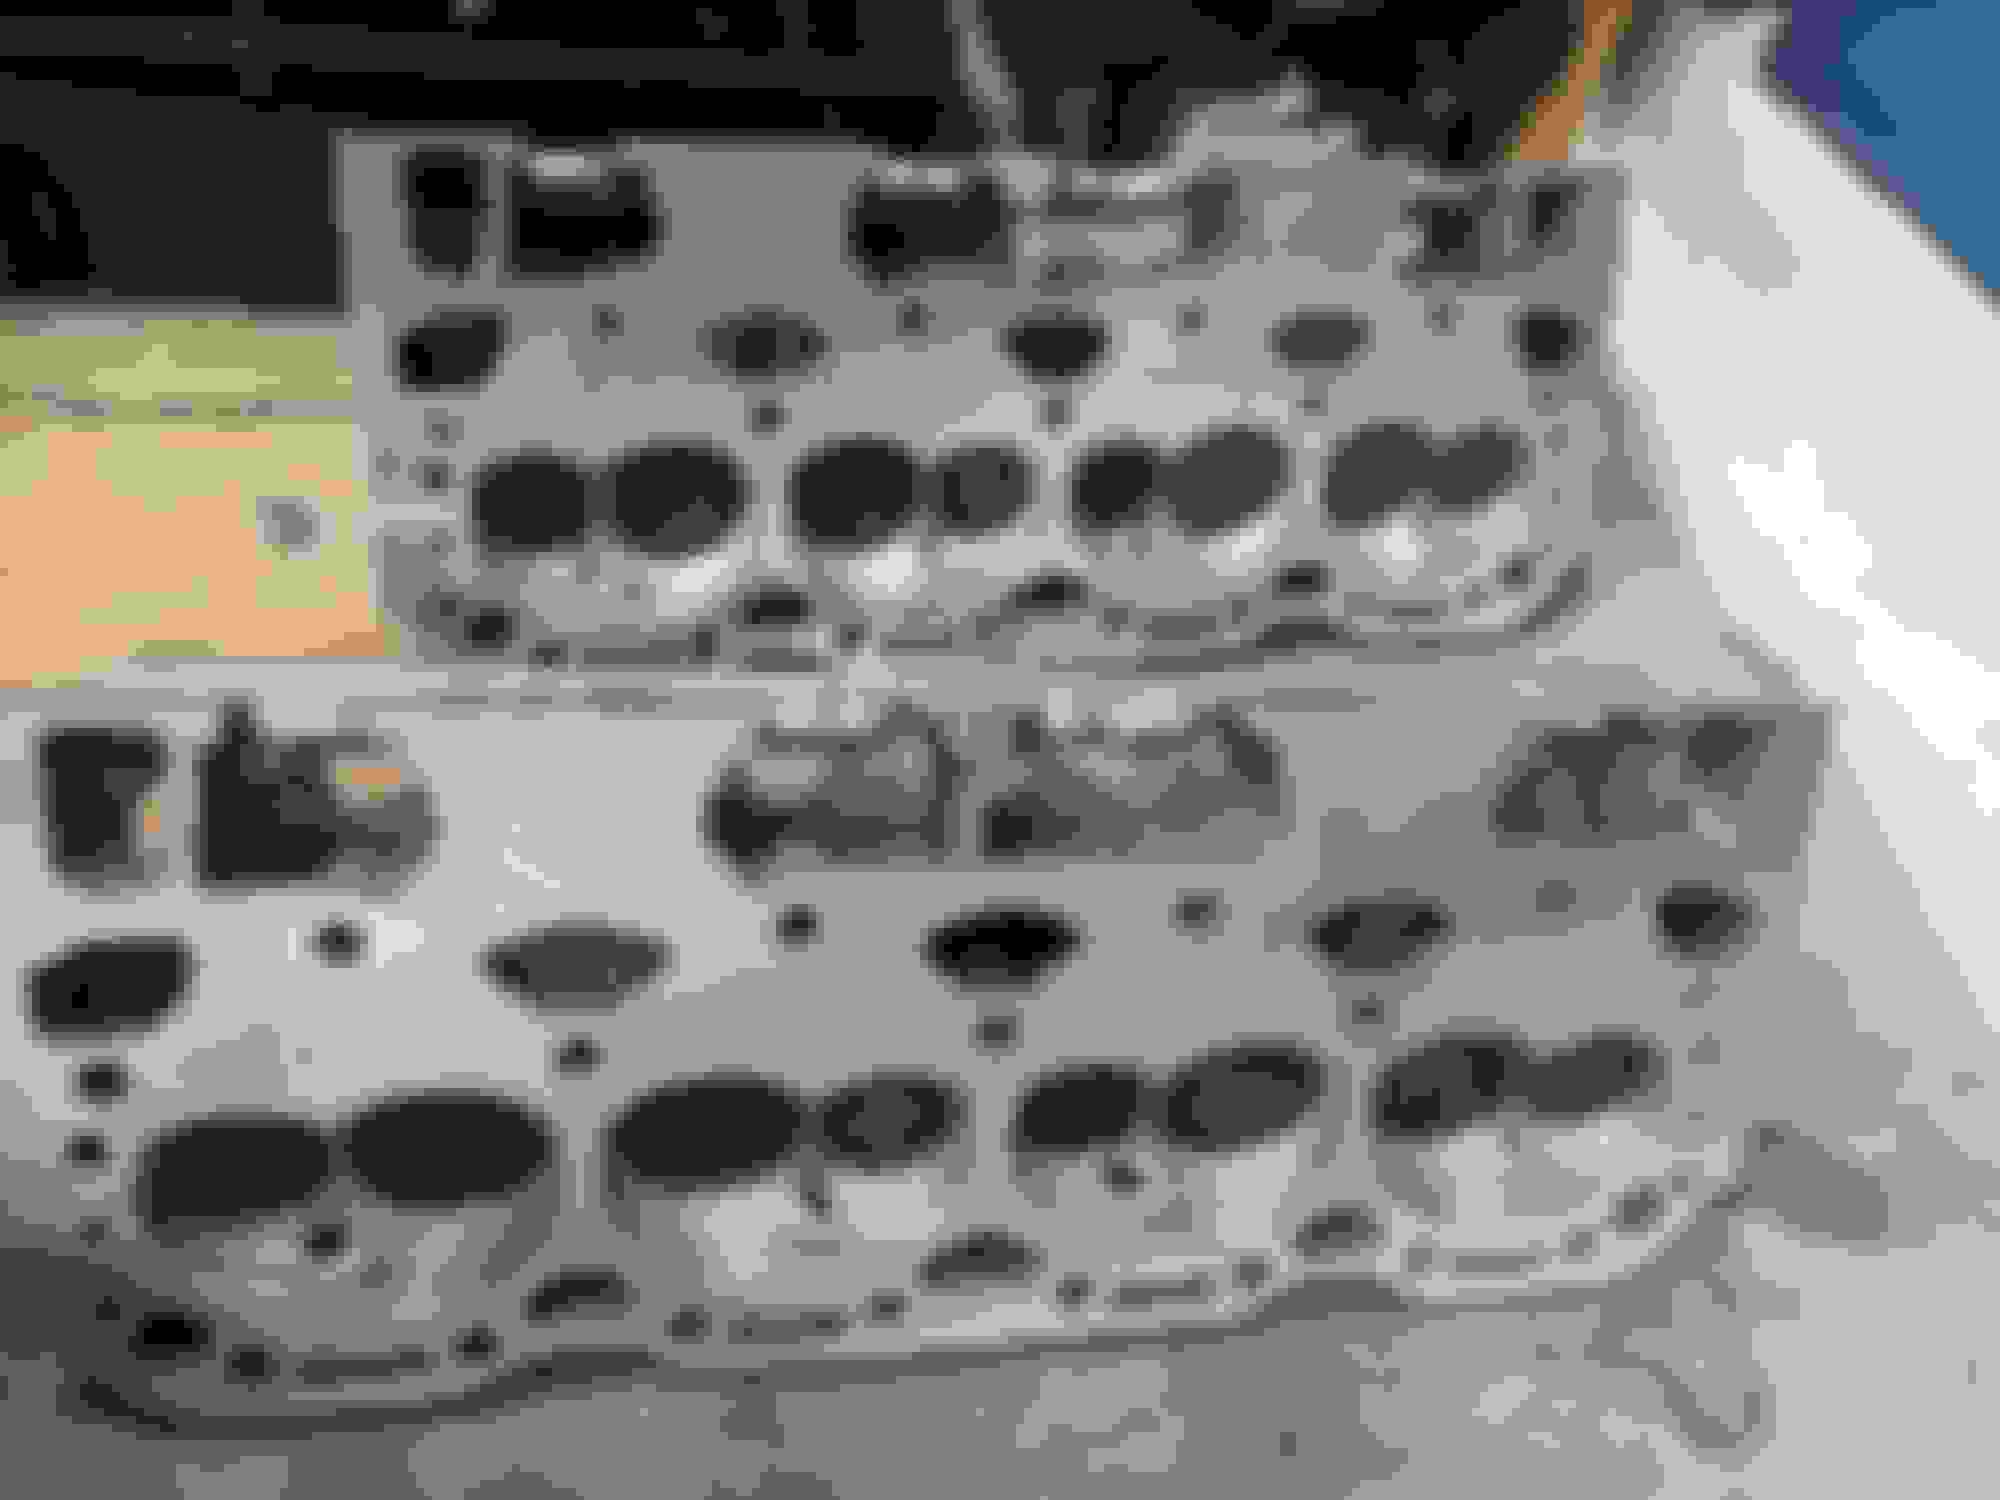
Today I ran the heads from the engine out to the machine shop, also took the shortblock. He checked the deck for me to rule that out and confirmed what I was seeing on the head gaskets that they were fine. He's going to pressure check the heads and hopefully find something. I shined a light down all 8 holes at BDC and didn't see any cracks. I also hit the deck with a razor blade and chased all the head bolt holes. Just need to yank the dowels and hit it with some 320 grit tomorrow. Then I'll be on the fence whether or not to toss these guys on.
But before the motor goes back in, I want to clean and paint the engine bay. It's looked like *** since I bought the car and the core support is a GM replacement that was never painted red. My extra tubs look soooooo much nicer under the hood.
Funny I've planned to paint my engine bay the two times I've had the engine out and both times I went out to do and just didn't feel like it. Even with the engine out there is still a lot of junk in the way. I'm sure I'll regret it this time of I don't so maybe I'll do it.
Since you have an earlier trans, did those all have the aluminum 3/4 fork and weaker 2nd gear? I know the early tremecs did but I've heard the Borg's are stronger so thought they might be good form the beginning. Also pretty sure those had the paper ring blockers too? I got a buddy who has one of those and might be rebuilding it soon so wondering what we might be in for.
Not sure on the weak 2nd gear, but the M28 and M29 93 only trannies were weaker in general due entirely to their gearing from my understanding. The blockers didn't go carbon until 95 or so and I don't think the iron fork came out until the C5 run. Mine has carbon blockers, bronze shift fork pads, and an aftermarket iron 3-4 fork. I have a lot less crap in the way than a street car, but there's still stuff to move to paint it. Since I'm keeping the same color, it should otherwise be semi-painless as I'm really just touching up problem areas and then blending that to something that looks good.
Today was nice and warm so I got out the pressure washer and hit the engine bay and undercarriage. I had enough sun to dry the garage floor. Next I turned to the shortblock. I hit the outside with degreaser and whacked it with the pressure washer. Like the car, I didn't get everything, but it's a lot cleaner. Next I yanked the oil pan. Upon removal, it seems I was a little stingy on the silicone out back, but the pan gasket was also split. Maybe the rear main isn't to blame after all for the incessant mess.
Found a mess in the oil pickup, but after seeing those decimated valve seals back in June I can't say I'm surprised. I am happy to have that crap out of the oil pickup though.
That doesn't account for all the green chunks of valve seal I scraped out of the pickup, or the metal gravel that I found in the oil filter, oil pan, and just generally everywhere. I'm going to crack a few bearing caps to see how concerned I should be. In theory, this metal should have all come out of the heads, so as long as the bottom end is still happy then game on. I was seeing some scmoo in the pan, and I saw it in the intake valley too. I wonder if this VR1 is light on detergents?
It wasn't gunked up, but this stuff wasn't affected easily by carb cleaner, but it also just wiped right off. This windage tray had seen better days, seems it was about to cause an issue.
Completely broken around the oil pump, and largely separated at the next fastener up. I should have another on the shelf from a Vortec 350 I ripped down. So as much work as it is, I'm glad I cracked this thing open the rest of the way. If it turns into too big of a mess I'm just gonna drop the spare motor in and send it. Fingers crossed my spare can remain a spare.
Still waiting to hear back on the pressure check on the heads. I'm gonna have to harass him a bit to light a fire I think.
Last weekend I got all the wiring and crap peeled back off of the fenders.
Here's the 20+ extraneous holes I'm going to plug up.
Here's most of them plugged up.
And here's the problem I ran into when I tried plugging the leftover pinholes.
The area I blew through, for whatever reason, is absolutely razor thin. I'm going to have to weld in a piece of filler behind it to be able to accomplish anything. The rest I should be able to zap in from behind. Next I turned my attention inside the car. This thing is absolutely tearing itself apart.
The bolt and washers is a ghetto rig from many moons ago. You'll see its purpose here soon as I'll be tackling it next. You can see 2 spot welds that are separating as well, there's more on the trans tunnel.
Partway through this repair, I realized my helmet was working properly so I could use my eyes. It usually has a delay that causes me to close my eyes until it shades. Most of these welds are too quick for that to happen, so I end up doing it blind. Next was this crack that had propagated quite a bit since I last laid eyes on it.
For years it was nothing more than the smiley faced bit.
This one went pretty quick, since I could use my eyes I even welded a hole shut that I created with ease. Next was this new one.
I got it good up top, but blew through on the bottom. Probably going to stay that way. Here's what is letting go on the trans tunnel.
Looks OK in this pic, but those top 2 are separated.
Man that's funny, I'm waiting to hear from the machine shop too, it's been months and I'm really hoping to have it next week. I also need to weld up a bunch of unused holes I made for various reasons over the years. I started to one day then it was taking a long time so I did something else instead.
All that grime is unnecessary weight, and weight is bad.
A lot of grime is from a dry lake bed. It's going to be multiple more cleanings until I get it all off.
Originally Posted by mikedamageinc
Man that's funny, I'm waiting to hear from the machine shop too, it's been months and I'm really hoping to have it next week. I also need to weld up a bunch of unused holes I made for various reasons over the years. I started to one day then it was taking a long time so I did something else instead.
I seem to have gotten distracted as well, but today I got some material so we'll see where I end up. These hood pin mounts had seen better days. Whatever was threaded inside stopped sticking, so I had to cut them out.
Lovely. How much you want to bet I blow through as soon as I hit the trigger?
The washer is .075" and the core support is .045" if I haven't whacked it with the sanding wheel.
Well that was easier than anticipated. Sort of. The crappy left side gave me **** as expected, but the untouched .045" thick core support held the heat of welding where it existed.
As expected, ran into problems up front. So I cut out another washer in a half moon shape and zapped it in.
It may look crappy, but there's good penetration there.
This site was easy, one and done, and also where I got the hang of manually pulsing the welder. My helmet complied with this technique so it came out pretty good. I applied this technique to the other side when I did the half moon and second pass on the main piece.
Here's the chunk of "nut" that was attached to both washers. I was scratching my head, wondering what in the hell it was the PO has installed to retain the pins, and suddenly I saw the answer staring me right in the face.
Slick as that little dingus may look, it will fatigue out in a hood pin application with enough nose to tail contact. I think my version should age better.
Total cost? Crap I had laying around. Hopefully tomorrow I can get the rest of the holes on that shock tower zapped shut. It'll be cold, so will wait for warm weather to return before I prime and paint the engine bay in prep for whatever motor goes back in.
I ended up zapping a 1/8" thick chunk of flat stock onto the back side of the shock tower to have something to hold the heat to build the tower back up again. It was a good bit of welding and grinding, but I got a decent solution.
Now for some before
And after shots. I dumped a can and change and came up short, gonna need another to get this good and done. I pressure washed this thing like 4 times today trying to blast away at the filth. The car will never be this clean again.
Having 2 other shells, I know what they're supposed to look like, but even seeing this much is surreal. It looks soooo much less like a piece of crap.
Thanks! Wasn't hard to go up from where I was admittedly.
Originally Posted by Gmark958
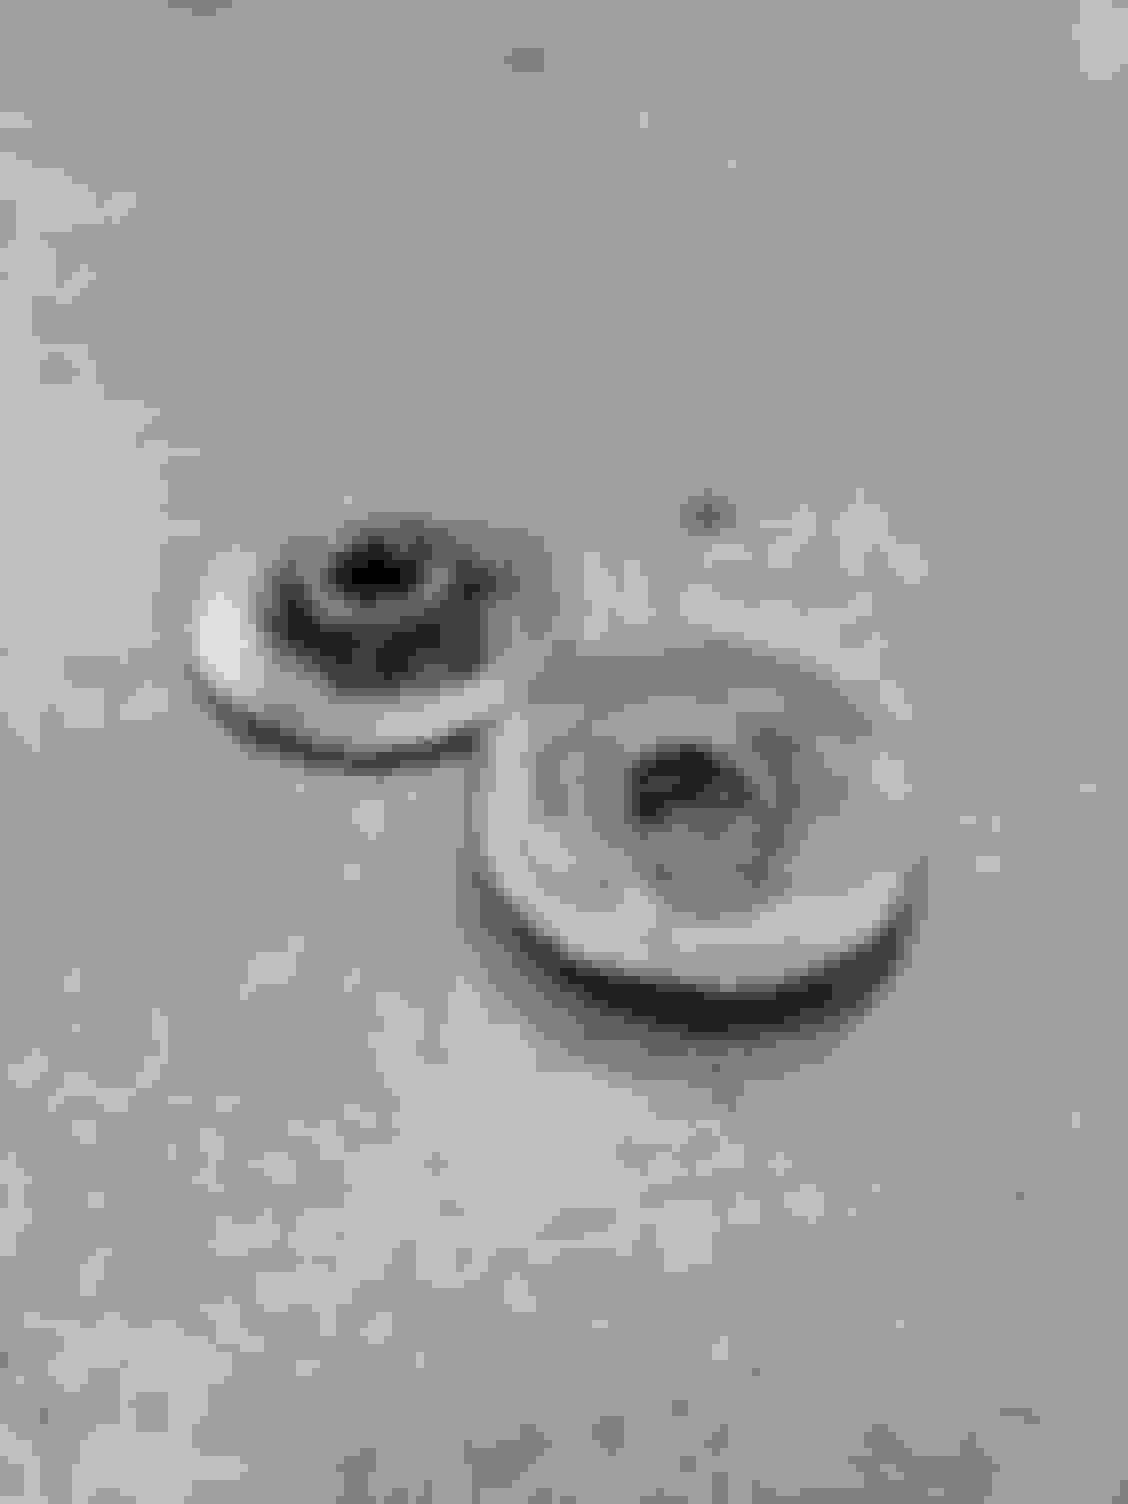
Looks pretty good to my untrained eye. Question, what�s with the weights in that second picture?
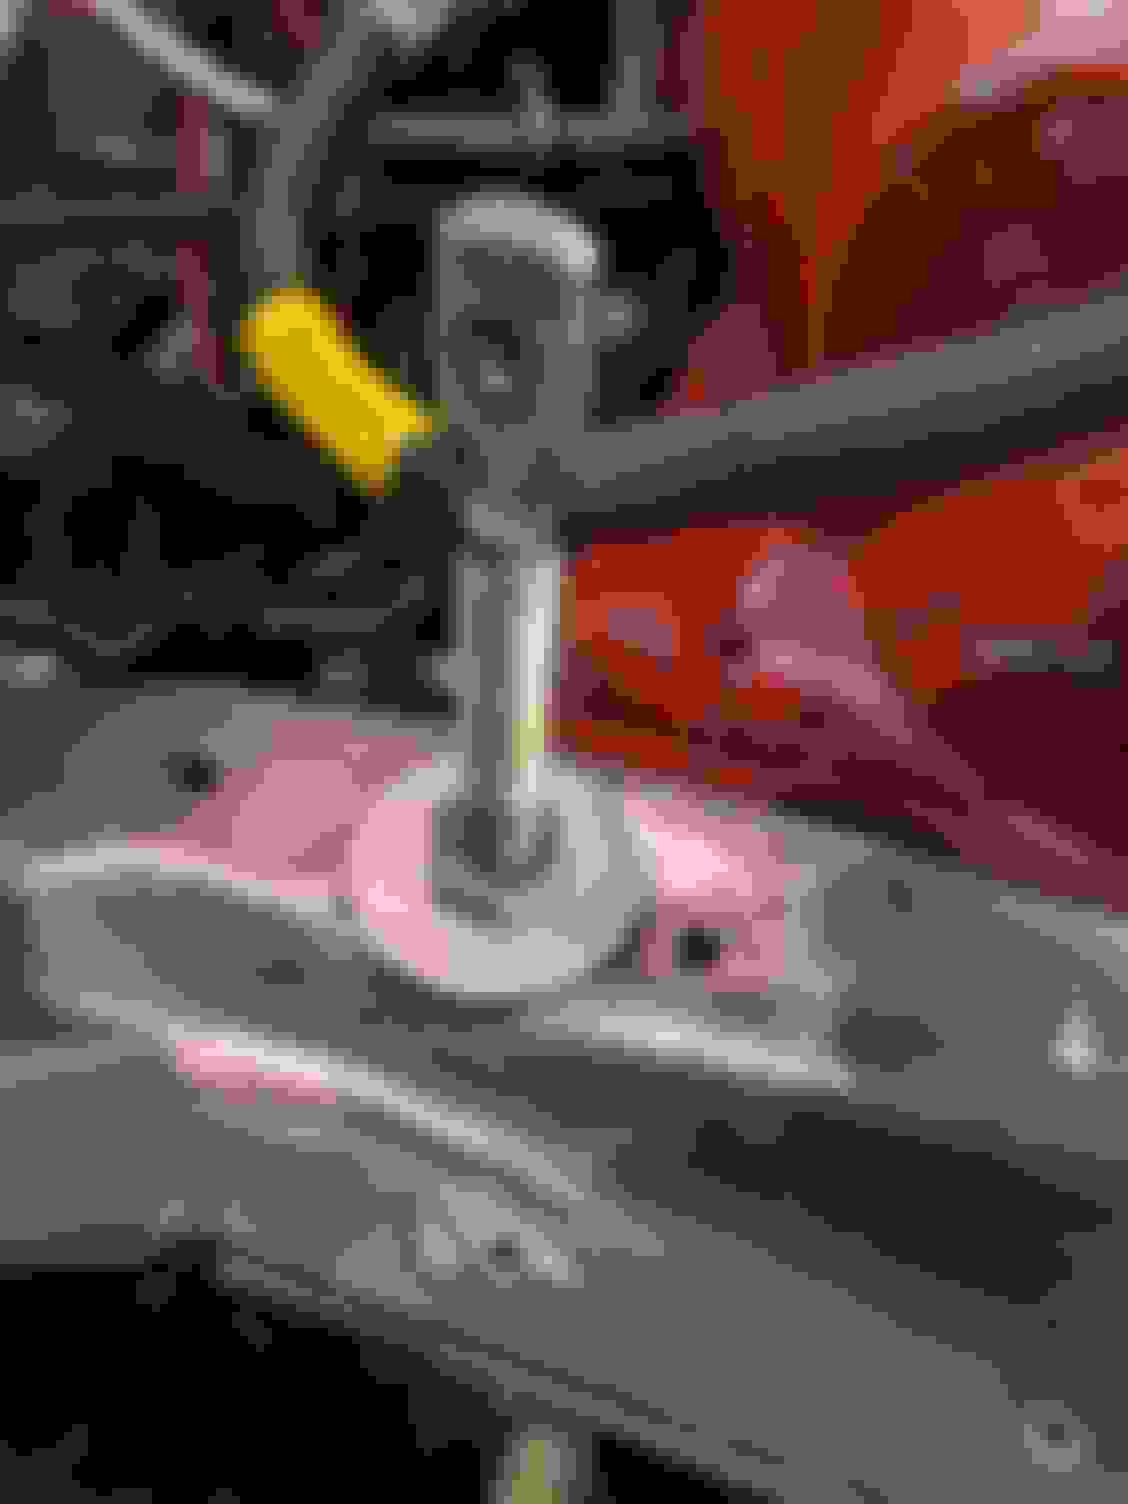
So this car has a bit of a history. Way back in the day, around 2004, it became a CMC car. Some time later, it got the boot for cheating and went American Iron which is an exponentially more expensive class. At some point, they tucked their tail between their legs and went back to CMC. CMC had a lame rule against removing certain factory brackets. This car had something chopped out of it, so the weights were added to prevent a weenie protest at nats. When I started this cleaning ordeal, I asked the national director how concerned he was and he wasn't so I ganked them. I don't know what it was as this is the only F body I've ever owned prior to the tubs and just haven't made the observation as to what it was that was removed. Irregardless (it's a word, check Webster), here's where I ended tonight. I may clean and blend the aft section of the driver's tower still, but am otherwise very happy with where I am.
Now to muster the motivation to deal with the paint you can see from the outside.
That is quite the story that car has. I’d almost say leave the paint on the outside the way it is, shows that the car has some experience and gives it a little bit of a personality. But that’s just me.
That is quite the story that car has. I�d almost say leave the paint on the outside the way it is, shows that the car has some experience and gives it a little bit of a personality. But that�s just me.
You must have glossed over the smashed *** quarter panel.
God I wish I wasn't so lazy 2 or 3 years ago when I had my engine out and painted my whole engine bay... I did the passenger side since there wasn't a whole lot of anything in the way, I just kept telling my self I would tin foil the harness and brake lines on the drivers side and shoot it before I slung the engine back in... well the fact I have a purple and black engine bay proves that was a lie..
Wouldn't surprise me. I am basically blind. Just beat it out with a hammer, it�ll be fine. Probably.
I got a donor with a clean enough panel, but will likely stud gun and rattle can it short term.
Originally Posted by biketopia
God I wish I wasn't so lazy 2 or 3 years ago when I had my engine out and painted my whole engine bay... I did the passenger side since there wasn't a whole lot of anything in the way, I just kept telling my self I would tin foil the harness and brake lines on the drivers side and shoot it before I slung the engine back in... well the fact I have a purple and black engine bay proves that was a lie..
Well if you're lazy but smart, you keep it the same color. And wipe stuff down you don't want red with carb cleaner later.
I've turned my attention back to the engine. My old heads STILL aren't pressure checked. I've been on the hunt for the correct keyway, hopefully I got it ordered today. I gave the local dealer a VIN for a 96 Firebird and they were easily able to find it that way. It gets here Tuesday. The keys I bought yesterday without a VIN weren't correct, but came up for a 97 Camaro. I figured the Vortec truck ones were the same but the crank pulley is keyed on those trucks, so totally different. **** me. I wanted to start putting it together last night! First race is in 2 weeks. I'll feel a lot better when I have a powertrain back in here. I still need to redo the radiator duct from plastic to aluminum too. The reason for the 97 keyway is to sneak in a 4X reluctor. The early key is too short to engage the reluctor. This means that the late motor also uses a shorter hub, which I picked up last year with the timing cover and reluctor. I put it next to mine and guess what? They're identical! Well that explains why the belt would sometimes jump a rib on the crank. Shbox says the early/long hub is 3.519" long and it's common knowledge that the late hubs are about .100" shorter. Mine came in at 3.420". More fuckery from the PO, gotta love it. So now I need that reluctor in there to make it legitimately right. Here's another fun fact: if you need an LT4 timing chain, you can't get one from the parts store. Same for if your 4.3 needs one because they're the same thing! Asinine. So I've basically been running in circles and shooting myself in the foot. About the only semi productive thing I've managed is to hit the block with 320 grit, I got scolded for using the whiz wheel. The machinist is convinced that was my issue, but the head gaskets had ZERO evidence of anything wrong. I really hope I don't put it back in and have the same problem as last year. So, am lame picless rambling "update". Hopefully by next weekend it cackles to life because I'll need to try and squeeze in a Dyno the following week somehow and I guess tech at the track. I've never been this far behind I don't think.
Gas Monkey Built a 6-Wheel Ferrari Testarossa With a Corvette LT4 Engine
Slideshow: The controversial Ferrari F6 swaps its original flat-12 for a Corvette Z06-derived LT4 V8 and sends power to four rear wheels through a custom-built drivetrain.
7 Most Reliable High-Performance Engines GM Has Ever Built
Slideshow:These GM engines didn't just make huge power, they survived abuse, boost, track days, and six-digit mileage with a reputation for refusing to quit.
6 Common C5 Corvette Failures and What's Involved In Repairing Them
Slideshow: From wobbling harmonic balancers to failed EBCMs, these are the issues that define long-term C5 ownership and what repairs typically involve.
Retro Modern Bandit Pontiac Trans AM Comes With Burt Reynolds' Autograph
Slideshow: A modern Camaro transformed into a retro icon, this limited-run "Bandit" build blends nostalgia with brute force in a way few revivals manage.
Top 10 Greatest Cadillac V Series Performance Models Ever, Ranked
Slideshow: Cadillac didn't just crash the high-performance luxury vehicle party, it showed up loud, supercharged, and occasionally a little unhinged...
Coachbuilt N2A Anteros Is an LS2-Powered C6 Corvette In Italian Clothes
Slideshow: A one-off sports car that looks like a vintage Italian exotic-but hides a C6 Corvette underneath-just sold for the price of a new mid-engine Corvette.