When you click on links to various merchants on this site and make a purchase, this can result in this site earning a commission. Affiliate programs and affiliations include, but are not limited to, the eBay Partner Network.
How to build a Hobbs switch wiring harness from a Racetronix hotwire kit.
The reason for this post is that in one of my previous posts I stated that I made a wiring harness to bring on a 2nd fuel pump, from an existing Racetronix hotwire kit I had. I have recieved several PM's asking how I did this. For some this is trivial, but for those that asked I'll document it here. If I had not had one already I bought for another purpose I probably would have just made one from scratch outa generic autoparts store components. In hind sight, looking at the price of the wiring loom, the 10 gauge wire, the relay, the fuse holder, the connectors and the tie wraps, I might have spent more. I probably saved about a half hour putting together, and the racetronix components are much better quality than the ones I'd get at Advance, Autozone, O'Reiley etc.
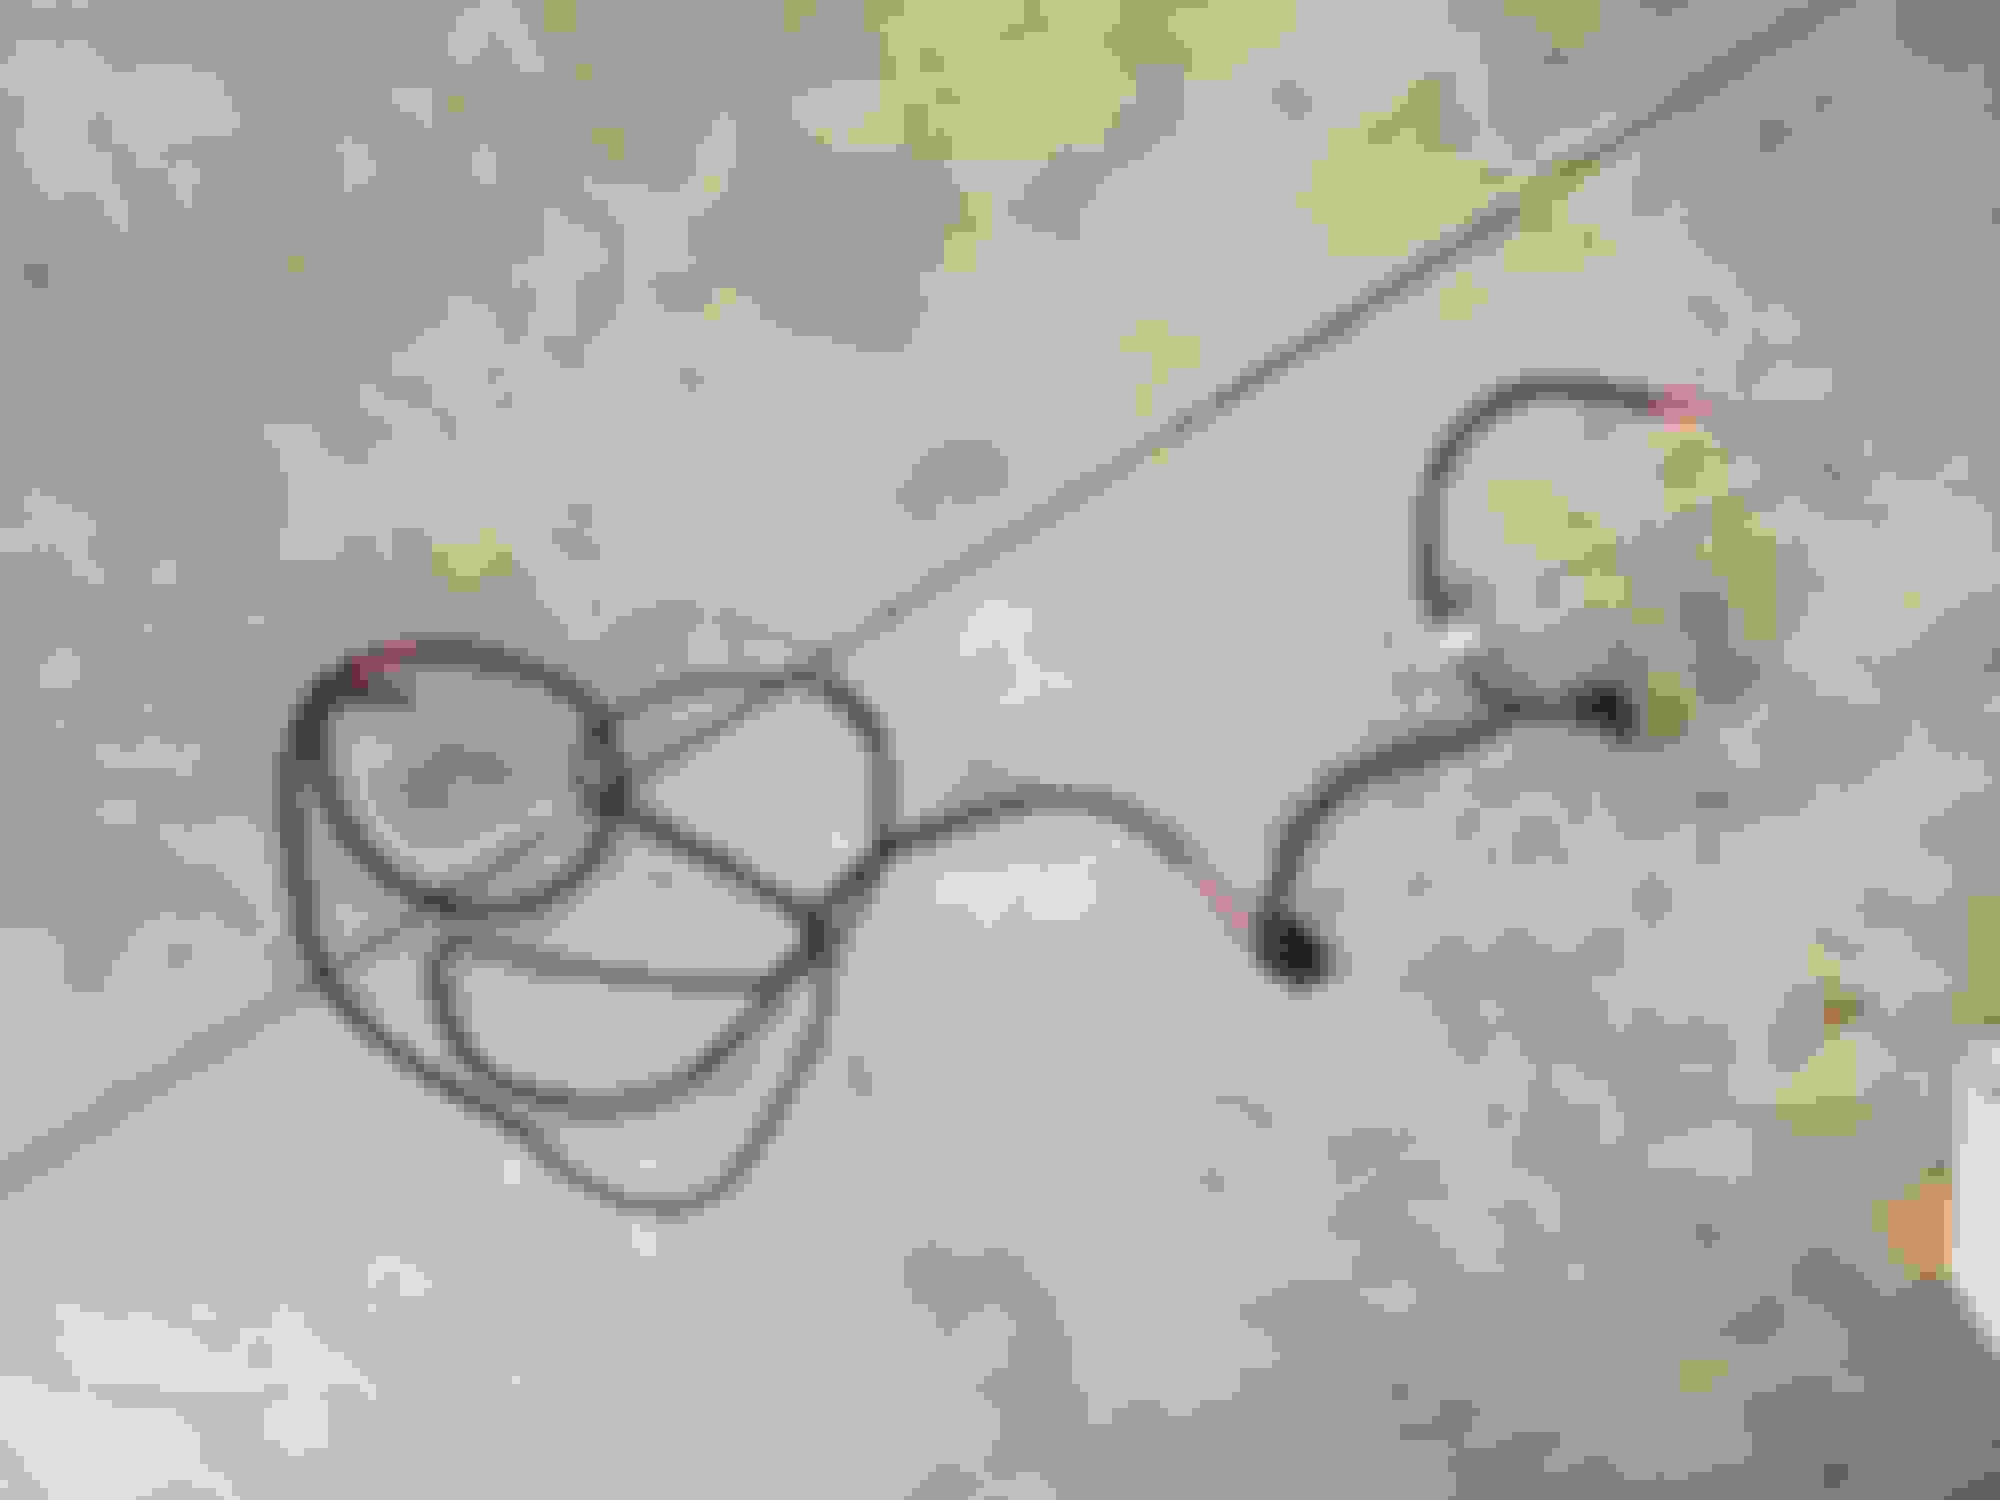
Here is what I started with.
The way this harness is set up is the fuse holder is at the front of the car, and the relay is at the back of the car. For a hobbs switch setup you want the relay near a vacuum source up at the front of the car.
I wanted a ring connector to go onto a good source of power, the fuse block, the relay, then the long run of wire to the back of the car, to provide power to the fuel pump. The way the harness comes is you have a ring connector up front followed by the fuse holder, then the long run of wire with the relay, and the connectors at the back the way Racetronix intended it to be used, and the relay triggered by the factory fuel pump wiring back there.
So what I did was set about reformatting the harness.
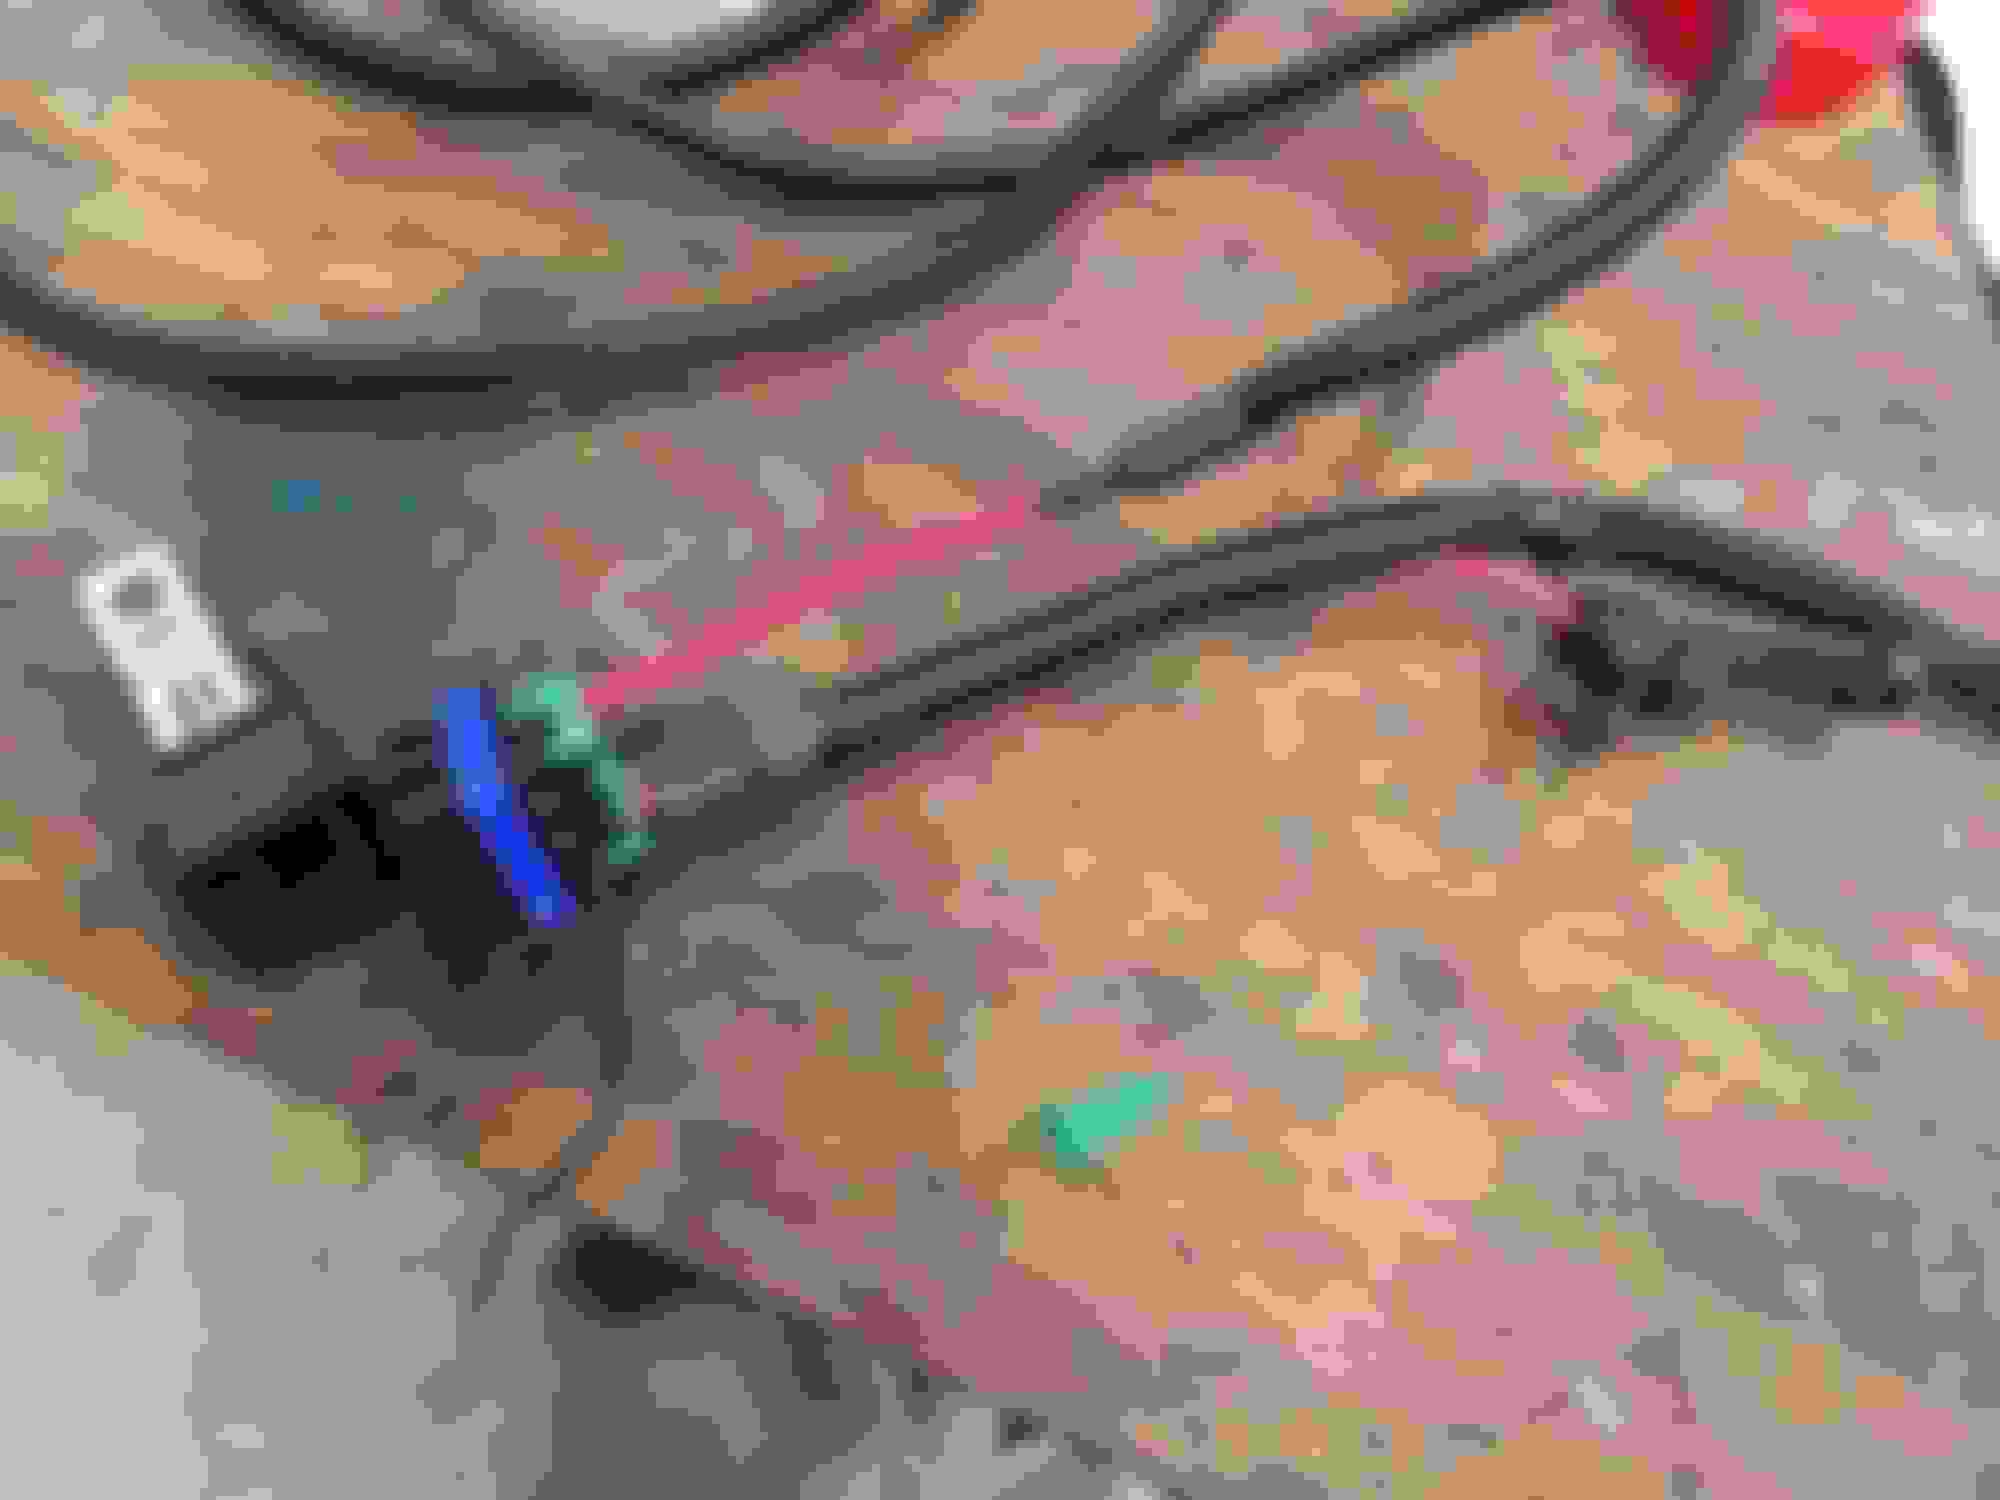
I cut the heat shrink and tie wraps off the portion of the wiring that runs from the relay, to the factory connectors. I cut the ground ring terminal off the one referred to as "redundant pump and relay chassis ground". I then removed the protective loom. Simple enough, see photos.
Then I pulled the connector off the 10 gauge red wire, the one that is used for the optional voltage boost, if you use a booster.
Ok now we will take this short wire and get it connected up near the fuse so the relay is at the front of the car. Pull the long run of 10 gauge red wire from the loom, right close to the fuse enclosure, and cut it a few inches from the fuse holder like so.
Then you are going to want to connect the short red wire off the relay, to the short wire coming off the fuse housing. This will put the relay close to the fuse, to have up under the hood. I used 1/4" type blade connectors, which I crimped on. This could have been soldered and shrink wrapped as well, but I was lazy and didn't bother pulling out my soldering iron, and warming it up for 1 joint. I've never had a problem with the crimped connections like this. Also consider it is going under the hood of a car that will never be driven in the rain, intentionally at least. Turbo car on wet street=redundant.
I wasted pretty much nothing, I used the loom that went from the relay to the factory connector to encase this section of joint and wire.
Then I locked it up with a little trusty electrical tape. Racetronix uses tie wraps to hold the loom closed you could do that if you prefer, you should have about 25 in the package with the harness.
So then your harness should look like this.
Ok as to how this is wired into the car.
The red ring on the front can be wired to the battery, the alternator, or the red power stud by the fuse boxes on the drivers side your choice.
The black wire off the relay connects to a ground under the hood, there is one right by the fuse boxes, one on the radiator support etc.
The gray wire goes to one side of the hobbs switch. The other wire off of the hobbs switch goes to 12V power source, your choice again where you get it.
The long red wire now goes to your fuel tank connector for the positive side of the pump you intend to bring on with this harness, while under boost.
The ground or negative side of this secondary pump should be run to a chassis ground near the fuel tank, I used the one by the relay that is back there, near the factory wiring. This ground needs to be done with a minimum of 14 gauge wire. I'd prefer 12. You can get away with 14 if that's what you have becuase it is a short run, and will only be used intermittently, while the car is under boost condition.
This is how I did it with my car. I do believe this to be a quality solution. Since this involves electricity and fuel, you do so at your own risk. Author assumes no liability for stupidity, his own, or yours.
 11-25-2016, 03:24 PM