When you click on links to various merchants on this site and make a purchase, this can result in this site earning a commission. Affiliate programs and affiliations include, but are not limited to, the eBay Partner Network.
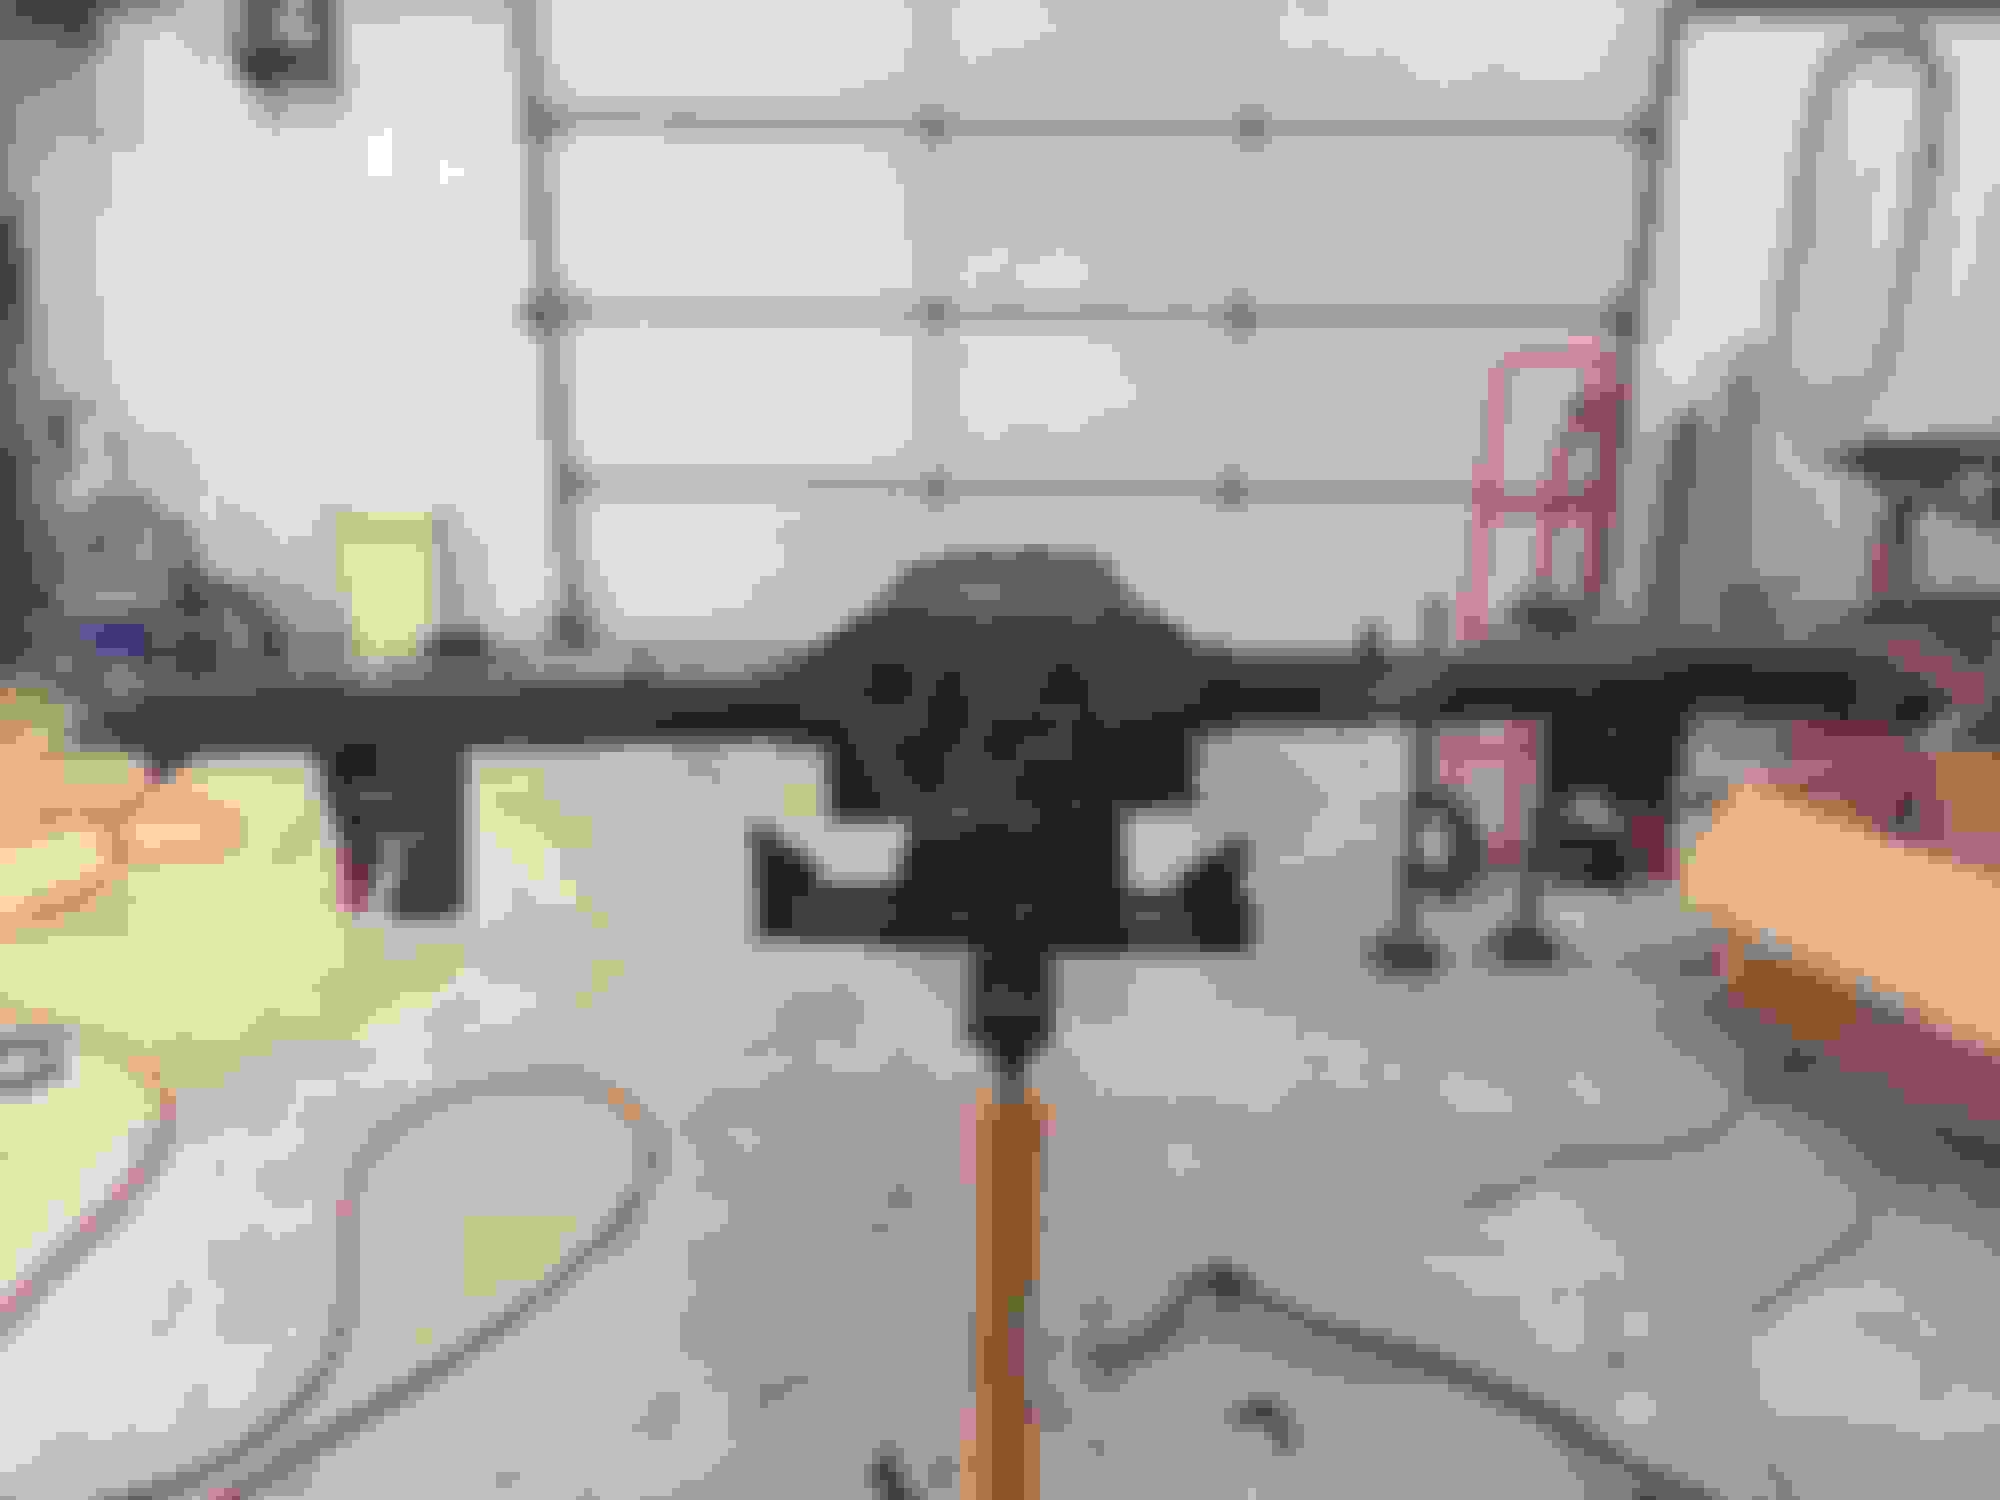
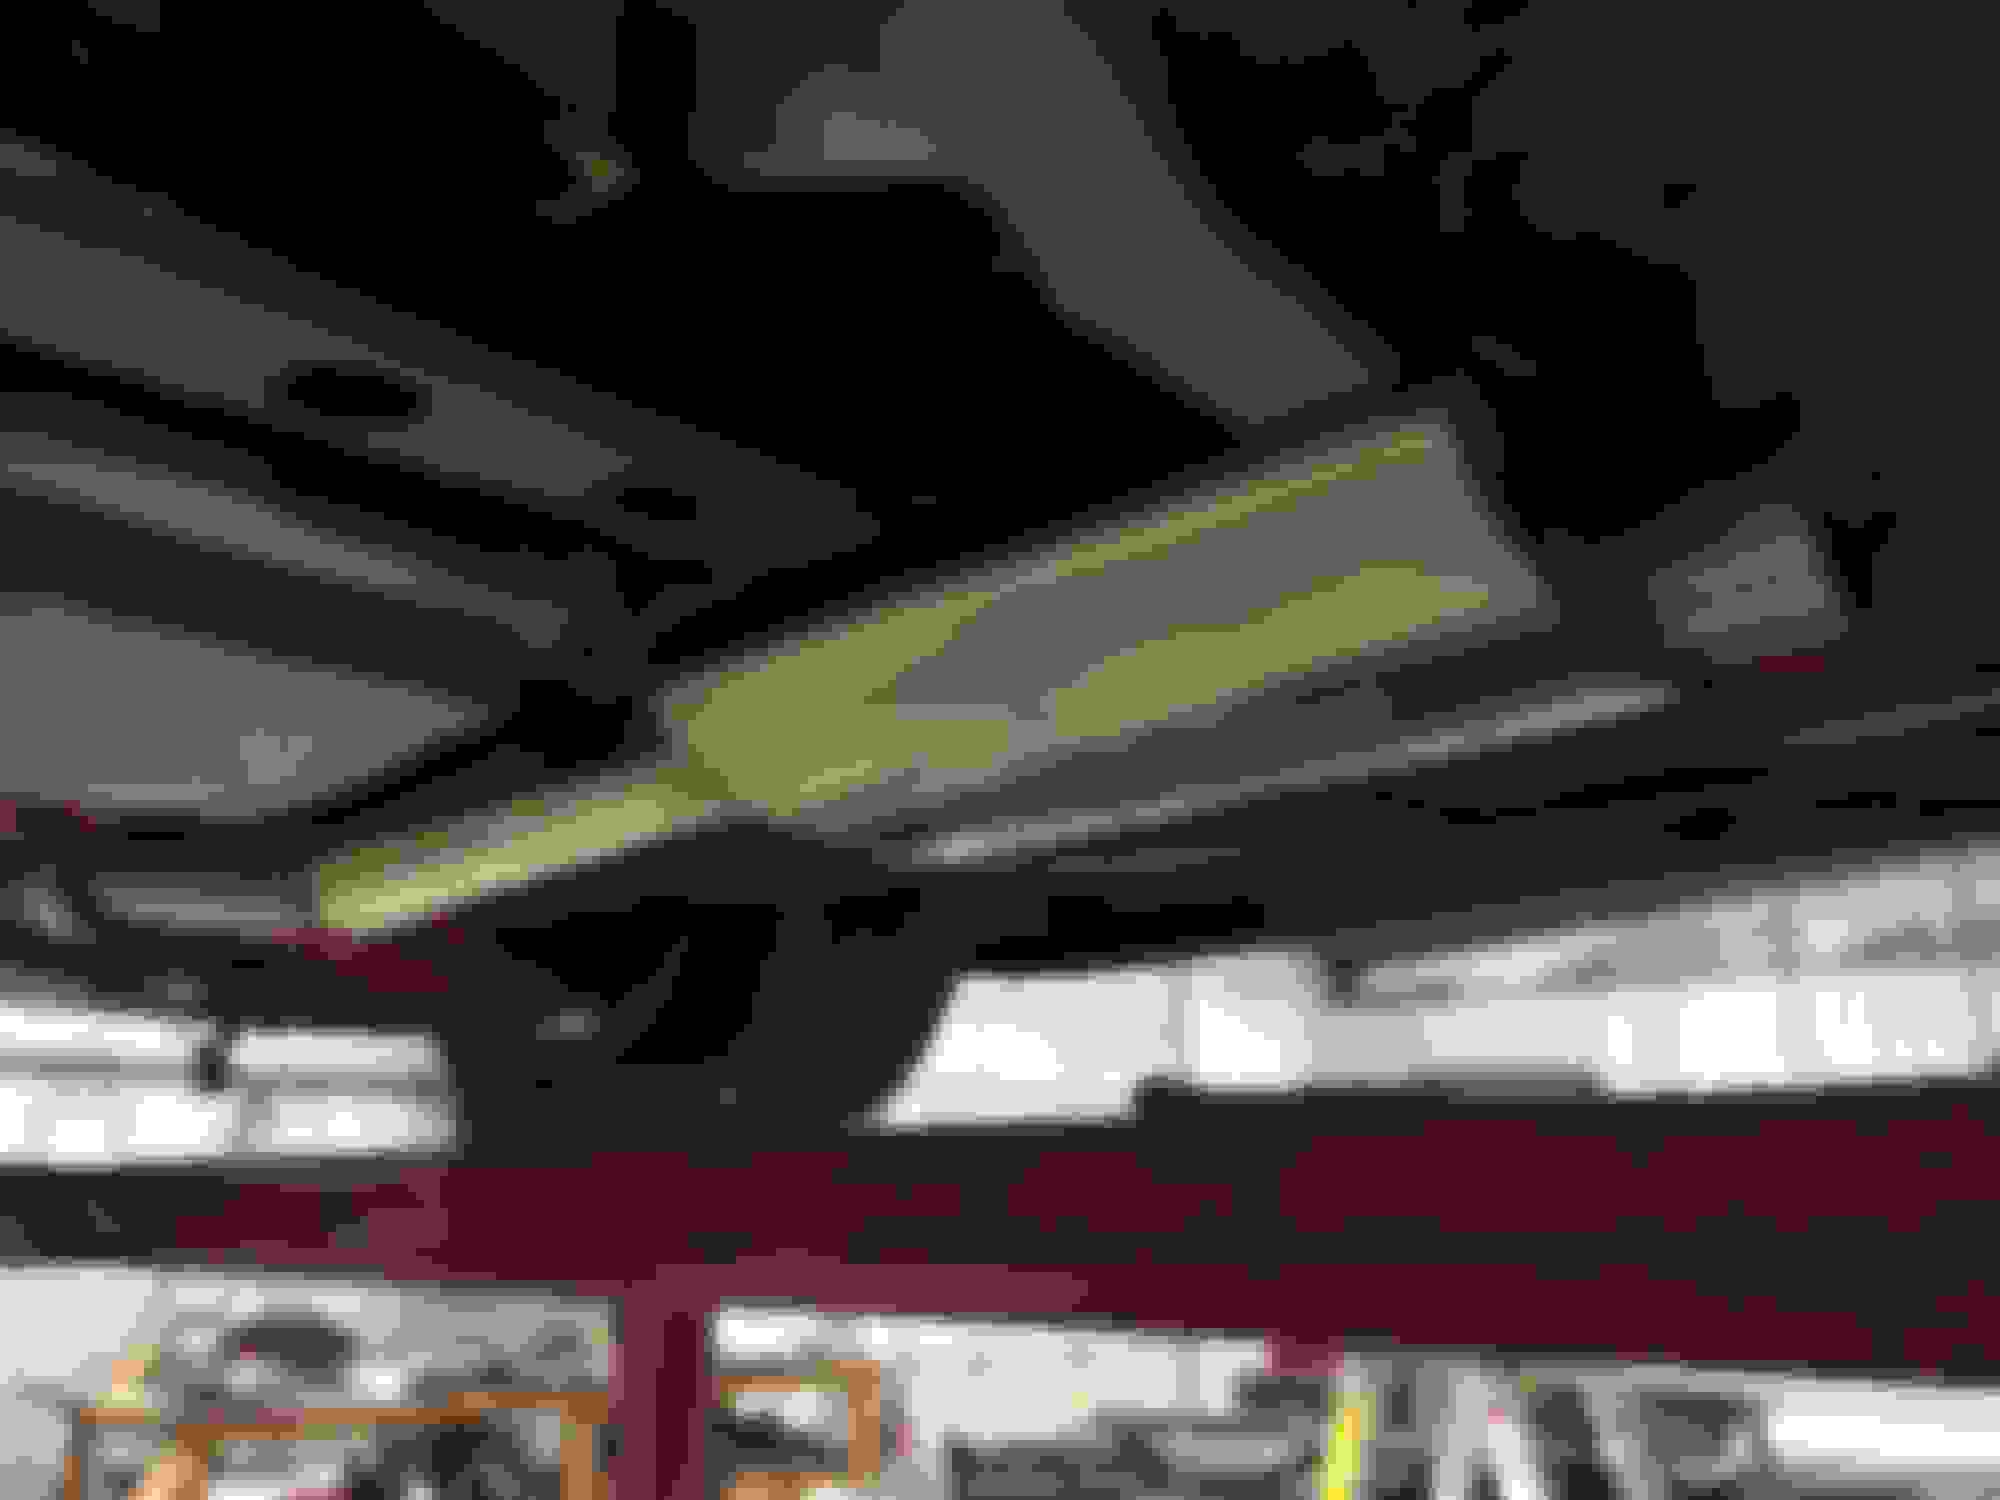
Thanks to all who are interested enough in my build to comment. I appreciate the motivation and support. Sometimes its just easier to sit and watch to tube. Well I have the fans wired, and the radiator back in. I used the relays included with the Derale fans, and had them triggered by the wires that ran to the factory fans. Technically this is weird, the factory fan relay triggers the aftermarket relay, not really the way it should be but it will work.
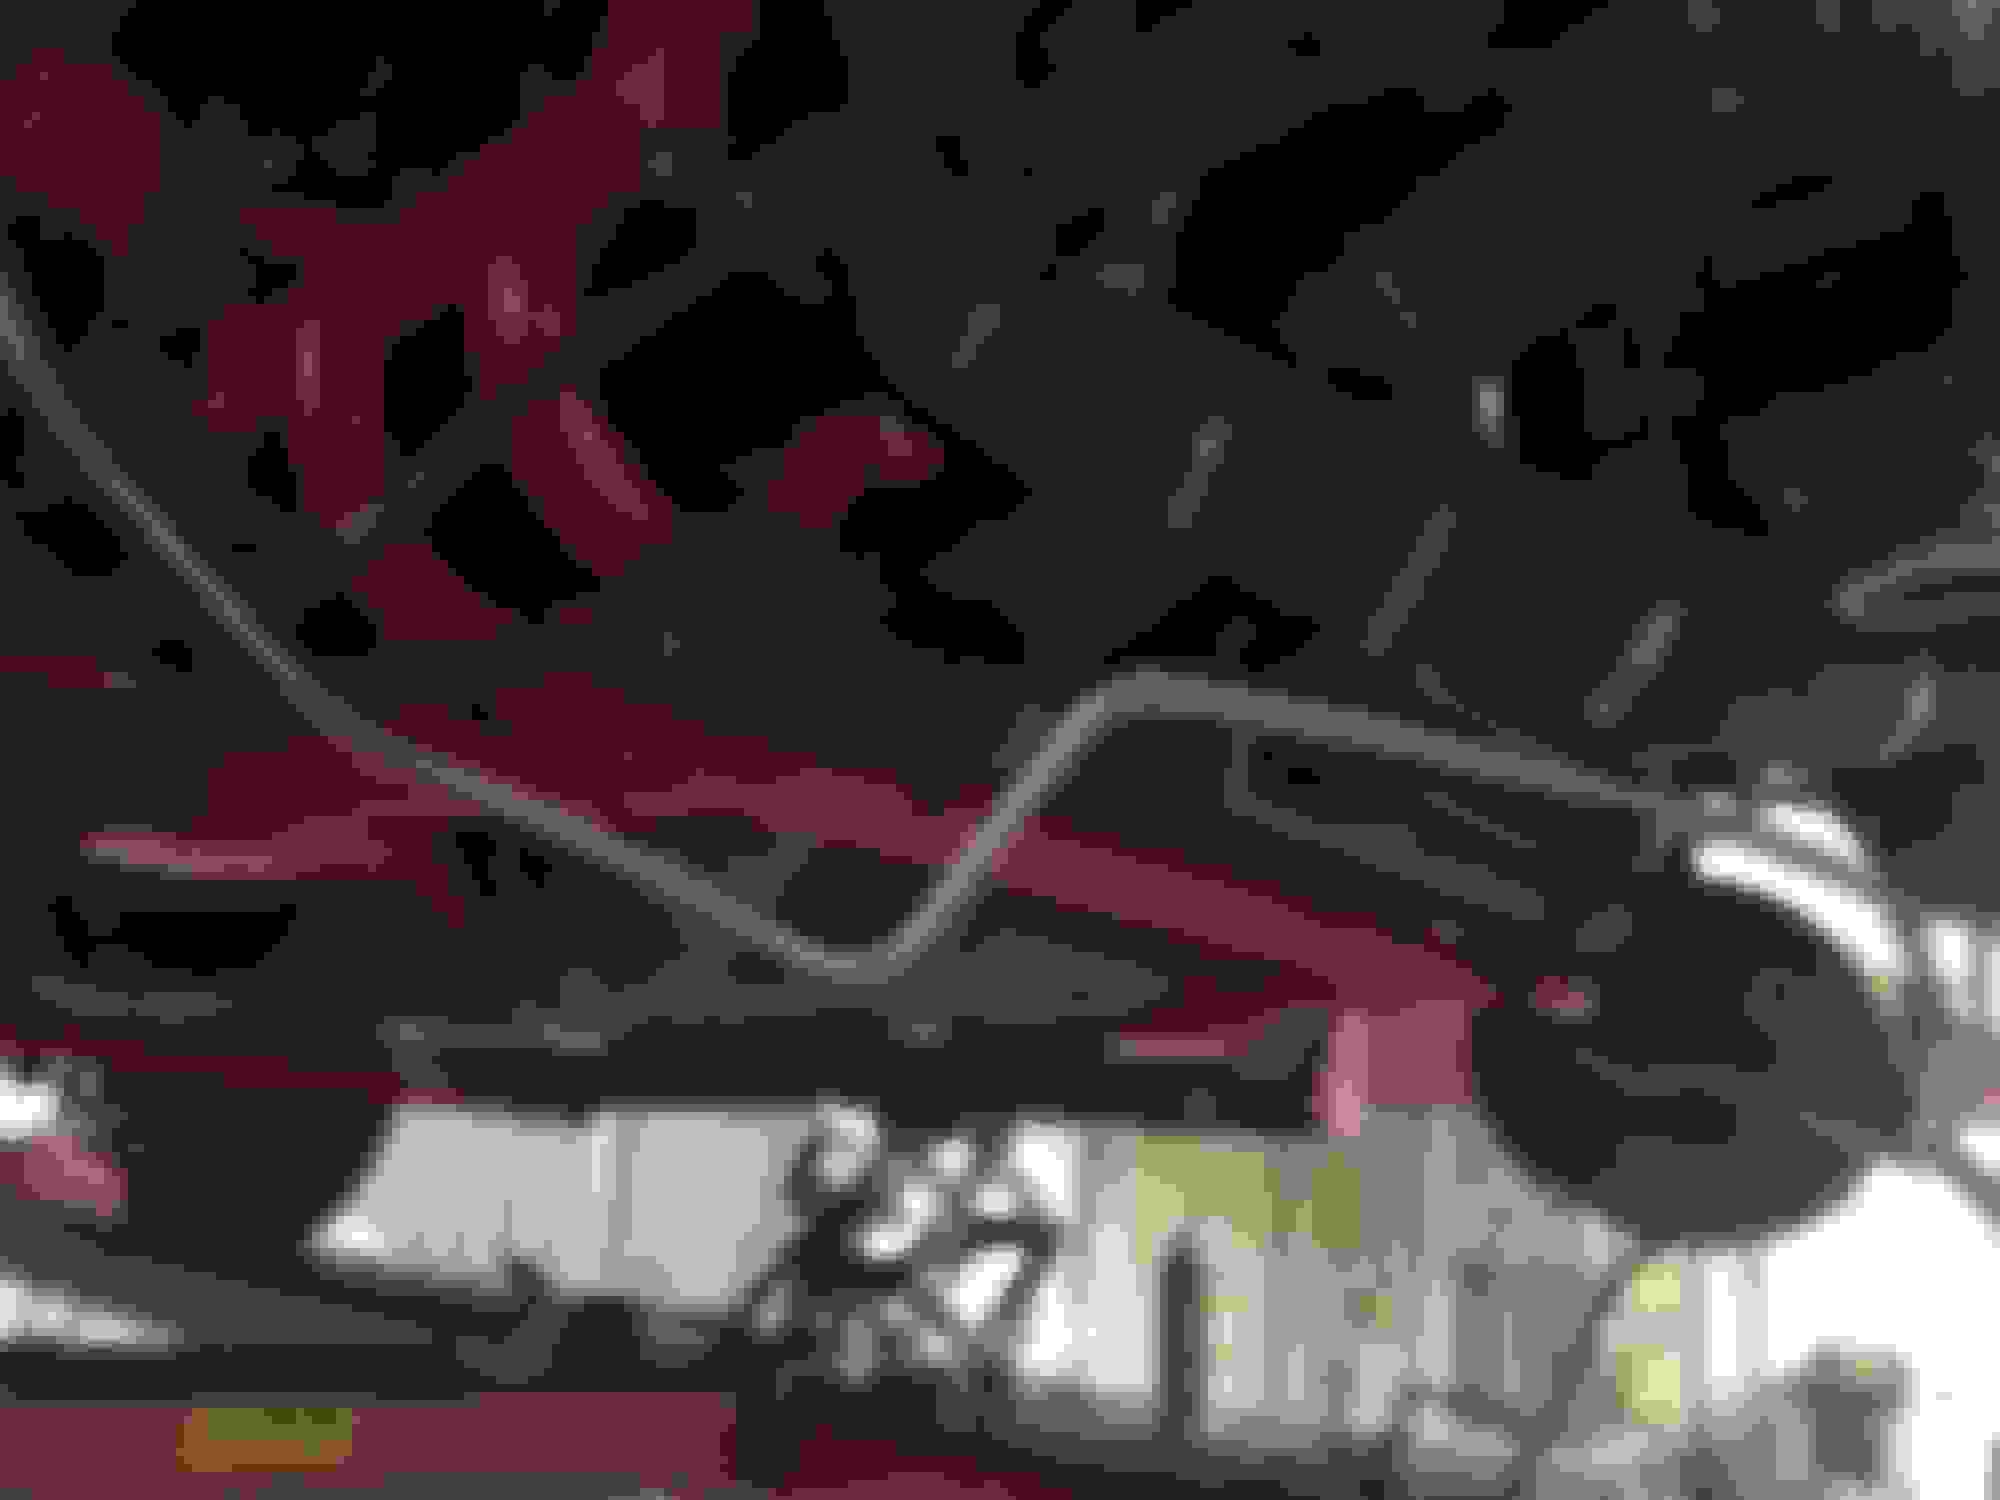
I tie wrapped the heavy wire going from the battery to the fuse boxes to the rad support, so it wouldn't get pulled in by the fans and mess them up.
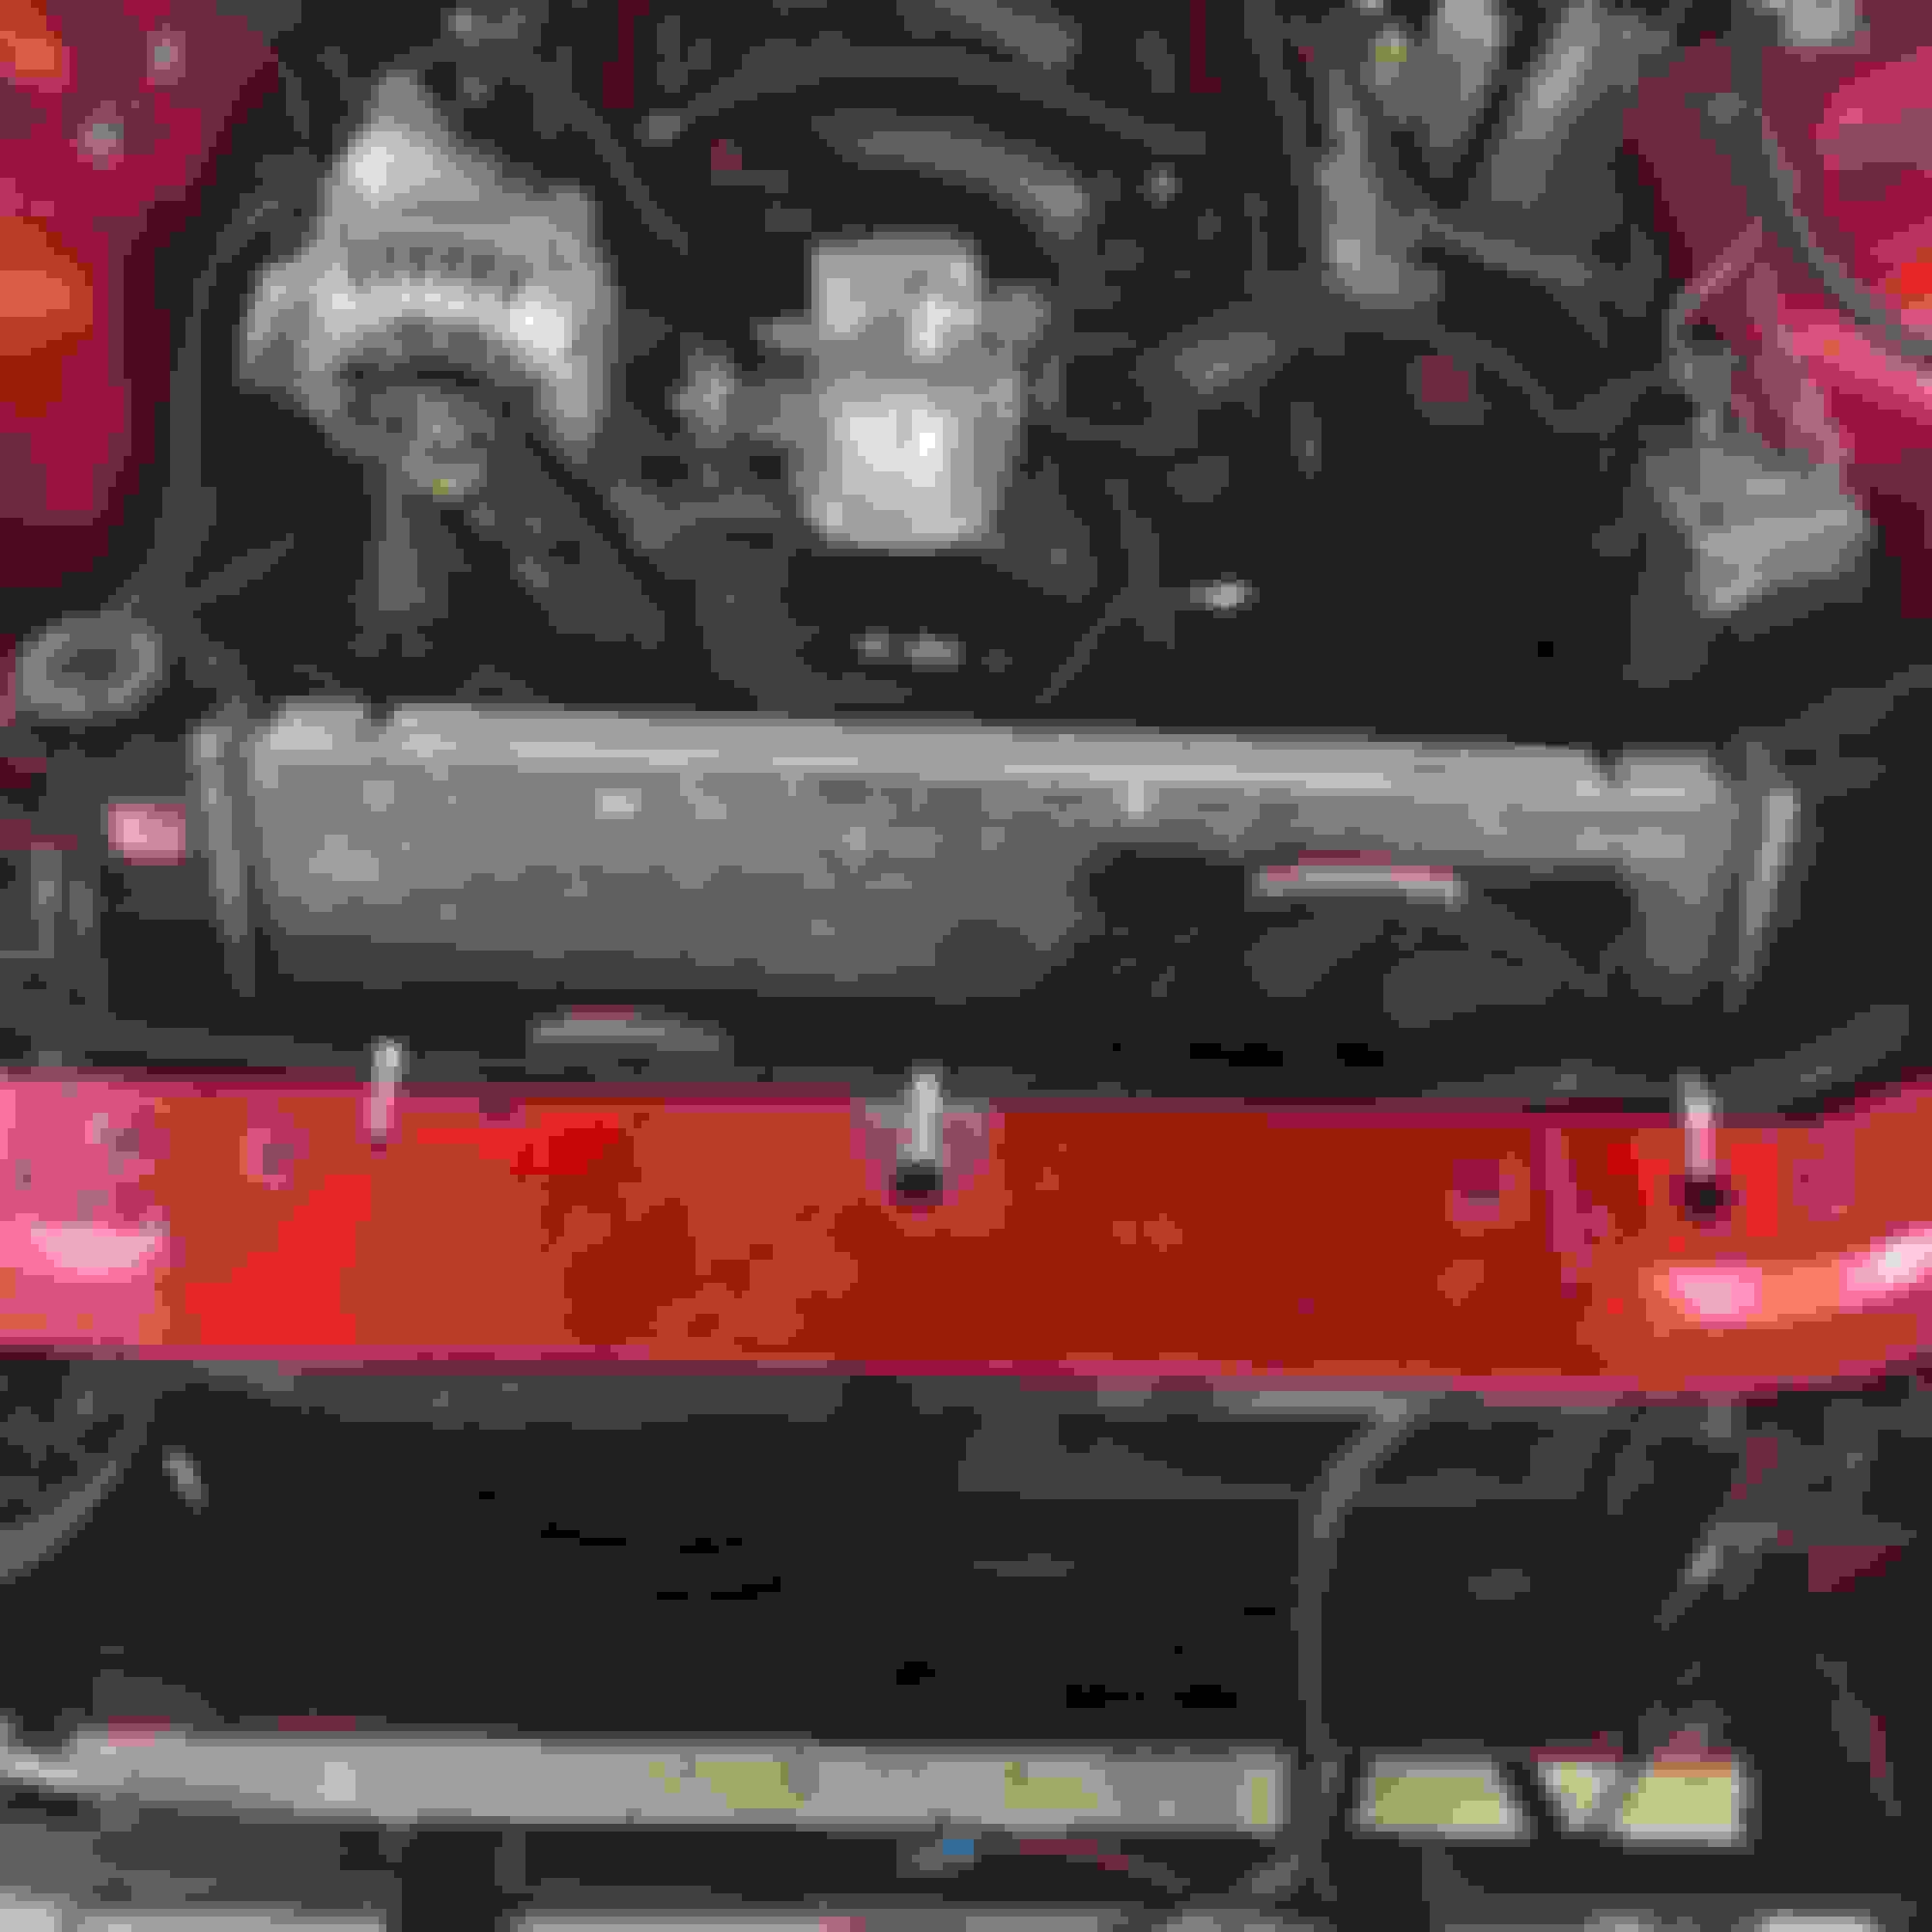
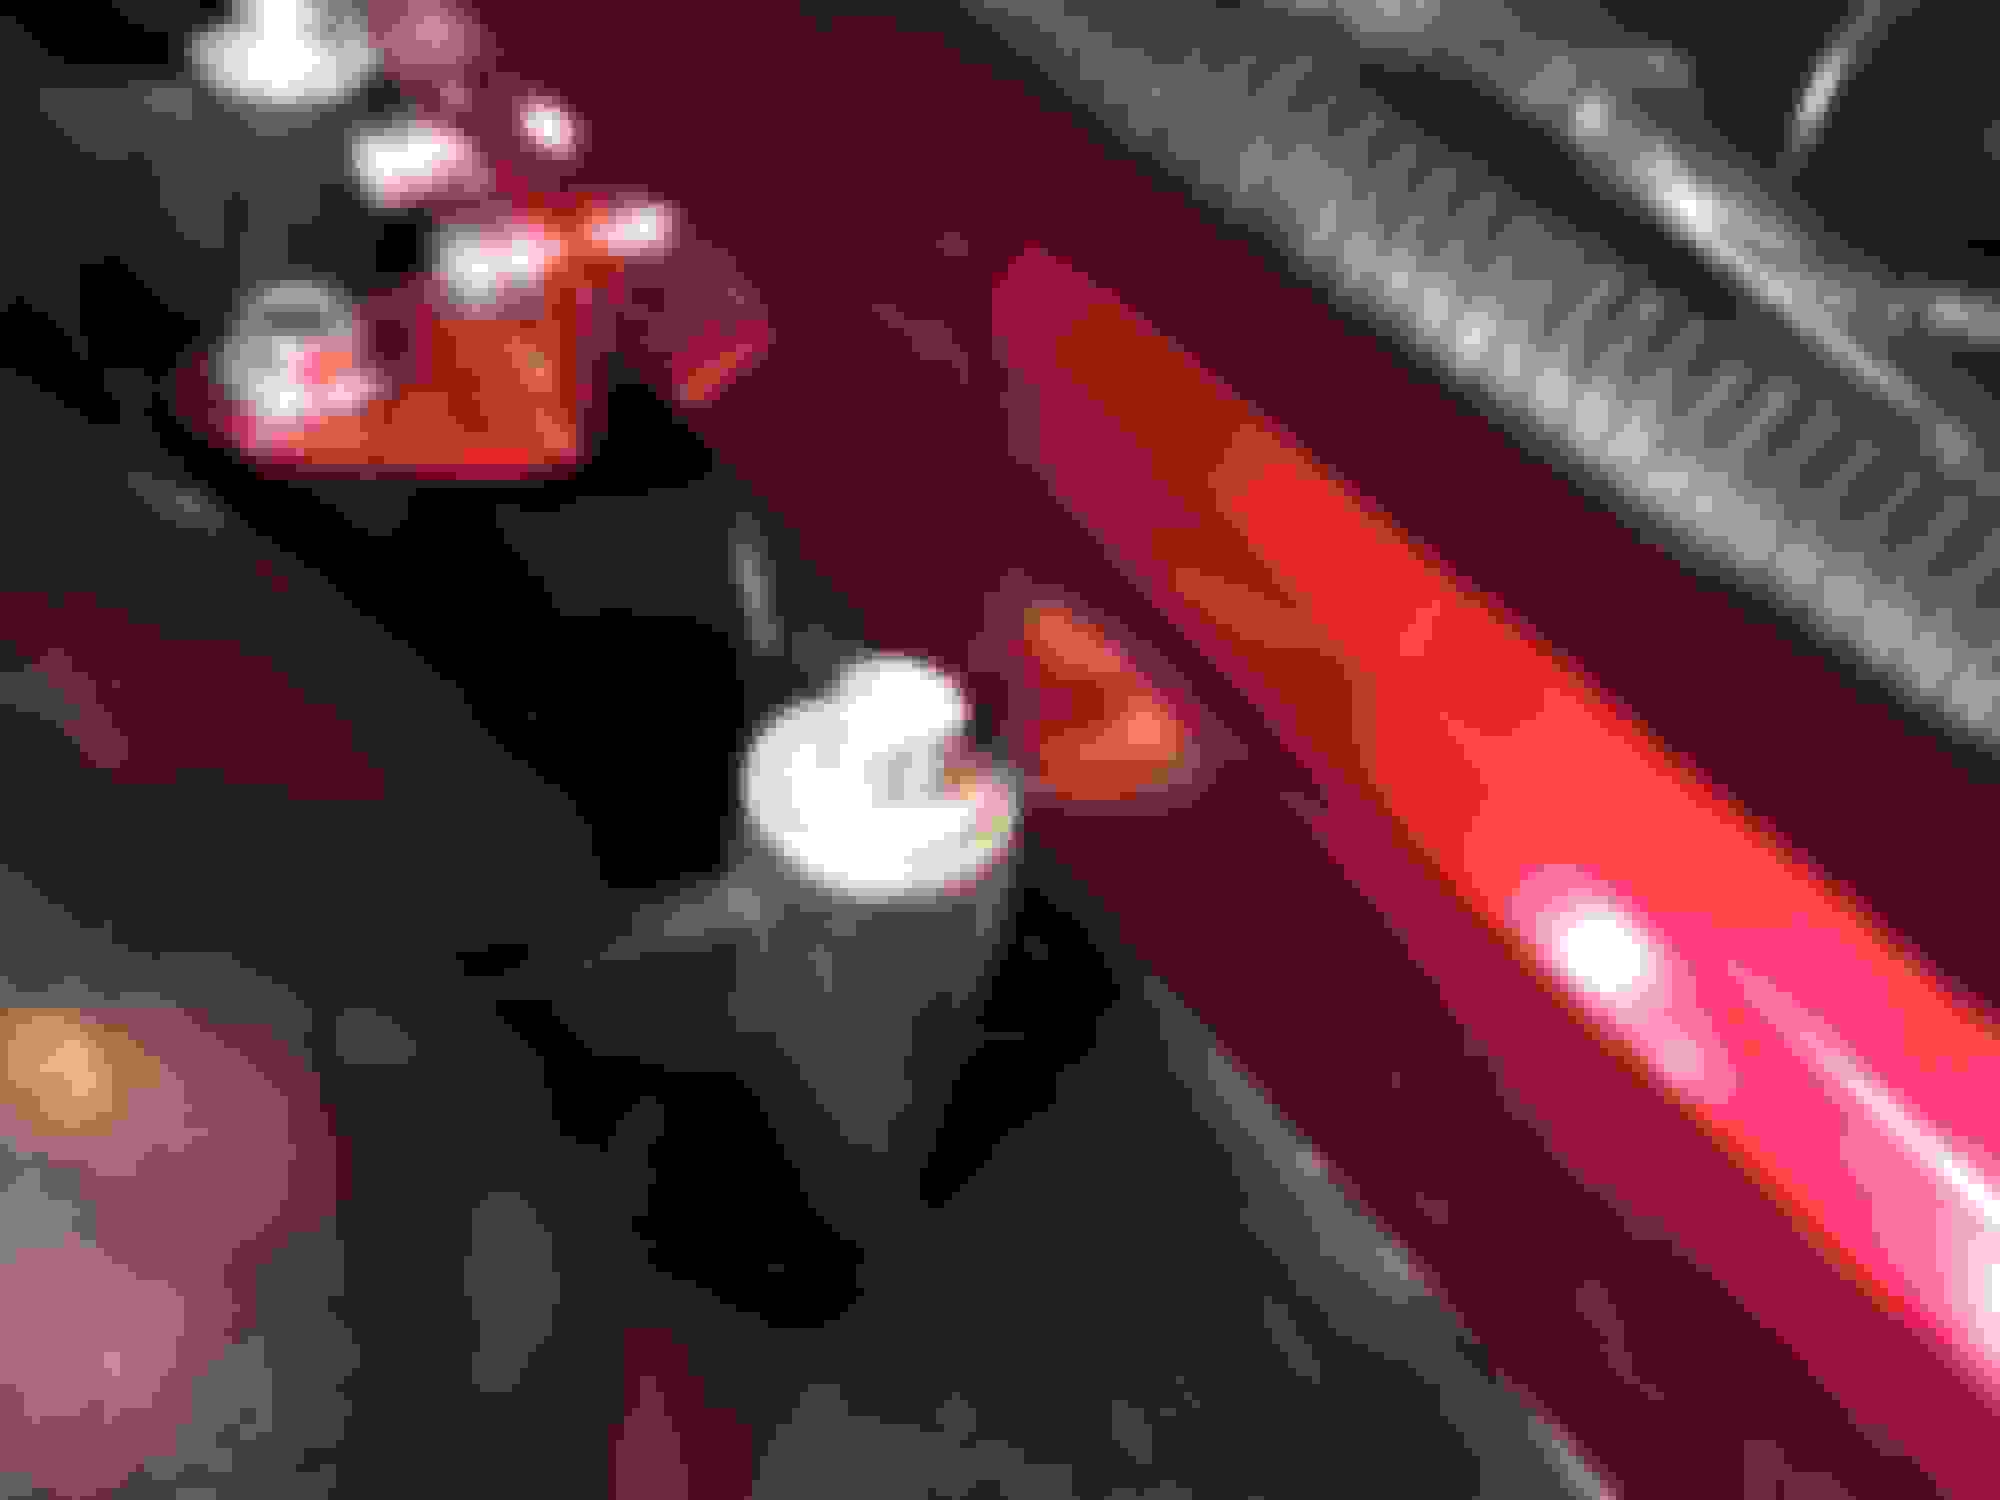
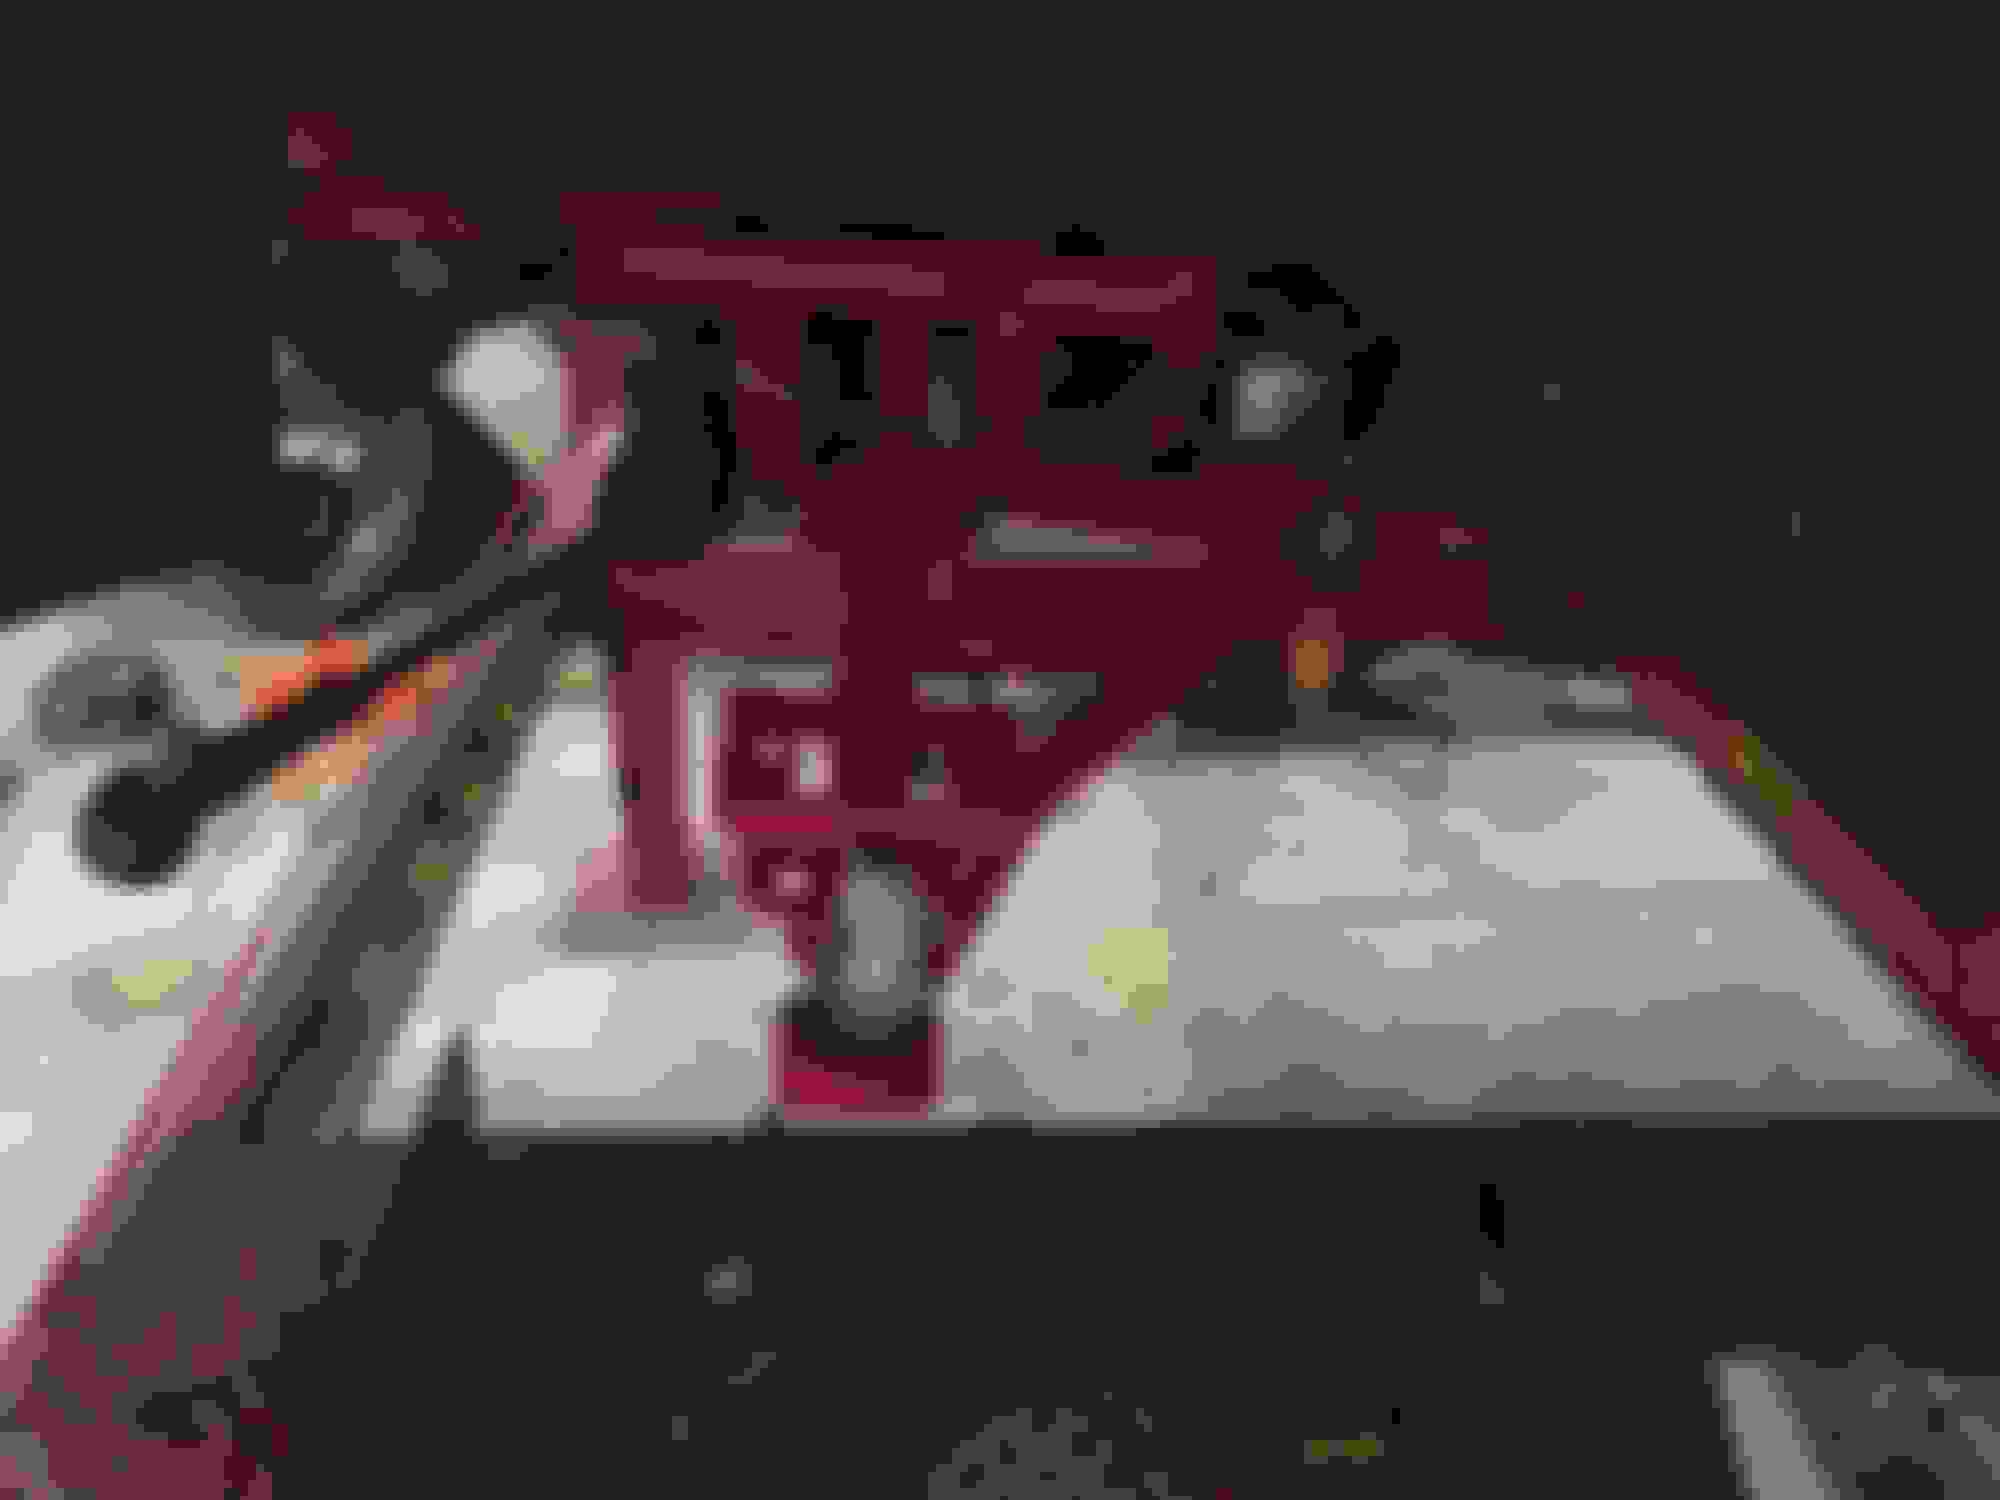
I bought a BMR LT1 radiator hold down, tried it on for fit. Notice I also got my coil packs back on. I actually made a new bracket for the FPR. I made it almost the same as the first one, with just a little more clearance to get the coil packs in. About an extra 1/2", I could get them in with the original one, but it took too much manipulation. It wasn't necessary, so my new bracket fixed that.
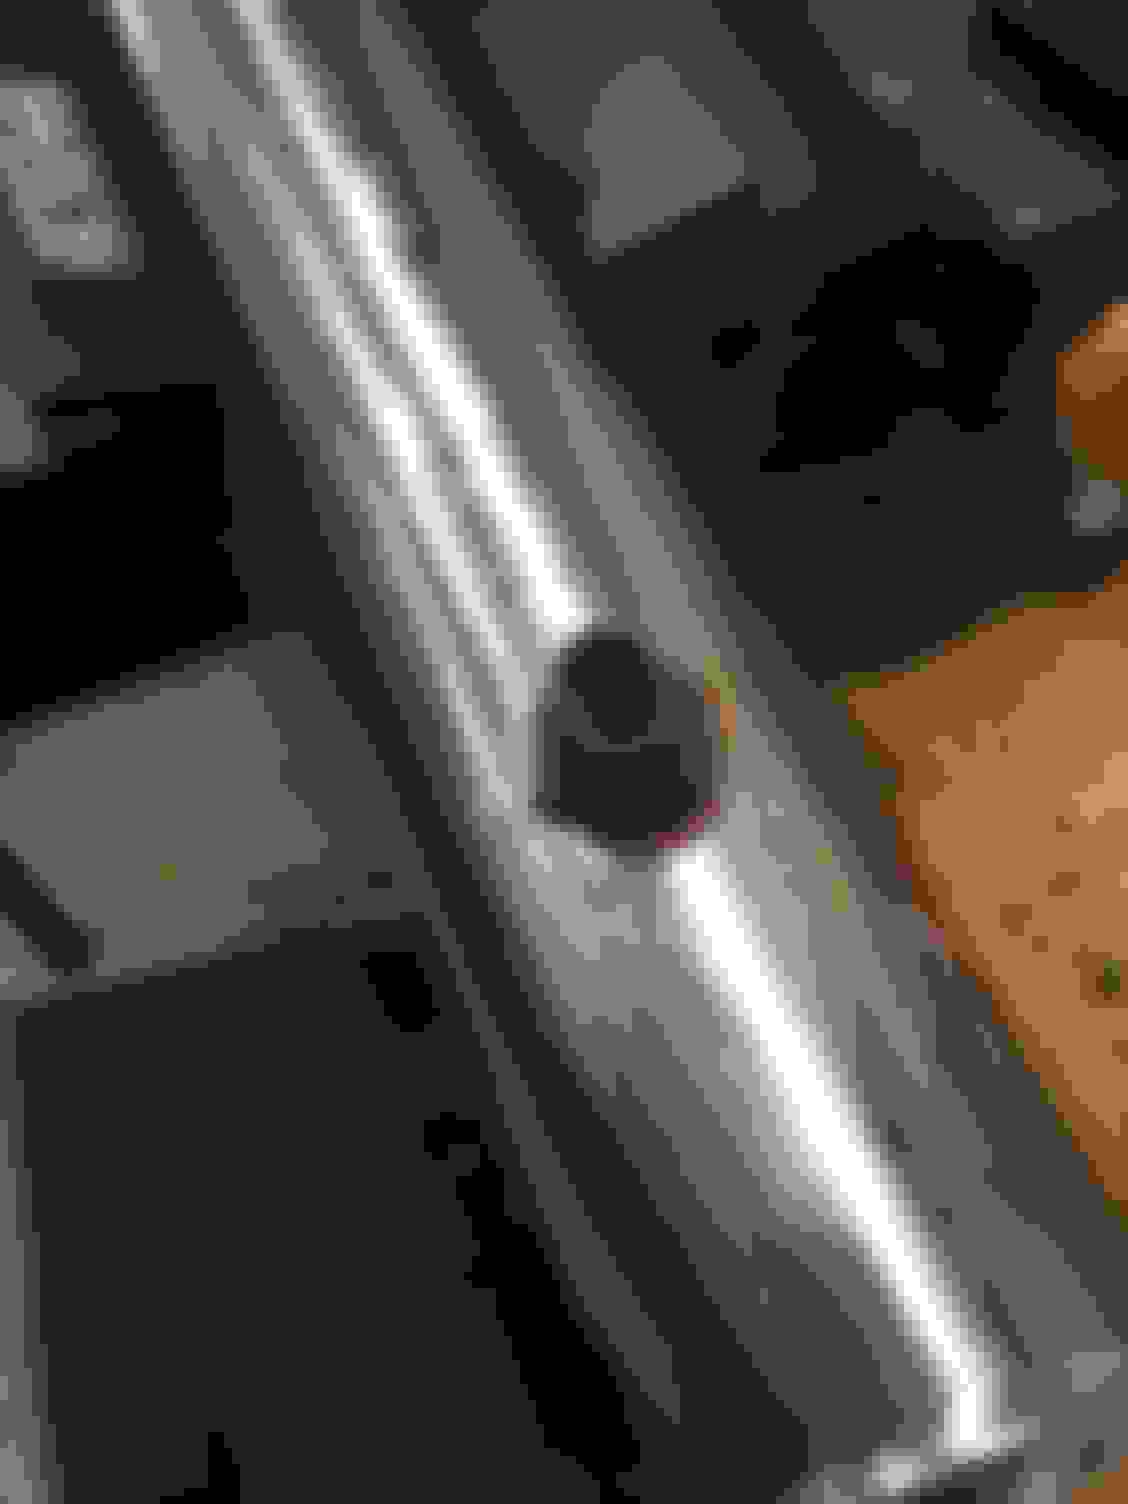
I got the IAT sensor grommet installed, I put a little RTV around it just for insurance. Drilling that stainless was extremely difficult, it wrecked a drill bit to do it, but got er done.
PCV - MightyMouse's Specialty.
Since he seems to be the expert on here on this subject, I thought it only made sense to use his setup.
Lets start by saying I'm a PCV fanatic if there is such a thing. I hate when people just put breathers in the valve covers and call it "done". Call me a PCV snob, but that's really half doing a job. In went for the extreme kit that vents from the oil filler hole, since I'm boosted, and may have a considerable amount of blow by.
Like everything else, I gotta figure where to mount it. I tried mounting the can several places, on the passengers side head is very common, and a bracket came in the kit to do that. With a relocated alternator there, that won't work. Since I deleted AC, the AC dryer location was available.
Initially I put the bracket for the dryer back on, and just set the can in it with some rubber wrapped around it since its smaller in diameter than the AC dryer. Just to be sure this was where I wanted it.
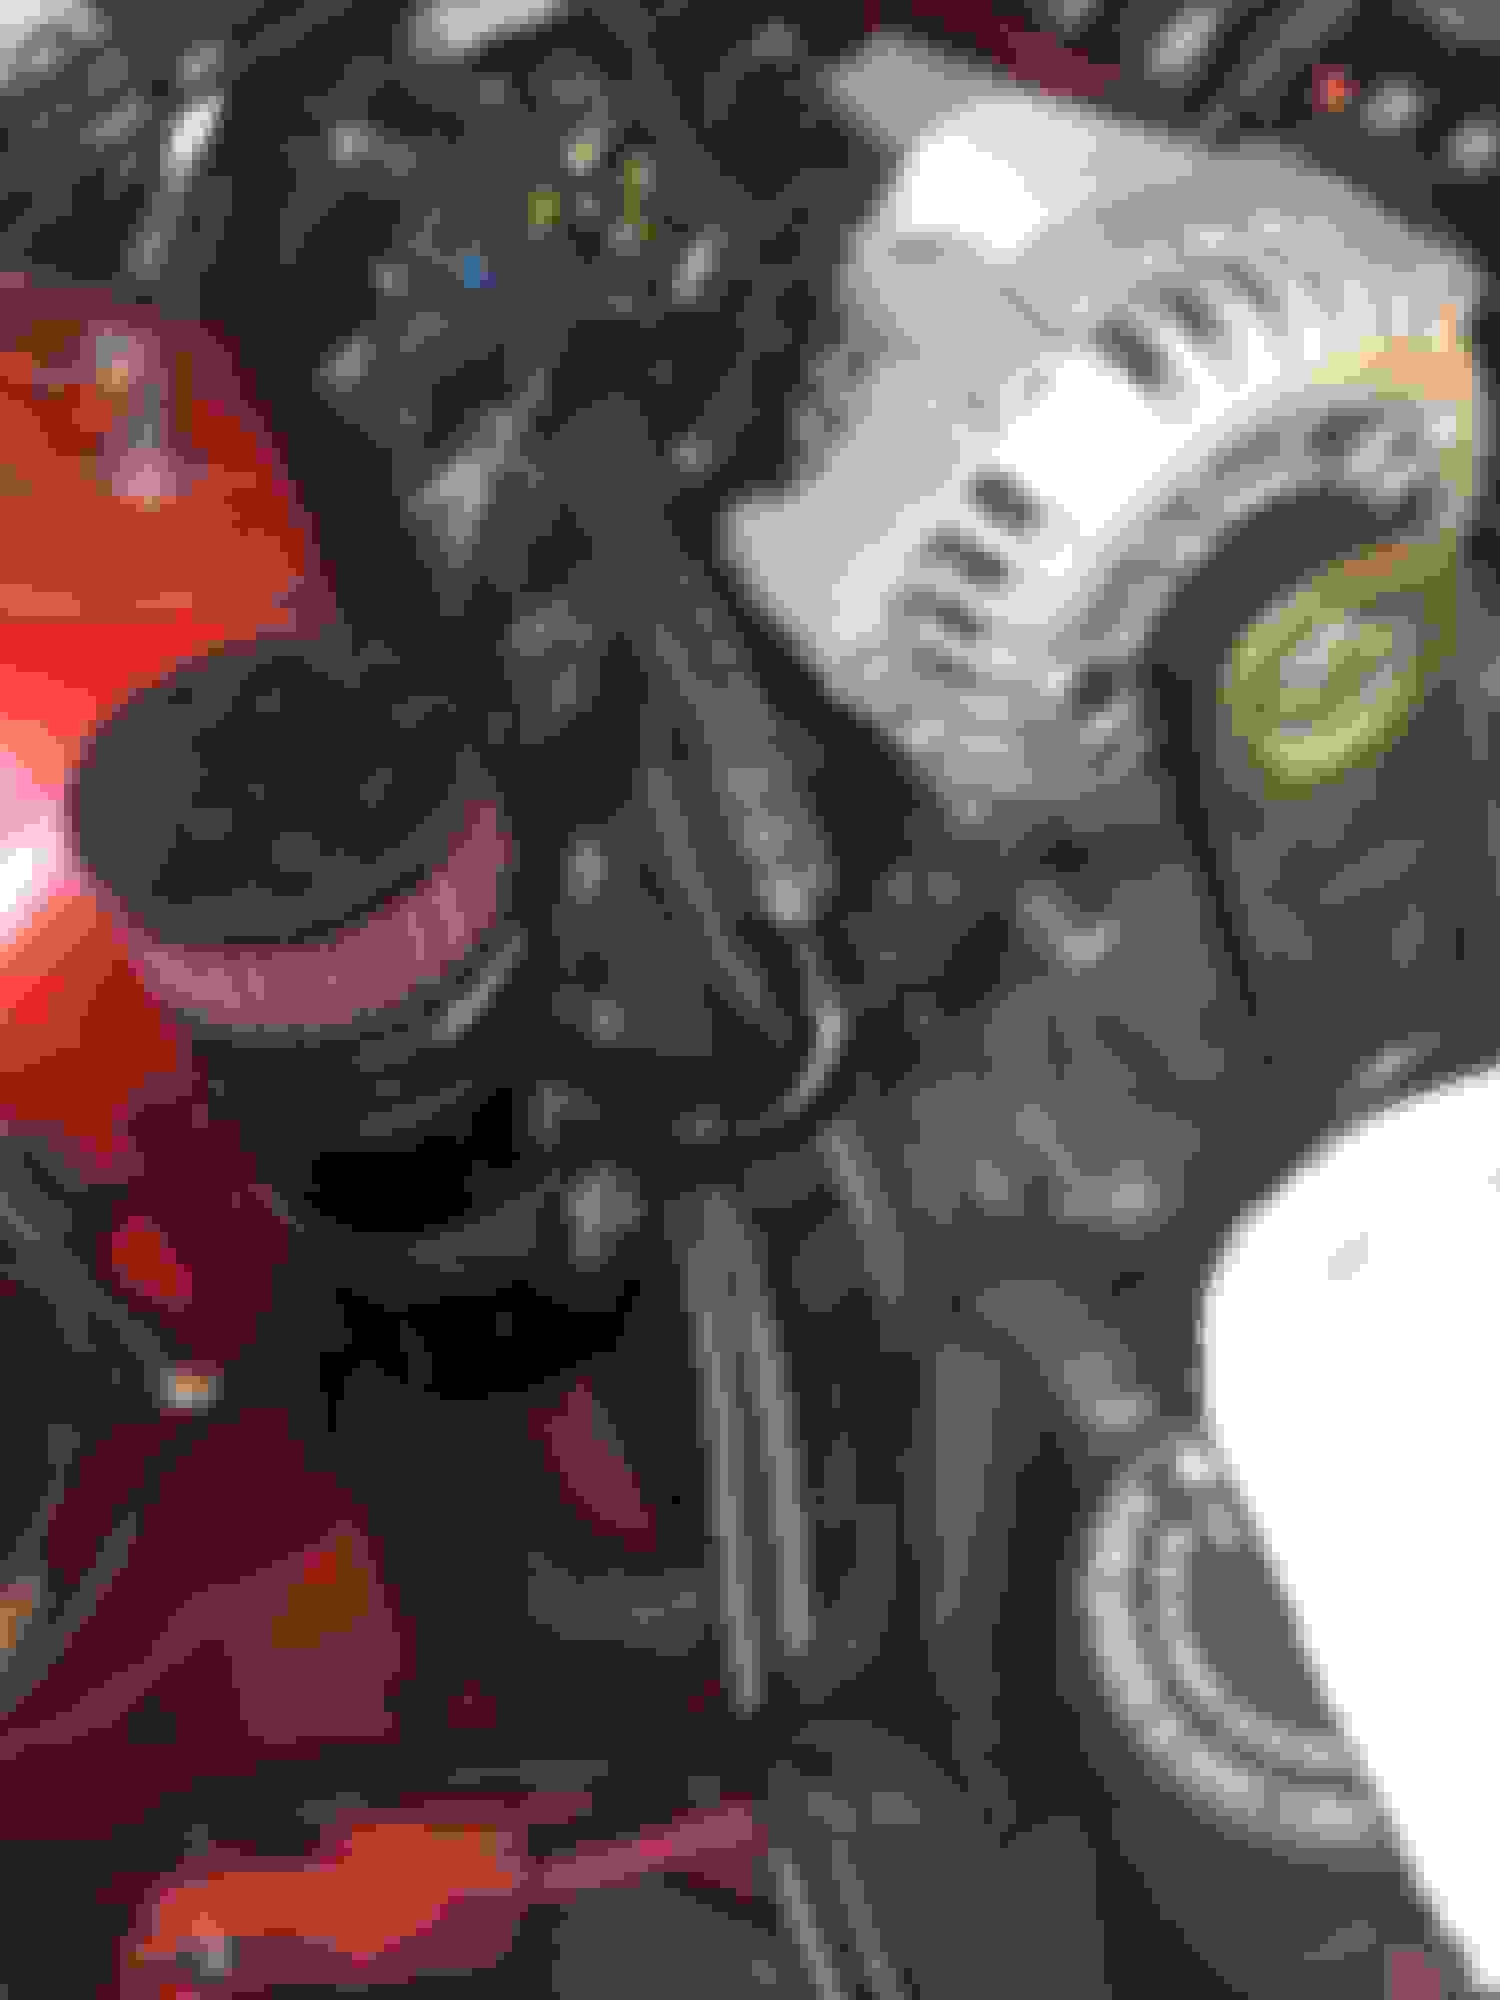
I did have to reverse the fittings on the can for my setup, and had to rotate the components inside the can so the correct fitting went to the center of the can, and the can would work correctly. Just reversing the fittings would reduce the effectiveness of the can. I at first didn't realize the one fitting contained a PCV valve, I thought it just to be a 3/8" hose barb. So I mounted my factory PCV valve on it. Later realizing I had double valves in series, it would work, but is redundant.
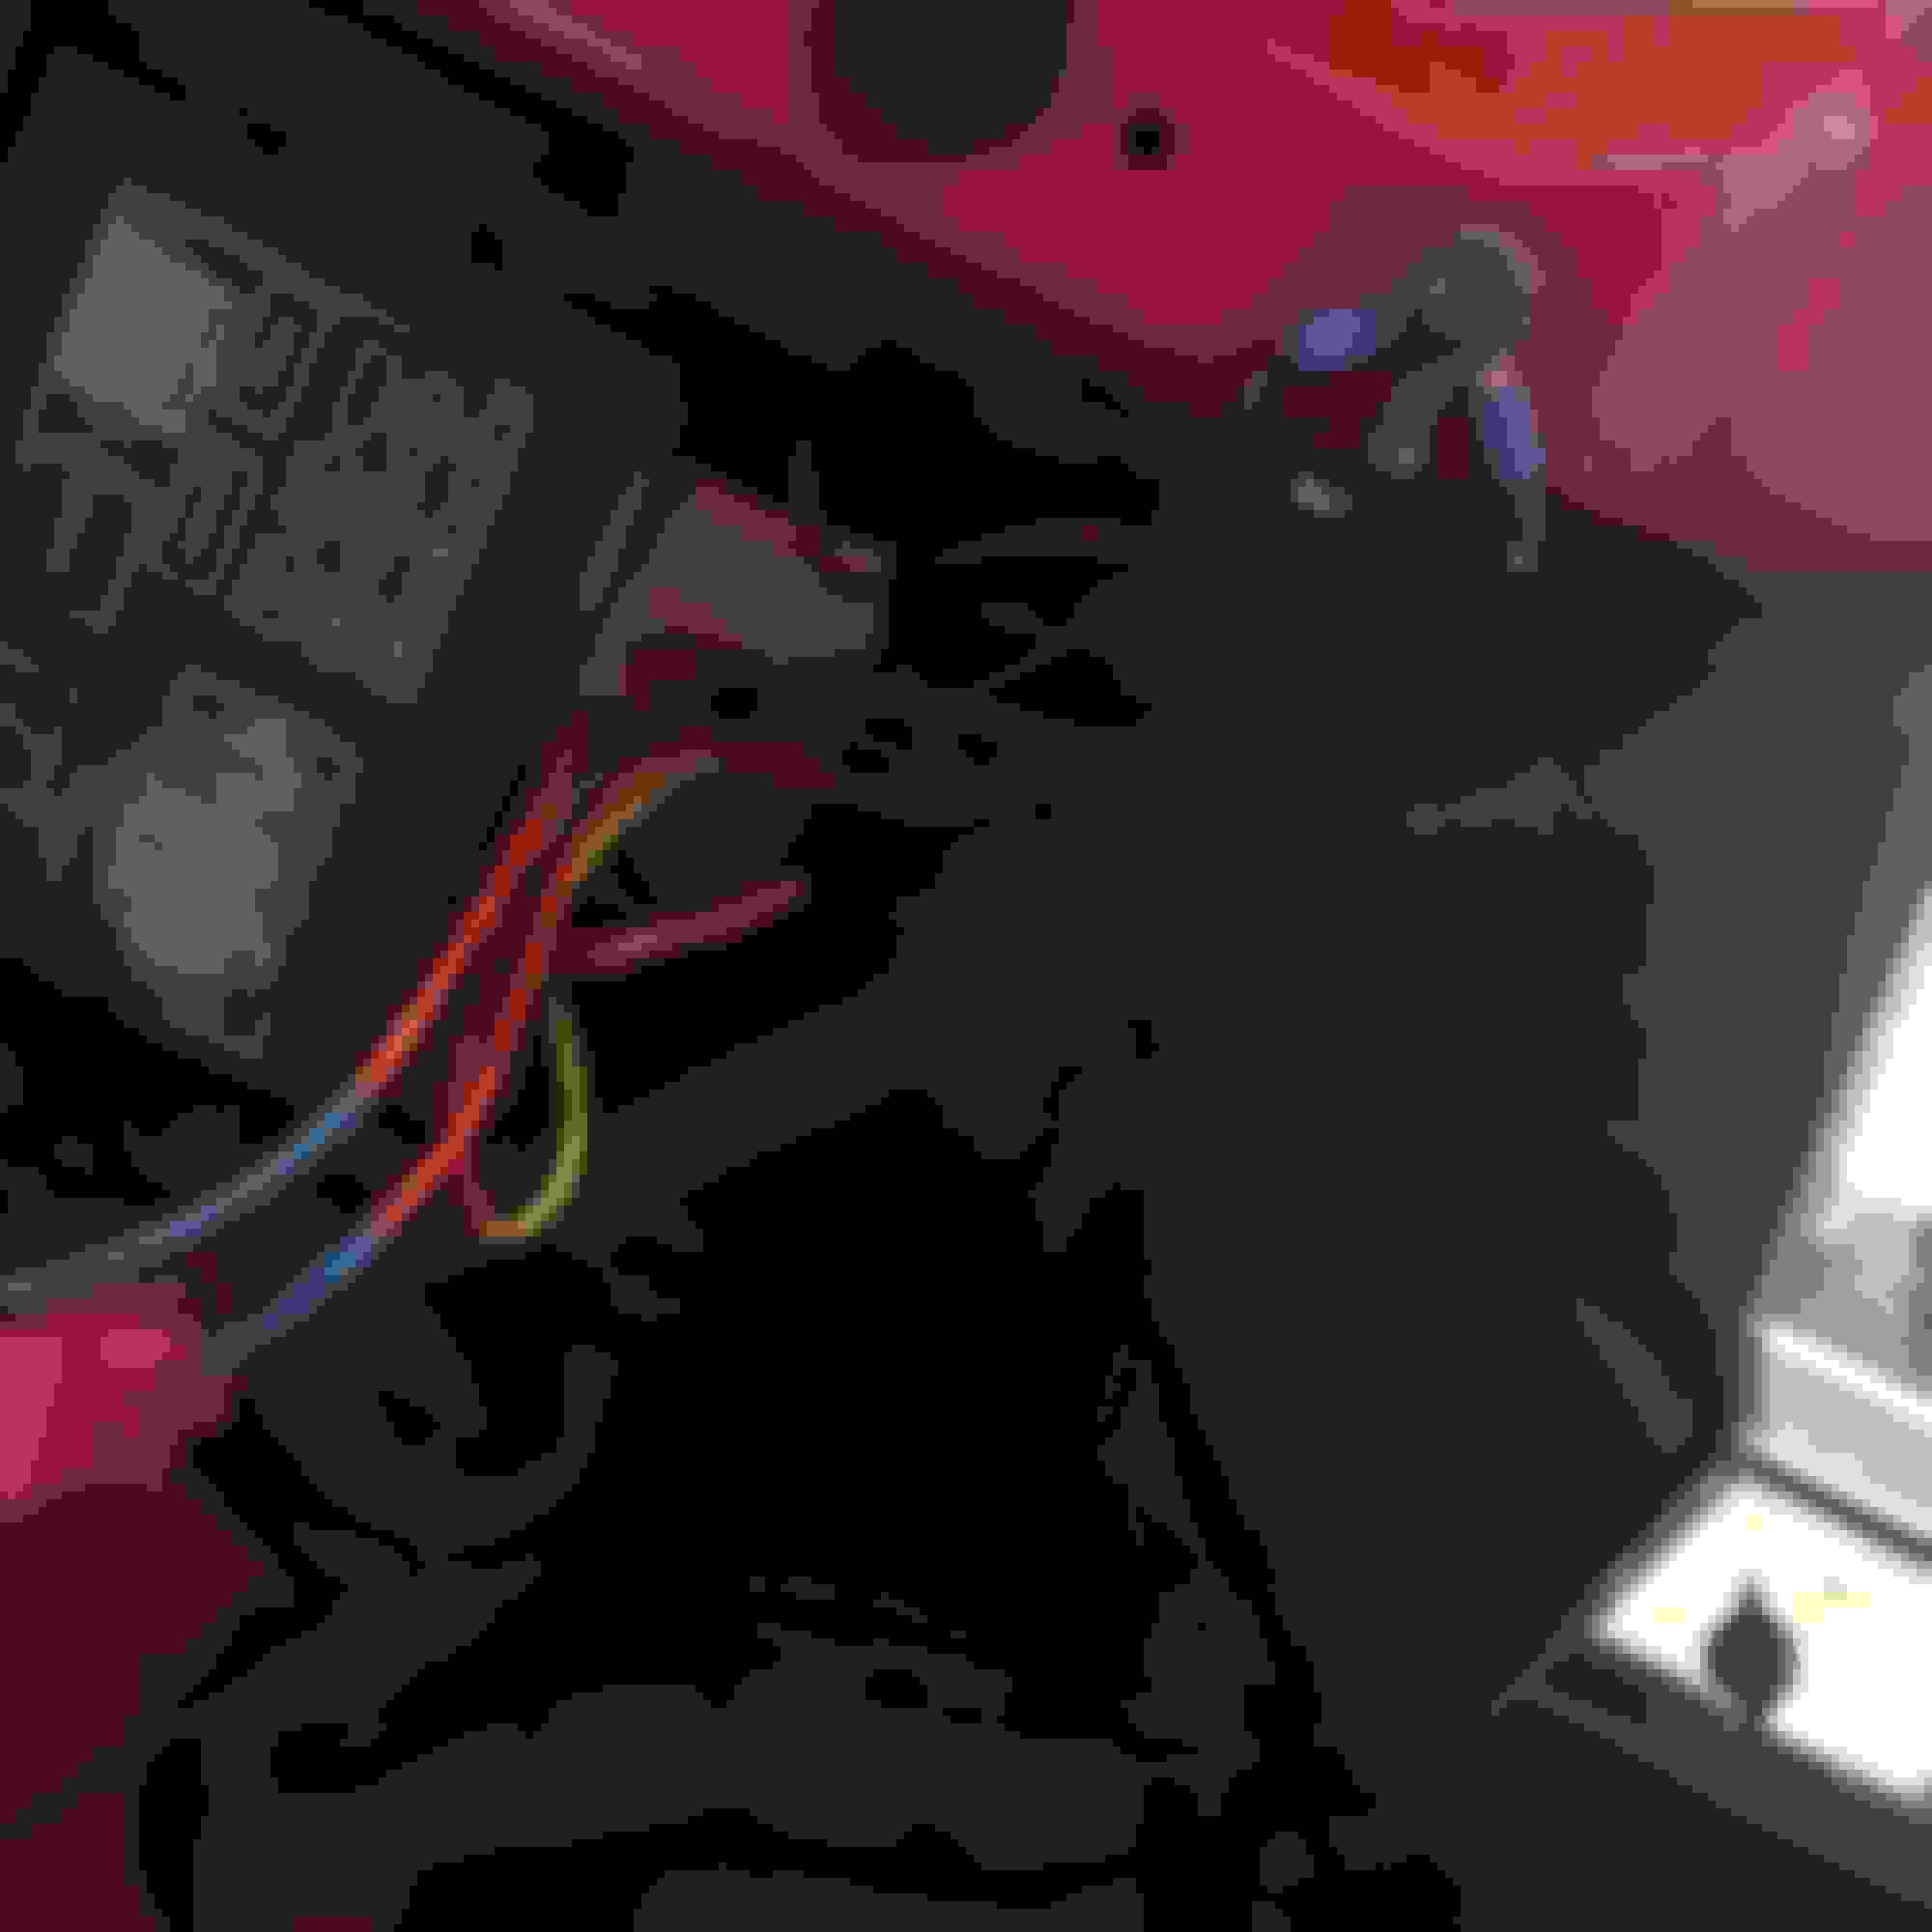
Well I figured out I was a dumb *** and didn't need that valve on there. This shot does also show the alternator wires I made up though. I cut about 2 feet off the factory alternator, and terminated it with a 6 gauge 3/8" ring termination, and put it on the alternator. Since the alternator moves closer to the battery this actually cleans things up. I did make a new trigger set up though, I took the factory weather pack connector apart, and pulled the old wire out, the little red one. I traced it back as far as I could in the harness and spliced my new black wire in. I covered it in 1/4" 300F loom, it looks really factory.
Well now since I'd decided to use this location, I set about modifying the factory bracket for the AC dryer to be a catch can bracket. To use it the way it is would be bush league, so to speak.
Well it started like this.
I put it in the vice and cut off the existing bands, and cut the top down a little, it doesn't need to be that tall.
Then I needed to cut out a spot for the sight glass, because of how I had it clocked or indexed in the car for the fittings to line up where I wanted them to.
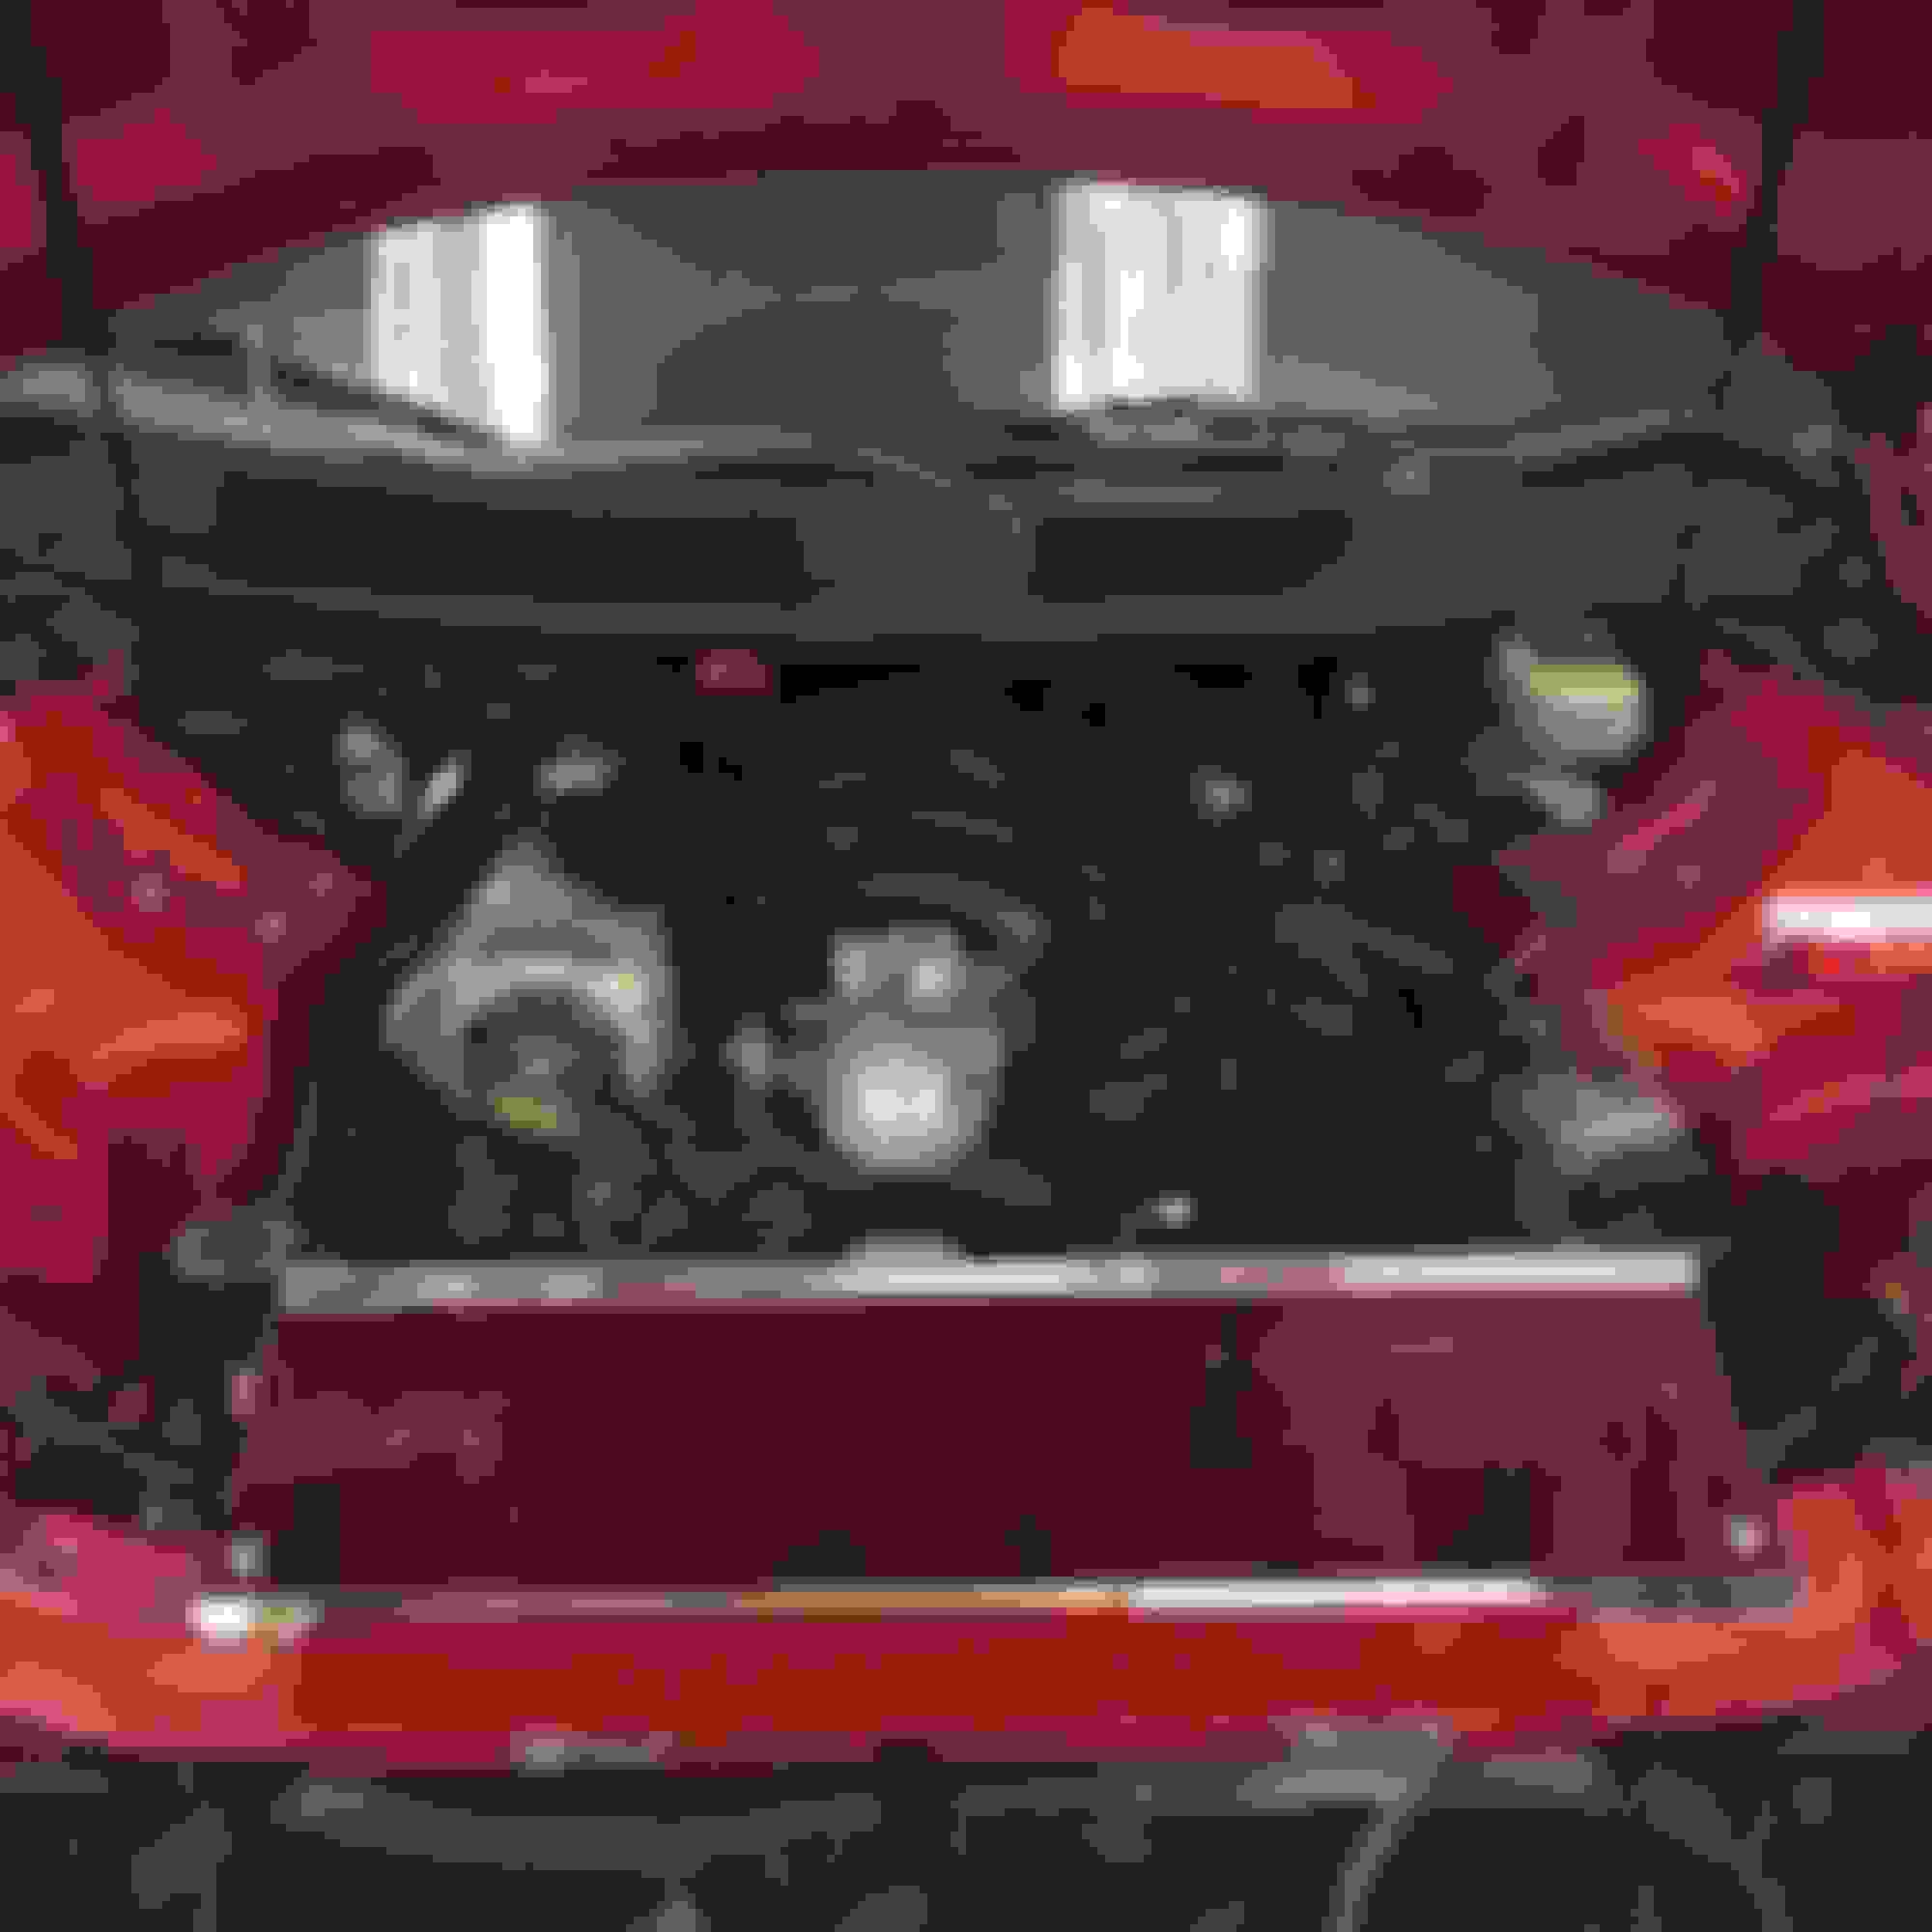
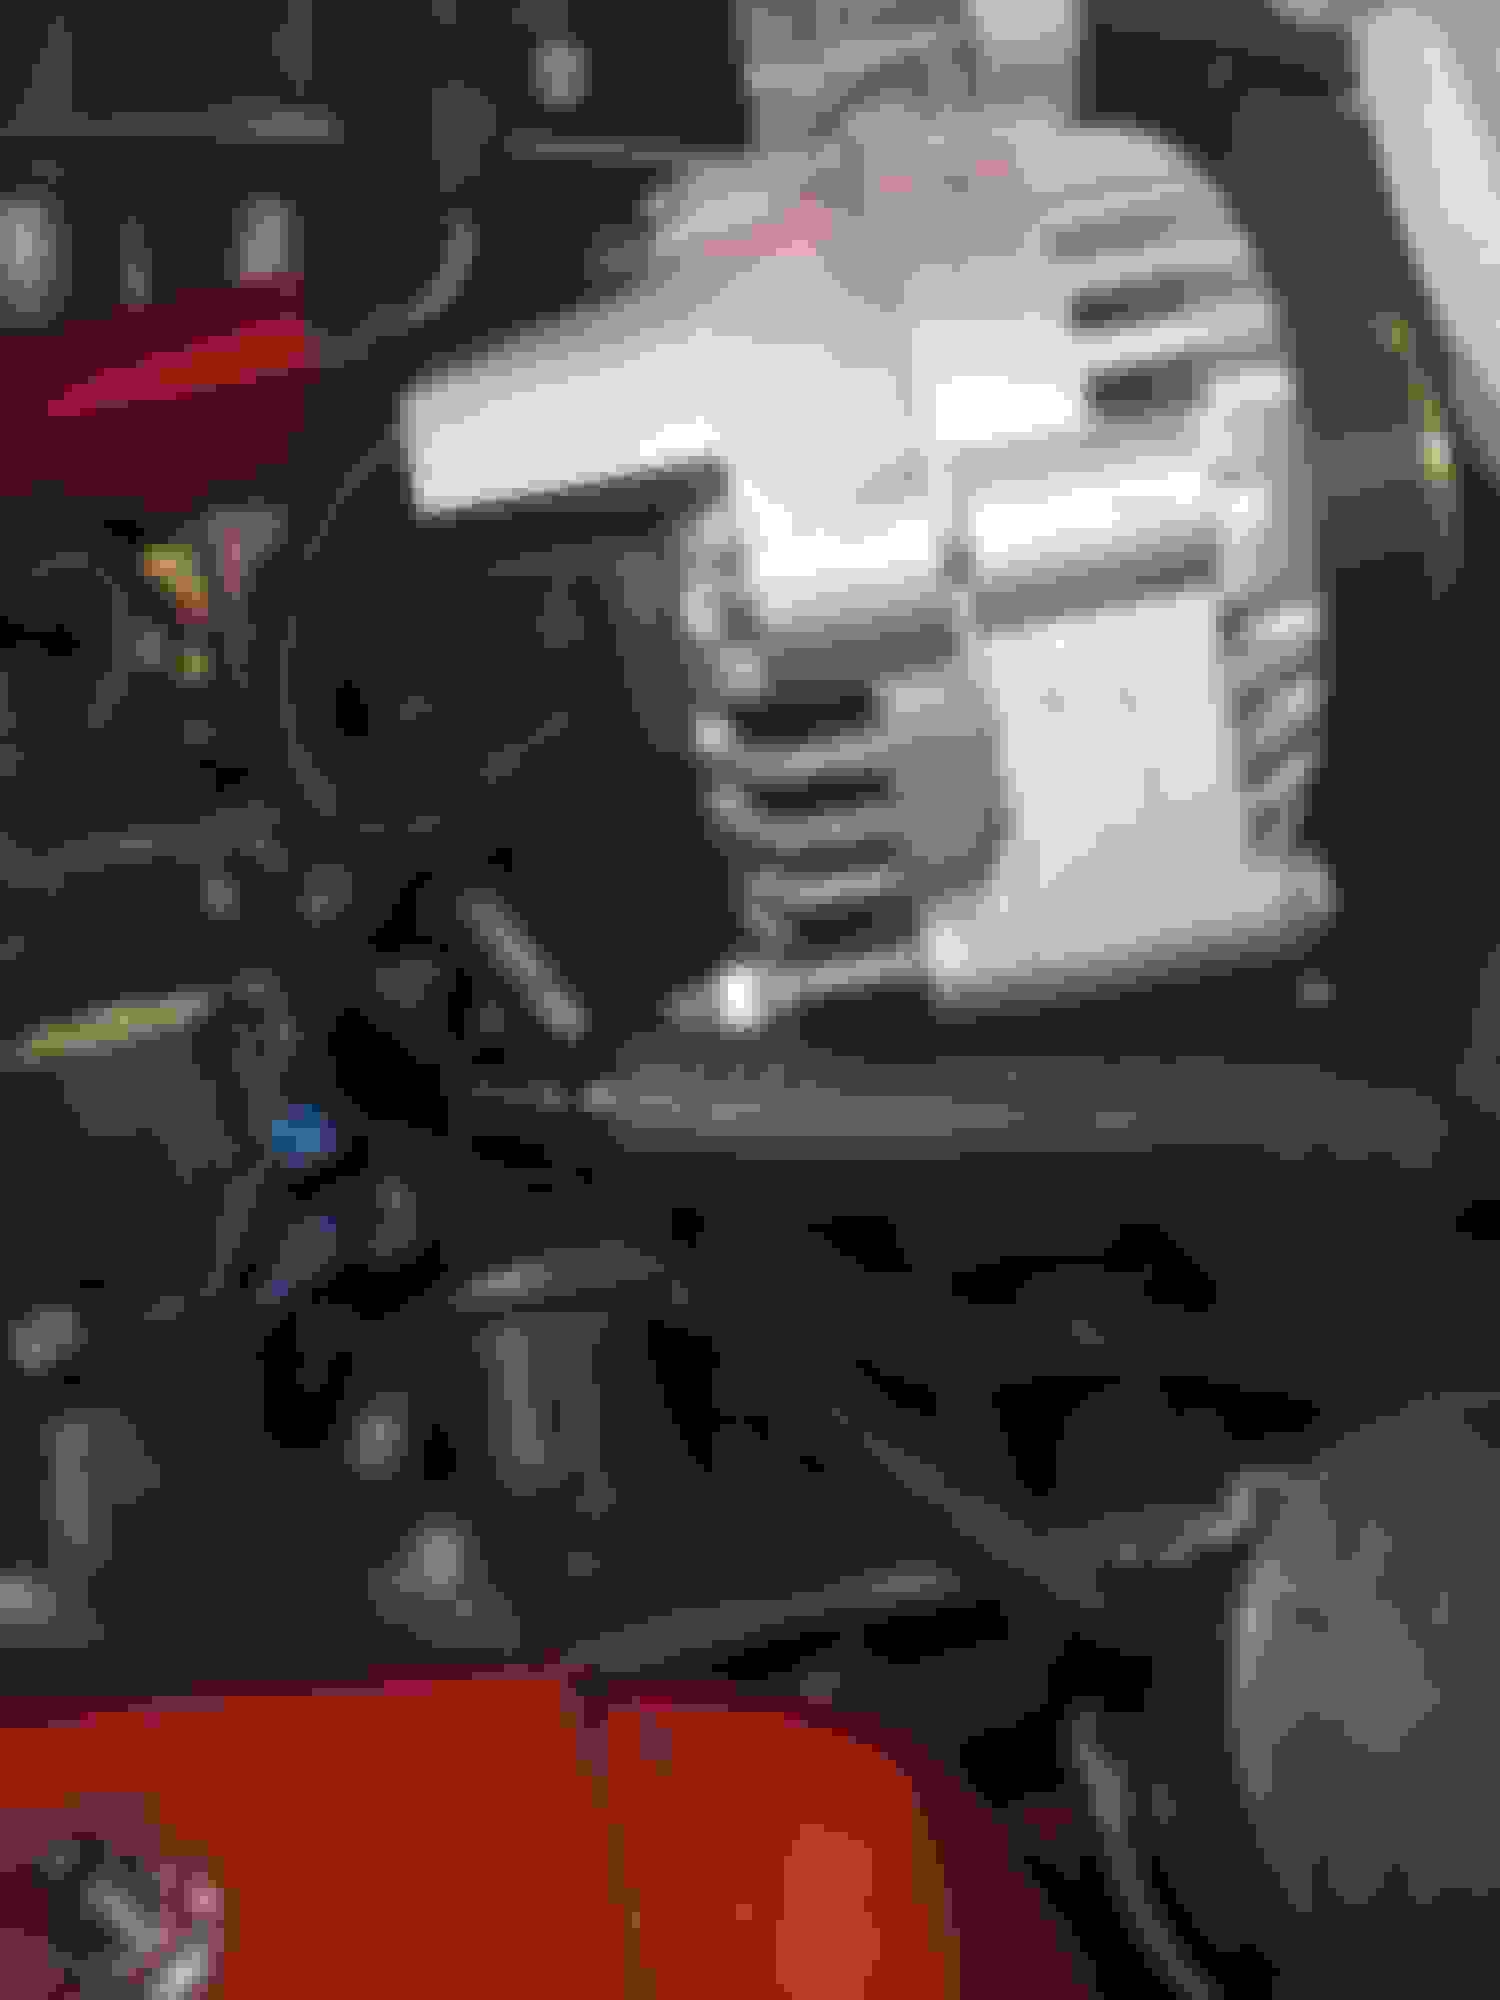
Now back into the car with it, I'm very happy with how clean the plumbing turned out on the "Dirty side". Another great shot of my factory looking alternator wires
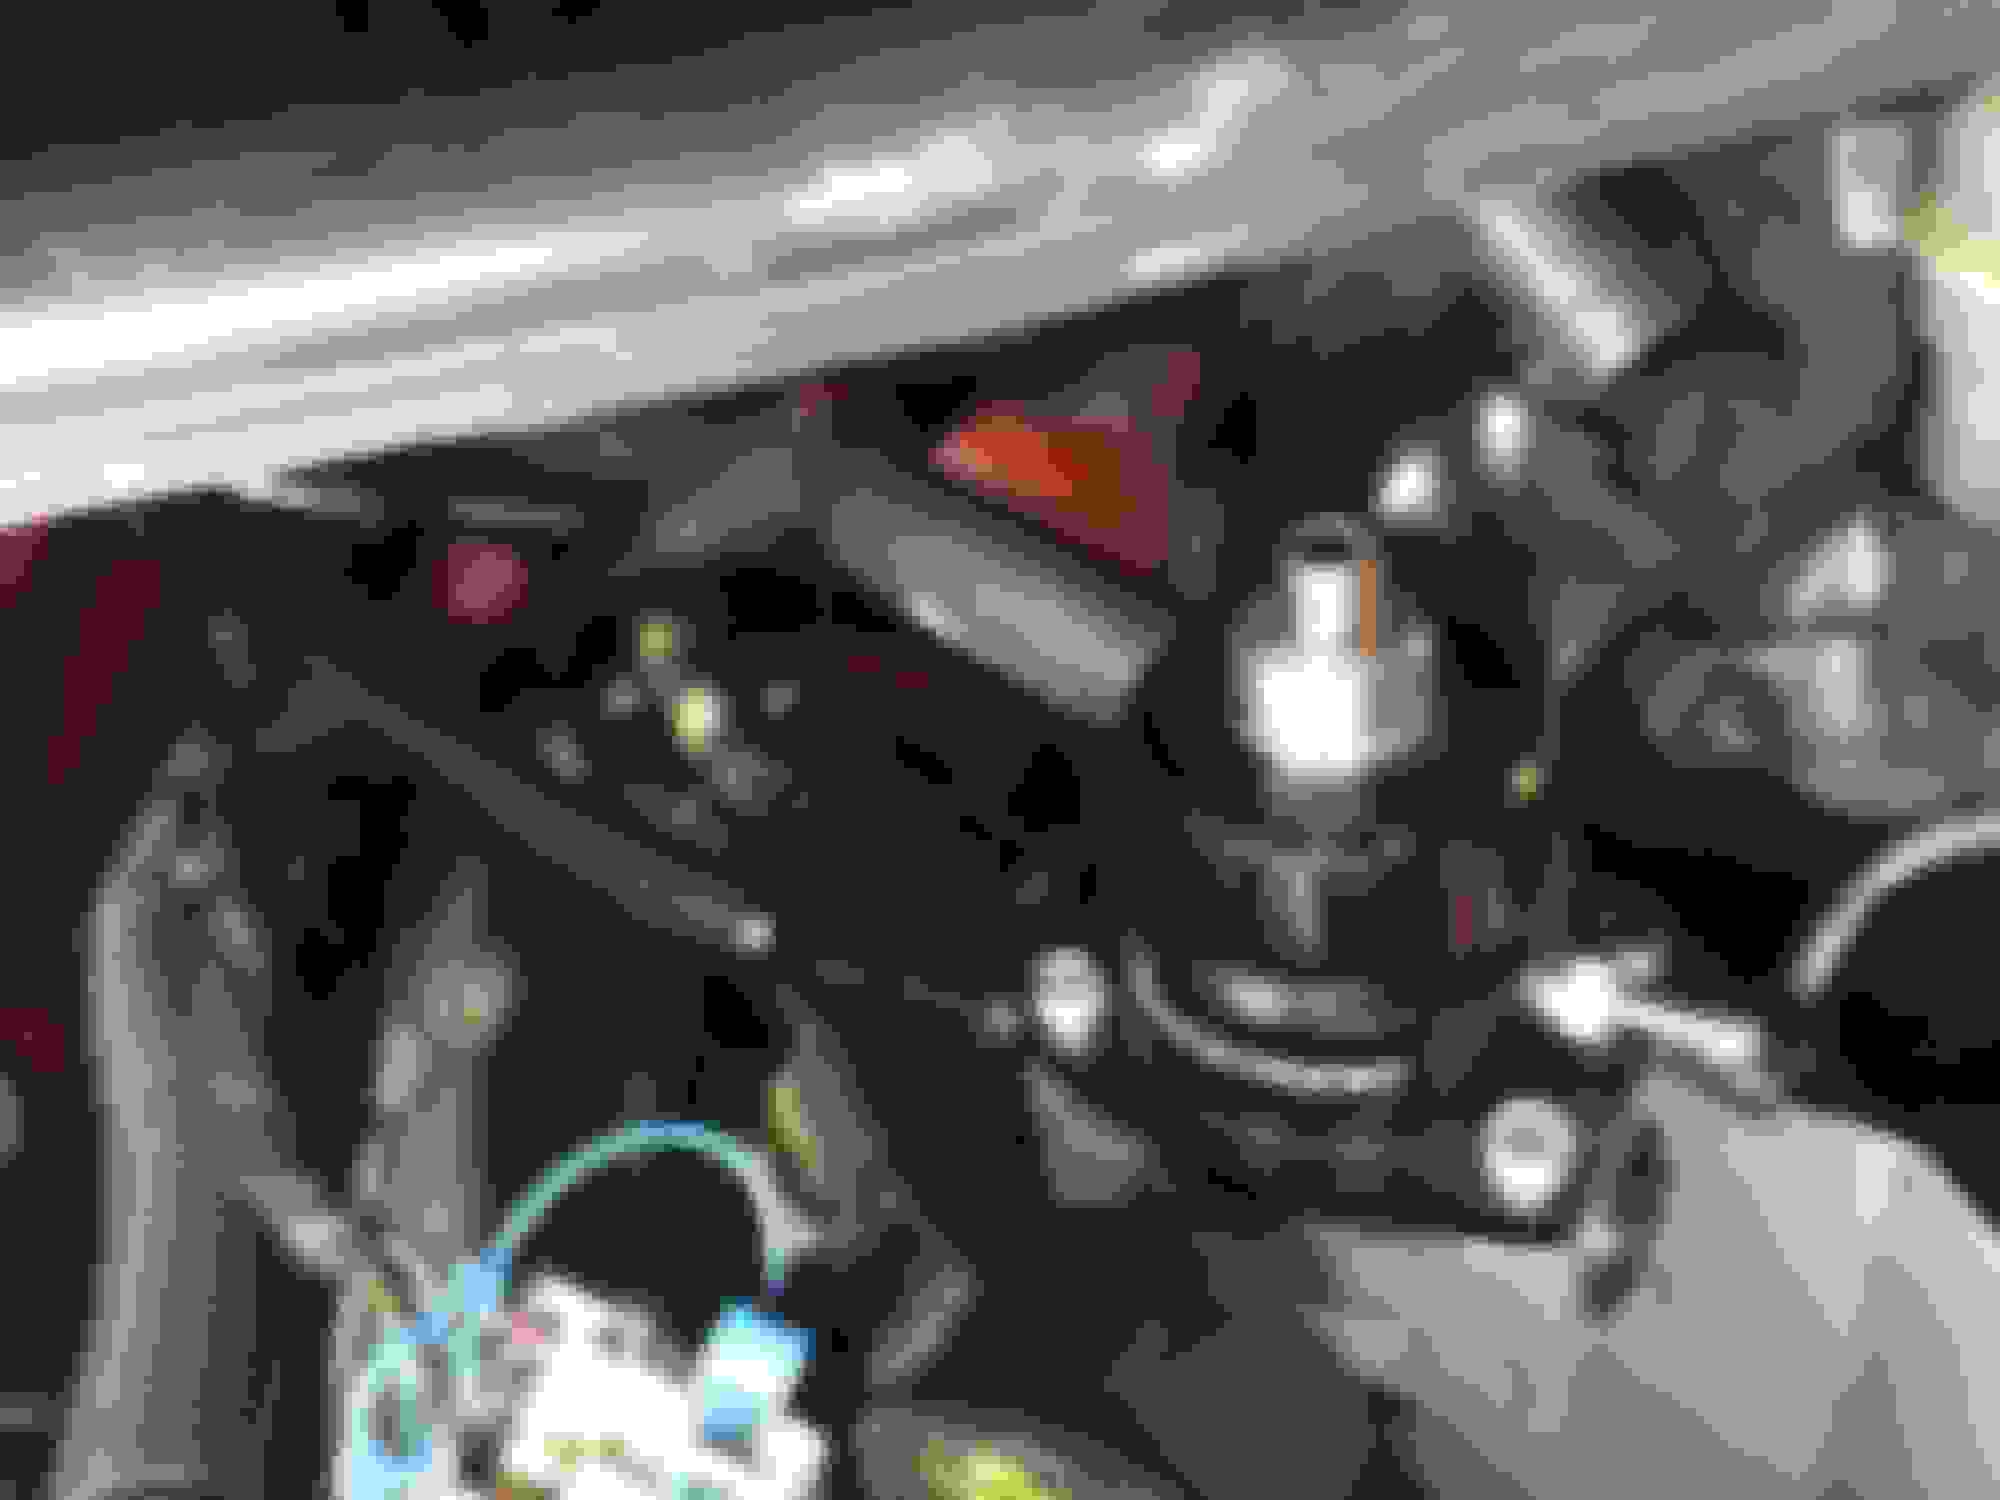
For the clean side, since I've gone SD, I don't need to worry about unmetered air, I'm just going to pull in air through a filter routed through a 3/8 hose. I used the factory PVC components here. I set up the hose, but waiting for the filter to get here still.
I never did clean up my mess though. I really need to stop and clean up the shop, but I'd rather keep making progress rather than spend a day without progress.
I've got more done, I'll put together another post later today, or tomorrow, getting it up to date.
Well I still wasn't happy with how my Racetronix fuel rails fit. There was contact with the intake, basically it is because they are so large, they are 3/4" inside. The problem this causes is that they hit on the intake bosses like so. The plus, well in the case of fuel, bigger is almost always better!!!
So I notched all of the rails with a die grinder. There is lots of material there in the bottom of the rail like that, so there really is no concern about breaking through.
Now here are some photos of the fit afterwards, the injectors fit nicer, and the bosses for the intake bolts nestle nicely into the areas I notched.
Well the next thing was the ol' Darwin think kicked in. I realized I'm building a car capable of about 200mph. I'm looking at rusty old brake lines, that are 19 years old. Not really related to the turbo build, but kind of an essential. When I look at brake lines like this I get nervous. Lots of cars have them, but mine won't.
The solution, all new stainless brake lines. Cost about $300 for everything, except the hoses. They look in decent shape? I'll probably replace them too, but they don't make me nervous, and replacing them is easy. Threading the prebent stainless lines through isn't so easy.
Don't they look great.
Well Knocked out the easy ones first.
Then I worked the main lines front to back, they did take a little ballet to work them through the chassis, trying not to disturb the bends.
Finally got to the back.
Inspecting the lines that came off it, I'ma call this the "life saver" mod!!!
Well I have the worst 2 done. I still need to fine tune them a little and attach some of those clips that go between 2 brake lines to keep them parallel, but they look pretty good, and I feel safe with them.
I took advantage of a couple Black Friday sales, and bought a new front K member, so I'll put the new front lines on with it, hopefully this weekend.
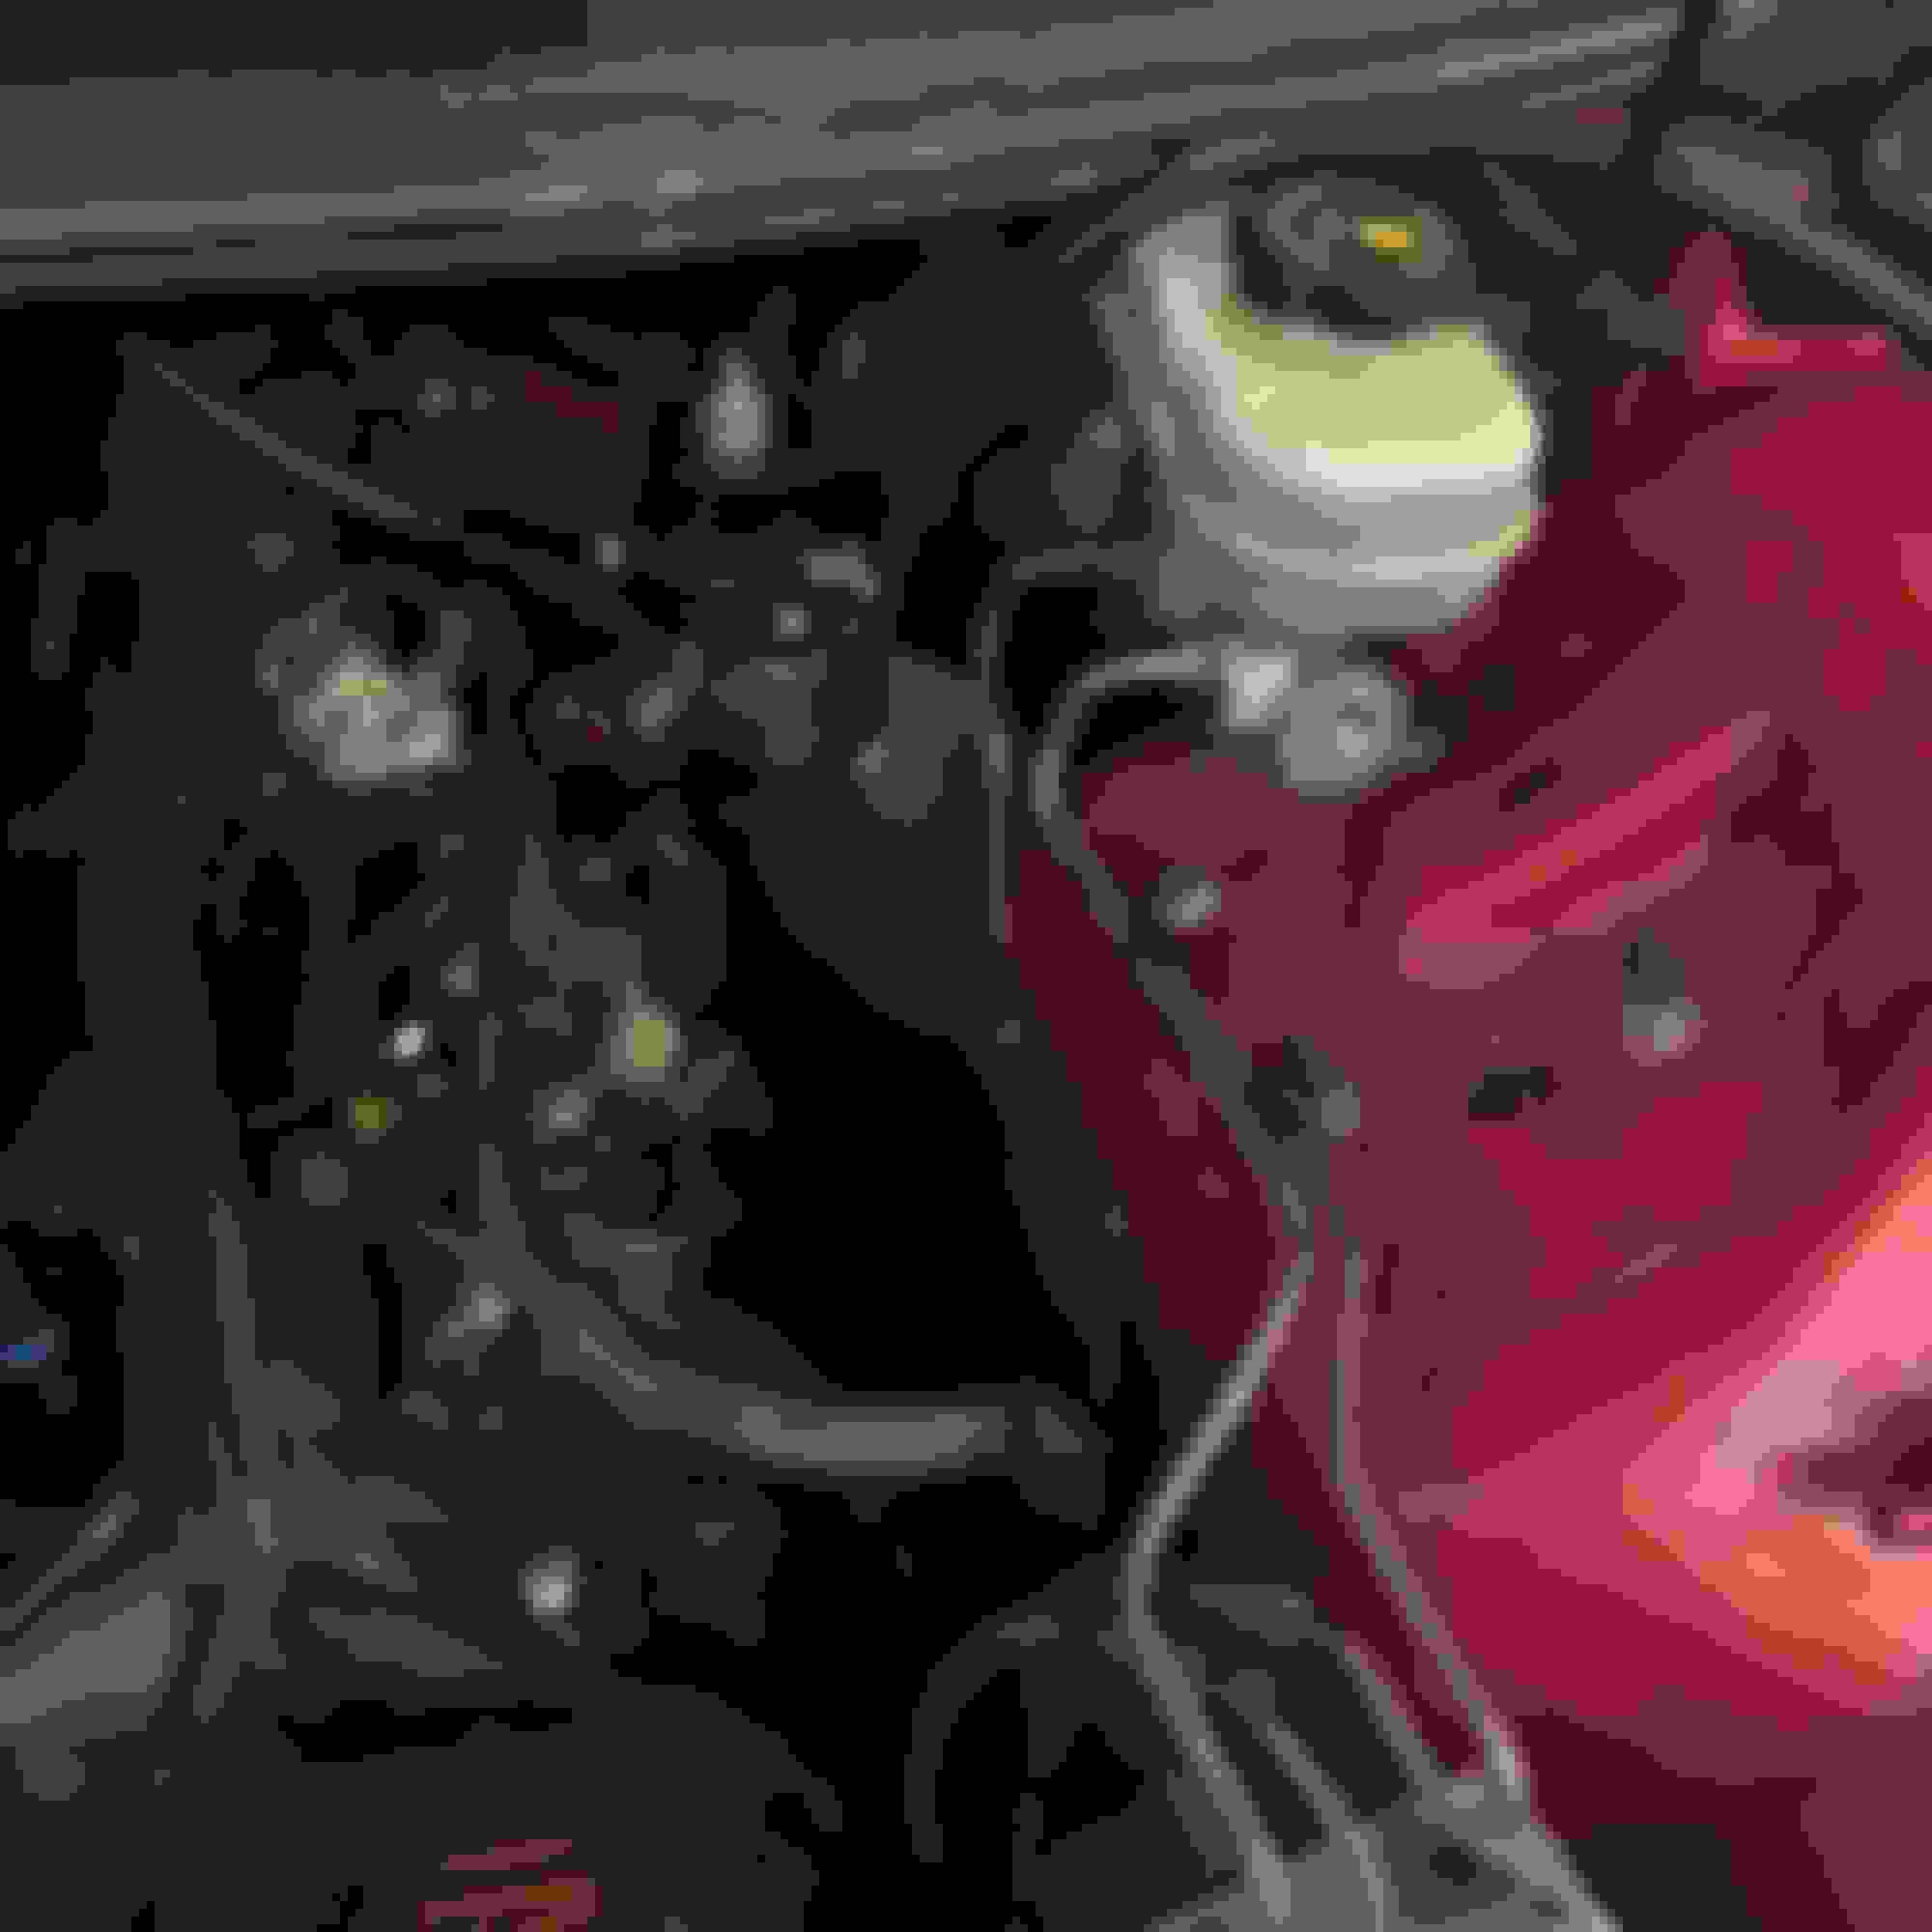
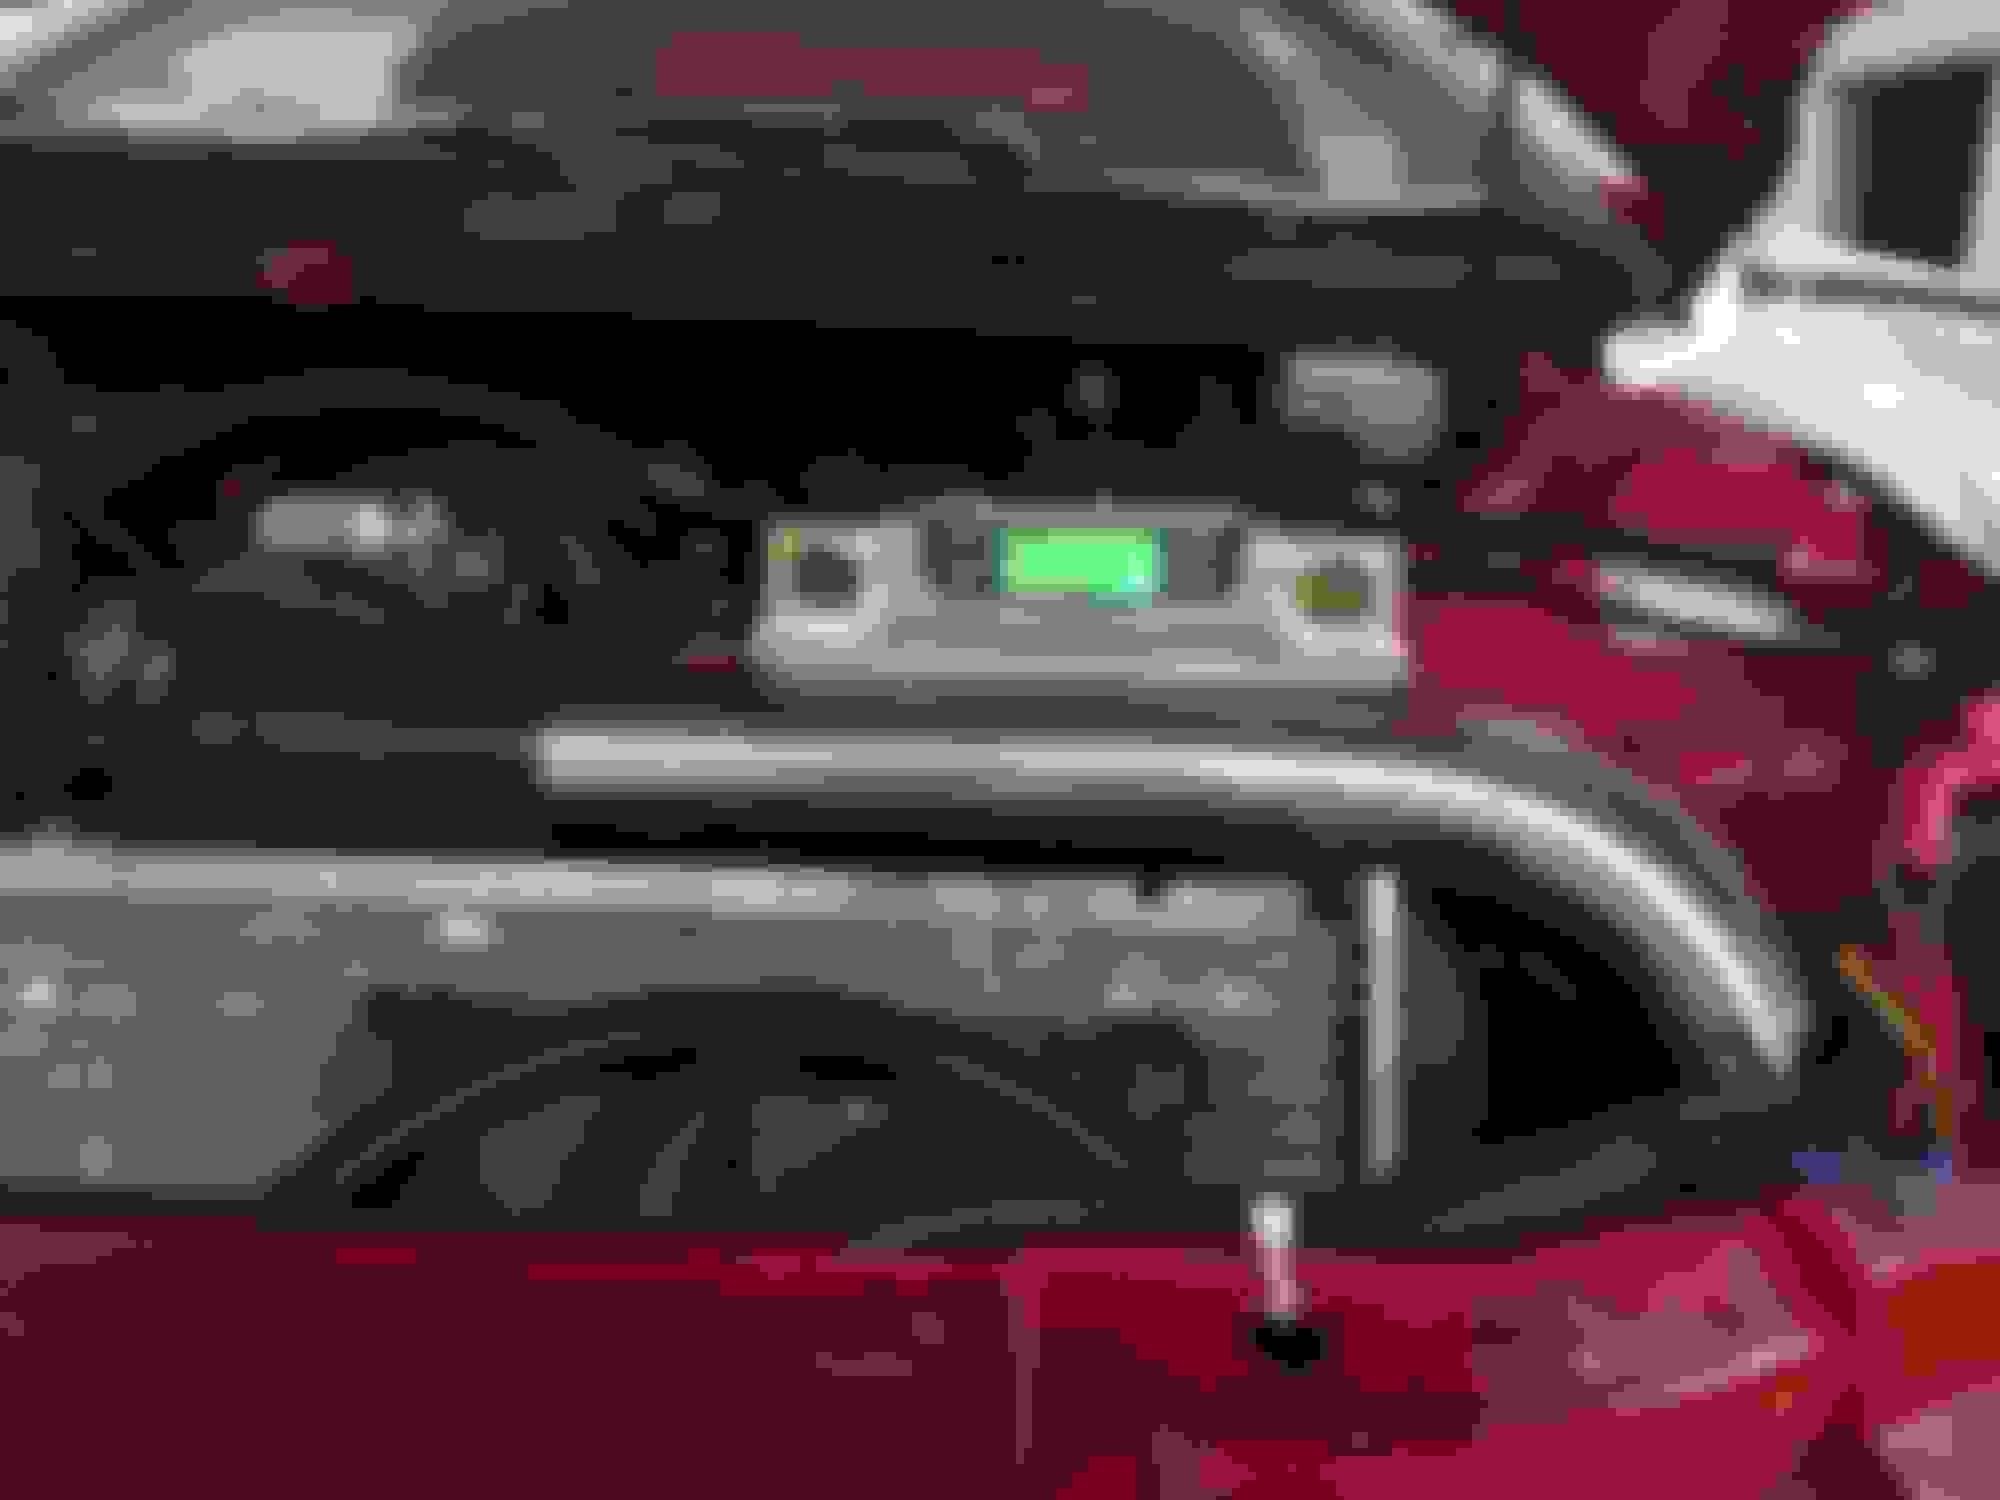
I also installed a billet aluminum vacuum block, I T'ed into the 1/2" line that runs from the back of the intake to the brake booster, with a brass T, and clamped it to feed the vacuum block. I will run from the vacuum block to 4 places, the BOV, the BRFPU, the Hobbs switch for the 2nd fuel pump, and the MAP sensor for the Meth injection. This should keep it tidy.
I also spent some time trimming silicone couplers, and perfecting the fit of the cold side piping, adjusting tube depth in the couplers etc. I went so far as to use an angle finder to align it as close to perfect as possible.
Thanks for reading, until my next update. Next time I hope to put my "Black Friday" parts in.
Well as I said I took advantage of some of the black Friday sales and bought some suspension upgrades.
Prior to this, the car had UMI weld in subframe connectors, adjustable rear lower control arms, rear control arm relocation brackets, an adjustable panhard rod, and a heavy duty torque arm mounted to a cross member run between the SFC's
I for the most part I had liked UMI, but went a little different way here. Mainly because I liked the design of the BMR turbo K-member better for my purpose here. It has more space for a down pipe to run outside the motor mounts than any of the UMI K-members.
I added a rear Viking coil over kit. I bought them from BMR, and just included them with my K-member order. However they came with UMI manufactured mounts, strange I thought they were competitors?
I added a front Viking coil over kit. I bought this from UMI, because they have a double shear upper mount, and I prefer that to the shock with the bolt on the end of it, I rather have the bearing upper, just like the rear shocks. I would have included this on my BMR order, but I don't think they offer this type mount, I didn't see it on their website anyhow.
I bought the BMR turbo K, along with upper and lower control arms.
My wife was out so I put together the coil overs together on the kitchen counter top,
Then I took them out to the garage, coated the threads in anti-seize. I pulled the factory shocks out. Total time took about 2 hours for the install, its basically a bolt in, and just have to drill a couple holes to mount the lower brackets on the rear axle housing.
Then moving on to putting in the turbo K-member.
I got it up jack stands, on my lift, then got the tires off, and began stripping out the stock parts.
Well it sure was gritty and nasty under the factory K-member. I bet there was about a half pound of gravel and dirt trapped in there behind the rack, and such. Good opportunity to clean it up a little, but with the turbo K-member access will be better in the future to keep it clean, and not trap debris in there.
They should call this the Nasty or Ugly member, K doesn't do it justice.
Well I got the K in, and put the rack back on, and worked the new stainless brake lines in. Stripping things out and getting to this point has taken me approximately 5 hours. All work was done alone, getting the K-member in by myself without an extra set of hands to hold it was a little frustrating, but doable. The turbo piping fits really well.
After that I moved onto removing the upper A-arms, and shocks and springs. One side came out easily, the drivers side I had to remove the master cylinder and drill out the bolts, through the top of the shock mounting area. They were T50, and they stripped out, no big deal, just took about 1/2 hr time. Then I installed the lower A Arms, still need to torque them down.
While I was working up here with the starter off, and I had extra space to get a drill in, I installed a couple of cushion clamps on my trans cooler lines. I drilled 1/8" holes, and used #8 sheet metal screws to hold the clamps. I like these way better than zip ties.
I'm also liking the look of all my new stainless brake lines, they look pimp. I'm not sure the photo does them justice.
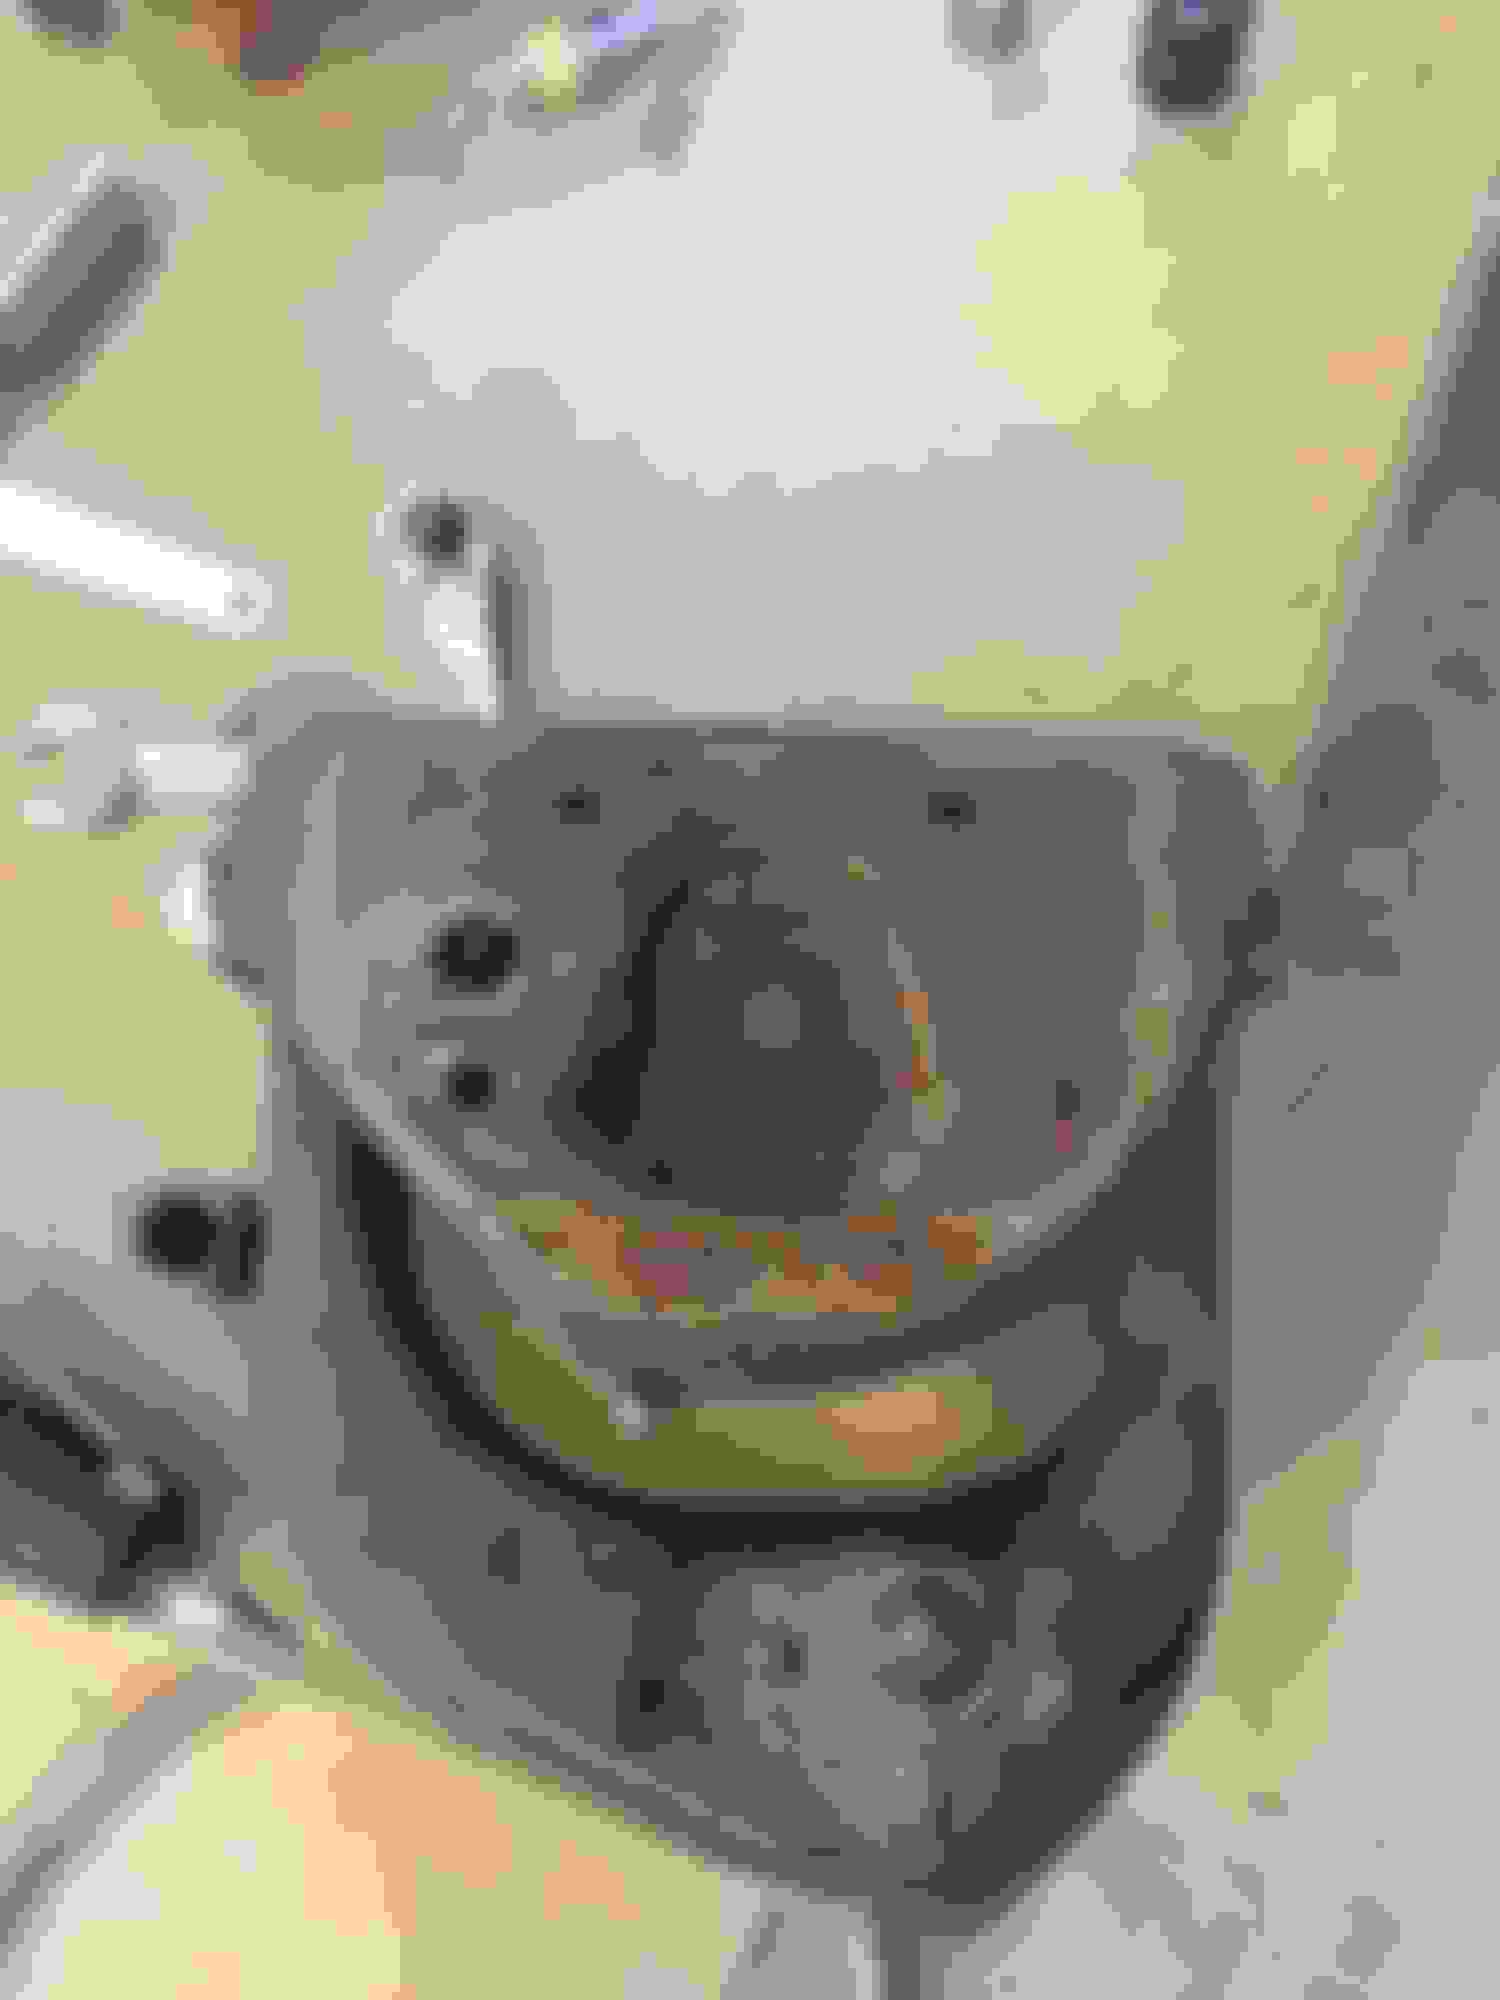
Well now I have a problem. The rubber mount at the top of the shock holds moisture and trash in there against the mounting plate for the upper control arm. Mine are very rusted, and I don't want to reuse them. I can't see bolting a nice new upper control arm, and shock to such a piece of crap. I've looked around and haven't see a source for new ones. I have seen some used upper control arms available for sale, that include this plate. Some I have found are in better shape than mine, but I'd prefer new mounting plates if possible. Does anyone know where I may be able to order these? See my nasty one below. Fortunately the metal above this plate is fine, I guess there was enough of a coating above this plate so the rust didn't really go up into the shock tower.
Thanks again for reading. Next I'll move onto putting the rest of the suspension back together, after I find some better upper control arm mounting plates.
Well I put it all back together now, and loaded the tune I wrote. Using a 2 bar SD tune with HPTuners.
It is alive, its a little louder than what I thought it would be without a muffler, but maybe I can live without one. Thanks to everyone who answered questions, or gave me encouragement to get this all together.
Now its time to fine tune it, and be ready for the track to open in the spring!!
It has a pretty loud idle, it sounds pretty muted in the video, but it rattles the garage. Just dumping the exhaust behind the K member with no muffler for now, I will probably add something there though. I'd think it would attract the attention of Johnny Law as it is.
Surprised it's that loud. Mine is a 4" downpipe also dumped at the k-member 7875 turbo and it's pretty quite at idle. Here's an idle clip.
Beautiful car btw.
What is your idle set to. I noticed a huge difference between 750rpm and 950rpm. At 950 it's pretty loud but at 750 it's very quite, that may be worth trying.
Your correct on the idle thing, I'm at 950, as I refine the tune I may be able to get it down a little, but I hate that thing where it stalls when you first put it in gear if you have not let it warm up enough.
I finished up my bumper cover tonight with a 6LE grill with the new gold bow tie. I like the way the gold contrasts with the red and the black. I cut out a considerable amount of the area behind this grill, it should have close to the same amount of air flow to the IC as just having it cut out.
One area of concern is I have an interference problem with my BoV on the Huron Speed cold side, and the parking light bucket on the bumper cover. Anyone else have problems here? I'm thinking I'm going to have to trim it a little, or move the BoV?
Thanks 2000GTP, are you still in progress with your build, as your sig suggests, or just haven't updated it? I looked to see if you have a build thread yourself and couldn't find it. Even though my build is pretty much complete, it will always be a work in progress. If I see on another build thread where someone did something that I like better than the way I did something, I make changes. If you have any questions feel free to shoot me a PM. I don't consider myself an expert, but now at least I have had the experience of installing a Huron T4 kit.
One thing I also intended to include in this thread was where I found a solution to my problem with the rusted out upper control arm brackets. It has its own thread here.
I am in the beginning stages of my build. I purchased a Huron kit about a year and a half ago. Sold it awhile back because I drew up some idea that I would do something different and try to do a Maggie setup instead. Better judgement has prevailed due to the cost of a Maggie being super high for a properly run setup, so I am in on the Huron V3 group purchase. I am currently assembling a 5.3 iron block with forged rotating assembly, installing an Alky Control meth kit, and getting ready to pull fuel system in place of double pumper setup and aftermarket plumbing. I figure by the time I get most of that out of the way, my turbo kit should be arriving and I can bolt it up. I will do a build thread once the project is completed as my progress comes in spurts due to demanding job and little kids at home.
I'm hoping to get at least the car dyno tuned before the stock trans and/or rear end grenade, which at that time I will upgrade them.
I got the front bumper cover on the car and got things trimmed so it fit nicely. I still have to put the black plastic on the bottom under the fog lights, but that should be easy.
That is a boss looking grill. I should have done that a long time ago, even before I needed the extra air flow for the intercooler.
Well running an open down pipe was cool for a while, but to be honest I think I would get a ticket if I drove in into the city that way. I may still with this Borla set up, but it is much quieter.
I decided to go with a Borla Pro XS muffler. It is a strait through design, and I'm told they don't really lose any power. You can see right through it easily.
My list of materials to fabricate an exhaust consisted of
1) 3" v band clamp flange, I had a flange on the downpipe from the turbo kit, and the kit came with a clamp, but no other half to the flange, so I had o6t buy one, Vibrant $25
2) 180 degree mandrel bent 3" 0.065" walled stainless $55
3) one 4 foot section of 3" 0.65 walled stainless $50
4) a 3" Borla PRO XS series muffler with offset entry and exit $95
Honestly this is a mellow, but very deep sounding exhaust system. If I didn't know it, I'd think some one swapped a big cubic inch BBC into the car from the way it sounds.
Well, I hate fabrication work!! Why, because I'm a perfectionist, and my fabrication skills, are quite frankly rusty. I do it so infrequently, my welding gets sloppy, and I end up having to grind them to get them to look nice. By the time I finish a little job like this I'm feeling better about my technique. I really probably need to practice welding for an hour or so before I start a fab project. It's been a couple years since I've built much.
Here is what I started with.
I took some measurements, both length and angles, and cut out and tacked together what I thought would work.
My Millermatic 211 is one of my favorite toys, I just need to use it more.
I got lucky I guess with my first measurements and hit it pretty much right on. It took a 15 degree angle to get the pipe to the right spot to locate the muffler where I wanted it.
Where I put the muffler, I can use the stock exhaust hanger to hold it on. I need a couple pieces of 1/2" round stock which I don't have right now, but ill bend them into a U shape then weld one side to the muffler and run the other side through the stock hanger.
Next I needed to make a turn down, from what was left of the mandrel bent piece I had. I remember how great the fox body mustangs with the GT exhaust used to sound, way better than the LX models, mainly because of the way the sound reverberated of the black top. I wanted that sound so I made a similar turndown.
I liked the way it fit, so I pulled it out and finish welded it all in my vice.
Then I'm put it back on the car. I still need to make up a hanger on the muffler to fit into the stock rubber exhaust mount but other than that Its a done deal. Not the prettiest piece in the world, but it fits well, and I have seen worse birdshit welds than those .
Like I was saying it has a nice mellow deep sound now, is it still a loud car? Well yes, but it is much tamer than that open down pipe was.
I've got a dyno rented for this Friday to finalize my tune. I'm going to make a couple identical pulls after I get it dialed in both with and without this exhaust. Basically open down pipe vs. how it is in these pictures. I'll be able to verify if what I've heard is true that there is no HP loss from the Borla PRO XS series mufflers.
If anyone likes what they see here I can put down some measurements, It should fit any Huron speed turbo kit that has the down pipe come through on the passengers side of the car. Basically the single T4 kits that do the AC delete.
Unlocked converter, through my Performabuilt 4L60E. 15 psi, 19 degrees of timing on E70. It was still pulling when I let out of it at 6600. I'm running the stock '98 computer, so I'm limited to 2 bar. If I locked the converter, and put another degree on timing in, I think I could be awful close to the 800 mark.
Nice results. What level trans did you go with? Also, so you have a sound clip by chance or your exhaust? I was probably going to go a similar route with mine and was curious as to the sound of that muffler.
I'll have to make a sound clip when I get a chance. I really like it, it is very deep, like you feel it in your chest type, but not obnoxiously loud. You do hear it coming down the street, but not in a crazy way.
I went with the performabuilt that is rated to 700 wheel HP, so I'm right at it.
I'm certain I could have tuned it hotter, I kept it safe. My AFR was averaging 8.3, on E70, which would be equivalent to 11.3 AFR with gasoline. I had no knock at 19 degrees timing, but chose not to try anymore. There is little to be gained after 19 degrees, It did pick up a ton from where I started though. First pull was at 12 lbs, and 13 degrees, and it made 580. Maybe there is another 15 hp, in it from more timing, but it may knock on a hotter day, or with a batch of fuel that is not as good. I could have got about 1-2 more lbs of boost out of it, there was still a little head space on my 2 bar map sensor, I think they will actually go to 2.1 bar. If I had went for it all, I'm confident through a little more boost, locking the converter, and maybe a little more timing, I could have hit 800. I never did pull the muffler off like I'd hoped to, I was getting tired, and really didn't want to wait for it to cool off enough to take it off. I was paying to rent the dyno by the hour.
As for my fuel system, nope not stock. See my fuel system build here.
Its almost scary fast on a 245 stock sized radial. I had a guy on my *** on the interstate in a range rover. At about 75 I punched it, it down shifted to 2nd and lit the tires with a light puff of smoke and the back end started stepping out. It scared the crap out him!! Maybe me too.
Well there is a downside to having more power and torque. After numerous people looked at my 7.5" 10 bolt OEM rearend, and laughed, I decided to stop playing the waiting game, waiting for it to break that is. I weighed several options, and I really liked the Midwest Chassis Fab 9. I spoke with Eric about it, and I believe it probably would have been the best solution, cost no object. Ultimately I went with the S60, in the end it worked out to being almost $2000 less money, so I felt it the better value. Having spent well over $5K on parts for the recent turbo build, I really didn't want to go any deeper in it for now. I still need to start working on a forged bottom end. I have a nice LQ4 here, got it from a 2500 truck wrecked with less than 30K miles on it. I want to do it right, not a "sloppy build" forged internals, ARP main and head studs etc. Been considering Weisco pistons at 4.005, and Lunati rods and crank, for a 365 cid short block. I'll use the LS9 headgaskets, and then I'll need to decide what to put on it for heads. I have multiple sets around here. I have the set of 317s on my current build, worked by Advanced Induction, which I REALLY like, they have given me great numbers. But I also have a set of 821's here that are done too, that are really nice. They have never been on a car yet, I started with brand new castings, working on a build for another car, which isn't finished yet. So I made it a long read, but I'm being a little miserly with the pennies now, I have spent a lot already, and still wanting to do a new short block. I hope my wife doesn't read this thread, I work by the forgiveness is better than permission rule.
I ended up with a S60, with the S track differential, and my 4 channel abs installed, and a new strange cromoly 1350 drive shaft for under $3K shipped. By the time I optioned a Fab9 the way I wanted it with an S-trac, back brace and upgraded to the nodular center section housing, then got a drive shaft I was well over $4K. Also considering the wait for a Fab9, that helped push me towards the S60. The down side is it will be a little heavier, and parts for a 60 are not as available, can't go taller than a 3.54 etc.
I also started having a little problem with my transmission, so I got with Performabuilt and had them check it out for me. It was dragging like the brakes were on a little in reverse. They pulled it open, in fact they put a video of how to remove the pump on Facebook using my tranny, I watched the video, and recognized my unit. I have their ultimate build, with the 5 pinion planets etc in it. They found there was an oring between the pump and the drum had been damaged, and that was what was causing the problem. They fixed it no charge under warranty. They rate this transmission for 800 wheel horsepower. I've spoken with Allen, Frank and Ryan over there, they are a really nice group of guys, and seem to know what they are doing.
Since I had it all apart I sent my converter back to Circle D, they are going to cut and clean it, and tighten it up a little for me, so I get less slip on the big end.
For my S60, I had to pull the axels, and remove my brake backing plates, and tone rings from the axels. You need to send these to Strange, or buy the tone rings from them for like $90. The backing plates are no longer available new, only 1 side is. I thought about just buying new, but couldn't find them both. I did sand blast them, and throw a coat of farm implement black paint on them. I should have taken a shot of them before I shipped them. They looked really good, and I had put the new parking brake shoes on them too, they are still readily available. I'll get a photo of them on the new S60 when it arrives before I put it in.
One thing I learned was that the ABS sensors have to come off to be able to get the axels in far enough to be able to get the C-clips out. I messed around for about 20 minutes, before I realized this. They were very close to coming out with the sensors on, close enough to keep me trying. Once the sensors are removed it took me about 30 seconds to get them both out.
Since I have no brake backing plates on the car now, I can't use the car so I decided to go ahead and just remove it all, and leave it on my lift for the next week or 2 until my S60 gets here. I ordered it back in January when Strange had them on sale, and had the free shipping deal. I thought of removing the rear axel assembly as a cake job. It really isn't nearly as hard of a job as swapping a cam or even changing a torque converter, but it did take me about 3-4 hrs from start to finish. Getting the drive shaft off, then removing the back cover draining the fluid. Getting the axels pulled, getting the tone rings off the axels, removing the brakes and lines, and the wiring for the abs etc. I actually had the brackets that hold the parking brake cables welded to my housing, so I had to cut them off with a cutting wheel. I had to do that to make them fit with my LCA relocation brackets. Then removing the panhard bar, the shocks,the sway bar, the torque arm, and the LCA's. There was a lot more wrenching than what I thought it would be.
One thing I was told was that auto cars only came with a 3.23 as the deepest gear. I though that was what I had because I'd read this. My speed vs RPM calculated that I had a 3.42 but I though that was not possible. Well this is an auto car that I believe did have a factory 3.42 in it. I'm the second owner of this car, and the first owner was a Dr. that sold it to me when he bought a new 5th gen convertible in 2011. He always had it serviced at the GM dealership, and there is no record of them changing the gear. In the service records they did replace the yoke seal, so it had been opened, but there is no record of a gear change.
Transmission jacks and a lift are handy when you work alone all the time, good thing I have a nice shop. I really appreciate it, doing jobs like this, didn't even need to grunt to get that thing out. That is a nasty looking old unit.
One thing that Eric at Midwest was kind enough to share with me was that aftermarket torque arms with the S60 will come up and punch a hole in your tunnel. After hearing this from him I took a little look at where mine came up. And it had in fact already, even with the stock rear end impacted my tunnel. Eric is clearly both a very smart guy and experienced. My tunnel had not cracked through yet, but had dented it and scratched it. No wonder when they leave that sharp corner on it, UMI BMR etc should take note here, get that sharp edge off it. I'm going to grind that sharp edge off mine, so when it does hit the top of the tunnel, and it will, it will be more like a hammer moving it up, rather than a knife edge cutting through. I'll let the torque arm by my BFH.
Well when my parts come back I'll take some photos of them, and putting it all back together. Thanks for reading.


 11-26-2016, 05:25 PM


 .
.