When you click on links to various merchants on this site and make a purchase, this can result in this site earning a commission. Affiliate programs and affiliations include, but are not limited to, the eBay Partner Network.
Awesome build !
I came into this section to learn about FI that I want to do my convertible ls1.
Your build is awesome!
Thanks I appreciate the compliment on my build. Positive feedback helps to keep me motivated. I will admit, at times it seemed like there was an elephant to eat in front of me, there was always something else that I needed to spend money on, and to get the time to get it done. Seeing it come together, and actually logging some miles on it with the turbo has been fulfilling. Lots of wrench turning though. This is now the most powerful car I've ever owned, it is hard to understand what 700+ rwhp is like in a 3500lb car until you drive it. Now I wonder what 1000rwhp is like in a 3400lb car. I see a forged iron block and an S485 in my future.
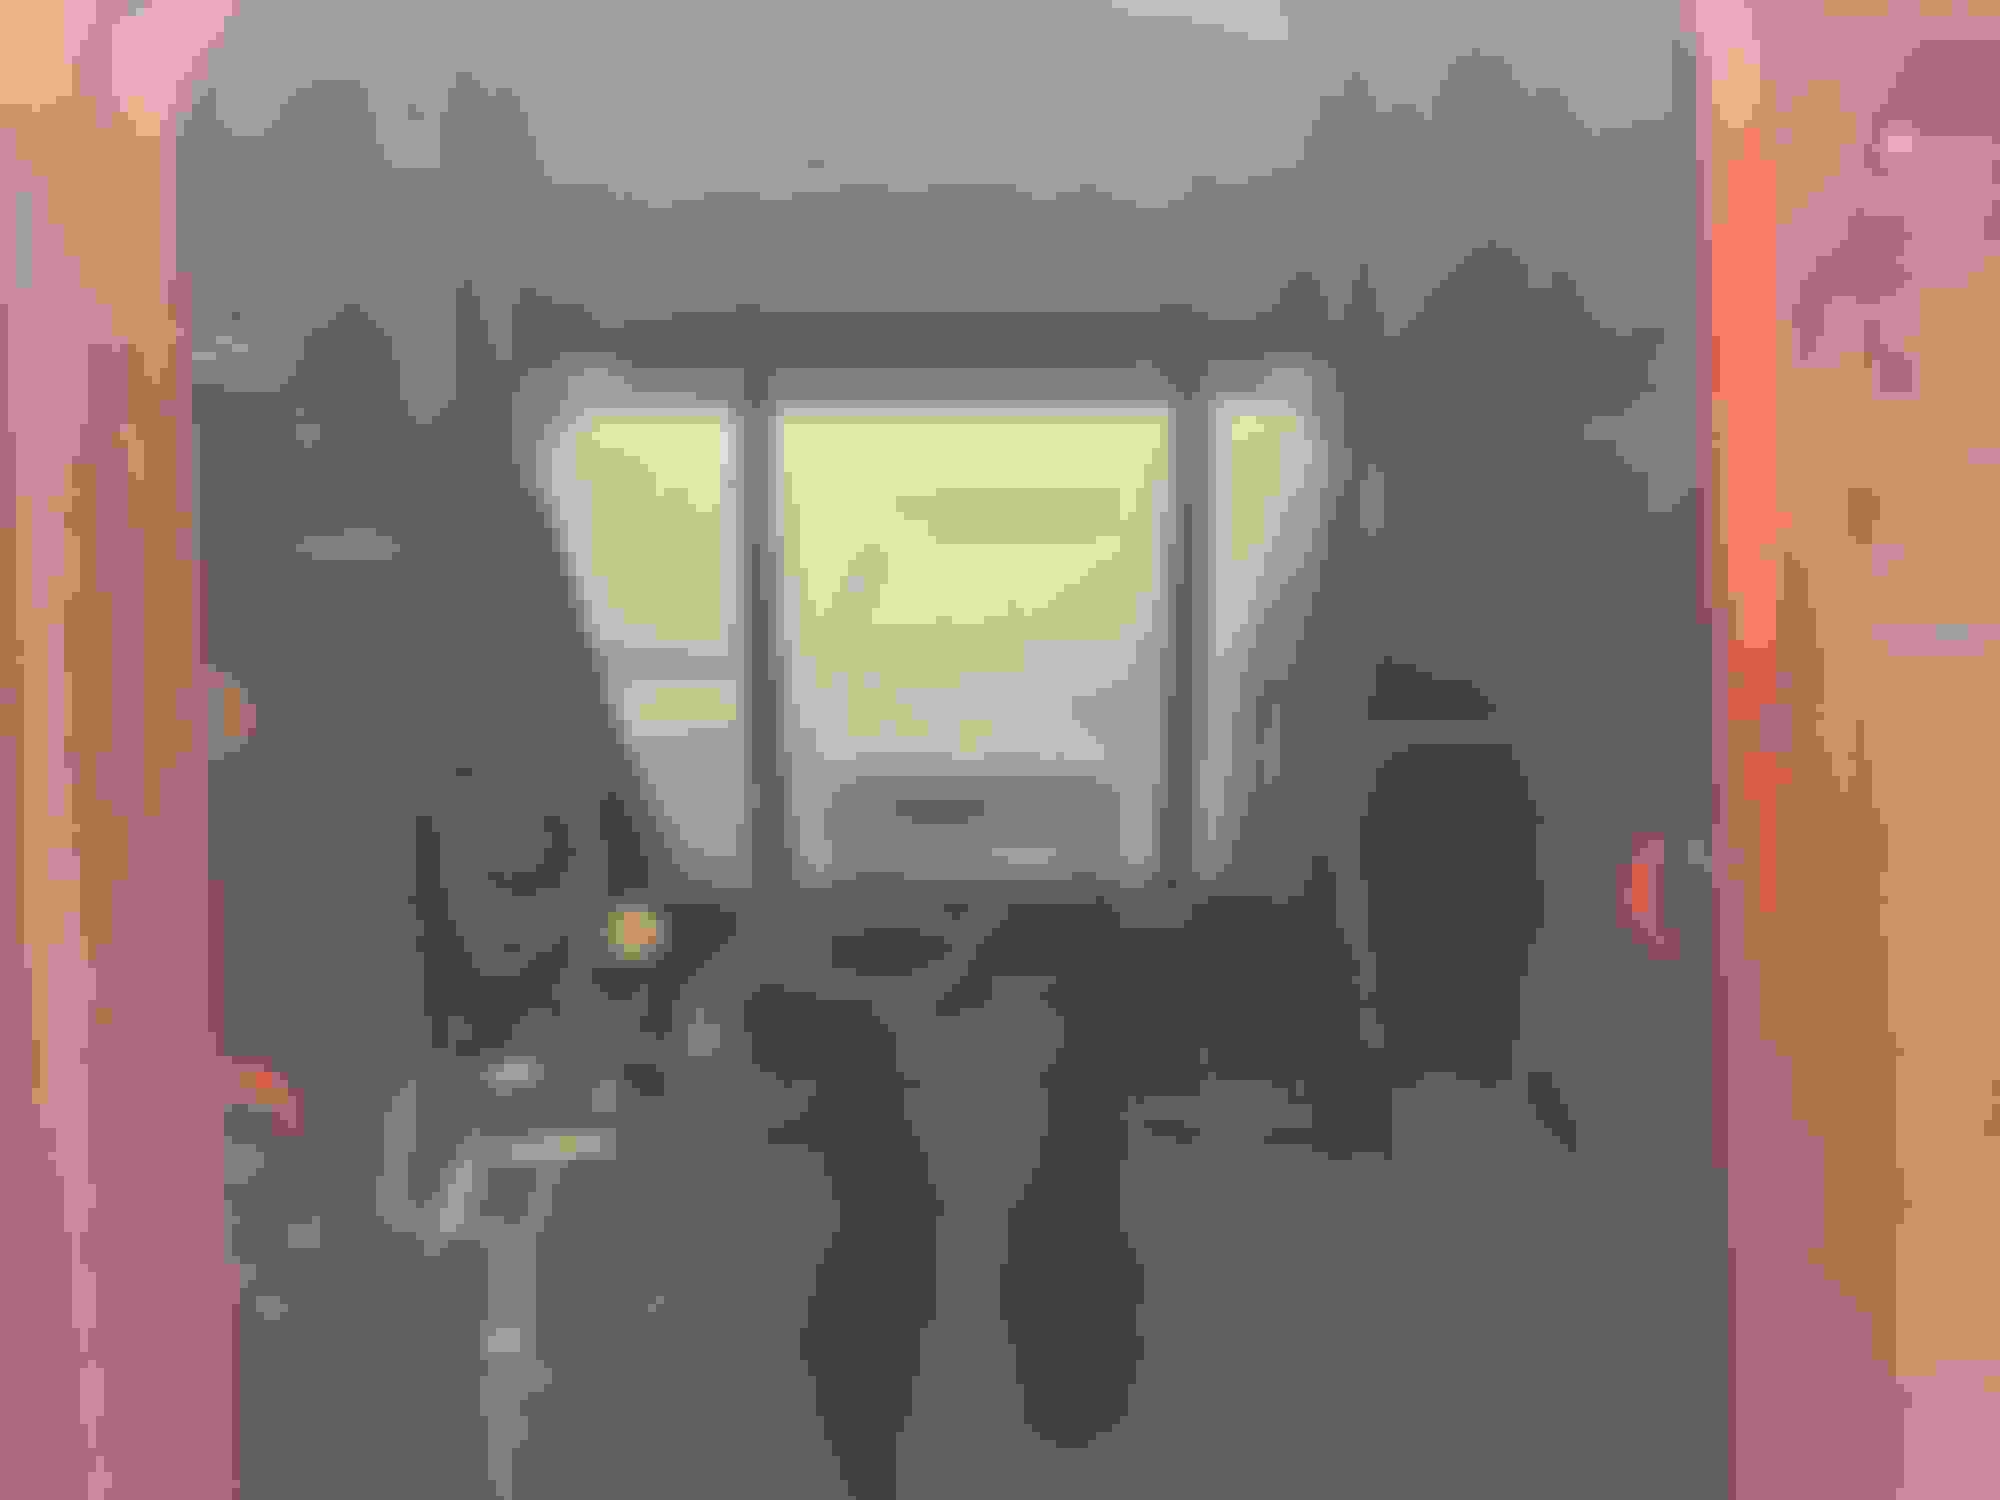
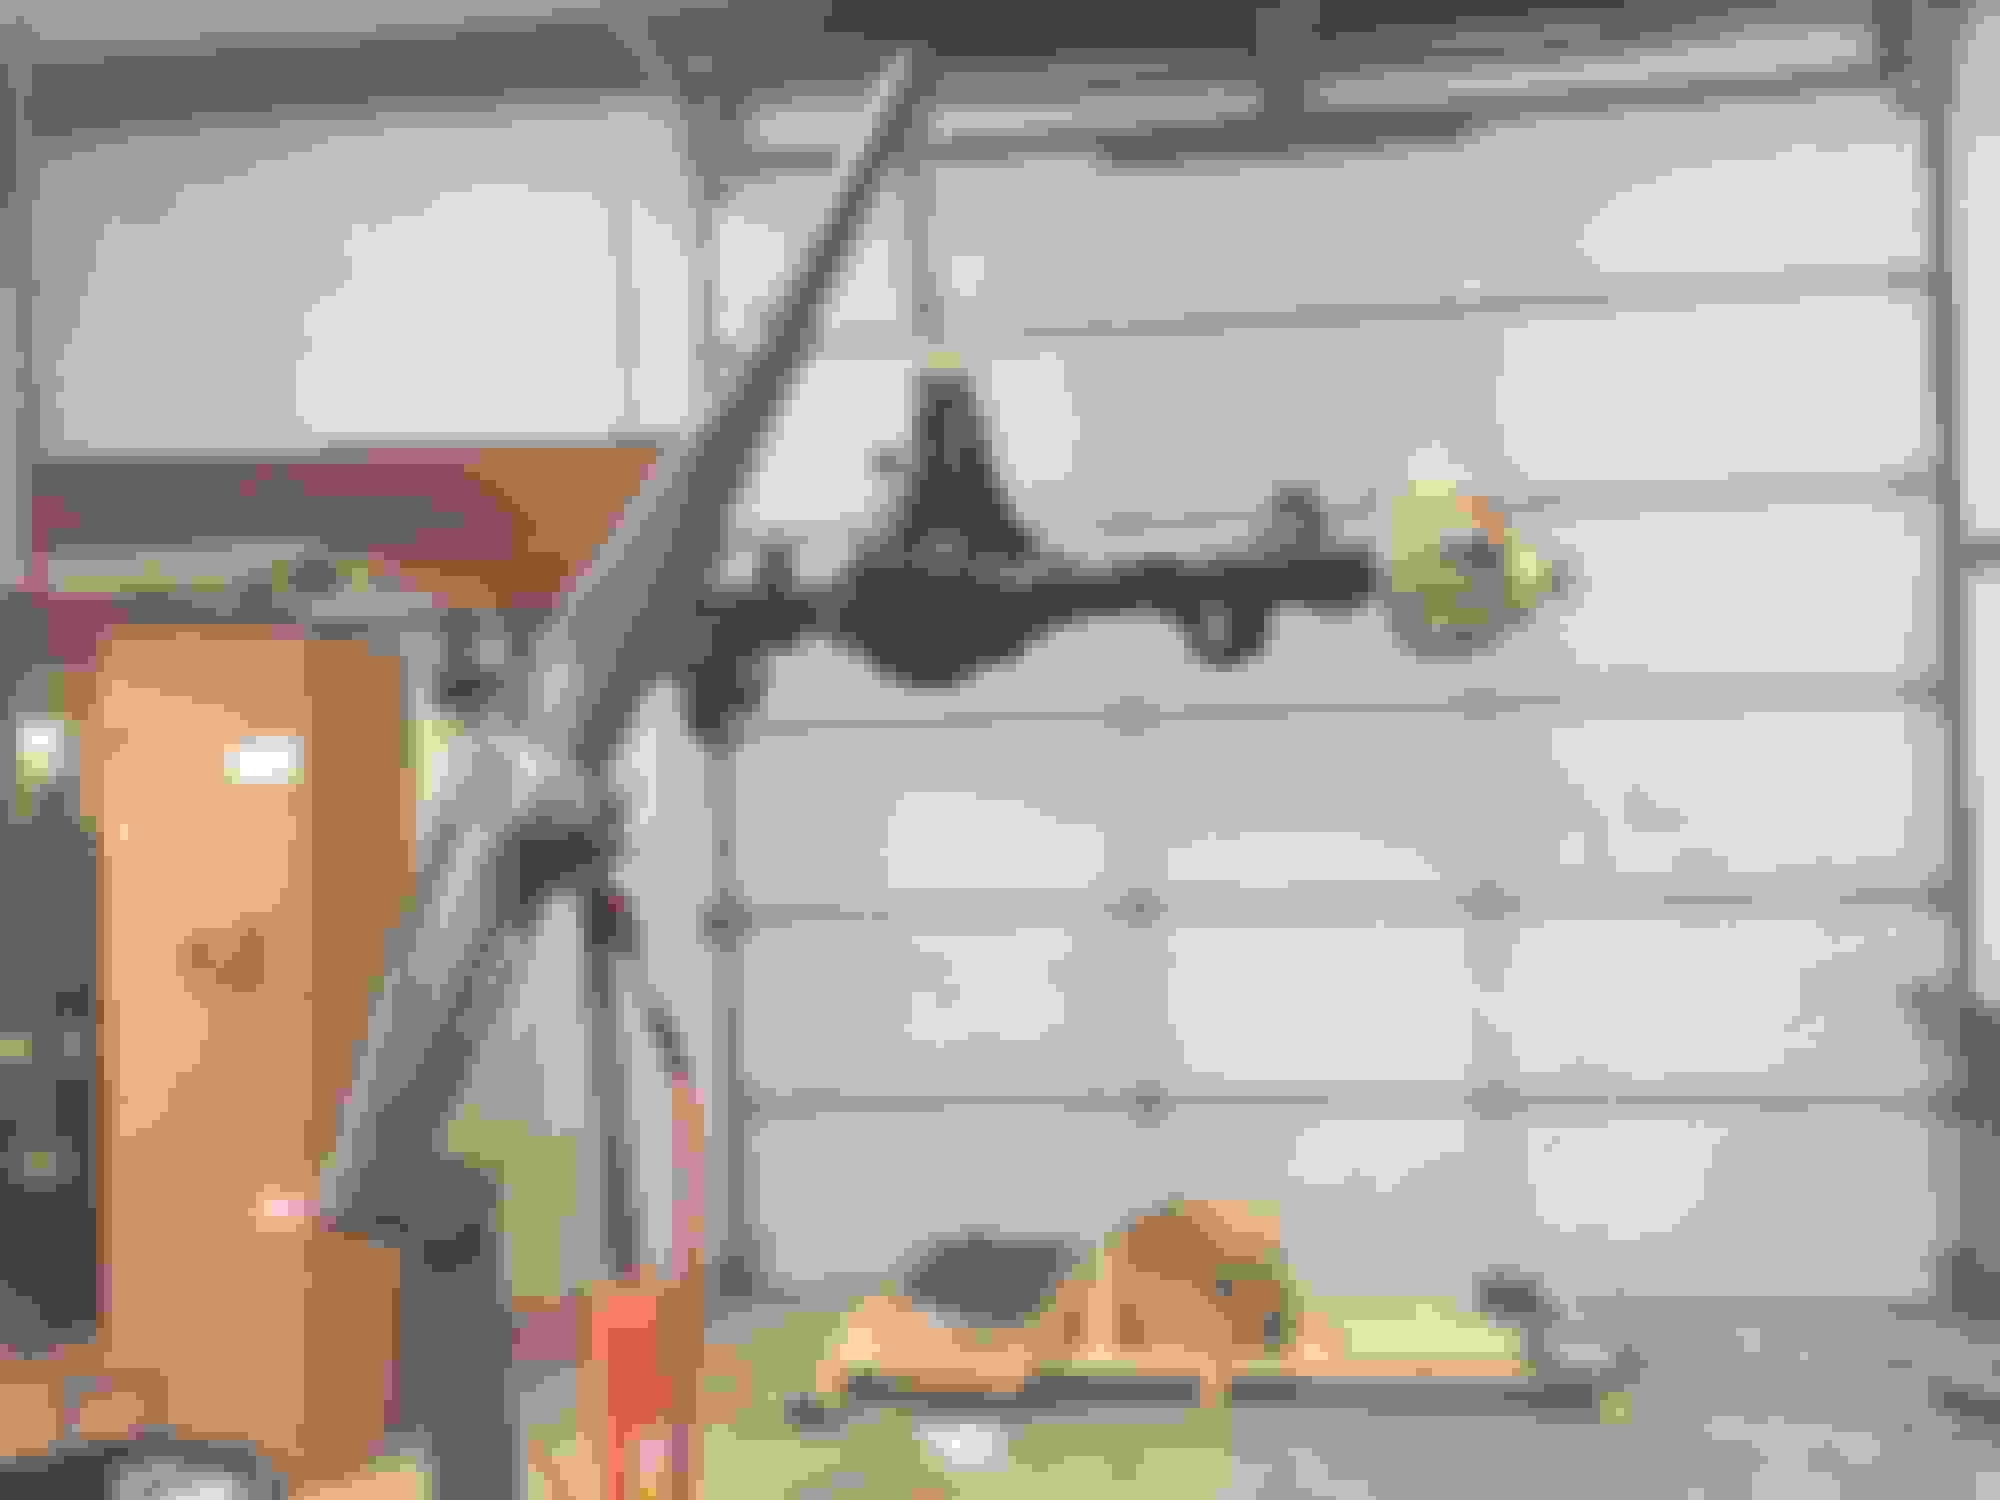
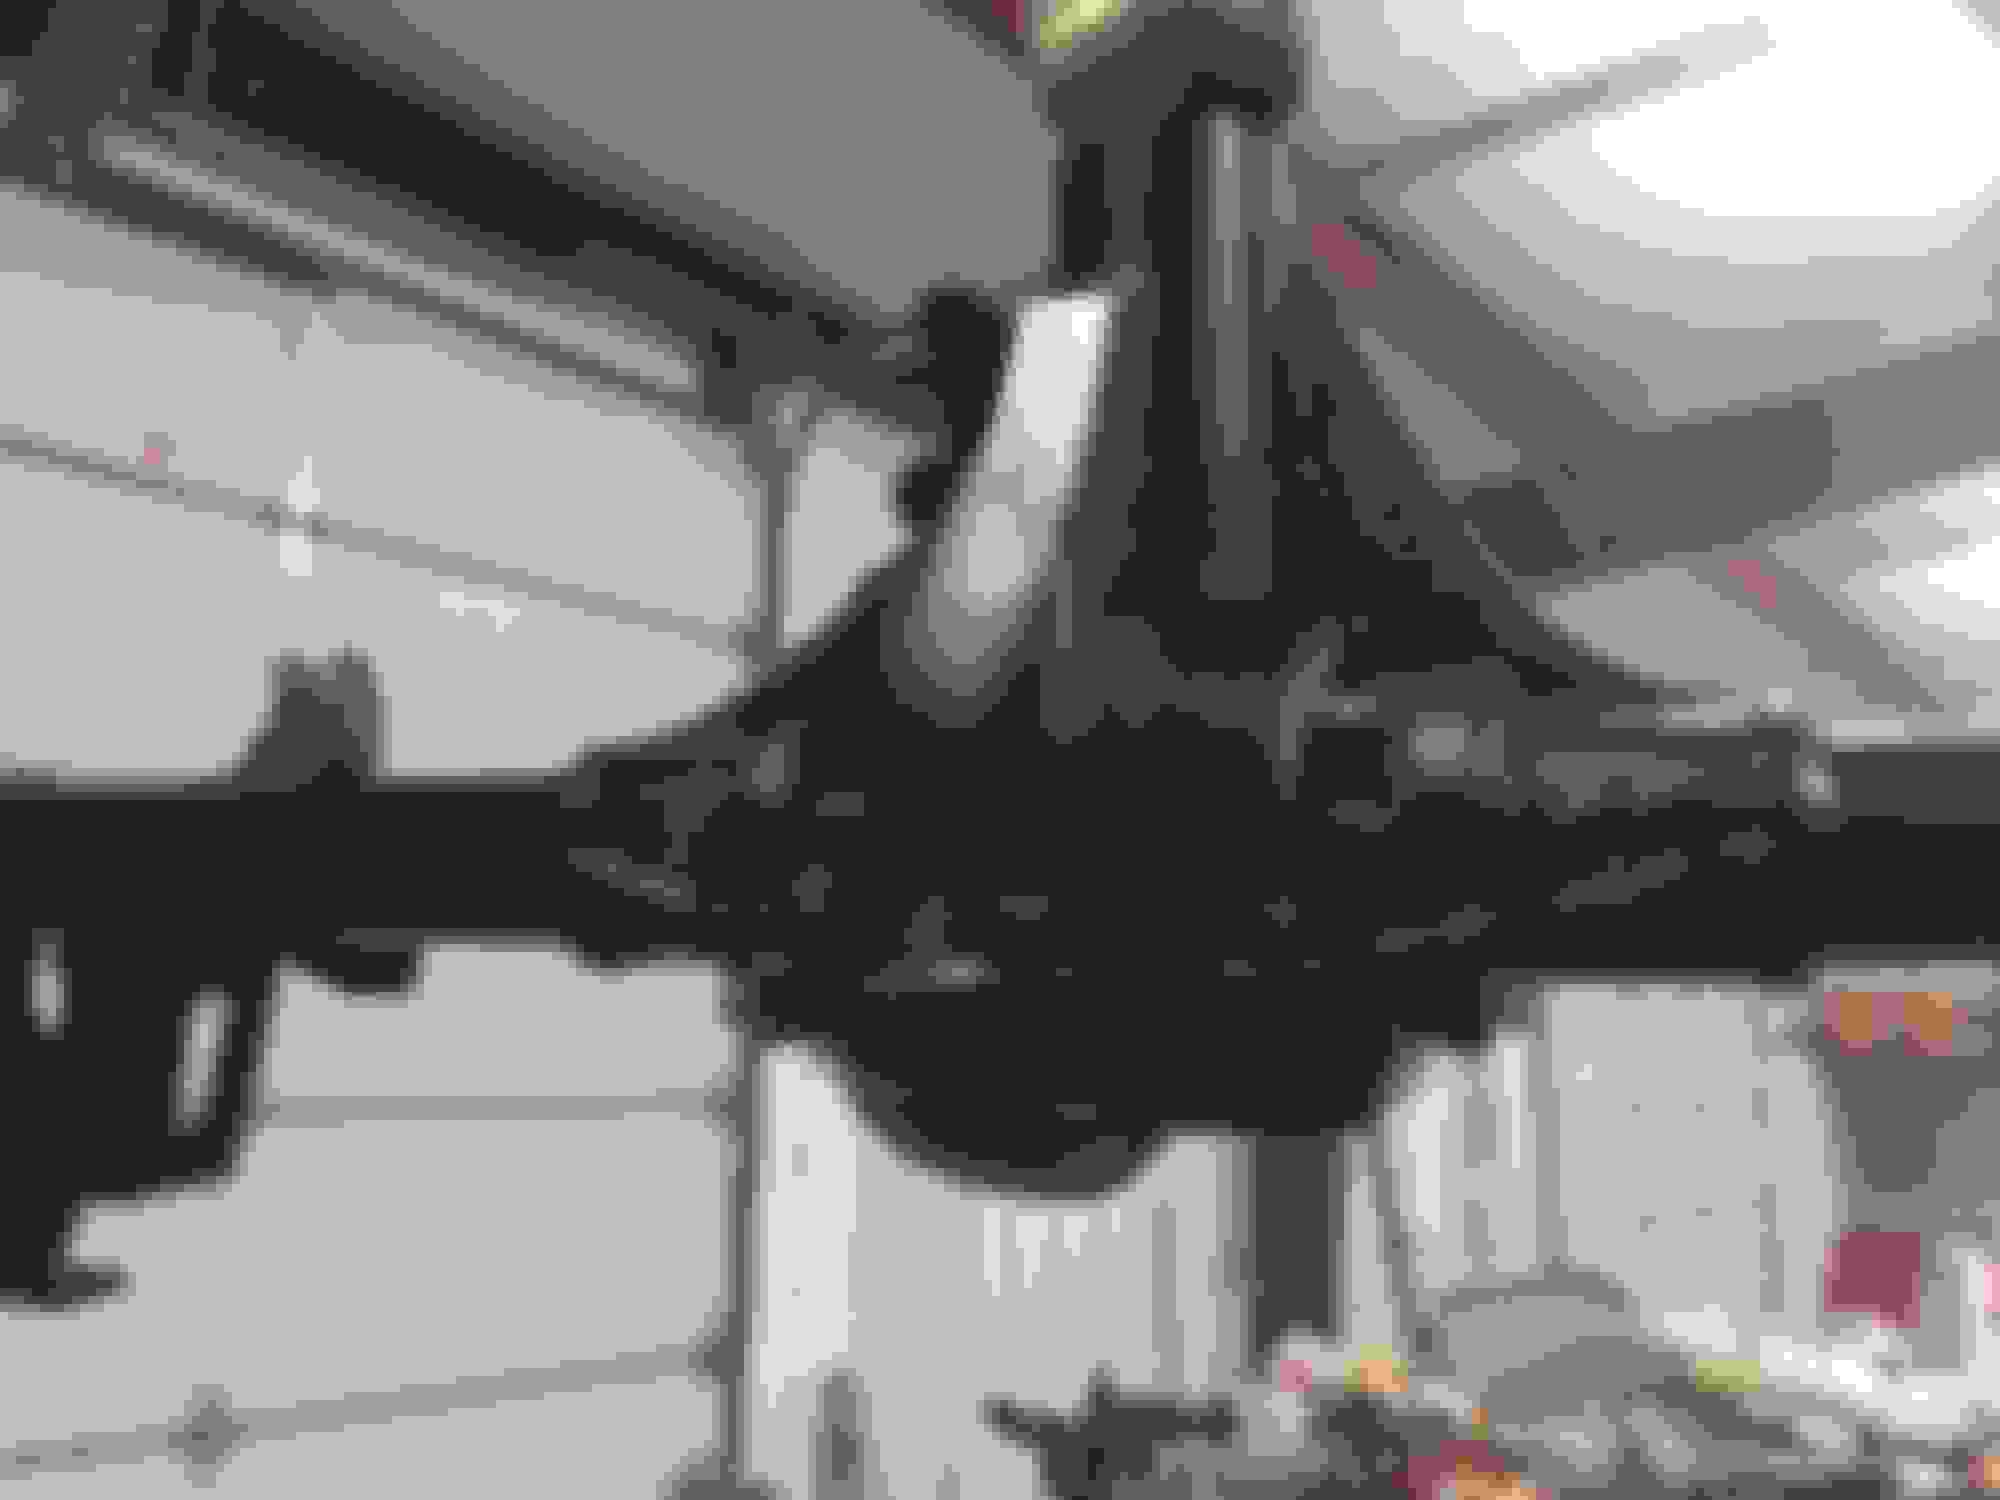
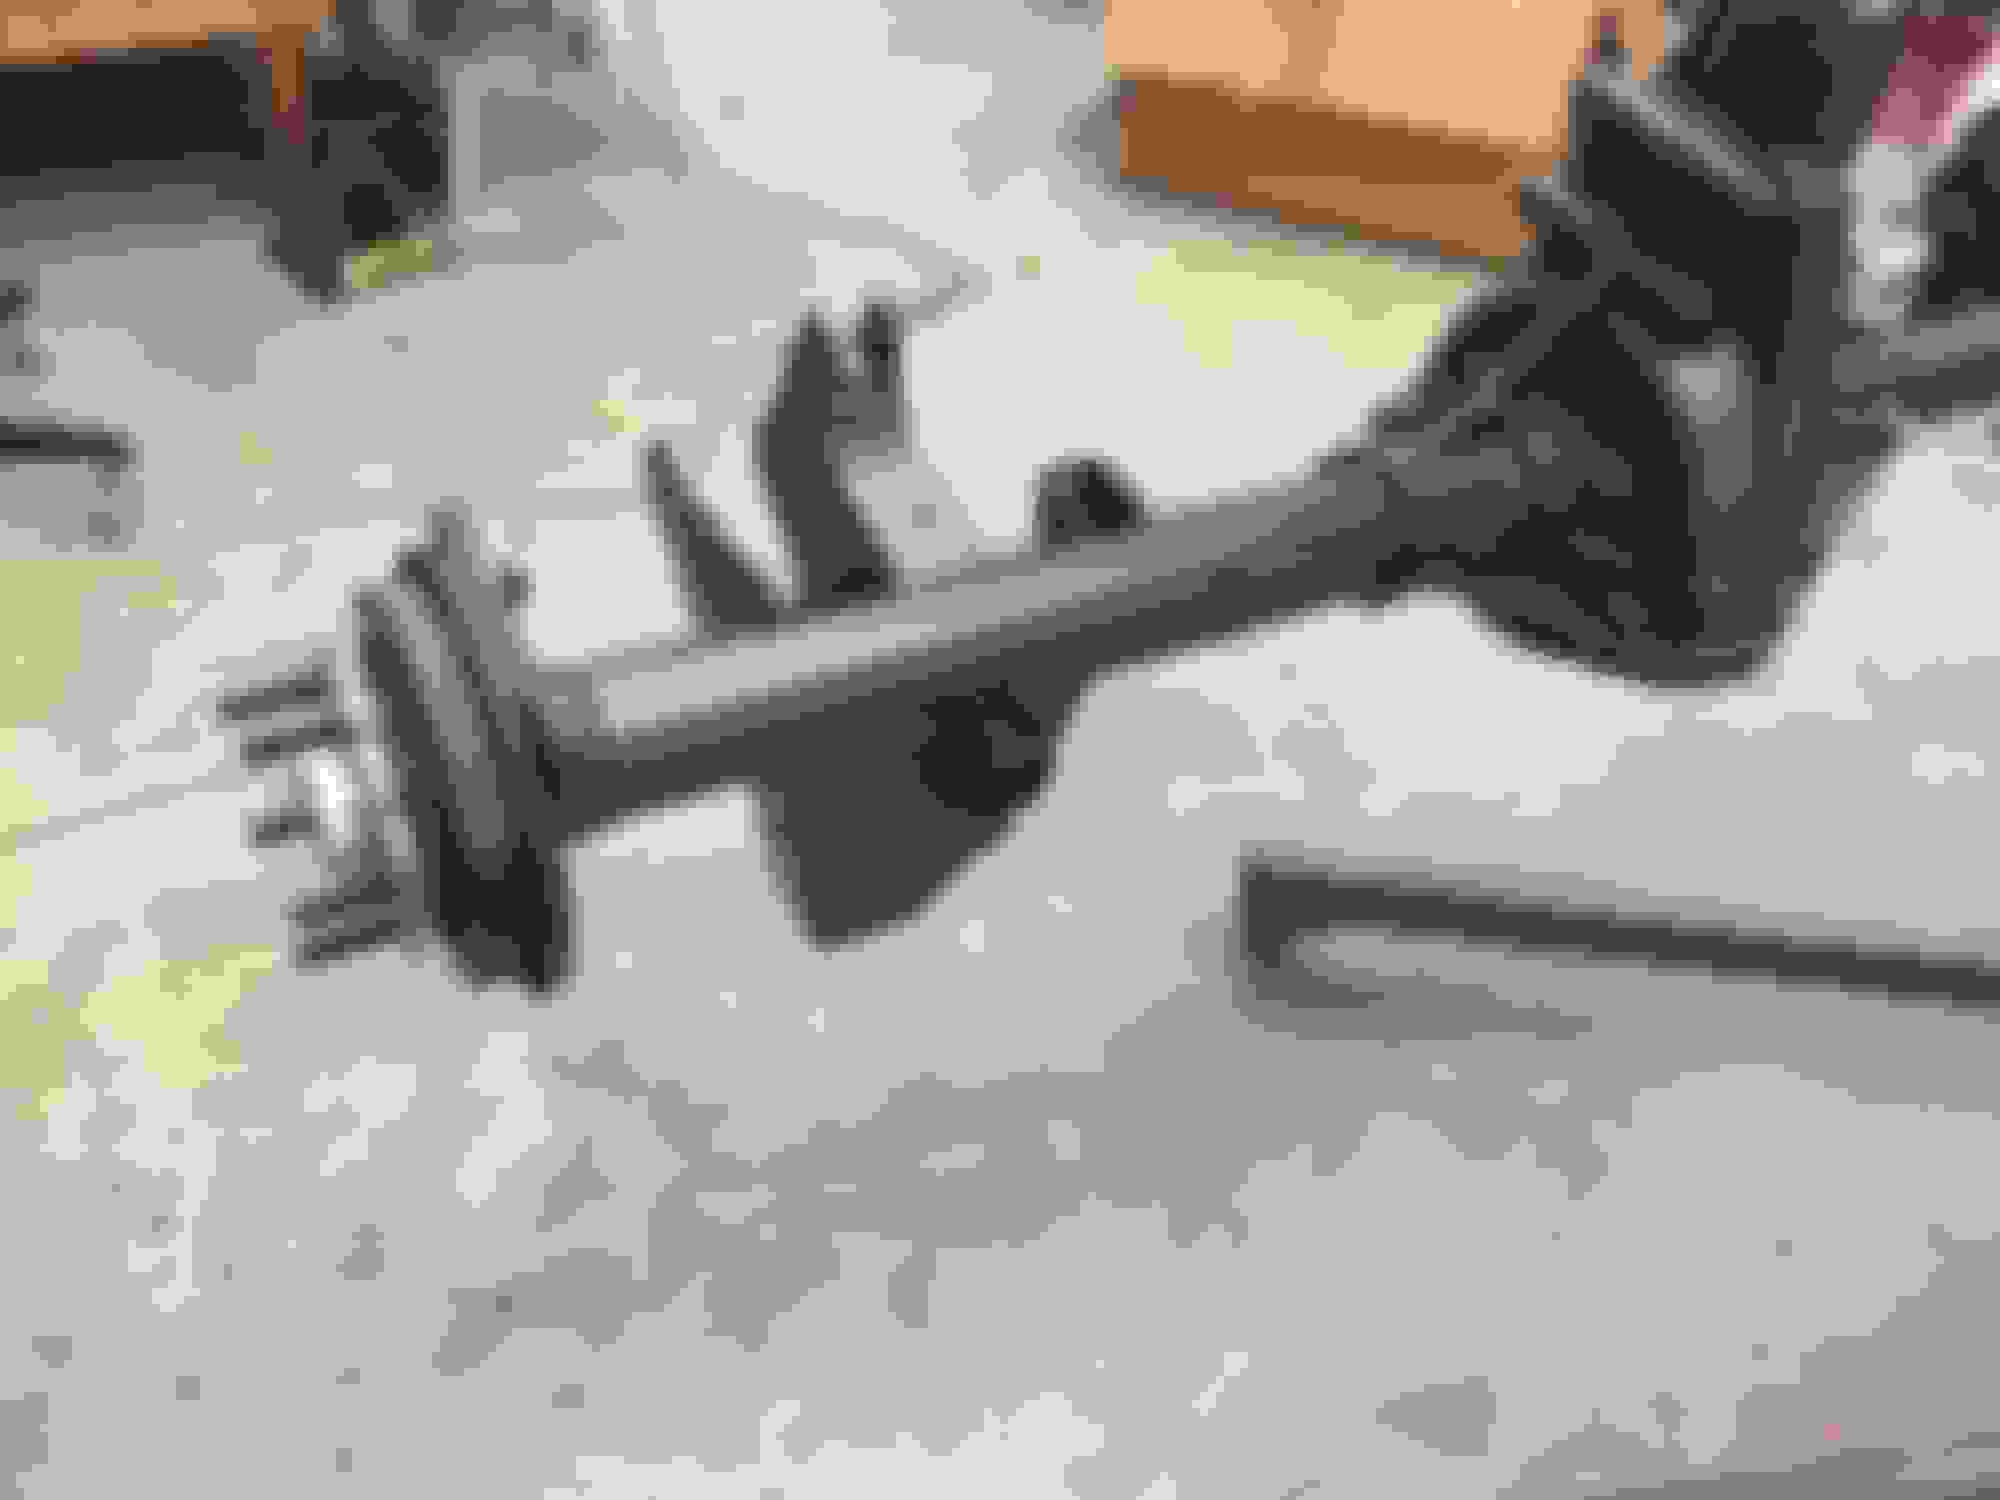
Well I was doing a little gendering at other builds on line and found this build by Turbo LS1 SS, where he had detailed the underside of his car. I like the way he blacked everything out so his exhaust and other components stood out on the black like it was the appropriate backdrop. Here is a shot of his car, as they say imitation is the best compliment you can give someone.
So I set about to replicate this while I had the month long wait for my S60 to come in.
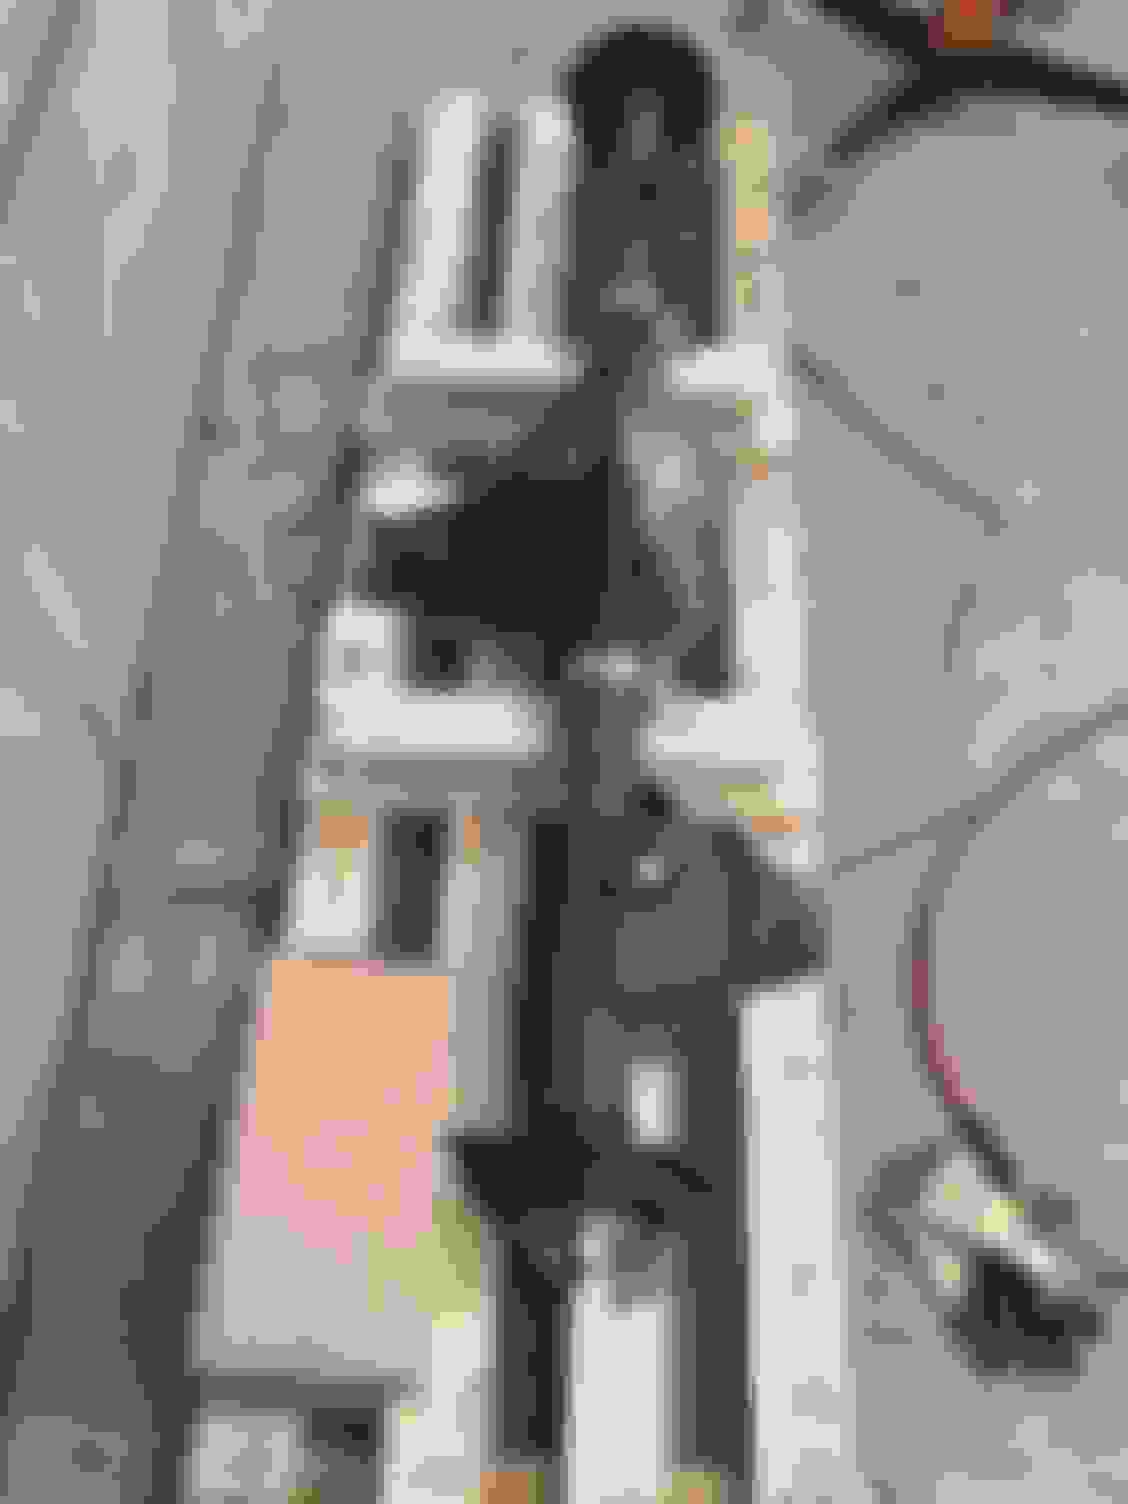
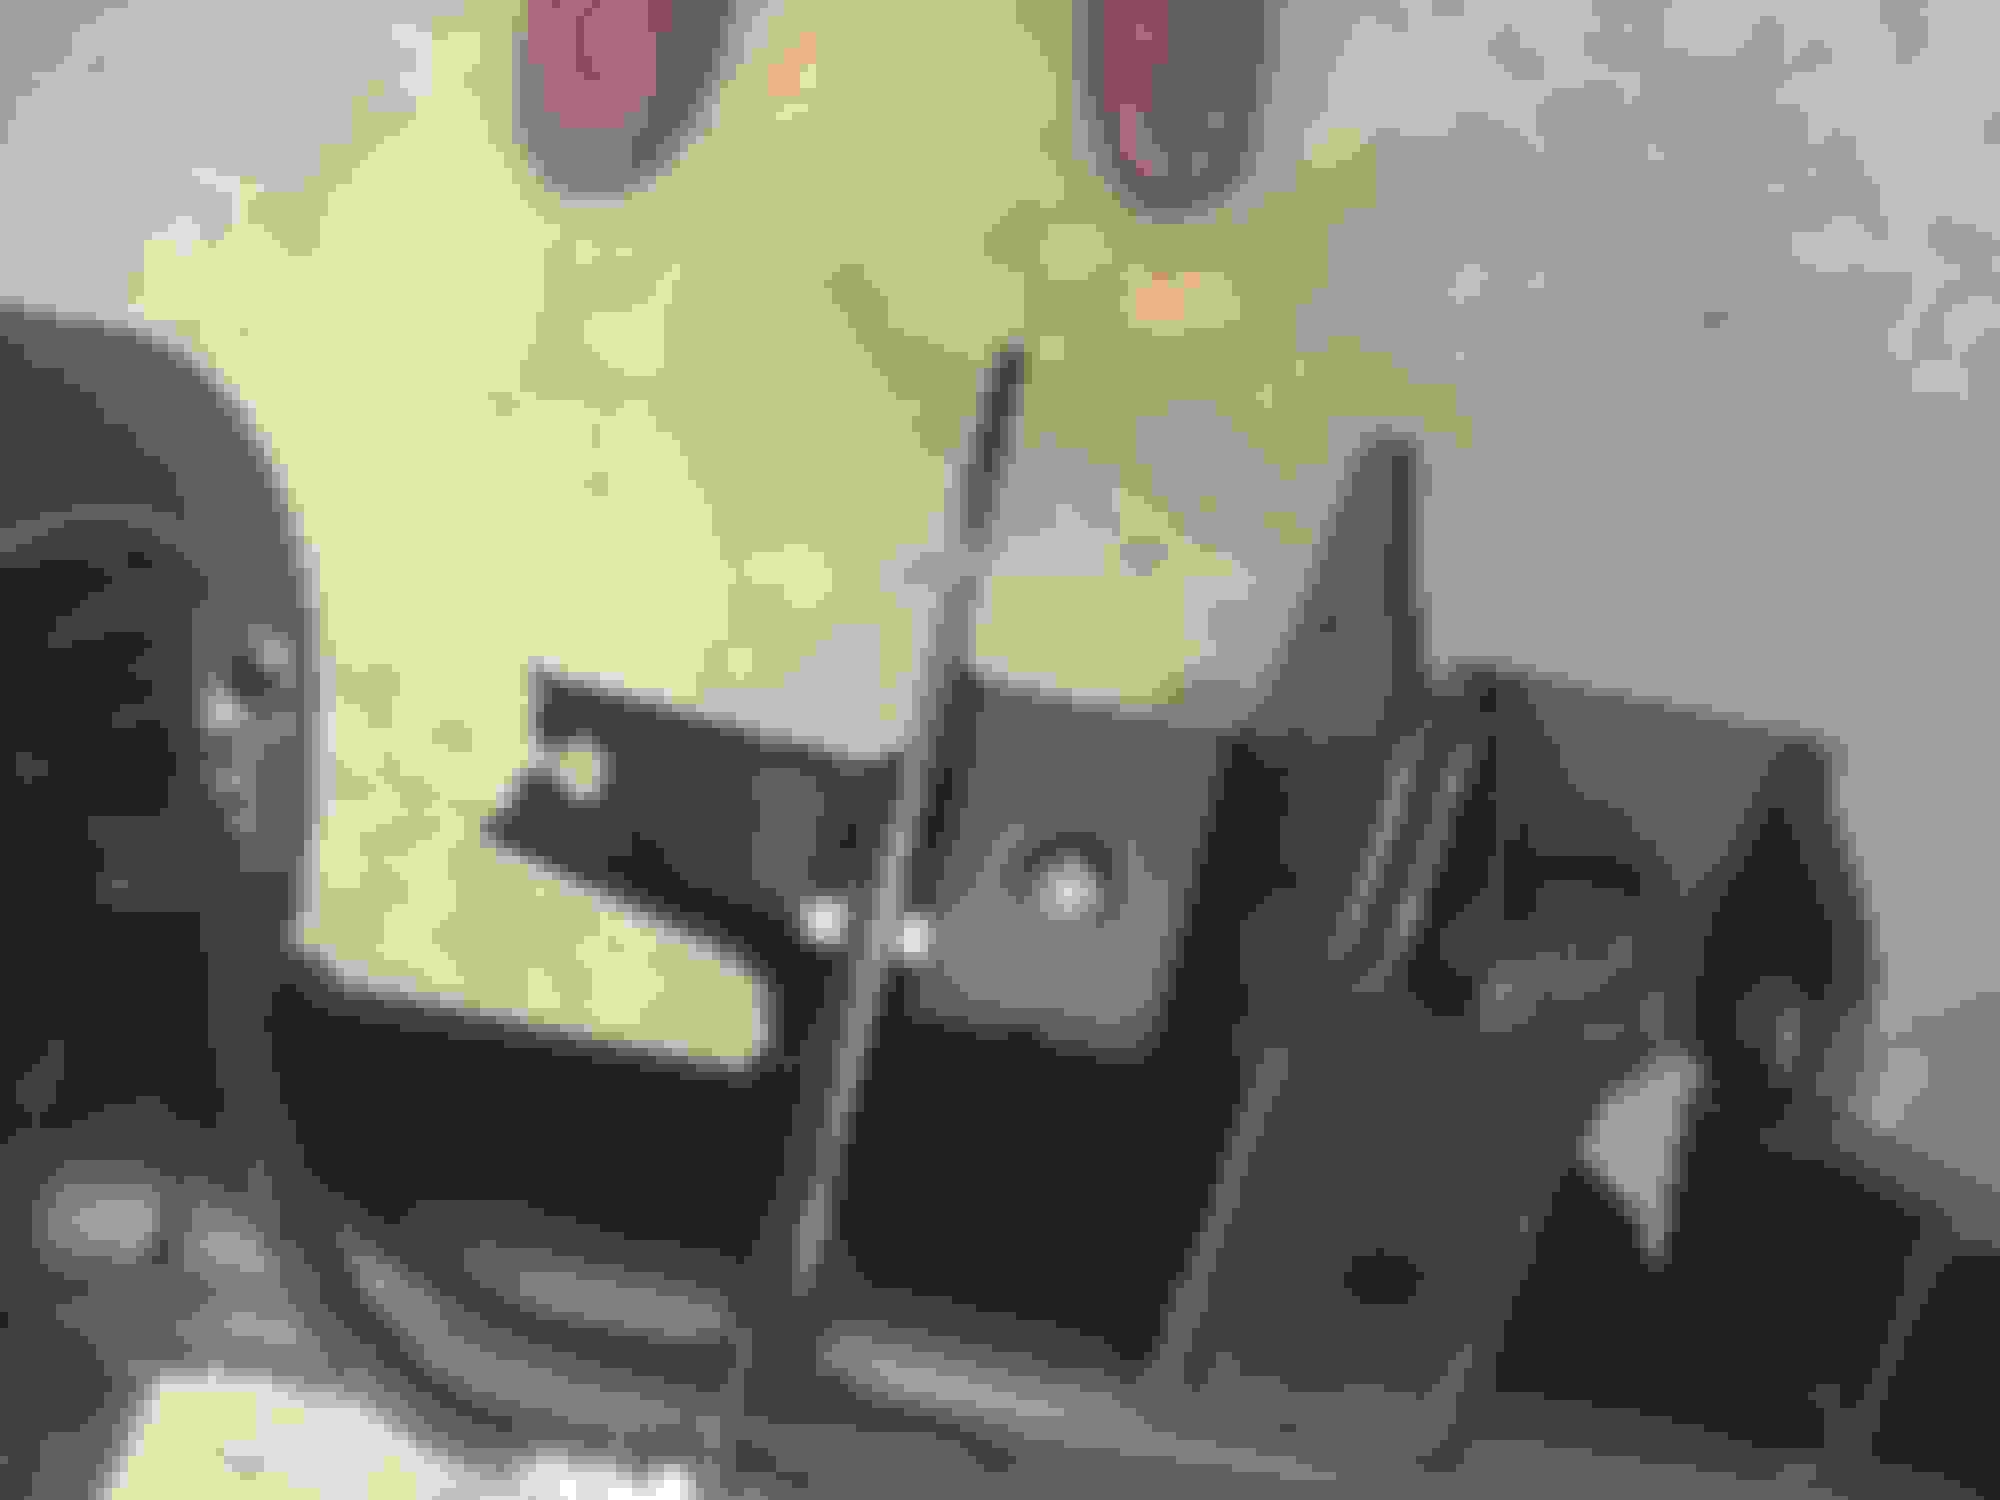
I started with the back wheel housings, and the trunk. I took a wire brush to everything, either on a 4.5" grinder or on a drill, to remove rust and dirt. Then I wiped the surface with a rag with laquer thinner to remove any oils or grease. I used a black rubberized undercoating that was advertised to work over rust, it contained a rust converter like "Por 15" to stop the advancement of rust. I tried to get as much rust off as I could, but really only got the "loose" rust off.
Then I moved up into the areas like the spring seats on the body, cleaning them with a brush on the drill, can't really get up there with a grinder.
After that I moved on dropping one strap of the gas tank at a time, I did the tank with Eastwood's tank tone. You can also see from these shots how well the spring seat area turned out.
Then I jest kept cleaning, removing lines, and masking parts like my torque arm cross member etc.
Quite the difference in the bottom of my car now, compared to the earlier build pics. This is not difficult work, but is dirty, and does take time to get it to look nice. You need to resist the urge to start painting until, you have it prepped as far as you should have. There are a few spots I should have had a little more patience with, but as they say "Good enough for who its for".
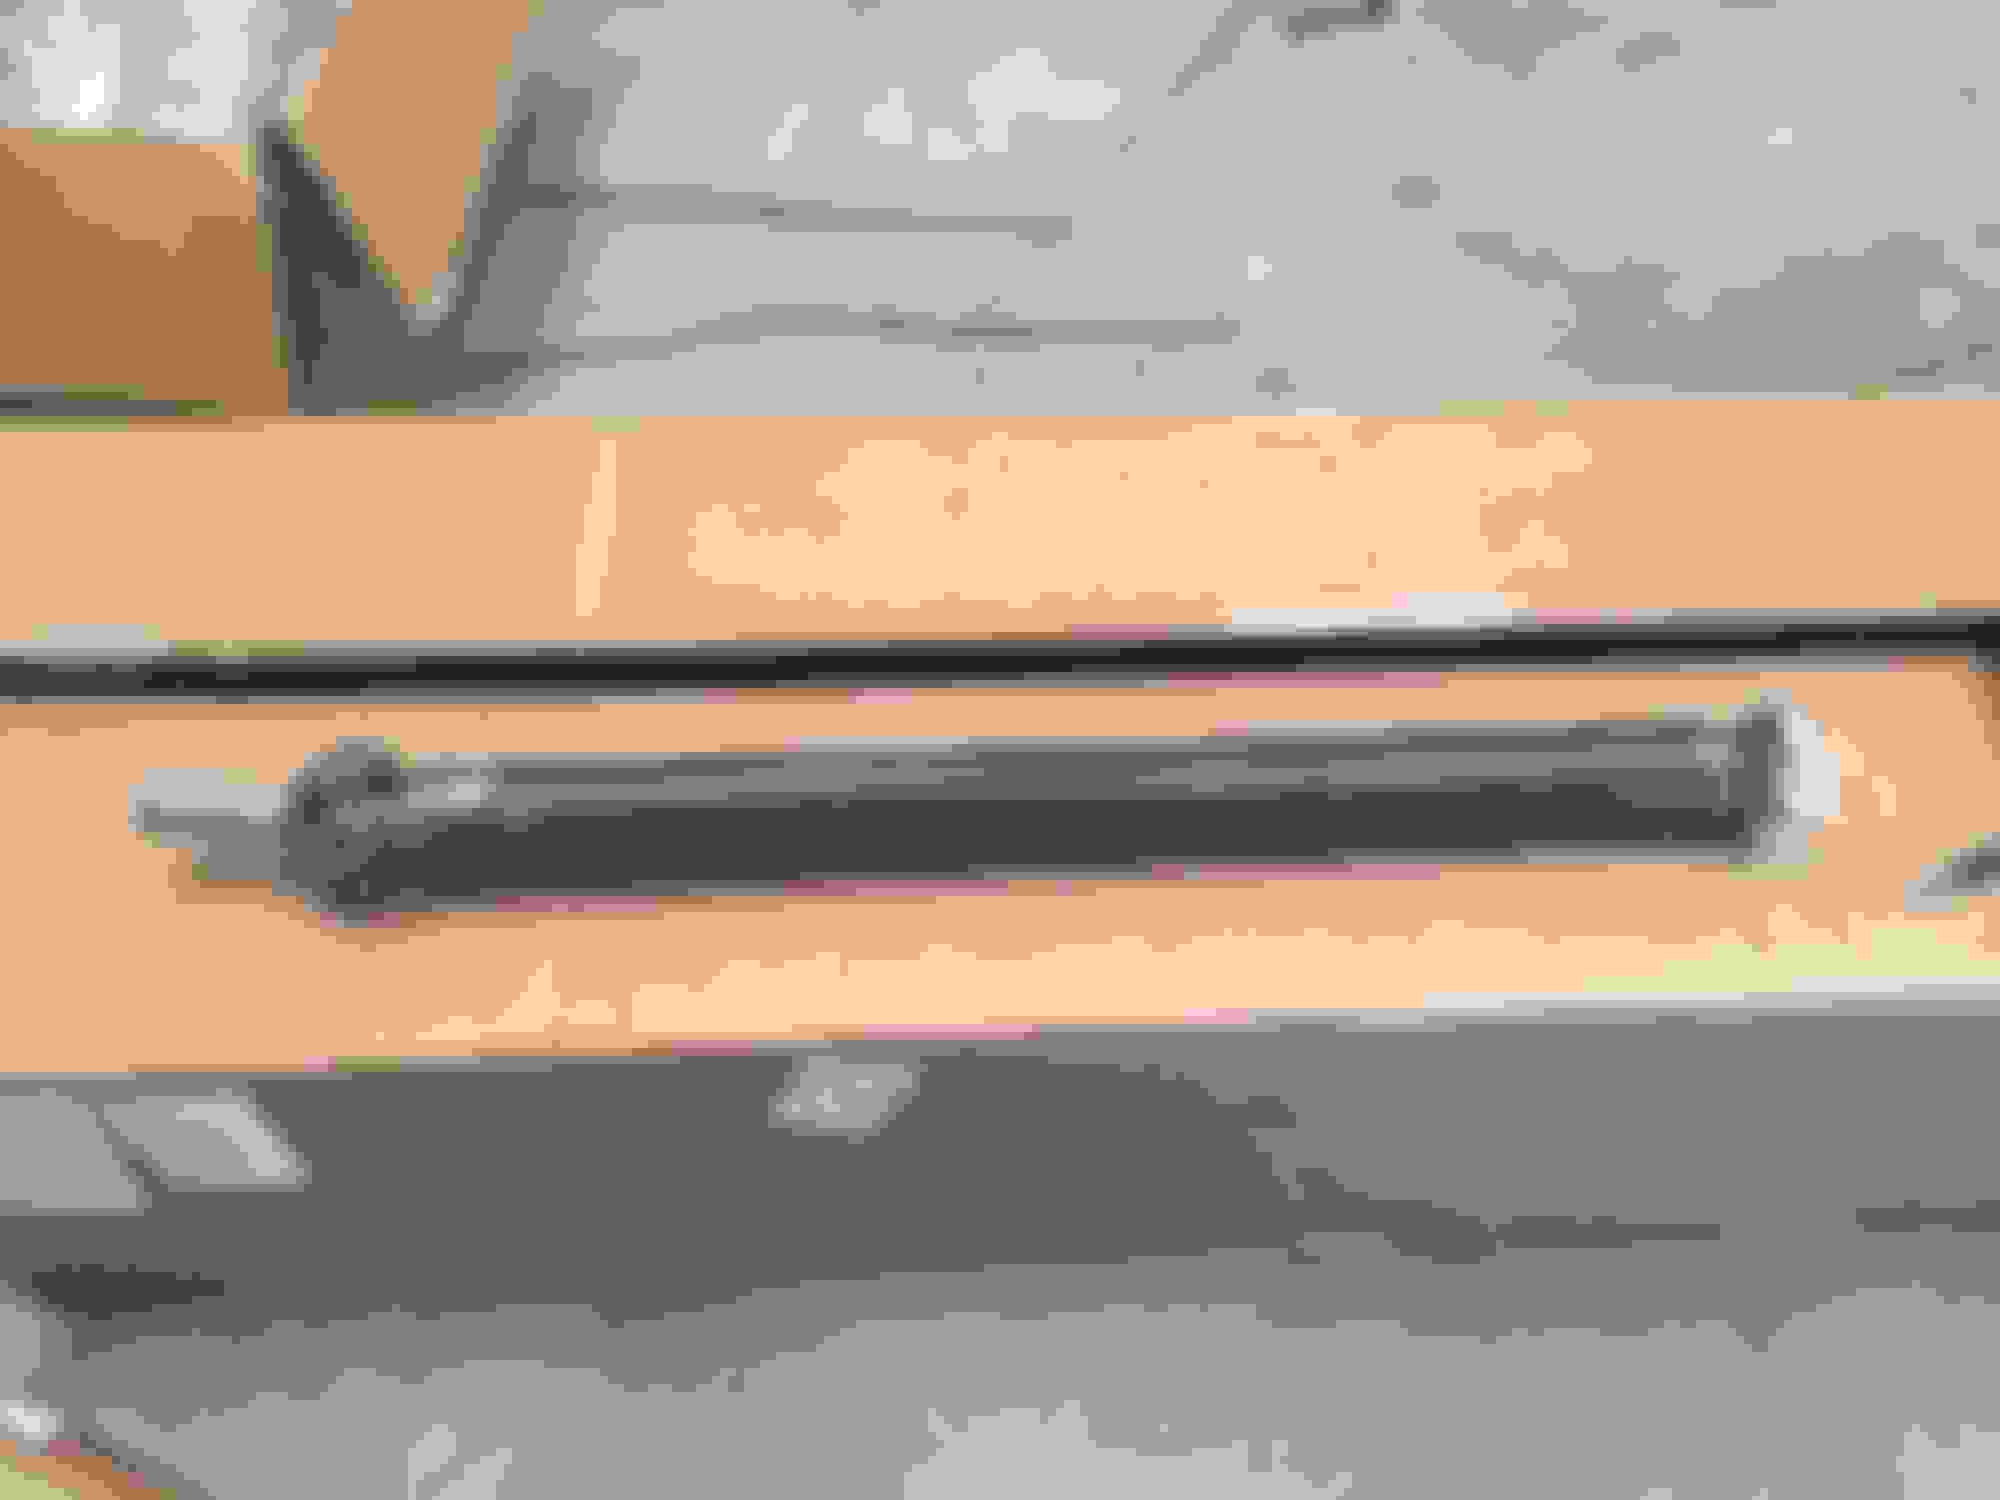
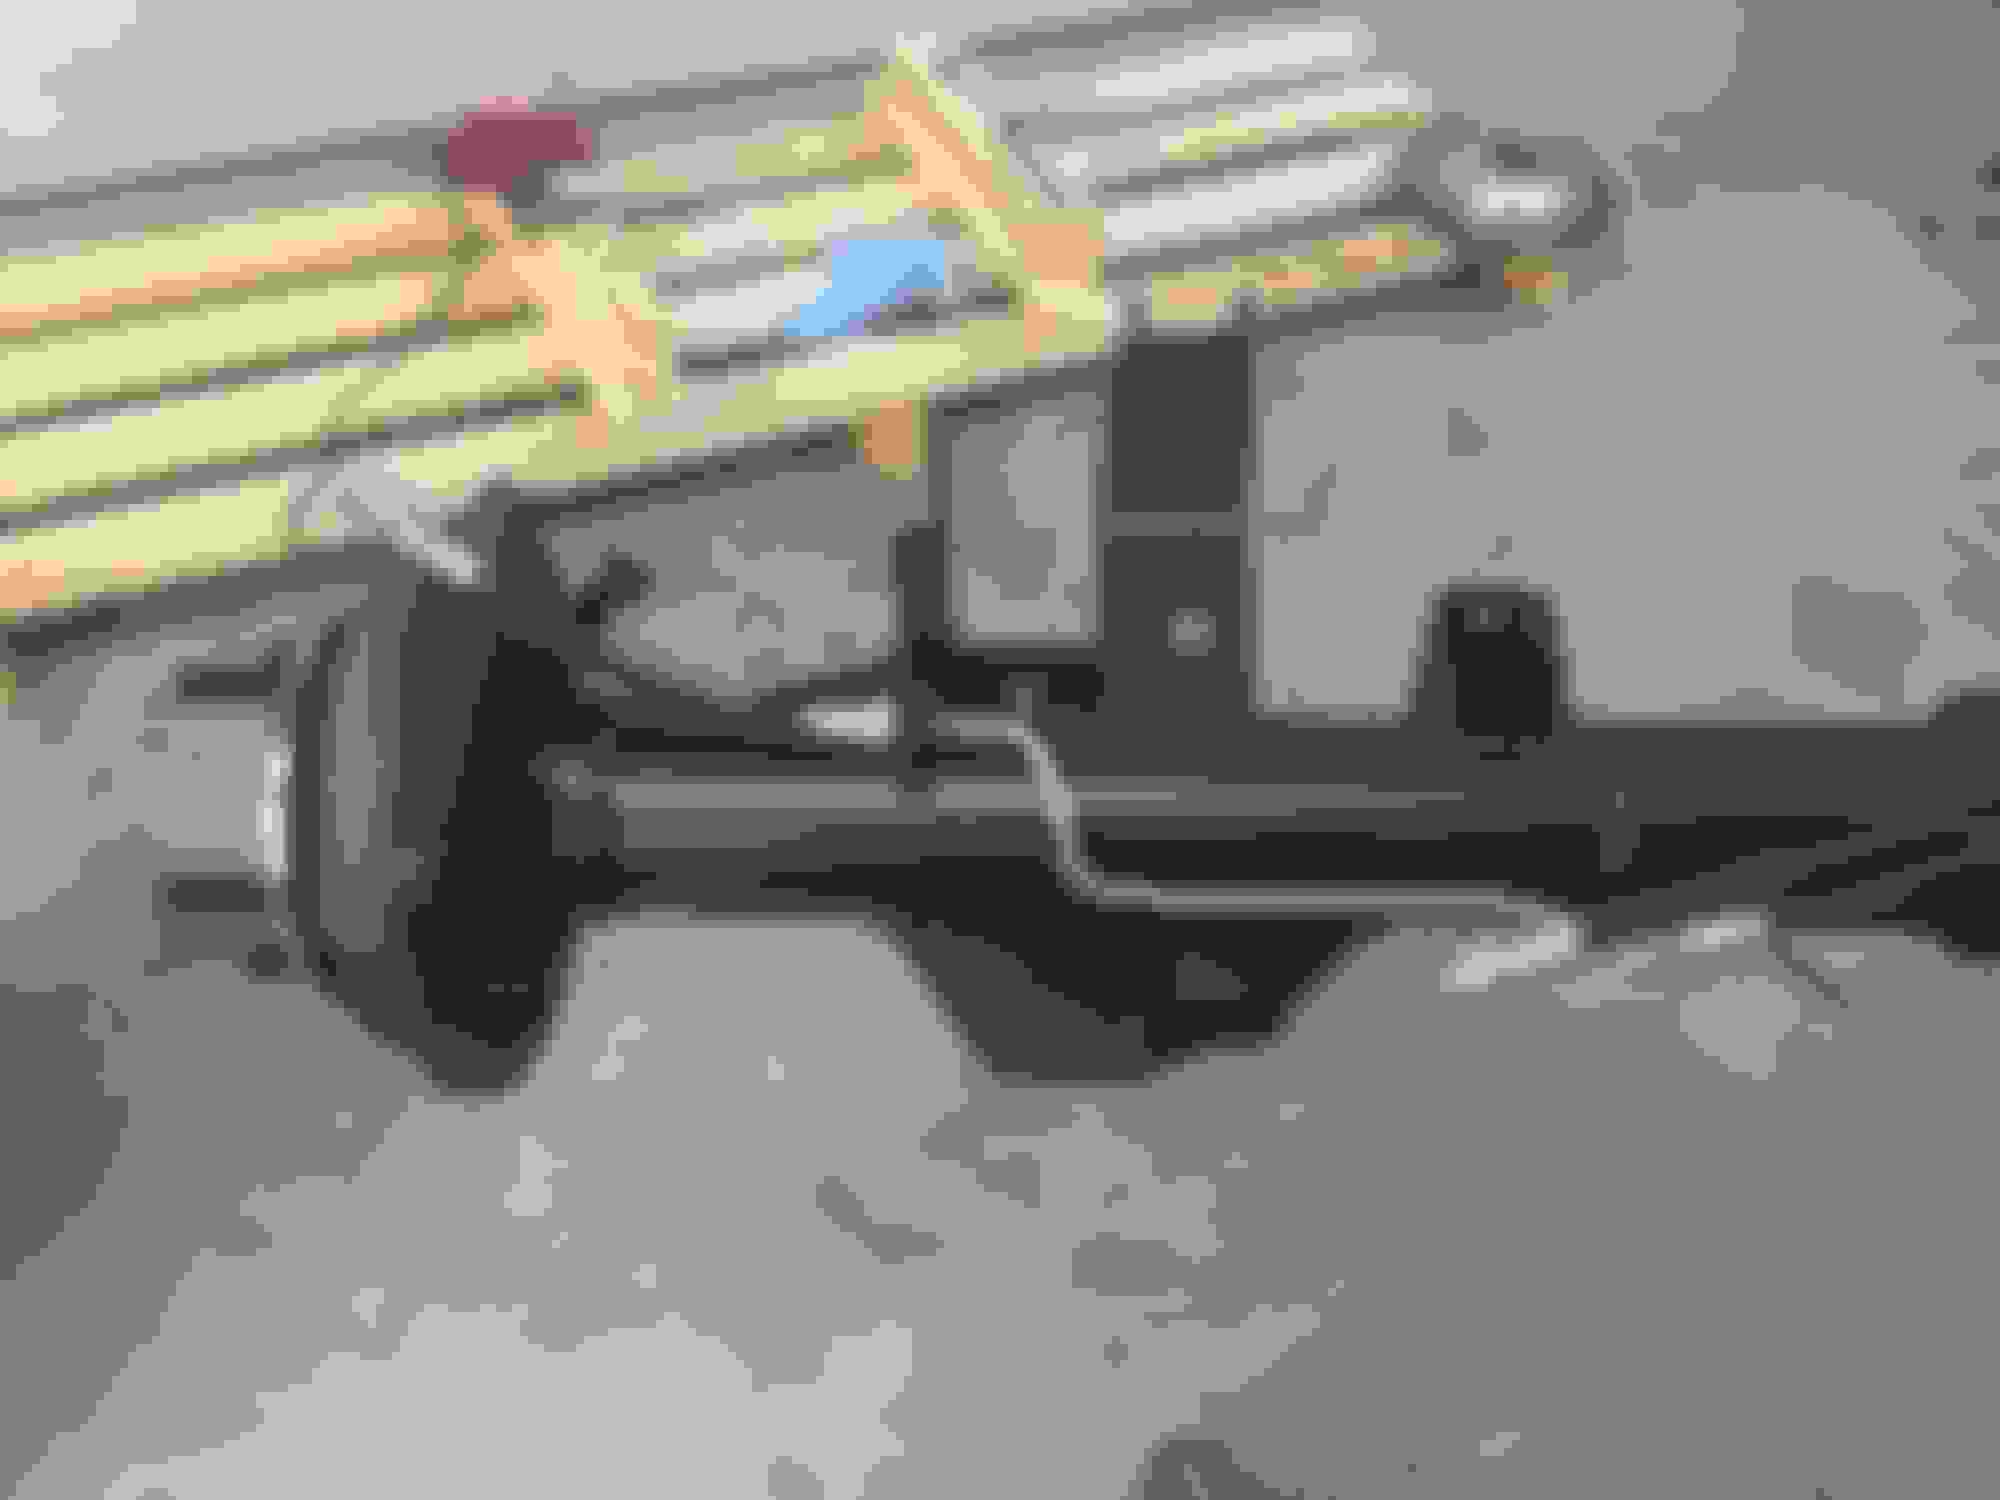
Well Friday morning my S60 and drive shaft came into the local freight terminal, I went down there with my trailer and picked it up. Can't really get a 53' trailer in my yard well, without taking out some turf. I ordered it unpainted. It is $200+ to get the housing, the rear cover, and the driveshaft painted from Strange, so I chose to do it myself to save a little coin, and I can always touch it up or repaint it if I know what is painted with. I used 2K black epoxy, and sprayed it with an inexpensive HF gun. I usually buy a few of them when they go on sale for $9.99.
There is what it looked like unboxing.
I did find a slight mistake the dummies at Strange made. Normally I wouldn't call them dummies, but, hey they are the professionals here and it is a really dumb mistake. When they put on the brake backing plates I sent them from my 10 bolt they put the piston assembly for the parking brake in backwards on one side. I'm guessing it came apart, when they removed the shoe, which needs to be done to tighten the nuts on the end of the T-bolts, and the piston came apart.
Easy enough fix though, as long as its caught, no big deal. You can see how then piston is in backwards. The lever faces the wrong way, it should be pulled back by the cable, not forward. The side of the piston with the adjuster on it needs be against the spring on the backing plate that holds it, otherwise it can't adjust.
Anyhow got it flipped around, and put back together, all good!
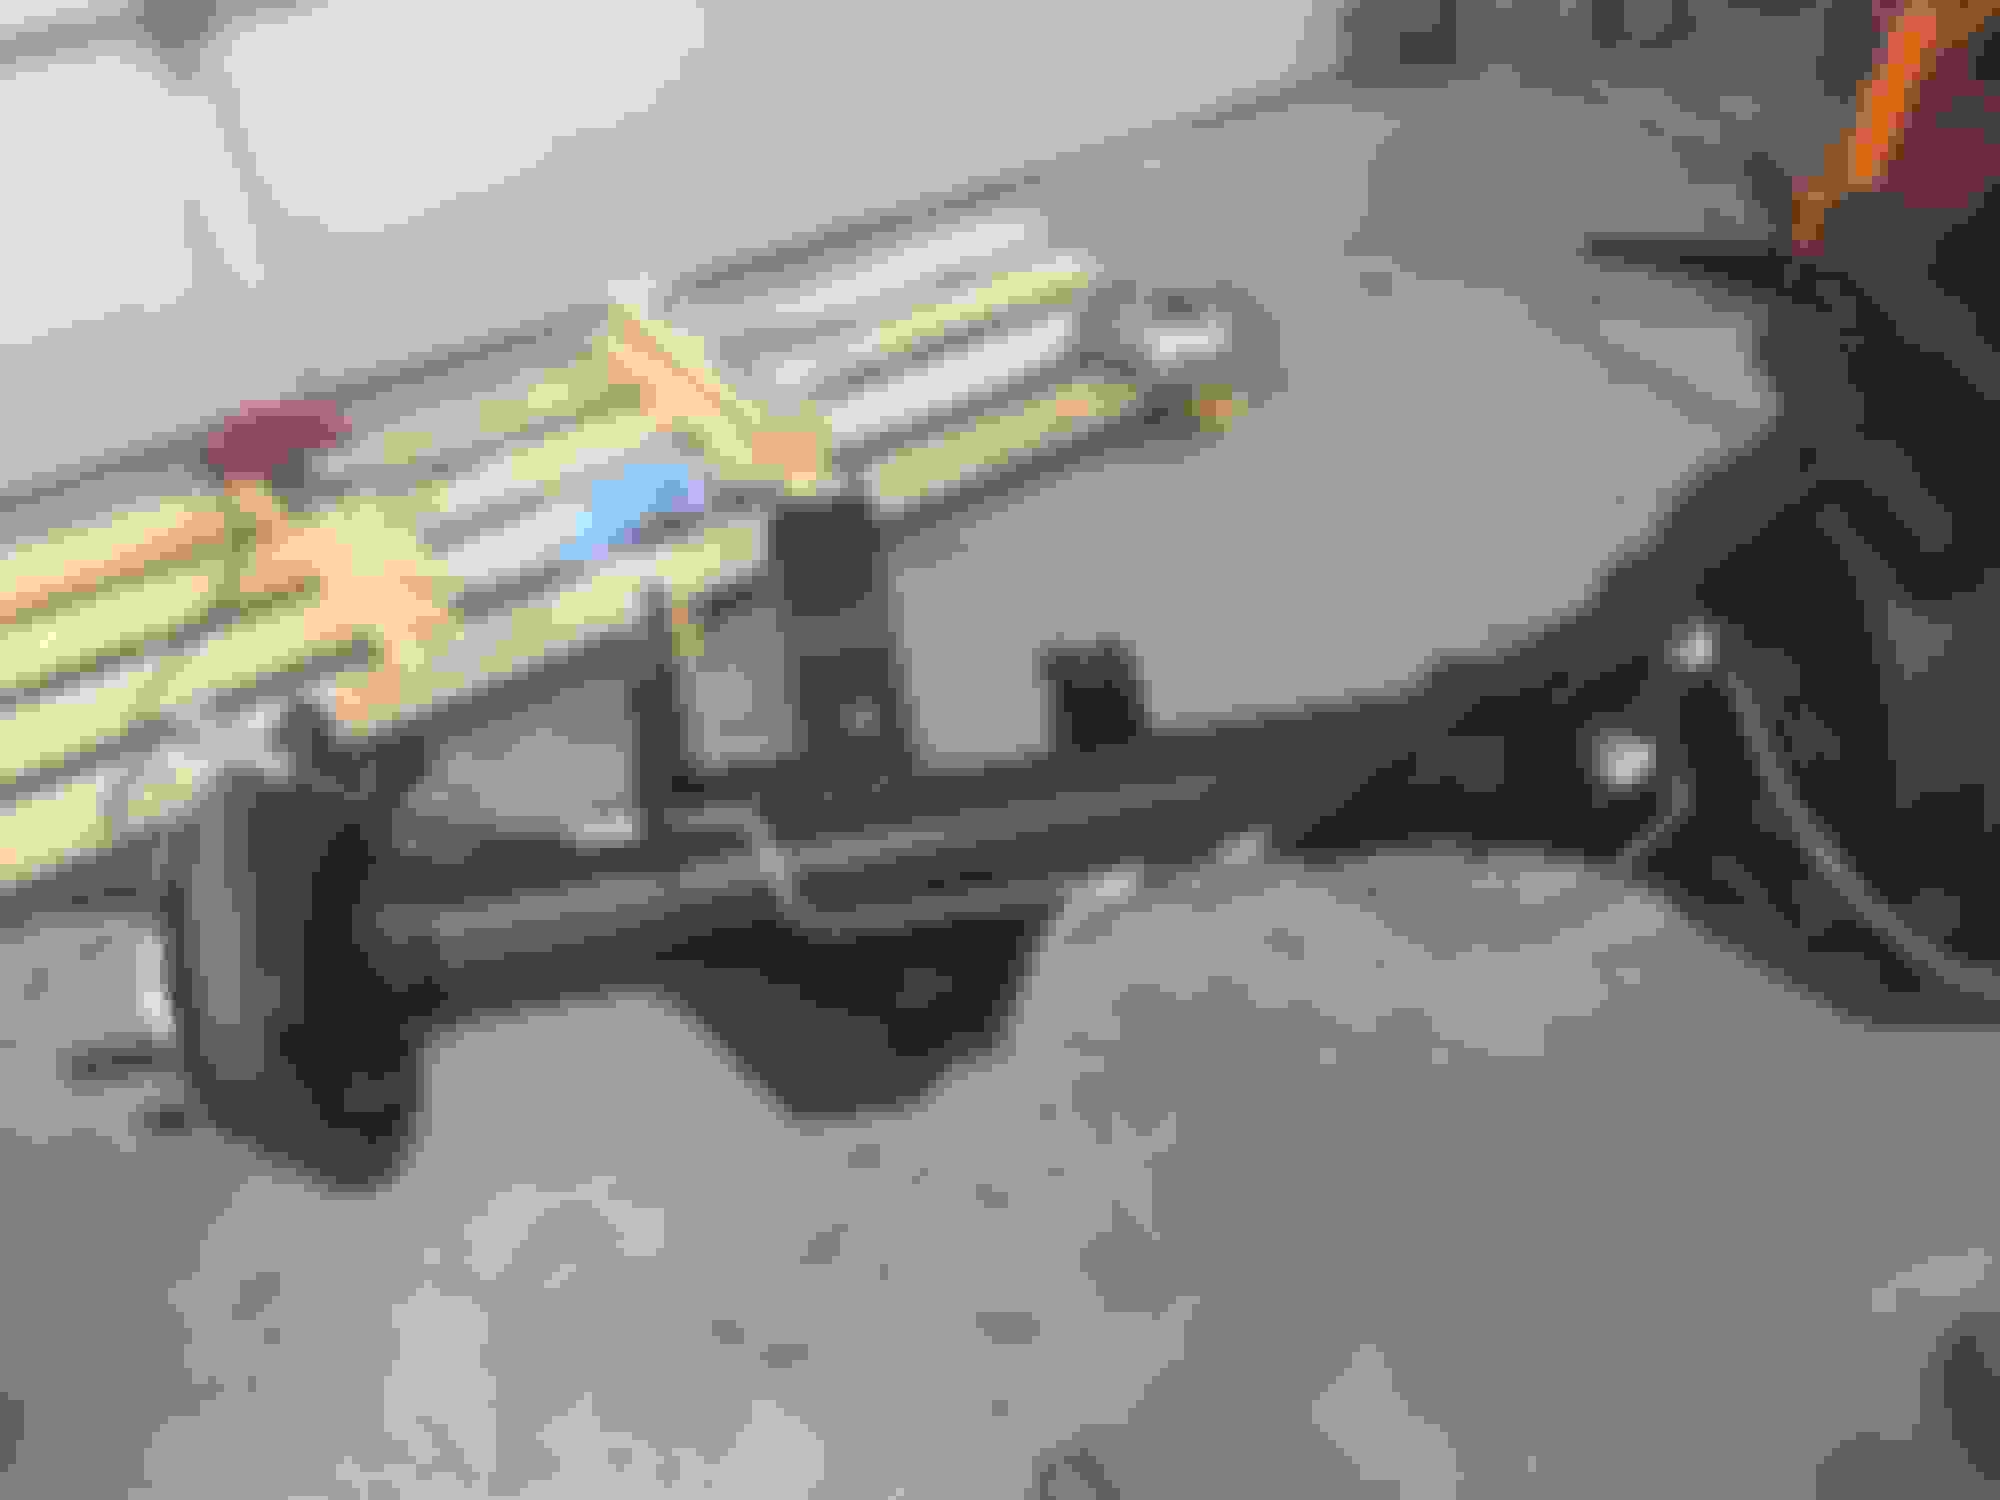
Now on to the painting. My thought, "HTF am I gonna paint this thing all at once, and not have a down side, and have to flip it and take 2-3 days to paint it, waiting for each coat to dry. Hanging it, I can just wait like an hour between coats for it to basically just flash, and spray again. If it has to be flipped I'm goin to have to wait at least 8 hrs between coats, and have to flip it back and forth. Well I decided to hang it by the yoke, worked well. I used my engine hoist, so I could change the height to get under it to paint the back. Hanging the drive shaft was easy.
I had to install some transverse mounts, for my coil overs. I cut off the top part where an additional bolt went through it when mounted on the stock housing. I just put a bead of weld across the top, and left the single bolt through it. The brackets I had fit the stock housing well, but the top section didn't fit the strange housing well.
Then on to the painting, I put 3 wet coats of 2K epoxy on everything.
After all the spraying was done I used a brush with the paint I still had mixed up, to paint into some of the little recessed areas of the brake backing plates. I did paint them before sending them to strange, but putting another coat on there made them look better.
I'm pleased with how this came out paint wise, it looks really good IMO. Again good enough for who it's for, and it is going under the car.
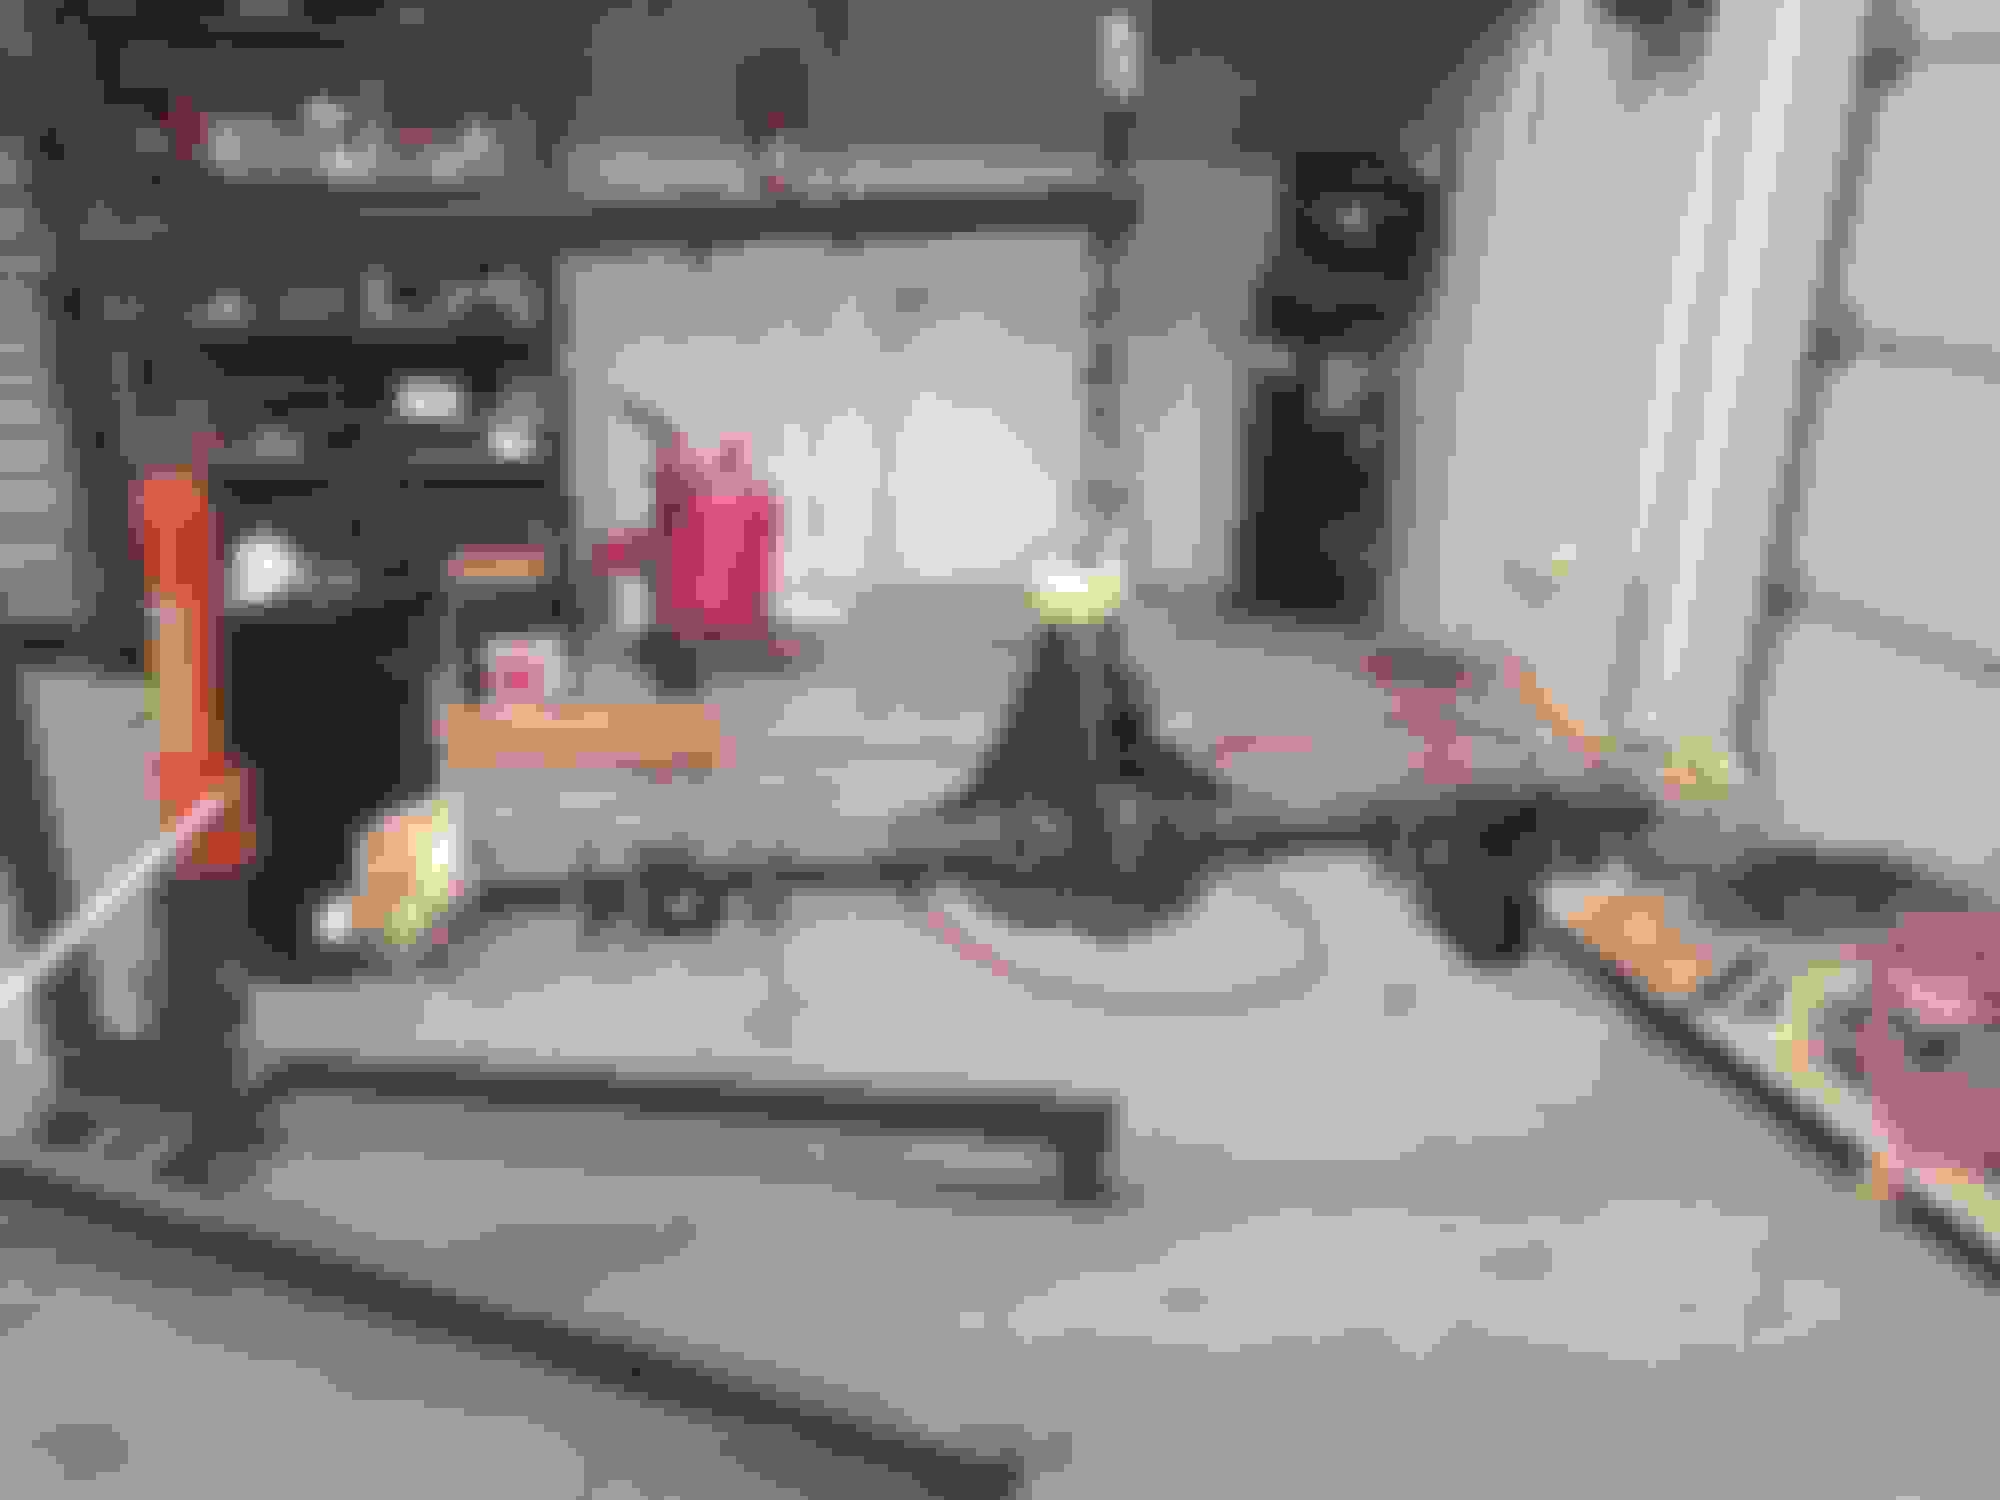
Still plenty of work to do though getting the trans and the rear end back in the car. A young guy could probably slap it all back together in a day, but I'll probably putter at it for about a week or so, a couple hours at a time after my day job.
Damn man what a great job. The bottom of the car looks amazing! Going all out on this car and it's turning out awesome...
Thanks for the compliment. I think this has made a big difference. It has only cost me about $150 total for all of the materials to do this complete underbody detail, paint the rear housing, and the drive shaft. I could have just rattle can painted the drive shaft and housing with some semi gloss black from Lowes, and thrown it back together for about $5, without doing any of this, but I wouldn't feel the same about it. It has taken considerable time, but to me this is a lot of bang for my buck here. Not much else I could spend 150 bucks on that can bring me more piece of mind than this. Most people will never see this work, because they won't see under the car, but knowing I've cleaned it up, and stopped or at least delayed further corrosion means a lot to me. I feel better about the car when I'm under it on my lift. I guess we really are only doing these "builds" for ourselves anyhow, so how we feel about it is the most important thing. It doesn't really matter who else sees it.
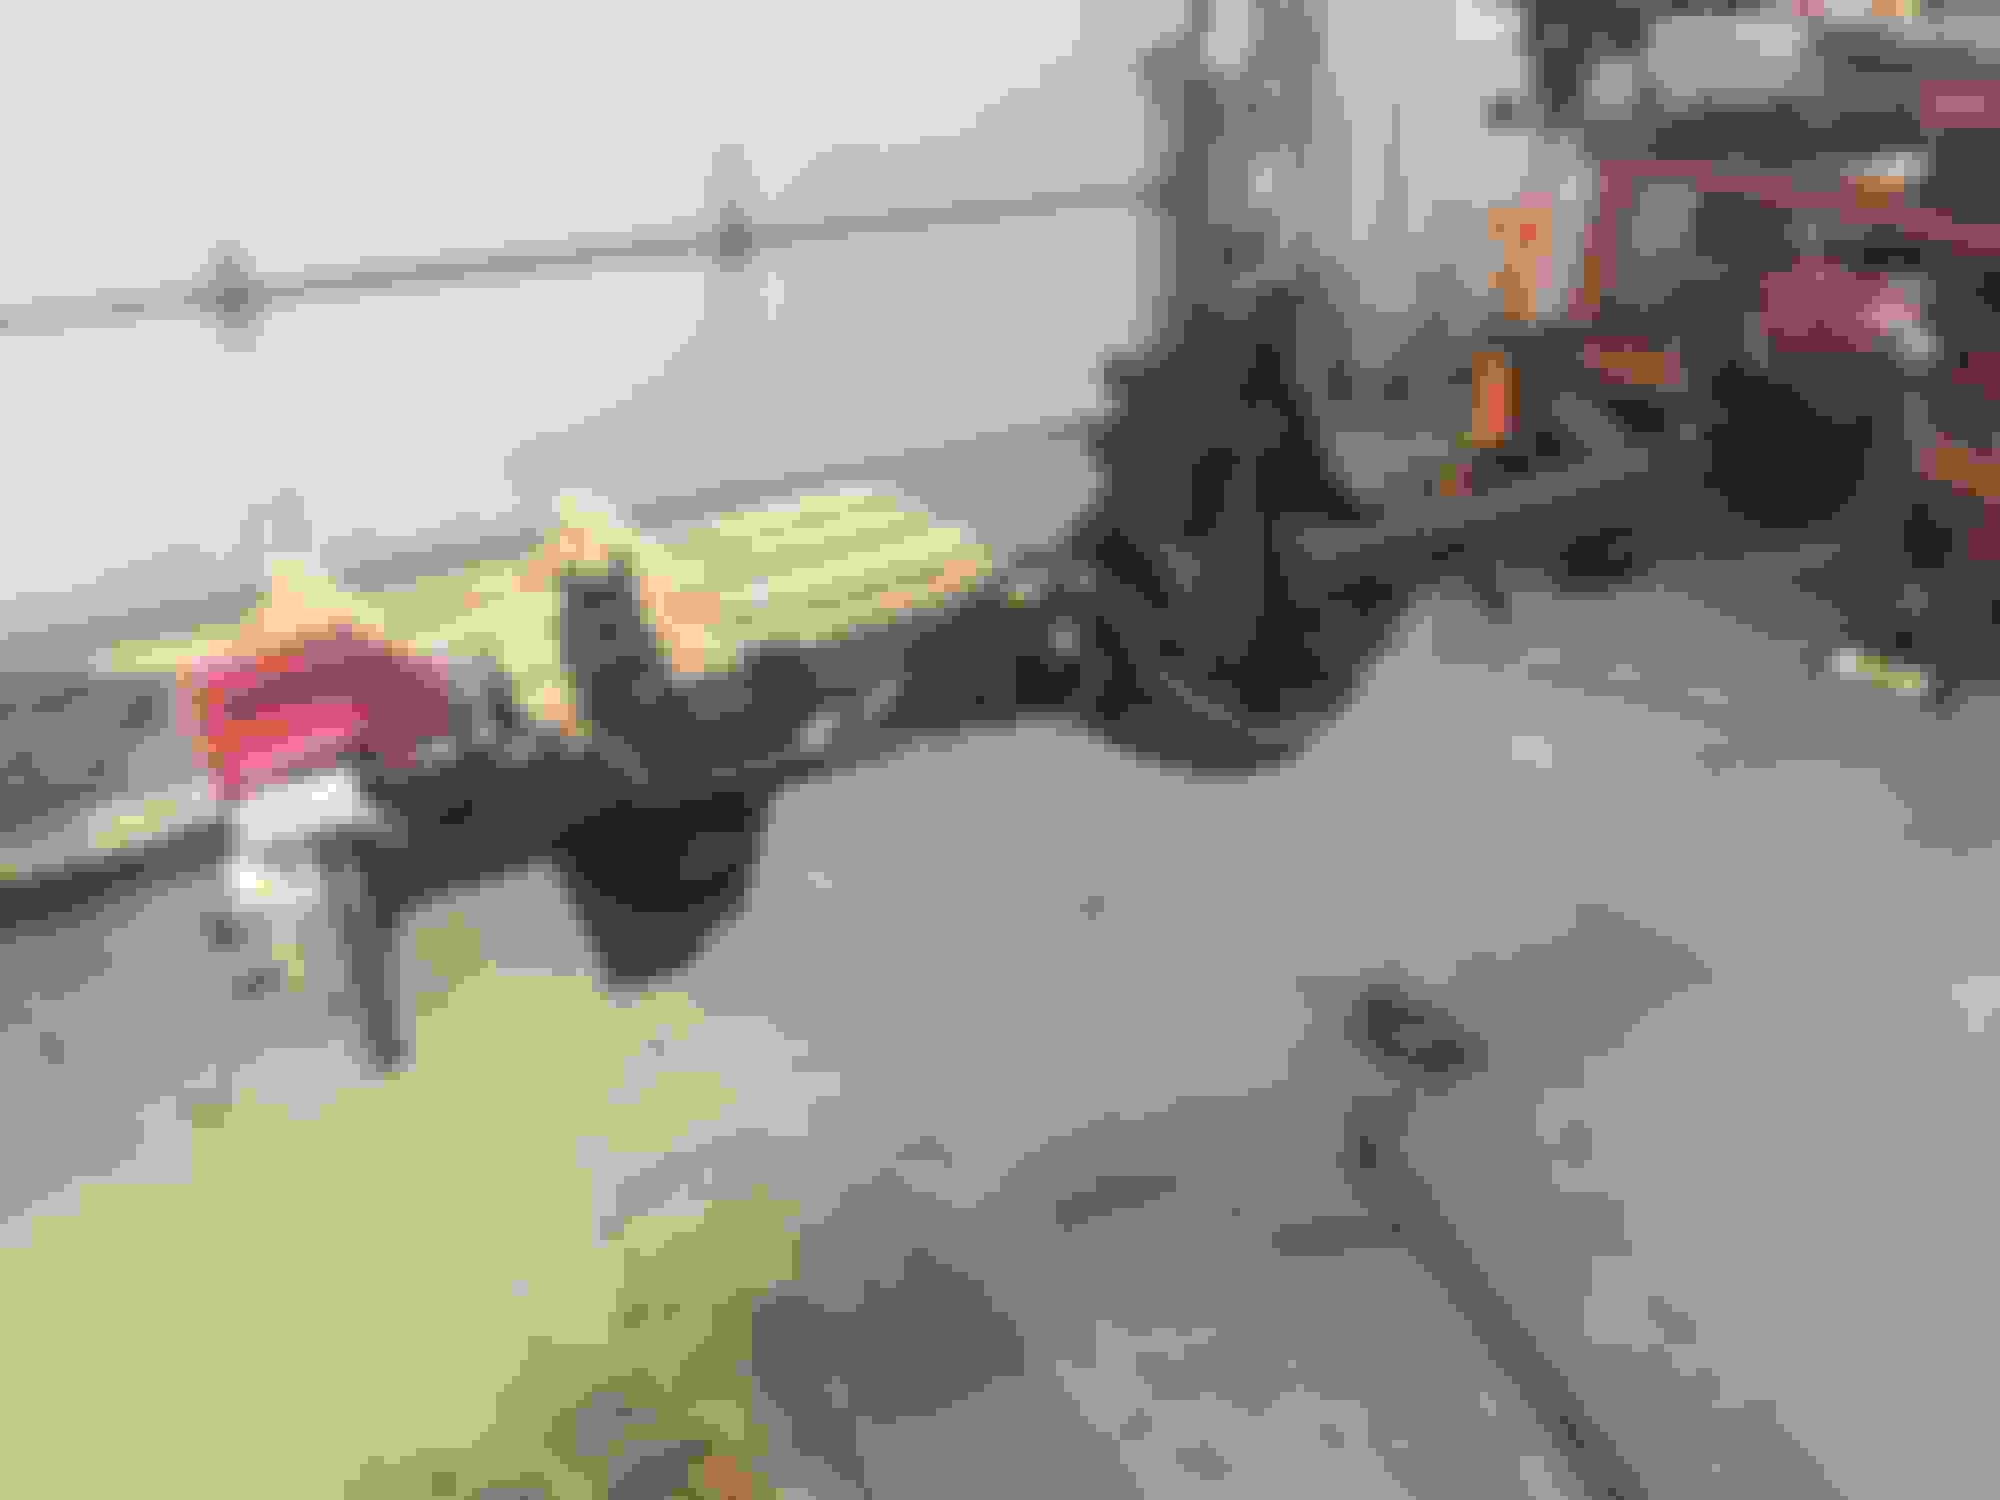
Well I'm starting to get it all back together. Wish I'd had more time. Had to take care of a little honey do list this weekend too. Damn yard work, shrub trimming, mulching etc. Well I got a bunch of my plumbing, and wiring, fuel pump relays, reattached to the body, and a few things like my sway bar mounts back on, the pan hard bar support, and the lower control arms back on the body.
I also worked on the rear end, getting my brakes setup. I sanded and painted the brackets that hold the brake hose, and the parking brake cable. I got them bolted to the housing.
I bought 4 new hoses, the 2 inner ones and the 2 outer ones. I got all 4 of them for less that $30 shipped, so it wasn't worth putting my rusty 19 year old ones back on a brand new rearend.
I also bought new stainless steel hard lines. They were to fit the stock rear end, so they did require quite a little bit of massaging and bending to get them to fit the S60, but it worked out decent.
I then put the old calipers back on. The pads on there were decent, I replaced them about 3 years ago, only about 2000 miles on them. I did clean the calipers up but did skip repainting them. I'm short on time, and want to get this back together, so this is an area I can cut a little corner on, as I can pull a caliper off easily at a later date, if I feel the need to paint them again. Getting the parts that are behind the transmission and axel are the areas I need to make sure are done before the hard parts go back in, as I may not see access to those areas again for a while.
Next I need to trim my aftermarket UMI torque arm to fit the S60 housing, as I understand I will be using the other set of bolt holes in it, than what were used with the factory rear end housing. Hopefully I can get some time through the week to get that done, then I'll be ready to put the S60 under the car.
Well I got my S60 under the car. It was considerably more effort getting it in there physically, than pulling out the old 10 bolt. With the 10 bolt I was able to cheat, I had the rotors and axels out of it, so it was reasonably light, just really the weight of the center section, with the S60, it was fully loaded. It was probably 250lbs + with rotors, and calipers on it.
First I reconnected all of the hard points, the torque arm, the lower control arms, the panhard rod, and the shocks. Then I ran the parking brake cables, attached the sensors for the 4 channel abs, and ran the wiring harness on the rear housing, then I connected the brake hoses to the body, and the stainless hard lines to those hoses. I'm so pleased I spent the money for new hoses, they were cheap, and I've a lot more confident in them, vs the almost 20 year old ones I had.
I do have a concern regarding the UMI torque arm though. Since the bolt holes for the torque arm are not in the same place relative to the axels and drive line. According to the documentation from Strange the mounting holes are moved 1/2" towards the drivers side of the car, and 1/2" forward. Well trimming the mounting bracket, and using the other holes takes care of the offset towards the drivers side, how do we compensate for the move forward? Is it OK just to leave it as is and not adjust for this 1/2" forward. I really don't want to cut the torque arm a 1/2" shorter, or move my mounting point 1/2" forward. Shortening the torque arm 1/2" would be the easier of the 2 things I believe I really have my cross member which my torque arm mounts to welded in there solidly, in multiple locations.
 02-18-2017, 10:34 PM

 I see a forged iron block and an S485 in my future.