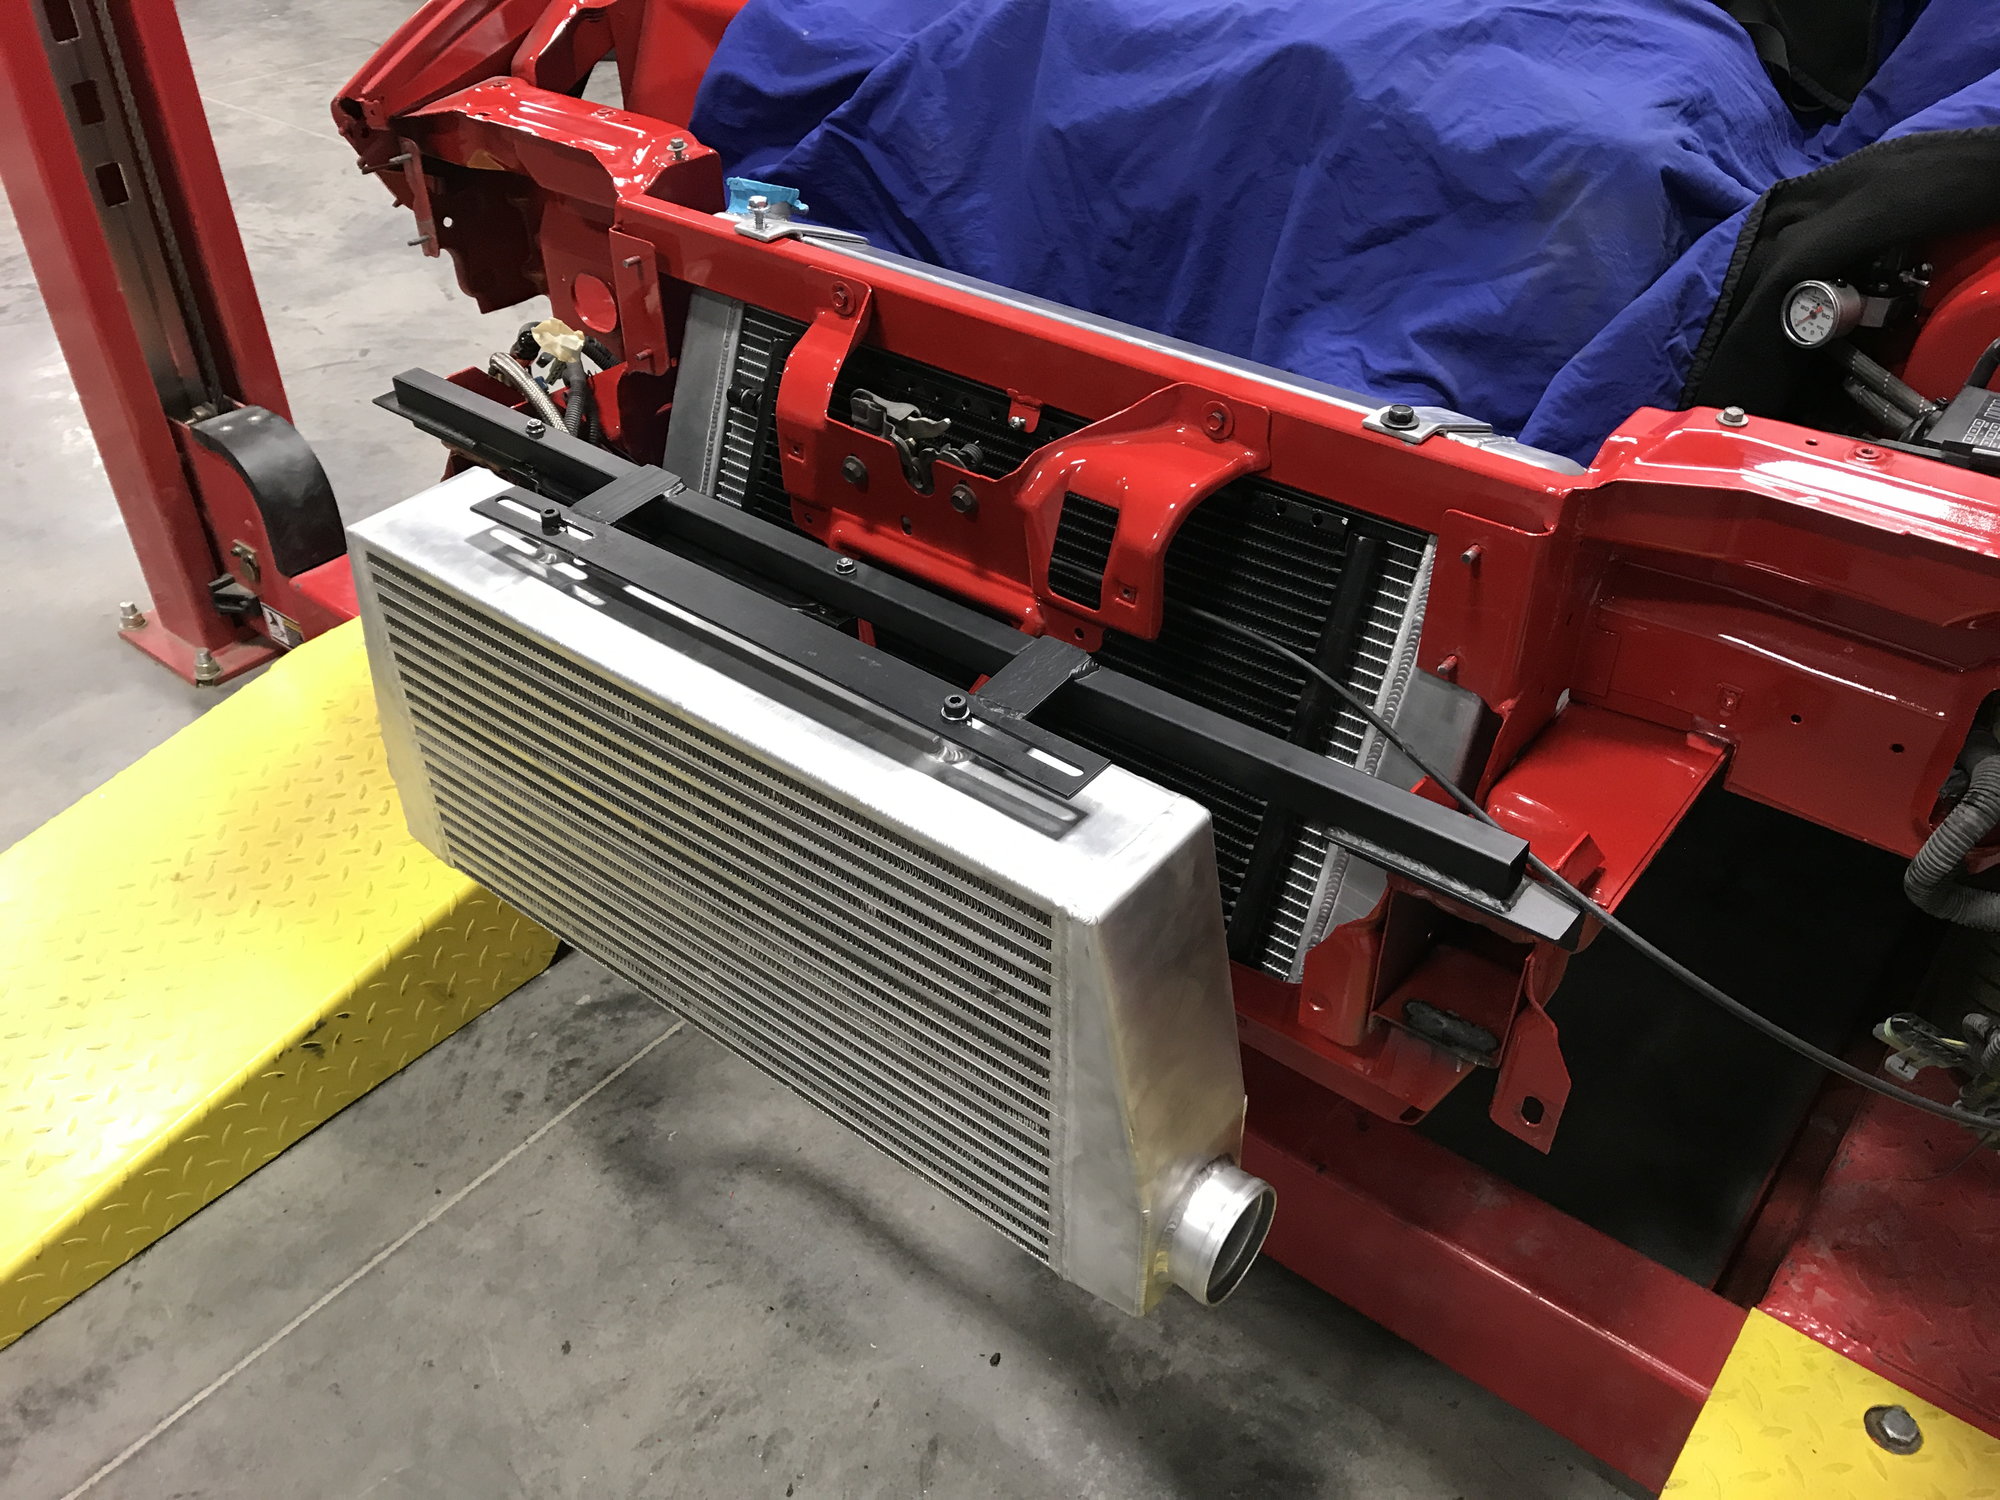
Griffin stand up radiator Write-Up/How-To with part #'s
#49
TECH Addict
iTrader: (8)
Oddly , he responded on 4/3/2017 and left this on my message...
04-03-2017 03:52 PM
MIGHTYMOUSE
i would need to see a picture. if its something i worked on then it cooled ok at least for virgina weather. puller fans always have a better chance of working than pushers imo
But then, after I sent the picture, he didn't respond again...
04-03-2017 03:52 PM
MIGHTYMOUSE
i would need to see a picture. if its something i worked on then it cooled ok at least for virgina weather. puller fans always have a better chance of working than pushers imo
But then, after I sent the picture, he didn't respond again...
Last edited by mightyquickz28; 04-17-2018 at 07:47 AM.
#50
TECH Fanatic
iTrader: (14)
Oddly , he responded on 4/3/2017 and lefr this on my message...
04-03-2017 03:52 PM
MIGHTYMOUSE
i would need to see a picture. if its something i worked on then it cooled ok at least for virgina weather. puller fans always have a better chance of working than pushers imo
But then, after I sent the picture, he didn't respond again...
04-03-2017 03:52 PM
MIGHTYMOUSE
i would need to see a picture. if its something i worked on then it cooled ok at least for virgina weather. puller fans always have a better chance of working than pushers imo
But then, after I sent the picture, he didn't respond again...
#52
TECH Addict
iTrader: (8)
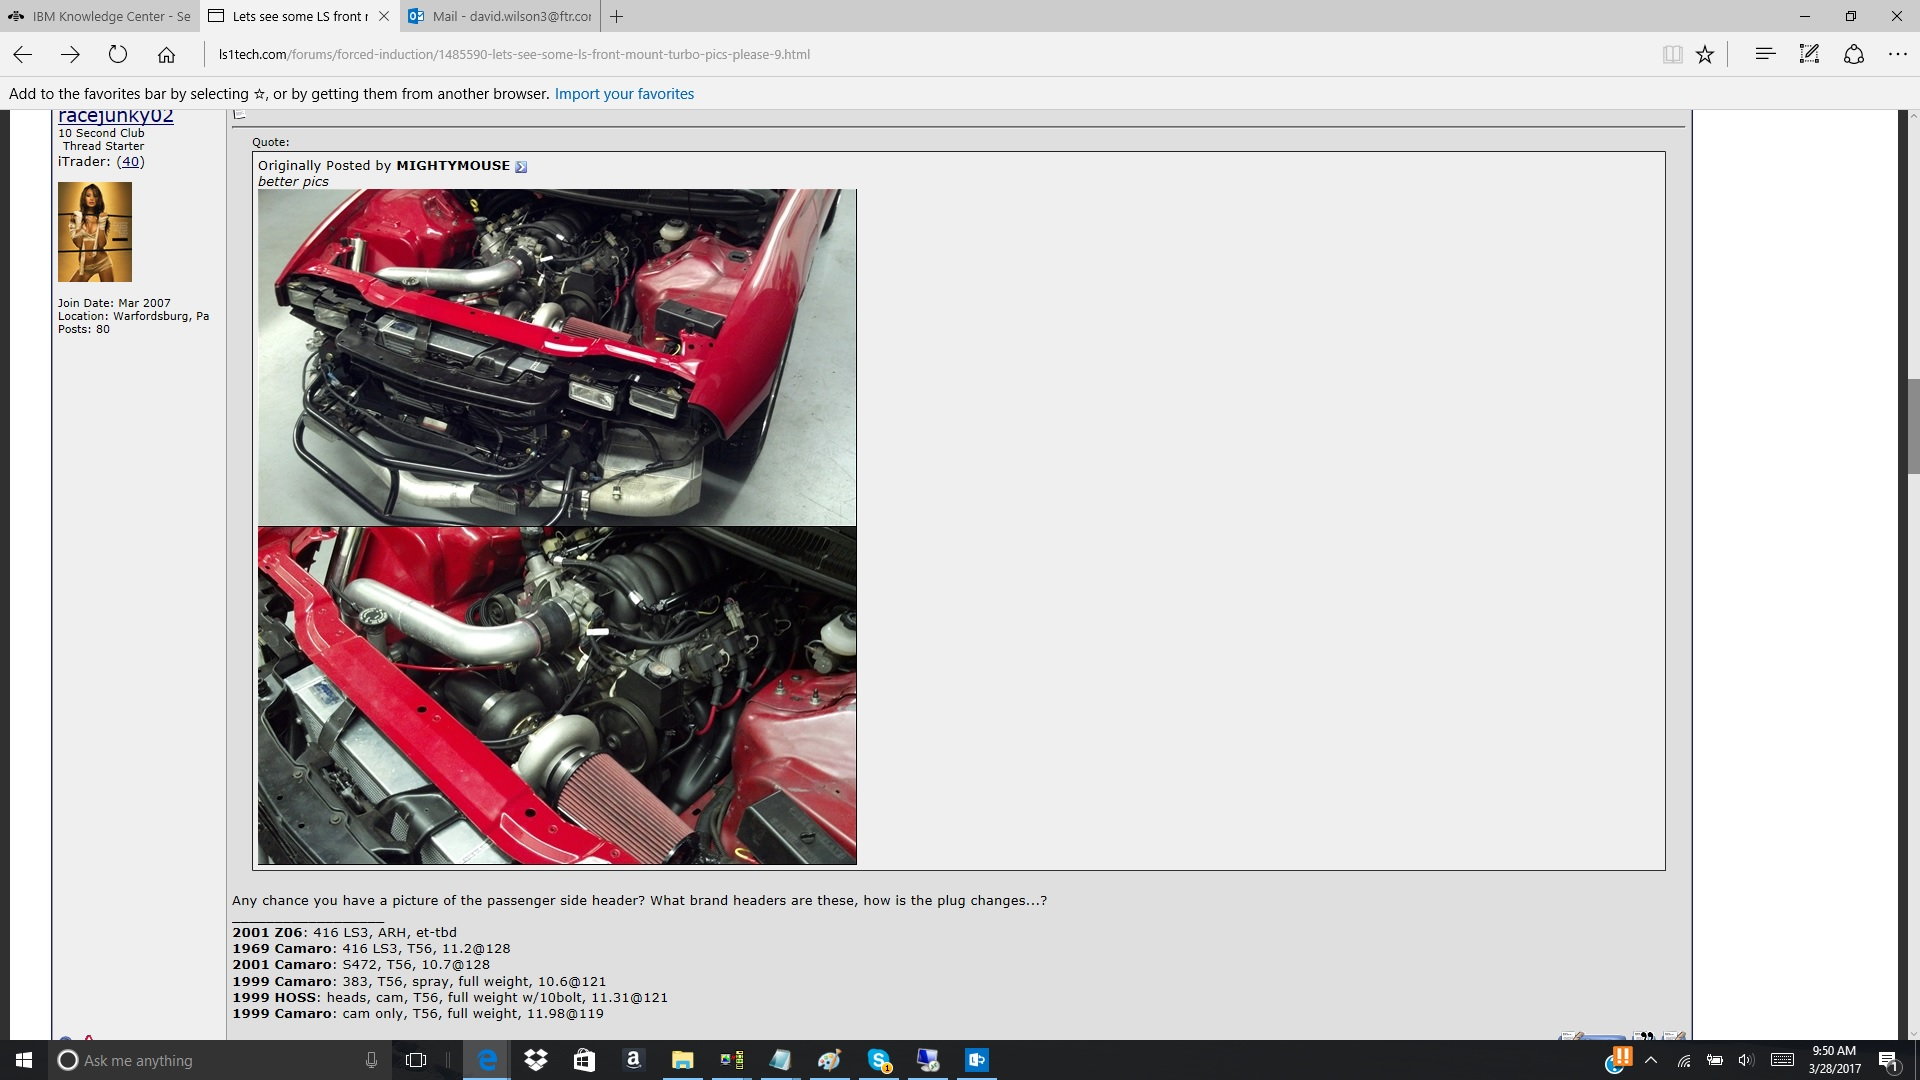
I looked for '''Breslin" and found this...
https://ls1tech.com/forums/forced-in...rbo-build.html
A couple of pictures are blurry but the shot of the backside of the fans in place with his radiator placement look very promising.
https://ls1tech.com/forums/forced-in...rbo-build.html
A couple of pictures are blurry but the shot of the backside of the fans in place with his radiator placement look very promising.
#57
TECH Addict
iTrader: (8)
Purchased everything verbatim the original poster put up.
Impressions...
After I got everything put in place, tightened up and double checked, I filled the radiator with 50/50 coolant mix. I then started it up and , while watching the temp gauge, let it get to the first quarter mark on the engine coolant gauge. I shut it off and went off to do other things while giving it about 4 hours to cool off so I could top off the radiator again. Came back, refilled it, then cautiously drove it around the storage areas drive where I keep the car to see if it would overheat.
Nope! All was good. Took the turbo z28 out on the highway and, after making sure the road was clear, took a couple of 19 psi 2nd gear blasts. Temp stayed inbetween the first tick mark and the first quarter mark. Thanks for the recommendation!
Impressions...
- Parts..
- .. a. I'm not sure what the intended use was for the two O2 bungs I bought and had welded to the top of the radiator. The original poster seems to use them for the mounting straps that hold the top of the radiator in place. However, the two allen bolts he has there can't really have that large (21mm?) thread and screw in there. At least I don't think so. Maybe the bolts just sit down in that cavity of the O2 bungs? I tried finding some thing that would thread into them with an allen head and didn't have any luck. I ended up cutting up my old BMR stainless steel 'cover' that had held my LT1 radiator in place. Works fine.
- .. b. The 'bibs' on the radiator for the steam pipe return and overflow bottle. The stock hose for the overflow bottle nipple was too large. I had a smaller bit of tubing laying around that I tightly slid over the nipple, the put the overflow bottle tube over that and clamped it down. No leaks. For the steam pipe tube, it was so tight, I almost couldn't get it on the nipple, but finally did after some appropriate cuss words were uttered with enough volume.

- .. c. It was stated that you could reuse your stock upper radiator hose. That should come with the caveats, "Yes, but It almost won't go on the nipple of the radiator (way tight, I had to cut either side of the hose end so that it would splay open enough to start the hose on there)" and.... the hose is so long for the configuration, you'll either end up with a kink in it or it will lay right on your MAF and Intake elbow, heating them up when it's fully warm
- .. d. The hubs of the fans rub on the backside of the windshield water reservoir. I had to take the two press plugs off the top mounting points and space the tabs of the water reservoir out to keep the hubs off the bottle.
After I got everything put in place, tightened up and double checked, I filled the radiator with 50/50 coolant mix. I then started it up and , while watching the temp gauge, let it get to the first quarter mark on the engine coolant gauge. I shut it off and went off to do other things while giving it about 4 hours to cool off so I could top off the radiator again. Came back, refilled it, then cautiously drove it around the storage areas drive where I keep the car to see if it would overheat.
Nope! All was good. Took the turbo z28 out on the highway and, after making sure the road was clear, took a couple of 19 psi 2nd gear blasts. Temp stayed inbetween the first tick mark and the first quarter mark. Thanks for the recommendation!
Last edited by mightyquickz28; 09-19-2017 at 12:02 PM.
#58
Purchased everything verbatim the original poster put up.
Impressions...
Impressions...
- Parts..
- .. a. I'm not sure what the intended use was for the two O2 bungs I bought and had welded to the top of the radiator. The original poster seems to use them for the mounting straps that hold the top of the radiator in place. However, the two allen bolts he has there can't really have that large (21mm?) thread and screw in there. At least I don't think so. Maybe the bolts just sit down in that cavity of the O2 bungs? I tried finding some thing that would thread into them with an allen head and didn't have any luck. I ended up cutting up my old BRM stainless steel 'cover' that had held my LT1 radiator in place. Works fine.
- .. b. The 'bibs' on the radiator for the steam pipe return and overflow bottle. The stock hose for the overflow bottle nipple was too large. I had a smaller bit of tubing laying around that I tightly slid over the nipple, the put the overflow bottle tube over that and clamped it down. No leaks. For the steam pipe tube, it was so tight, I almost couldn't get it on the nipple, but finally did after some appropriate cuss words were uttered with enough volume.

- .. c. It was stated that you could reuse your stock upper radiator hose. That should come with the caveats, "Yes, but It almost won't go on the nipple of the radiator (way tight, I had to cut either side of the hose end so that it would splay open enough to start the hose on there)" and.... the hose is so long for the configuration, you'll either end up with a kink in it or it will lay right on your MAF and Intake elbow, heating them up when it's fully warm
- .. d. The hubs of the fans rub on the backside of the windshield water reservoir. I had to take the two press plugs off the top mounting points and space the tabs of the water reservoir out to keep the hubs off the bottle.
A. I revised the pieces at the top because I think the link either changed to something else or was misposted. Mine were a different size. I posted the sizes.
B. I never had any issues with either, but it is a tight fit on the fitting that was bought. Still working perfect though a very slightly smaller fitting may be better.
C. Not sure on that one as the hose slipped over my "radiator nipple" with just a little effort and was the perfect length with zero issues on mine. Maybe because yours is an lt1 body style and things may be a bit different?
D. Again I had no fitment issues here. Mine went in perfect.
#59
TECH Addict
iTrader: (8)
Don't get me wrong, I'm very appreciative of what you put out there. I'm over the moon about the cooling capability. My prior LT1 based radiator, with the stock fans installed as pushers, kept my temps just below the first quarter mark. I was hoping this new setup would control the temps at least to somewhere below the halfway mark. That it's even cooler than the prior setup is fantastic.
I know anytime we do these 'invasive' changes, there's going to be discoveries or differences (I suspect as you do, that the LT1 setup might involve slightly different hose/tubing/nipples and windshield reservoir). Thanks again for the great info you provided.
I know anytime we do these 'invasive' changes, there's going to be discoveries or differences (I suspect as you do, that the LT1 setup might involve slightly different hose/tubing/nipples and windshield reservoir). Thanks again for the great info you provided.
#60
Don't get me wrong, I'm very appreciative of what you put out there. I'm over the moon about the cooling capability. My prior LT1 based radiator, with the stock fans installed as pushers, kept my temps just below the first quarter mark. I was hoping this new setup would control the temps at least to somewhere below the halfway mark. That it's even cooler than the prior setup is fantastic.
I know anytime we do these 'invasive' changes, there's going to be discoveries or differences (I suspect as you do, that the LT1 setup might involve slightly different hose/tubing/nipples and windshield reservoir). Thanks again for the great info you provided.
I know anytime we do these 'invasive' changes, there's going to be discoveries or differences (I suspect as you do, that the LT1 setup might involve slightly different hose/tubing/nipples and windshield reservoir). Thanks again for the great info you provided.


