What did you do to your V today?
 06-01-2017, 06:40 PM
#1521
Here you go:
http://www.ebay.com/itm/132008762785
Already has the Cadillac emblem on the other side.
http://www.ebay.com/itm/132008762785
Already has the Cadillac emblem on the other side.
 06-02-2017, 05:56 PM
#1522
TECH Enthusiast
Pic of before some exhaust work gets done. Finally going to weld up the Corsa exhaust and eliminate the million clamps on that system.
For those that don't know.
The Corsa Cat back doesn't have a front or mid hanger and has quite a few clamped connections. The simple reason for all these clamps isn't adjust-ability but ease of shipping. The lack of a mid support puts the entire weight of the system on your headers and the two stock rubber hangers at the very rear of the car. Stress is concentrated at the weakest point which is the welds on the resonators and headers. The resonator welds cracking is a common failure point on this system. Premature header weld failure is also symptom.
I'll post up a description of what was done and pics of the final setup when complete this weekend. Then next project is hood and headlight gaps!
 06-03-2017, 12:37 AM
#1523
Staging Lane

Just took it for a drive after replacing the front shocks, wheel bearing, and channeling and greasing the front lower control arm bushings (pics posted in control arm thread). Also replaced 2 TPMS and balanced the tires while it was up on stands.
Bushings were silent finally and the car was much more dampened on choppy roads and didn't flop like it used to on big dips or transitions in the road. Very pleased.
Discovered that the inner cup on the hub, where the sensor pickup is mounted, can be carefully pried off and re-indexed to where it needs to be. Bought a Moog 513139 for a C6 Vette and the lead was indexed at a bolt hole instead of between them. Popped it off, rotated it, and sealed it up again. So far so good.
06-03-2017, 08:13 AM
#1524
TECH Addict
iTrader: (19)
Join Date: Aug 2007
Location: Where the Navy tells me to go
Posts: 2,403
Received 106 Likes
on
88 Posts

A bit of an obscure "mod" this morning. My back seat is still out of the car from last weekend's track event. Before reinstalling it I wanted to put some edge trim guard stuff along the bottom edge of the seat. Every time I wrestle the seat back in and out of the car it's a struggle not to mark up the plastic inner rocker / door sill trim pieces. I replaced them once already because they were banged up.
Shoulda gone with the chrome stuff .
.
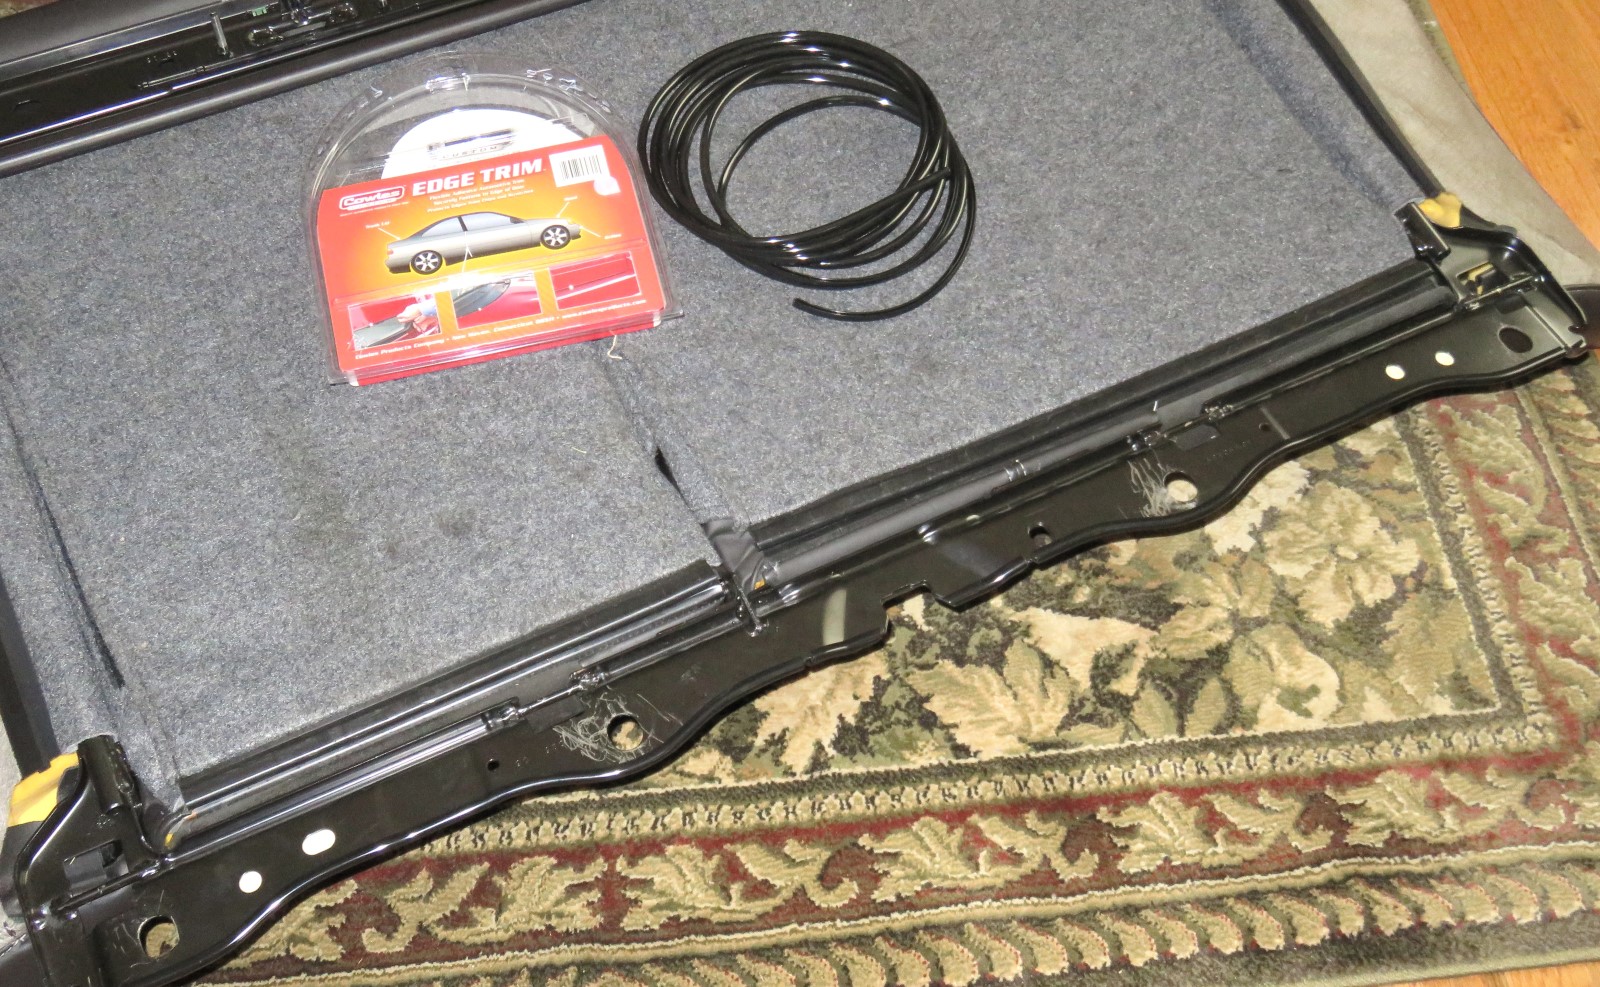
Not a bad idea, I'm interested to see the result. If I ever have that done on mine, I would see about getting things to tuck up a bit higher. As things are now, mine rests on the little cross piece that bolts across the tunnel. I used to be able to get it to not do that, but it doesn't want to cooperate anymore.
Shoulda gone with the chrome stuff
.Pic of before some exhaust work gets done. Finally going to weld up the Corsa exhaust and eliminate the million clamps on that system.
For those that don't know.
The Corsa Cat back doesn't have a front or mid hanger and has quite a few clamped connections. The simple reason for all these clamps isn't adjust-ability but ease of shipping. The lack of a mid support puts the entire weight of the system on your headers and the two stock rubber hangers at the very rear of the car. Stress is concentrated at the weakest point which is the welds on the resonators and headers. The resonator welds cracking is a common failure point on this system. Premature header weld failure is also symptom.
 06-03-2017, 04:53 PM
#1526
A bit of an obscure "mod" this morning. My back seat is still out of the car from last weekend's track event. Before reinstalling it I wanted to put some edge trim guard stuff along the bottom edge of the seat. Every time I wrestle the seat back in and out of the car it's a struggle not to mark up the plastic inner rocker / door sill trim pieces. I replaced them once already because they were banged up.
06-03-2017, 07:06 PM
#1527
Staging Lane

Join Date: Jun 2016
Location: Dayton, OH
Posts: 92
Likes: 0
Received 0 Likes
on
0 Posts
Just took it for a drive after replacing the front shocks, wheel bearing, and channeling and greasing the front lower control arm bushings (pics posted in control arm thread). Also replaced 2 TPMS and balanced the tires while it was up on stands.
Bushings were silent finally and the car was much more dampened on choppy roads and didn't flop like it used to on big dips or transitions in the road. Very pleased.
Discovered that the inner cup on the hub, where the sensor pickup is mounted, can be carefully pried off and re-indexed to where it needs to be. Bought a Moog 513139 for a C6 Vette and the lead was indexed at a bolt hole instead of between them. Popped it off, rotated it, and sealed it up again. So far so good.
Bushings were silent finally and the car was much more dampened on choppy roads and didn't flop like it used to on big dips or transitions in the road. Very pleased.
Discovered that the inner cup on the hub, where the sensor pickup is mounted, can be carefully pried off and re-indexed to where it needs to be. Bought a Moog 513139 for a C6 Vette and the lead was indexed at a bolt hole instead of between them. Popped it off, rotated it, and sealed it up again. So far so good.
06-04-2017, 11:17 AM
#1533
TECH Apprentice

After i f'ed up the black ones i decided to redo a set, Only had to cut the pass side a little bit near the rear, right by that bracket for the silver line, and for that connector looking thing on the silver line, and the driver side was easy, only made a lil cut by the power steering resevor and on the rear had to make a notch for the fuel line and that was it. Didnt have to do all the other trimming like people said. Sorry for the four separate posts I'm just learning how to do the photos and I can only do one at a time for some reason
06-04-2017, 11:48 AM
#1538
TECH Apprentice
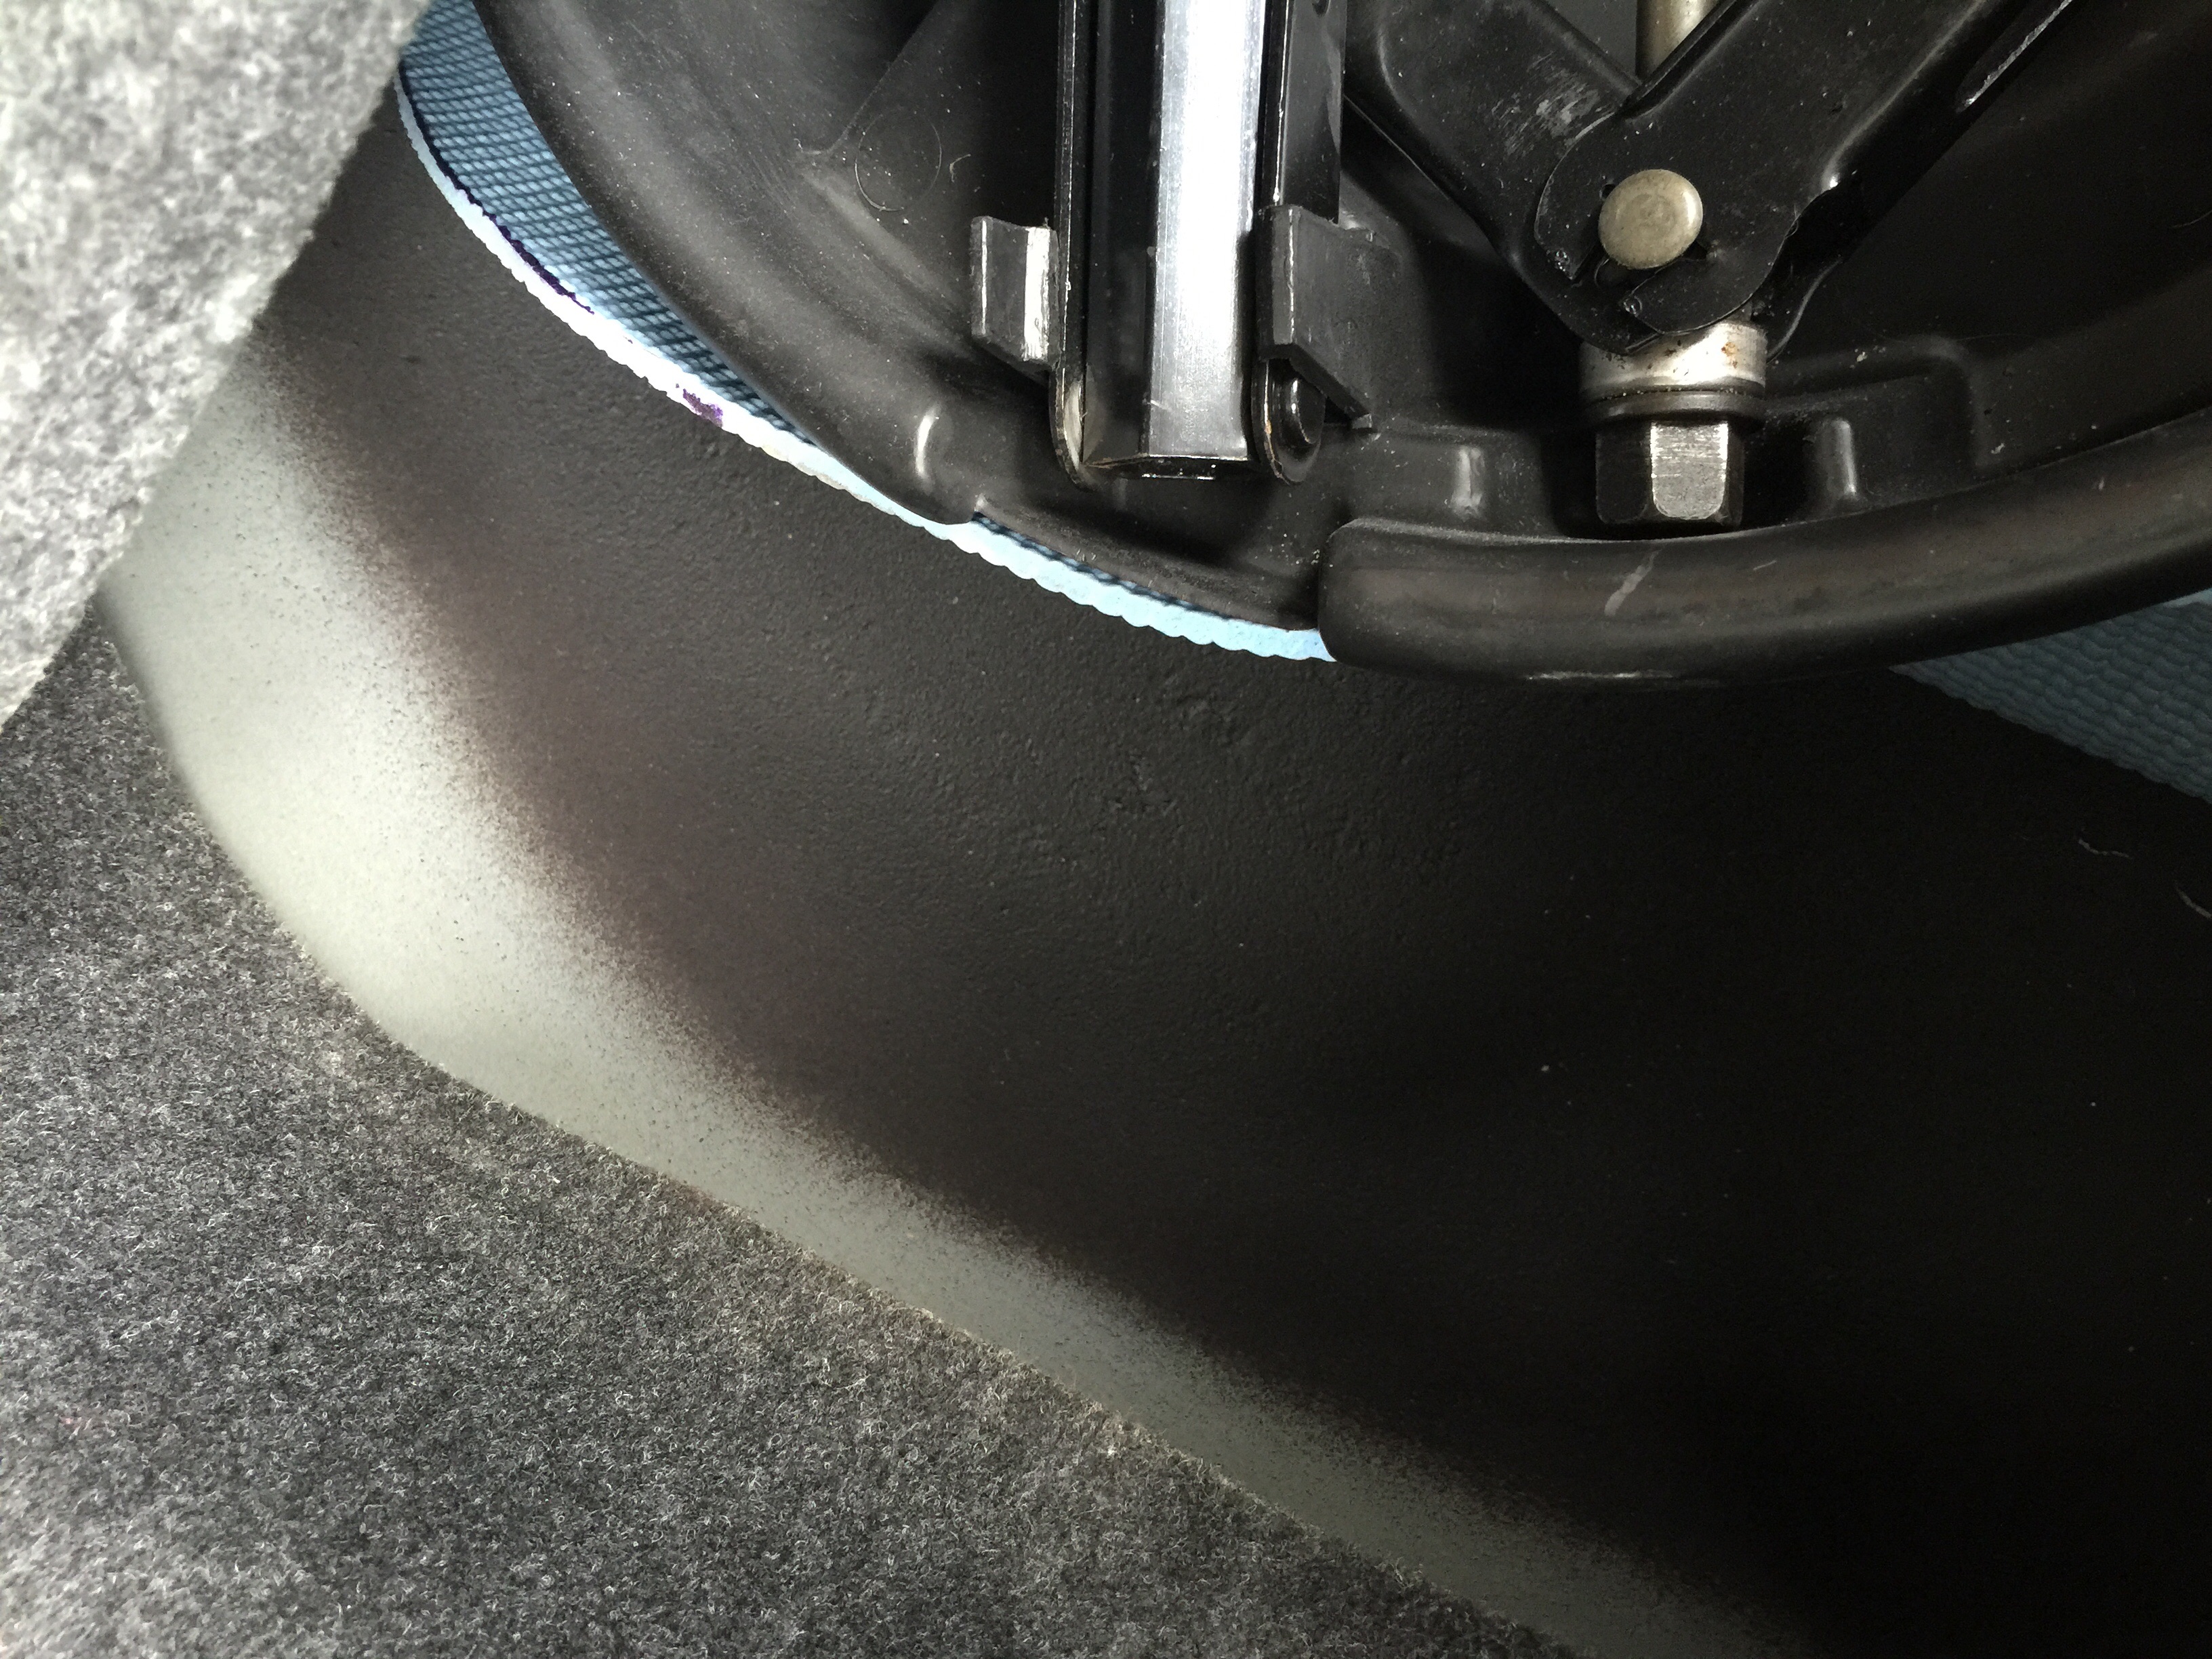
Also fixed my trunk leak, water was getting in the spare tire hole and i found where it was coming from, seemed to be a common problem for some people, so i took a water hose and let it run down the back window to see where it was coming from, ended up being the seam in the trunk jam only on the driver side right near the window, u could see a thin hairline crack in the factory seam, it was maybe 2 inches long or so, so i put a layer of black silicone over the crack and that was the fix. No more water. So i cleaned the spare tire hole out with some CLR AND A WIRE BRUSH. Then i primered it and put some flex seal stuff on it.
Last edited by Mike ctsV; 06-04-2017 at 12:27 PM.
06-04-2017, 07:35 PM
#1540
TECH Addict
iTrader: (19)
Join Date: Aug 2007
Location: Where the Navy tells me to go
Posts: 2,403
Received 106 Likes
on
88 Posts
You can attach up to 10 pictures to a single post instead of posting 10 times.  And if you right click and copy the link location, you can insert images full-size so people don't have to click 10 thumbnails:
And if you right click and copy the link location, you can insert images full-size so people don't have to click 10 thumbnails: