When you click on links to various merchants on this site and make a purchase, this can result in this site earning a commission. Affiliate programs and affiliations include, but are not limited to, the eBay Partner Network.
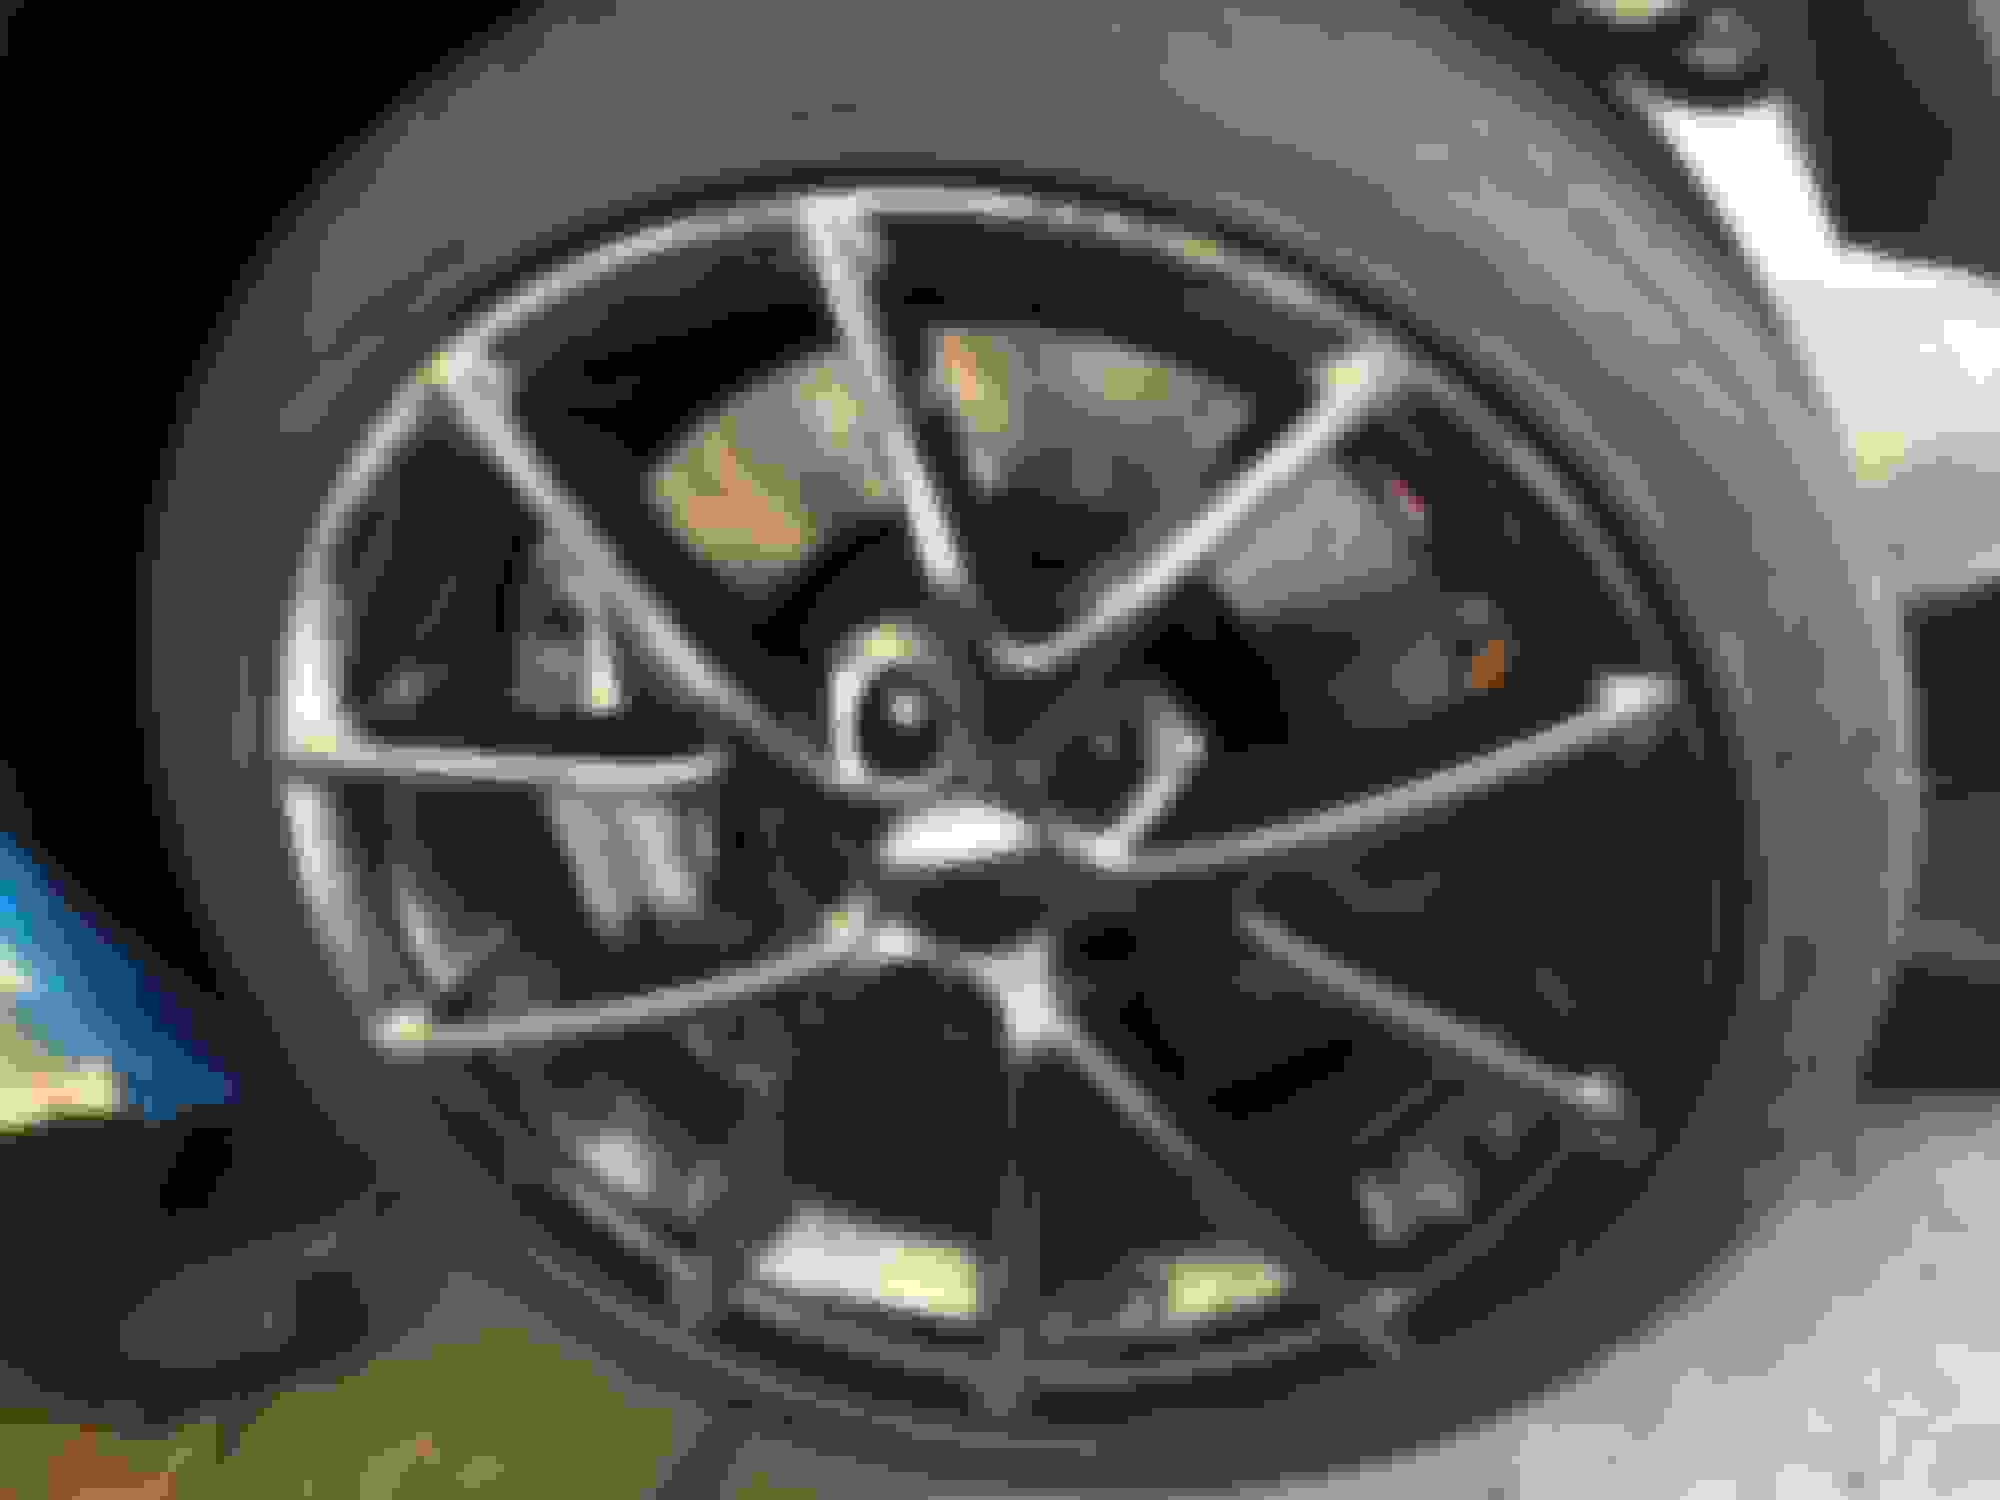
TBH, I'm not crazy about running a crazy wide rim and tire. I test fitted one of these on the rear of my car a couple months ago and with the 40mm offset, they're pretty aggressive for my taste. Then yesterday when I test fitted one on the front, it is also not far from the spindle and that's with a worn and rotted 255/35-75 tire, so I'm not sure I'd like to go much wider than a 9.5" and a 275.
What I would like to do eventually is get another set of 18x9.5 40mm offset wheels or even find a set of front C6Z or GS wheels and get some matching replicas for the back in a staggered setup for the street (since a matching set of 4 fronts off a Vette is hard to come by), that way I can have some street tires for cruising and a competition only/race setup for the track that can be swapped without a spacer, but right now I'm stuck with finding a good track tire that's legal on the street and won't crack if they're left on the car in the winter.
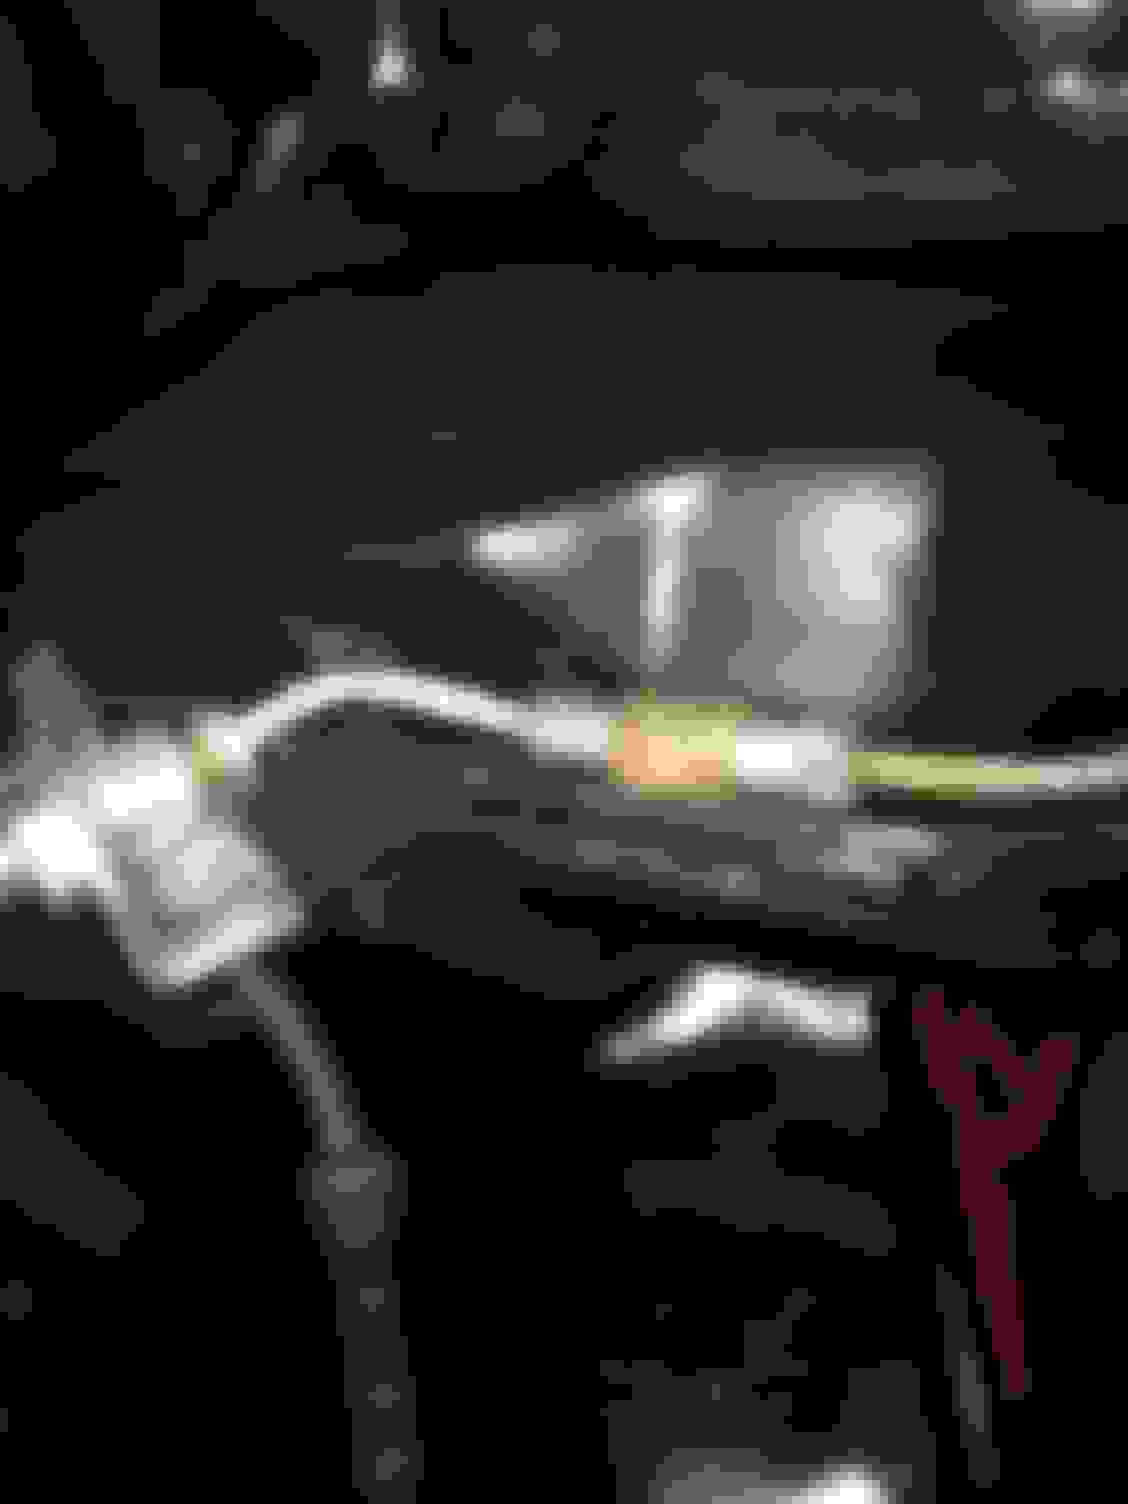
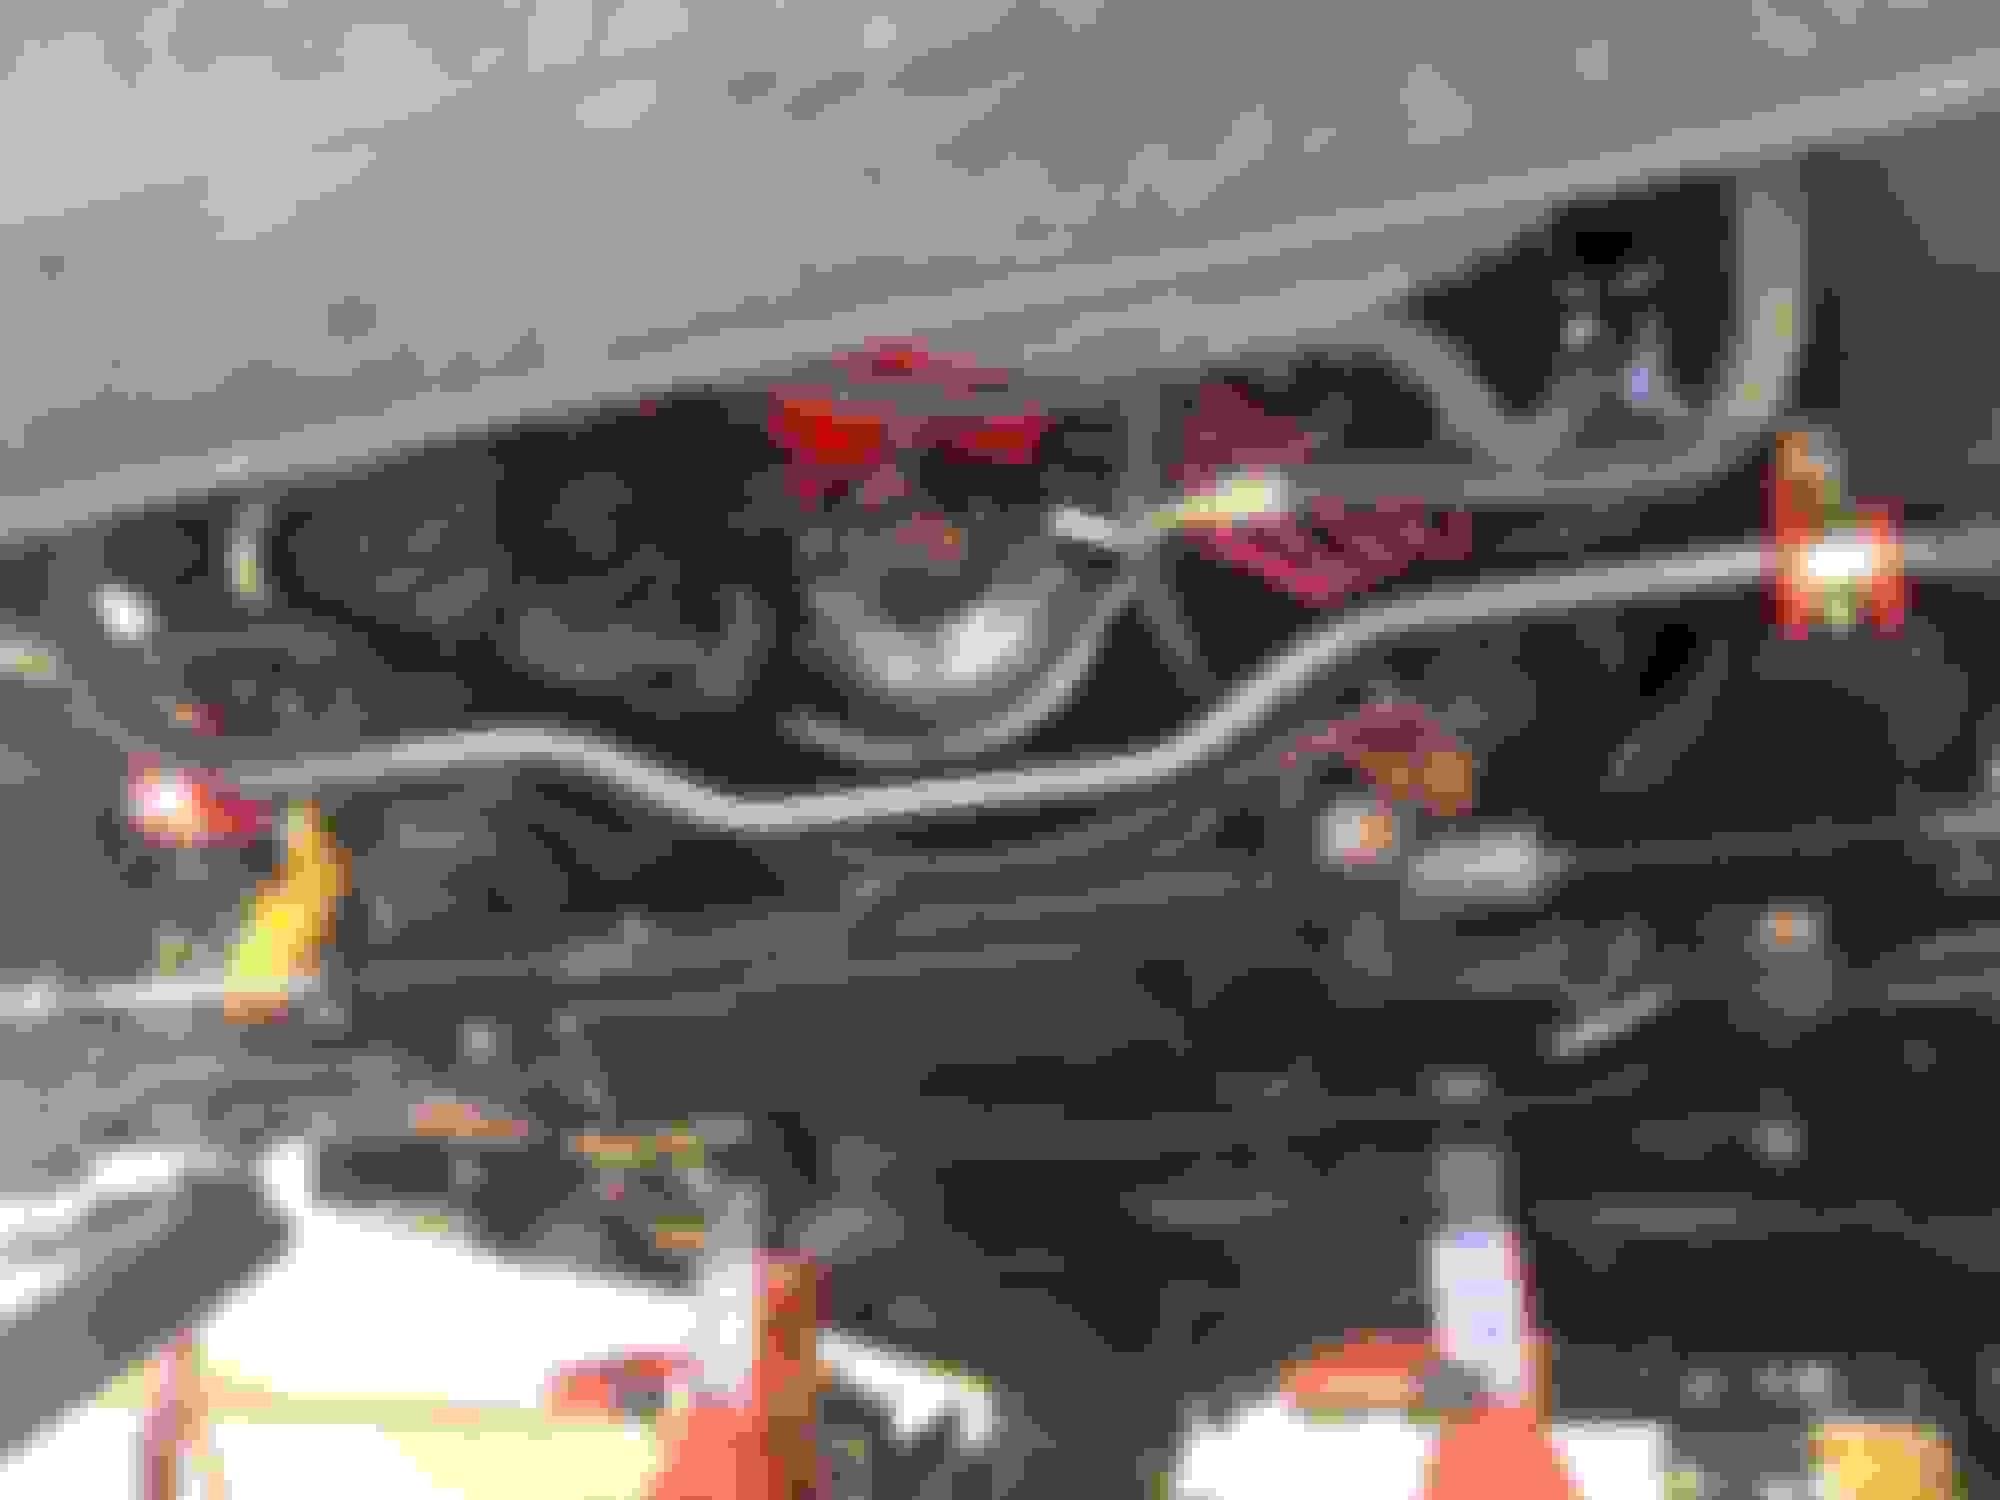
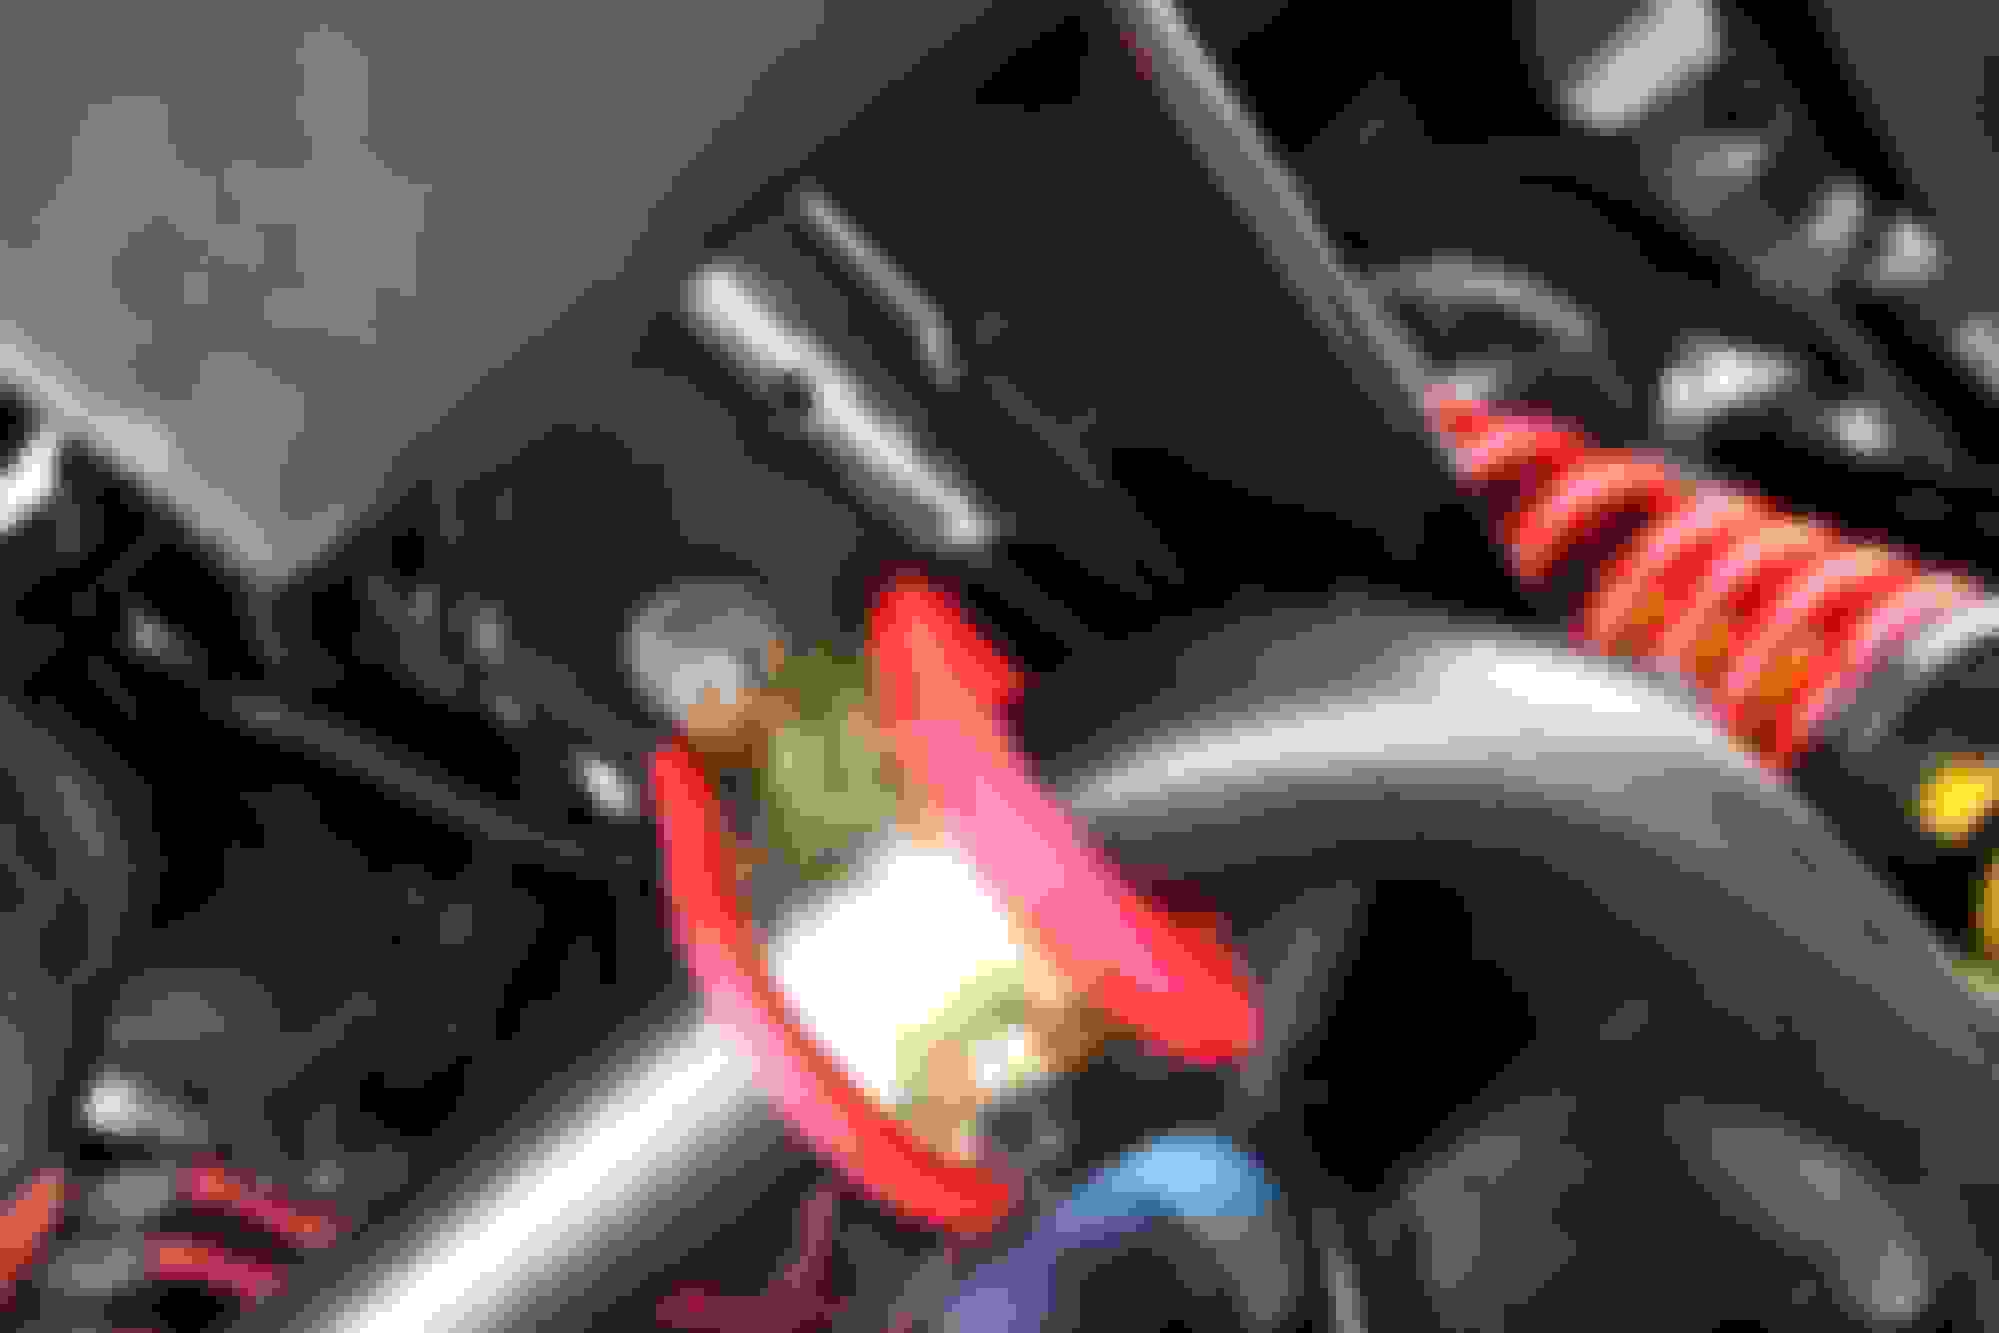
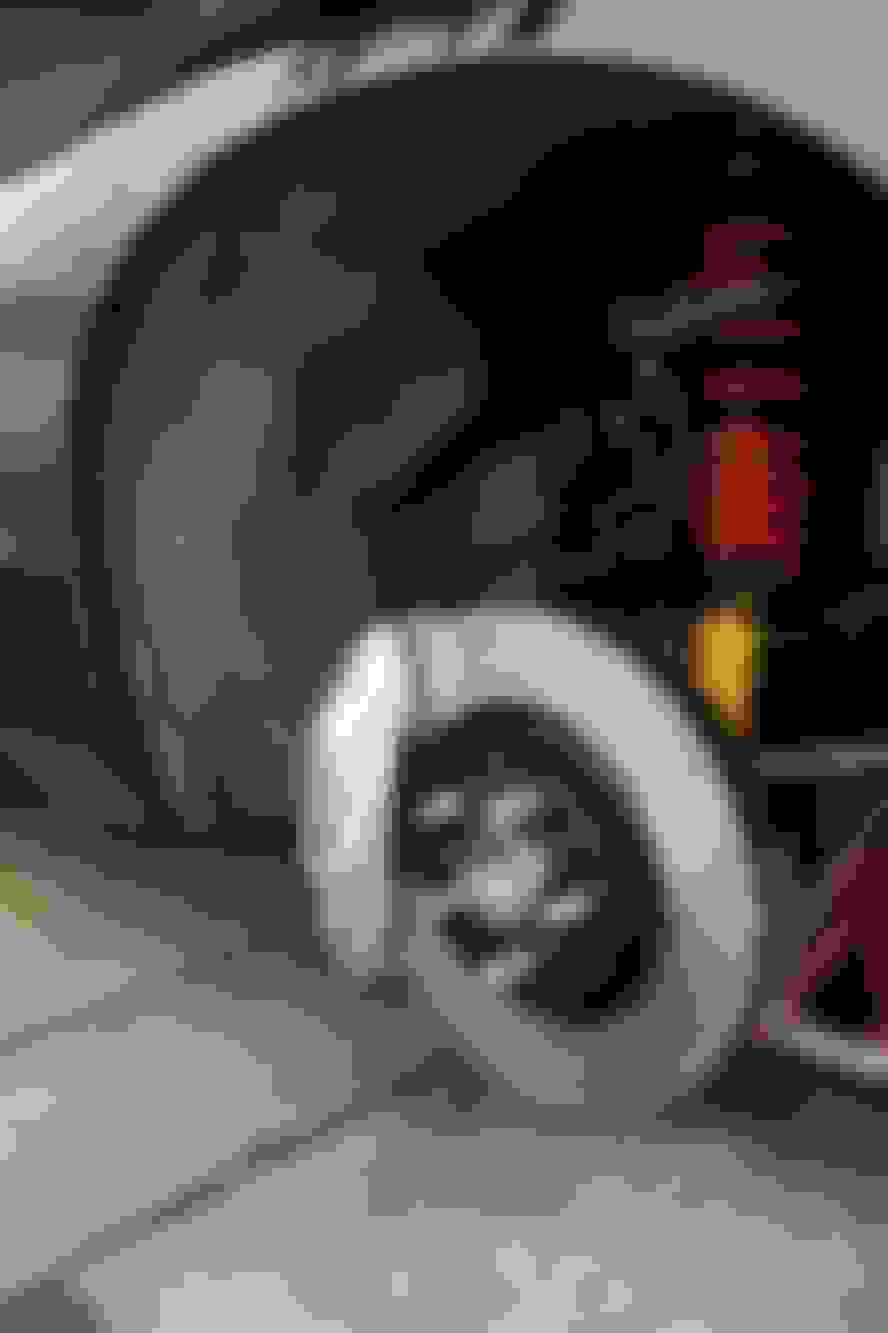
So I installed the CTS-V calipers, hoses, and adapter lines late last week. I used the same exact bolts that held the LS1 caliper to this spindle without issue.
The hoses take some playing with to keep them from hitting the wheel or shock while turning. I have a pig-tail thing going. They may rub on the shock a little when locked but for the most part, they clear everything pretty well.
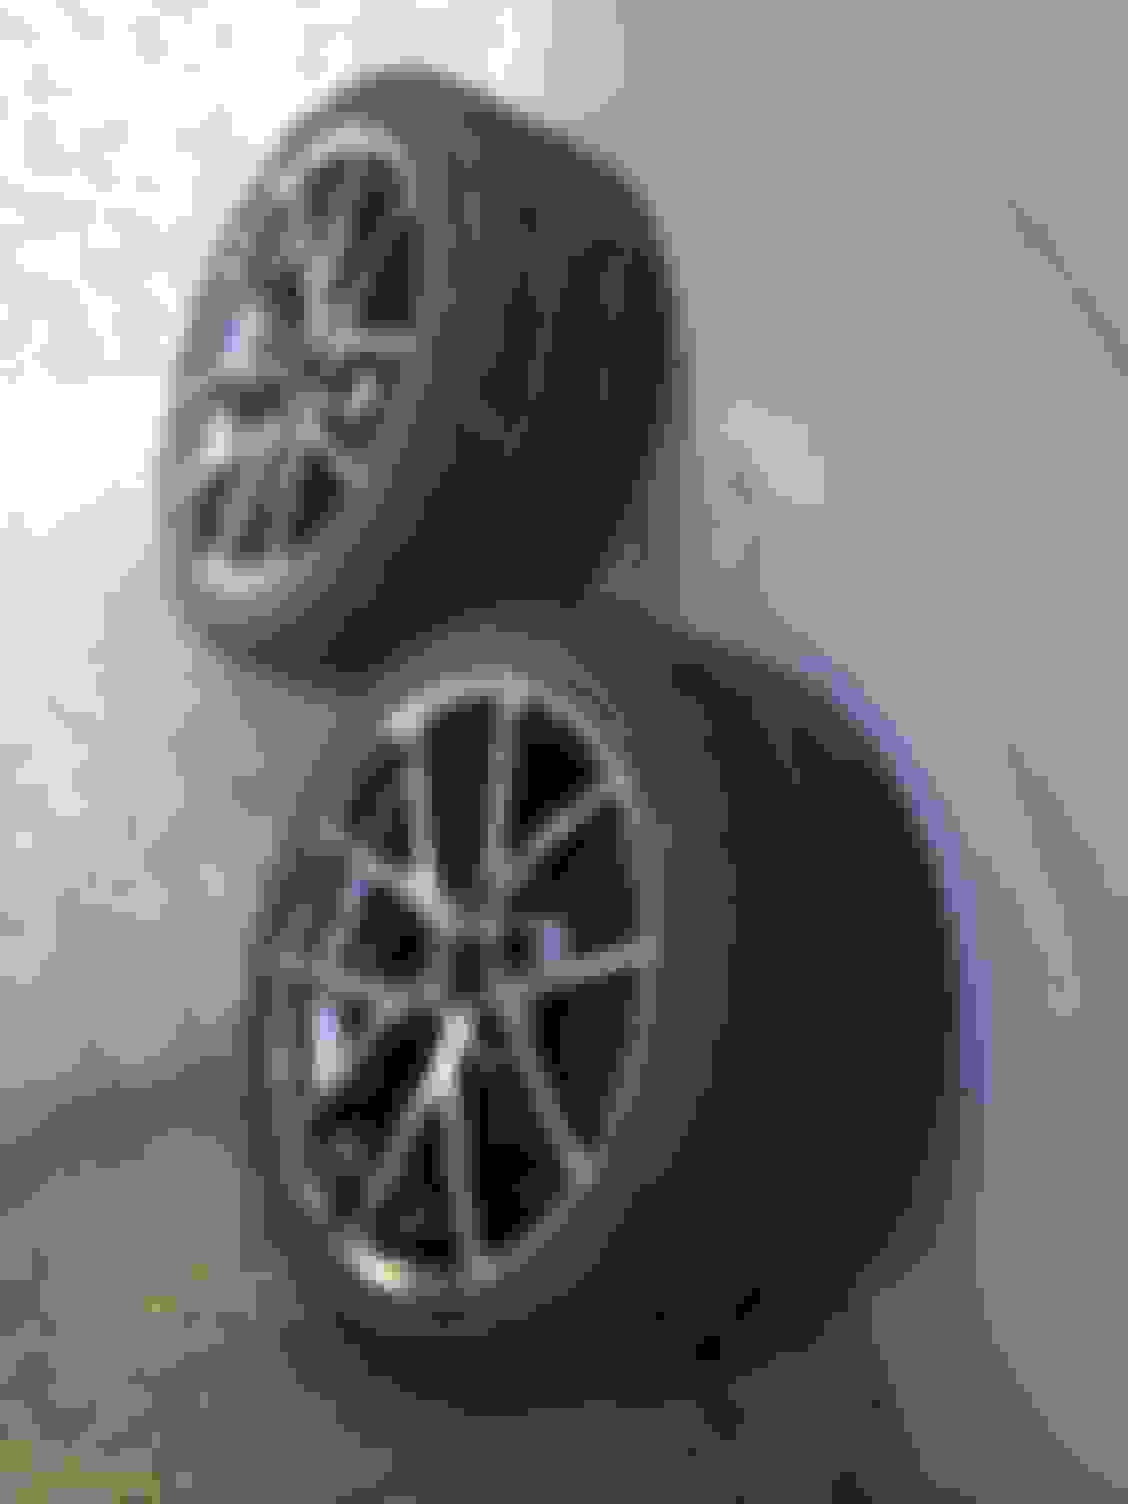
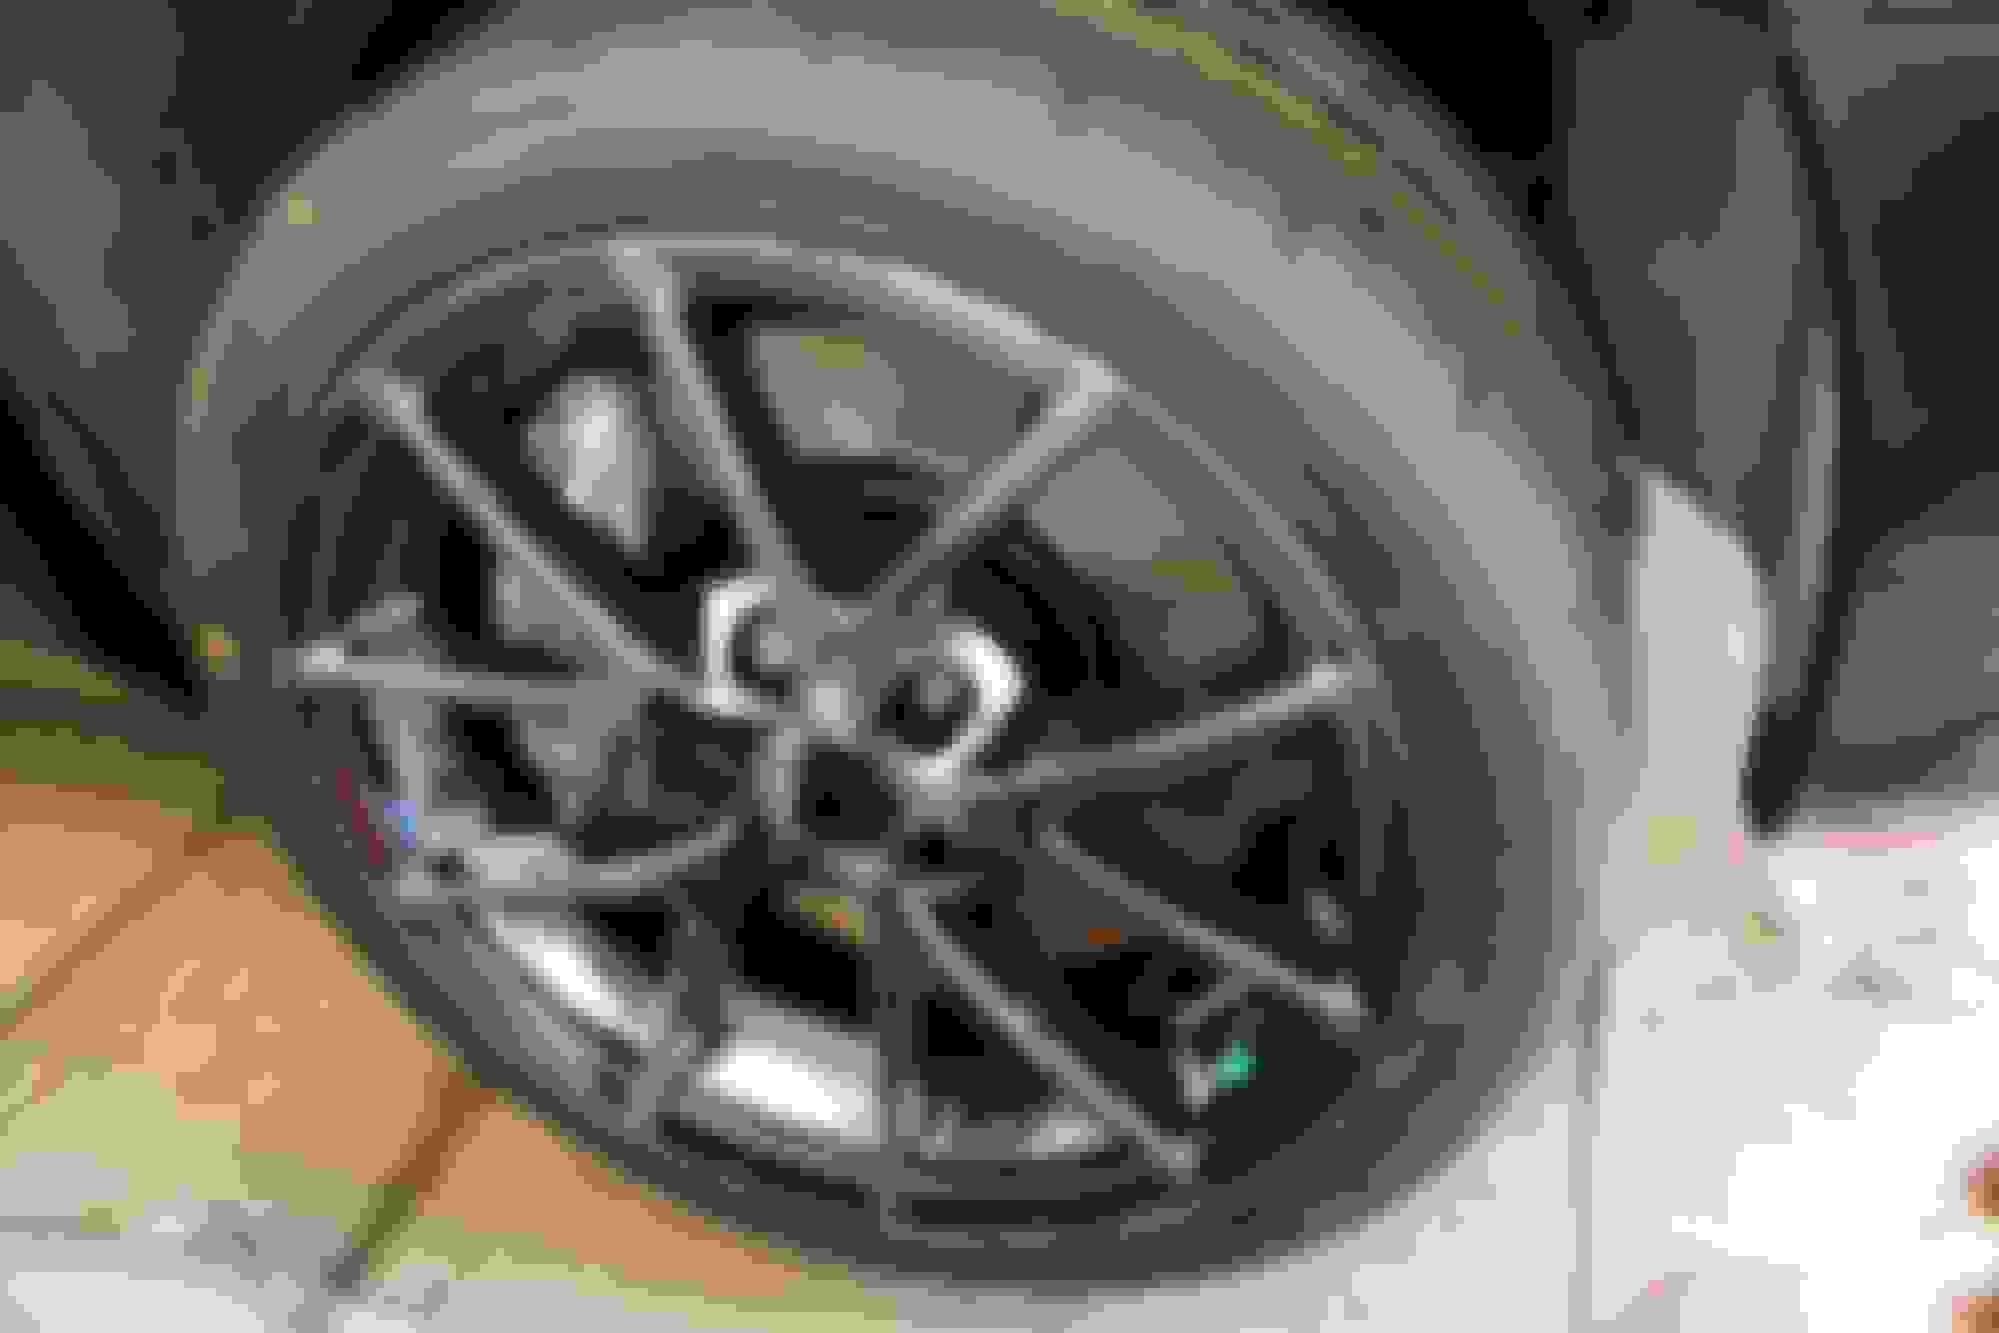
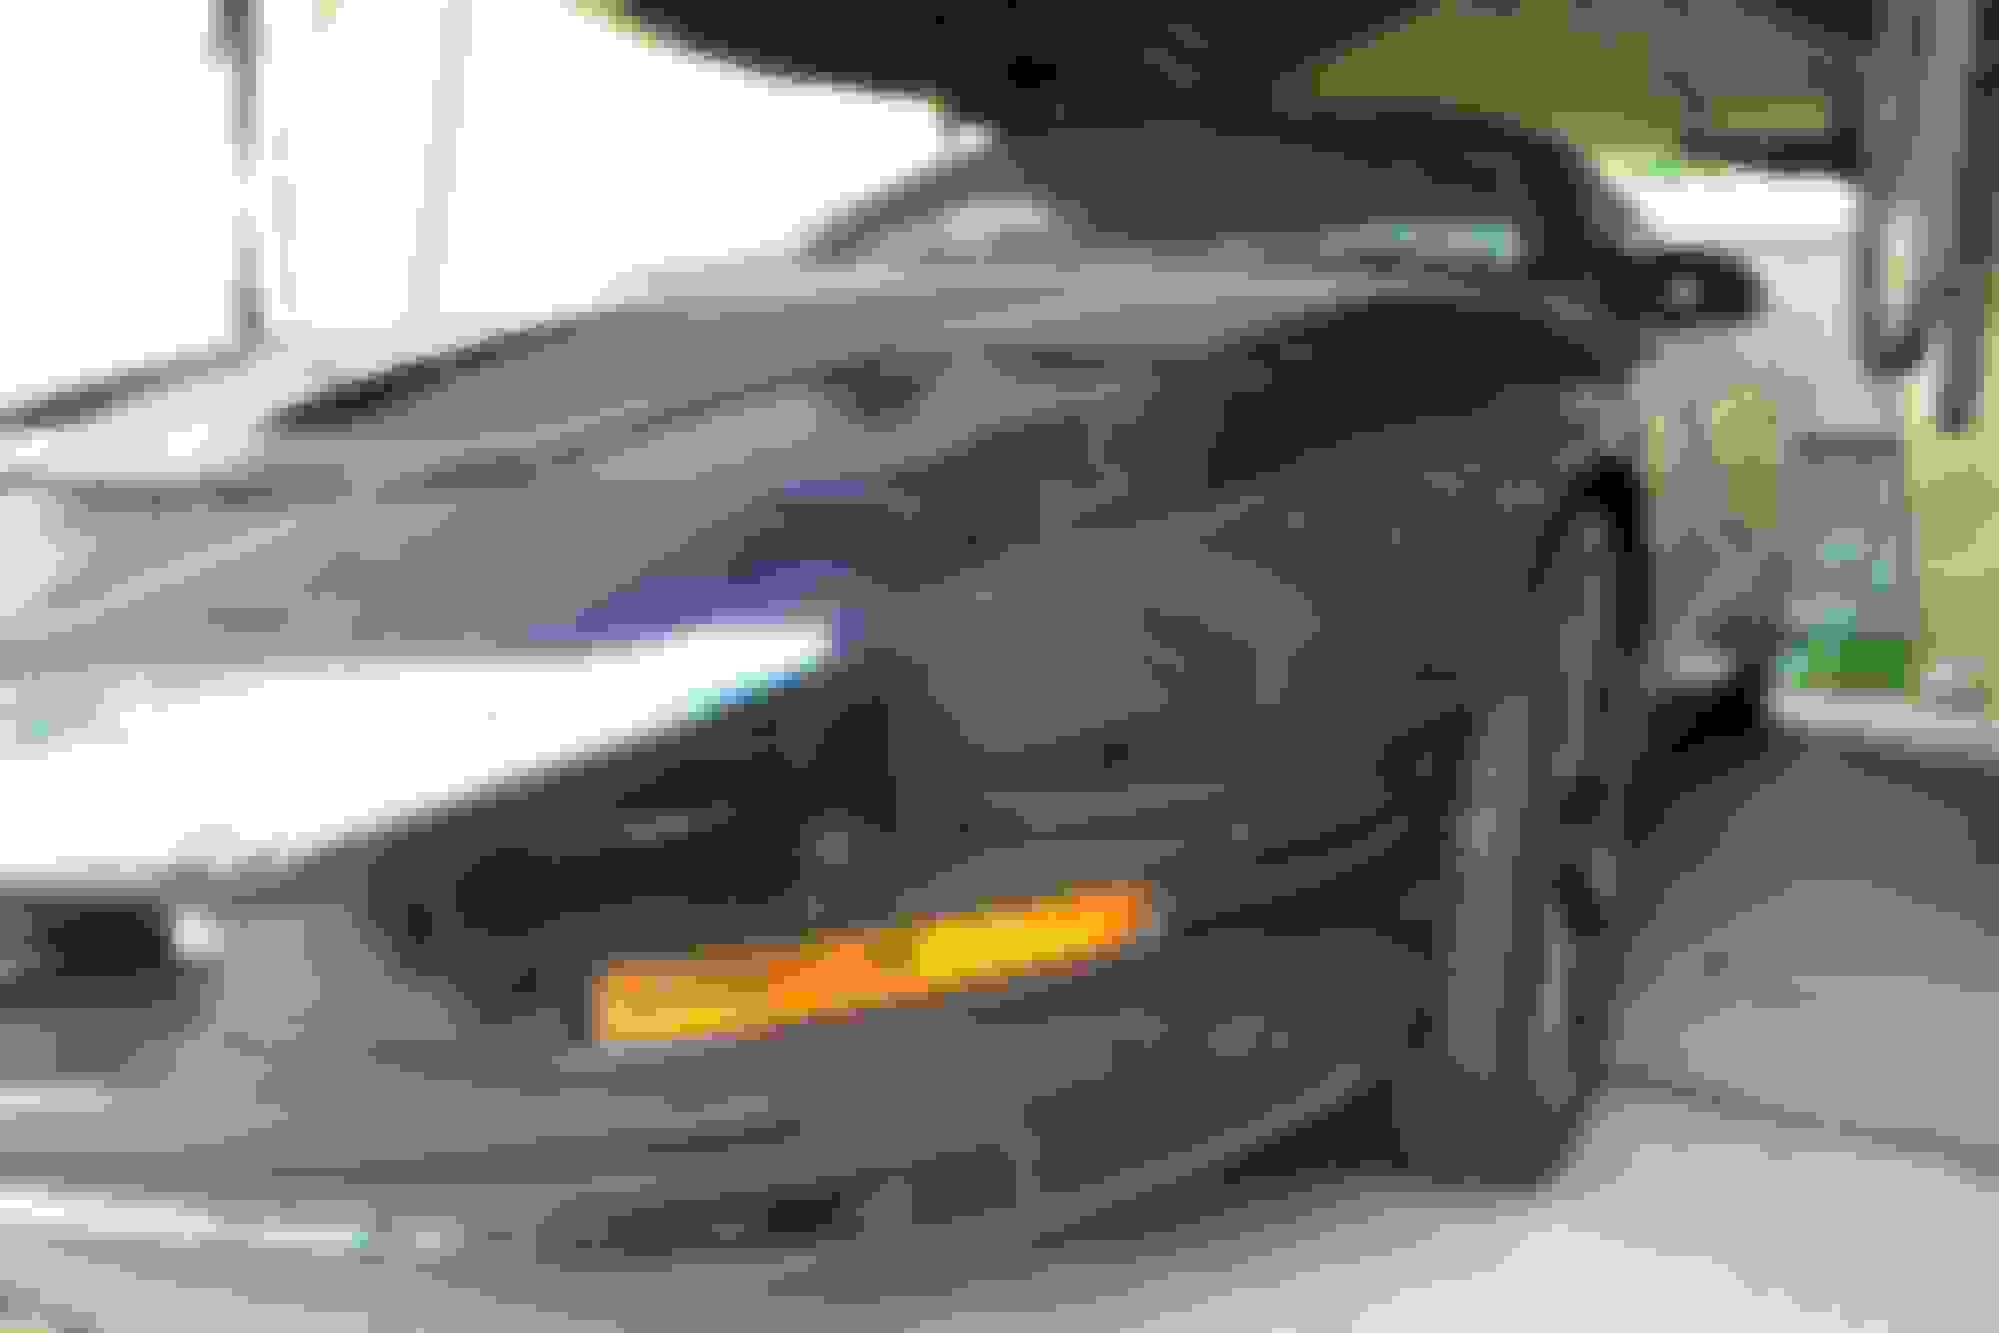
I also test fitted one of the wheels for kicks. I bought these uses, one has some terrible curb rash but the other three are near perfect.
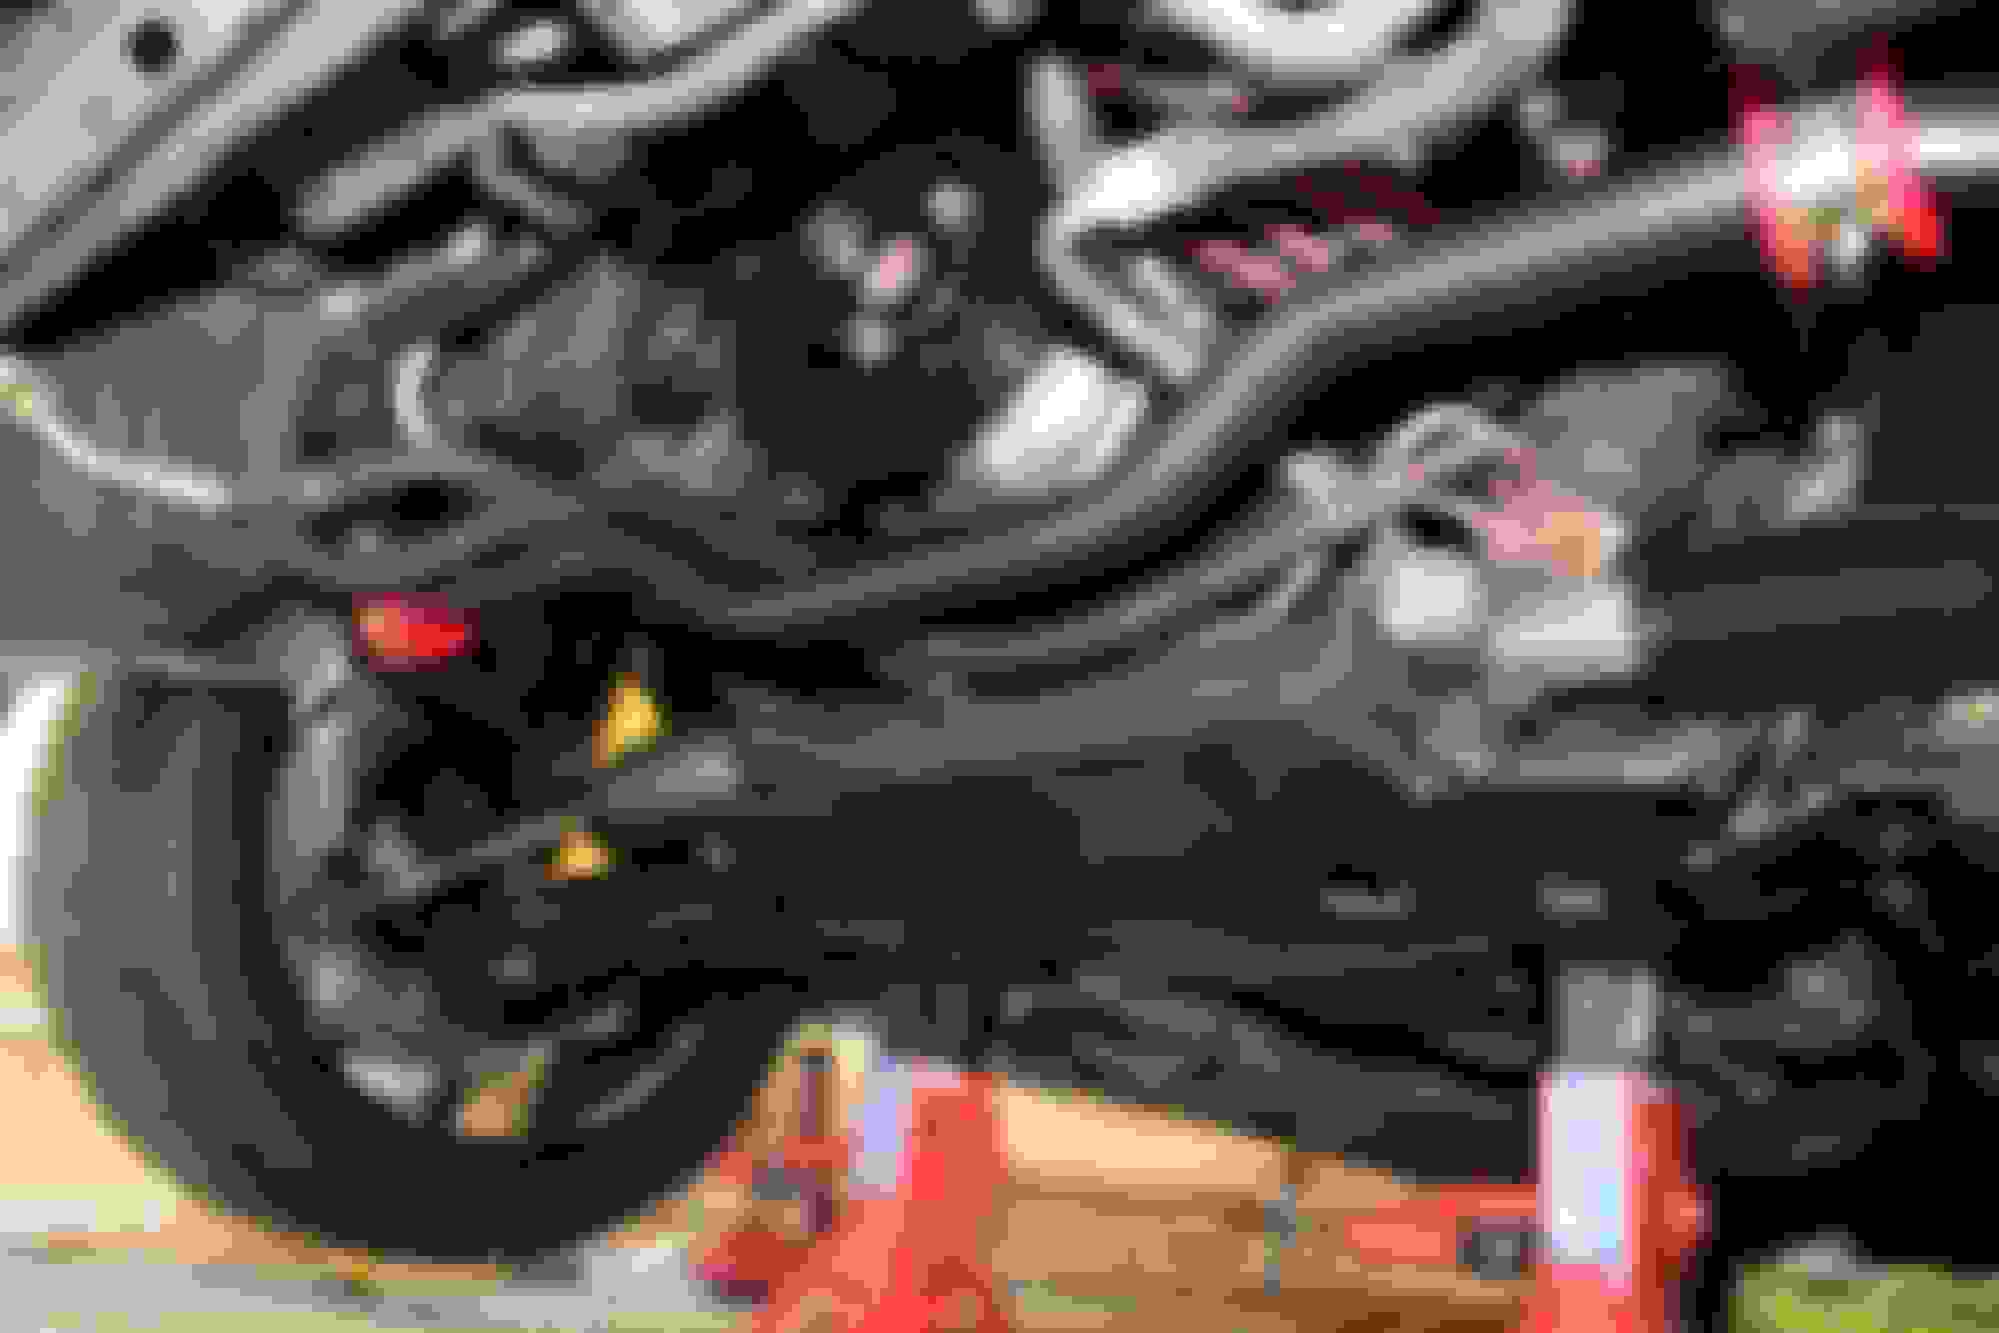
So it is impossible to get an 18mm wrench back behind that spring to re torque the upper control arm bushings on the car, so I ended up removing the spring/shock assembly and upper arm, loosening them off the car, reinstall, jack the car up by both lower control arms so it's resting at ride height, tightening the one side I can get to on the car, removing, and re-torquing off the car.
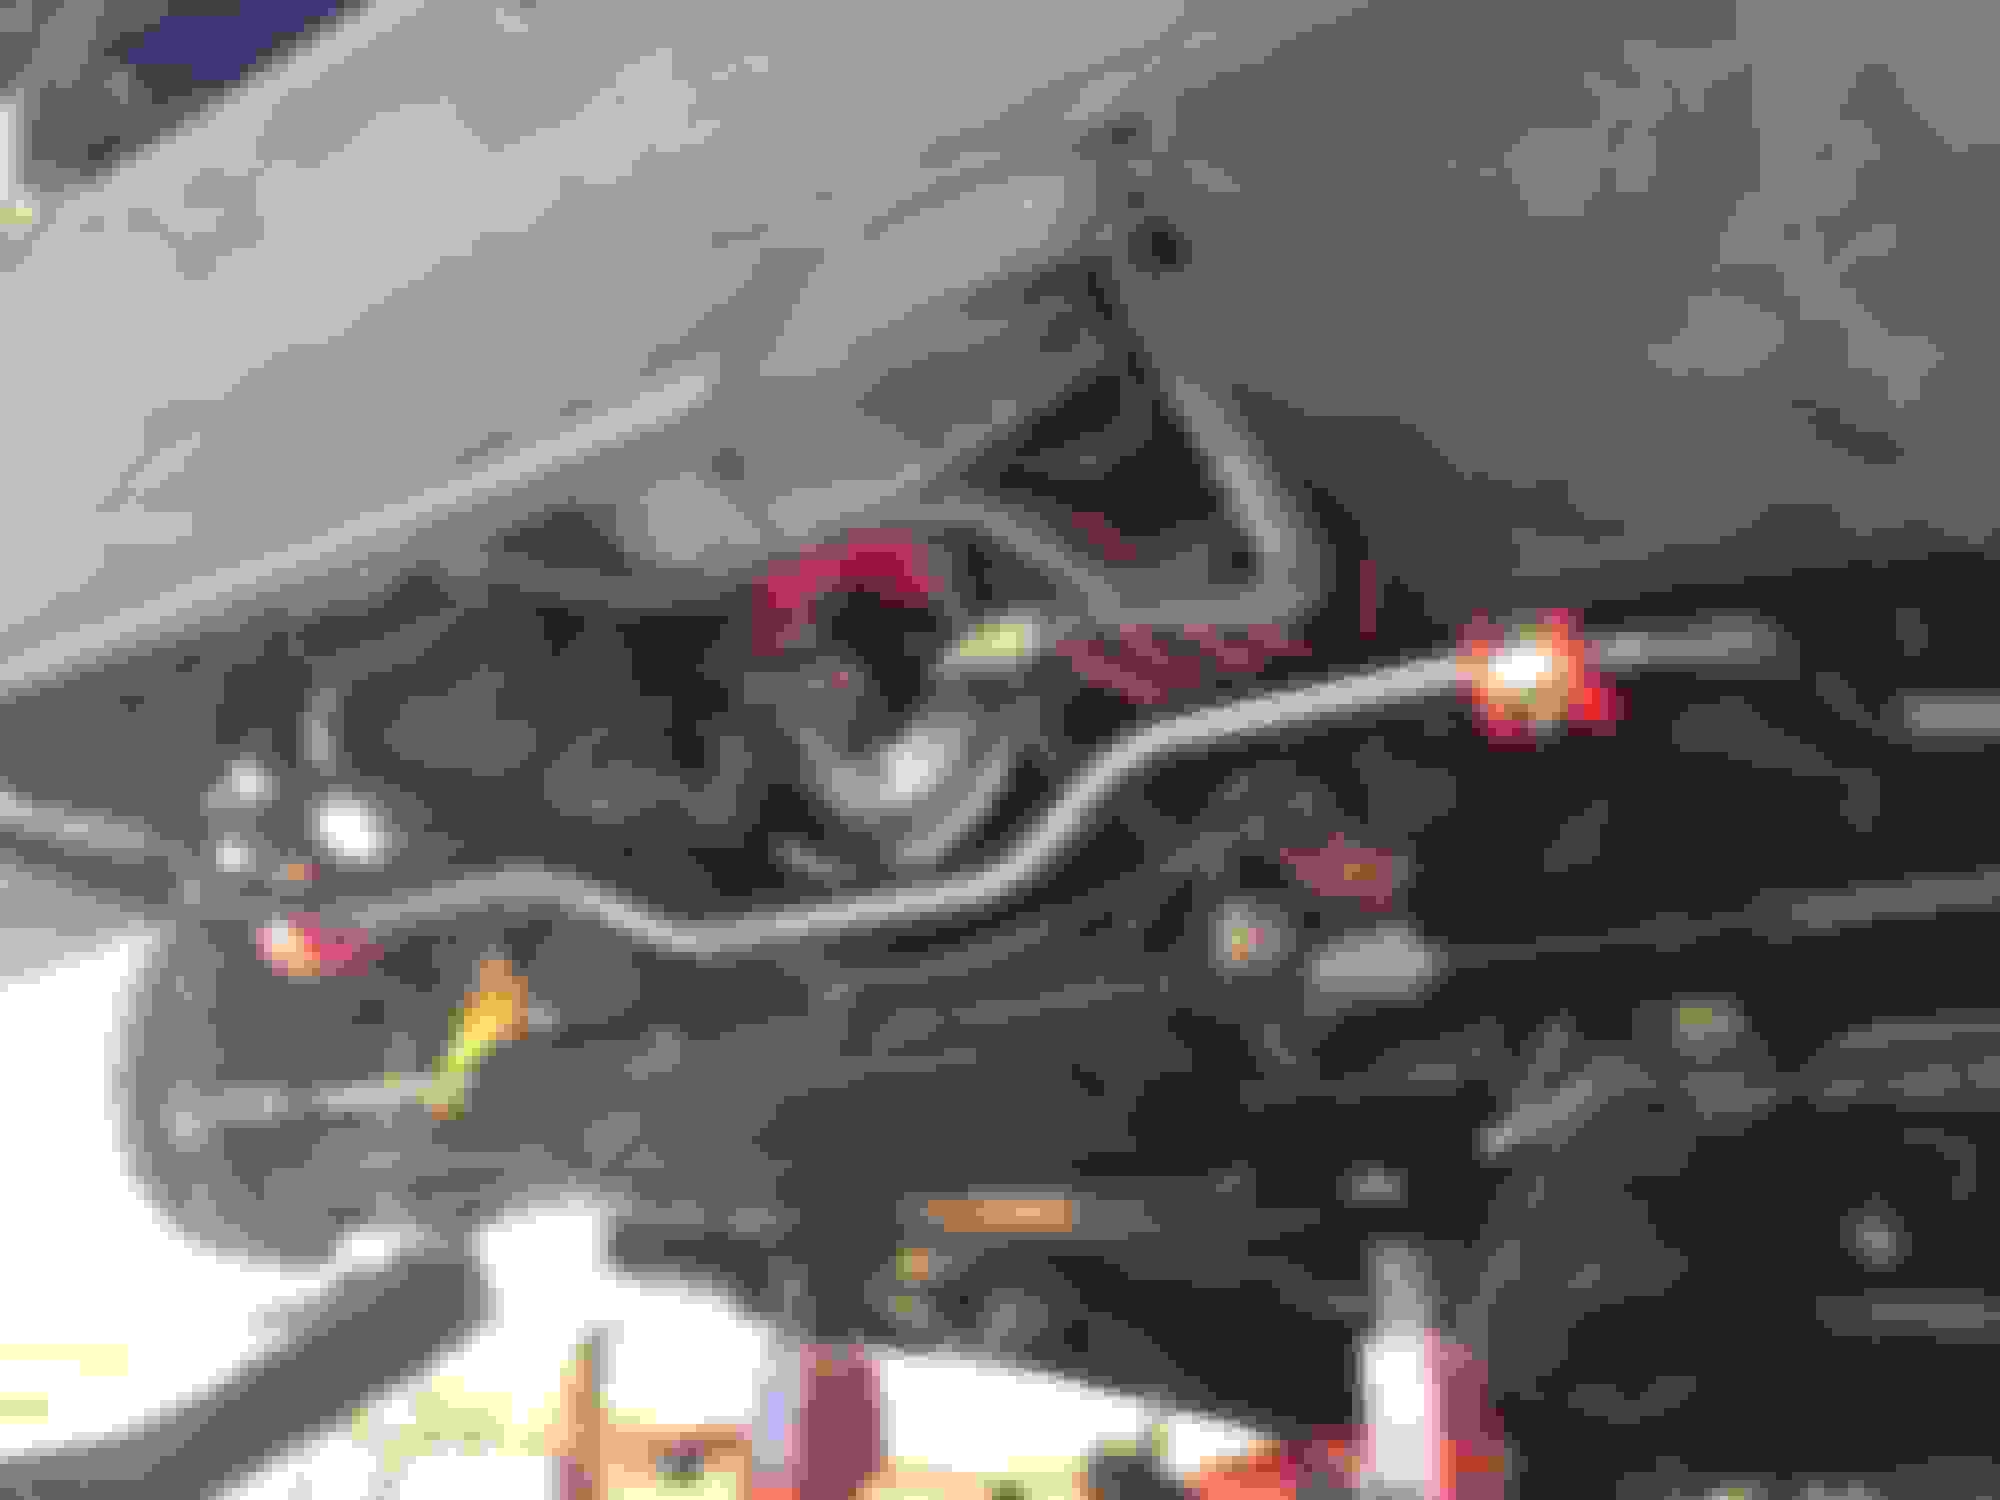
This actually worked out in my favor since the union for my adapter lines was behind the shock and I didn't have much space crank it down. After I installed the lines, the next day I saw they were leaking. With the shock out I was able to crank down and really tighten them up which seams to have fixed my leaking issue.
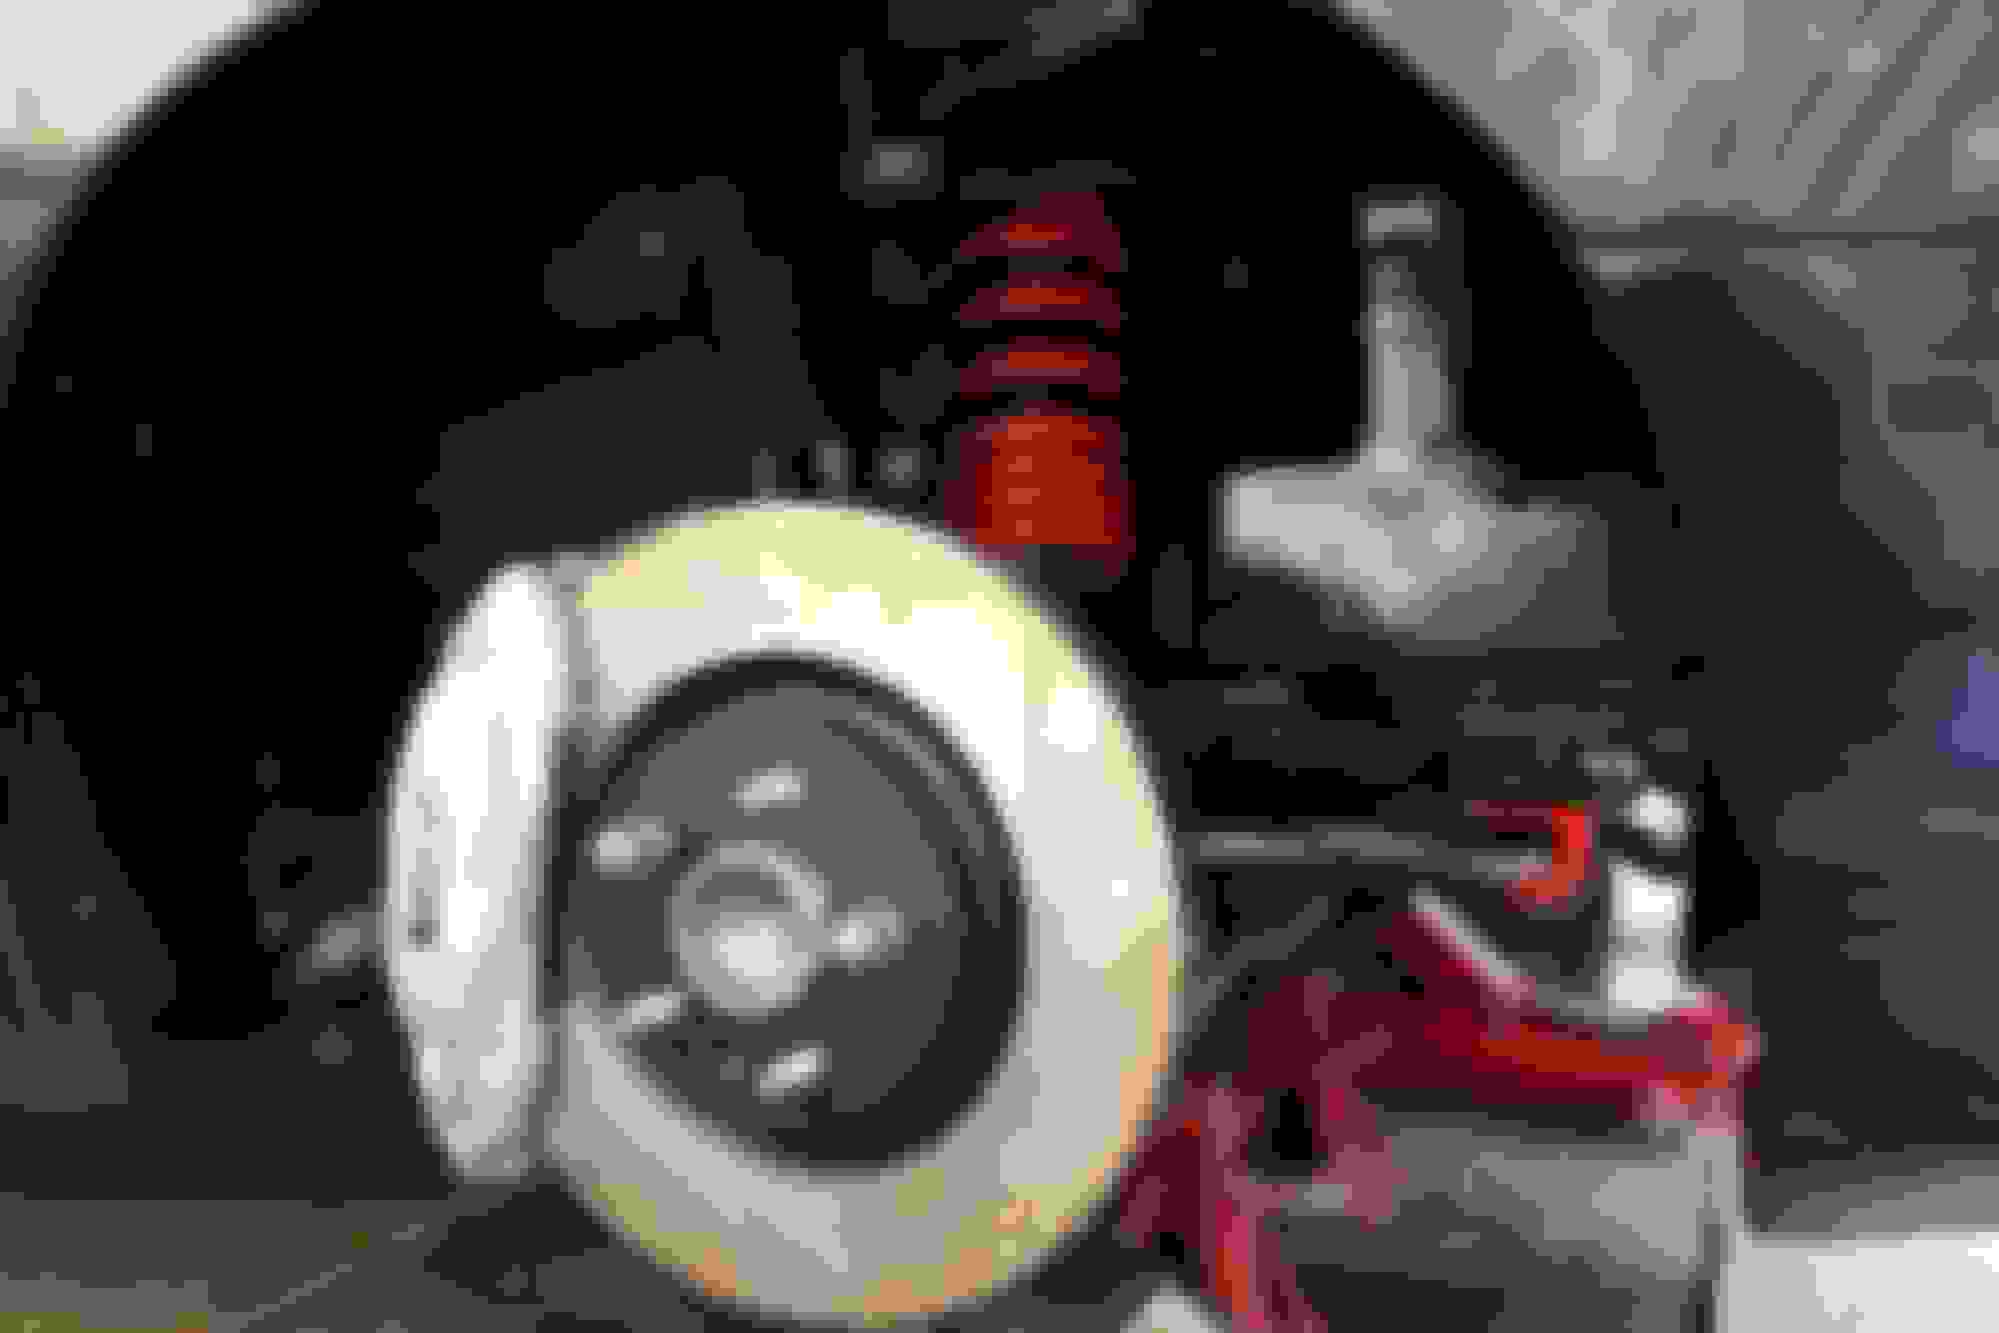
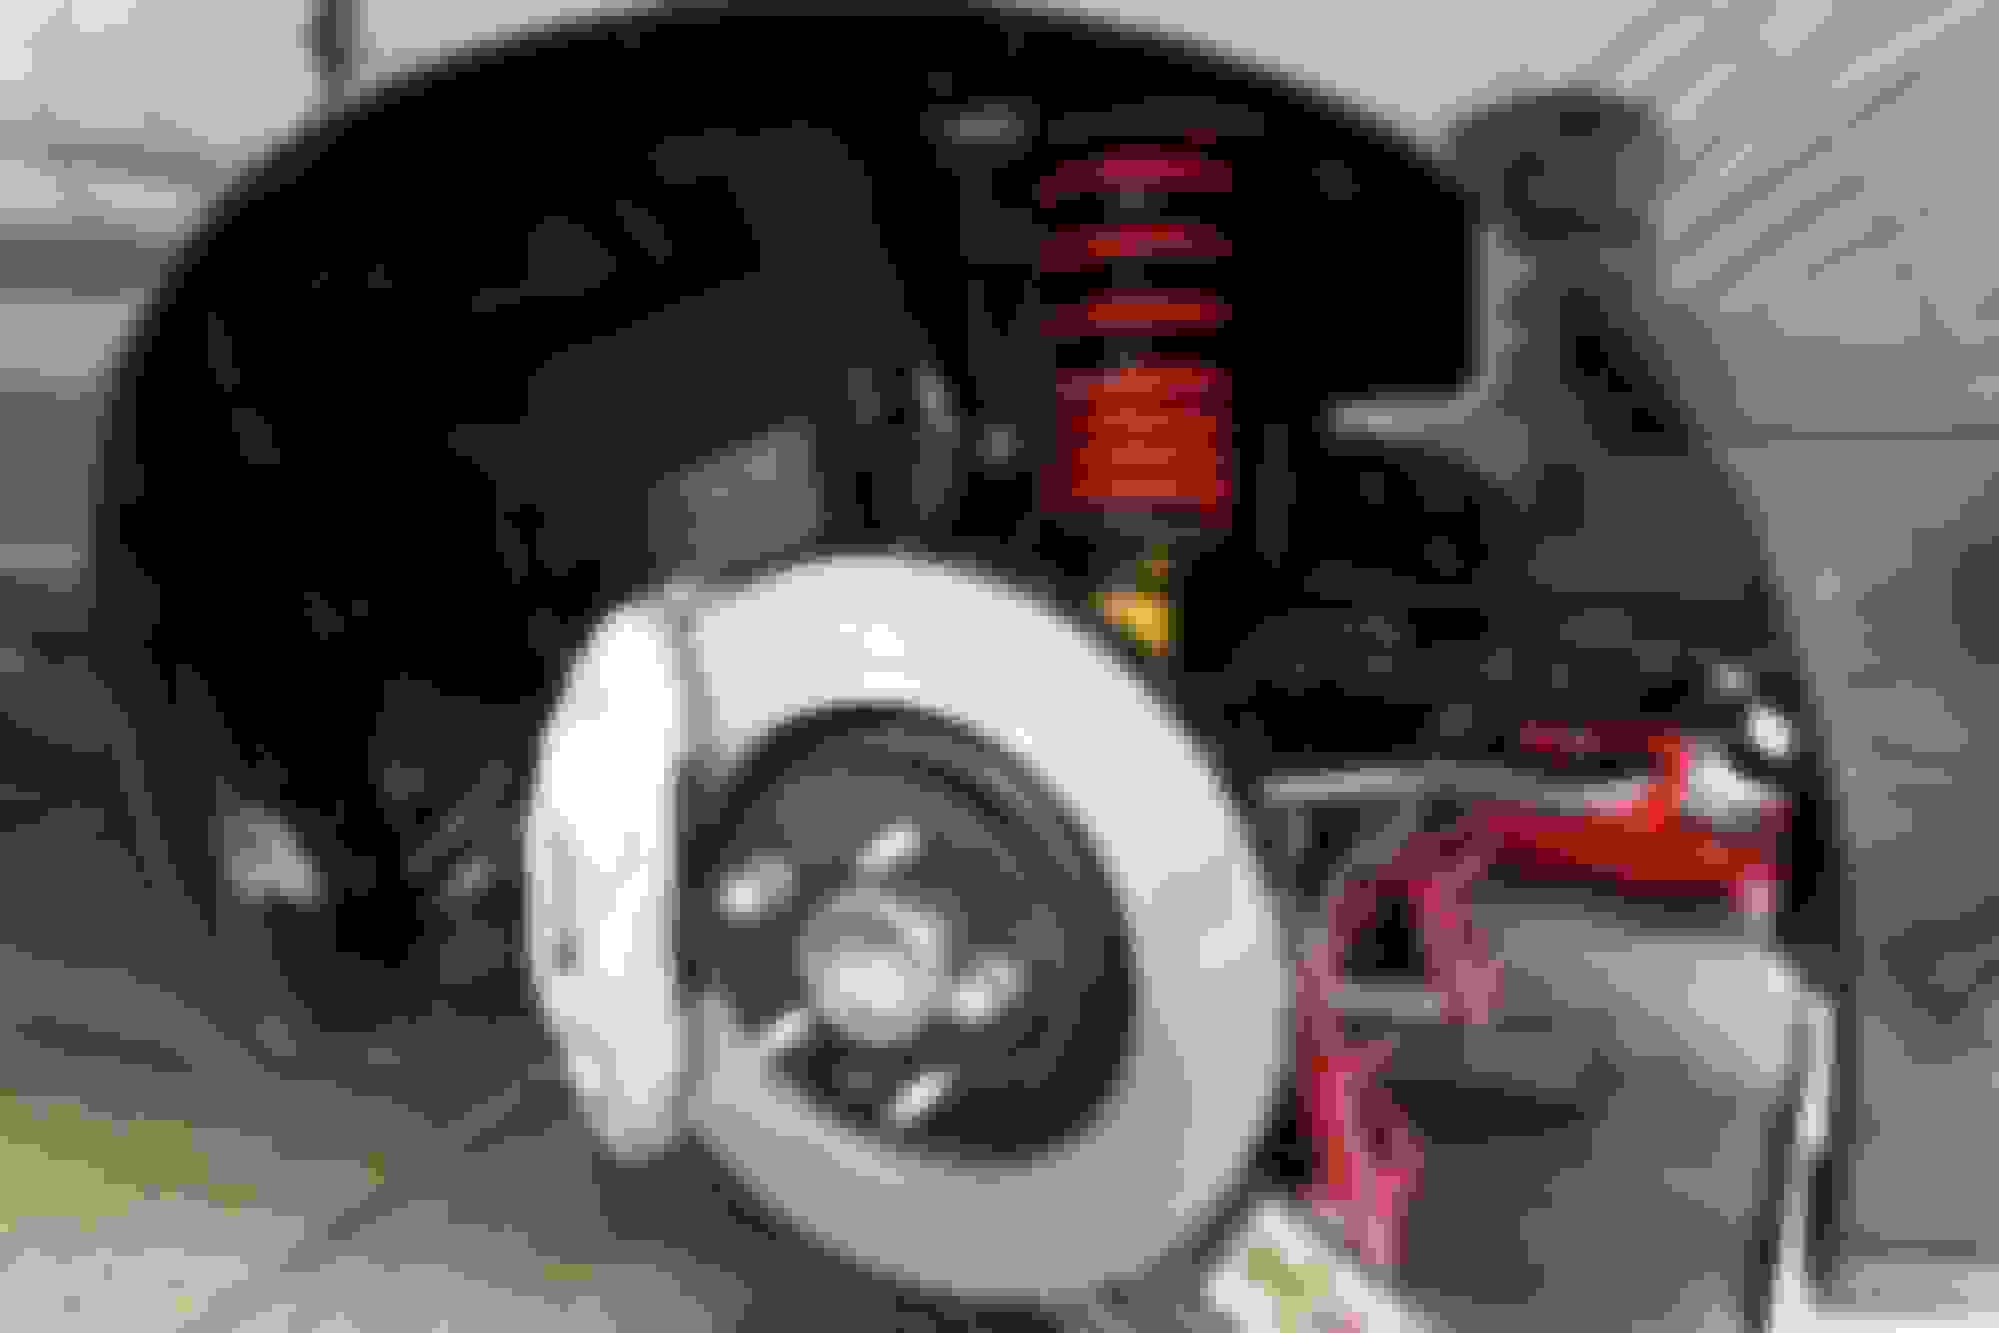
The pads and clips are all installed and the calipers are bled with a nice hard pedal.
Since the brake lines look to have stopped leaking, I'm going to reinstalled the shock/spring/upper control arm next chance I get. If I had to redo it, I'd get some nickel copper brake line which I've heard good things about. The steel line I used was a PITA to put together.
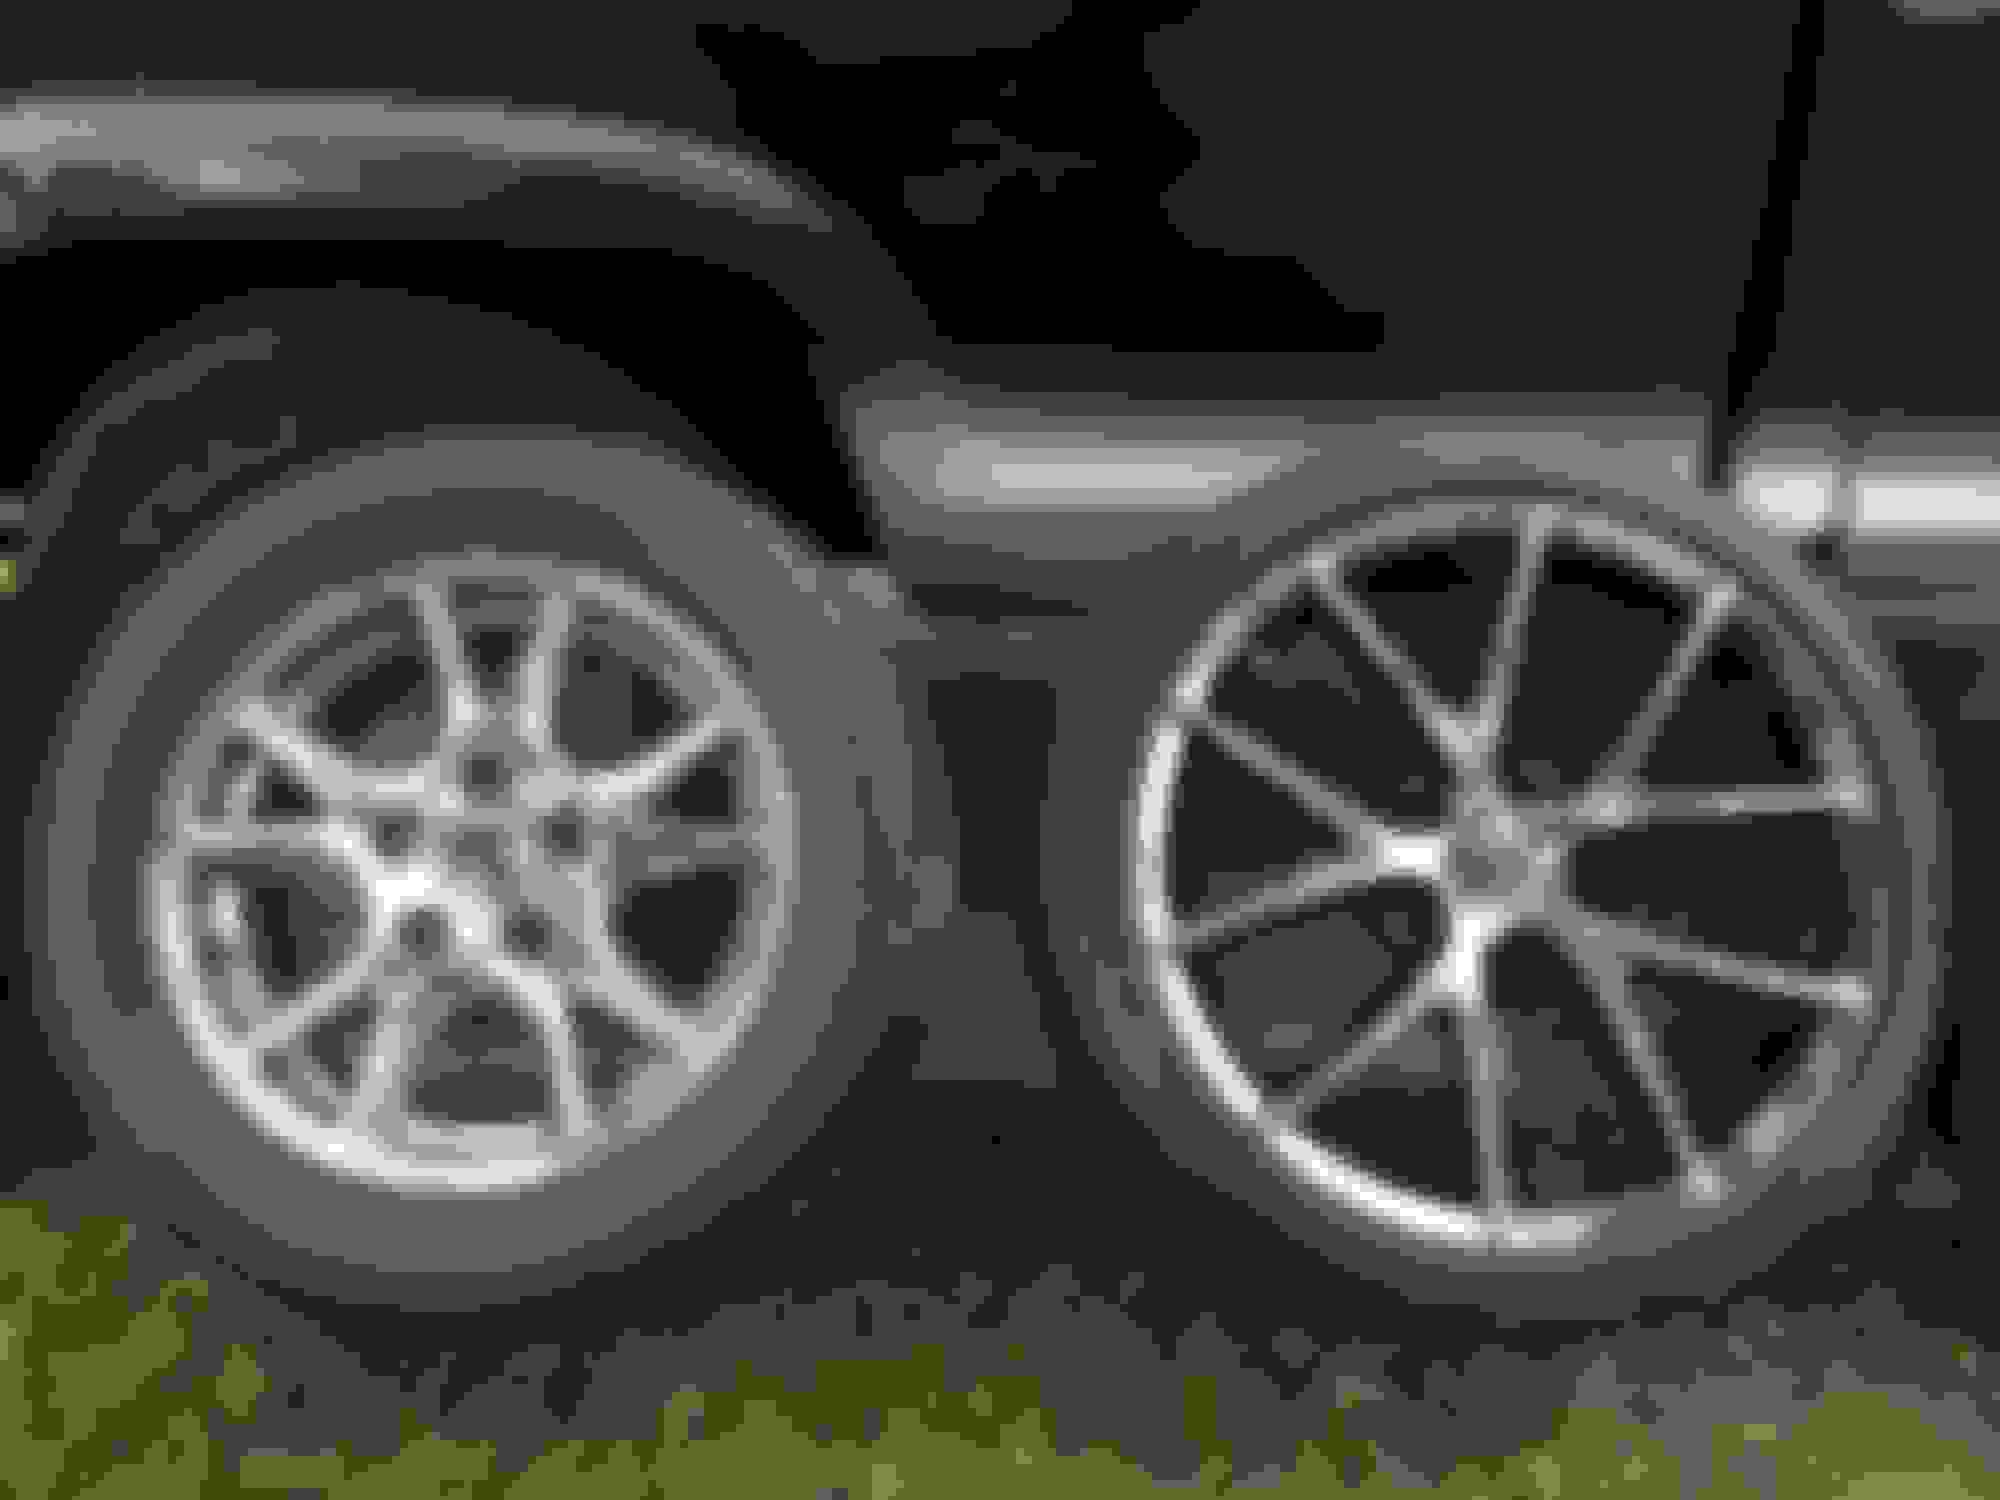
I also ordered a set of Firestone Firehawk Indy 500 275-35-18's which should be here by Wednesday. Figure I'd compare the old vs the new while cleaning up the new wheels.
Can you snap a pic of your front upper mounts with the suspension loaded? I'm running the Koni/Strano setup and I feel like my front ride height is too low due to a upper mount breaking down/collapsing. It's an original at 76k mi.
I'd like to see a pic of a NEW mount installed with spring pressure on it. Thanks for any help!
Upper perch. My fender to floor ride height is right at 25 5/8". I'd like a little more ground clearance (which is what made me look into collapsed mounts). I also have fender to tire contact under hard braking running 315 rivals up front when racing...I'd like to fix that too lol
More spring rate? Coil overs? Both? Hmmmm decisions decisions.
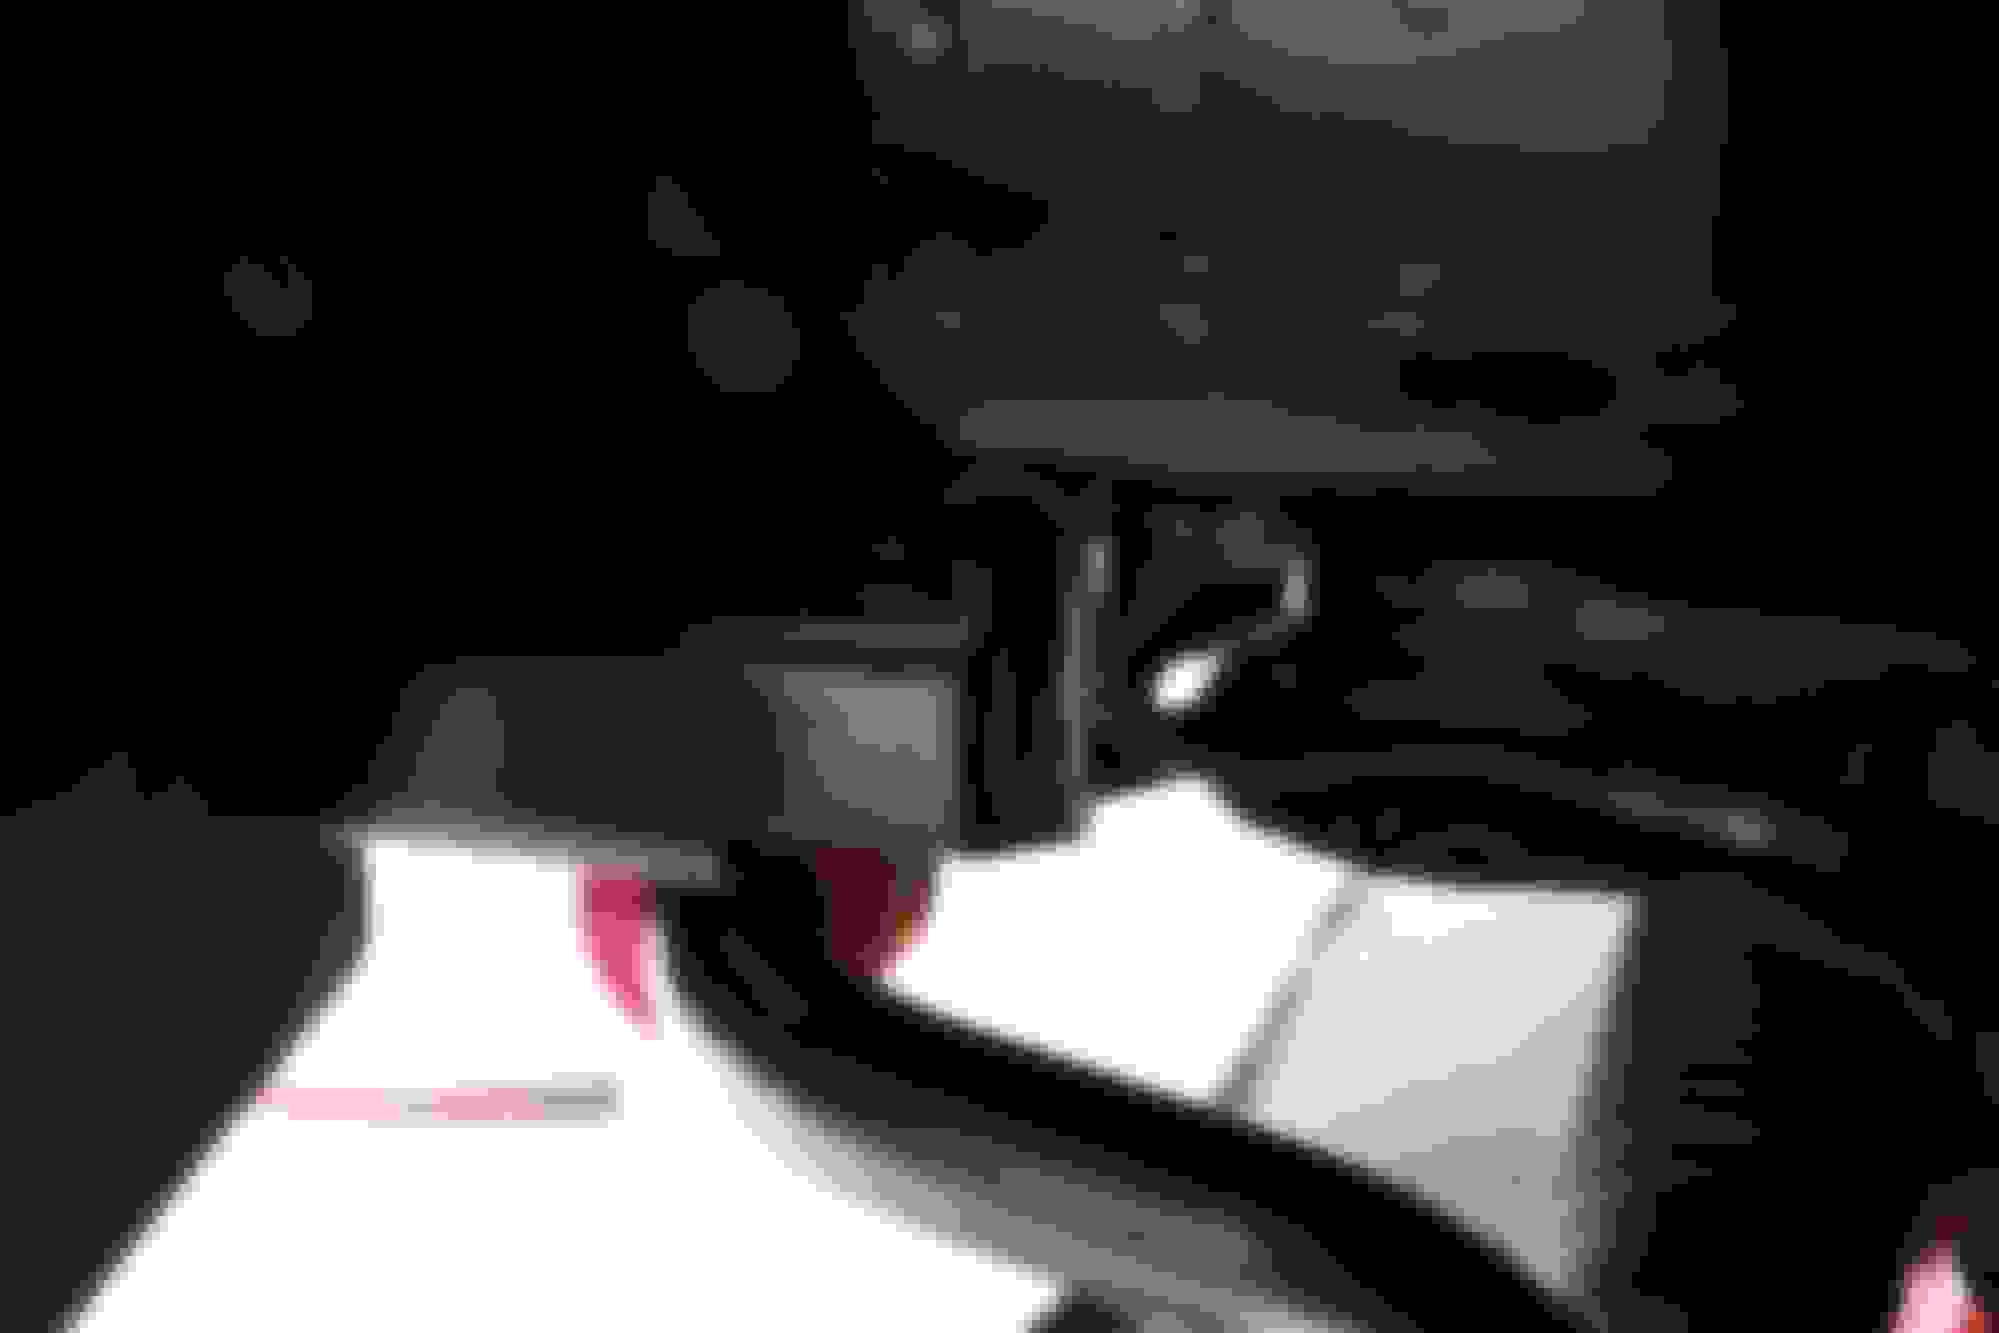
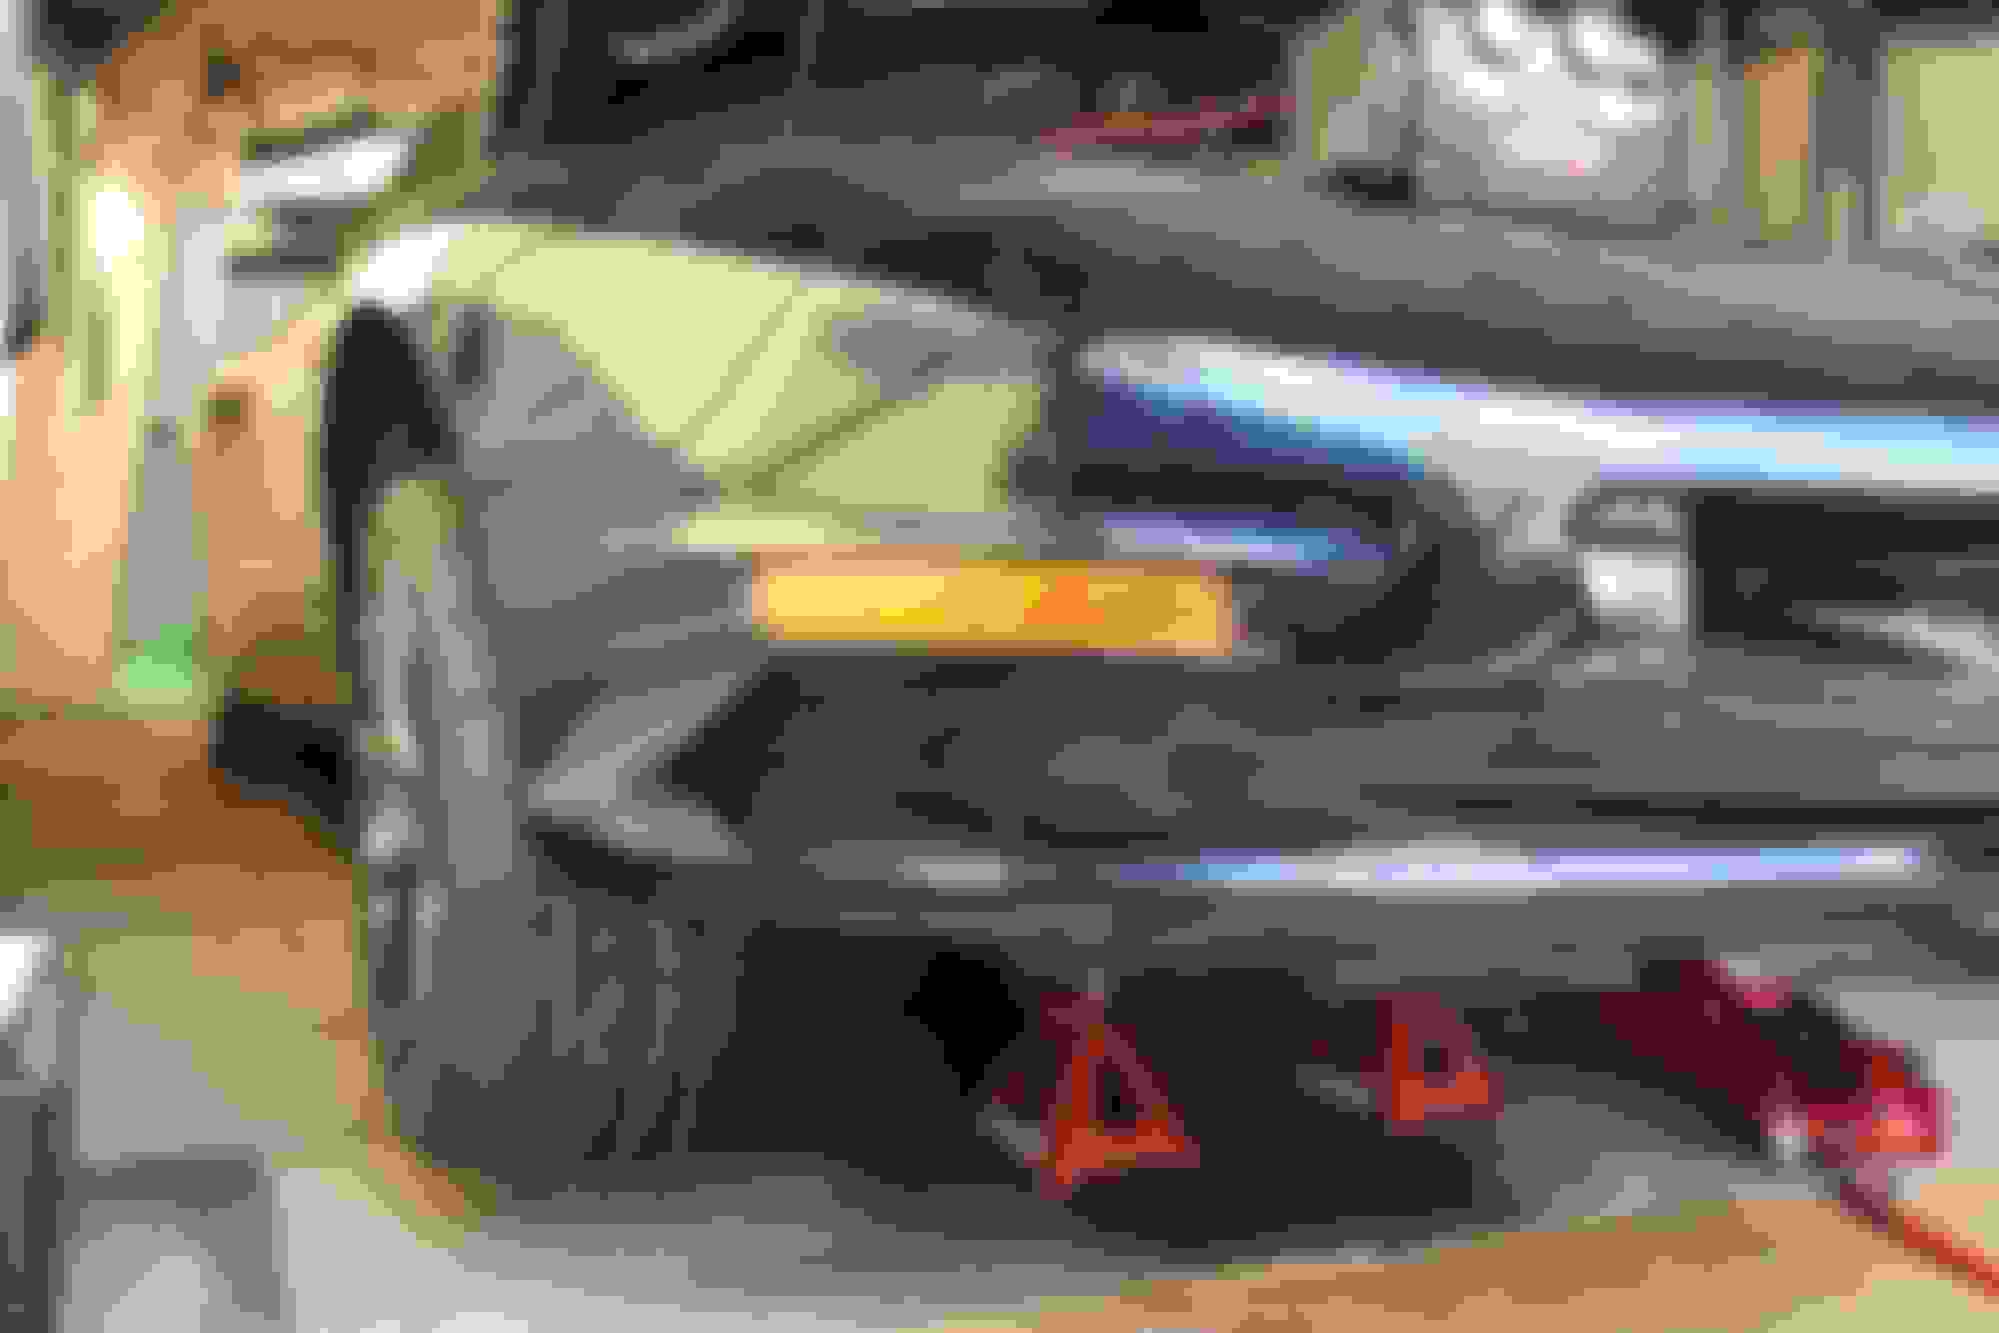
Finished up a lot on the front end and got it sitting on the ground. Still need to grease the bushings, adjust the shocks and toe, and maybe adjust the brake lines the best I can so they don't rub on anything at lock.
I got my tires in on Tuesday night and had them mounted on the rims Wednesday at Costco tire, which I've never had any issues with before and beats everyone's price in my area for their installation package, however, when I got my tires back, they never replaced the valve stems and one was leaking, so I brought them back Saturday morning and the manager was supposed to put new stems in for me. I was watching from outside the bay and the manager replaced a stem in one tire and aired it back up to 30 psi, then another guy grabs that tire and I thought he was bringing it over to the balancing machine, but instead puts it on the beat breaker and breaks the bead with the tire fully inflated. Luckily there's no damage that I can see and after a couple words I had the manager put that in writing on my invoice in case I have an issue later. Also, the guy who balanced them looked like he had no clue what he was doing either. So after two days and a whole lot of frustration, my tires are mounted but I'm not very happy with Costco tire and I'll definably be finding someone else to do my tire work for me from now on. If anyone's from the central NJ area, avoid Costco tire in Edison at all cost, they have a circus running the show in there.
First and foremost I got the sway bar mounted which was the last big item I had to get on. I did it by my self and got the bar mounted by laying the ends on top of the control arm/tie-rod, holding the bar up and starting each bolt my hand. Once you get a couple threads on, it'll hold the bar up. I also started the end links as well but didn't start to tighten them down.
Once everything was on, I jacked up the car from the arms so it was at ride height and started to tighten everything down. Make sure the bar is centered. I torqued the clamps to 41 ft/lbs. I tightened the links down until they go pretty tight, I wanted to see the bushing bulge a little but it got pretty tighten before they noticeably did so I hope I'm pretty good. I can always adjust later if needed.
As mentioned before, I had an issue with cross threading one of the sway bar clamp bolts. I chased it with a tap and for extra security, added a graded nut on top of the mount. Conveniently the bolt thread is m10x1.50, which is the same thread as the upper shock mount nuts. Since I used new nuts on the upper shock, I used the old graded nuts for on top of the sway bar mounts. Since I had four left over I just put them on every bolt. I put a little Locktite on the threads to keep them from rattling off and I tightened them up with a wrench.
Once that's done, there's that plate that goes over the one clamp stud and gets bolted to the inner fender with two bolts on the driver side. I painted that while it was off the car. I think the purpose of it is to protect that hose that runs behind it.
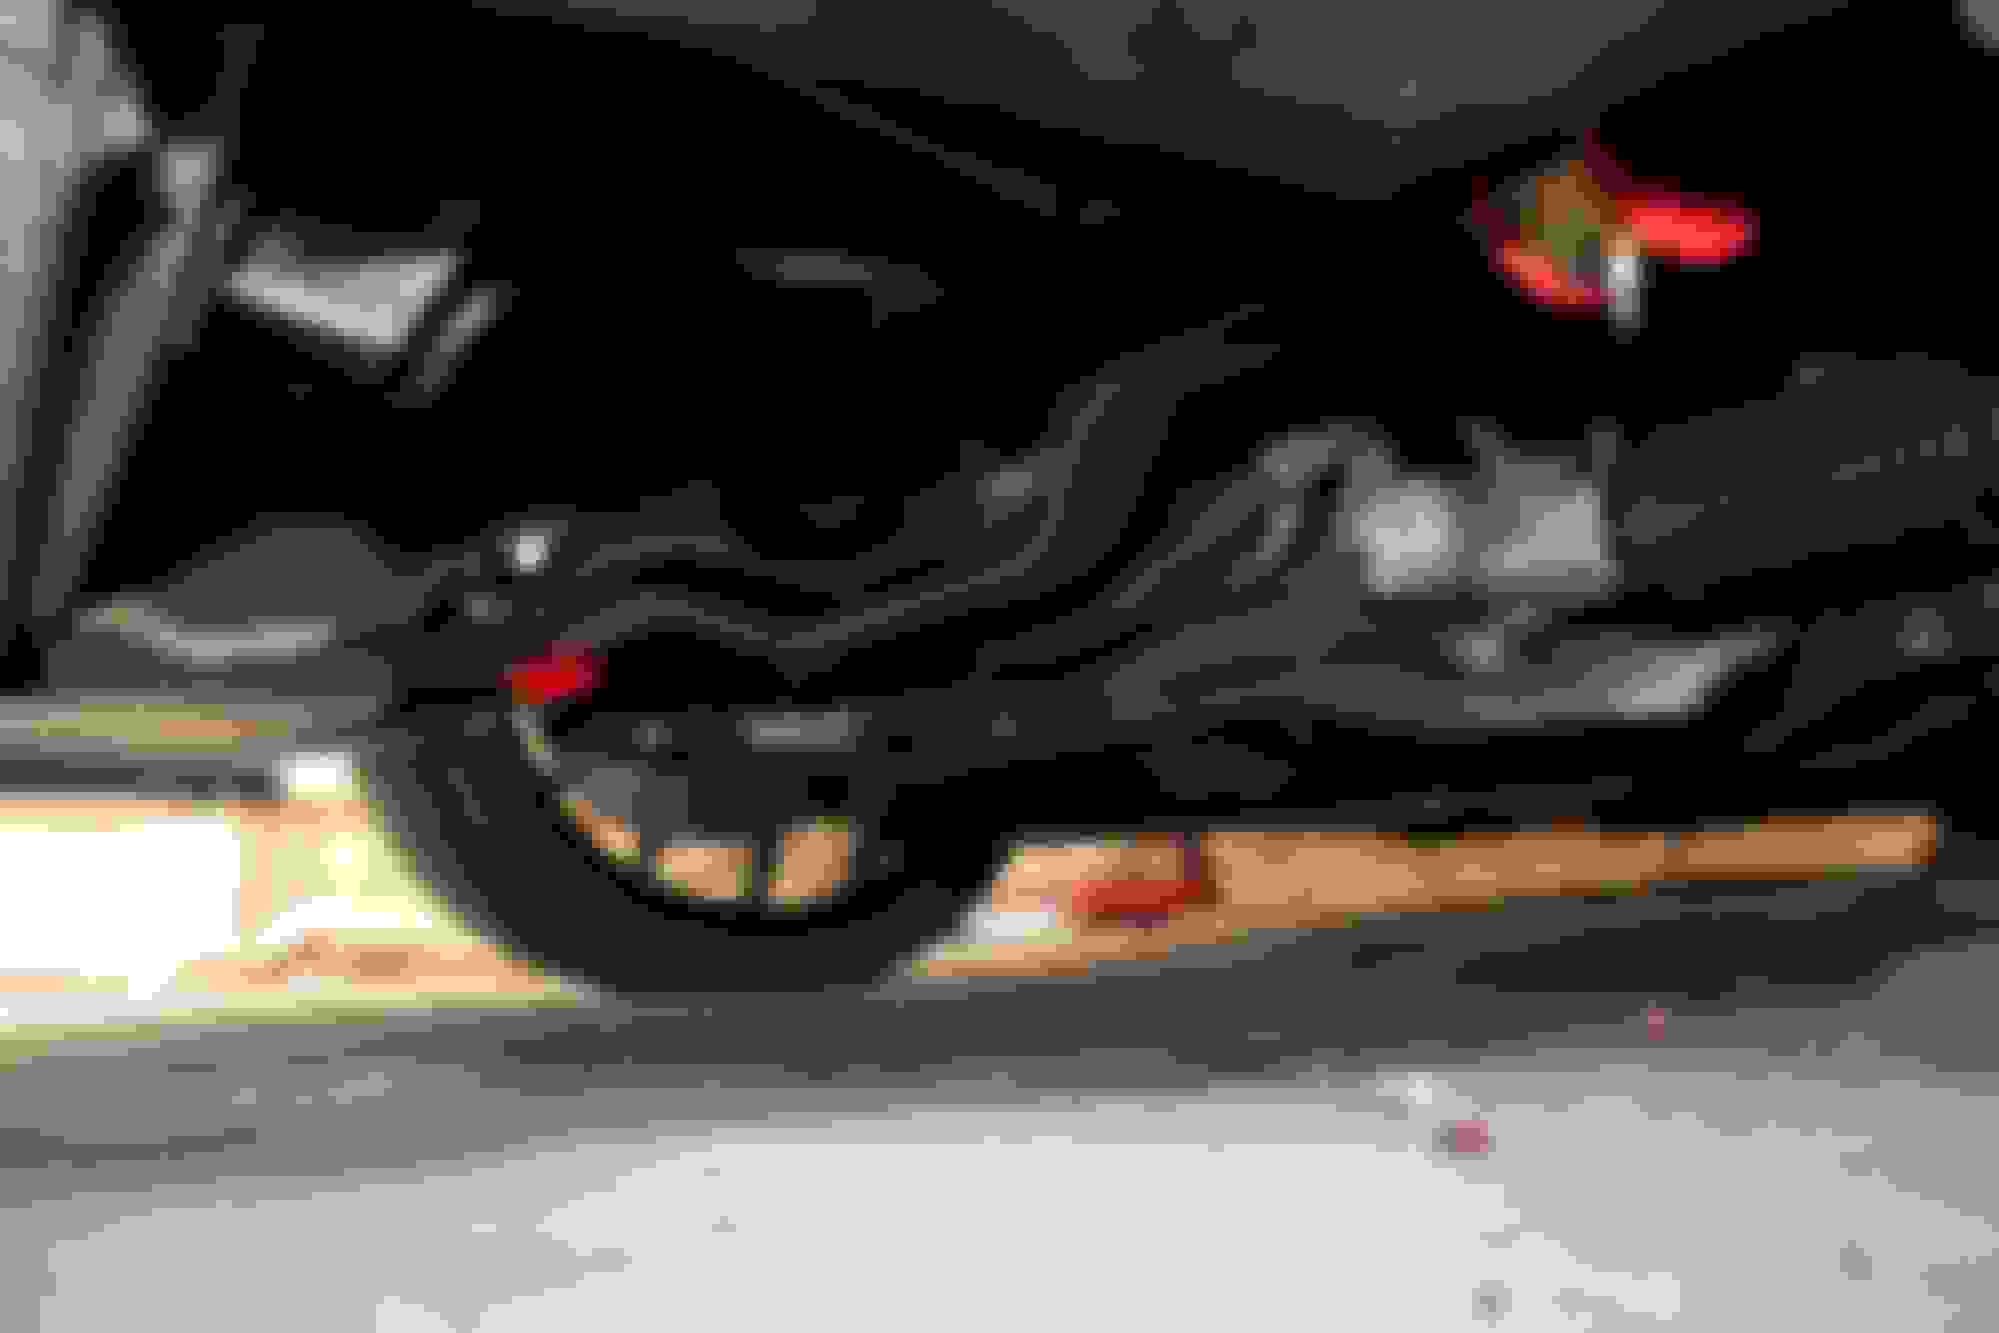
Due to the fact I have an LT1, the ABS line runs out on top instead of along the lower control arm. I'll probably make something nice to hold the line by the brake bracket where it was originally, but until then these zip-ties should do.
I got out my Canon to take some good pics of it all together. They definably come out a lot better looking than my crappy iPhone camera.
Some final notes, don't forget to install the inner fender liners, grease all the zerk fittings, and adjust the shocks. While I was underneath and doing some paint work, I cleaned up and painted my balancer.
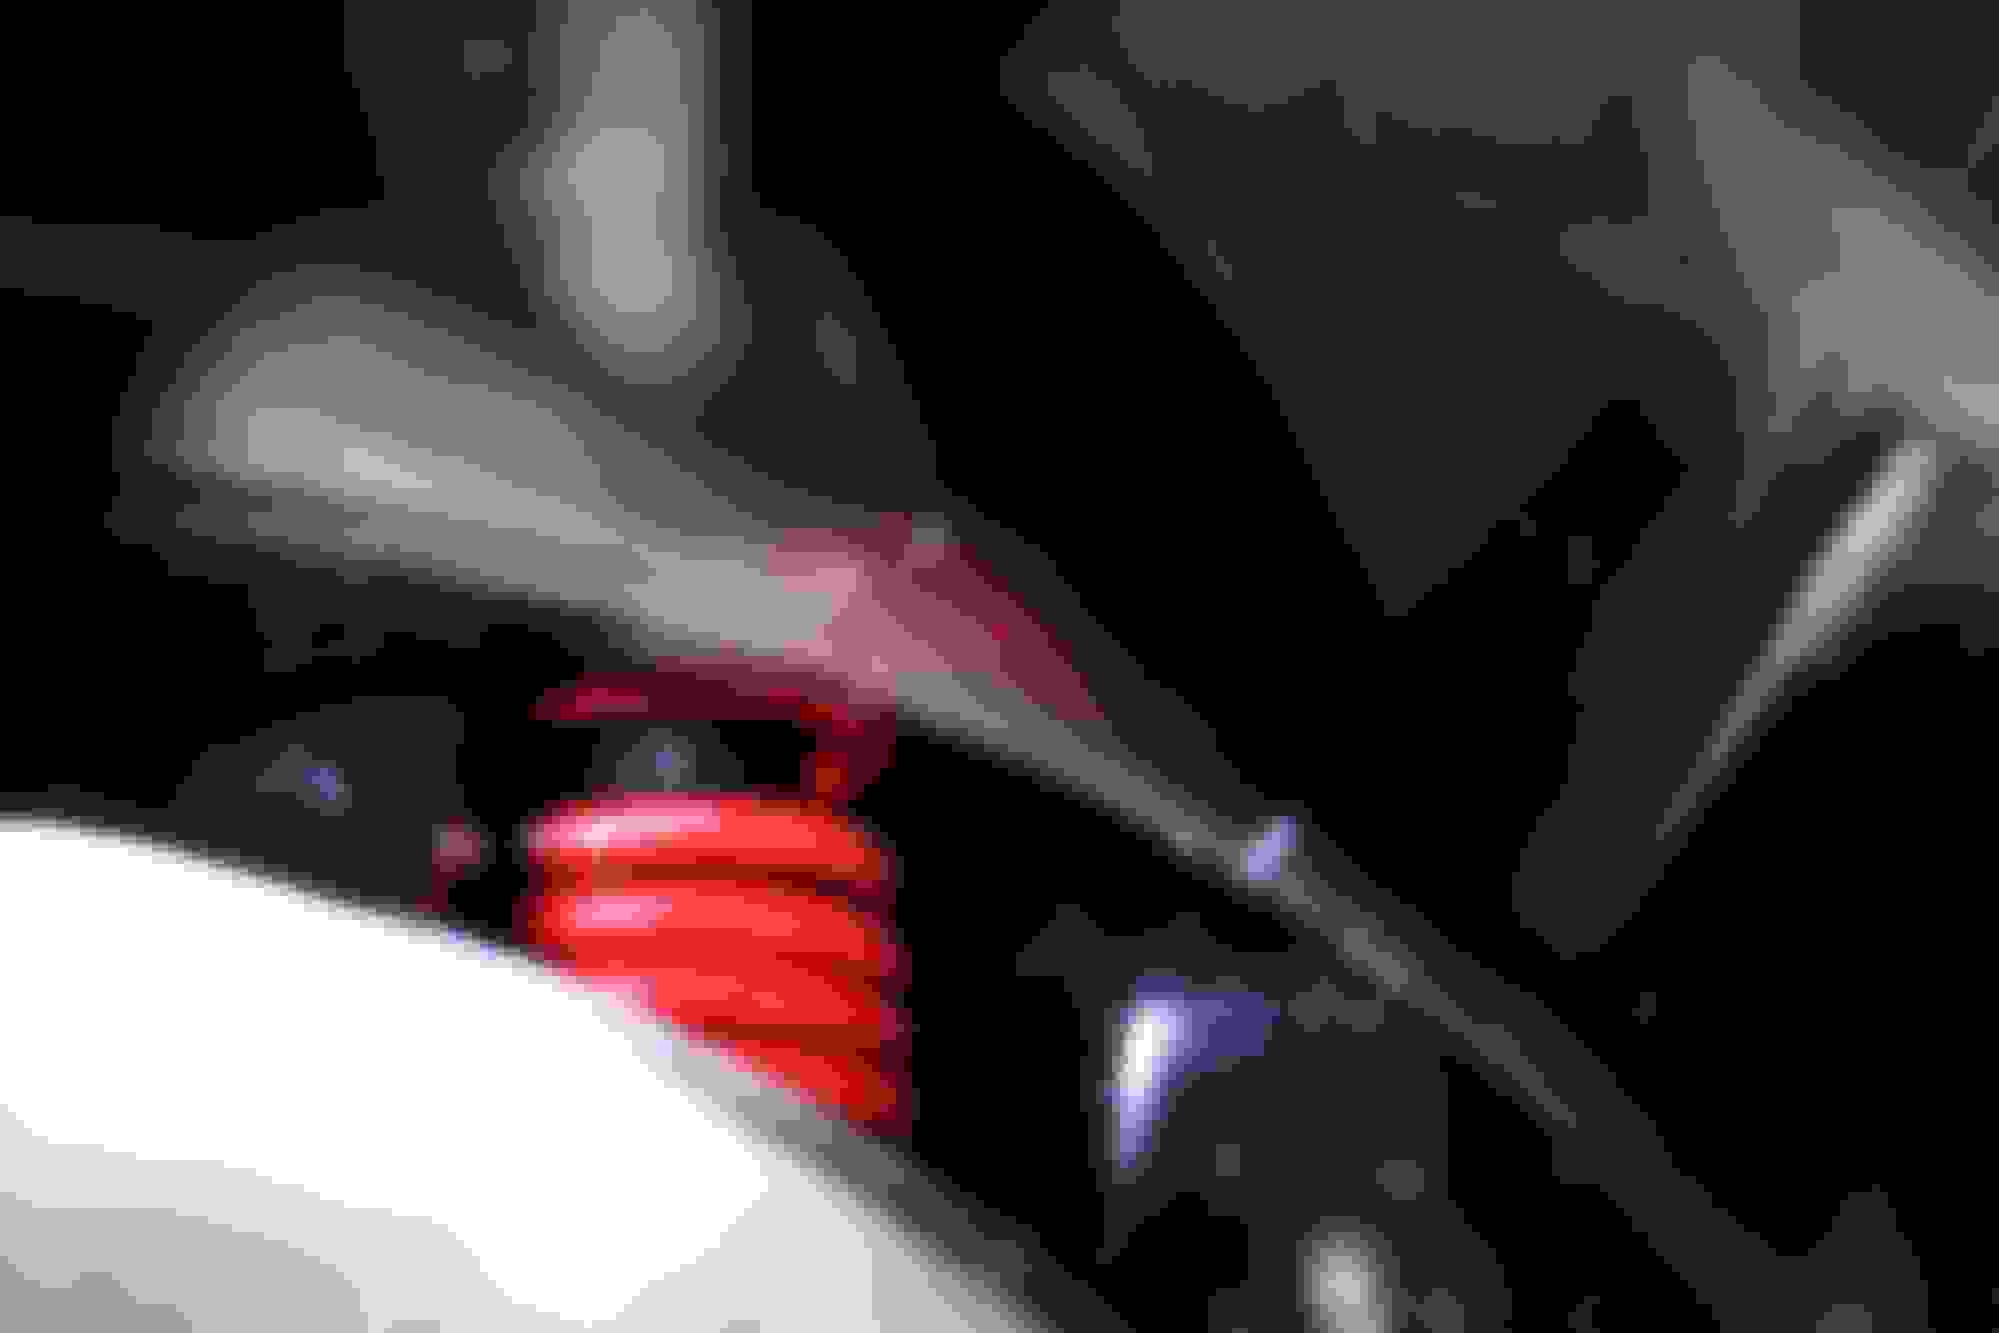
When the car sat on the ground, the bottom coils of BMR's SP090 springs stack up on eachother, I was talking with Eric Kent from BMR and asked him about this and he said that is suppose to happen. The bottom coils are considered "dead coils" and account for most of the drop, the upper coils of the spring do all the work.
I'm going to have the front end back up in the air before it's on the road to change the oil, adjust the toe and I still need to grease the bushings and adjust the shocks. Until then, it's onto the rear of the car, finally.
Last edited by StoneColdLT1; 07-17-2017 at 02:04 PM.
Keep in mind over the years as the suspension works, you will rub off the paint on the lower coils...no way around it. This is also seen in true progressive rate springs where coils start stacking at a certain compression height.
They are basically a "spacer" to fill the void in between the spring seats but to still maintain higher rates/lower curb height of the spring.
I'm not celebrating just yet, I still need to do the back which I plan on getting a good amount of work done with weekend. Once it's all done, it'll get pulled out and cleaned up for some good shots.
Unless you are also repainting stuff in the rear, swapping springs, shocks, anti-rollbar, panhard bar, brakes in the back of these cars is super easy. Maybe the only hard part would be pressing out/in the large end bushings in the control arms. Bank on finding (or not finding) demolished bump stops.
The hard part is already done. Everything looks great. I would recommend investing in a rubber pad for your floor jack so that you don't scratch up all that fine work you did painting the A-arms. I made one a few years ago from a thick sheet of rubber. You could probably even use an old tire, though the belts would be hard to cut through.
Seems you have an oil, or possibly PS fluid leak below the engine. I just cleaned mine off the undercarriage. Not fun. I guess that will be the next project once you've finished transforming your Formula into a corner-carving beast.
The hard part is already done. Everything looks great. I would recommend investing in a rubber pad for your floor jack so that you don't scratch up all that fine work you did painting the A-arms. I made one a few years ago from a thick sheet of rubber. You could probably even use an old tire, though the belts would be hard to cut through.
$.99 hockey puck is all that is needed from Dick's Sporting Goods
Unless you are also repainting stuff in the rear, swapping springs, shocks, anti-rollbar, panhard bar, brakes in the back of these cars is super easy. Maybe the only hard part would be pressing out/in the large end bushings in the control arms. Bank on finding (or not finding) demolished bump stops.
The hard part is already done. Everything looks great. I would recommend investing in a rubber pad for your floor jack so that you don't scratch up all that fine work you did painting the A-arms. I made one a few years ago from a thick sheet of rubber. You could probably even use an old tire, though the belts would be hard to cut through.
Seems you have an oil, or possibly PS fluid leak below the engine. I just cleaned mine off the undercarriage. Not fun. I guess that will be the next project once you've finished transforming your Formula into a corner-carving beast.
Oh yeah the rear won't take long at all. The axle has some surface rust on it but it'll eventually be a 12 bolt so I'm not going to kill myself over it. If I spot any rust on the chassis I'll clean and paint it. Other than that it's not much. The used control arms I bought are really clean and the bushings are basically new so I'm not even going to bother with rebuilding those, I do need to clean up and paint my relocation brackets though. What kills me is I get home from work late so I really only get to work on it on the weekends, and on the weekends I either get pulled into something else, or it's 100 degrees and humid and I'm moving slower than molasses.
I'm also in the process of looking at new jacks, preferably low profile one with a long reach so I can hit the k-frame from under the air dam. Most of the ones I'm looking at have padding but I'll be honest, I'm surprised how well the VHT Roll Bar & Chassis paint held up on the arms, I must have jacked the car up 10 times from those arms and I haven't seen a scratch.
It's the stock 95k mile LT1 and it does seep oil from the front and drips at bit at the rear, I'm going to switch over to a thicker oil to help prevent the dripping at the rear. The reason it looks wet is I also drained the coolant and flushed my heater core and before I took the pics, I refilled the radiator and some coolant came out of the bleeder valve on the thermostat housing and ran down the waterpump and timing cover. A 383 Stroker will be the next major improvement and I already have an aluminum head LT1 out of another 94 bird on the stand in my shed for it. I was going to start tearing it down this fall/winter but between the house and this suspension rebuild, I haven't had a weekend just to sit down and relax since new years so once this is done, I may take a season off to myself, haha.
 07-06-2017, 02:17 PM