When you click on links to various merchants on this site and make a purchase, this can result in this site earning a commission. Affiliate programs and affiliations include, but are not limited to, the eBay Partner Network.
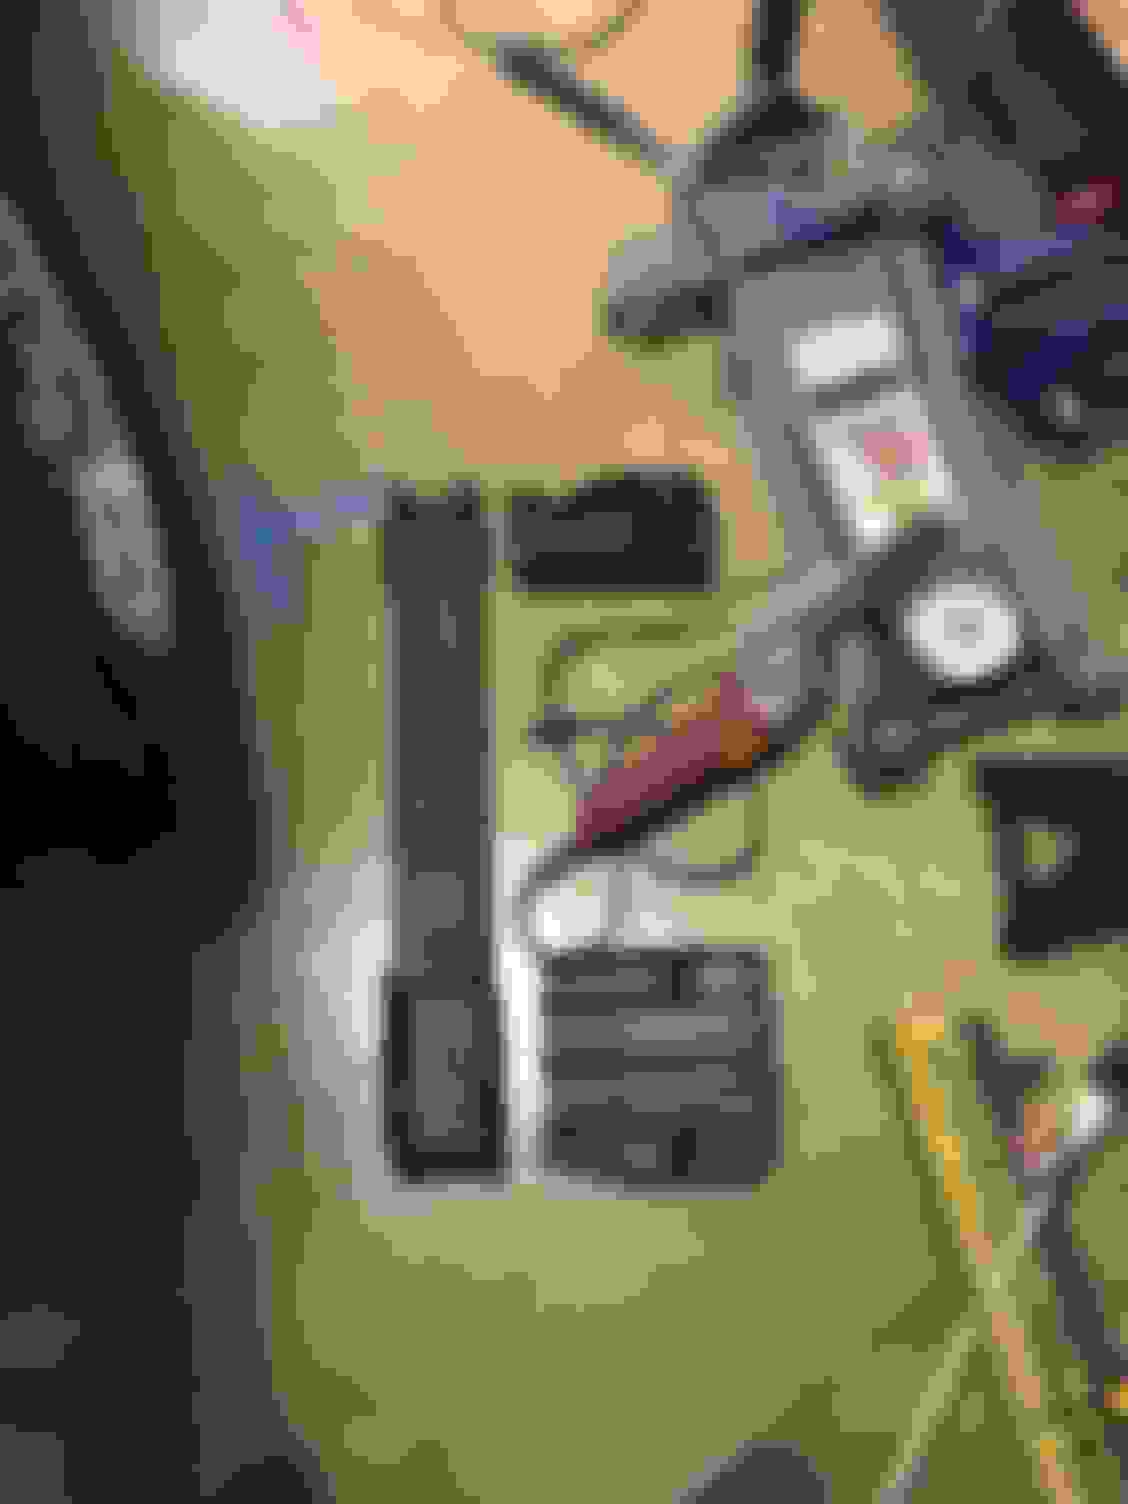
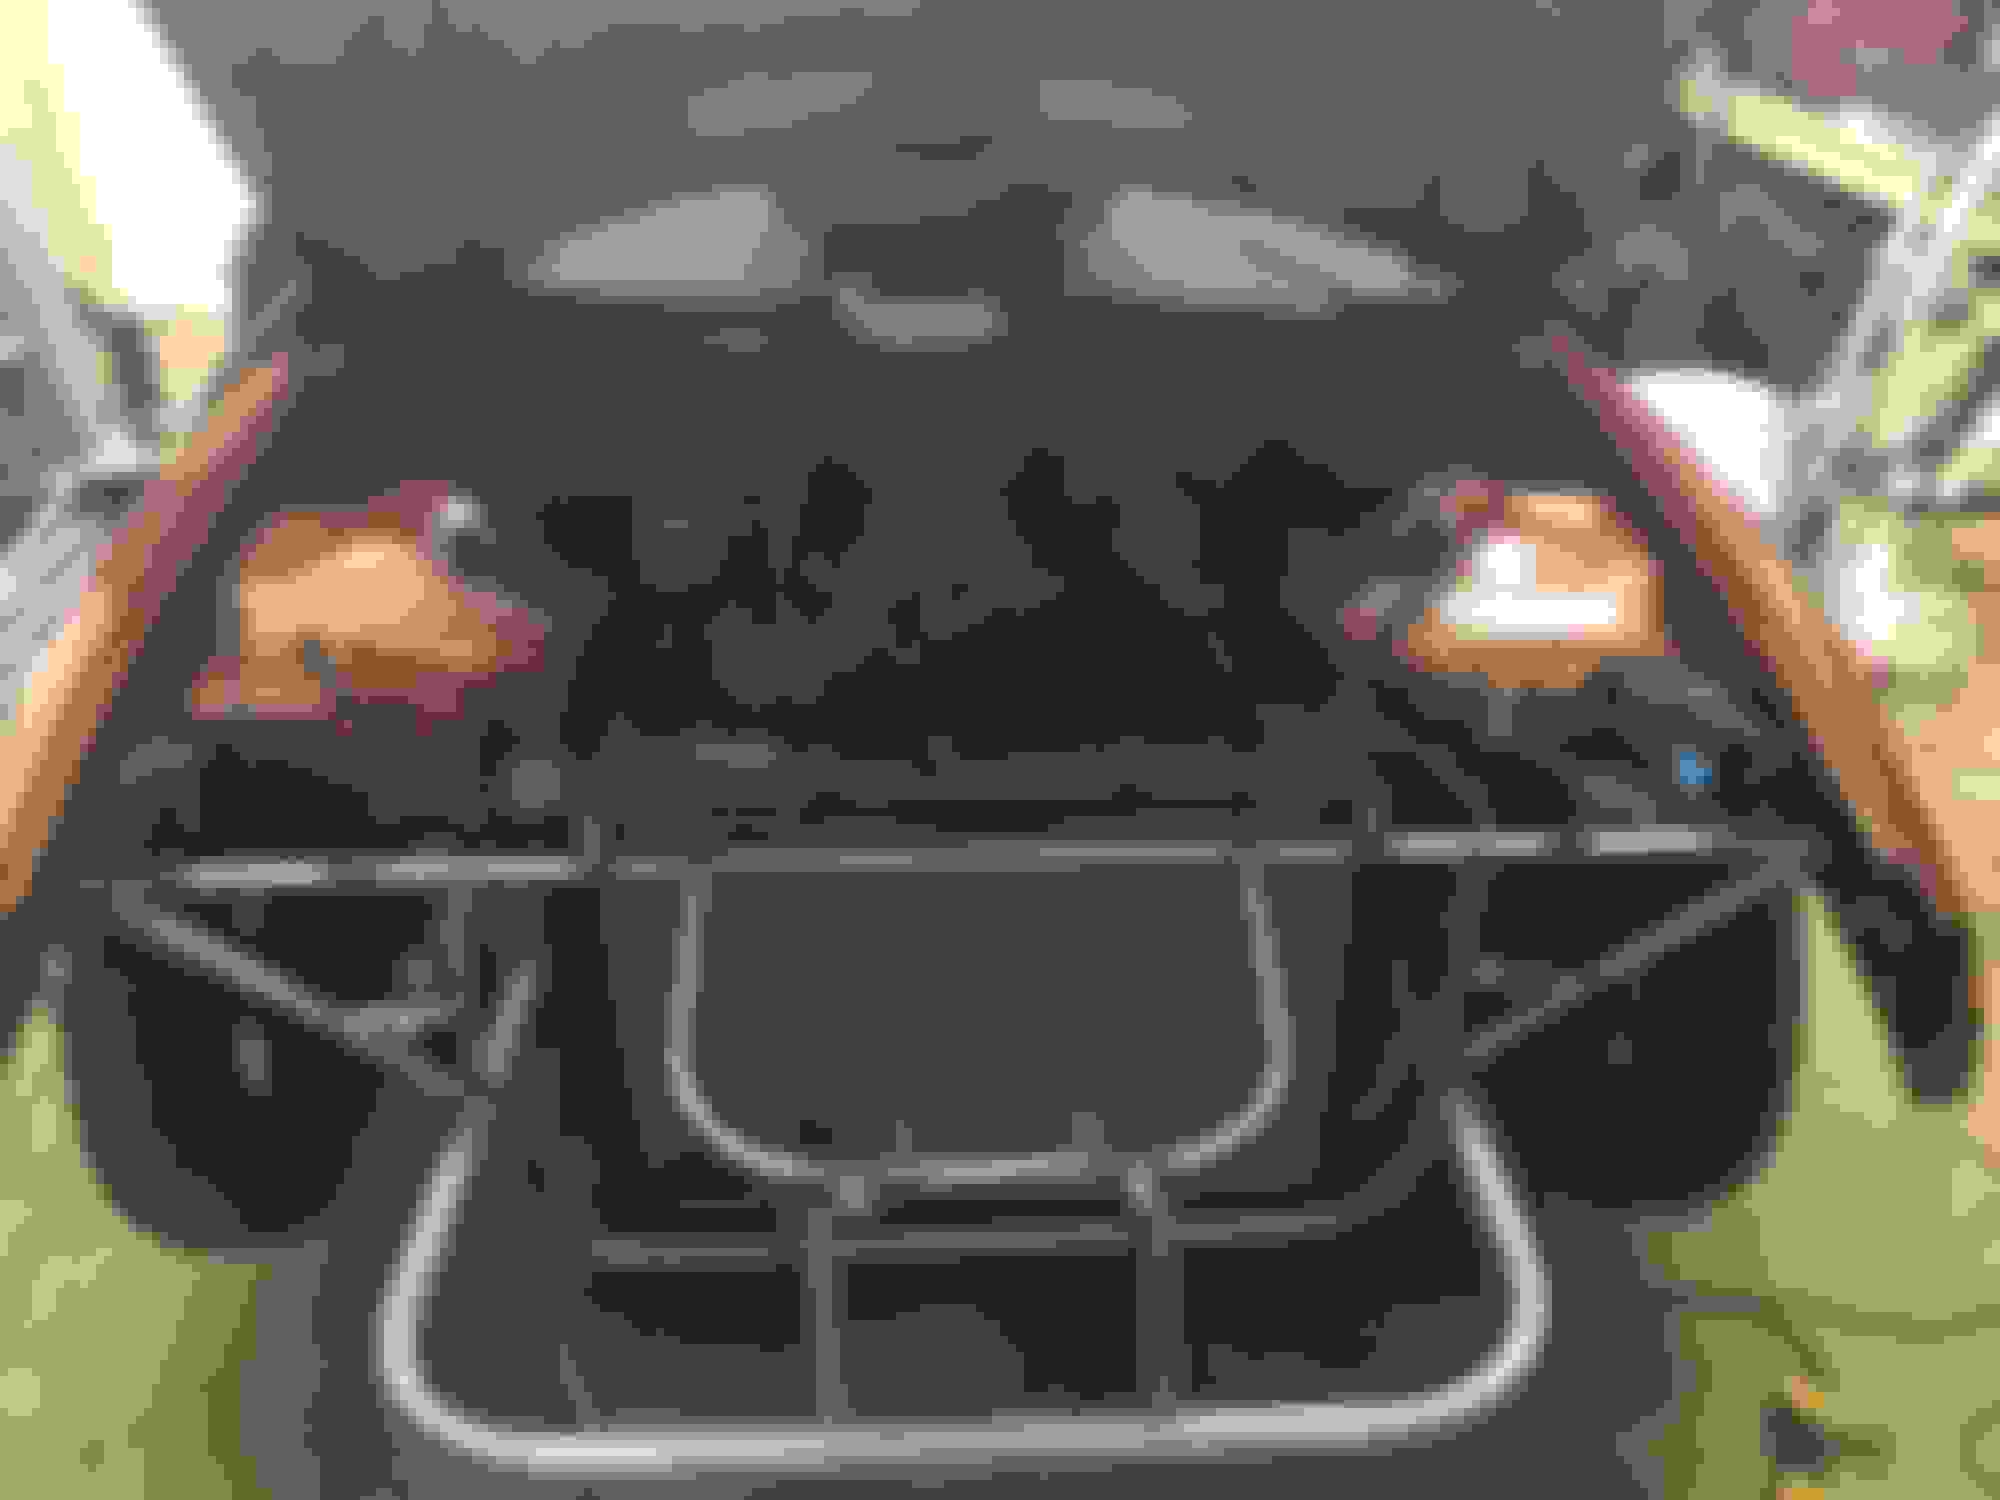
Doesn't look like much done today. But drilled a bunch of spot welds to get the little pieces of core support of the fender apron. Ended up cutting the frame rails 19" back from the face of the bumper support brackets. Got my plates cut to close in the frame rails and plates to bolt the new front end support to it. Just need to get som flange nuts to weld on the inside of the frame plates before I weld them on. Now time for some weights.
Core support with bumper support brackets and about 6" of frame on motor side.
The remaining 5-6" of frame rail I cut out
Metal trimmed from driver and passenger shock tower
Giving us a grand total of 45 pounds 5.6 ounces. And here's how she sits today waiting to be welded on.
And god damn do I wish I had a big enough garage to mount my bench vise somewhere.
Are you using the, I think it�s called Rock solid tubular kit?
No sir, I try and make all my own junk. After buying a tubing bender and doing the cage this should be a walk in the park. Probably going to use the motor plate to tie the frame and shock towers together so I think I'll be able to get away with some really light tubing to support the front end.
No sir, I try and make all my own junk. After buying a tubing bender and doing the cage this should be a walk in the park. Probably going to use the motor plate to tie the frame and shock towers together so I think I'll be able to get away with some really light tubing to support the front end.
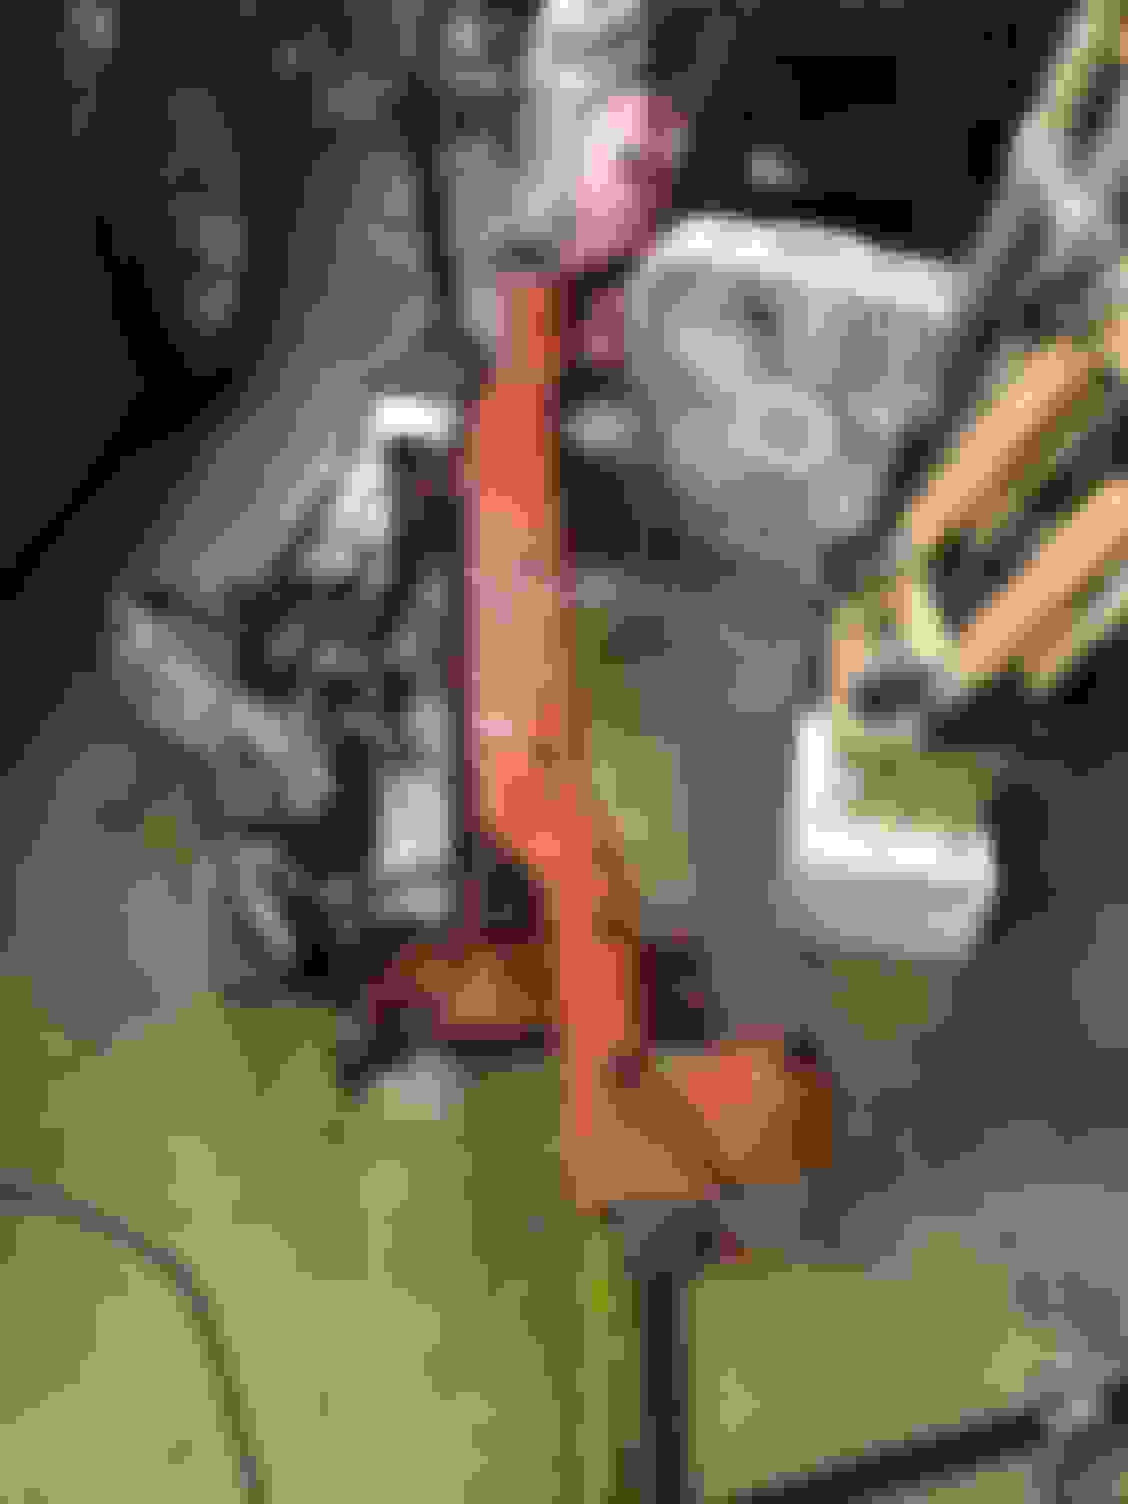
Haven't got as far as I'd like to but. Got my plates welded on the end of the frame. Was in a hurry and had the first one tacked on befor I realized I didn't tack the nuts on the back side. So I had to cut it back off. After putting nuts and bolts on to tack the nuts to the back I ran the bolts out with an impact driver and one of the bolts had a weld bb on it messing up the threads
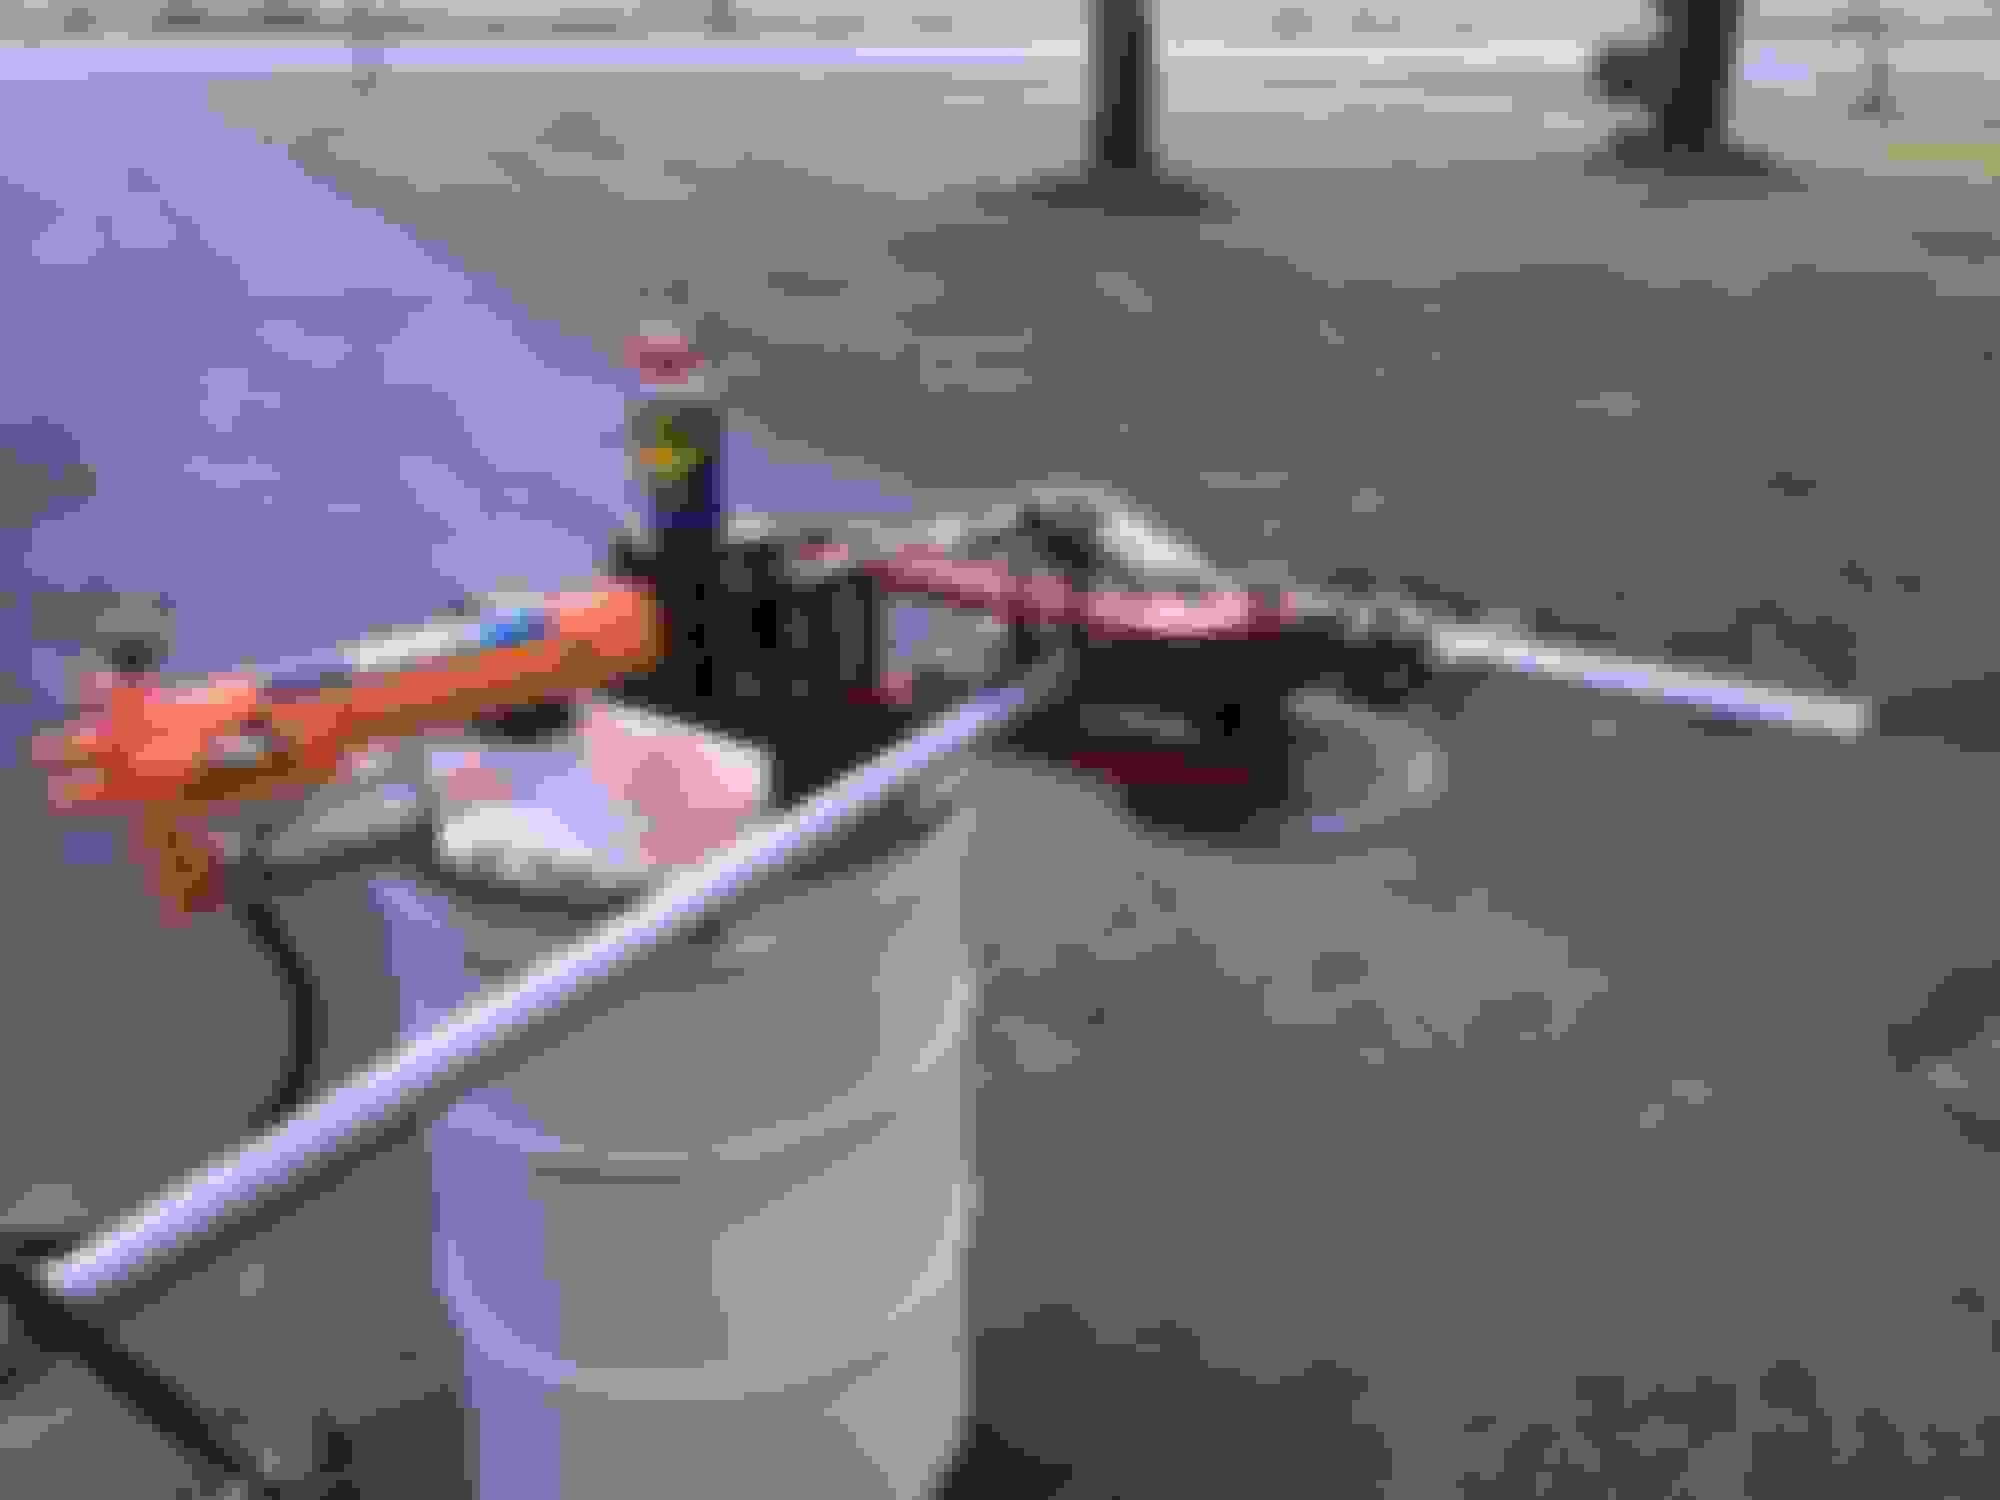
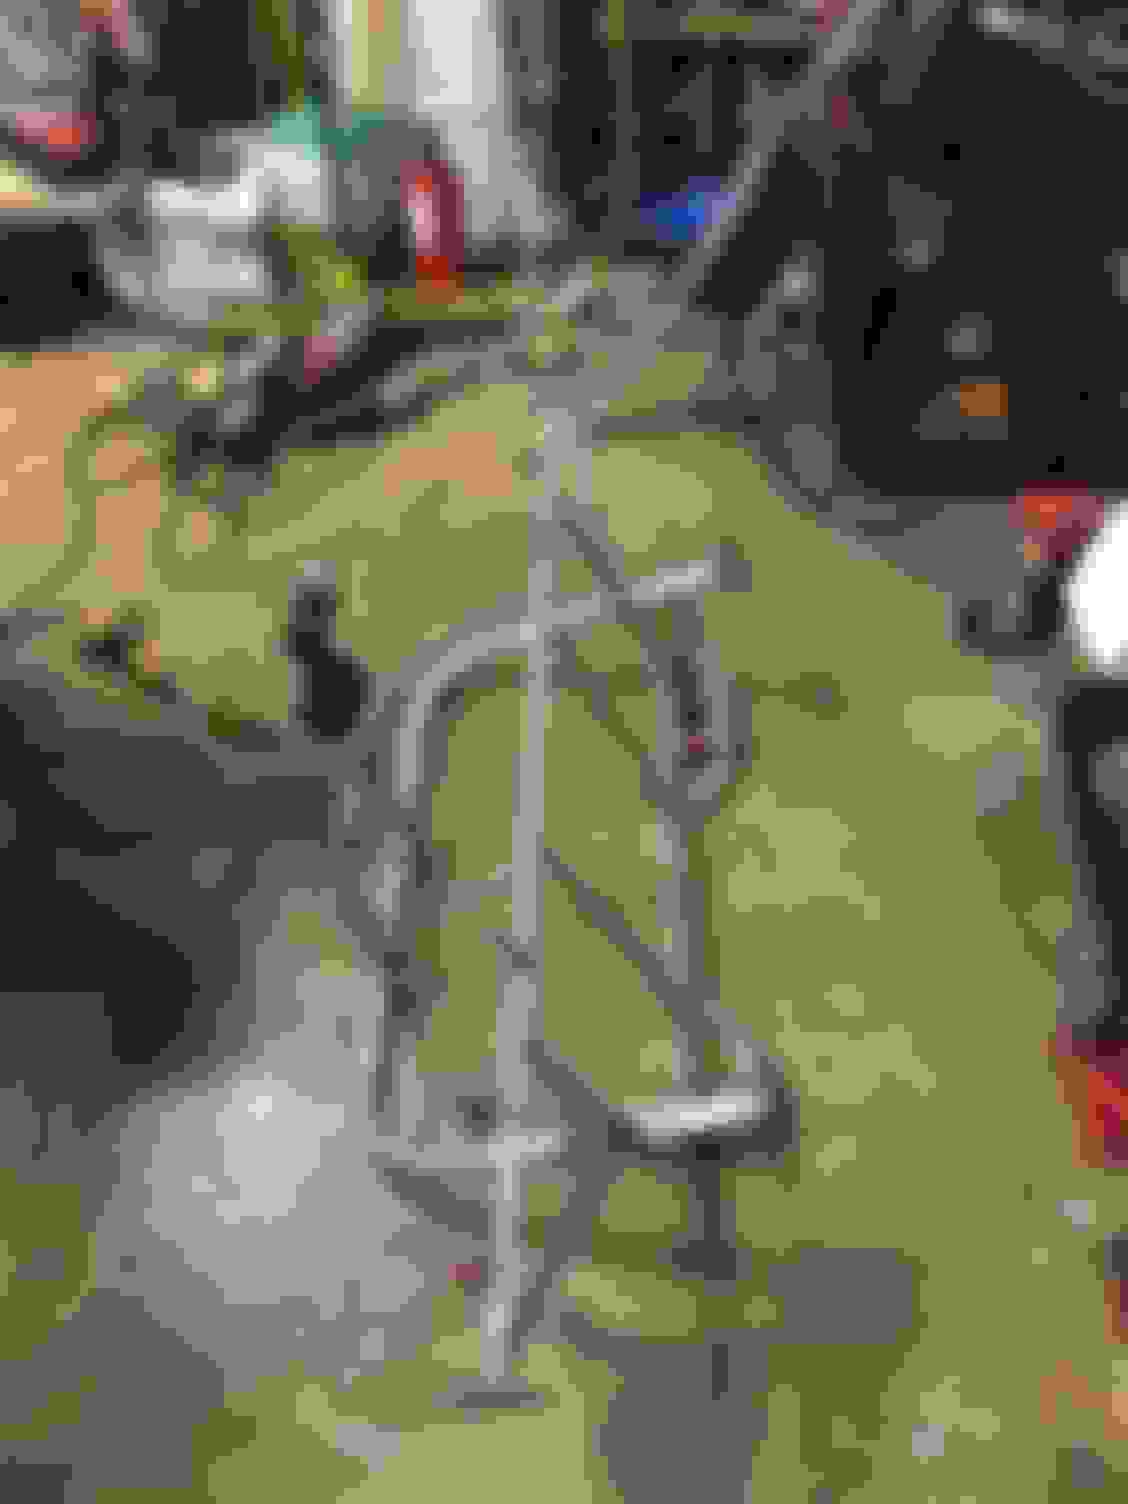
Can't find my standard tap set so on to making this front end. So in true fashion and a small garage the tube bender goes in the driveway.
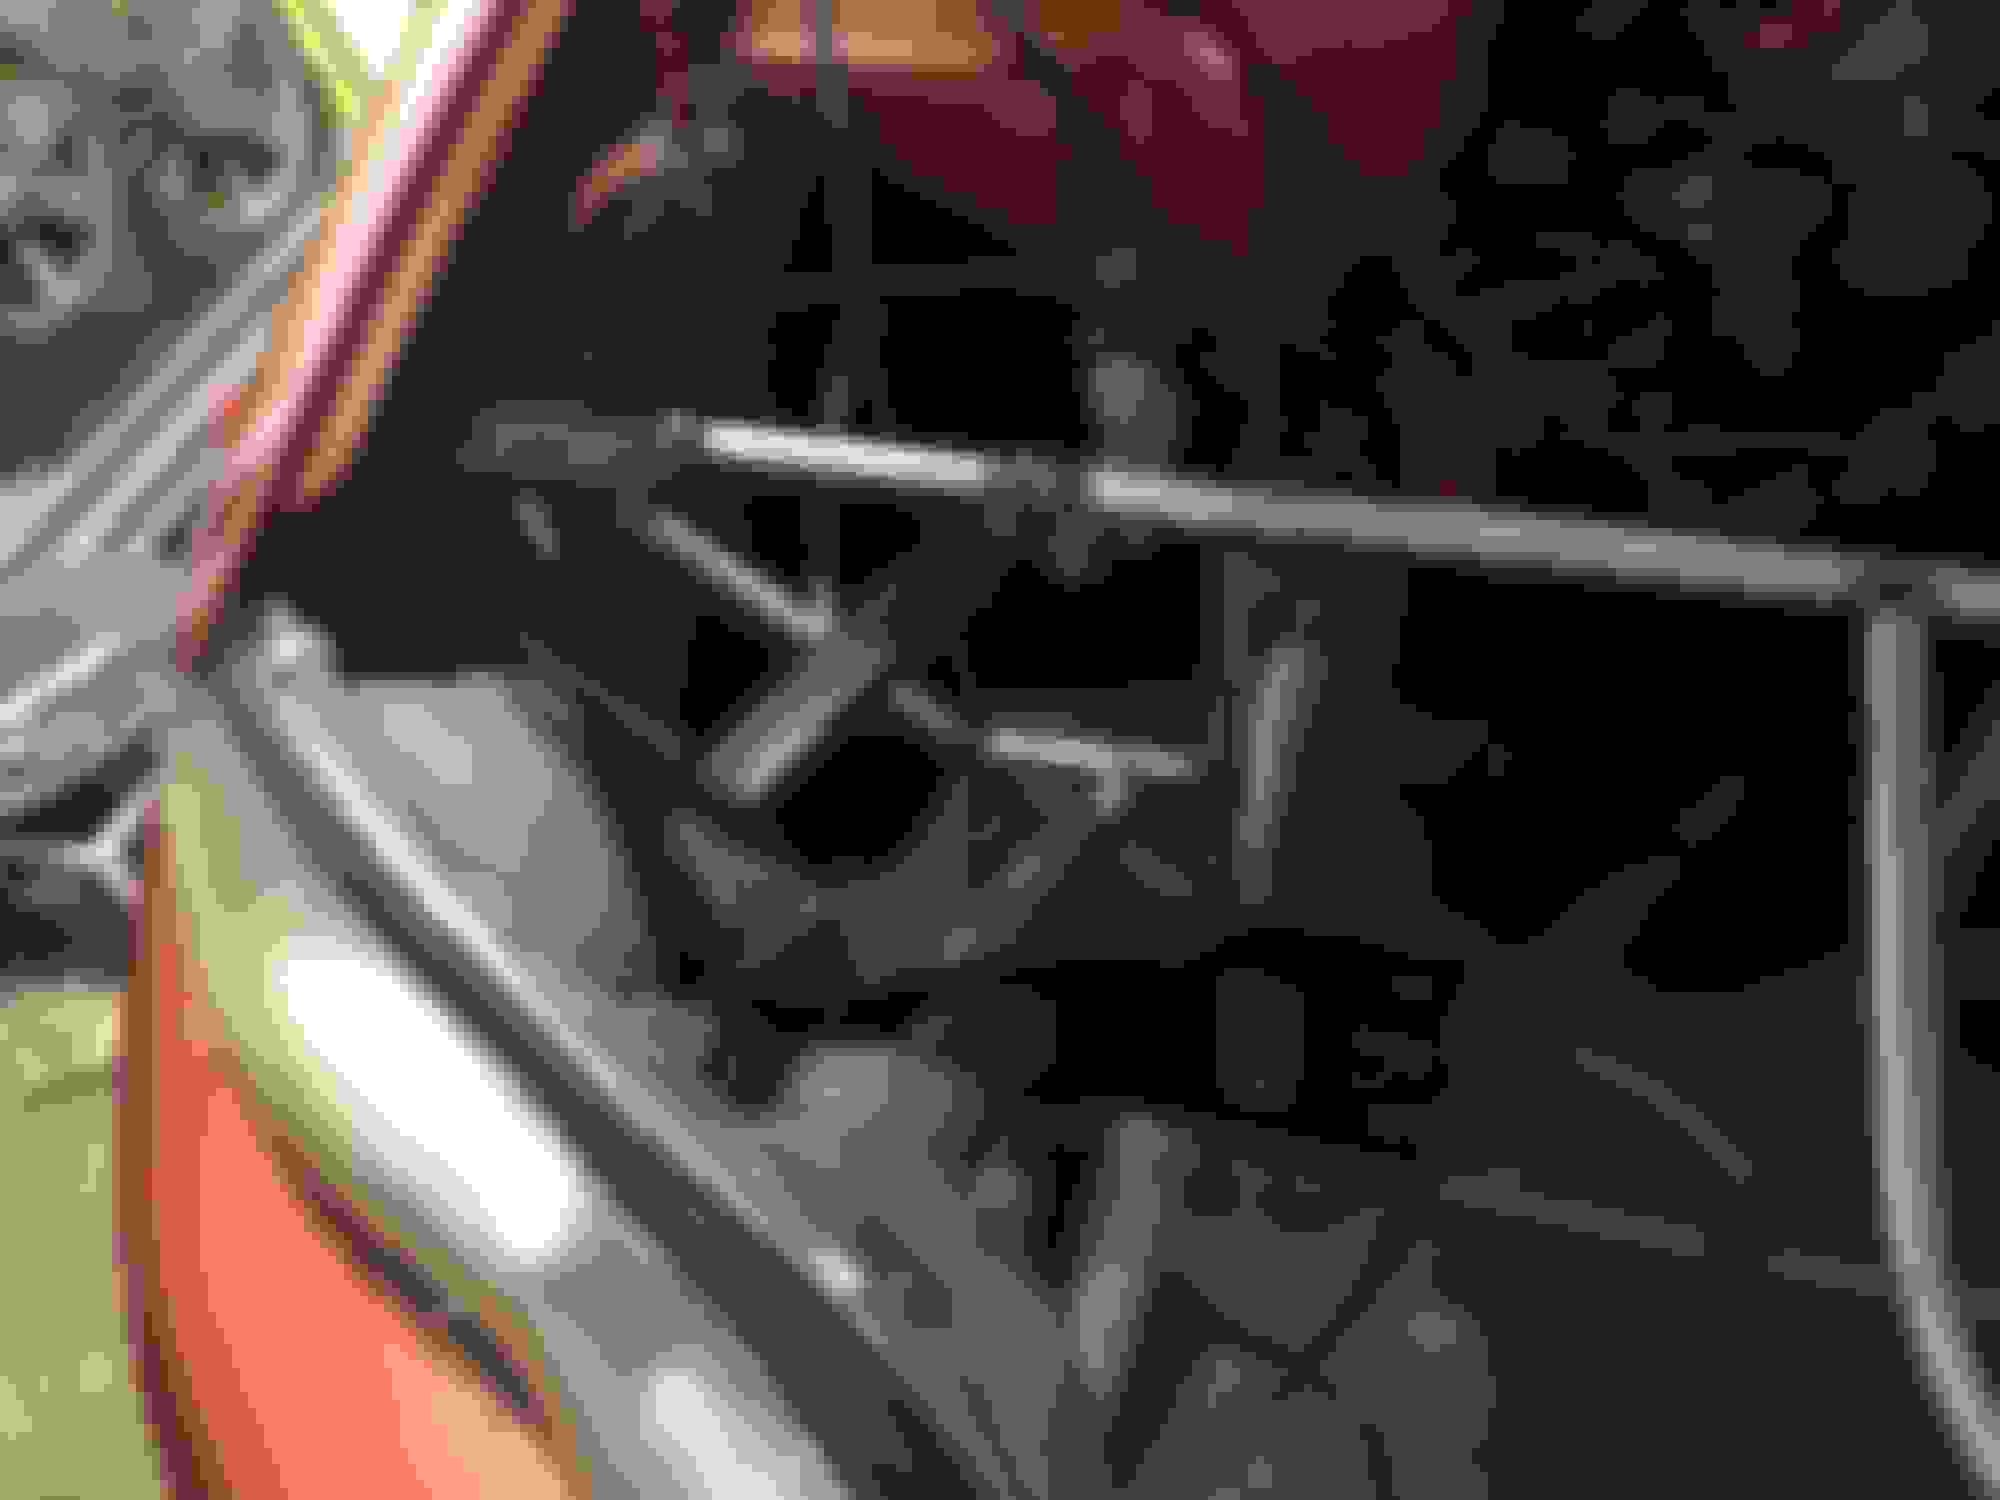
The main support hoop is pretty straight forward just 2 bends. I did bring out 23" off the frame rails leaving enough room for turbo stuff if I decide to do that one day. When I do lateral supports for about anything I always drill the pipe size hole through the mount plates. If I'm using 1/8" plates on each side I cut the pipe an 1/8" short of the actual measurement from fender to fender. This allows you to slide the plates on the pipe and bolt them in place without pushing or pulling the sides. Before tacking the pipe to the plates slide the pipe back and forth and try to center it side to side. This give you the ability to weld it fast on the front and back side of the plate as well.
Another trick I like to do when putting a lateral support in between 2 fairly solid vertical pieces is shim one of the mounting plates of the surface .030-.040" while fabing it up. This allows the piece to be put on or taken off a lot easier down the road. A fine cut hack saw blade fit the bill for this today.
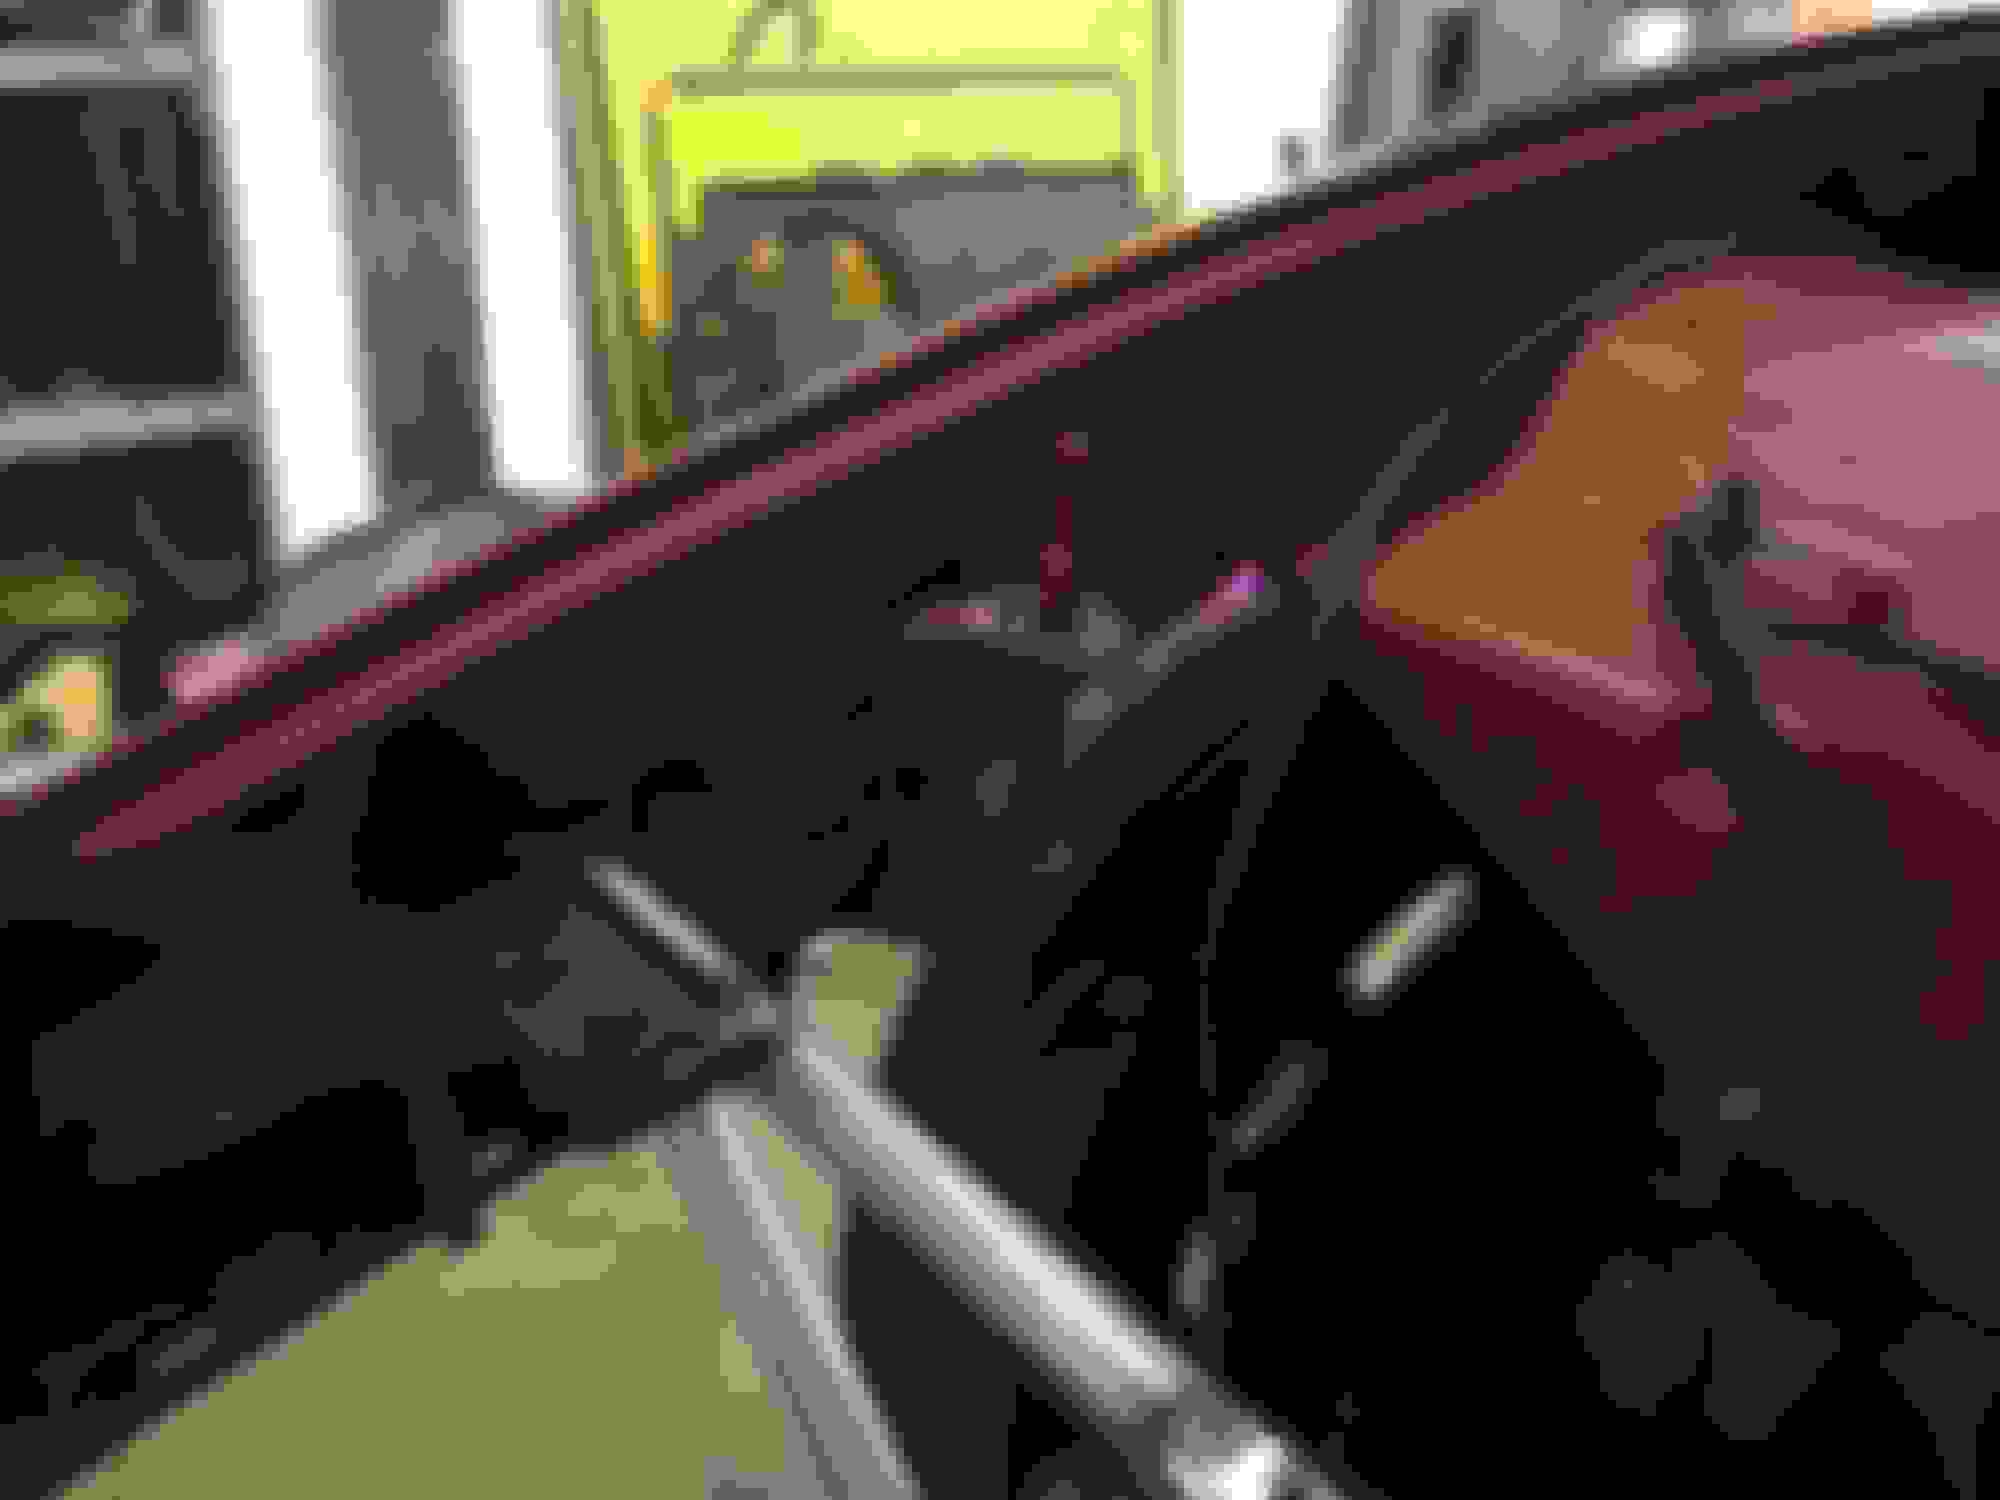
In the above pic you can see I left 1 little piece of metal with a spot weld on it just to the left of the mount plate. That to hold the layers of fender apron together until I pull the fender and tack them together. But it will be coming off. Ended the day putting a virtual and diagonal leg from the top bar down to the main hoop we'll call it. All just tacked up so I can pull it off to weld.
And the weight of tubing used so far with mount plates on there is
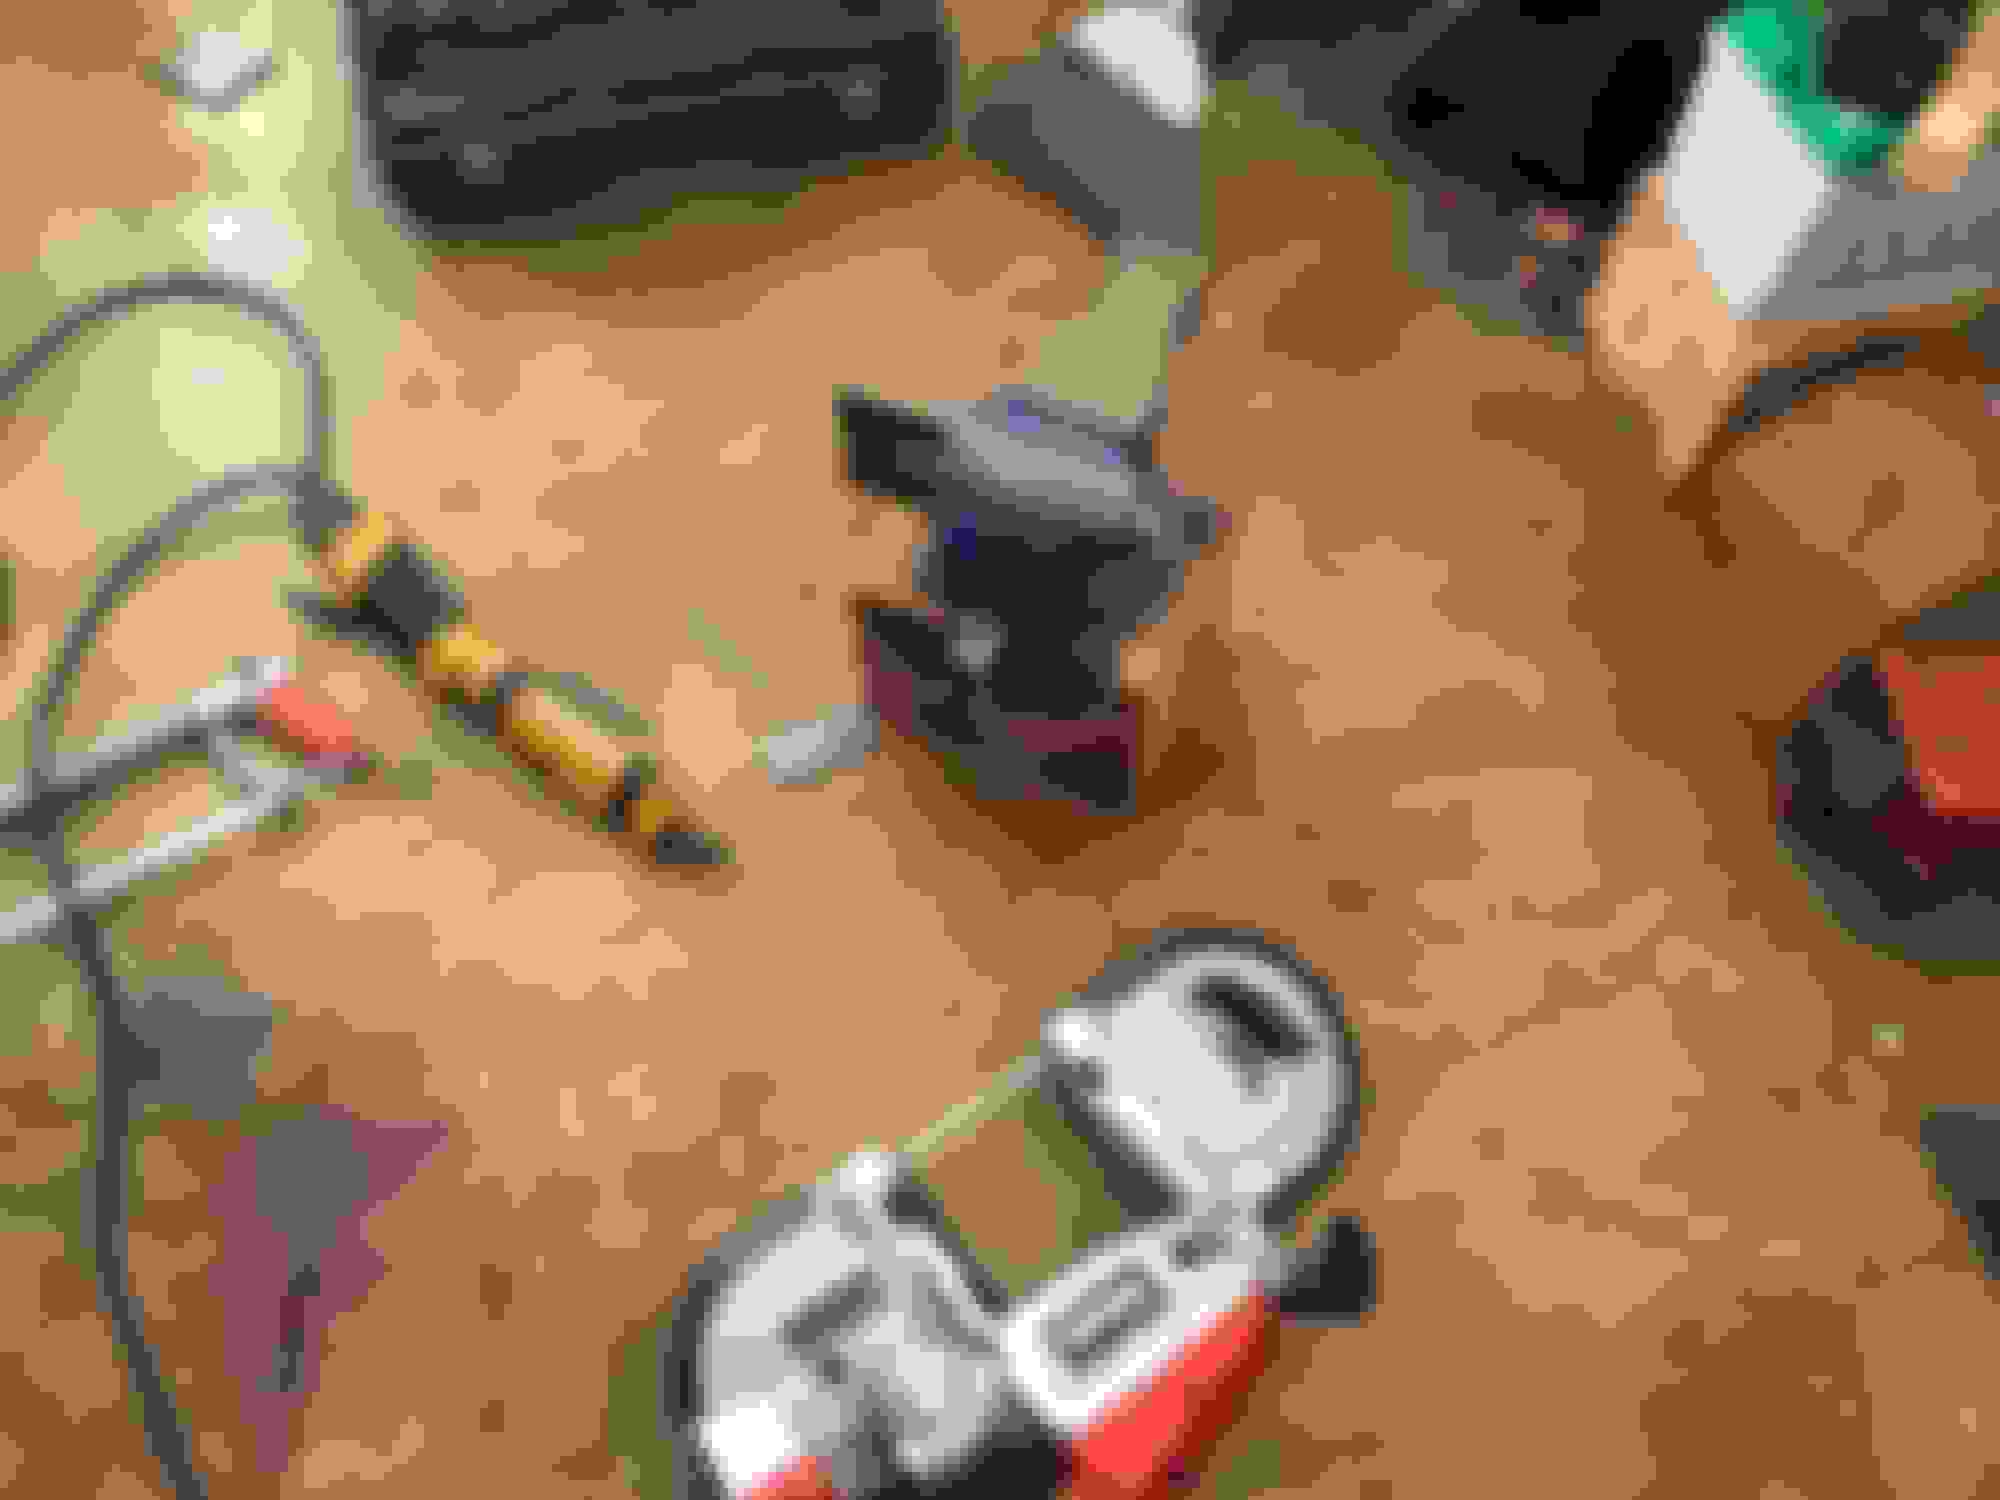
Well nothing has been going real smooth but have made some head way. My motor plate showed up Fri. Haven't weighed this against motor mounts and stands yet but will when I go to install it. On a factory kmember it will definitely save weight but I'm not sure it will on a aftermarket kmember. And in true fashion on how things are going the motor plate only has scratches and a gouge on the front side.
Next lesson always measure twice and cut once. This referring to the bottom radiator support. Not sure how I managed but I cut the main hoop to support the radiator on the bottom 1" short. Not normally a big deal but I have the radiator completely vertical and was shooting for 1/2" clearance between radiator cap and hood. Not willing to admit defeat and say I screwed up I had to fit my mounting plates in between the 2 bars instead of just sitting on top. But there in and using both factory rubber cushions.
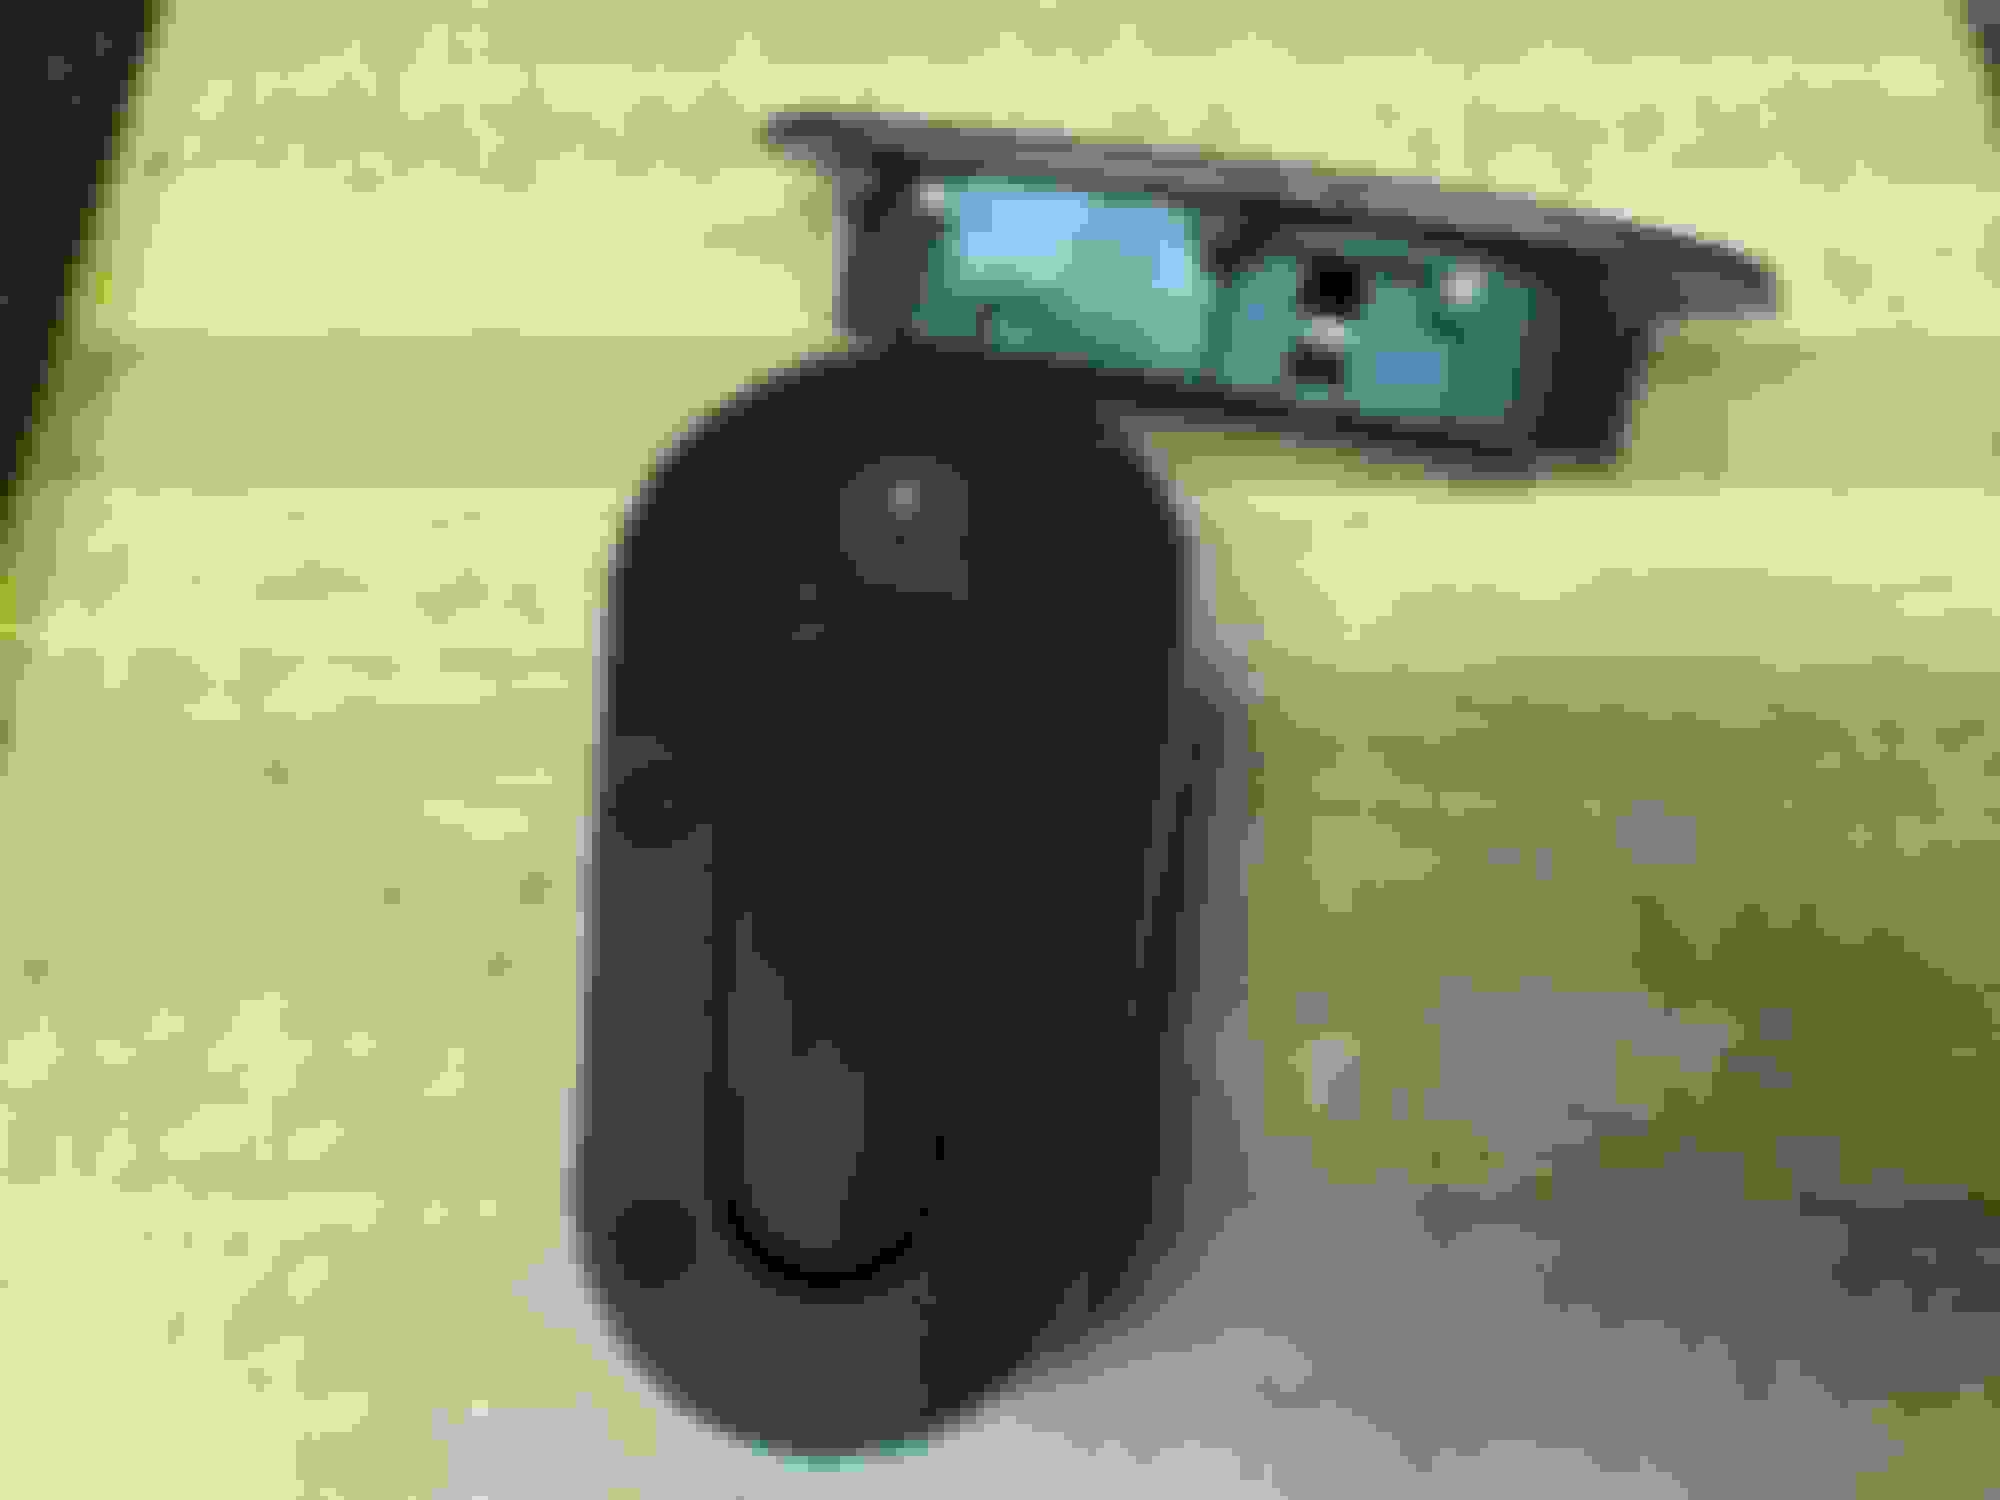
Just need to add 2 vertical bars in front of radiator to mount trans cooler. The next lesson comes by way of hood latches. Everyone uses the aero latches and seems to like them. They also look fairly clean so I got on the old eBay and bought the generic JDM's. I am cheap but part of the reason was because this hood will eventually be replaced. These come with no support ring for the underside, just washers and lock nuts, the washers are so big around they won't fit on the bolt without hitting the body of the latch, they are also much thicker than the aero latches not allowing them to sit in the factory bump stop location without some extra trimming on the under side of hood. So I cut my own support ring out of sheet metal and have it bolted to the latch on the bench. Since there will be no way to get the nuts up in there without cutting more holes underneath the hood I figured I'd jb weld the nut to my sheet metal ring. It only has to hold long enough to tighten the bolts once so fingers crossed on that one.
Was going to put the hood pins on my tubular front but decided against that in case I'd ever need to latch hood without it on. So I dug the old bump stop mounts out of the scrap pile, cut them down to save some weight and tacked them on.
While it was sunny today I managed to push her out and wash off all the sanding and grinding dust off her. Noticed quite a few scratches from rubbing that grime in so I got her all blanketed now. Just have to bolt the nose on now and make the support for the front of it. Then pull it off for welding and paint.
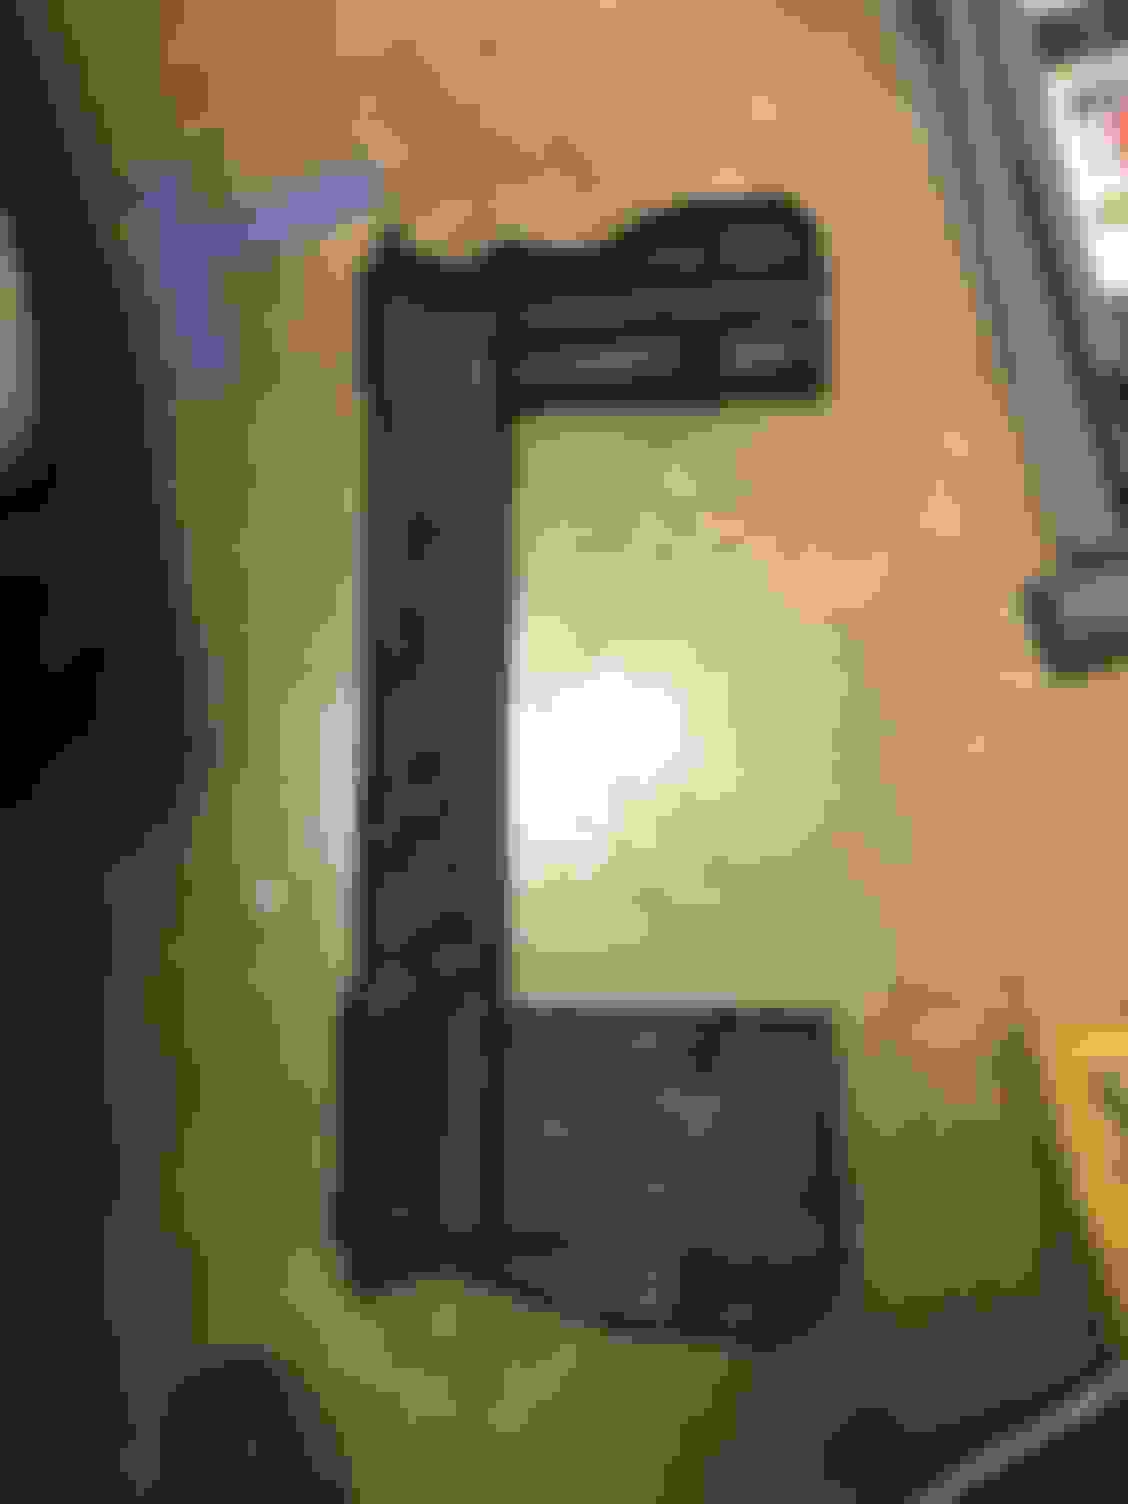
Headed back out to garage trying to come up with a decent looking hold down for the top of radiator. So I grabbed the factory lower air box and the light went off.
Took a pair of tin snips and cut about 1" away from that long rib I kept. Then scored all the little pieces of rib about 1/8" up and snapped off with pliers. Then one of my favorite Harbor Freight tools, the 1/2" belt sander. I'll put one bolt in each end down to the top tube and she'll be golden.
Sub 3000 will never happen with this pig. Dreaming would be 3200 but if I get to 3300 with 1/2 a tank of fuel I'll be happy. There's no chromoly in her anywhere it's all mild steel and the iron block with aluminum intake don't help at all.
So my home made support rings for the cheap hood latches set up over night and installed them today. If your going to be cheap you better be crafty to make the junk work. Here's the rings I made.
Here's a trick I use for making mounting tabs on tubing. Figure out how wide you want the mount tab to be then add the diameter of the tubing to that for the width of the tab when laying it out on your sheet metal. Length figure out what length you want and add 1/2 the diameter of the tube to it. I alway to 4 at a time. Draw out the 4 pieces to be cut in a square on you piece of sheet metal, then where the pieces meet end to end center punch it and drill a hole the size of your tubing. Cut the 4 pieces apart and bend then in a vise.
Them 4 tabs and 2 bars turned into my trans cooler mount.
Now I'm trying to figure out how I can use the top mount for the bumper cover. Going to try and use it for adjustability and I like how it supports behind the lip in front of the push pins. I did cut it in half to try and save weight though.
The last pic is how she sits now. I pulled the styrofoam off the old crash bar and might use part of it to support the cover instead of putting a bar out to the nose.
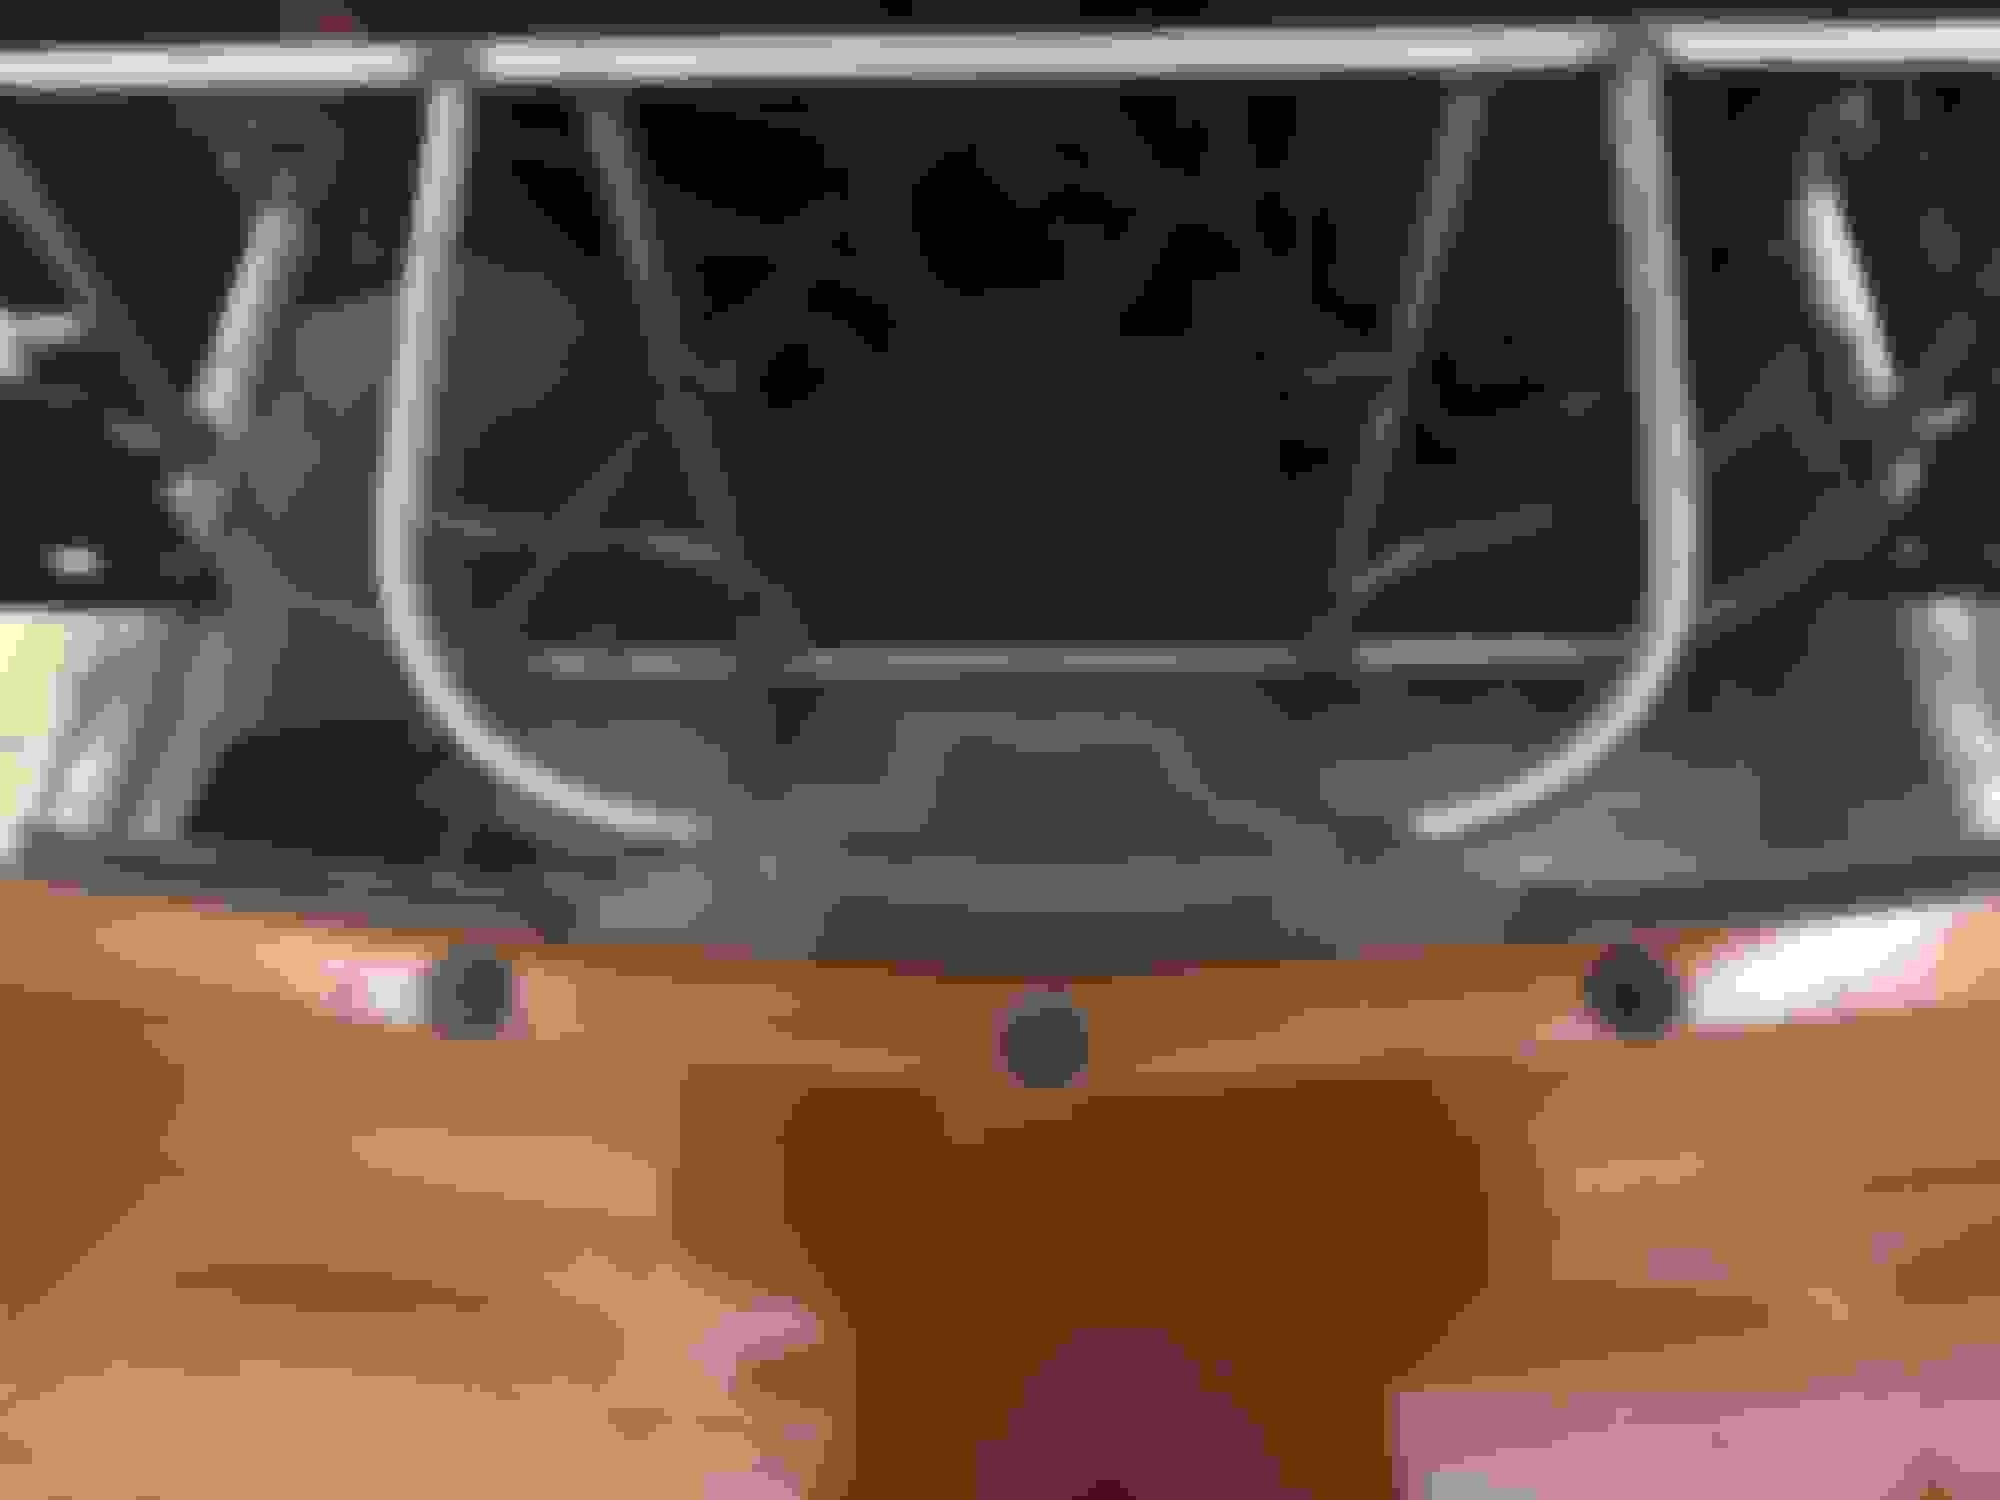
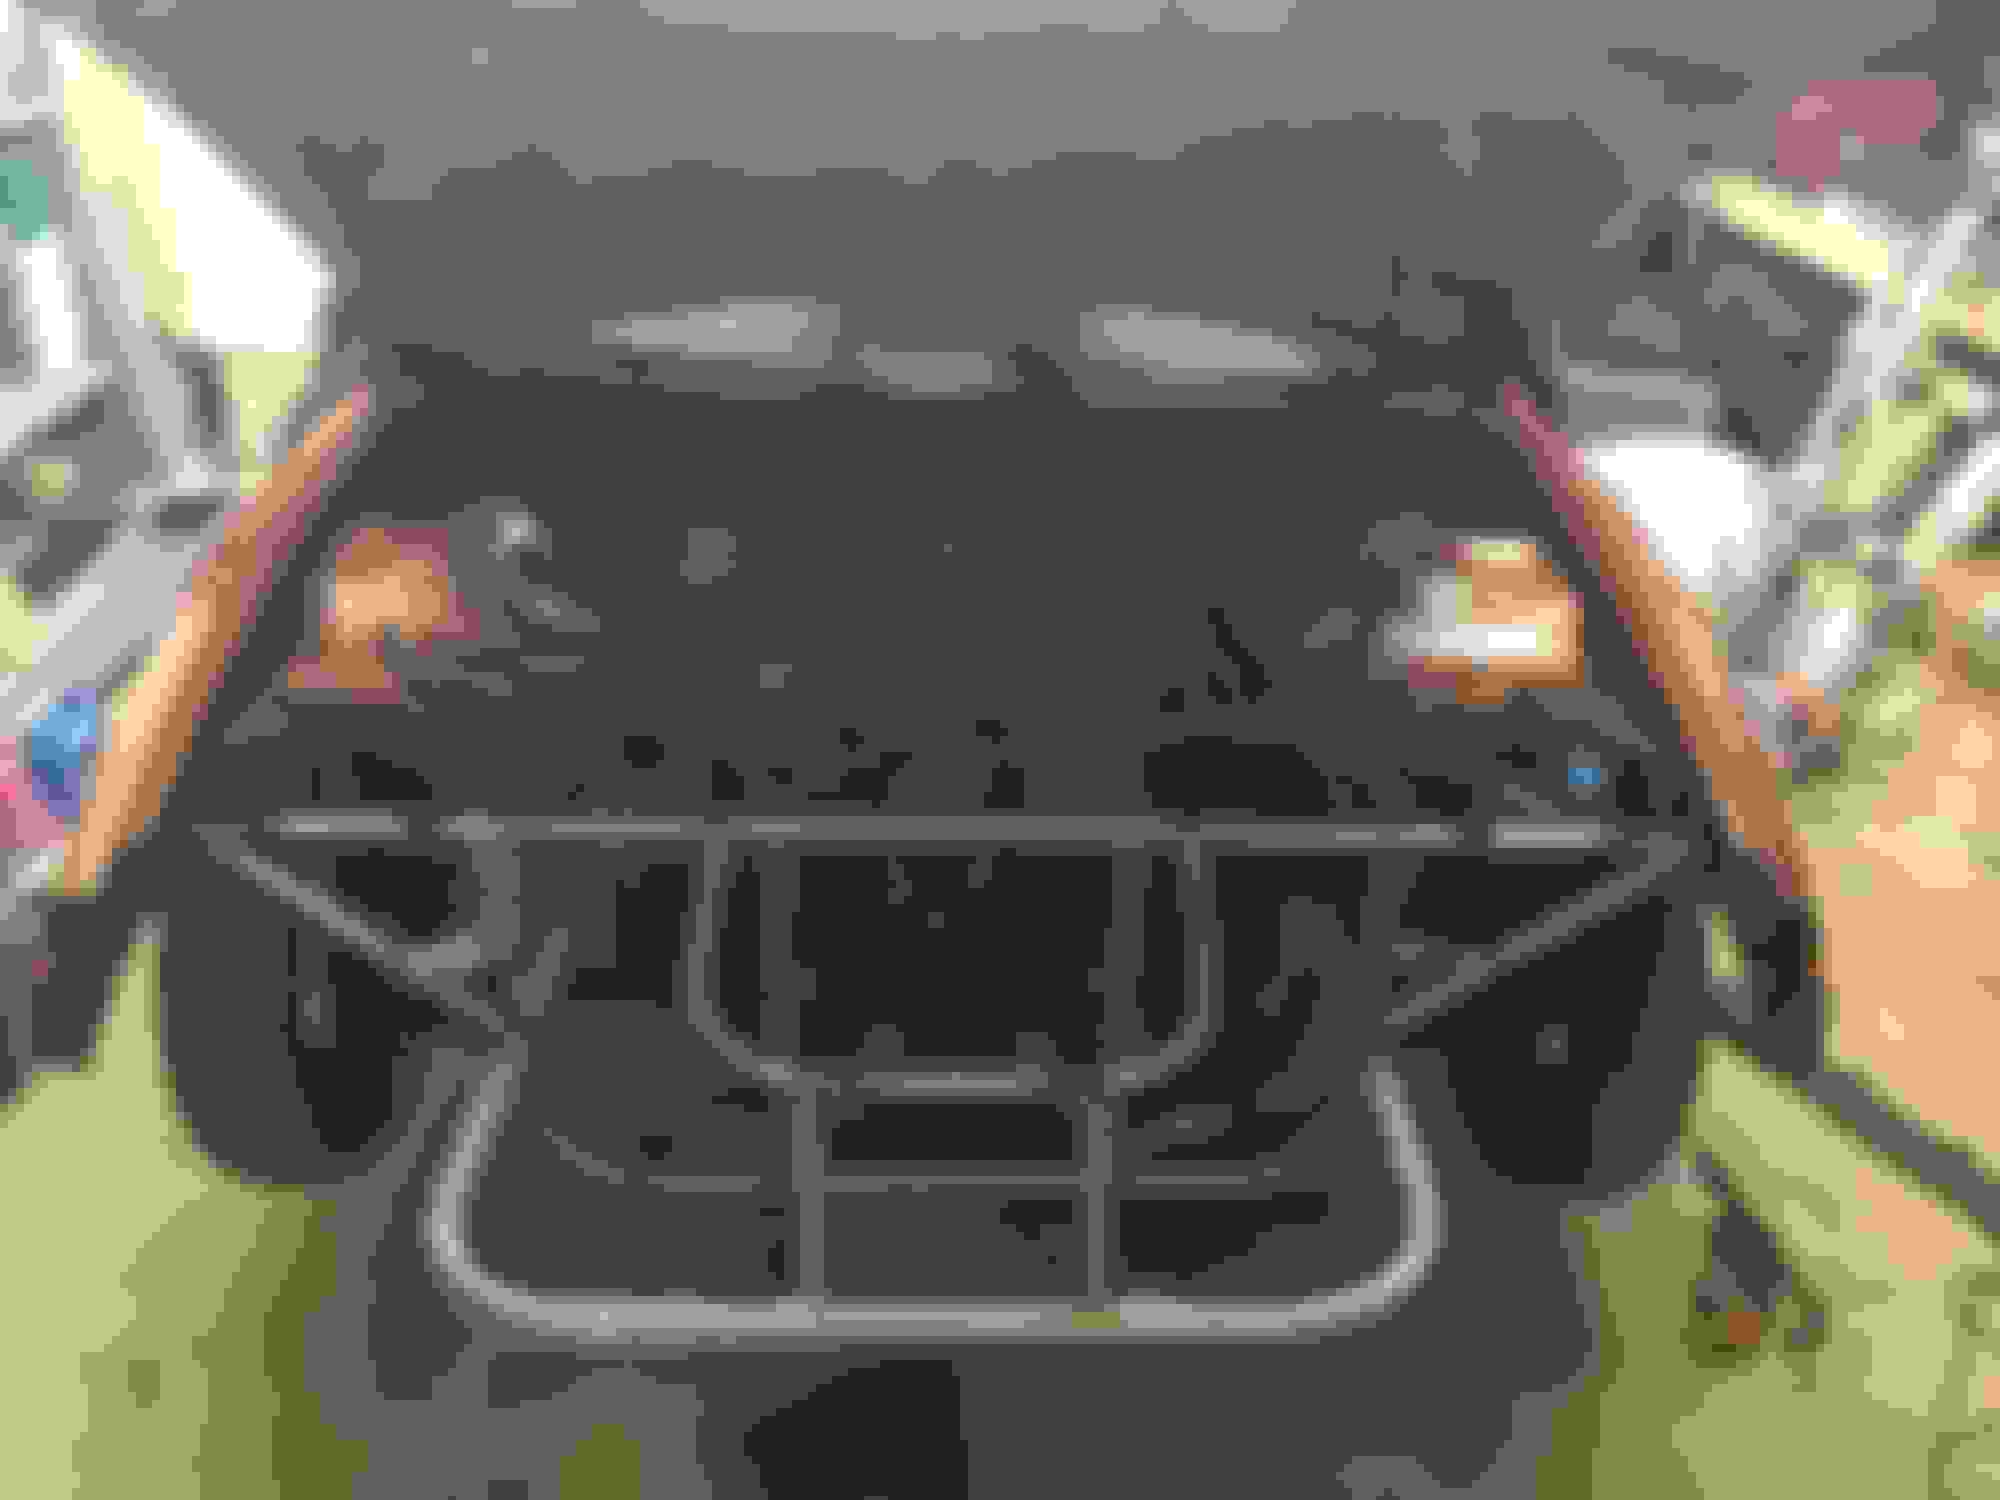
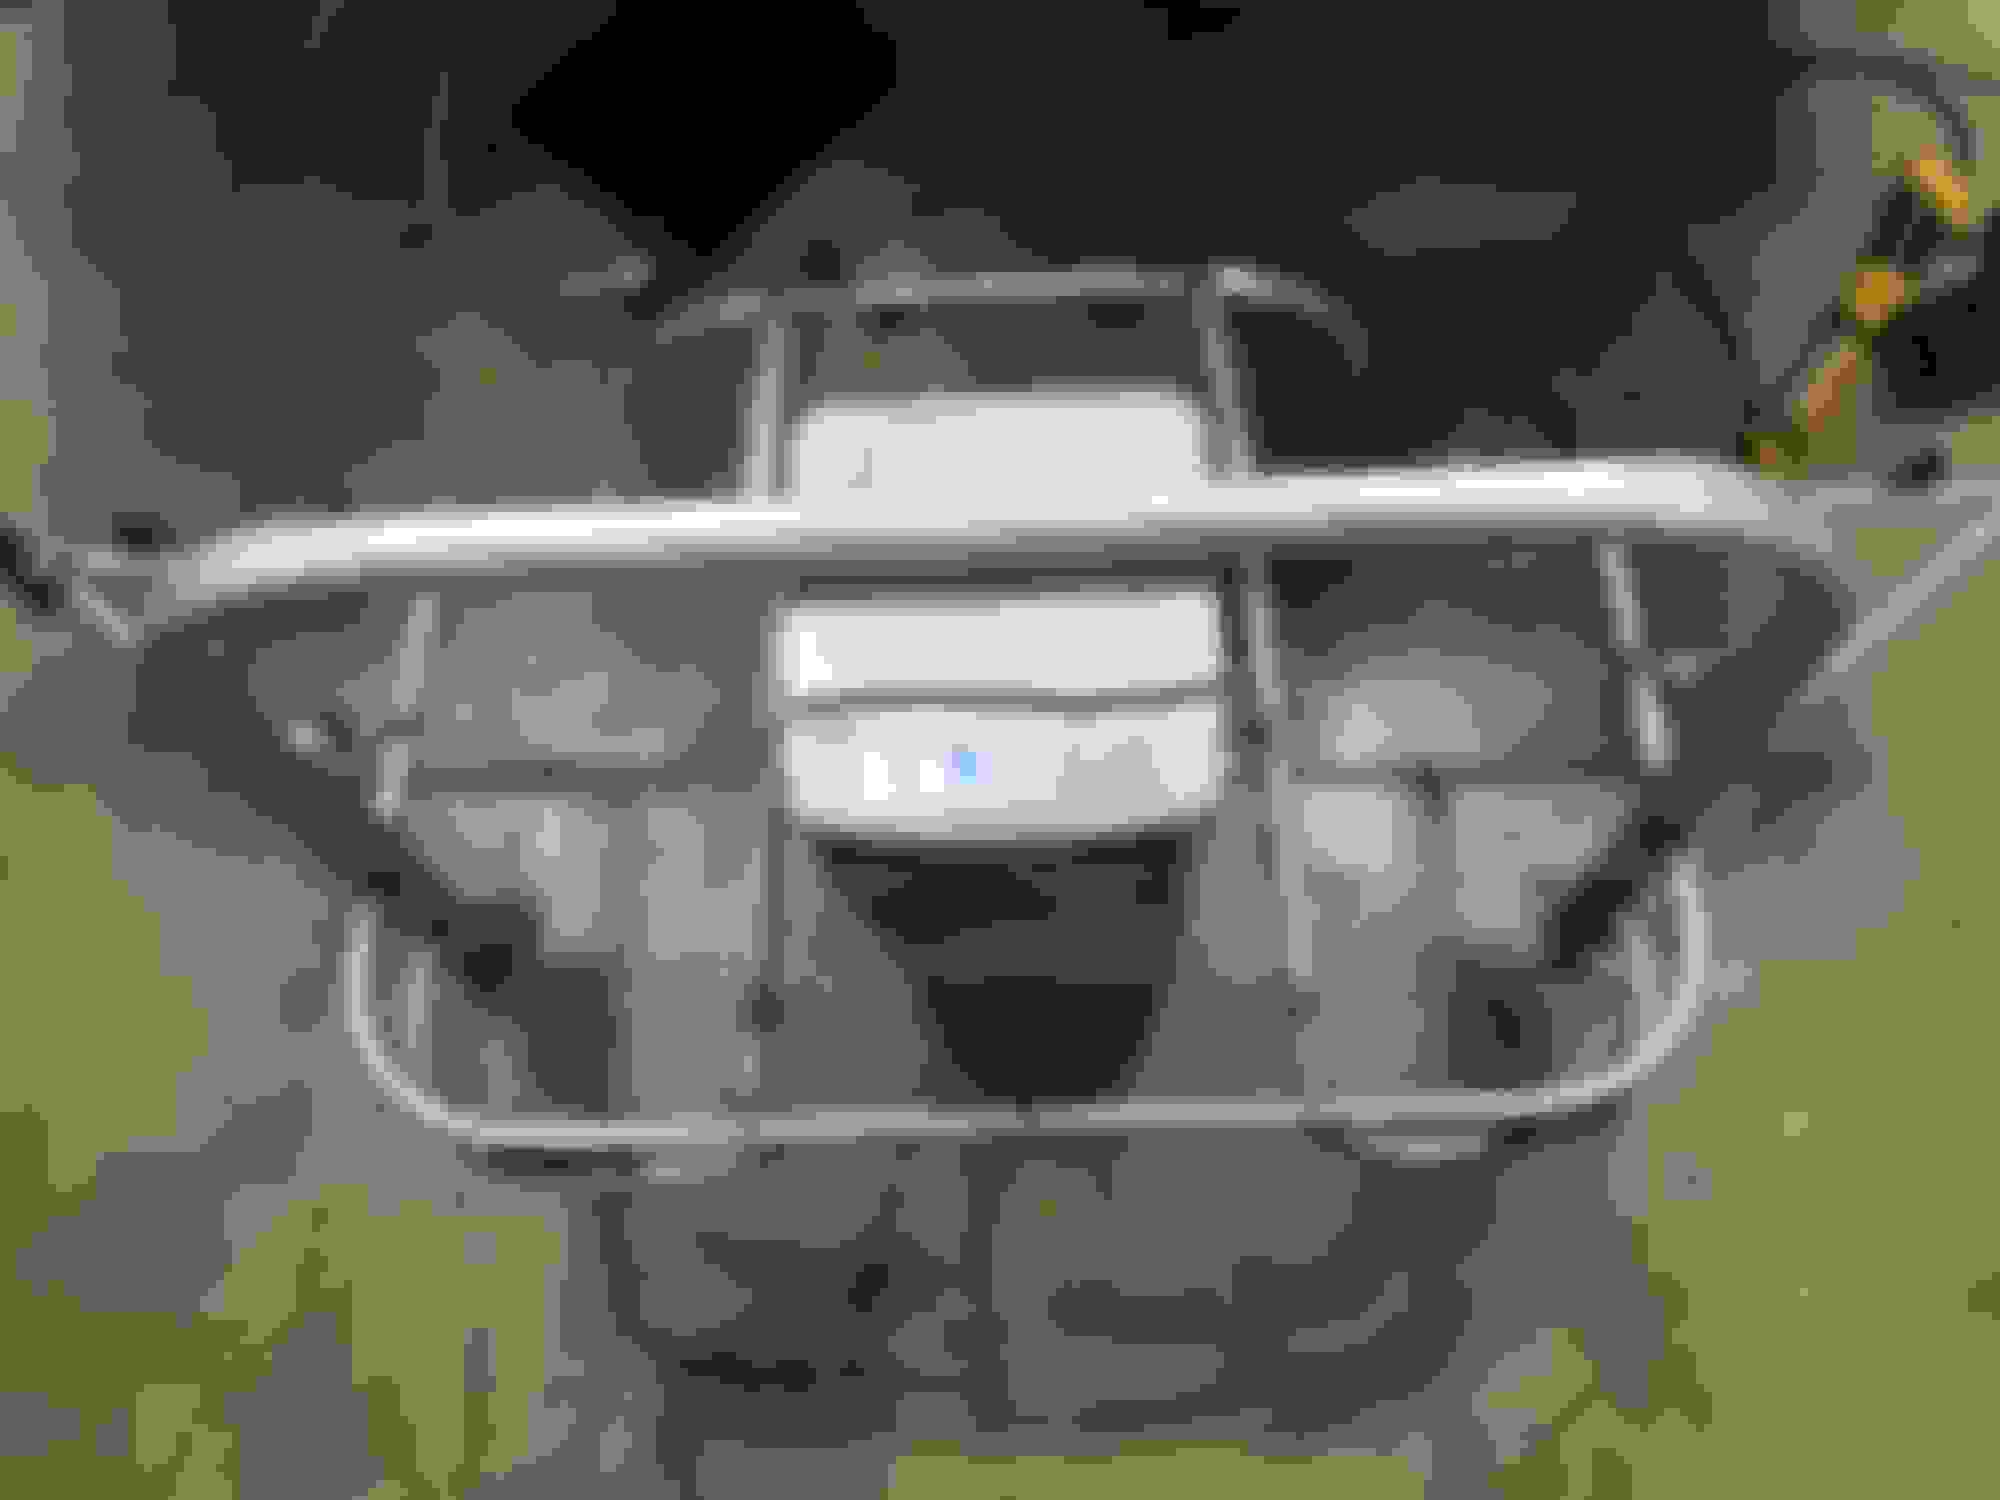
The front end is finished, at least the mock up anyways. Couldn't support the top of nose and inside edge of headlight the way I wanted because it just wouldn't let the headlight out without pulling the nose off. Here's how I'm mounting the head lights. I'll be cutting the wide inside parts off the original brackets.
The upper nose support was getting the best of me but finally came up with something with enough strength and not robbing any room. I didn't want to have to worry about my fat *** leaning on it or sagging over time or maybe she'll do a nice wheel stand some day.
The 2 shorts stands on the top cross bar is where I'll be fastening the top of the radiator. And for the pic everyone wants
Still need to finish weld and paint it before moving on to motor plate.
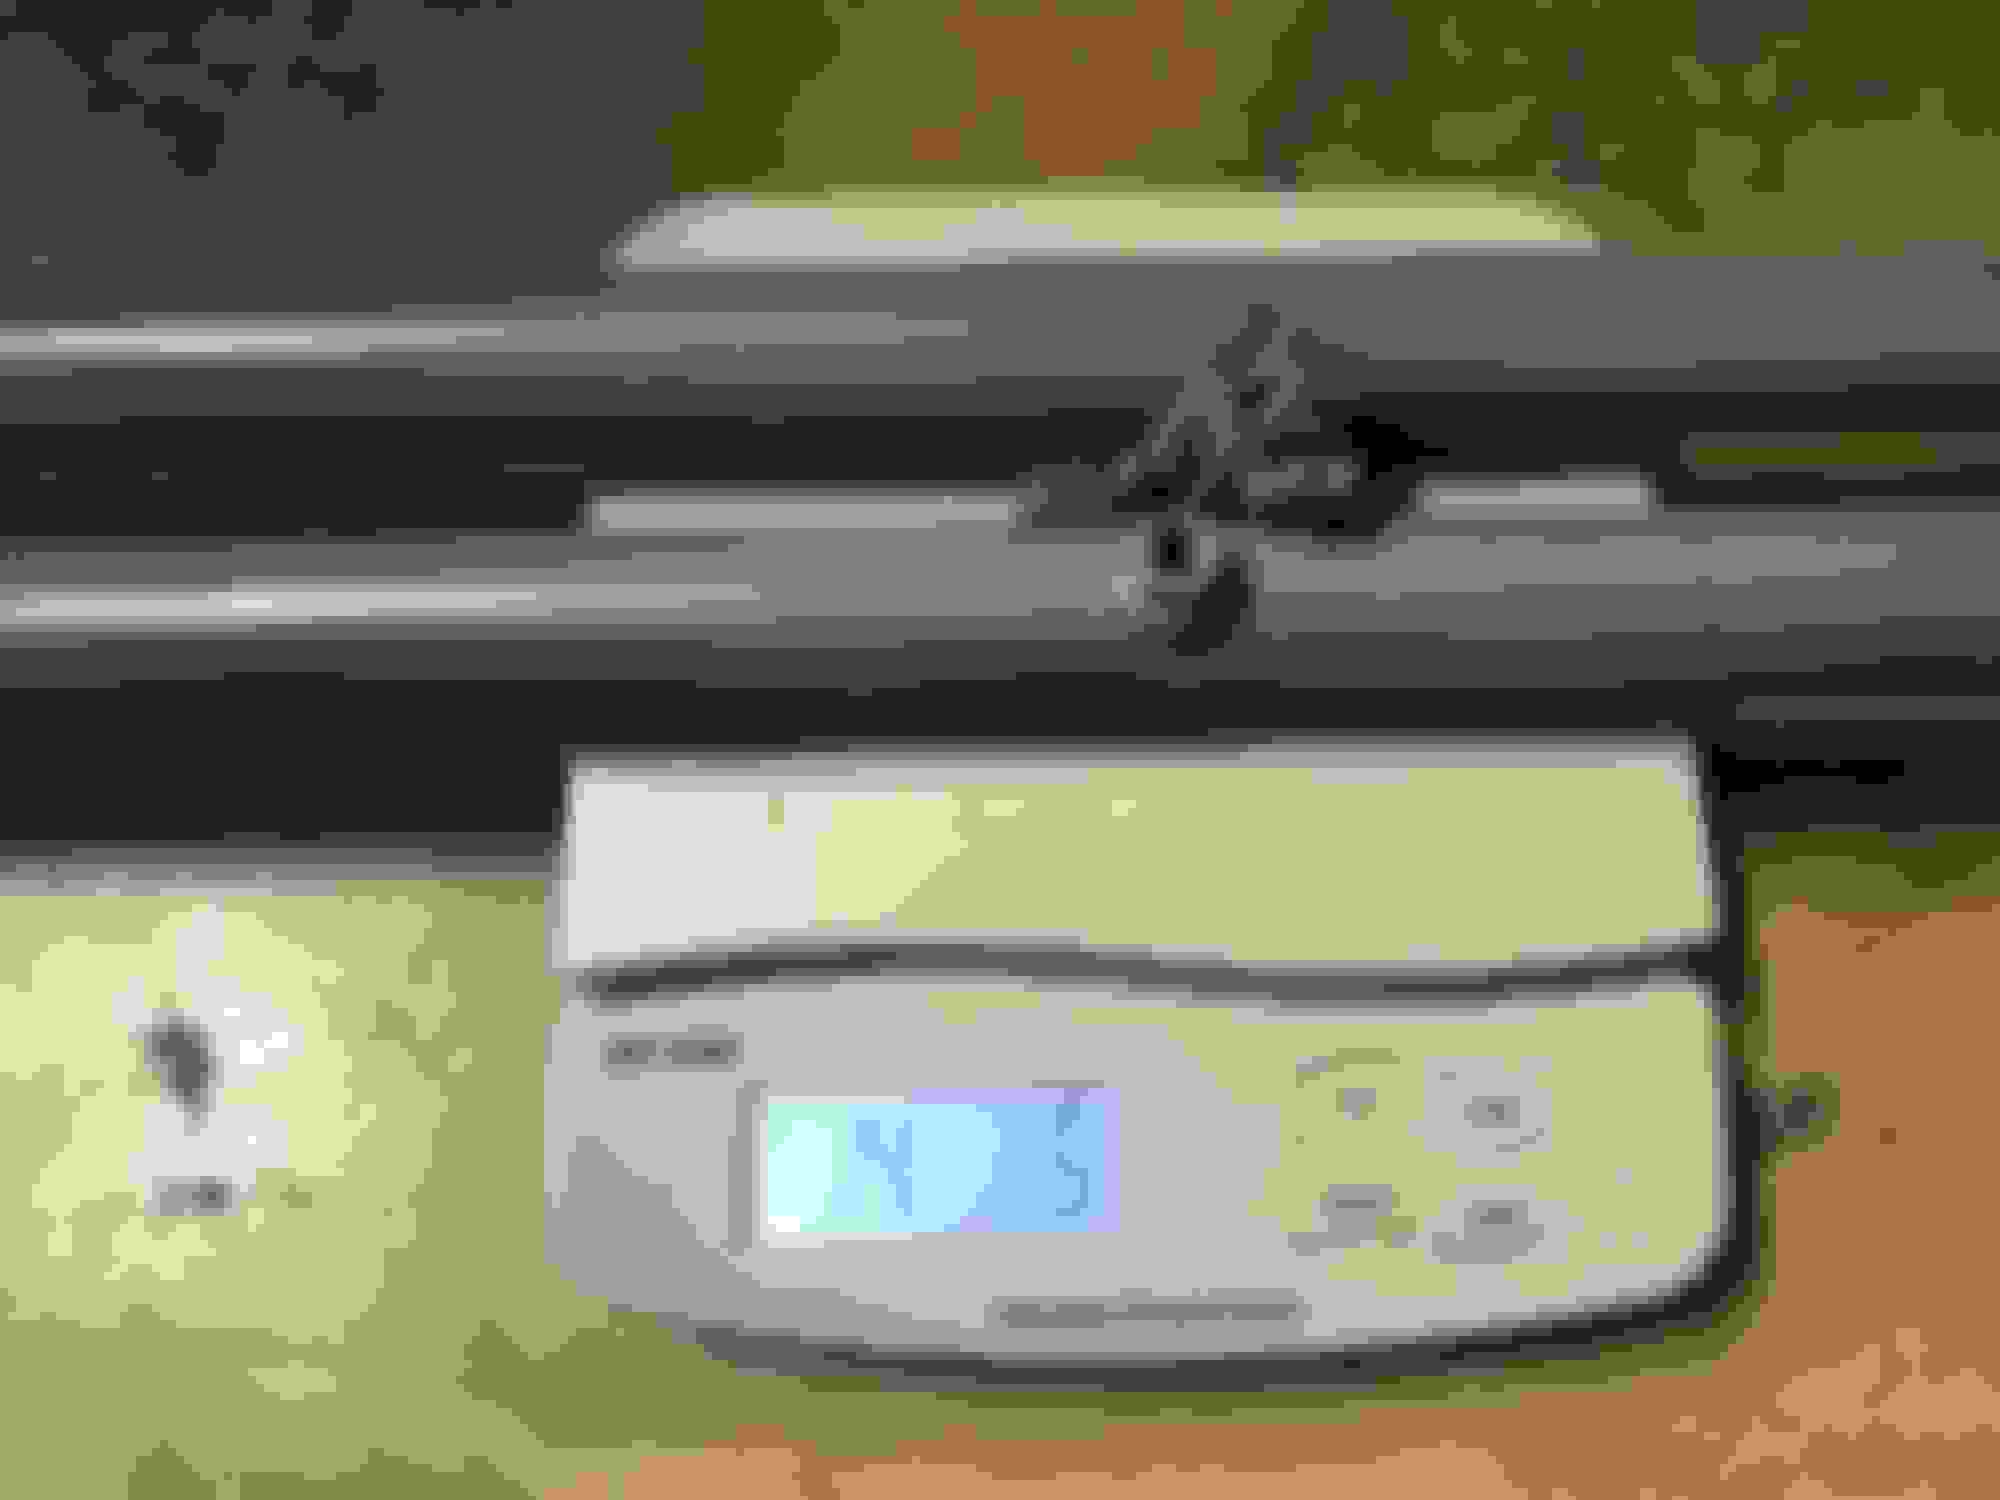
Forgot to put those pics in here. Looks like it's 4 lb 5 oz lighter than bumper support. This is my nitrous scale and I keep it on pounds and ounces in case anyone didn't look close enough to see that. Here's bumper support with foam and nuts, door bars and fog lights.
Weight reduction post never get old to me. Door bars are one of those "damn can't believe it weighs that much" things. Passenger airbag and stock carpet are a few other interior things that do that.
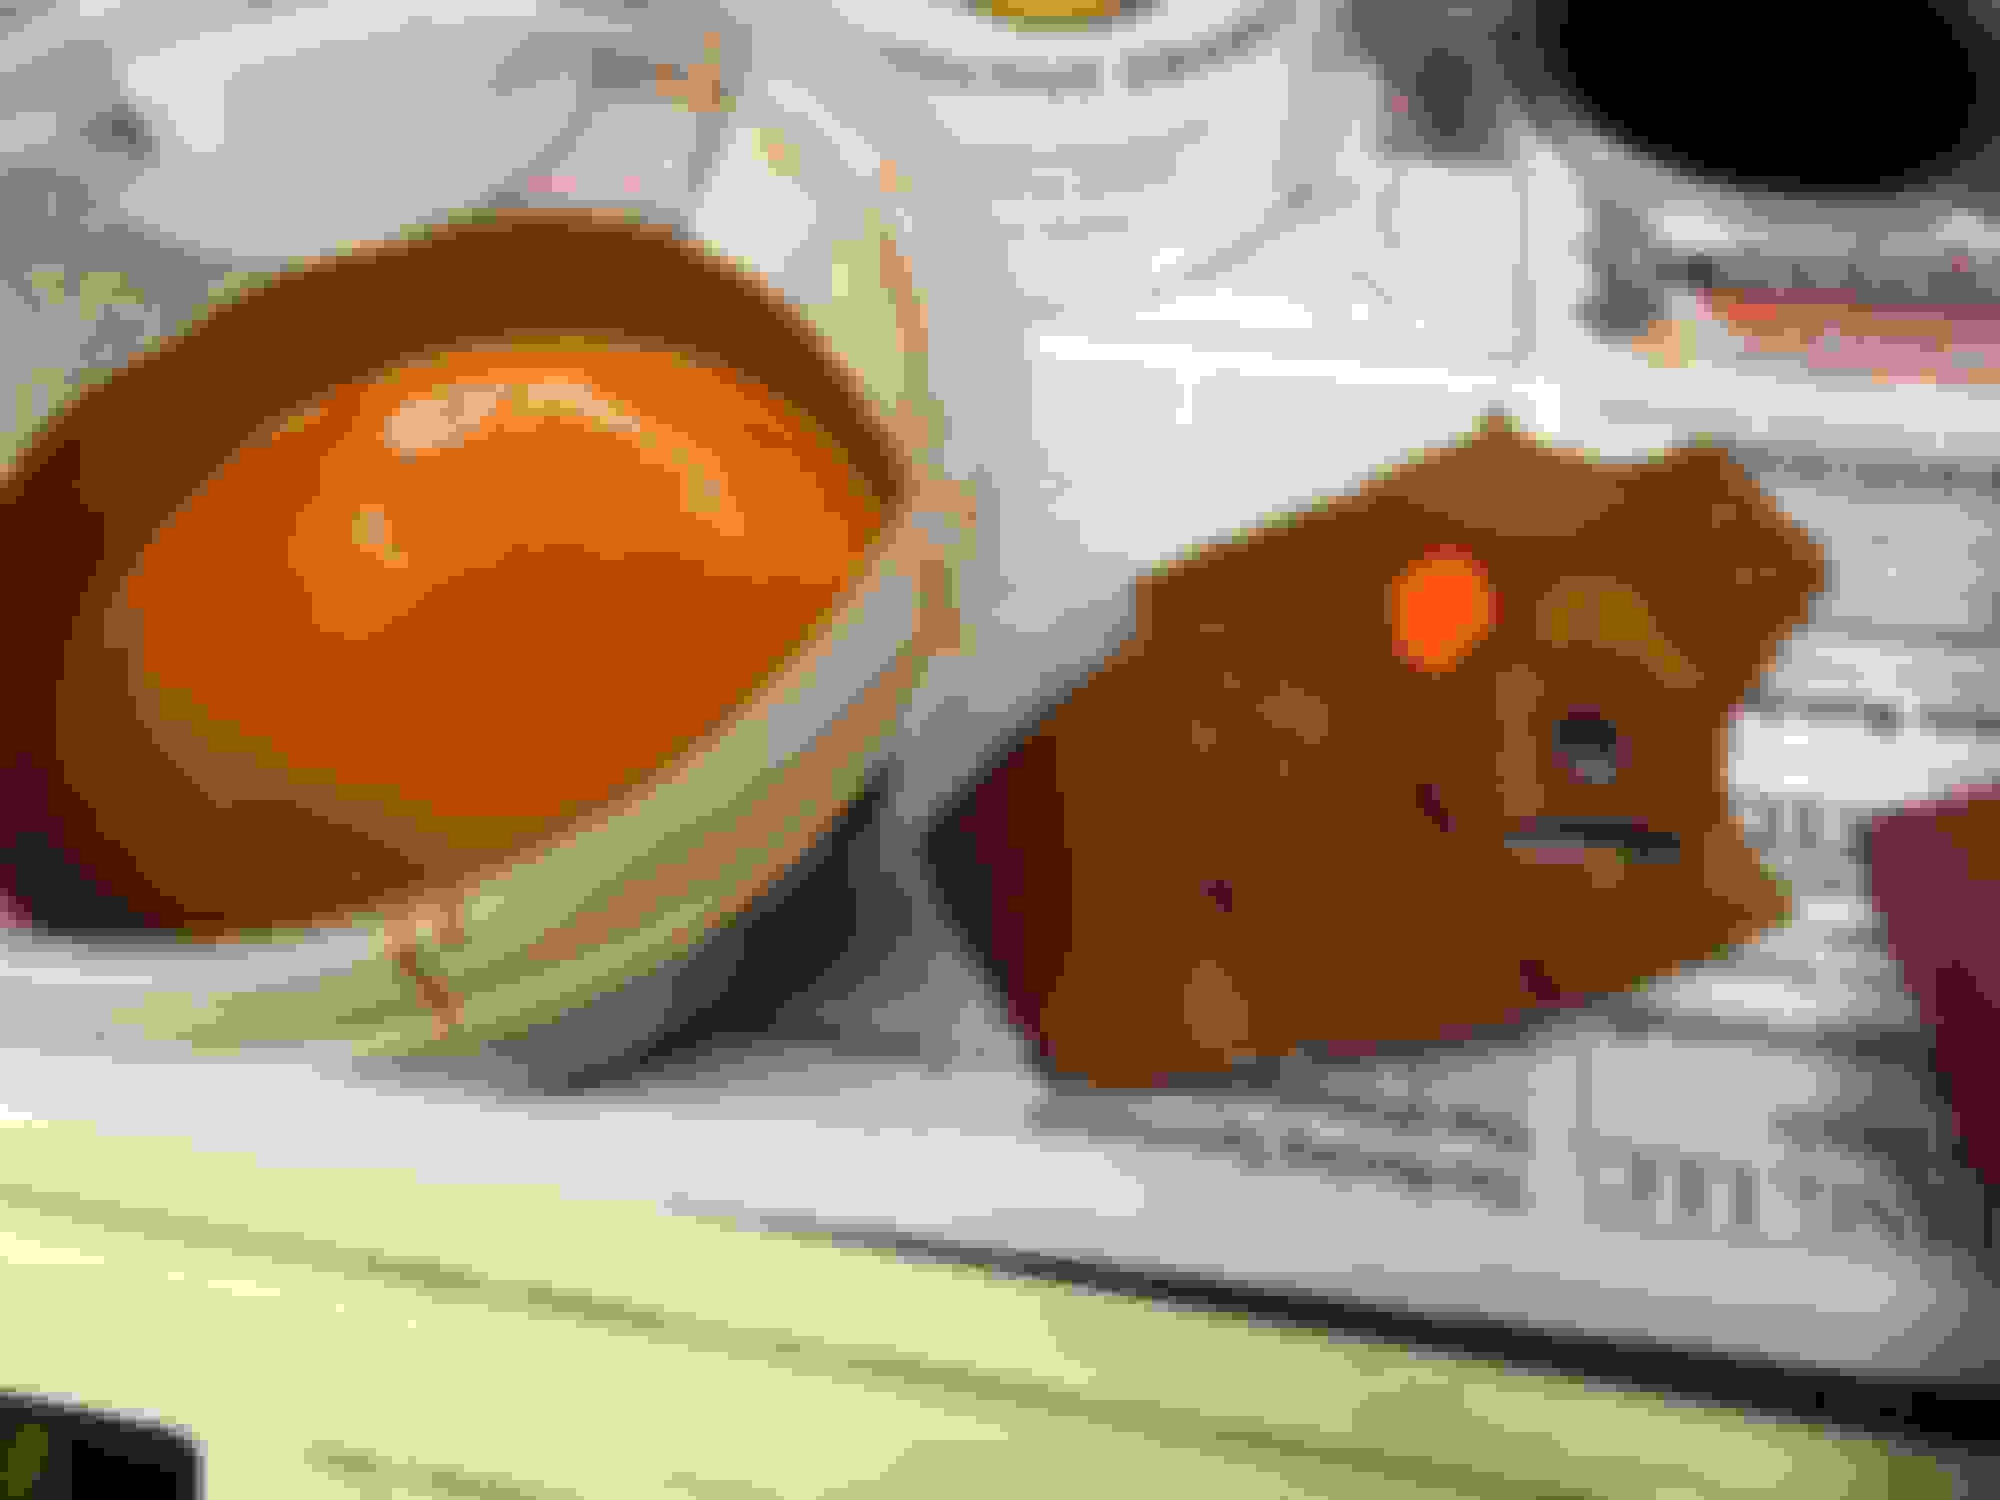
Paint is rustoleum, I've alway got a gallon of gloss black on hand. So I went to tractor supply and thought kabota orange looked close. I was definitely wrong on that. Ended up mixing 10 parts kubota orange, 1 part gloss black and 3 parts gloss red. I don't have a pic of the final color on a panel but here's a pic showing how far off the kubota orange was. Hopefully it don't look to bad in the car.

 11-20-2017, 07:21 PM