When you click on links to various merchants on this site and make a purchase, this can result in this site earning a commission. Affiliate programs and affiliations include, but are not limited to, the eBay Partner Network.
I saw in an earlier picture that you used the cork gaskets on the fuel tank. That's a good call because the rubber gaskets will swell, almost instantly. I would slather the cork with Permatex Aviation sealer and also get rid of the rubber o-rings that are on the bolts. Those o-rings swell too. Just slather the bolt threads with the aviation sealer and you will be good to go.
Andrew
Thanks for the tips Andrew. I was going to use this stuff on the matting surfaces as I've had good luck with it so far.
Worked on the shifter, pedals and accessories today.
Rebuilt the steering components with Moog
Here are a couple of shots of the tail tale holes I drilled at the back of the shifter flange to guide me when cutting the hole in the tunnel.
Interior before removing the seats and the console.
Couple of shots of the holes from the tunnel side. My flashlight and white pen marks the orientation of the rear of the shifter flange.
After measuring forward I drilled larger holes to start the cutting process. I used small pneumatic reciprocating saw and a cut off wheel to make the cut. The original cut was 90% close. I needed to trim towards the rear and driver side once the transmission was bolted to the cross member.
Shots for under the car.
Cross member fully bolted down. I had to pry the transmission a bit to the driver side to line up with the Prothane mount but it wasn't far off. Very pleased with the Holley fit and finish.
After trimming the console and brackets some this is how the mock up shifter looks through the console. The shifter position is in 2nd gear in this picture.
Unboxed and started mapping out the SickSpeedMonte clutch pedal and bracket.
Brake pedal marked and cut. Waiting on the master cylinder to arrive before cutting the firewall.
Here are several shots of the F-body alternator and power steering pump installed. The car has an F41 option which includes a quick ratio steering box. I trimmed and bent some of the factory power steering lines and this was the results. There is plenty of room for all the accessories. We used electrical tape to check for belt length and came up with 2308mm after subtracting 1.125" from the overall length.
Fuel tank all sealed up per Anthony above
Driver side manifold flange cut and mocked up.
Passenger side flange cut and mocked up. The stud I had a clearance issue with I could not remove from the manifold so I just cut off the last 3/8" and it worked fine.
One other thing I just noticed, you may want to get your hands on a reverse lockout solenoid. I think your tunnel will need to be clearanced to accommodate it.
Tilton 75 series master cylinder mounted to the SSM bracket. Bracket bolted to the firewall, pedal mounted and reservoir installed.
Shifter handle and **** installed. Going to modify a 3rd gen Camaro shifter plate with integral shift boot.
Holley fuel tank plumbed and installed.
C5 fuel filter/regulator installed. I used the stock LS1 fuel feed line with a union to the new 3/8" Nylon feed line. Tested the fuel pump, no leaks and 58 psi of fuel pressure
4th gen F-body fans mounted on a 3rd gen F-body radiator. No clearance issues with the steering box.
My #7 coil relocation solution.
I moved the battery to the passenger side to match the location on the 4th gen F bodies. The factory heavy wires all fit to the starter, alternator, grounds and the fuse/relay box stud. PCM will live on the passenger side inner fender
Work on stripping the factory 4th Gen fuse/relay harness
Fuse/relay boxes removed from the factory 4th gen bracket and mounted to a piece of 1" aluminum on the driverside behind the headlights. Fabricated Airaid's universal 3.5" cold air intake. Laid out both engine and fuse/relay harness everything seems to fit well.
Got the exhaust done over the weekend. Dual 2.5" through Super Turbo's and a H pipe. Tips exit similar to factory. Wanted the car quiet since it's a stock cam and through manifolds.
Here are the clam shell mounts on the relatively clean cradle. This is a two person job for sure. I set the lift about 1/2 up so we can stand in front and rear of the cradle at chest level. You will need several small magnets to snake the bolts up through the cradle and into the mounts. I reused four of the nuts and bolts from the Oldsmobile brackets and found two more in my hardware collection. At this point you must keep the nuts and bolts loose in order to install the LS1.
Your use of the rearward mounting location for the SBC mounts instead of the 78-88 stock location made me look back at the oil pan clearance, then at Holley's instructions for the mounts you used;didn't know they recommended that location. I would say you ended up with a good option since you went high-AC bracket location. Other than the HVAC case clearance incident, that is going to work out great. Nice swap progress!
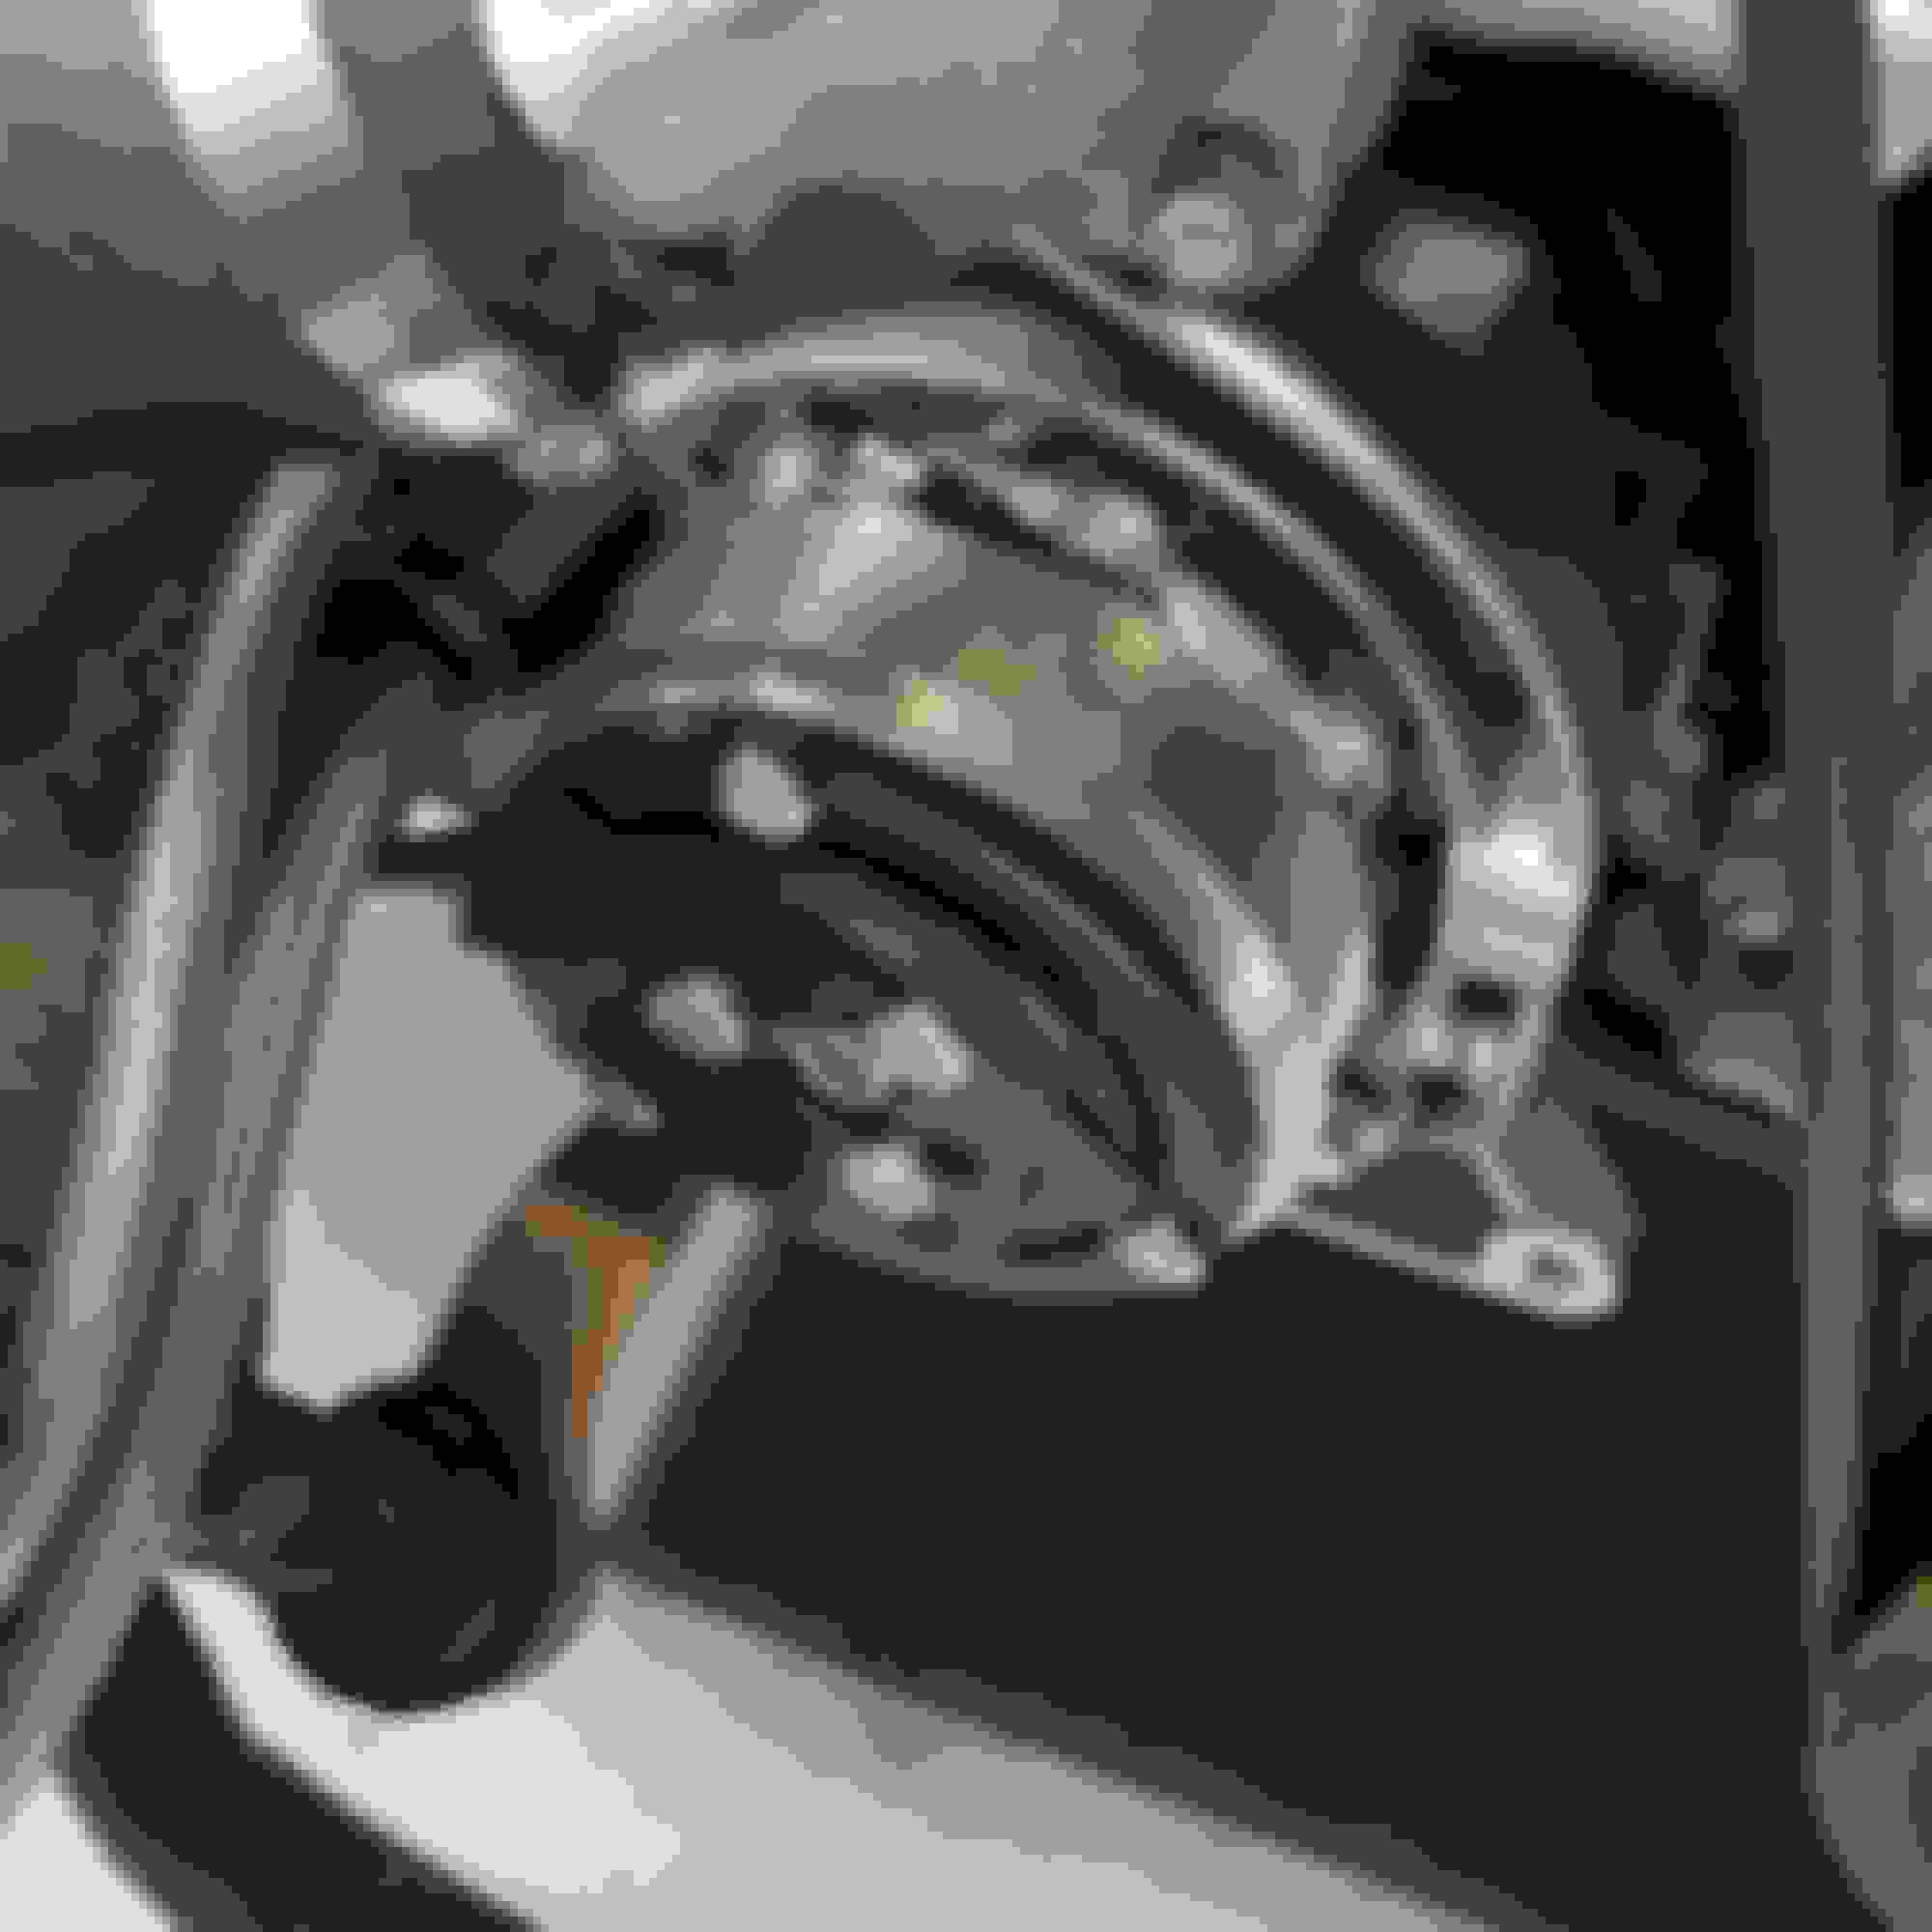
Nice project OP. I thought this would be an appropriate place to mention that you can also run the Holley low-mount A/C compressor/bracket in a G-body LS swap when using the Hooker engine brackets and transmission crossmember like the OP is. It can be run at the F-body and truck offsets only in this vehicle application, as shown in these photos...
If you find that your filler neck is moving around more than you like, try using a stainless steel 2.5" exhaust band clamp. I had to shorten the bolts a bit, but once it was clamped together you would think the neck was welded on.
Looking good. Don't attach the vent hose to the fuel pump vent nipple, as fuel will push out when the tank is full. Just hook up the vent hose to the nipple on the fuel tank as it's higher than the vent fitting on the fuel pump.
Had the same issue on a Tank's Inc fuel tank a few years ago on a 1968 Chevelle LS3 swap. That tank didn't have a vent fitting on the tank, just had it on the fuel pump. So when the tank was filled, the fuel warmed up from the outside air temp and the tail pipes. And fuel would push into the charcoal canister & over flow it.
So I plugged the vent fitting on the fuel pump and installed a 90* fitting for the vent hose on the filler tube just below the gas cap.
Nice project OP. I thought this would be an appropriate place to mention that you can also run the Holley low-mount A/C compressor/bracket in a G-body LS swap when using the Hooker engine brackets and transmission crossmember like the OP is. It can be run at the F-body and truck offsets only in this vehicle application, as shown in these photos...
I've looked at that bracket before, since I'd like to some day go supercharged, as well as keep the compressor less obvious. It's unclear from the Holley website if that will work with my Corvette accessory spacing. Does standard, middle, and long refer to Corvette, F-body, and truck? That means I'd use the standard spacing? I'm not using Hooker mounts, but I do have the 302-2 oil pan in my G-body swap, with the front of the sump nearly touching the crossmember. If the standard spacing will work for Corvette, then I should be able to measure the distance between the block face and the crossmember, and compare that to the diagram on the Holley website to see if the compressor will fit.
My guess would be that it won't fit with your set-up due to the fact that you can't run the Holley low-mount A/C bracket at the standard (Corvette) offset with the Hooker G-body engine brackets and the 302-2 oil pan is in close proximity to the the engine crossmember in that installation. The engine would have to move forward another 3/4" in order for that installation to be possible. If you were using the Hooker engine brackets you could notch the engine crossmember to pick-up the needed clearance, but if your engine brackets keep the clamshell mounts attached to the engine crossmember in the stock position, there would be no room to give up to allow notching the engine crossmember.
Toddoky, while not wishing to hijack this Thread, do you think think your G-body engine mounts, 302-2 pan and a/c mount would perform similarly on a B-body full size car?

 12-24-2017, 10:08 AM