


Amp Rack Walkthrough
This guide and others are available at http://ws6.forgeseven.com
***Disclaimer - You assume all responsibility in undertaking this project. I am not responsible for you FUH-messing up your car. With that said, have fun, this project is very easy. If you can spell your name, you can do this. Let's get started.
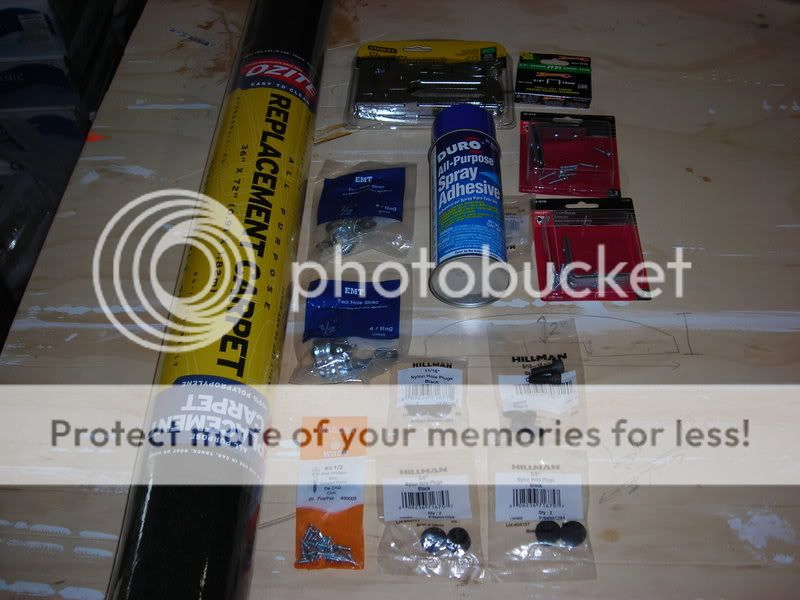
1. These are the supplies i used. You may want to use more/different.
2. Make a Cardboard template for the top piece.
**Note - get the cardboard to slip under the over hang all the way back to the body of the car.

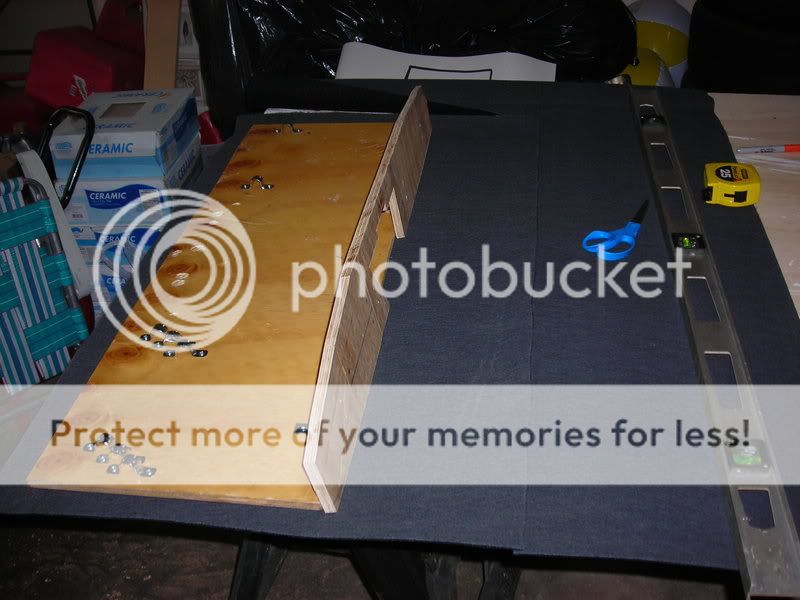
3. Measure out dimensions for the panel that the amp mounts to.
**Note - I believe my dimensions were around 37-37.5" x 12-13".
4. Cut out the panels. I used 1/2" plywood.
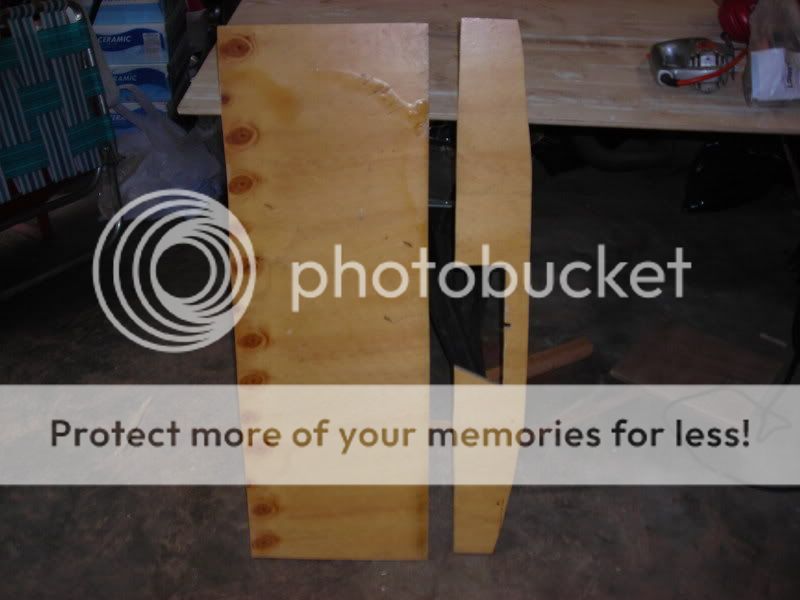

**Note - Notice the small notch cut out for the latch. Don't forget to make room for it.
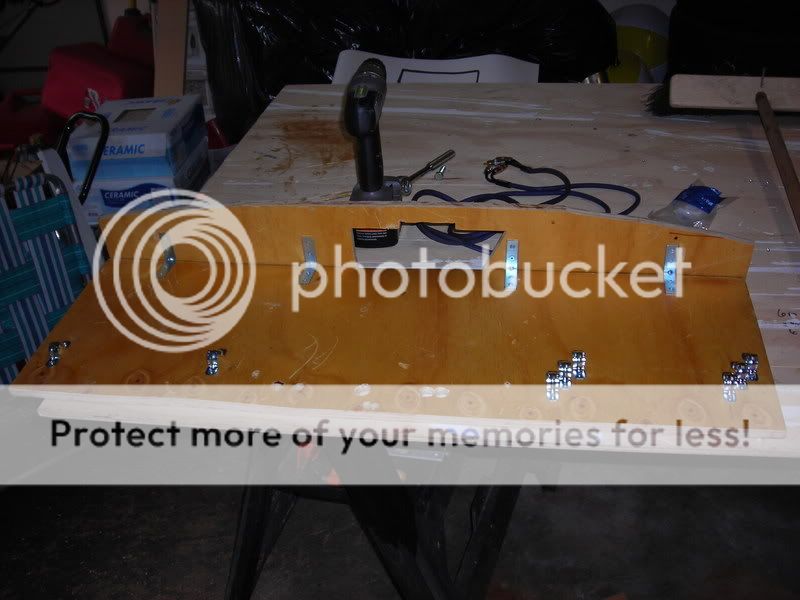
5. Attach the top panel to the amp panel with L-braces. Don't get He-man braces, because you need to give them a slight angle.
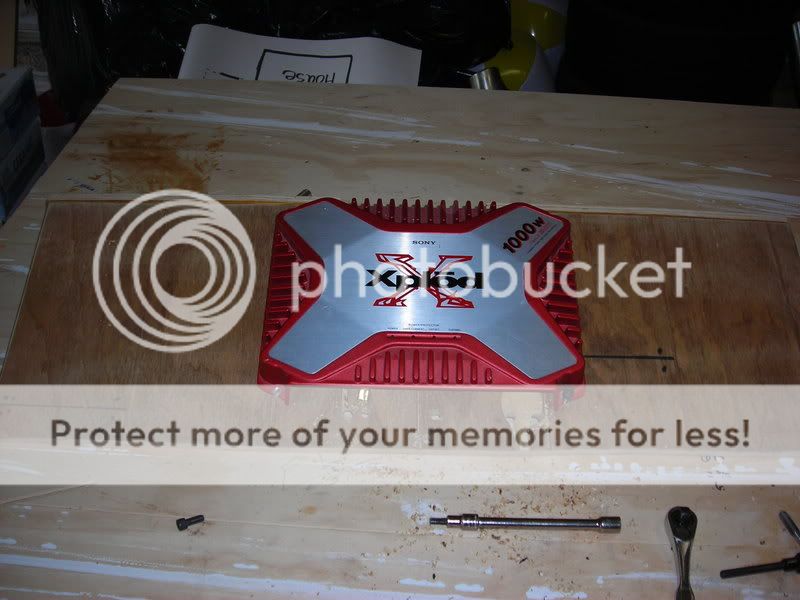
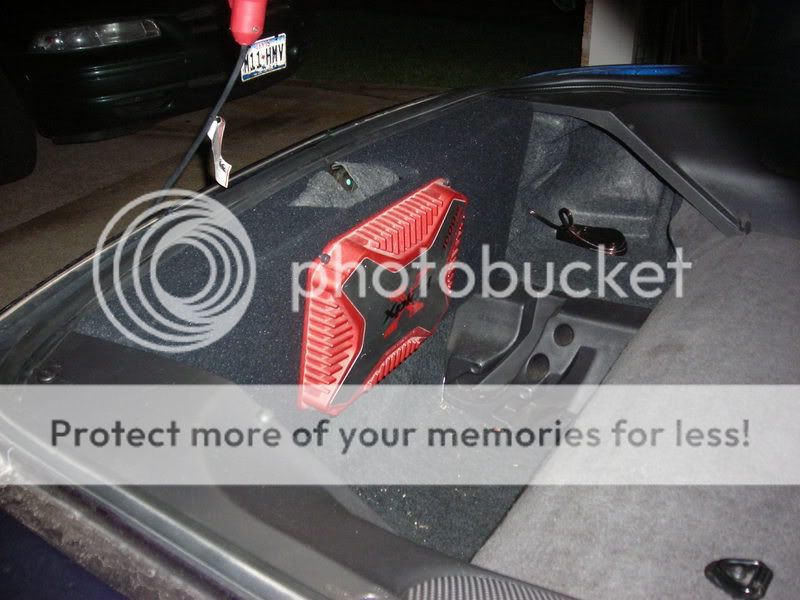
6. Test mount the amp in the position of your choice.
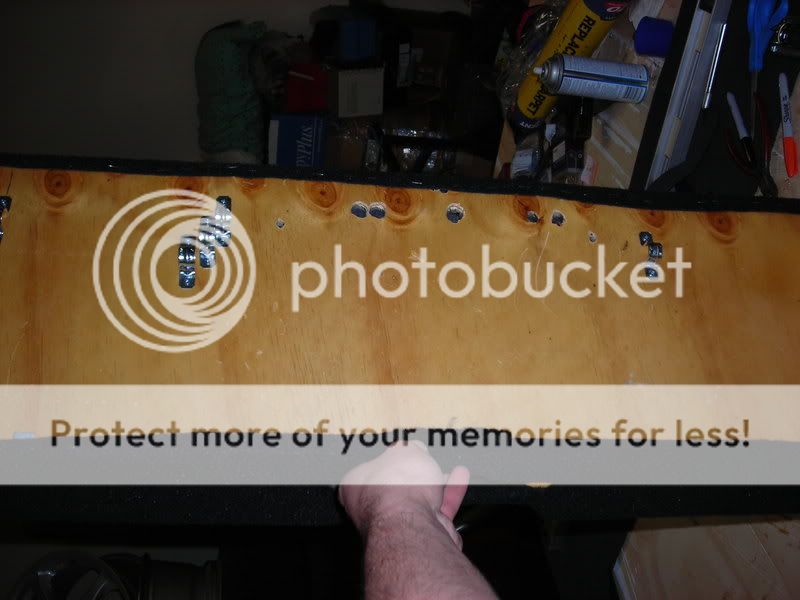
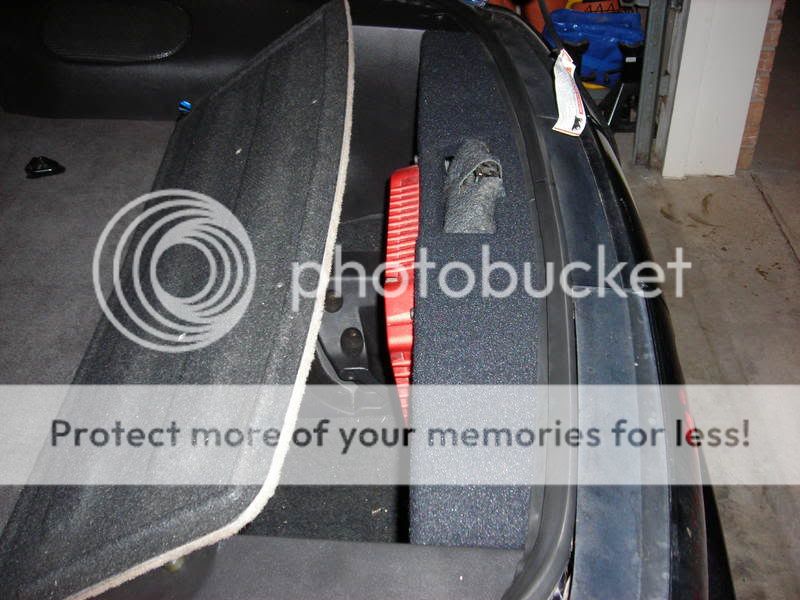
7. Mount the conduit holder braces to the backside of the amp panel where you want to route your wires, and drill holes for the power/ground/audio/speaker/remote wires/cables.
**Note - Don't run the audio next to the power/ground wires.
8. Locate the section of the body pictured. Drill a hole and tap it for the bolt of your choice.
**Note - I used a black, allen head bolt for security/aesthetical purposes.

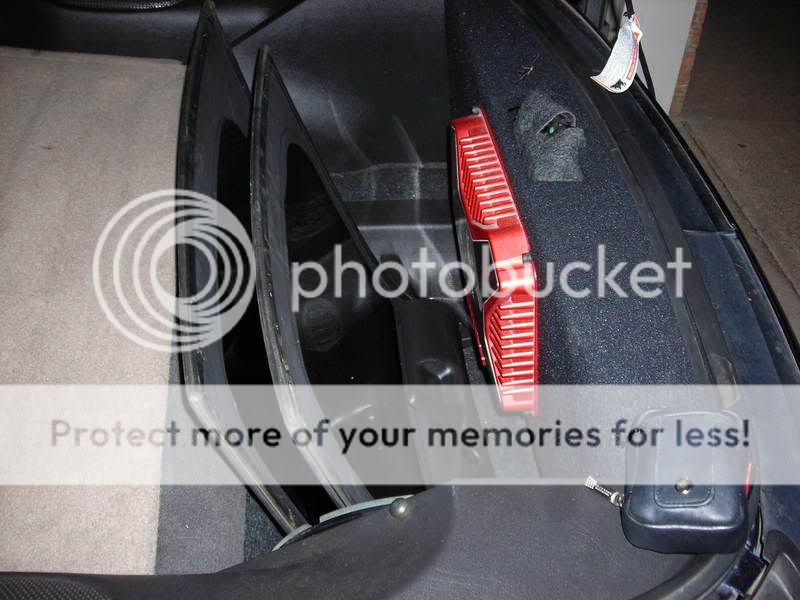
9. Do a final test fit
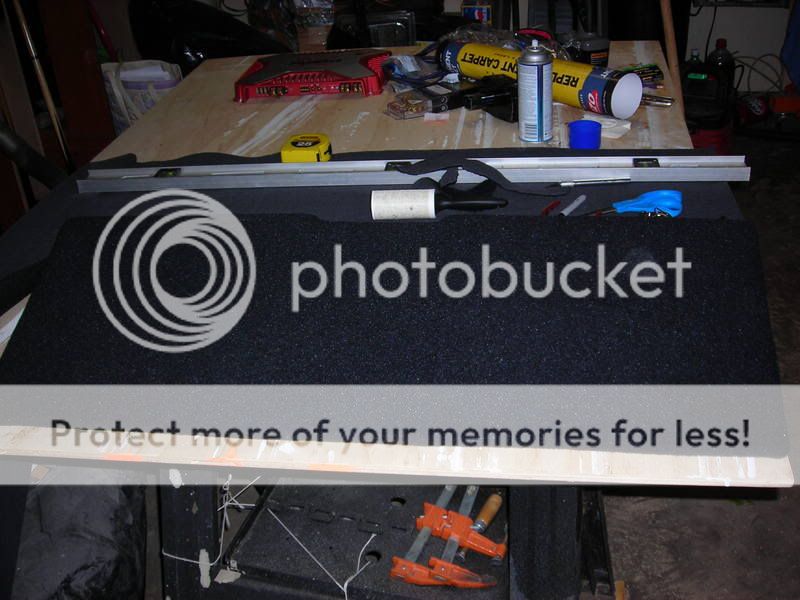
10. Lay rack on carpet. Leave about 1.5" excess on all sides. When satisfied with the dimensions of the carpet, making sure they'll fold over properly, apply the spray adhesive to the carpet and the rack. Let it tack up for a couple seconds. Staple the excess carpet to the bottom back side of the panel. Staple the sides of the amp panel keeping the carpet tight. When the amp panel is all stapled, move on to the top panel, stapling the top of the panel first, then the sides, and finally makes some incisions in the cut out part and staple those up.
**Note - Think carefully about the cuts to center cut out and how they'll fold over. Its very easy to screw up.
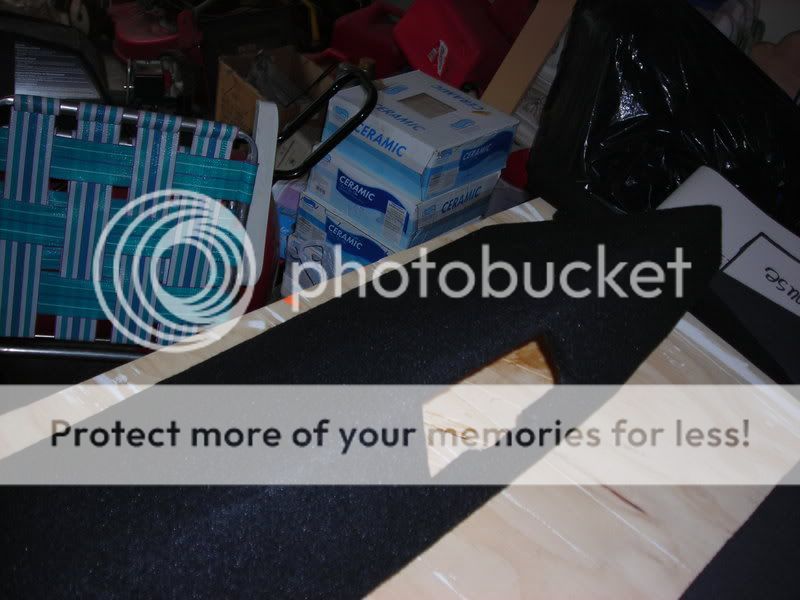
11. Test fit again to make sure that you can't see any staples or plywood from the opening.
**Note - Sharpies and scrap carpet are good to use to cover staples and plywood.
12. Run all wires and attach the wires to the amp, mount the amp, and bolt the amp panel to the body of car.
13. Congratulations you're done, and it looks stock. Enjoy!


I originally posted this on pfrperformance.net:8080
***Disclaimer - You assume all responsibility in undertaking this project. I am not responsible for you FUH-messing up your car. With that said, have fun, this project is very easy. If you can spell your name, you can do this. Let's get started.
1. These are the supplies i used. You may want to use more/different.
- Carpet/Vinyl - can be had at Wal-mart ~$8
- Spray Adhesive - Wal-mart; better 3M spray (green can)@Lowes [Thanks 357MAG38S]
- L-Braces - Wal-mart
- Amp Mount Bolts - Lowe's/Home Depot
- Rack Mount Bolt - Lowe's/Home Depot
- Staple Gun & Staples - little ones are good(JT21) - Wal-mart
- Conduit Braces - Lowe's/Home Depot cheap (In the electrical section)
- Screws for the conduit braces - Lowe's/Home Depot
- Jigsaw
2. Make a Cardboard template for the top piece.
**Note - get the cardboard to slip under the over hang all the way back to the body of the car.
3. Measure out dimensions for the panel that the amp mounts to.
**Note - I believe my dimensions were around 37-37.5" x 12-13".
4. Cut out the panels. I used 1/2" plywood.
**Note - Notice the small notch cut out for the latch. Don't forget to make room for it.
5. Attach the top panel to the amp panel with L-braces. Don't get He-man braces, because you need to give them a slight angle.
6. Test mount the amp in the position of your choice.
7. Mount the conduit holder braces to the backside of the amp panel where you want to route your wires, and drill holes for the power/ground/audio/speaker/remote wires/cables.
**Note - Don't run the audio next to the power/ground wires.
8. Locate the section of the body pictured. Drill a hole and tap it for the bolt of your choice.
**Note - I used a black, allen head bolt for security/aesthetical purposes.
9. Do a final test fit
10. Lay rack on carpet. Leave about 1.5" excess on all sides. When satisfied with the dimensions of the carpet, making sure they'll fold over properly, apply the spray adhesive to the carpet and the rack. Let it tack up for a couple seconds. Staple the excess carpet to the bottom back side of the panel. Staple the sides of the amp panel keeping the carpet tight. When the amp panel is all stapled, move on to the top panel, stapling the top of the panel first, then the sides, and finally makes some incisions in the cut out part and staple those up.
**Note - Think carefully about the cuts to center cut out and how they'll fold over. Its very easy to screw up.
11. Test fit again to make sure that you can't see any staples or plywood from the opening.
**Note - Sharpies and scrap carpet are good to use to cover staples and plywood.
12. Run all wires and attach the wires to the amp, mount the amp, and bolt the amp panel to the body of car.
13. Congratulations you're done, and it looks stock. Enjoy!
I originally posted this on pfrperformance.net:8080
Last edited by blackened; Sep 24, 2009 at 01:35 PM. Reason: Added new site link
thanks guys, the amp rack and the fiberglass box were both firsts for me. i put a lot of time into them and just took it slow. i was very happy with the way they came out considering i had no prior experience, and it sounds good too. 
Trending Topics
Looks good! I made my amp rack pretty much the same way except mine is extended down into the t-top area for more mounting area(big amp).
Where in Walmart did you find that carpet? I guess all the Walmarts in my area suck because I couldn't find anything like that and had to order mine online.
Where in Walmart did you find that carpet? I guess all the Walmarts in my area suck because I couldn't find anything like that and had to order mine online.
LS1 Tech Stories
The Best V8 Stories One Small Block at Time

Topdon ONE vs. Artidiag 800 BT2: Which is the Diagnostic Tablet For You?
Pouria Savadkouei
Gas Monkey Built a 6-Wheel Ferrari Testarossa With a Corvette LT4 Engine
Verdad Gallardo
7 Most Reliable High-Performance Engines GM Has Ever Built
Verdad Gallardo
Amazing '71 Camaro Restomod Is Modern Muscle Car Under the Skin
Verdad Gallardo
6 Common C5 Corvette Failures and What's Involved In Repairing Them
Pouria Savadkouei
Retro Modern Bandit Pontiac Trans AM Comes With Burt Reynolds' Autograph
Verdad Gallardo
Top 10 Greatest Cadillac V Series Performance Models Ever, Ranked
Pouria Savadkouei
Top 10 Most Powerful Chevy Trucks Ever Made!

Hennessey's New Supercharged Silverado ZR2 Has 700 HP
Verdad Gallardo
 i bet you could make these and sell em for a living
 haha wal-mart amp, that's funny. i actually got it from circuit city about 6 years ago when they first came out, and its lasted me through 3 cars. so if you can get the same one at walmart, go for it, they last a long time and provide really good power.
Last edited by blackened; Jul 28, 2007 at 12:13 AM.

yeah, i went with the wal-mart carpet because it was black, it looked good, and it was only $8.7~ for more than enough. i was trying to balance quality and cost.
btw, for those wondering, the carpet was in the automotive section by all that tacky **** they sell.
btw, for those wondering, the carpet was in the automotive section by all that tacky **** they sell.
