When you click on links to various merchants on this site and make a purchase, this can result in this site earning a commission. Affiliate programs and affiliations include, but are not limited to, the eBay Partner Network.
I ran the Koni/strano setup for 2.5 years...BMR is the only place that offers a decent spring rate.
I'm now on UMI AFCO coilovers with 850/250. The jump from stock to Strano 550/150 was as much an improvement as going from Strano 550/150 to UMI 850/250 (plus lowering the watts link).
I feel the response time is much better with higher spring rates.
The AFCO shocks have so much rebound capability you can set them to full stiff with 850 front springs, jack up the car quickly then watch the wheel move downward after each jacking you do.
If I was going coilover, I would have gone the UMI AFCO route, I hear good things but it is a good bit pricier as well. Maybe some day, lol
As far as BMR's new springs, I love them. I don't know if I'd love them so much if I had to drive the car everyday on Jersey roads, but for what I use it for, they're great and I have no complaints.
Those 725lb front springs are only going to work decently well on a smooth track. Get on a bumpy one and you are going to need more damper than a Koni.
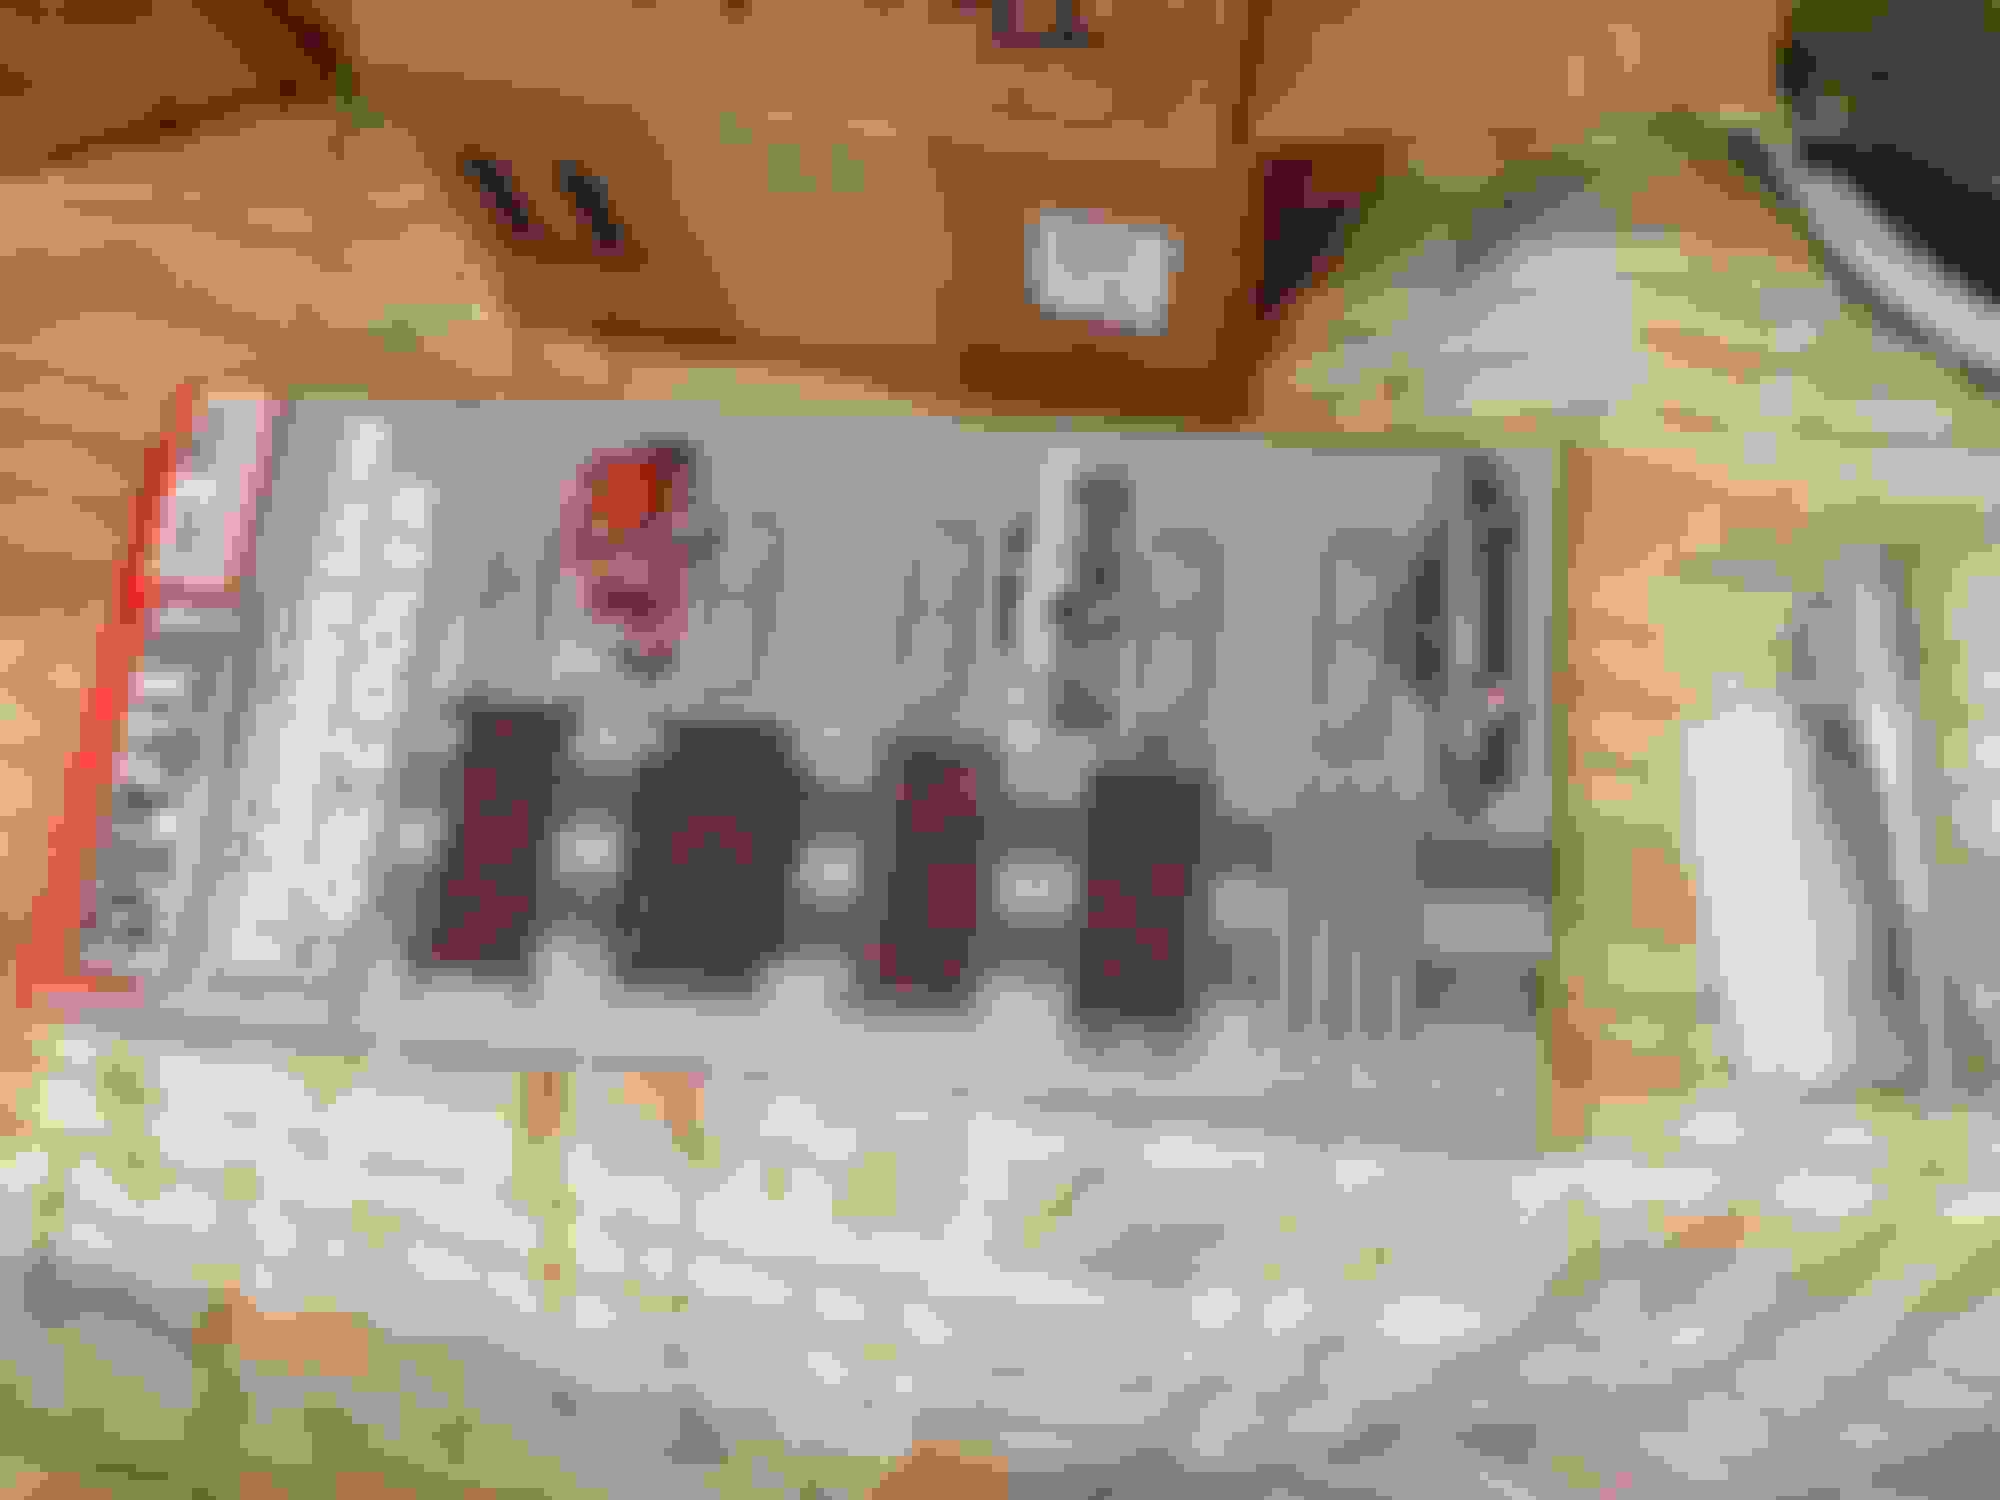
Getting back into it in the new year, definably going to be seeing some more racing and when the suspension is finally completely done, I'll probably end this thread and start a new thread under the Road Racing section. Here's a little taste of whats in store for this year.
Finishing up the rear control arms with Moog solid bushings, the post after this will show the bushing disassembly.
Most importantly, installing an aftermarket cooler to keep the power steering fluid from boiling over on the track. Ended up getting a Derale stacked plate trans cooler, part number 13401.
Got a set of UMI 3-point sub frame connectors. They're used and I need to have them stripped and re-coated before installing, preferably in black. I'm also going to give the underside and floors a fresh coat of paint as well.
Treated myself to a brand new torque arm relocation cross member from UMI for Christmas.
In an attempt for a better shifter on the cheap, I picked up a used OEM Hurst shifter and a UMI short stick. I'm going to see how I like this combo, if I don't like it, I'll probably sell it and try an MGW. I'm also going to be putting in a 97+ center console when the shifter goes in.
Finally, to keep an eye on engine temps on the track, I picked up a Speedhut oil temp gauge with warnings and peak recall. Speedhut is the company that made the factory match gauges for the 04-06 GTO's, and I had this one customized to match to match the factory cluster in my 94. As you can see it's pretty close and will illuminate red at night with the lights on. I only bought an oil temp gauge, I'd like to see how the quality is and how it works. If I like it I'll probably end up getting a water temp, trans temp, and oil pressure gauge to match. Not sure yet on where I'm going to mount it.
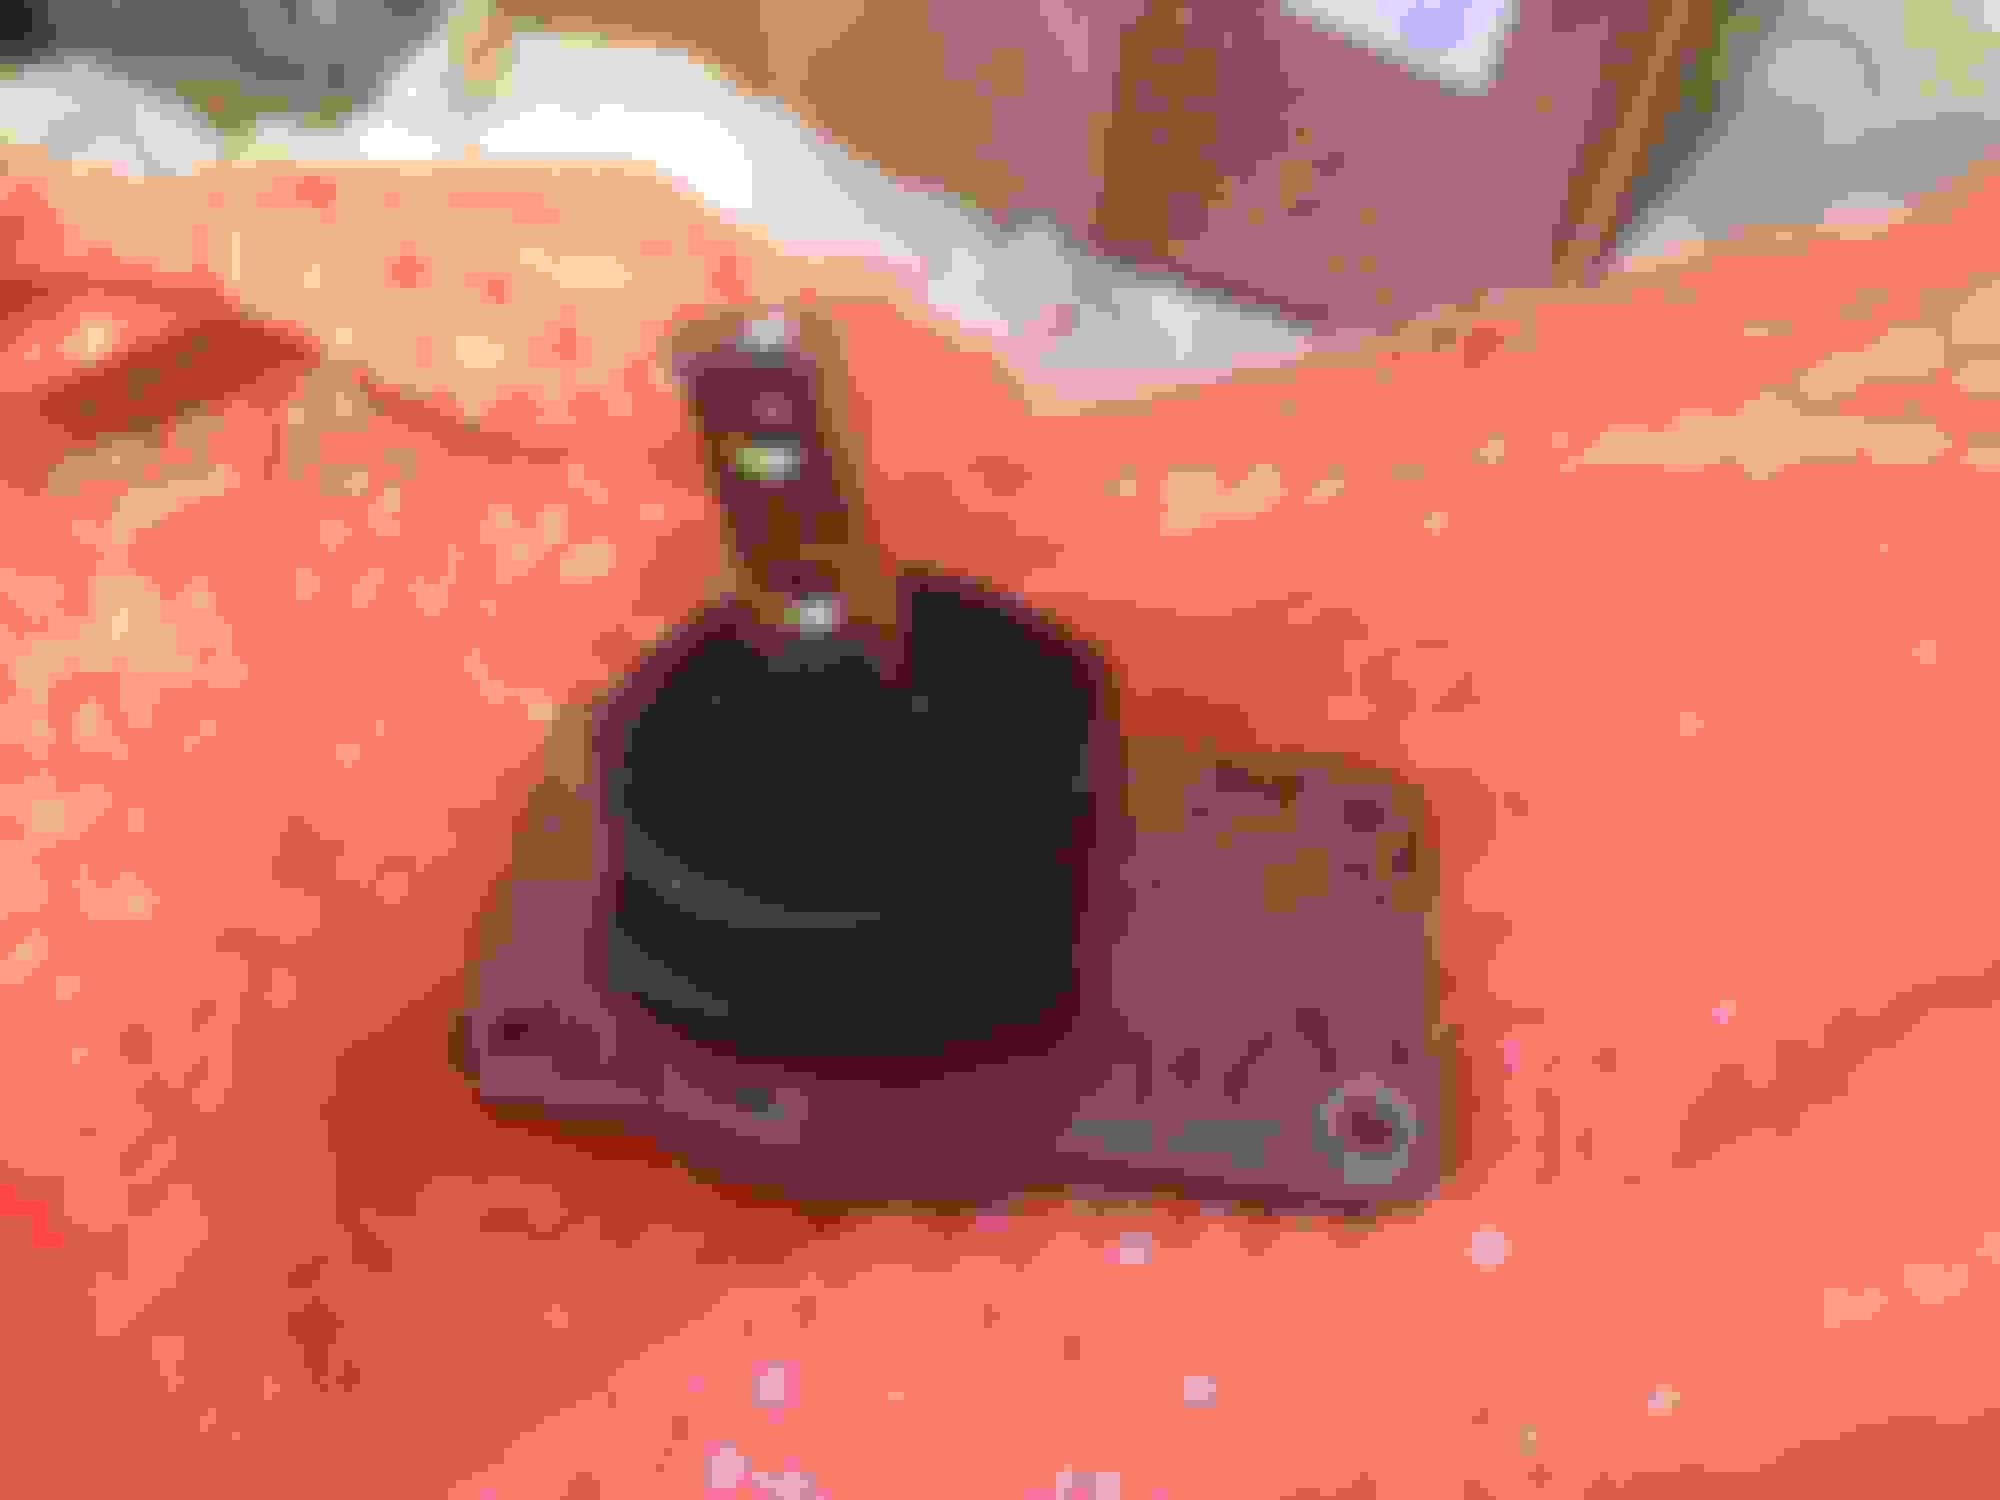
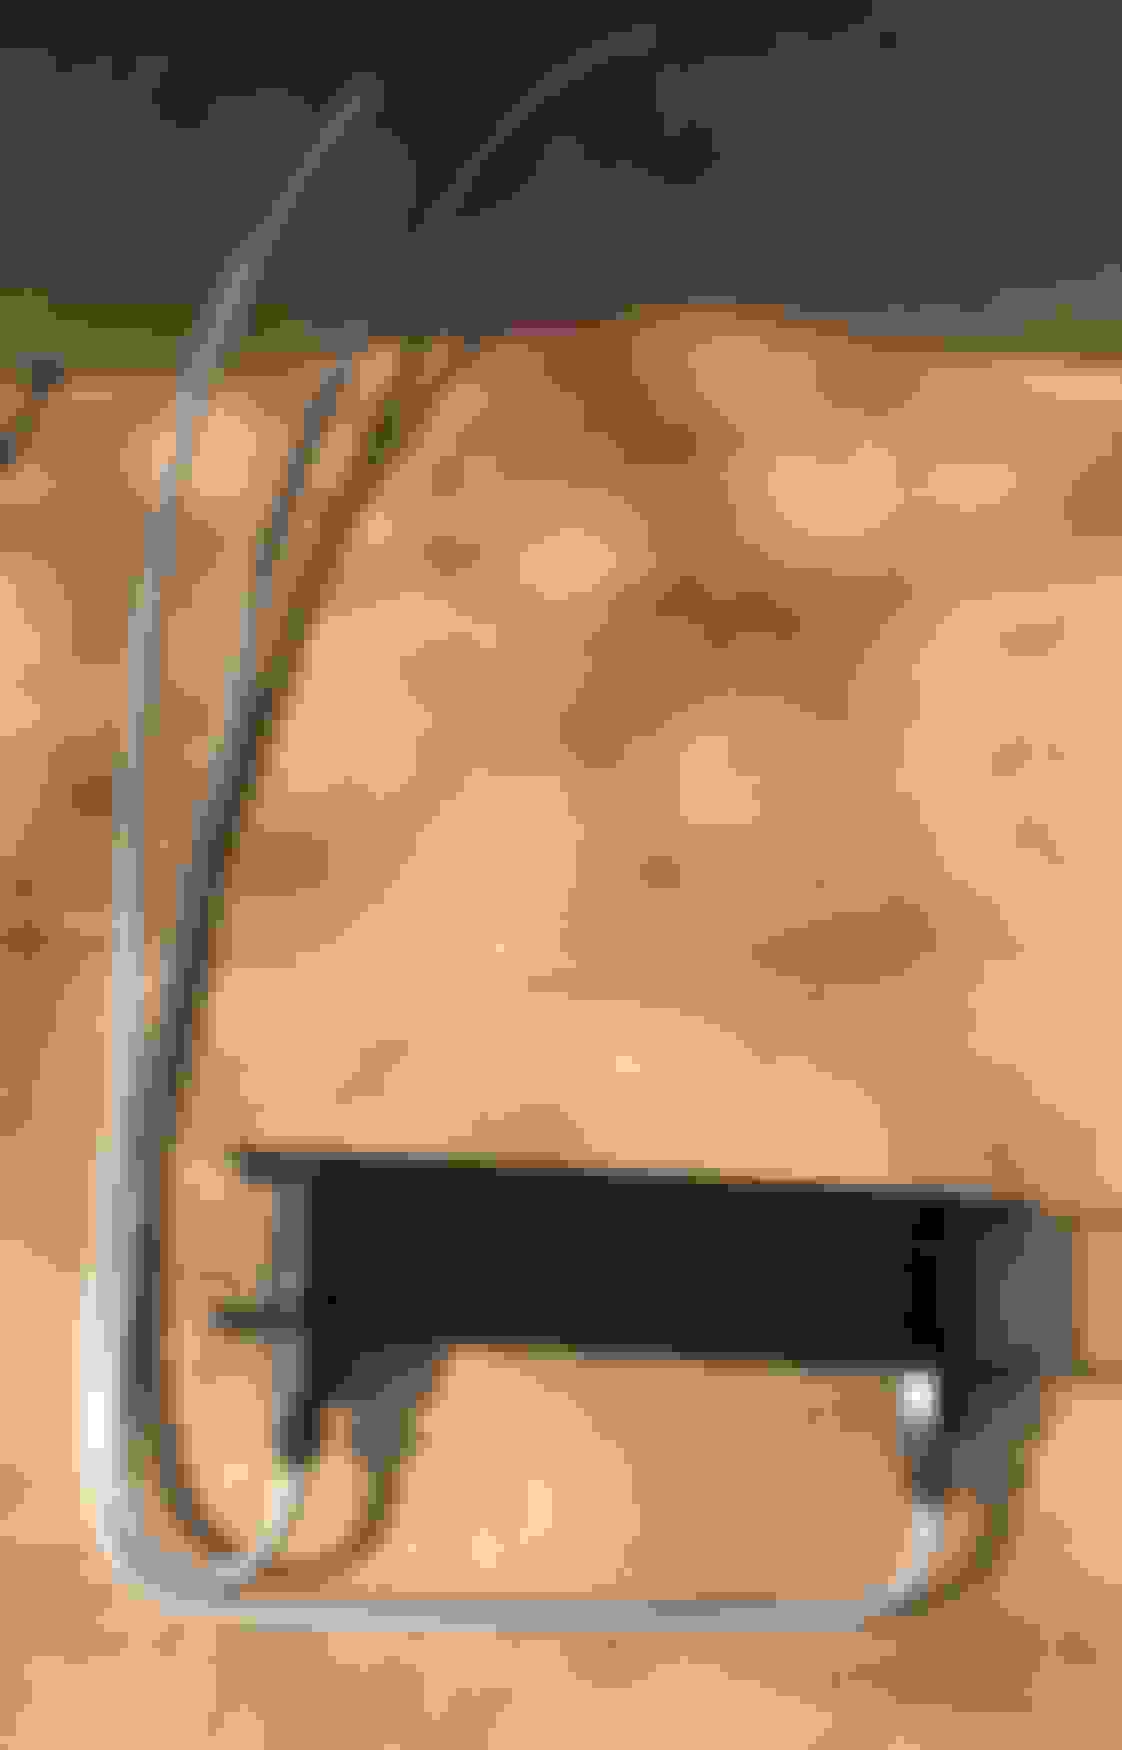
Started disassembling the rear LCA's yesterday to get them ready for paint and to press in some new Moog solid rubber bushings.
At first we tried pressing these bushing out and it wasn't working for us, even with spacers installed, the arm was starting to crush before they'd pop. It probably isn't impossible but it'd be a real pain. We decided to burn them out which is definably the much easier way to go with these.
We just took a torch to the bushing sleeve. Eventually the bushing would start to smoke, smoke a lot, and then catch on fire. After a couple minutes, you can just take a hammer and with a couple taps, the rubber will slide right out of the sleeve. This works great if you're going poly and need to reuse the old sleeve.
Since I'm not going poly and am going to be pressing in new bushings with new sleeves, we had to get the old sleeve out of the arm. With the arm supported on a vice, we took a hammer to the lip of the sleeve until it was flush with the arm. We then took a chisel and hammer on the lip to get it the rest of the way out. After a couple hits, the sleeve will fall right out, nice an easy.
It probably took us less than 15 minutes to burn and hammer out all four bushings. As soon as the weather breaks, it'll be time to prep and paint these arms, and then press new bushings back in.
Why not just go with double rod ended offset LCA's?
I will be going with double ended roto-joint adjustable arms when the 12 bolt goes in, but that's probably a few years out and until then, I'm going to save some money and stick with the stock arms and solid rubber bushings as I've heard they're not as terrible as everyone says they are, especially for a road race car. Drag racing and hard launching may be a different story on these though.
I went with a Decoupled TA and rod end rear LCA's at the same time and already had a Watts Link....so I get all kinds of nonsense coming from the rear LOL. But I know it is as bind-free as it possibly can be from a functionality standpoint.
Op seems to be doing a lot of work and mention he will race, so hence why I suggested just doing it once and going rod ends.
Guys, I appreciate the useful feedback. I'm not debating that there are much better arms on the market because I know there are. The reason I'm going with solid rubber bushings right now is because I have a spare set of arms and new solid bushings, so I'm going to throw them together and throw them in now to replace the stock non-solid bushings that are original to my car. I don't expect to keep them in the car for the long run. I totally understand and agree with the "do-it once" theory, however, they're control arms, it's four bolts and less than an hour to swap them out so it's not like it's that big of a PITA to change later. I eventually plan on going roto-joint.
Just read thru the entire thread, great job on the details and the work. Car looks good. I’m in the beginning stages of doing my suspension on my 94 Formula. Keep up the good work.
Thanks snowbound, it was a ton of work and I'm glad I documented it, I have people who are replacing bushings and doing front end work all the time that ask me questions, and even I go back through it because I don't remember all the small details I noted when I did it last year. If you have any questions, let me know.
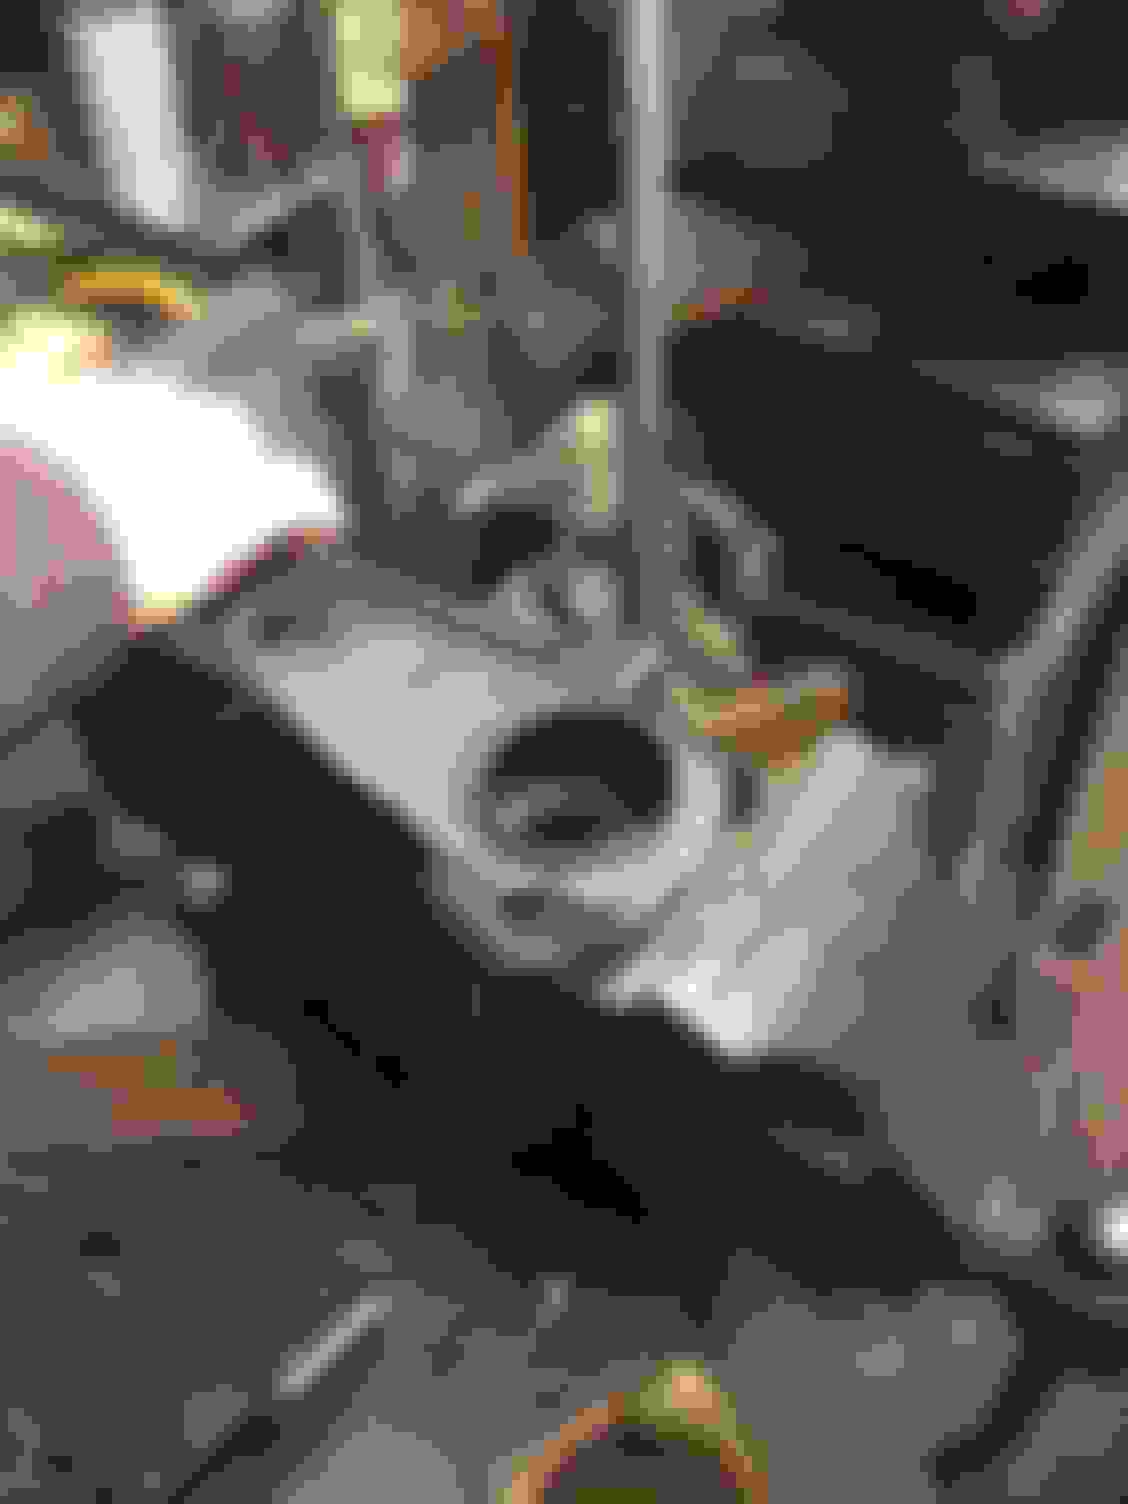
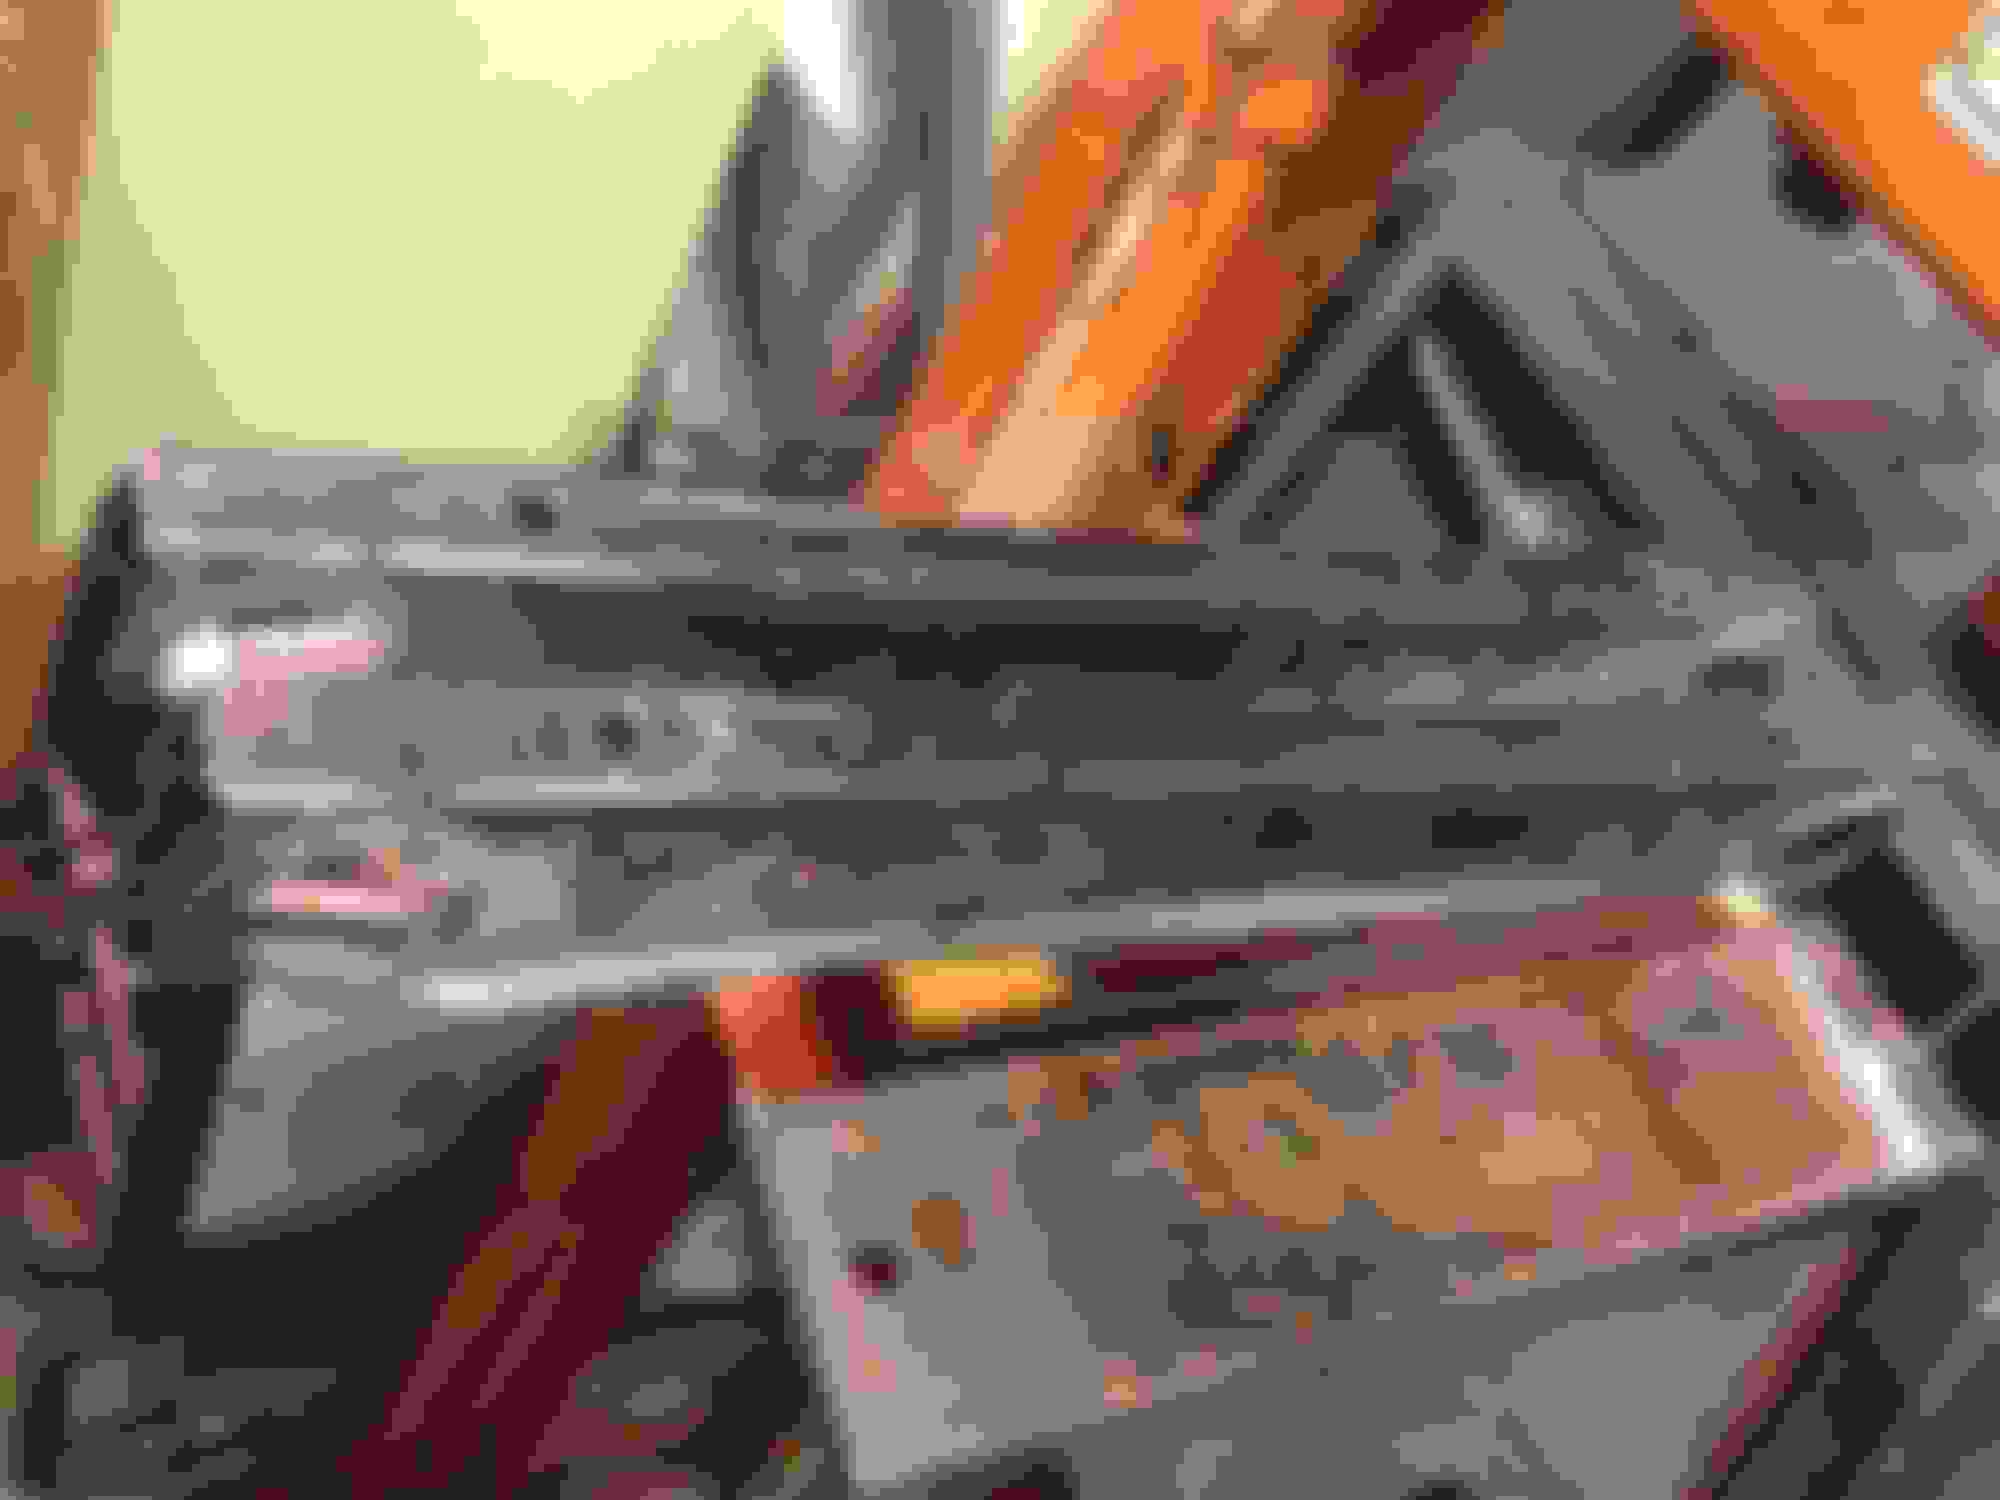
So I've been putting everything together last week after work and finally got some time to mock up the cooler and lines today. I'm using 3/8" aluminum tubing for the hard-lines and -6 AN fittings to connect them to the cooler.
Originally, I wanted to mount the cooler away and in front of the condenser on some L-brackets using a couple existing bolts that mount the air damn, however, getting the cooler to fit in that area with adequate clearance for the hard-lines and everything was made impossible by the thickness of the cooler and the weird bracket in the middle that supports the hood latch.
I then decided to mount it up against the condenser with a typical zip-tie cooler mounting kit, however, again, because of how thick the cooler sat down, and that stupid hood latch support, I couldn't get it to sit low enough in order to have my hard-lines cut a 90 and still get up into the engine bay where I wanted them.
So then, I flipped the cooler upside down, mocked up the hard lines which fit pretty good, plus the fittings on the bottom make it easier for tightening them down when down. The only issue I have with this setup is the cooler sits almost halfway up the condenser and there is less than a finger width between the plastic under the front bumper and the new cooler, which is making me second guess the amount of airflow that will get to 25% of the condenser and radiator above the cooler.
Right now, I'm browsing other coolers that may be a little smaller and thinner for a better placement. Otherwise, I'm going to hook everything up and see how it does.
Regardless of what I do with the cooler, the hard-lines are going to come up between the radiator and battery. On LT1 cars, the power steering reservoir is mounted on the shock tower behind the battery, so having the hard-lines come up and terminate in this area is extremely convenient for tying the cooler into the system with the existing rubber lines on the low pressure side.
Quick Update: After a little searching online, I'm not finding any plate coolers that are that much smaller than mine and use either -6 AN or 3/8 barbed fittings. However, what I am finding are some -6 AN male to -6 AN female 90 degree fittings that may save some space compared to my 90 degree bends that need some radius to keep the line from being crushed.
I use a simple 90* brass fitting into my cooler then ran AN fittings with 3/8" barb fitting for 3/8" rubber line and hose clamps. It's on the low pressure return line so you don't need to go crazy.
 10-06-2017, 11:44 AM