Diy powder coating oven build
#1
So I decided to build my own powder coating oven both for personal use and to have some side business for extra cash. All the shops in Houston are kinda pricey and charge a setup fee, so if you only have a few items your gonna pay alot. Im almost done with the oven so I decided to document the build for your pleasure.
Parts List
1x Upright Freezer: Freebie
1x 4x8ft sheetmetal ( cold rolled / 3/16" ): 40.00
2x ebay oven elements: 40.00
1x ebay PID controller w/thermocoupler and 40 amp SSR: 60.00
Misc screws and wire: 20.00 ( lowes )
1x Breaker Box : 23.00 ( home depot )
2x Rolls of aluminum backed insulation: 40.00 ( home depot )
high temp paint: 30.00 ( lowes )
1x 220v plug: 15.00 ( lowes )
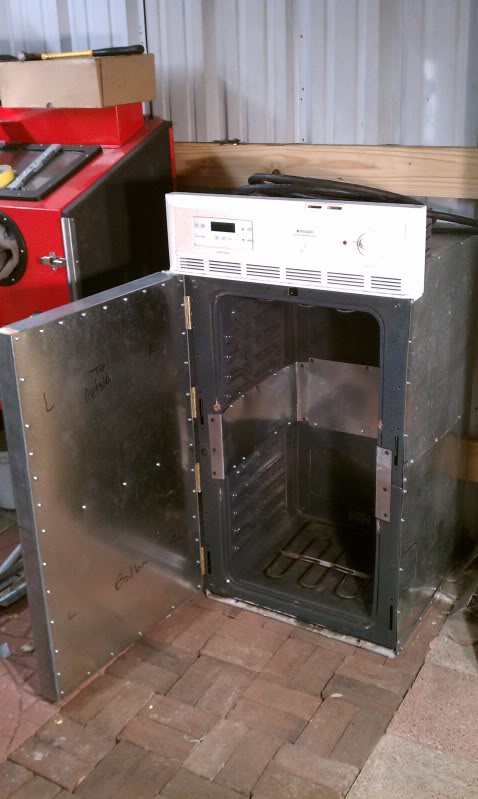
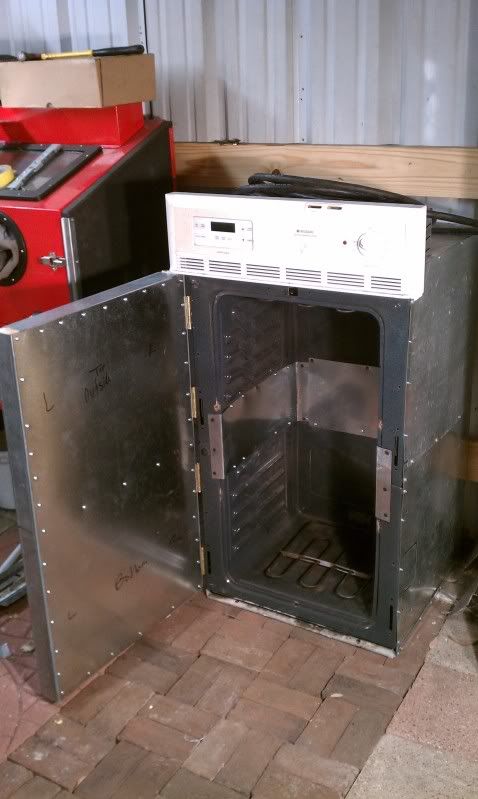
The first set of pics is the teardown of the freezer. I first took a cutoff wheel and removed the plastic shell. You can see the foam backing once removed. That stuff was PITA. Took about 4 hrs with a putty knife. Removed all the wiring and compressor too.
Last edited by CRASHz427; 08-12-2013 at 11:15 AM. Reason: was not finished
#2
Next Step:
I got lucky and my friend's dad has an old WWII metal break at his shop, so I used that to make my angles for the box. Spot welded all the ends from the outside for a cleaner look.
I purchased 2 220v elements off ebay and mounted them vertically at the bottom with some bolts for easy removal incase one fails. Once the elements were mounted I began to wrap the box with the aluminum backed insulation and secured it with a/c ducting tape.
#3
Next I mounted some casters on it. I got tired of dragging it everywhere and its soooo much easier to move it around now. Probably should have done that first. Once that was finished I turned my attention to the door. The plastic shelves on the door were held on by screws so that made for easy removal. But once again more foam to chisel out. Got the door stripped, insulated, and trimmed out with the high temp paint. I used 1 piece of sheet metal for the door facing and secured it with self tappers.
Next I mounted the breaker box along with stringing the prewired conduit to the elements from the box. After we hung the door I called it a night.
Next I mounted the breaker box along with stringing the prewired conduit to the elements from the box. After we hung the door I called it a night.
#4
Next and final steps:
Mounting and wiring up the PID controller. The controller kinda mounts like a single din radio as far as it having a plastic trim ring that it snaps into. I cut a square out on the box where i wanted it mounted. Mounted the SSR ( Solid State Relay ) inside the box. The thermocoupler is mounted to the top of the oven box and comes through the side of the freezer. The temp sensor is mounted through the top of the oven. For my first time hooking up 220v it seemed to go pretty smooth. Just followed the directions that came with the controller.
So I have the prewired conduit going from the SSR/controller down to the elements. The power wire came from my friend's welder setup. Its about 30 ft long so I can roll it out in the driveway for the first start up. put the new 220 plug on the other end and it plugs into my dryer connection in the garage.
Id be lying if I said I wasnt worried about a total melt down fixing to take place lol. We plugged it in, everything powered up, we cycled it up to 250F ( the PID only reads C so we had to convert, it came from Canada ).
Threw some fresh paint on the exterior and we are just about ready to go. Just need to run it up to 400 F a couple times to burn out any left over foam or silicon.
As far as fab work goes I still need to add a couple of brackets for the racks, heat shields for the elements to cut down on infared heat, and a bar across the top for hanging items.
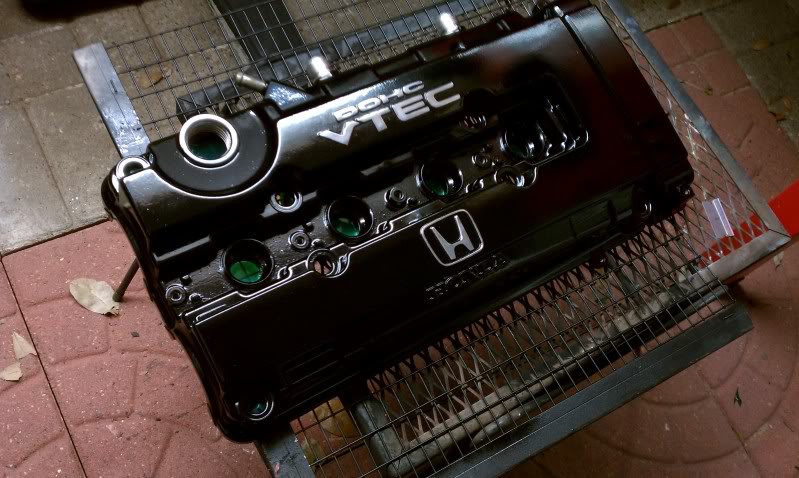
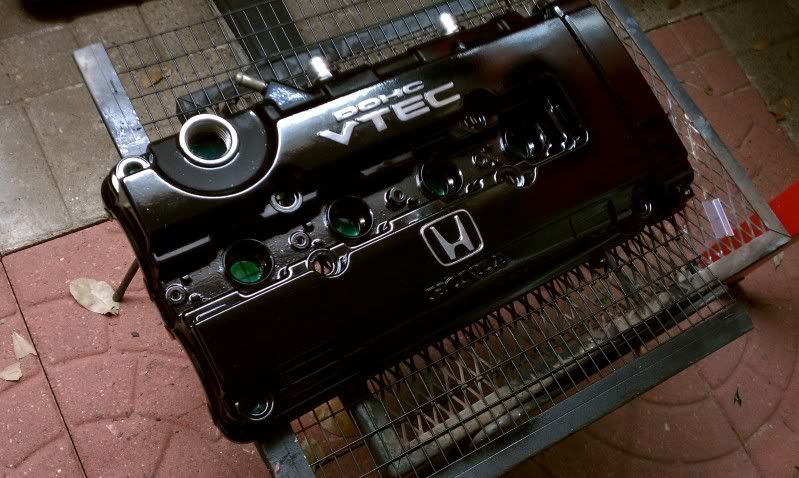
The last pic is a test piece we did in a small toaster oven because we just couldnt wait any longer to coat something. The color is "wet black".
#5
Update:
Goods: Oven is now complete and working good. Heats shields and shelves installed. Holds temp well.
Bads: Old compressor ( 25 gal / 1.5 hp ) would not keep up with the sandblaster so I had to upgrade to 60 gal / 3hp.
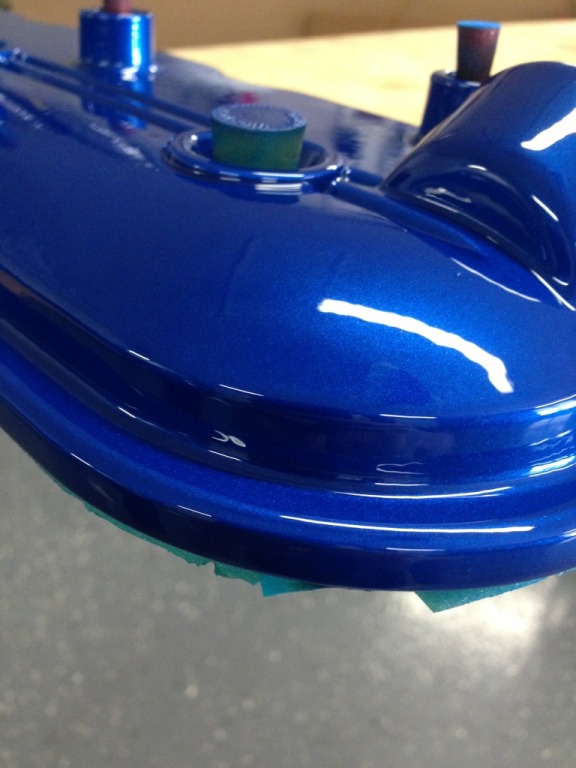
I used my Vic Jr for the first test session. Color I went with is called " x-chrome ". Below are are a few pics of the process. Intake turned out bad ***. Next up will be my GT47-88 intake housing.
If anybody wants anything done, feel free to shoot me a pm and we can work something out.
#7
TECH Regular
Join Date: Oct 2011
Location: Jacksonville, FL
Posts: 443
Likes: 0
Received 0 Likes
on
0 Posts
Trending Topics
#9
Great ideas guys. What brand powder are you using and source ?
thanks,
Jim
thanks,
Jim
#15
#16
#17
Thanks!!!


