DIY/ How to use Proform valve spring compressor # 67605
 08-06-2015, 03:29 AM
#1

Before you continue reading this DIY, please understand DIY projects ARE purely "at your own risk". If you are at all uncomfortable or inexperienced working automobiles, please reconsider doing the job yourself. I recommend seeking a professional if this exceeds your abilities. There's a possibility any damage inflicted to your car during a DIY project can result in. Void of your manufacturers warranty, unintentional disabling of a safety feature(s), create a hazardous condition(s), and may harm or even kill yourself along with others. I assume NO responsibility for your actions attempting this DIY.
For cylinder heads still on engine follow the steps found in this link directory below.
http://www.ls1howto.com/?article=23
By following these steps I successfully removed my valve springs from my cylinder heads. While using the Proform valve spring compressor # 67605. It should be known the cylinder heads, rockers arms and rocker pedestals were removed prior to these steps.
Tools I used
Proform valve spring compressor # 67605
1 shop rag
4mm Hex bit socket
6mm Hex bit socket
14mm Deep socket
Telescoping magnet tool
Cordless 3/8in. drive ratchet ( Cordless Ratchet not required. A regular ratchet will suffice)
3/8 to 1/4 adapter( If your Hex bit sockets and 13mm are the same drive. Adapter is not required)
Rubber mallet
Magnet tray or container of some type
Penetrating oil(not required)
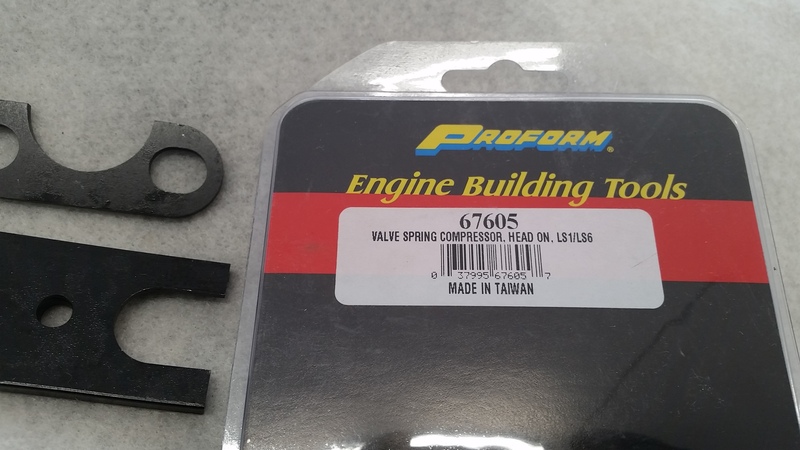
Here's how you'll receive your Proform valve spring compressor # 67605(Hopefully you package doesn’t get crushed like mine)
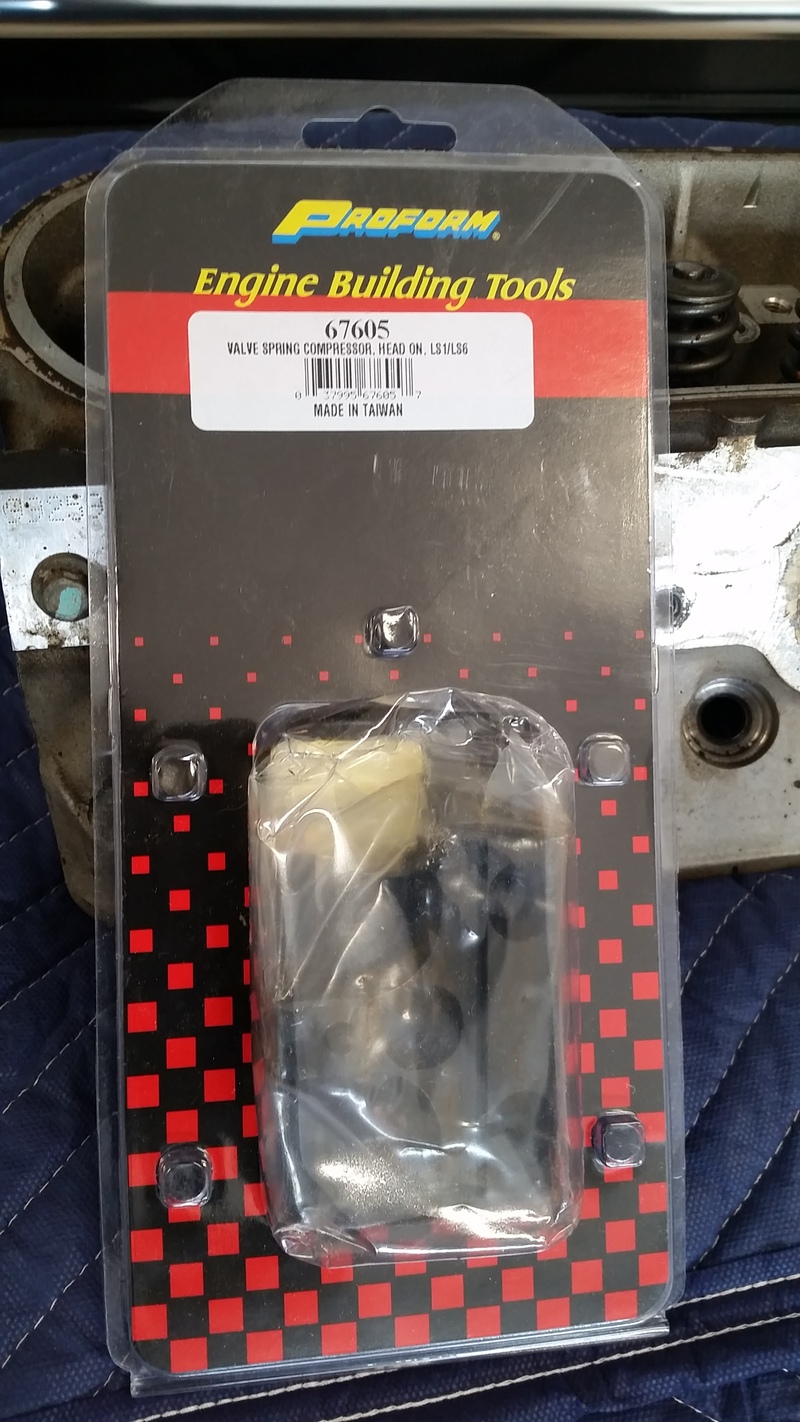
The following parts are included inside.
Tool base X 1
Spring compressor plate X 2 ( There's 2 different plates)
Hex head bolts X 2
Threaded stud X 1
Large washer X 1
Small copper washer X 2
Thin 13mm nut X 2
Thick 14mm nut X 2
Sheet of literature X 1
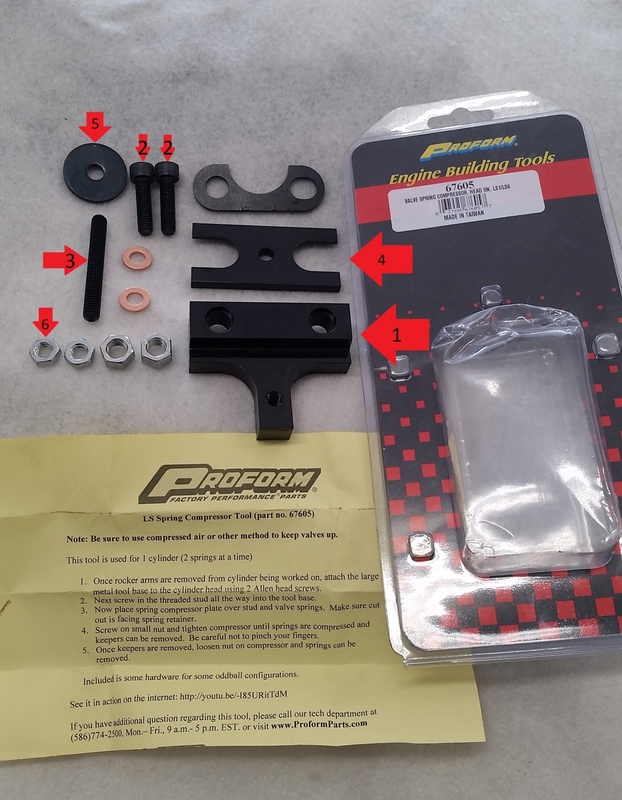
All parts having red arrows with black numbers inside pointing directly to them will be used in the steps to follow. You will notice there's extra hardware. Proform supplied this extra hardware for "oddball" configurations.
Step 1
Set the cylinder head on a clean and level work surface. Then identify the pair valve springs you wish to remove.
Spray Penetrating oil around valve stem and valve keepers( this not a requirement but recommended)
Step 2
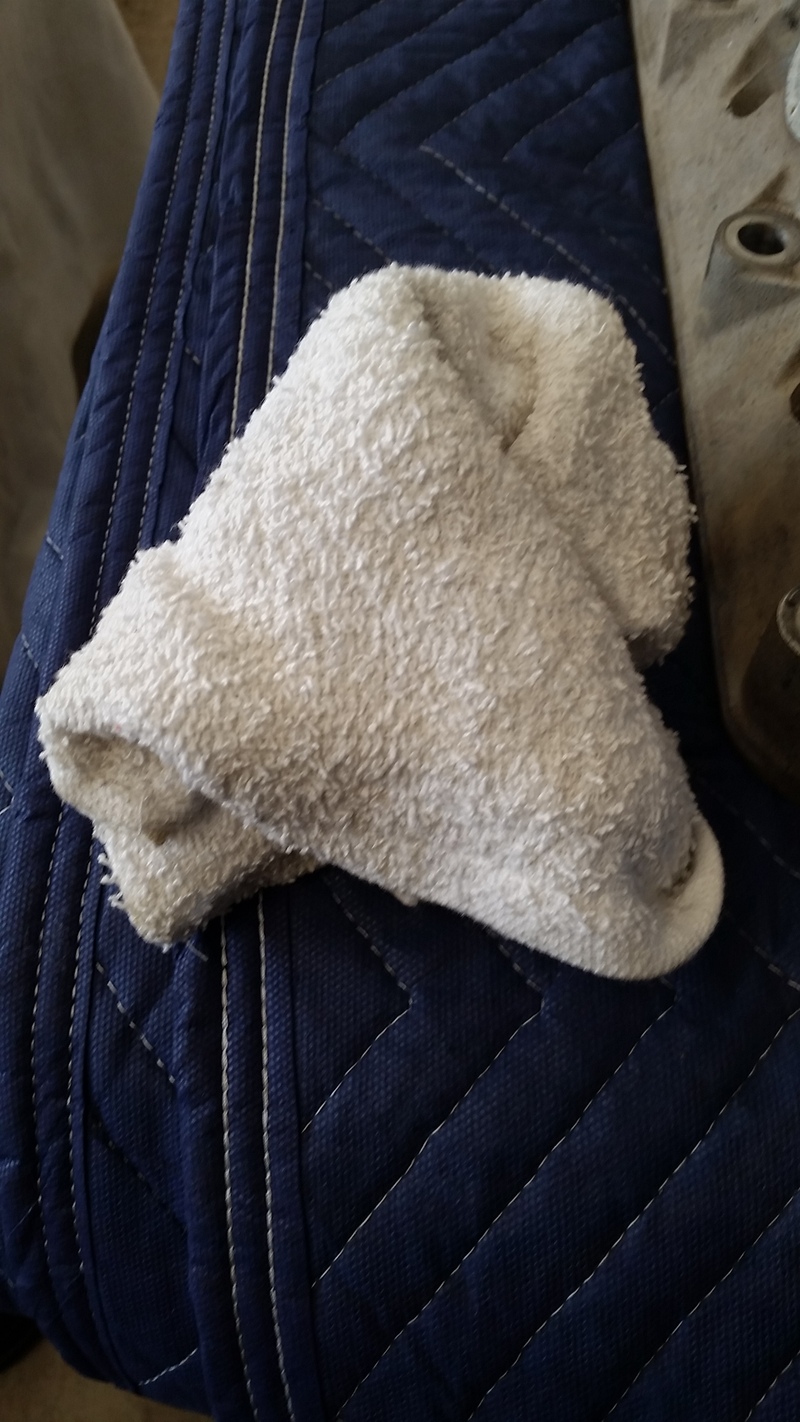
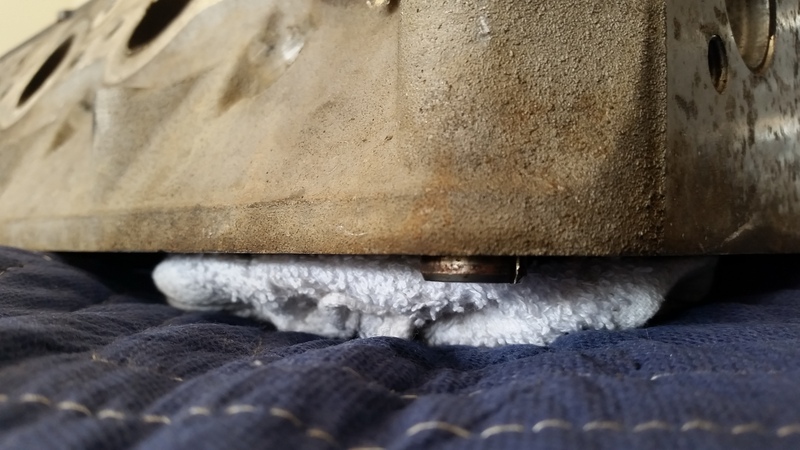
Ball up or fold your shop rag. While lifting the cylinder head place the shop rag into combustion chamber housing valves retained by previously identified springs. Then gently lower cylinder head onto work surface.
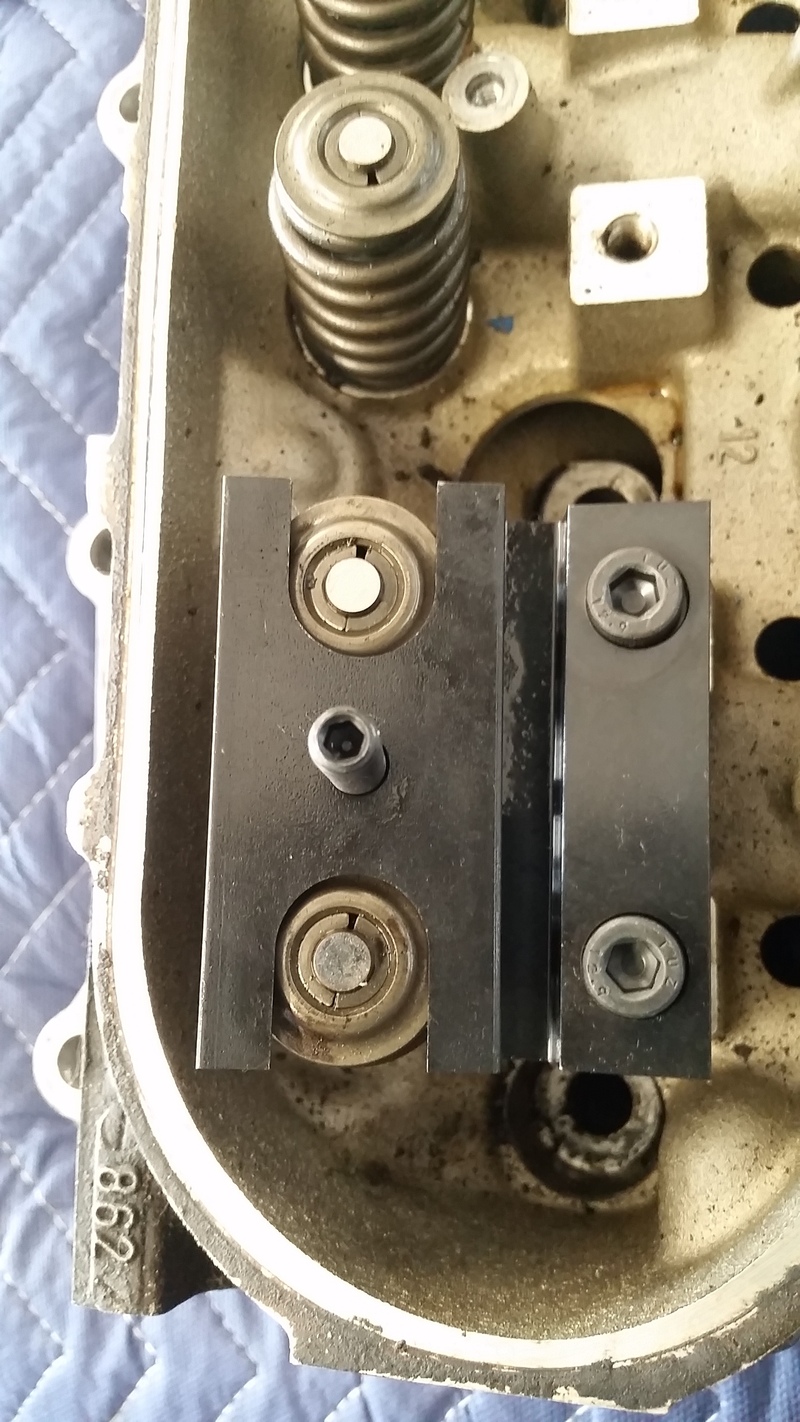
Step 3
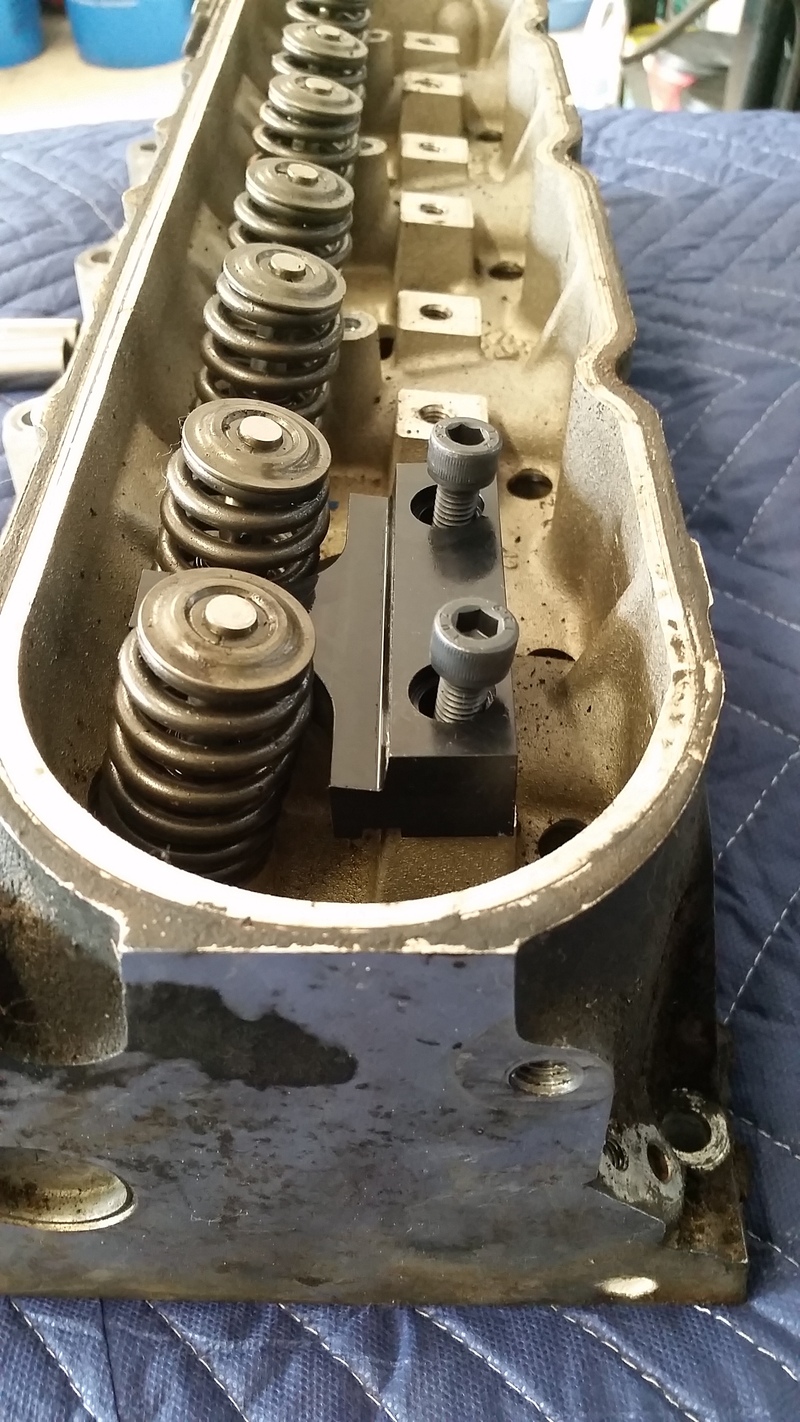
Using the 6mm Hex bit socket, secure tool base(arrow #1) of the Proform valve spring compressor # 67605 to the cylinder head with 2 Hex head bolts(arrows #2). In front of previously identified valve springs.
Step 4
Using the 4mm Hex bit socket install the threaded stud(arrow #3) all the way into previously secured base.
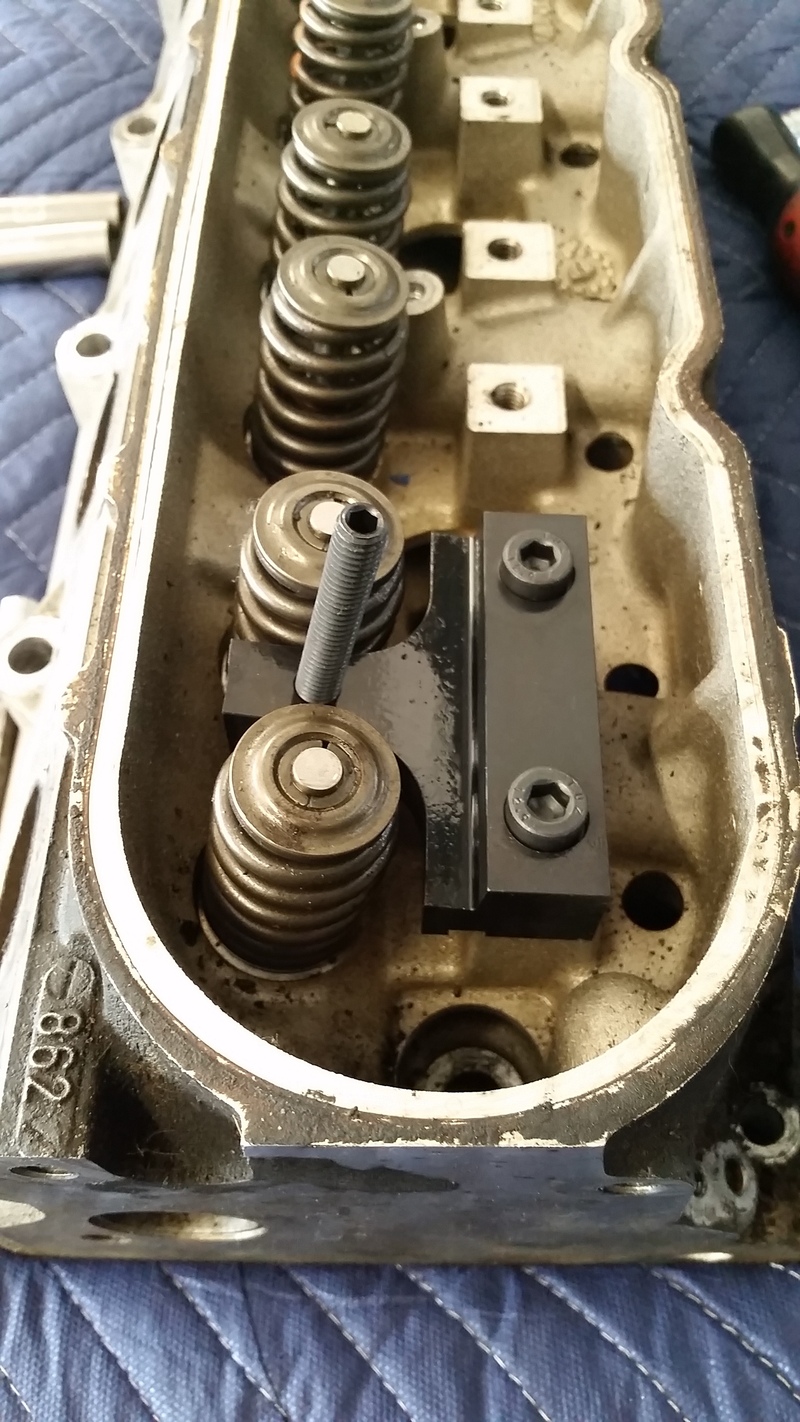
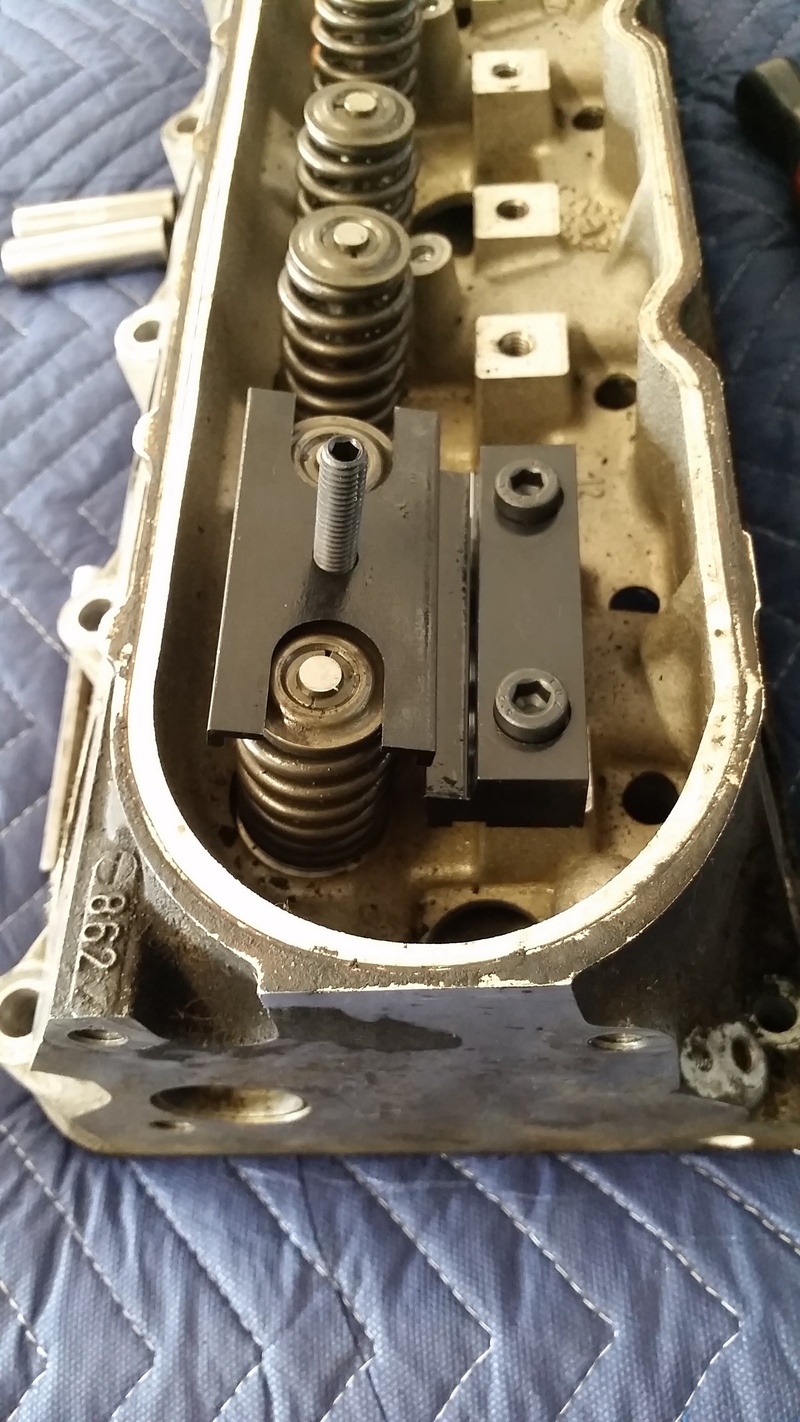
Step 5
Slide the spring compressor plate(arrow #4) over threaded stud and the pair of valve springs.
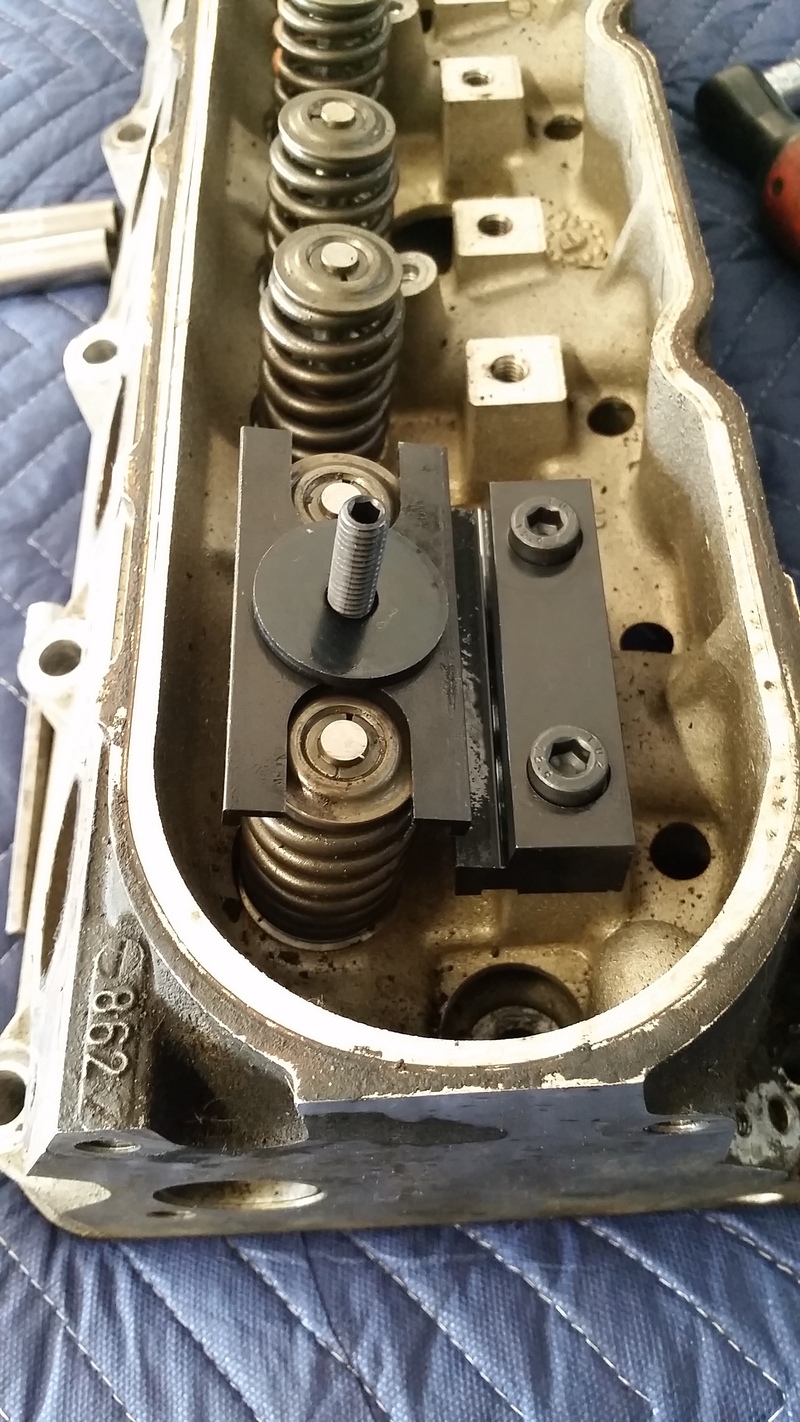
Step 6
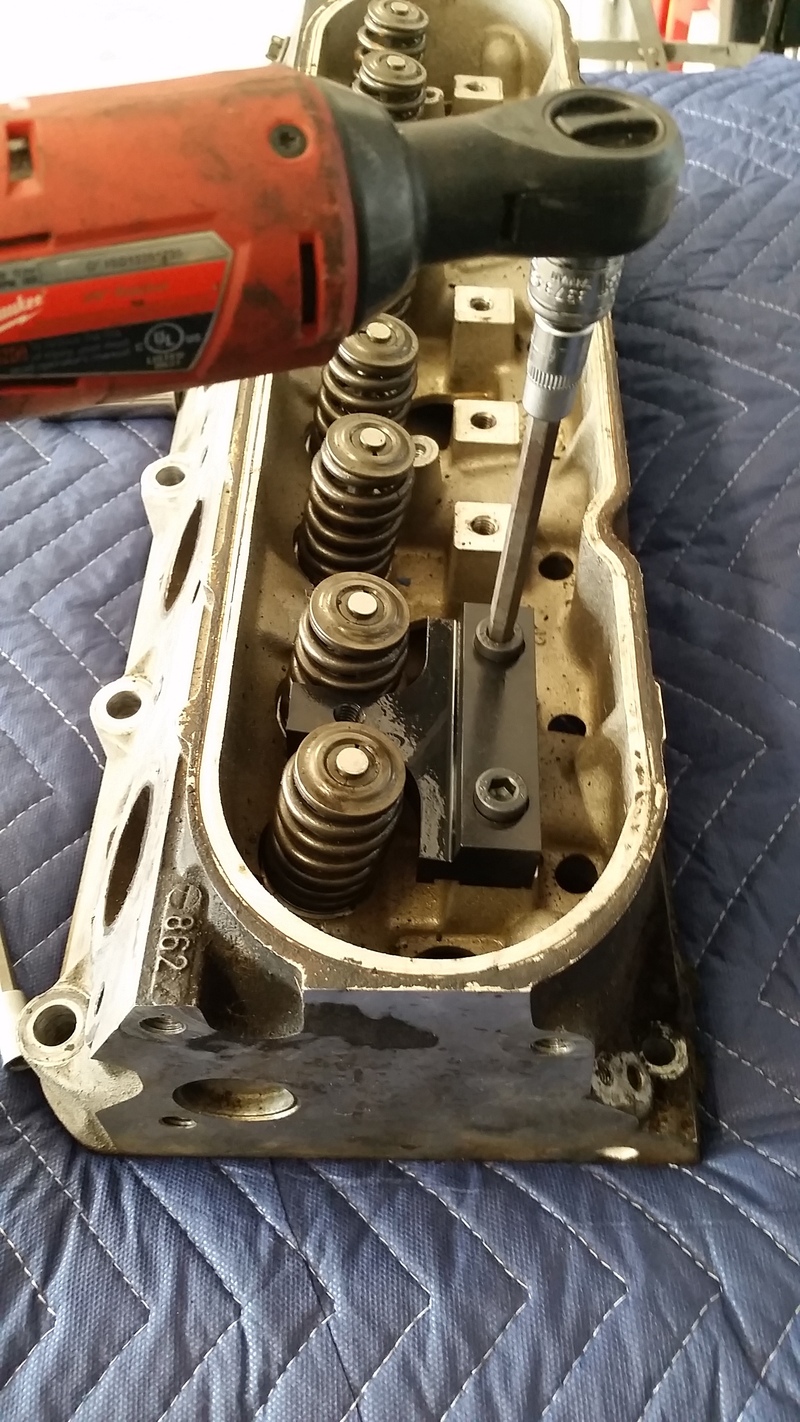
Slide large washer(arrow #5) over threaded stud. Washer should now be resting on top of spring compressor plate. Now thread one of the thin 13mm nuts(arrow #6) Proform provided on the threaded stud.
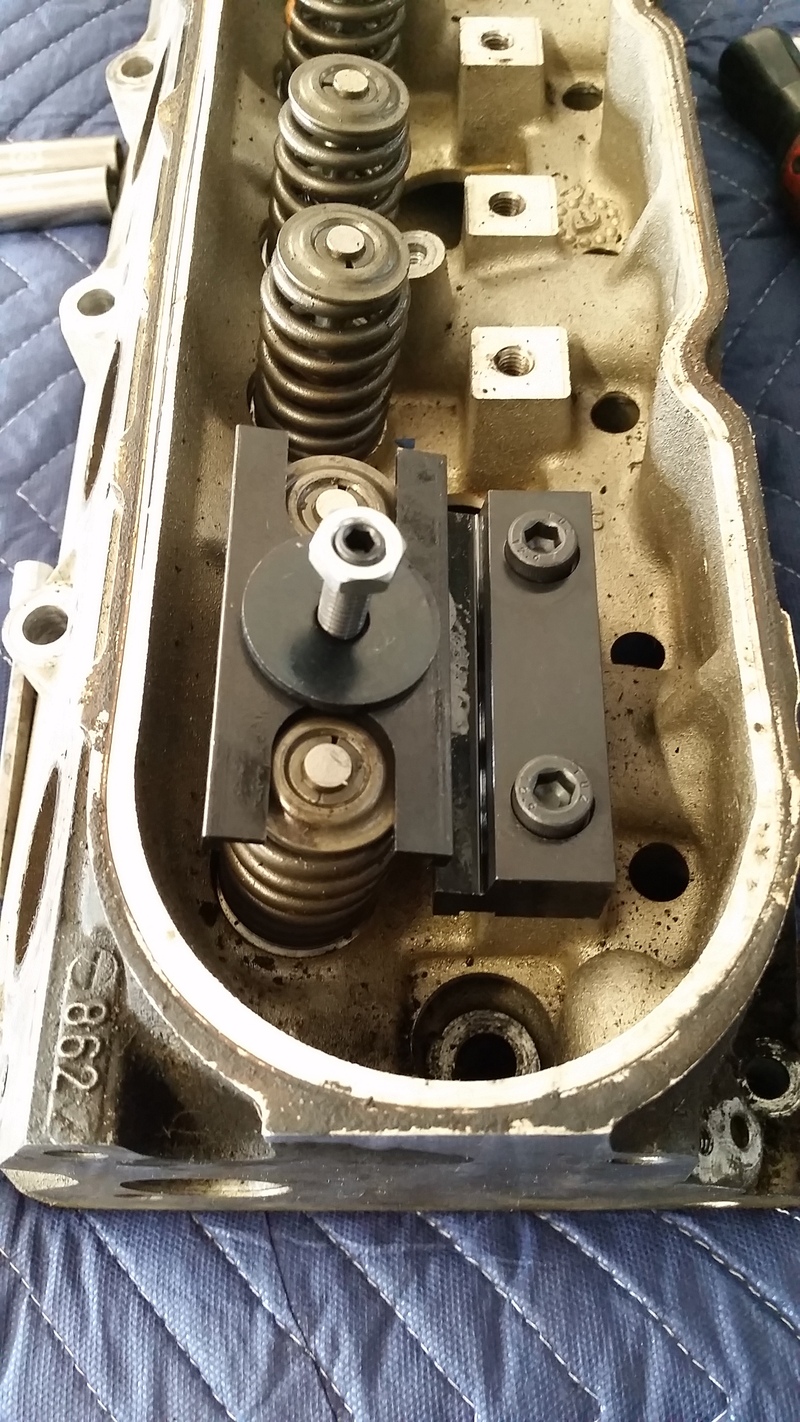
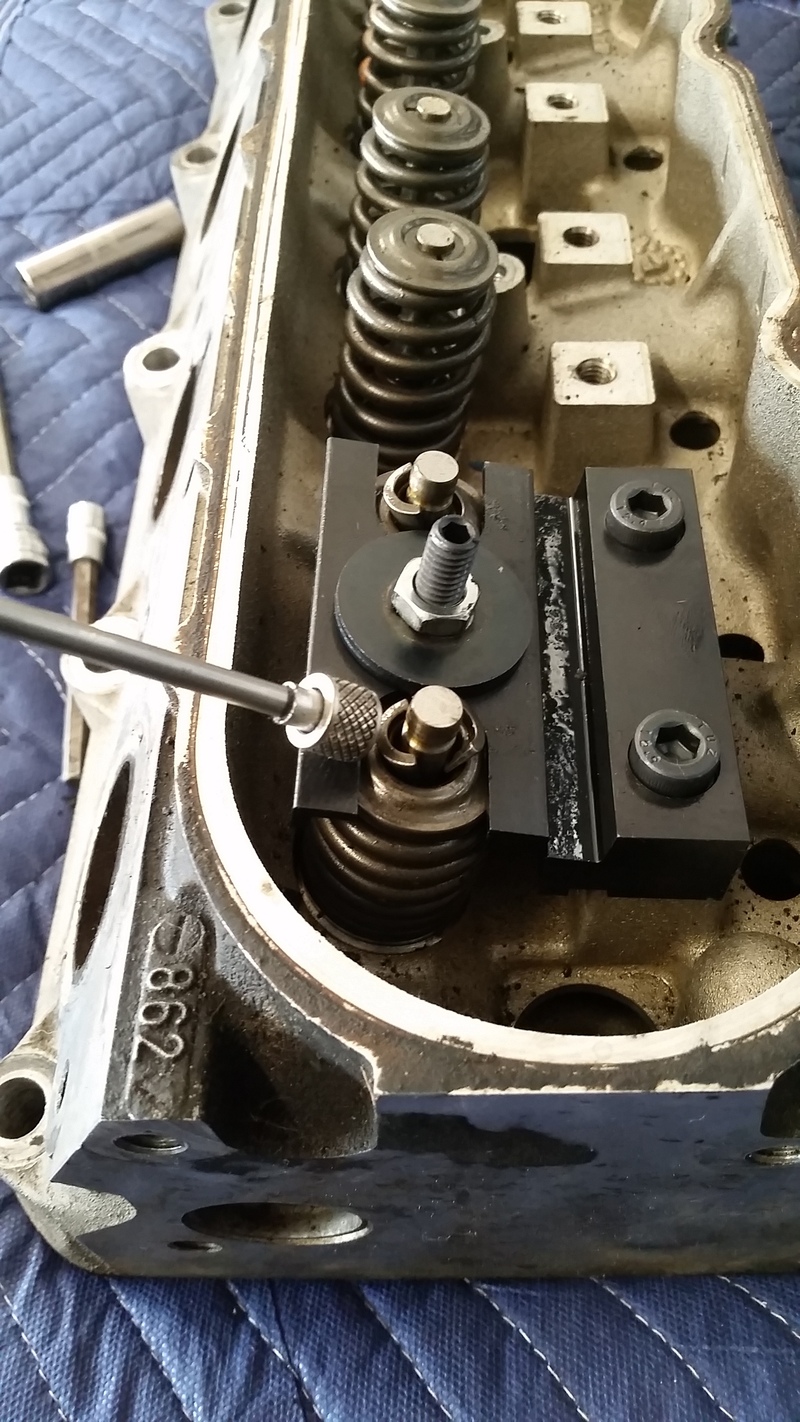
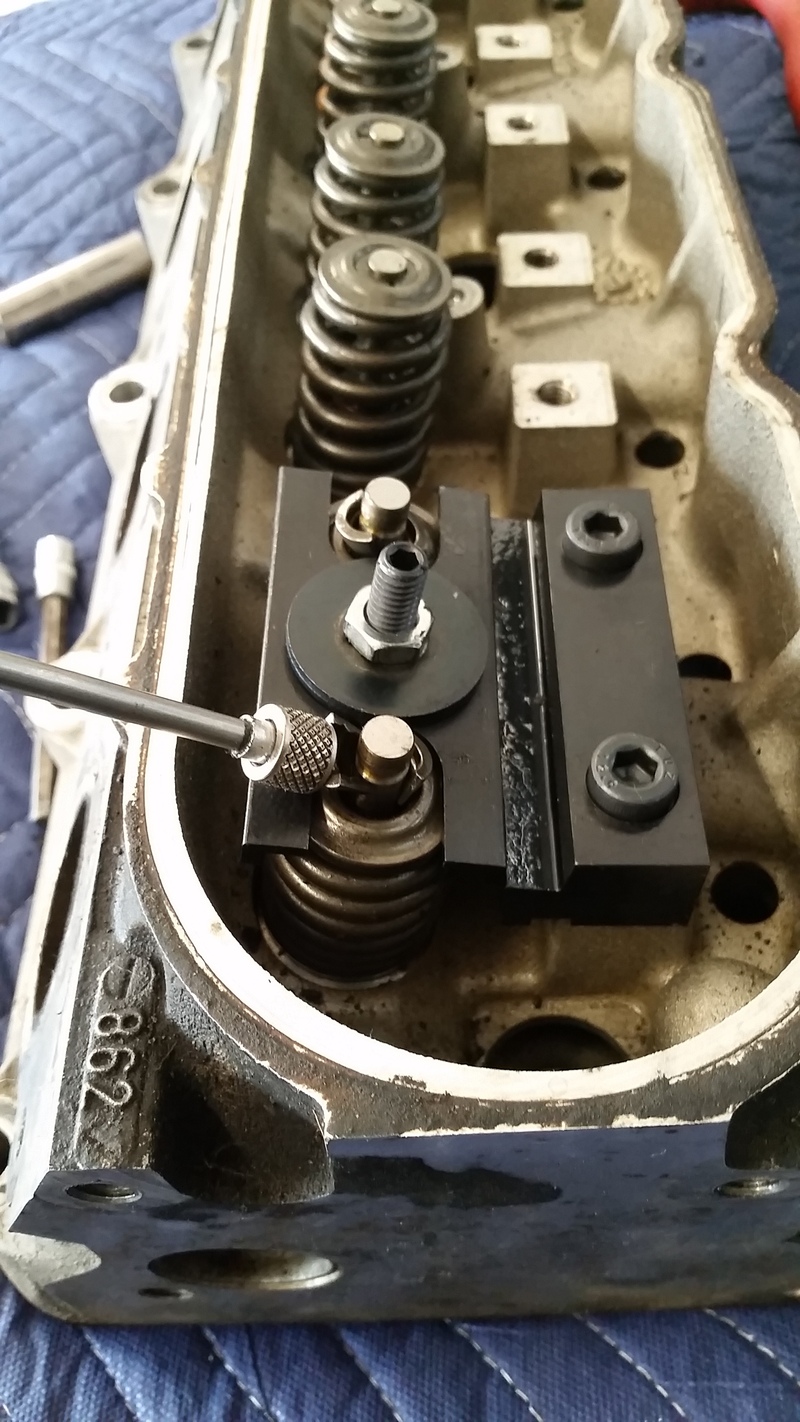
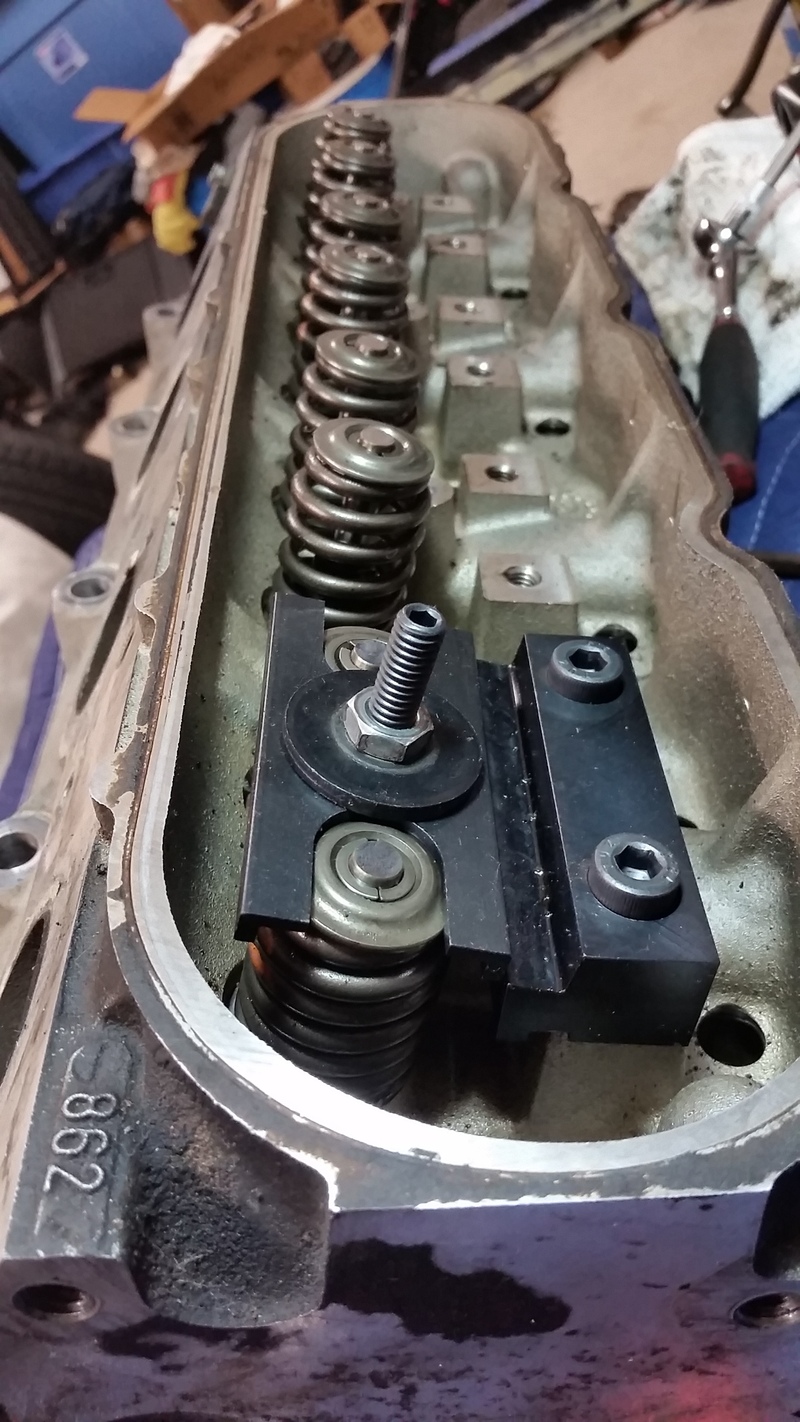
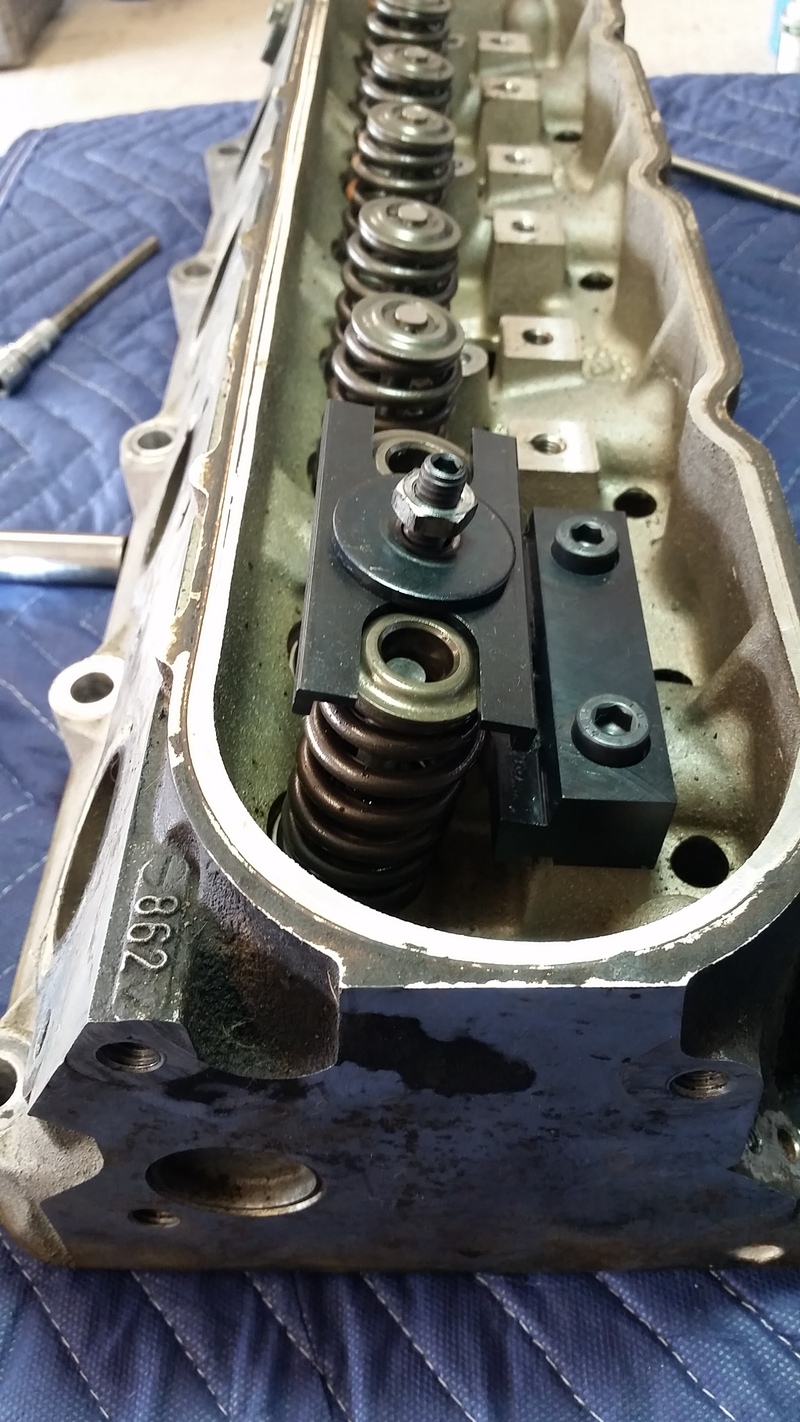
Step 7
Hold the Telescoping magnet tool in one hand. With the other use the 13mm Deep socket and ratchet slowly tighten the nut on the threaded stud. Tighten nut until the pair of valve springs are compressed enough to remove all valve keepers with Telescoping magnet tool. Now place valve keepers in magnet tray/container.

Quick Tip
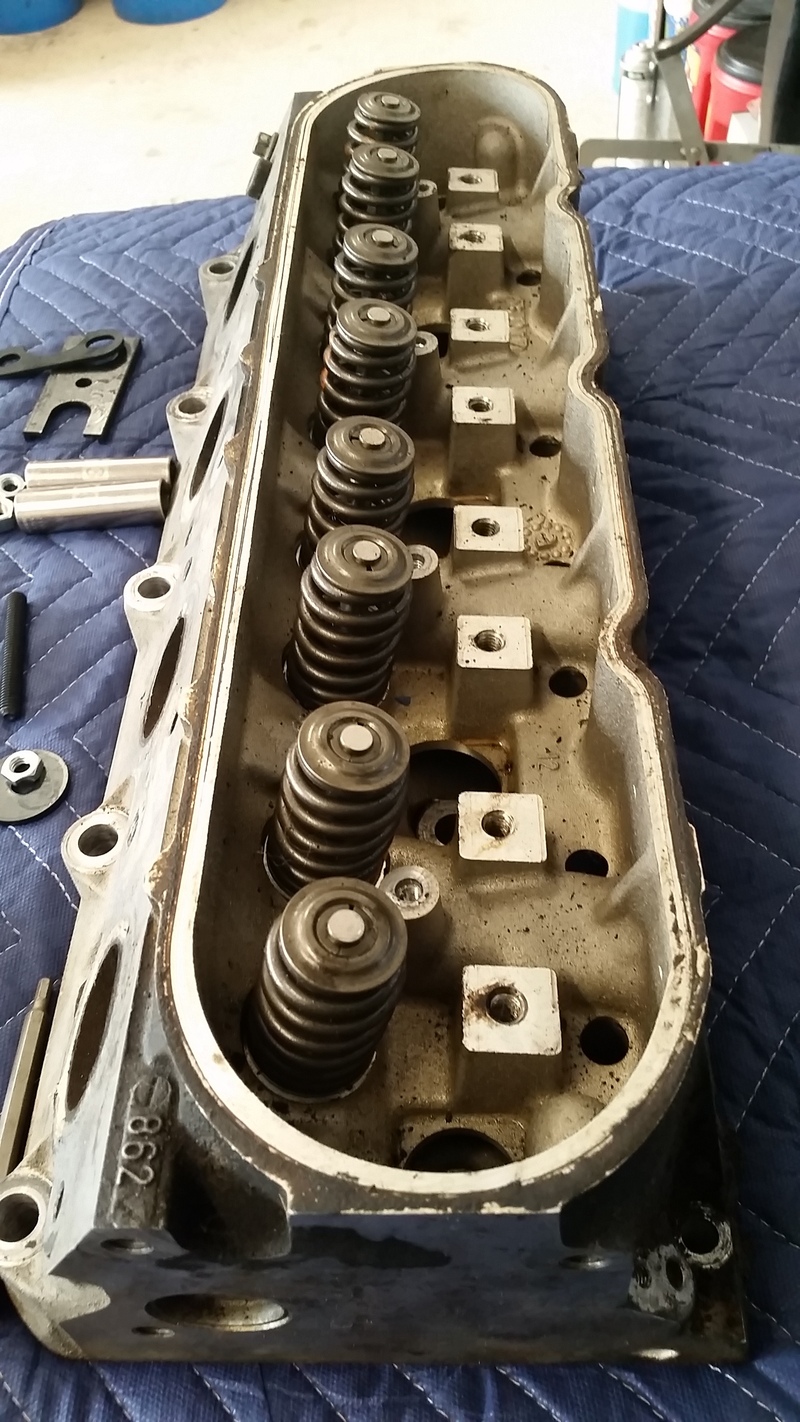
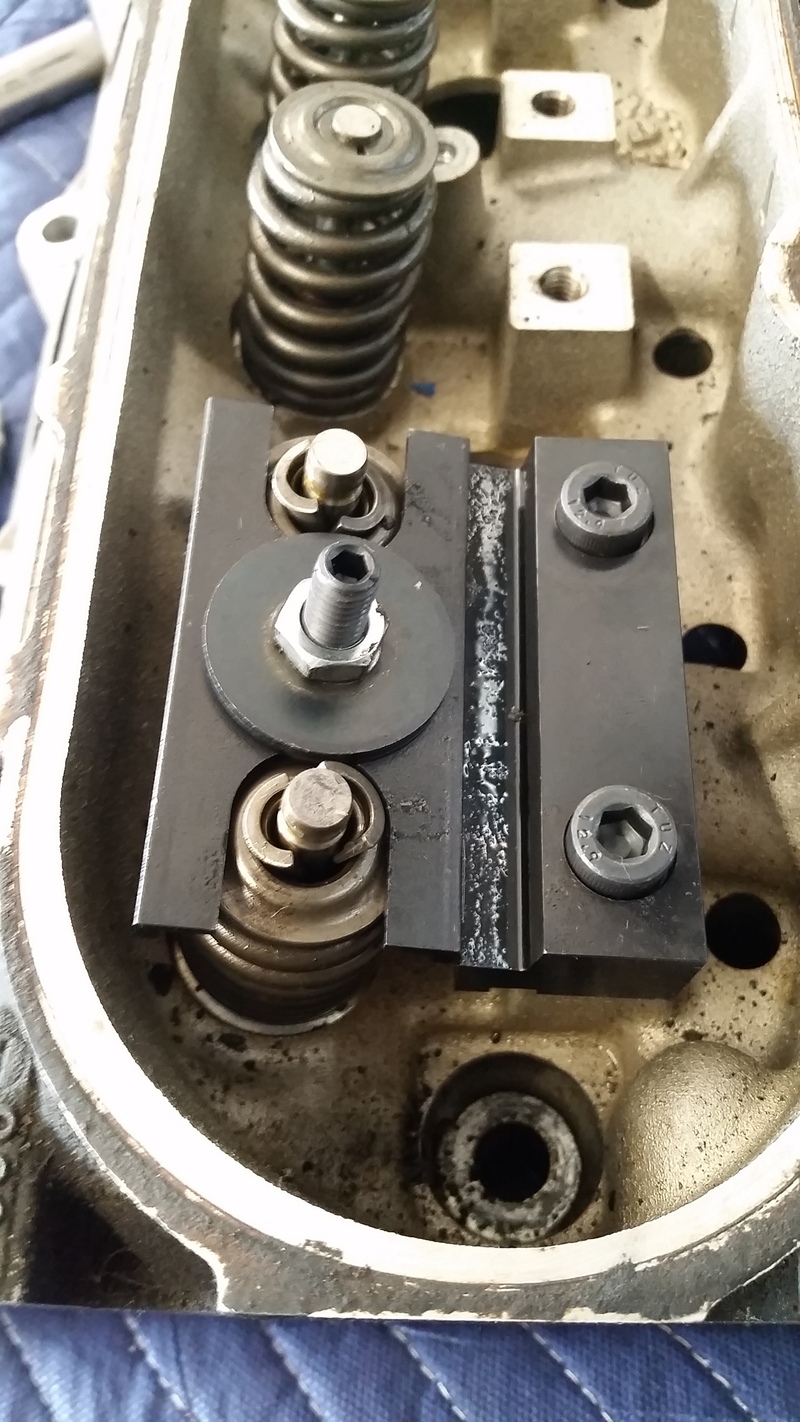
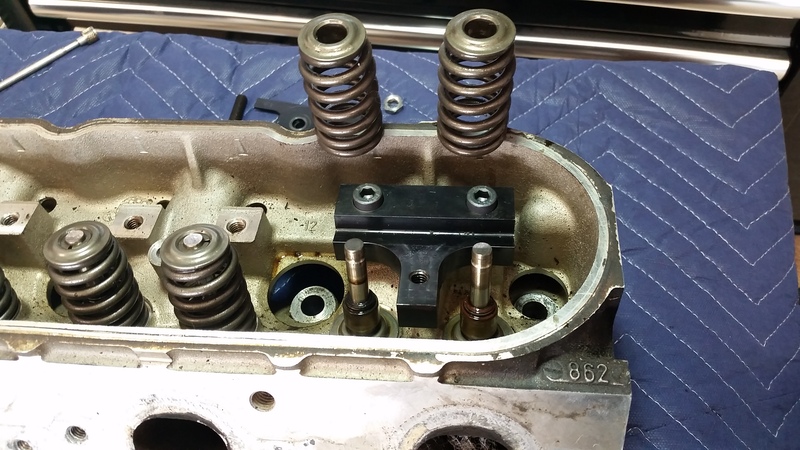
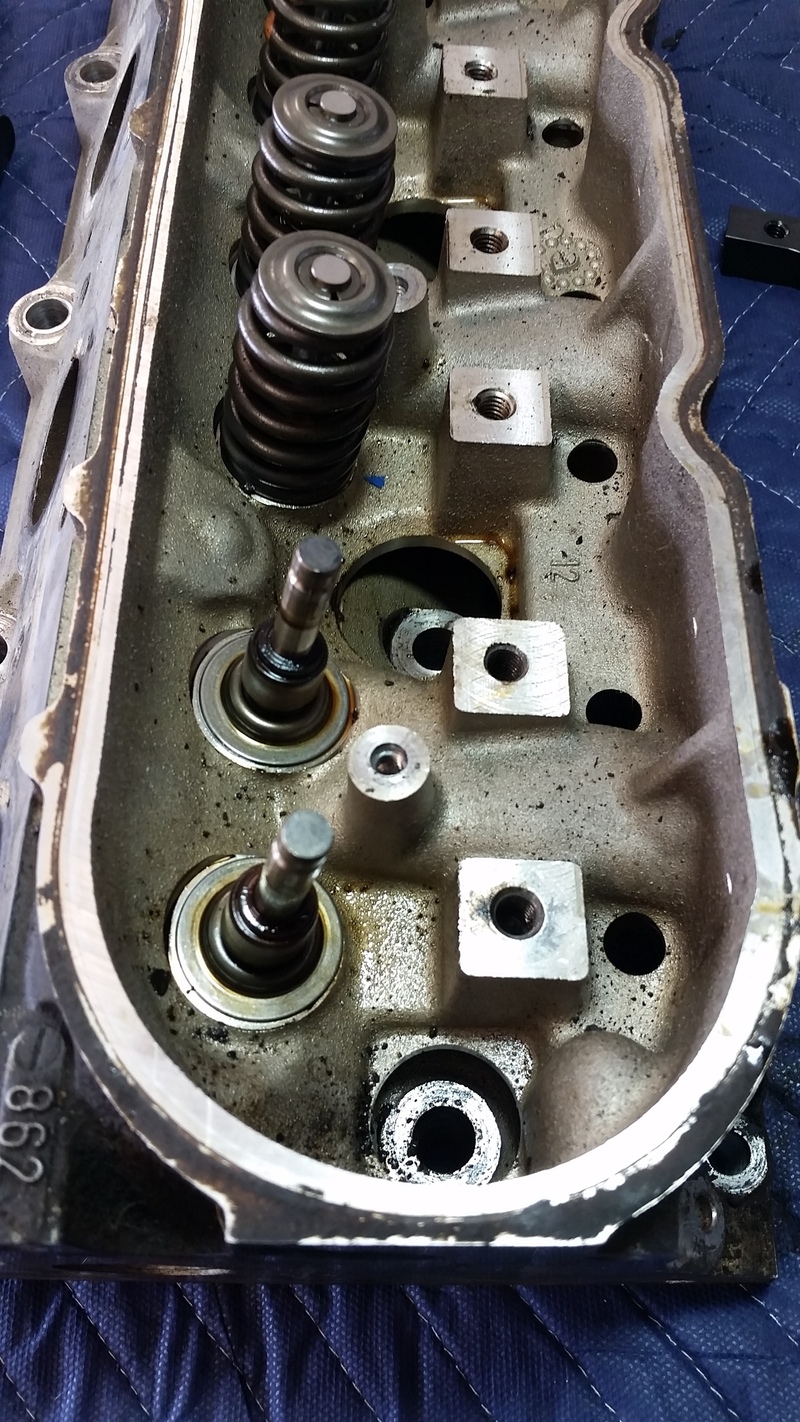
From time you'll run into a valve or 2 does this.
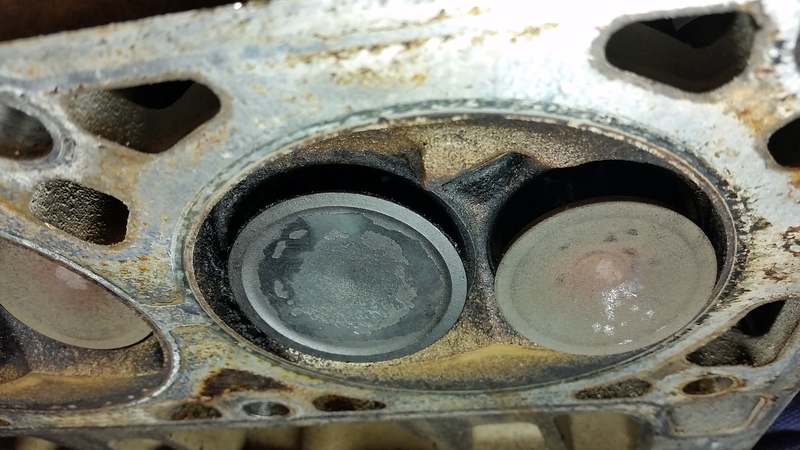
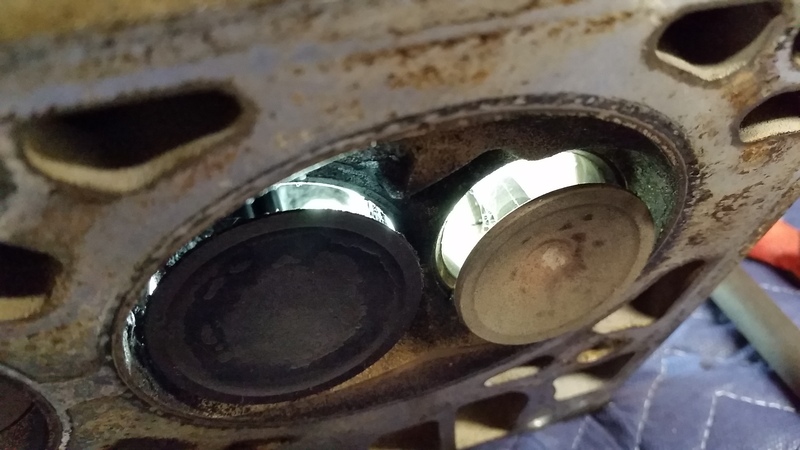
Note how the valve springs are fully compressed & keepers are stuck in the retainer. This cause valves to open. As seen in the pics above.
When this happens. Lift the cylinder head and remove shop rag from combustion chamber. Place shop rag over compressed valve springs. All while still holding cylinder head. Tilt cylinder head enough to comfortably fit your rubber mallet. Using the rubber mallet LIGHTLY tap the face valve towards the valve seat. (to avoid damaging the valve do not use excessive force) If the valve keepers hadn't already fallen into the shop rag retrieve them using the Telescoping magnet tool. Then place valve keepers in magnet tray/container.
Step 8
Carefully loosen nut that's on threaded stud until compressor plate can be fully removed.
Step 9
Remove valve springs.
Congratulations you have successfully removed your pair of valve springs. To remove the remaining sets follow steps 1-9. And you'll have all them off in no time.
Here's a video I made to show the entire process.
I hope you enjoyed this DIY & it assists you with the use of Proform valve spring compressor # 67605. Thanks for reading.
For cylinder heads still on engine follow the steps found in this link directory below.
http://www.ls1howto.com/?article=23
By following these steps I successfully removed my valve springs from my cylinder heads. While using the Proform valve spring compressor # 67605. It should be known the cylinder heads, rockers arms and rocker pedestals were removed prior to these steps.
Tools I used
Proform valve spring compressor # 67605
1 shop rag
4mm Hex bit socket
6mm Hex bit socket
14mm Deep socket
Telescoping magnet tool
Cordless 3/8in. drive ratchet ( Cordless Ratchet not required. A regular ratchet will suffice)
3/8 to 1/4 adapter( If your Hex bit sockets and 13mm are the same drive. Adapter is not required)
Rubber mallet
Magnet tray or container of some type
Penetrating oil(not required)
Here's how you'll receive your Proform valve spring compressor # 67605(Hopefully you package doesn’t get crushed like mine)


The following parts are included inside.
Tool base X 1
Spring compressor plate X 2 ( There's 2 different plates)
Hex head bolts X 2
Threaded stud X 1
Large washer X 1
Small copper washer X 2
Thin 13mm nut X 2
Thick 14mm nut X 2
Sheet of literature X 1

All parts having red arrows with black numbers inside pointing directly to them will be used in the steps to follow. You will notice there's extra hardware. Proform supplied this extra hardware for "oddball" configurations.
Step 1
Set the cylinder head on a clean and level work surface. Then identify the pair valve springs you wish to remove.
Spray Penetrating oil around valve stem and valve keepers( this not a requirement but recommended)

Step 2
Ball up or fold your shop rag. While lifting the cylinder head place the shop rag into combustion chamber housing valves retained by previously identified springs. Then gently lower cylinder head onto work surface.


Step 3
Using the 6mm Hex bit socket, secure tool base(arrow #1) of the Proform valve spring compressor # 67605 to the cylinder head with 2 Hex head bolts(arrows #2). In front of previously identified valve springs.


Step 4
Using the 4mm Hex bit socket install the threaded stud(arrow #3) all the way into previously secured base.

Step 5
Slide the spring compressor plate(arrow #4) over threaded stud and the pair of valve springs.


Step 6
Slide large washer(arrow #5) over threaded stud. Washer should now be resting on top of spring compressor plate. Now thread one of the thin 13mm nuts(arrow #6) Proform provided on the threaded stud.


Step 7
Hold the Telescoping magnet tool in one hand. With the other use the 13mm Deep socket and ratchet slowly tighten the nut on the threaded stud. Tighten nut until the pair of valve springs are compressed enough to remove all valve keepers with Telescoping magnet tool. Now place valve keepers in magnet tray/container.


Quick Tip
From time you'll run into a valve or 2 does this.


Note how the valve springs are fully compressed & keepers are stuck in the retainer. This cause valves to open. As seen in the pics above.

When this happens. Lift the cylinder head and remove shop rag from combustion chamber. Place shop rag over compressed valve springs. All while still holding cylinder head. Tilt cylinder head enough to comfortably fit your rubber mallet. Using the rubber mallet LIGHTLY tap the face valve towards the valve seat. (to avoid damaging the valve do not use excessive force) If the valve keepers hadn't already fallen into the shop rag retrieve them using the Telescoping magnet tool. Then place valve keepers in magnet tray/container.
Step 8
Carefully loosen nut that's on threaded stud until compressor plate can be fully removed.

Step 9
Remove valve springs.


Congratulations you have successfully removed your pair of valve springs. To remove the remaining sets follow steps 1-9. And you'll have all them off in no time.
Here's a video I made to show the entire process.
I hope you enjoyed this DIY & it assists you with the use of Proform valve spring compressor # 67605. Thanks for reading.
Last edited by Nismo Kid; 08-06-2015 at 03:36 AM.


