Where is this leak coming from?

 09-30-2009, 03:06 PM
#22

ya i seen it right away it was messed up, just because ive done em in the past. in fact thinkin about it now, i took it back to napa, they didnt have another so i got one from autozone. ive used four so far without issue, one in my s10, one in an astro, one in a third gen, one in a fourth gen. personally i dont like em just because i dont like quick fixes but it has saved my friends the cost of a new axle, im **** and run all delco in my camaro and whenever anything breaks i replace it all. thats why i dont drive it much, dont want to put miles on it haha.
09-30-2009, 03:09 PM
#23
u dont have to take the wheel off the drivers, but just make sure ebrake is released its outta gear, and just pull out on the wheel, and grab ahold of the axle on the other side and pull out and that will allow you to take out the pin. once pin is out push in only the passenger side axle and get that clip out
 haha jk. well if you do have both axles pulled out on that pin should come out relatively easy
09-30-2009, 04:11 PM
haha jk. well if you do have both axles pulled out on that pin should come out relatively easy
09-30-2009, 04:11 PM
#26
TECH Addict
Thread Starter
iTrader: (3)
Join Date: Oct 2007
Location: Orange County
Posts: 2,543
Likes: 0
Received 0 Likes
on
0 Posts
Ok it took some wd40, and some gentle persuasion but i got it out lol how does everything look? i'm going to run to the store and pick up the seal right now.

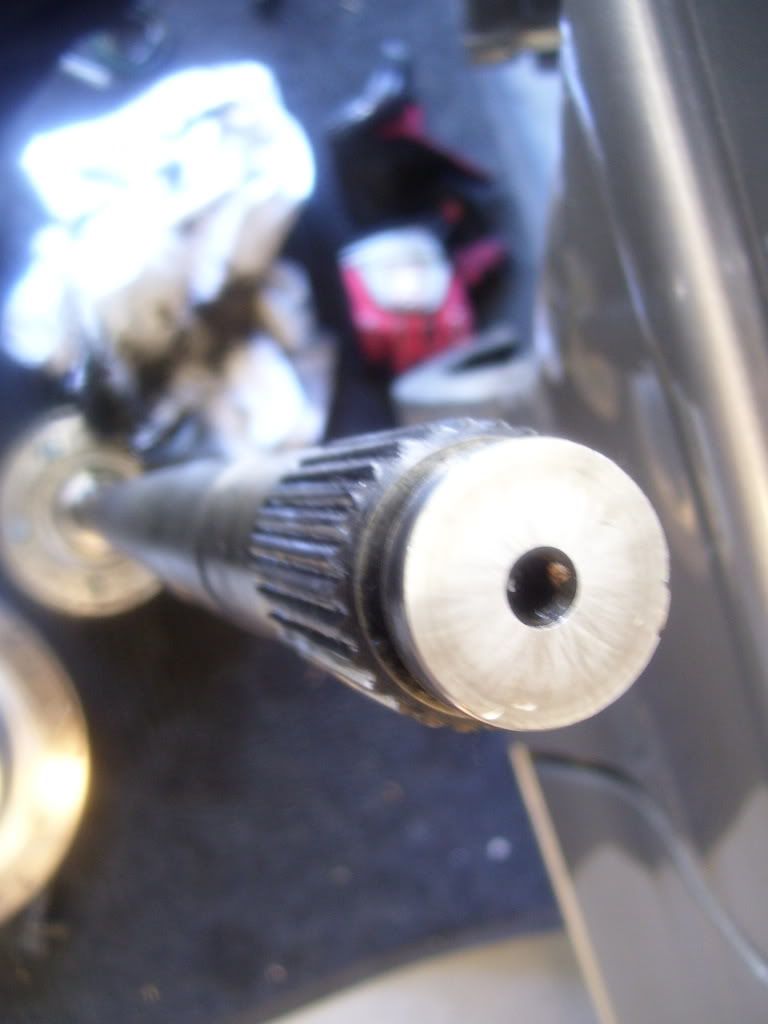
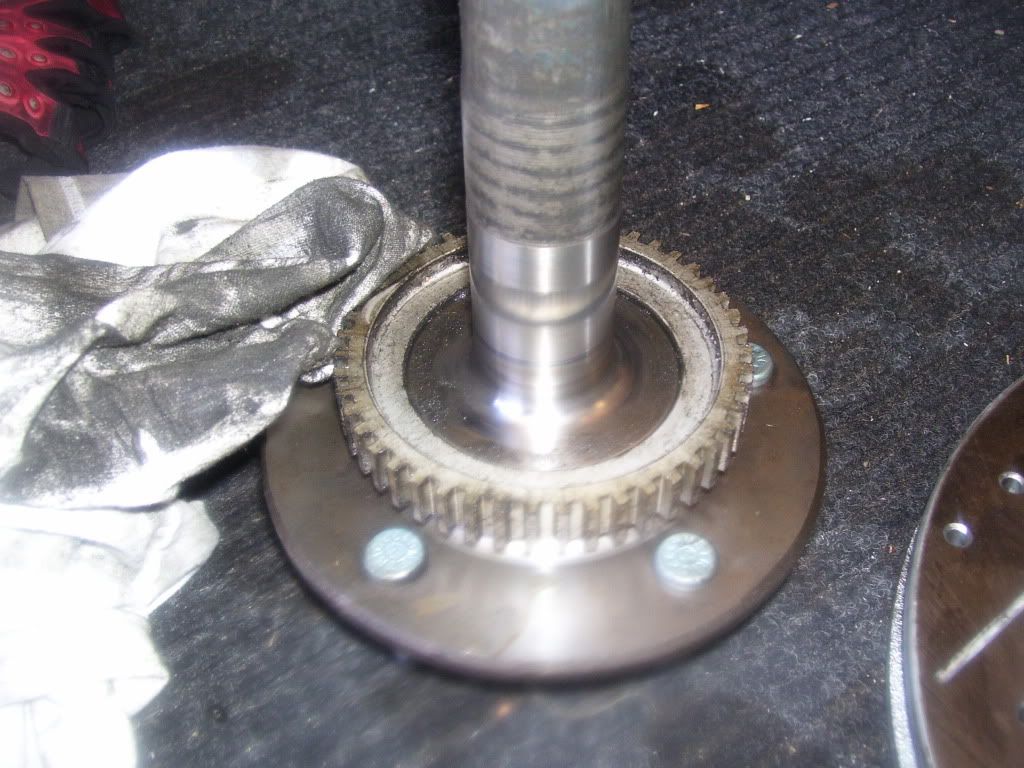
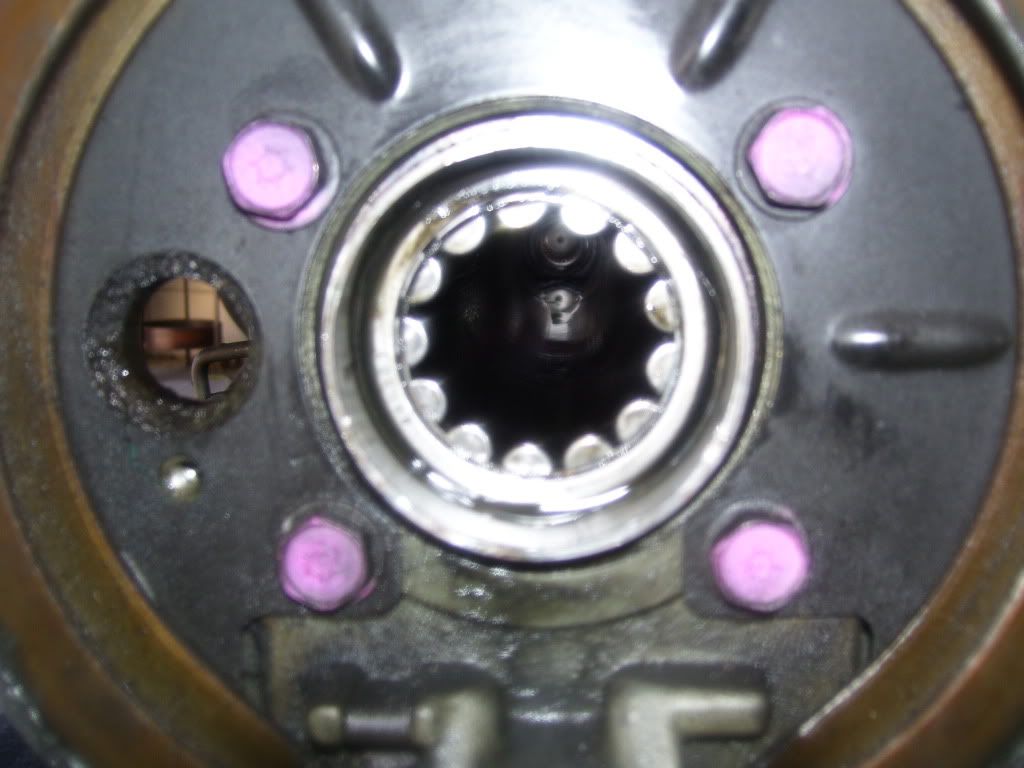
also this spring-ring came out, do you know where it goes?
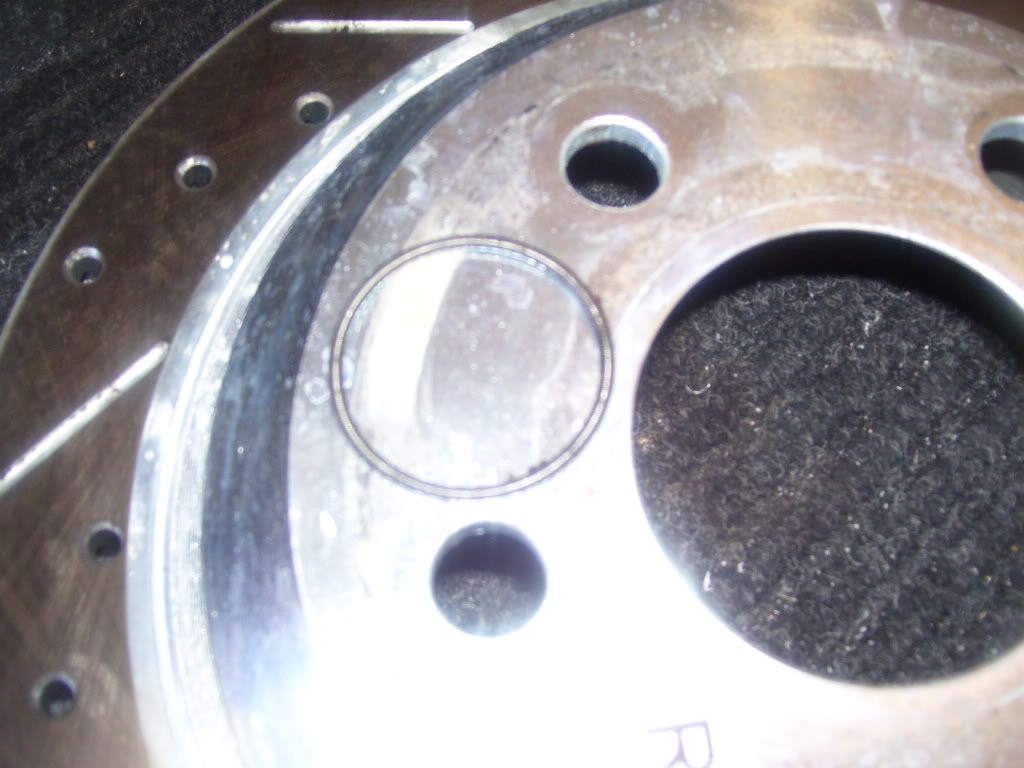
also this spring-ring came out, do you know where it goes?
09-30-2009, 06:12 PM
#29
TECH Addict
Thread Starter
iTrader: (3)
Join Date: Oct 2007
Location: Orange County
Posts: 2,543
Likes: 0
Received 0 Likes
on
0 Posts
just finished putting in the new seal, put the axle back in and rotors back on. Thank you very much for the help. I posted in the gear and axle section here and had no response for a day, then I post in the good old western section and get help immediately 
now i just have my pinion seal to do.
now i just have my pinion seal to do.
 09-30-2009, 06:48 PM
#32
From the Diff and Axles sticky (I have no experience with this):
One should not attempt to fix a pinion seal leak unless they are familiar with the way a rear end goes together, because pinion depth & crush sleeves are vital to correct setup. Fixing a pinion seal includes removing the driveshaft, pinion nut, washer, yoke, and old seal. The housing should be clean from nicks, and the yoke should be cleaned with a scotchbrite pad to get rid of any unsmooth areas before the new seal is installed. When retightening the pinion nut, it is important not to overcrush the crush sleeve. Pinion bearing preload needs 24-32 inch/lbs tq with a new crush sleeve, or 8-12 inch/lbs if reusing your old stuff.
One should not attempt to fix a pinion seal leak unless they are familiar with the way a rear end goes together, because pinion depth & crush sleeves are vital to correct setup. Fixing a pinion seal includes removing the driveshaft, pinion nut, washer, yoke, and old seal. The housing should be clean from nicks, and the yoke should be cleaned with a scotchbrite pad to get rid of any unsmooth areas before the new seal is installed. When retightening the pinion nut, it is important not to overcrush the crush sleeve. Pinion bearing preload needs 24-32 inch/lbs tq with a new crush sleeve, or 8-12 inch/lbs if reusing your old stuff.
09-30-2009, 07:00 PM
#33
TECH Addict
Thread Starter
iTrader: (3)
Join Date: Oct 2007
Location: Orange County
Posts: 2,543
Likes: 0
Received 0 Likes
on
0 Posts
That's what I have been reading!
Yea I read that, and pretty much all the people who posted up about doing it themselves say it's really easy so we will see.
From the Diff and Axles sticky (I have no experience with this):
One should not attempt to fix a pinion seal leak unless they are familiar with the way a rear end goes together, because pinion depth & crush sleeves are vital to correct setup. Fixing a pinion seal includes removing the driveshaft, pinion nut, washer, yoke, and old seal. The housing should be clean from nicks, and the yoke should be cleaned with a scotchbrite pad to get rid of any unsmooth areas before the new seal is installed. When retightening the pinion nut, it is important not to overcrush the crush sleeve. Pinion bearing preload needs 24-32 inch/lbs tq with a new crush sleeve, or 8-12 inch/lbs if reusing your old stuff.
One should not attempt to fix a pinion seal leak unless they are familiar with the way a rear end goes together, because pinion depth & crush sleeves are vital to correct setup. Fixing a pinion seal includes removing the driveshaft, pinion nut, washer, yoke, and old seal. The housing should be clean from nicks, and the yoke should be cleaned with a scotchbrite pad to get rid of any unsmooth areas before the new seal is installed. When retightening the pinion nut, it is important not to overcrush the crush sleeve. Pinion bearing preload needs 24-32 inch/lbs tq with a new crush sleeve, or 8-12 inch/lbs if reusing your old stuff.
10-01-2009, 04:35 PM
#35
On The Tree
iTrader: (6)
Join Date: Feb 2007
Location: hell
Posts: 161
Likes: 0
Received 0 Likes
on
0 Posts
pinion seals are easy!!
1: remove bolts from u-joint straps and then use a big screwdriver, to pry driveshaft loose from yolk. (sticks sometimes from slight rust)
2: either remove drivelshaft or move to side and secure with wire or bunge cord. (if you remove driveshaft, have plug to seal end of trans. to stop from losing fluid from tailshaft)
3: using a impact (either air or a good electric) hold the yolk with one hand and remove the retainer nut.
4: remove the yolk from the housing. it is usally on pretty good and will require a hammer or air chisel to remove. (i usally hit it on the end of the yolk, between the strap bolt holes. i also make sure to spin the yolk around to hit opposite sides evenly as i remove it.)
5: with yolk removed, you can access the pinion seal. i use a big flat head screwdriver and hammer. there is a little lip edge of the seal that sits on the end of the housing (you might need to clean the housing to see it) i use the screwdriver and hammer to hit this edge in. then when i can get the screwdriver between the seal and housing, i hammer it in a (little) and the pry the seal out.
6: clean the housing up! wipe it clean rag and then use a little brake cleaner on a rag to wipe the inside of the housing clean also. (do not spray brake cleaner into the housing)
7: install the pinion seal. a good seal will come with a lip of sealer on the seal where it seal's to the housing? if yours doesn't? it's ok. i have seen it installed dry or some use some 3m super wheatherstrip adhesive (yellow). also take some wheel bearing grease and apply a little bead on the inside of the seal where it rides on the yolk.
8: take the yolk and clean it. i usally take it to my benchgrinder and use the wire wheel to clean the seal surface off, then use a rag with brakeclean to final wipe. (you can use emerycloth/steelwool) after cleaning, wipe some wheel bearing grease on the seal surface, a nice little film will do.
9: re-install the yolk. using the hammer, lightly tap the yolk back on as far as needed to get the nut started (make sure you have some good threads started, don't want to strip the threads!!) then using the impact, tighten the pinion nut back up. i usally hold the yolk in one hand and tighten the nut a little at a time. turning the yolk back and forth to make sure it's not binding. once i make sure the yolk is seated and the pinion nut is tight? just replace the driveshaft, and then recheck the fluid level in the diff.
note: this is just from my personal experience. as a tech for 24 years. i hope this helps those that want it and others that need info. but remember this is for info only!
also! the stupidest question, is the one not asked!