Did the A-pillar flush mount with CDT premiums and it's sweet.
 03-29-2010, 10:28 PM
#1

I have had my CDT premiums from KEE audio for several weeks and had them in the standard mounts. I like the sound of them but felt I wanted to hear the high notes more. So I pulled apart the interior, drilled out the a-pillar covers and ran wire . The interior comes apart fairly easily just pull off the door as usual, pull the a-pillar cover off (which is two bolts then pull out towards t-top.) Then the kick plate where your left foot goes when relaxing comes out. All of these pieces are very easy to get out and just require removal of screws and a slight tug. The only real PITA was running a wire from the door up to the A-pillar, only because my hands aren't midget hands. I used a broken fishing pole to slide the wire from one side of the door into the interior. I shoved the new wire inside the pole and it slide right on into the cabin. I didn't have a hole saw big enough so I used a drill bit. Then, with a dremel sanding drum attachment I sanded out the hole till it was large enough to fit the tweeter and flush mount. I am quite pleased with my results and have zero regrets about mounting them in the a-pillars. Btw there is no Echo, the results are a more surround sound atmosphere and it's also louder with some increased clarity. I have some pics from the arrival of the speakers and some finals of the A-pillar mounts so enjoy and ask any questions if you need.
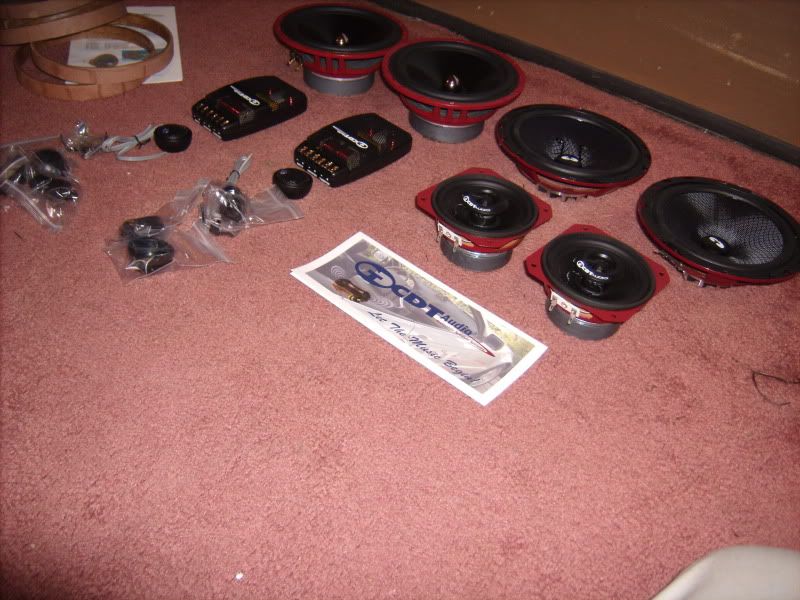
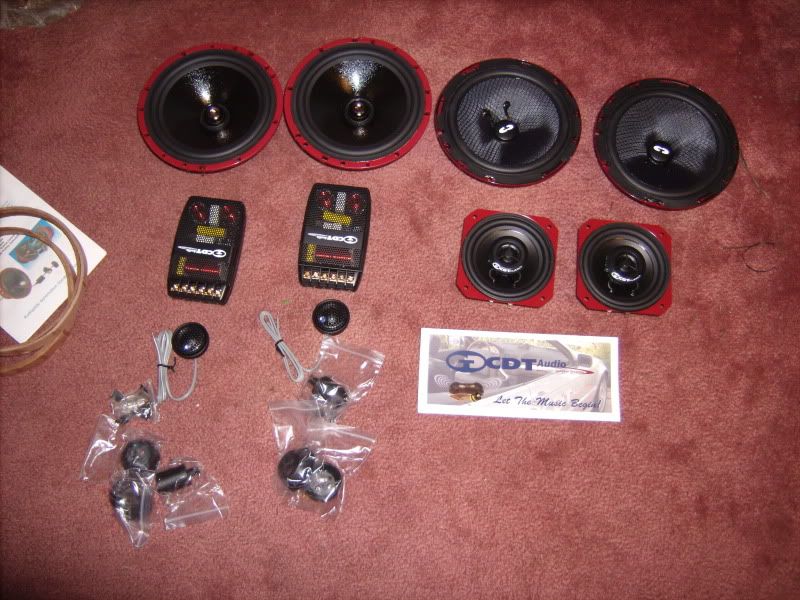
Below is the arrival and unpacked product
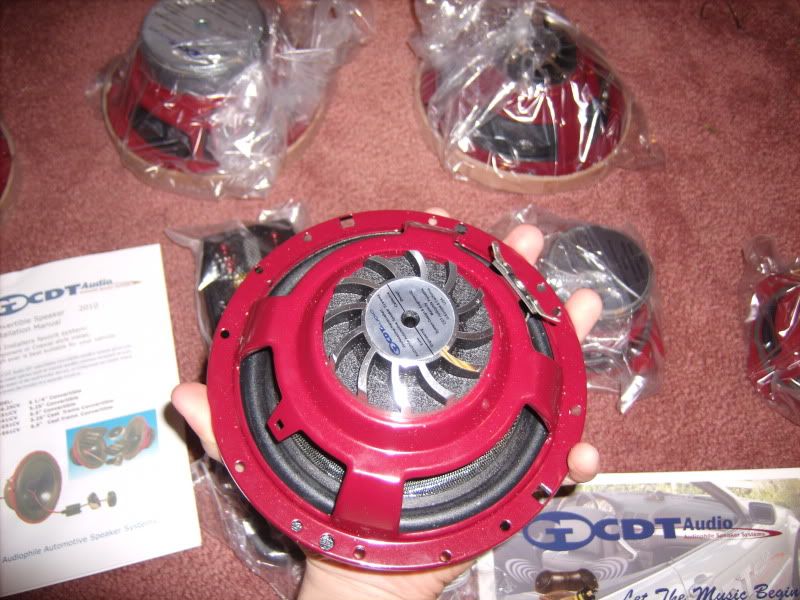
Below is the magnet of the midwoofer
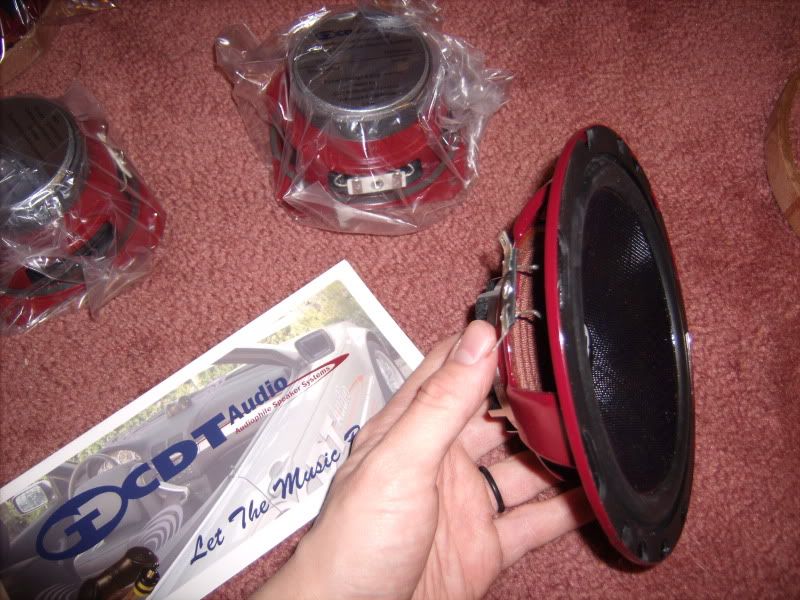
and side profile
***** in a box
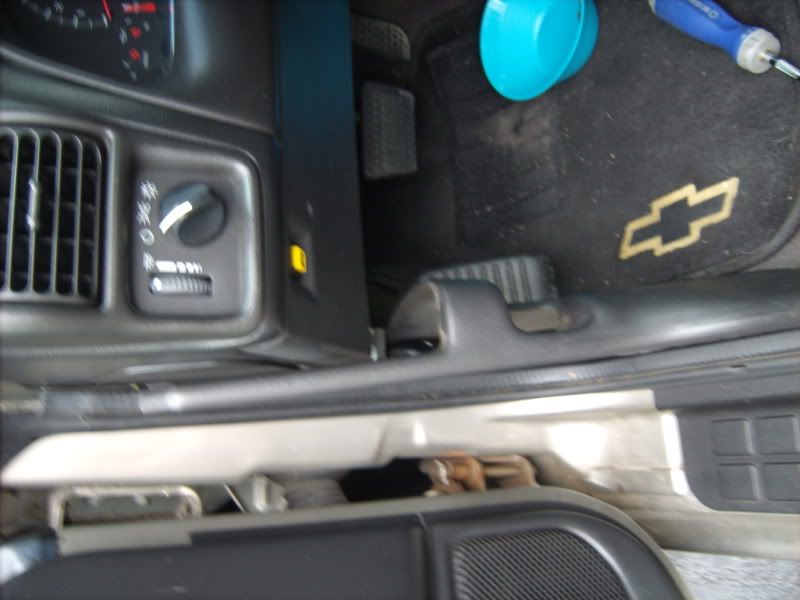
Kick panel to be removed, very easy
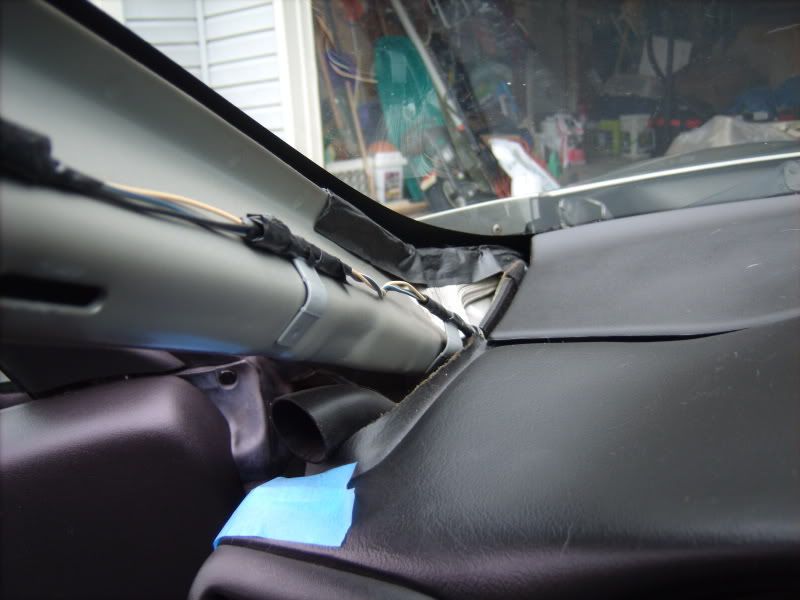
pull on pillar cover and it pops right out

lots of depth to mount tweeter
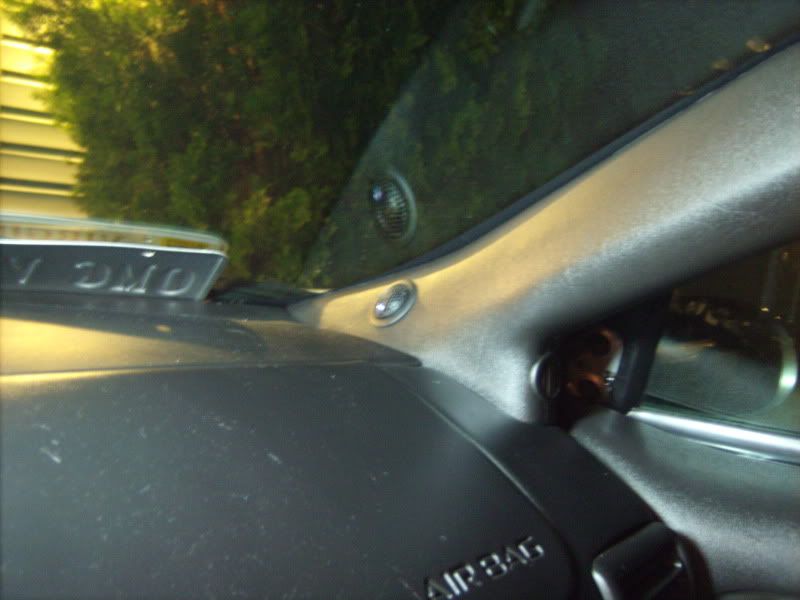
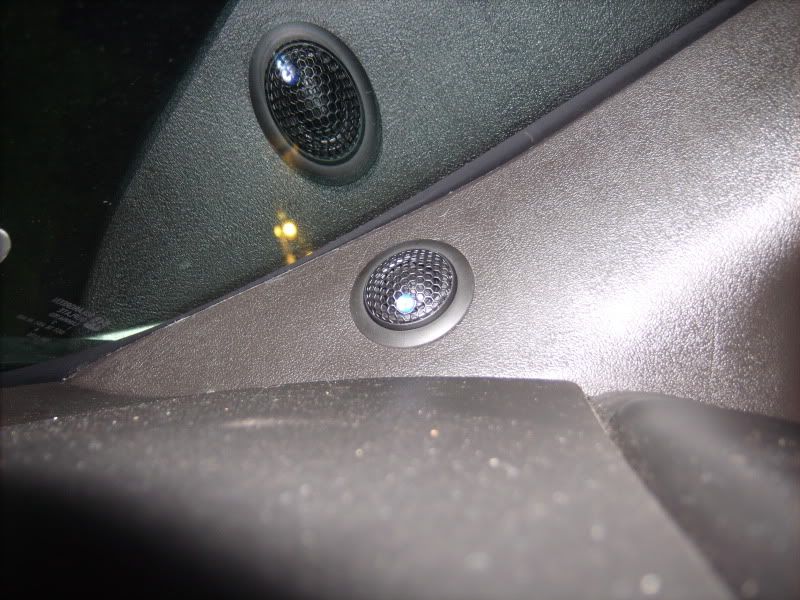
The other phases are just drilling which i'm sure most people can handle, just choose a spot to drill and get goin. Running wire was something I couldn't take pics of since...well actually I just got lazy . Sooo lets skip ahead to finished product after reassembly
 .
.
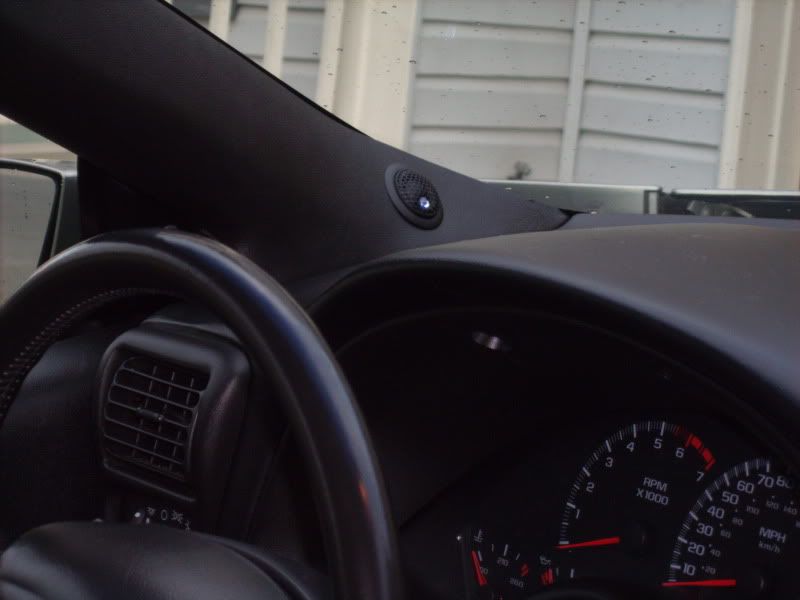
Lots of dust...sorry
Anyone who has ever used a drill or played with speakers can do this small mod. Honestly installing a window motor is more frustrating. But a word of advice the drivers side door is harder to do than the passenger since there are more obstructions inside of it from large wires and whatnot.
. The interior comes apart fairly easily just pull off the door as usual, pull the a-pillar cover off (which is two bolts then pull out towards t-top.) Then the kick plate where your left foot goes when relaxing comes out. All of these pieces are very easy to get out and just require removal of screws and a slight tug. The only real PITA was running a wire from the door up to the A-pillar, only because my hands aren't midget hands. I used a broken fishing pole to slide the wire from one side of the door into the interior. I shoved the new wire inside the pole and it slide right on into the cabin. I didn't have a hole saw big enough so I used a drill bit. Then, with a dremel sanding drum attachment I sanded out the hole till it was large enough to fit the tweeter and flush mount. I am quite pleased with my results and have zero regrets about mounting them in the a-pillars. Btw there is no Echo, the results are a more surround sound atmosphere and it's also louder with some increased clarity. I have some pics from the arrival of the speakers and some finals of the A-pillar mounts so enjoy and ask any questions if you need. Below is the arrival and unpacked product
Below is the magnet of the midwoofer
and side profile
***** in a box
Kick panel to be removed, very easy
pull on pillar cover and it pops right out
lots of depth to mount tweeter
The other phases are just drilling which i'm sure most people can handle, just choose a spot to drill and get goin. Running wire was something I couldn't take pics of since...well actually I just got lazy
. Sooo lets skip ahead to finished product after reassembly. Lots of dust...sorry
Anyone who has ever used a drill or played with speakers can do this small mod. Honestly installing a window motor is more frustrating. But a word of advice the drivers side door is harder to do than the passenger since there are more obstructions inside of it from large wires and whatnot.
 03-29-2010, 10:41 PM
#2
On The Tree

Join Date: May 2009
Location: Boise, ID
Posts: 125
Likes: 0
Received 0 Likes
on
0 Posts
Thats clean.. thanks for posting. I currently have them in the stock location, but this may just inspire me to move them up.. do you have everything wired to your stock deck/amp or do you have aftermarket components there as well?
 03-30-2010, 04:02 PM
#5
TECH Regular
iTrader: (1)
Join Date: Oct 2009
Location: Brighton,MI
Posts: 408
Likes: 0
Received 0 Likes
on
0 Posts
^lol.
How do they sound with the monsoon amp? In my old camaro i had CDT componets but i had them running off an aftermarket amp. i wish i would of knew that i could still use the monsoon amp would of saved me some $$$.
How do they sound with the monsoon amp? In my old camaro i had CDT componets but i had them running off an aftermarket amp. i wish i would of knew that i could still use the monsoon amp would of saved me some $$$.
Trending Topics
05-16-2013, 10:52 PM
#9
Welp my Camaro died so I sold it with the speakers still inside  . But I liked them so much that i'll be ordering some more speakers for my GTO from www.keeaudio.com. Don't hesitate to contact him, he's a real nice guy and provides really excellent support.
. But I liked them so much that i'll be ordering some more speakers for my GTO from www.keeaudio.com. Don't hesitate to contact him, he's a real nice guy and provides really excellent support. 