When you click on links to various merchants on this site and make a purchase, this can result in this site earning a commission. Affiliate programs and affiliations include, but are not limited to, the eBay Partner Network.
I converted my rigid loop festoon to a regular festoon so that I could use LED bulbs that would be directing light into my back seat vs my hatch.
I used: exacto knife, epoxy, small flat head & normal philips head screw drivers, Festoon Base Bulb Socket Part Number: FS-42 ($1.19 superbright leds), 6451 LED Bulb - 6 SMD LED Festoon Part Number: 4210-xHP6 ($14.95 superbright leds I used bright white), Autocraft 16-14 Gauge Female Water Proof Disconnect, .250 Inch part No. 85255 ($5.99 advanced auto) You can sub the last one for the 16-14 Gauge Female Audio Disconnect Part No. 84542 ($6.49 advanced auto), and optional needle nose pliers, regular pliers, scissors
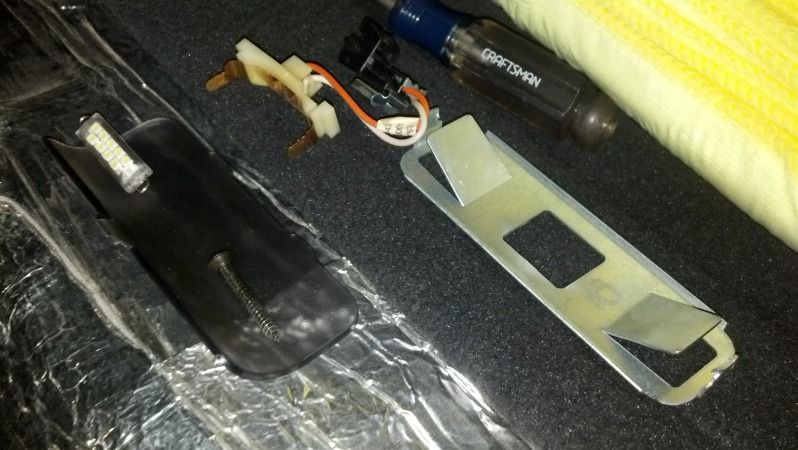
So I first removed the dome light cover using the small flat head. Next you want to remove the dome light housing from the headliner. Remove the bulb socket from the housing.
I just used needle nose pliers to pull the socket from the wires. Pop the reflector off of the housing. You'll need to cut the bottom tab off of the dome housing. The two side tabs will also need to be trimmed down on the top near the reflector and interior sides using the exacto knife.
If you use part no. 85255 then you'll want to cut the weatherproofing down so it will fit behind the socket. I used pliers to attach the disconnect to the wires. You'll need to also press down with pliers on the metal disconnect end after sliding it on to the metal tabs on the back of the festoon base so that it fits snuggly. I used epoxy on the two cut to fit tabs to secure the base bulb socket onto the housing. I didn't let mine sit long enough to cure and can still remove it but it will sit in place on its own with out popping off. Reattach the reflector and housing, screw into place and you're done!
it doesn't need to look perfect, remember you're going to put the cover back on.
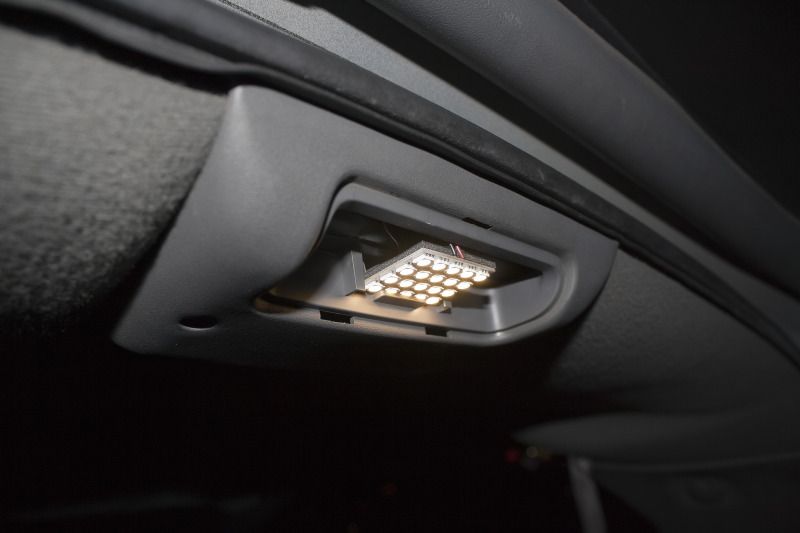
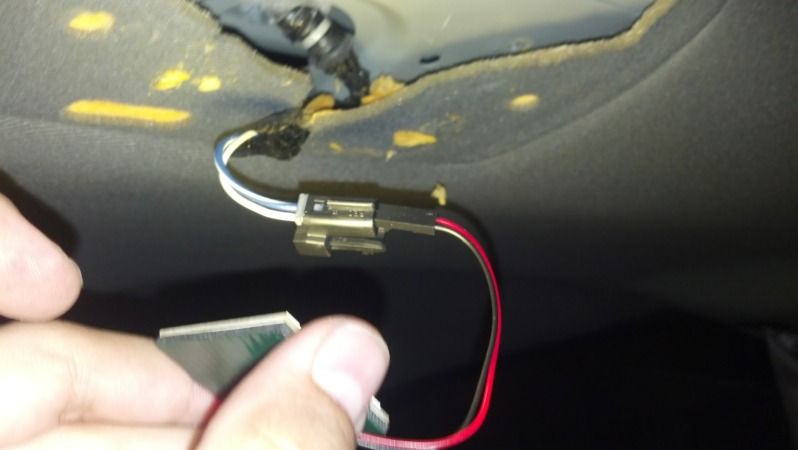
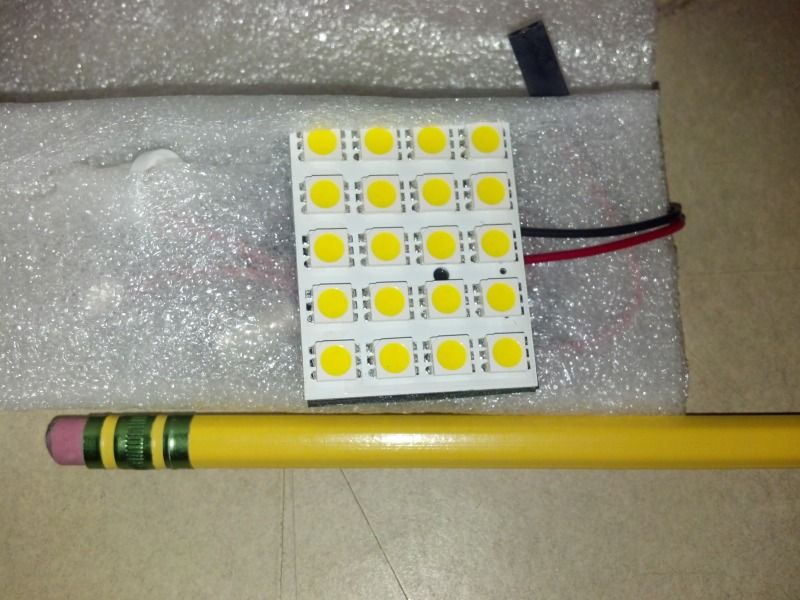
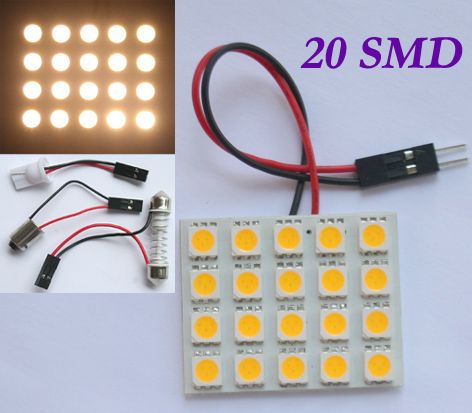
I used an eBay LED panel as well for mine back in September 2012. Way better than trying to re-work the existing rigid loop contact points. I just unplugged the rigid loop electrical connection from the main harness (above the dome light) and plugged the LED panels two pins directly into the harness... Literally plug and play. The 20LED panel I used is brighter than the stock bulb and way brighter than the LED rigid loop festoon replacement.
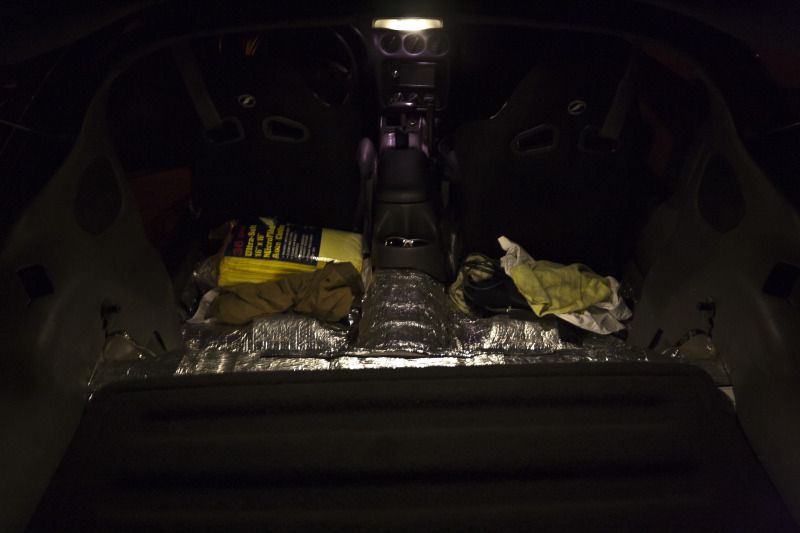
Ignore the purple/pink light from up front. They are warm white LEDs that are installed with the Gentex mirror that for some reason show up as purple/pink in pictures, but are warm white (3500k) through your eyeballs.
Wow guys, looks really professional! My LED solution doesn't look quite as professional when it's opened up but it sure get's the job done, and in just an hour with parts from Advance:
Inside.
Turned on. Taken during the day and with my phone. Trust me, it's bright red.
Whole LED interior lit up with the doors open. I wired the underdash lights to the door sensor circuit. They're courtesy lights afterall, not neons.
Gas Monkey Built a 6-Wheel Ferrari Testarossa With a Corvette LT4 Engine
Slideshow: The controversial Ferrari F6 swaps its original flat-12 for a Corvette Z06-derived LT4 V8 and sends power to four rear wheels through a custom-built drivetrain.
7 Most Reliable High-Performance Engines GM Has Ever Built
Slideshow:These GM engines didn't just make huge power, they survived abuse, boost, track days, and six-digit mileage with a reputation for refusing to quit.
6 Common C5 Corvette Failures and What's Involved In Repairing Them
Slideshow: From wobbling harmonic balancers to failed EBCMs, these are the issues that define long-term C5 ownership and what repairs typically involve.
Retro Modern Bandit Pontiac Trans AM Comes With Burt Reynolds' Autograph
Slideshow: A modern Camaro transformed into a retro icon, this limited-run "Bandit" build blends nostalgia with brute force in a way few revivals manage.
Top 10 Greatest Cadillac V Series Performance Models Ever, Ranked
Slideshow: Cadillac didn't just crash the high-performance luxury vehicle party, it showed up loud, supercharged, and occasionally a little unhinged...