Camaro 1990-2002: How to Install Halo Headlights
Installing Halo headlights may not be as hard as you think. Read this article to learn more.
This article applies to the Chevrolet Camaro (1990-2002).
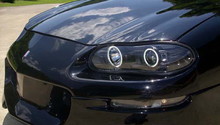
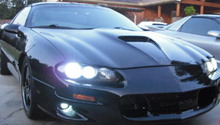
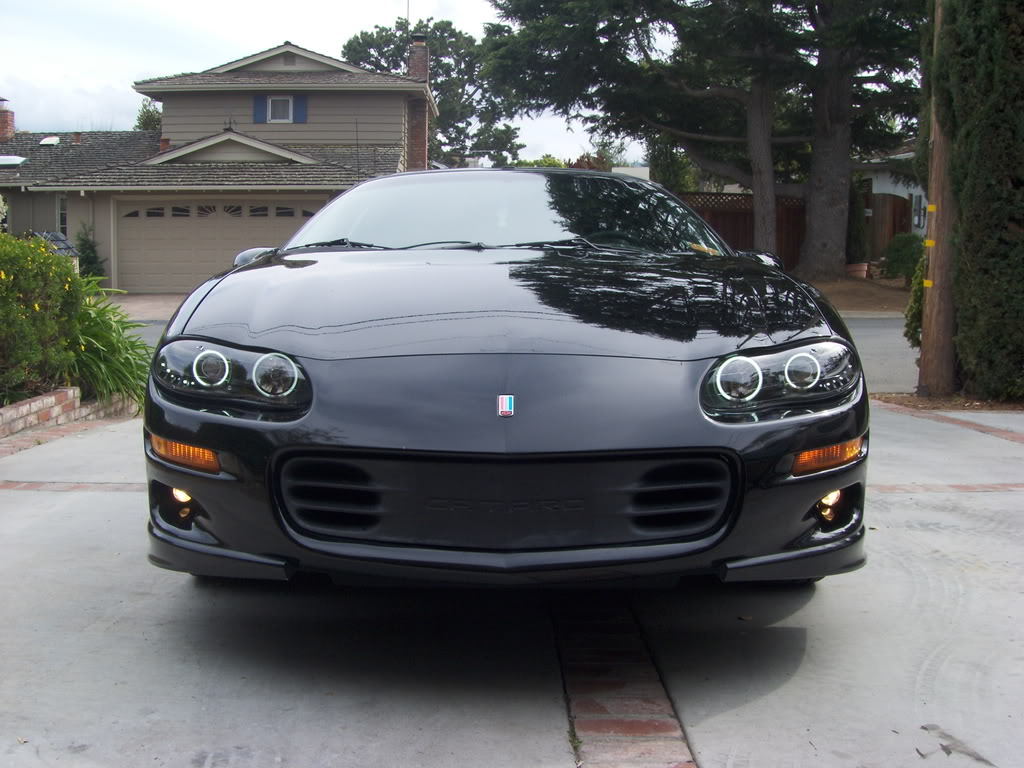
Everyone is always on the journey to make their car look as good as it sounds, and Halo headlights are one of the most effective ways to do so. Halo lights are rings that mount on the forward portion of a headlight assembly. At the moment, there are three different types of Halo lights, which are Plasma, fluorescent, and LED. The cheapest available option are the fluorescent lights, which are comprised of one tube. Plasma as well as LED lights are brighter and allow other functions, such as sequential lighting. Each assembly is very easy to install as explained below.

Materials Needed
- 10mm socket
- 8mm socket
- Wire connectors
- Wire cutter
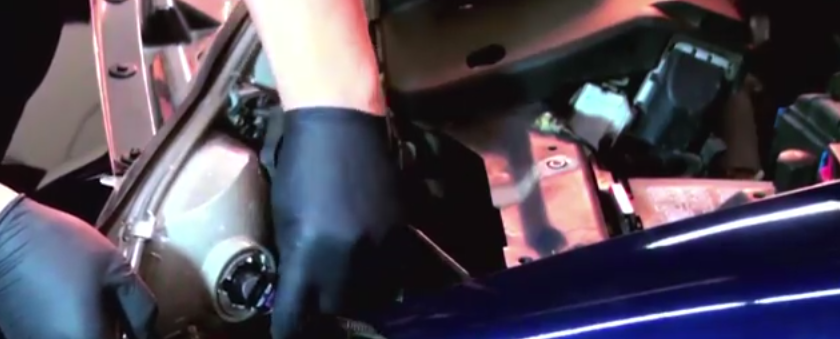
Step 1 – Loosen the headlight bracket
Open the hood and locate the headlight bracket bolts. There are two, one 10mm and one 8mm, on an L-shaped bracket towards the front of the vehicle. Loosen each bolt and wiggle the headlight free from its mounting location.

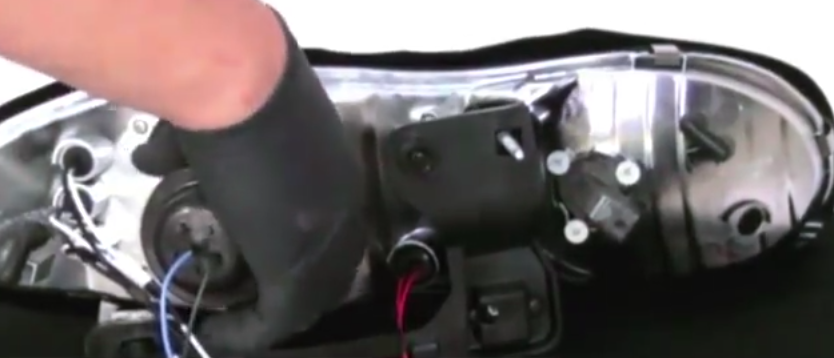
Step 2 – Remove the headlight bulbs
Pull the headlight outwards and twist off the high and low-beam bulbs. I suggest you place the stock assemblies somewhere safe, just in case you want to reinstall them later on.
Step 3 – Mount the bulbs on
- Disconnect the bulbs from their wire harness, if you haven't already.
- Install them onto the new Halo headlight assemblies.
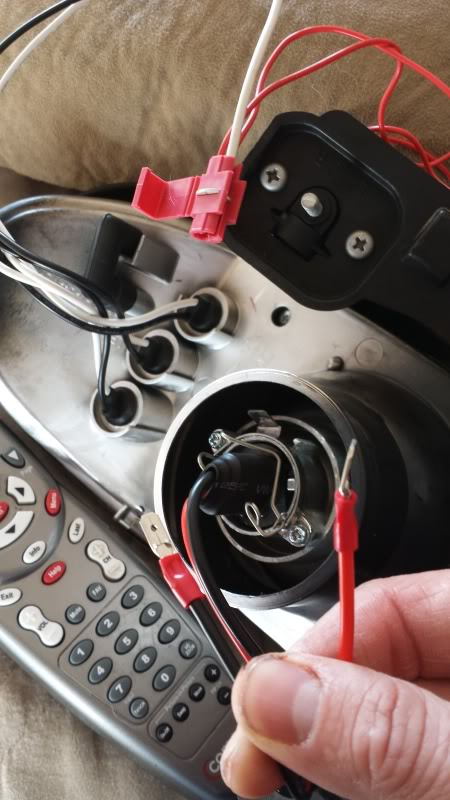
Step 4 – Wire in the Halo rings
You have the freedom in terms of where you want to wire these lights. A good place to look for is where these lights can be independently controlled, such as the fog lights.
- Locate the accessory wire and splice into it.
- Wire in the ground.
Step 5 – Install the headlights
Depending on what headlight you've purchased, you may run into some fitment problems. The best fix I have seen involves installing a 3/4 inch plastic spacer on the lower peg under the headlight assembly.
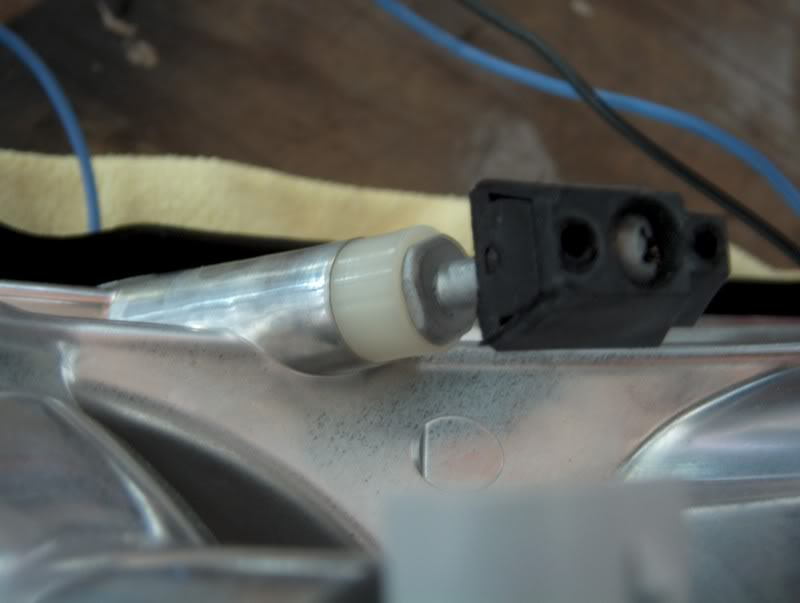
(More information on the Spacer fix click here.)
- Connect the headlight bulbs.
- Mount each headlight onto the brackets.
- Tighten and install each bracket.
Featured Video: Spyder Auto Camaro Projector Headlight Installation
Related Discussions
- Projector Headlight Gap Fix - LS1Tech.com
- Just Installed CCFL Halo Projector Headlights - LS1Tech.com