Camaro and Firebird: How to Repair and Replace Body Control Module
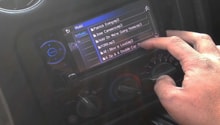
The body control module (BCM) is a computer which controls everything from your power windows to your radio. Here's how you fix or replace one that's gone bad.
This article applies to the Chevrolet Camaro and Pontiac Firebird (1993-2002), as well as the Corvette.
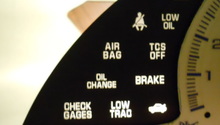
The BCM, or body control module, controls and monitors all of the electronic accessories in your car. So when you start to see problems crop up with various electronic accessories at once, there is a good chance there is something wrong with your BCM. You can get a new BCM from your local Chevy dealer, but they are notoriously overpriced, and aftermarket parts are available from almost anywhere for less than half the price. Don't bother with trying to buy one from a junk yard, the BCM is set up only to work with the car they are initially installed on.

Materials Needed
- New/remanufactured BCM
- Pry tool or flat head screwdriver
Step 1 – Remove the old BCM
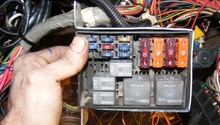
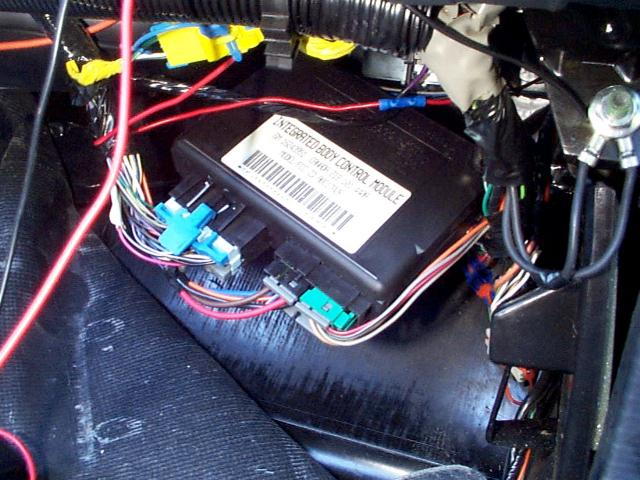
Start by disconnecting the negative (black) terminal on the car battery. Next, remove the passenger side kick panel and the panel under your glove box. (C5 Corvettes have their BCM in the passenger footwell, under the carpet, under an access panel.) You'll need to pry these panels loose. Go around the corners and pry up the clips on the back of the panels. The BCM will be behind the panel under the glove box. It's not screwed or bolted down, so you can just pull it out. Then unplug the wiring harnesses going to the back of the BCM.
Step 2 – Fix the BCM
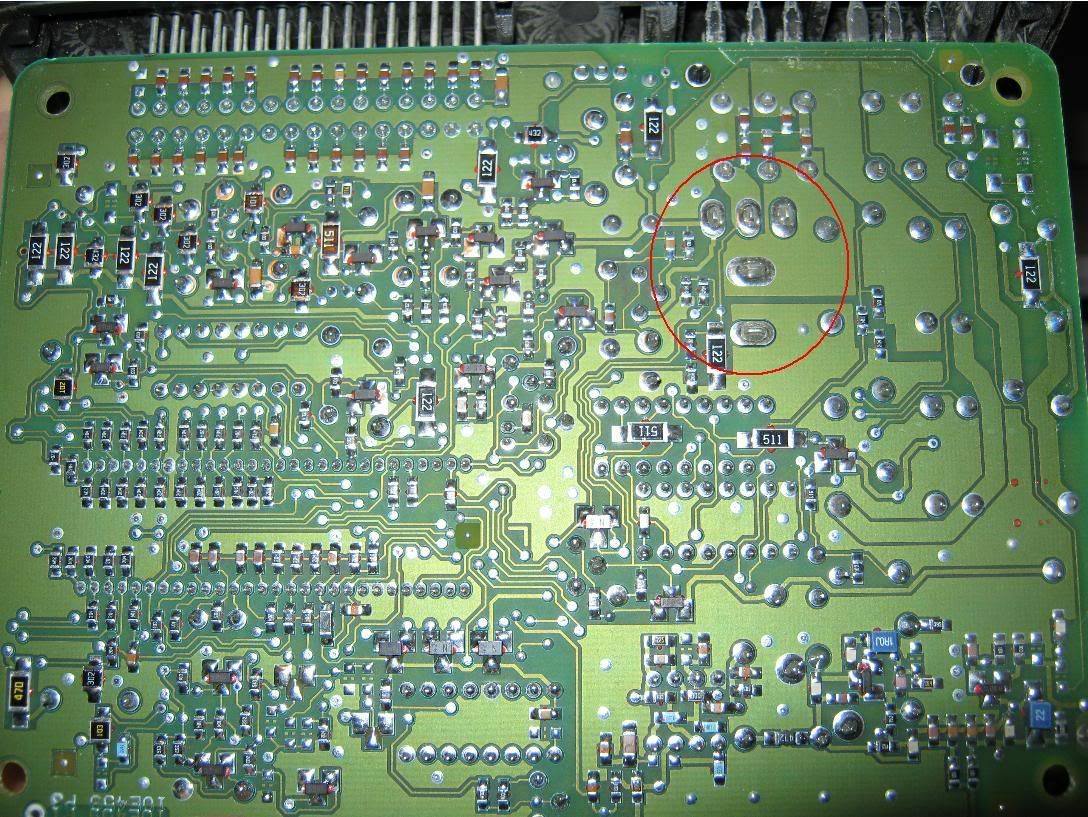
Depending on the issue, you may not need to replace your BCM. There is a relay built into the BCM circuit board which often develops a loose joint. Pry open the BCM and pull out the circuit board. Turn the board over and look for cracks and loose joints; the red circle (in Figure 2) indicated the relay connection, which often goes bad. Use a soldering iron and apply solder to any loose joints. Wait for the solder to cool, and then give the circuit board a little shake to make sure the joints are no longer loose. Line up the pins on the back of the circuit board with the openings in the box, then reinsert the circuit board.
Step 3 – Install BCM
Whether you're reinstalling your old BCM that you just fixed or you're installing a new BCM, installation is the same. Plug in the wiring harnesses to the back of the BCM, then tuck it into the space under the glove box. Reconnect the battery and then put your key in the ignition. Test out the accessories you were having problems with. Hopefully they are working again, but if not, you may want to recheck the BCM. When you're finished, reattach the kick panels and then you're done. Do some driving to test things out.
Pro Tip
If the new BCM does not automatically learn the chip in your ignition key, you may need to take the car into a dealer to have it programmed. Additionally, the BCM replacement may require you to reprogram the alarm and other electronic functions.
Featured Video: Fixing the Body Control Module
Related Discussions
- C5 Body Control Module Replacement/Interchangeability - LS1Tech.com
- LS1 Body Control Module Problems - The Fix - LS1Tech.com
- Does new BCM have to Be Flashed by the Dealer? - LS1Tech.com