Camaro and Firebird: How to Replace Thermostat and Water Pump
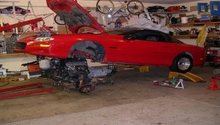
While the water pump may appear to be buried down deep in the recesses of your engine bay, it's actually not a hard job to tackle. While it looks to be blocked from all directions, getting it replaced can be an easy and rewarding job for just about any level of DIYer. Let's pull out the wrenches and have at it!
This article applies to the Camaro Z28/SS (1998-2002), and Pontiac Formula/Trans Am (1998-2002).
One key to a good running engine is keeping the heat under control. Every vehicle needs to have heat to run correctly, but too much causes the engine to overheat. Overheating can cause warped heads and will most definitely leave you stranded at the most inopportune time. The thermostat and water pump circulate the coolant to keep everything on an even keel. Luckily, if you do develop a leak or the thermostat isn't working correctly, changing either one out is simple and can usually be done in less than an hour.

Materials Needed
- 3/8" or 1/2" ratchet with matching 10mm and 15mm sockets, and 5" extension
- 10mm combination wrench
- Pliers
- Flat head screwdriver
- Gasket sealant
- Gasket scraper
- Clean drain pan
- Rags
If you haven't changed your coolant in a while (Dex-Cool: 5yr/150,000 miles; Green stuff: 2yr/30,000 miles), you may want to consider doing so while replacing your water pump and/or thermostat. Since the coolant will be mostly drained in the first place, it's just a good time to make it happen. Look in the other How-To articles on LS1Tech.com to learn the ins and outs of the process.
(Related Article: How to Flush Radiator Coolant - LS1Tech.com)
Note
This article is based on the LS1 Camaro and Firebird. The C5 Corvette can also be managed with the same basic steps, though there may be subtle differences.
Step 1 – Drain the radiator
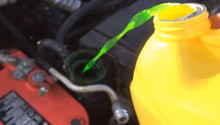
Place the clean drain pan under the radiator at the pet cock drain (Figure 1). Ensure the pan is large enough to hold more than eight (8) quarts of coolant. Take the radiator cap off and place it aside. Open the pet cock and allow the coolant to drain. It will take about 10 to 15 minutes for the coolant to finish draining. Once the coolant flow has slowed to a trickle, you can shut the pet cock, as the coolant level will be below the working level of the water pump.

Step 2 – Remove intake intake assembly
Disconnect the connections for the Mass Airflow (MAF) and Intake Air Temperature (IAT) sensors. Using the screwdriver, loosen the worm drive clamp where the intake meets the throttle body. Next, using the 10mm socket, remove the four bolts (two on either side of the air filter housing) holding the intake assembly to the core support. Once this is done, remove the entire air intake assembly and set it aside.
Step 3 – Disconnect upper radiator hose
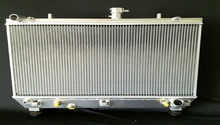
Using the pliers, loosen the clamp on the upper radiator hose and slide it back on the hose, then remove the hose at the connection (Figure 2).
Pro Tip
When disconnecting hoses, loosen the hose clamp and slide it back onto the hose. This keeps the clamps where you can find them easily and will stay on the hoses they belong.
Step 4 – Remove the serpentine belt
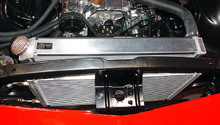
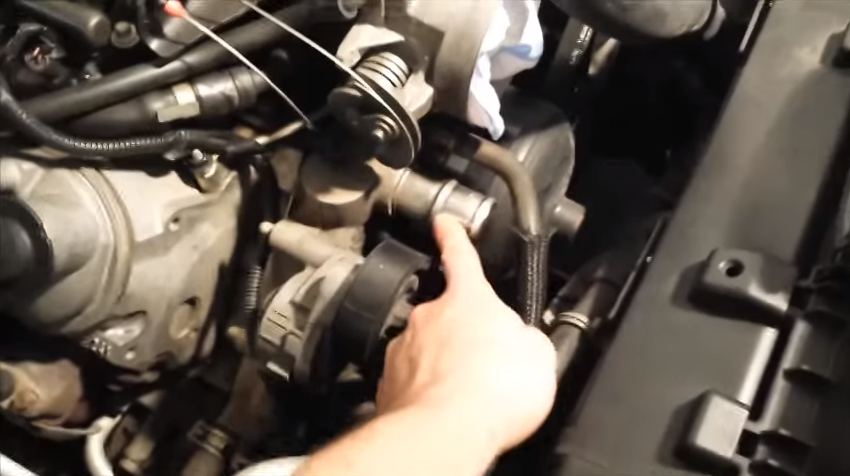
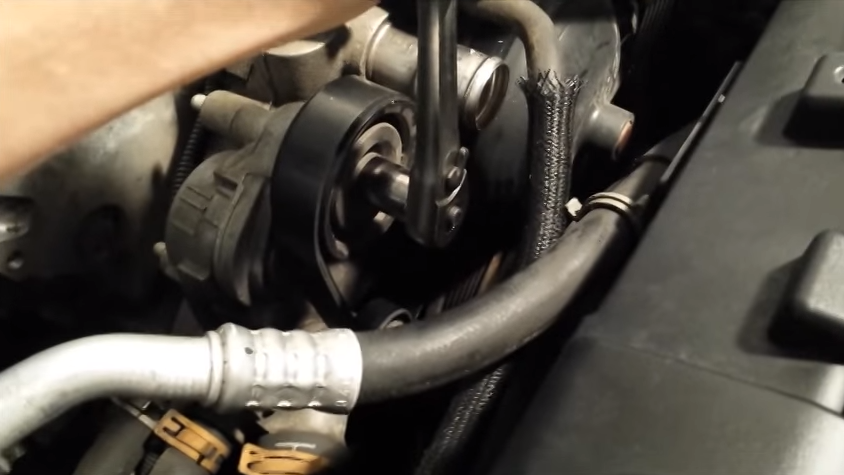
Using the 15mm socket on the belt tensioner bolt, turn the tensioner clockwise to relieve the tension on the serpentine belt. Take the belt off of one of the pulleys before releasing the tensioner (Figure 3).
Step 5 – Remove coolant hoses from water pump
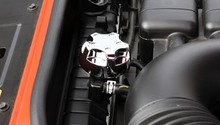
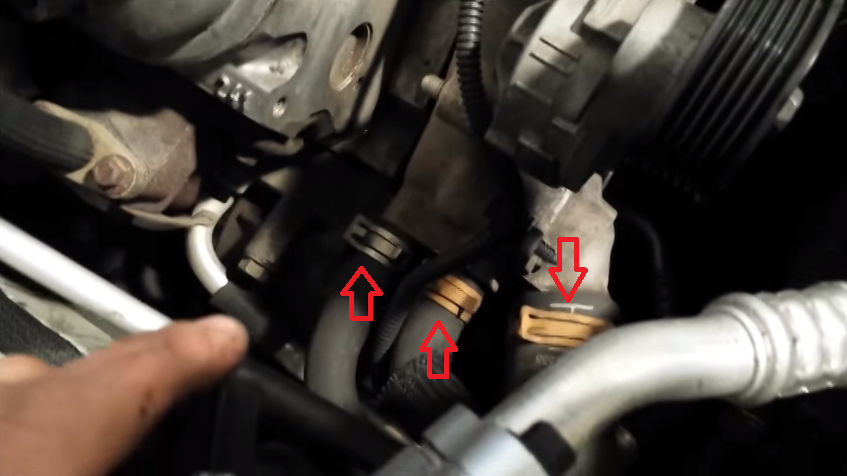
Using the pliers, loosen the hose clamps on the three hoses attached to the water pump (Figure 4). Ensure the drain pan is under the area and then disconnect them.
Step 6 – Remove water pump
Use the 10mm socket to remove the six bolts holding the water pump to the block. You may need to use the 10mm combination wrench to remove one bolt on the driver's side of the engine. Once the six bolts are removed, take the water pump off of the engine.
Step 7 – Exchange thermostat and tensioner pulley
On a flat clean surface, place the old water pump next to the new water pump. Remove the two bolts holding the thermostat housing to the old water pump. After it's removed, inspect the O-ring, which seals the thermostat housing to the water pump for any damage. If you find any tears, cracks, or breaks, it will need to be replaced. Since the thermostat is off the water pump, this may be a good time to replace it with a new one if you are so inclined. Either way you go, bolt the thermostat onto the new water pump. Remove the three bolts holding the tensioner to the water pump and reattach it to the new water pump. If there is residual gasket material on the block, carefully remove it with the gasket scraper. Since the block is aluminum, pay extra attention not to scratch the block while cleaning it, as this can lead to leakage.
Note
If your new water pump came with metal gaskets containing rubber seals, there is no need for gasket sealer. If your new pump came with paper gaskets, put sealer on the water pump to hold the gasket in place during pump installation.
Once you've put the sealant (if needed) on the new water pump and placed the gaskets, put the six water pump bolts into place through the body of the pump. This will help from dislodging the gaskets during installation. Also, place some sealant on the block where the pump attaches to help prevent leakage now and in the future.
Pro Tip
Use a plastic gasket scraper to prevent damaging the block during gasket cleanup.
Step 8 – Install new pump and reassemble
Carefully place the pump on the block and tighten the bolts. The six bolts should be torqued to 20 lb-ft. Replace all other items in reverse order of disassembly. With the pump and pulley installed, that will require the following:
- Reconnecting the radiator hose.
- Reinstalling the serpentine belt system.
- Reassembling the intake.
Step 9 – Refill cooling system
Using the same coolant you drained (unless you are changing fluid), refill the radiator with as much coolant as it will hold. Carefully check to ensure there are no leaks. Double check the coolant level to ensure it is at maximum fill and leave the radiator cap off. Start the car to let the thermostat open. You'll know it's open when you see a drop in coolant level in the radiator. Fill the radiator again to capacity. Most, if not all, of the coolant in your drain pan should be back in the radiator at this time. Realize you should be able to put as much back in as you took out. If you are good with the fill level, check again to ensure there are no leaks, then replace the radiator cap. Take the car for a trip around the block, keeping a close eye on the temperature gauge to ensure it isn't overheating. When you get back, let the car cool off and then check the coolant level again. Fill as necessary, double checking everyday for a week to ensure it stays up to level.
Featured Video: LS1 Water Pump Replacement
Related Discussions
- LS1 Water Pump Replacement with VIDEO - LS1Tech.com
- Water Pump Replacement - LS1Tech.com
- LS1 Water Pump Removal Help!! - LS1Tech.com