

97 Fbody LT1 TO LS1 Swap
 10-02-2008, 12:35 PM
#1

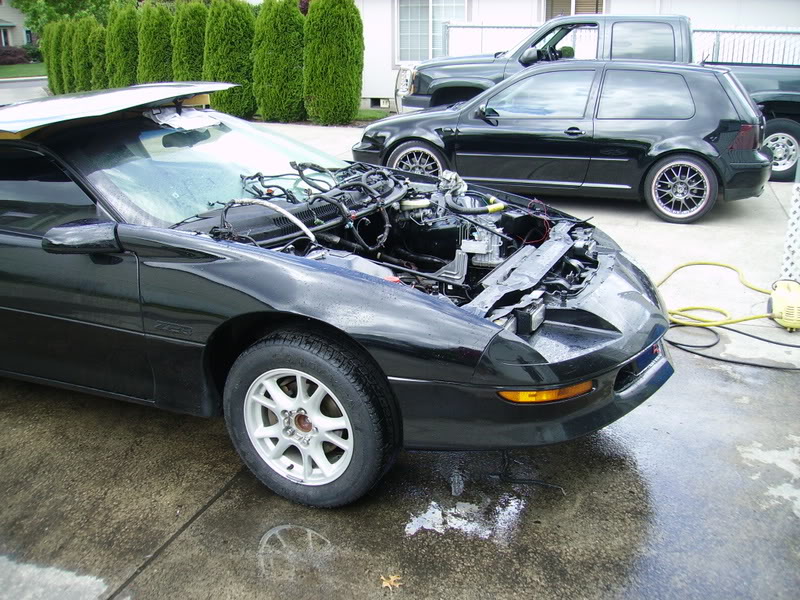
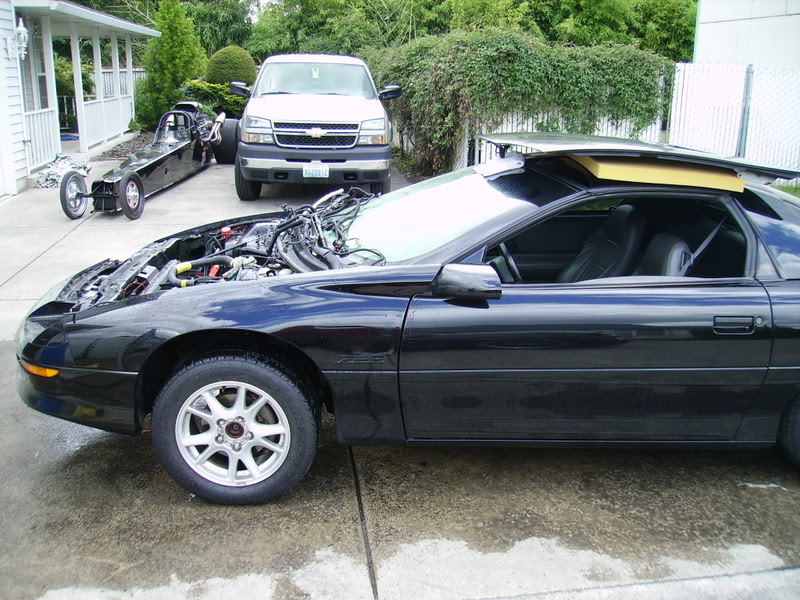
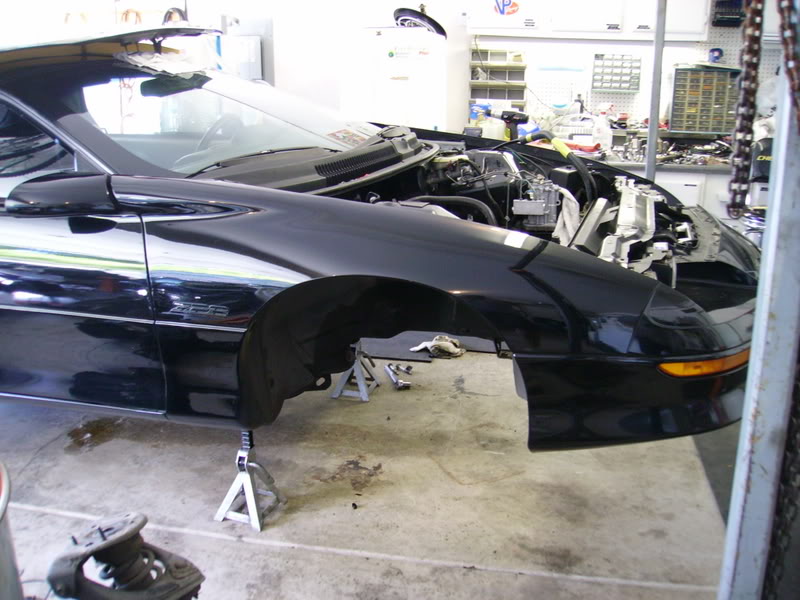
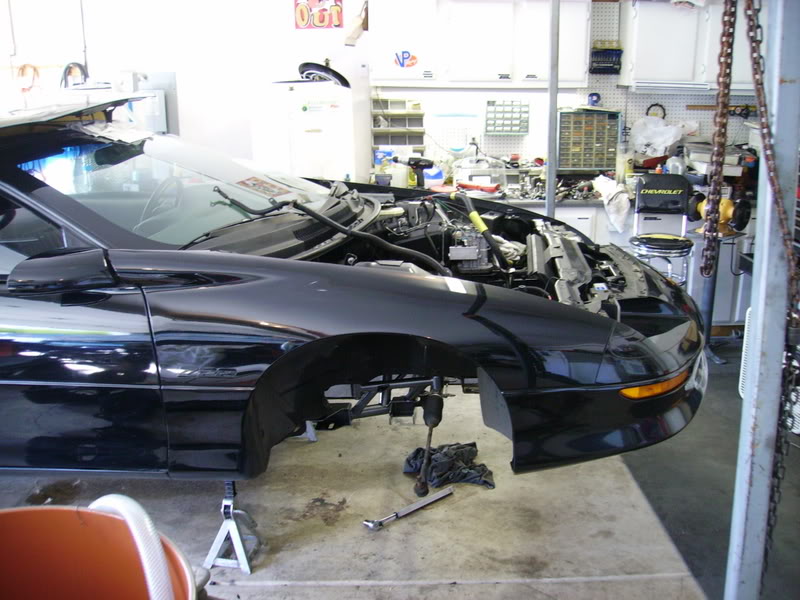
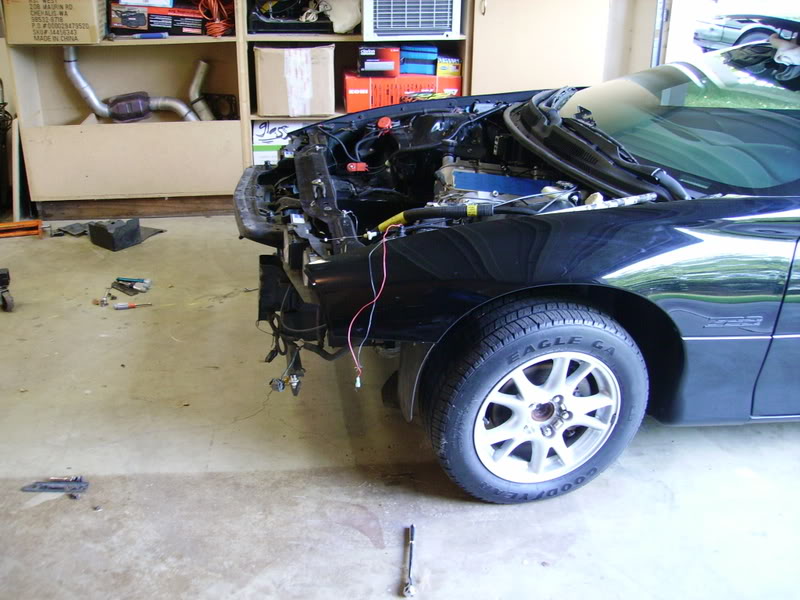
Here is the beginning of the end for the LT1 in my Z28. In the words of Happy Gilmore,,,, "So looong suckaaaa". I'll be updating this thread with pics and progress as it happens, so kick back and enjoy the show.
In the last 8 years, this car has gone through alot with me including; a marriage, a divorce, and now an engine swap lol.... She's been sitting in a garage for a couple years since last running back in 05'.
Here are the outlined plans for the black car:
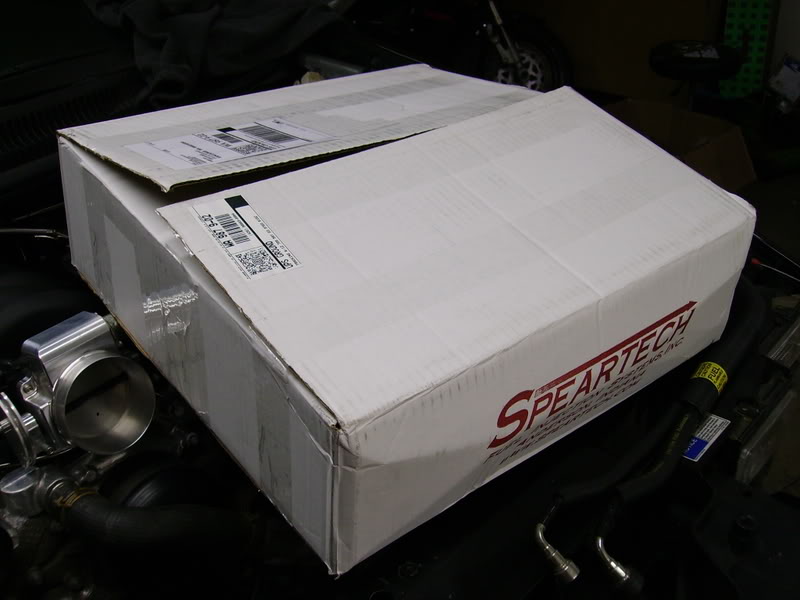
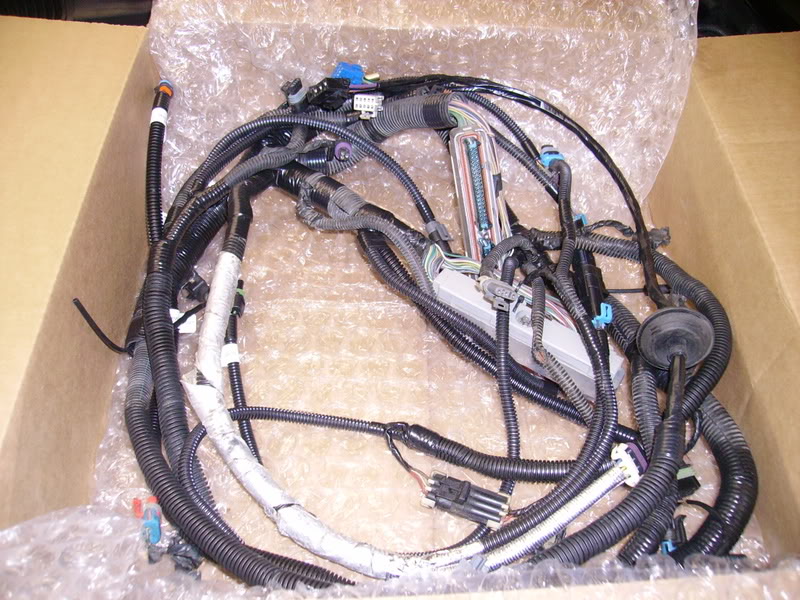
-Speartech Engine Harness
-387 4.125" Darton MID Shortlbock with ARP Main/Head Studs
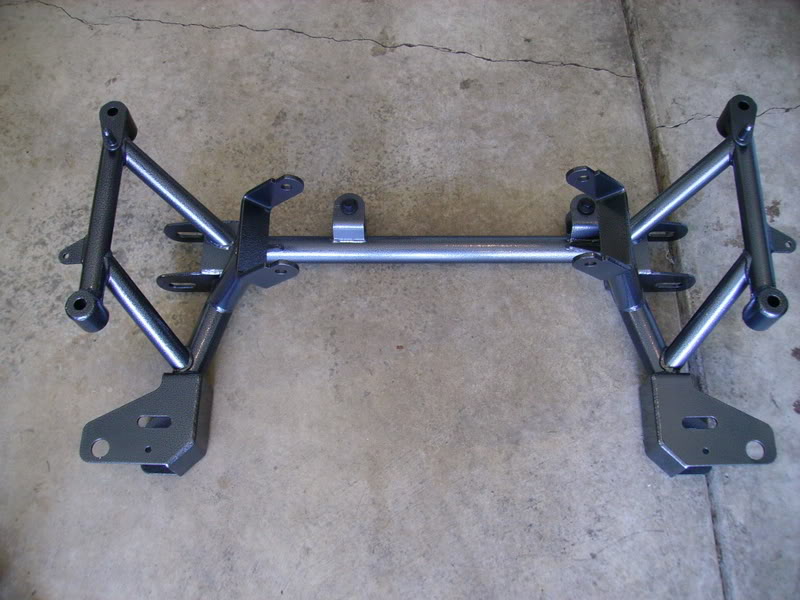
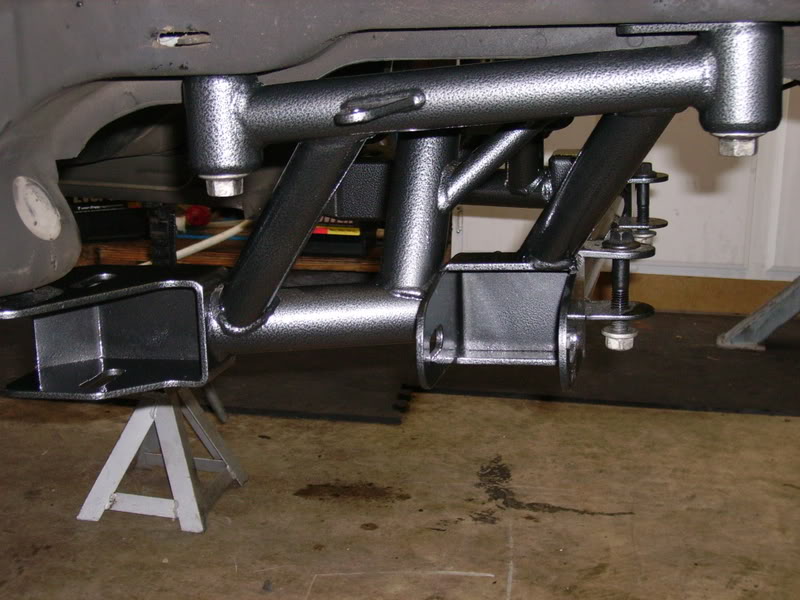
-BMR K-Member Custom Powder Coated (Silver Vein)
-MTI Z1 236/236 .585/.585 112
-Self Ported L92's
-L76 Intake w/ 36lb SVO's
-NW 90mm TB
-Grotyohan 1-3/4" Longtubes
-3" Catted Y-Pipe
-SLP 2OTL
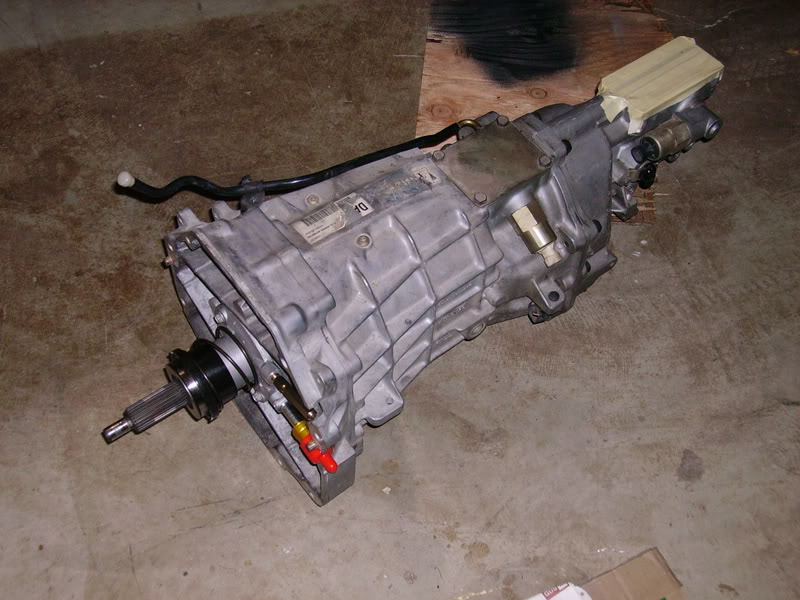
-T56
-LS6 Clutch
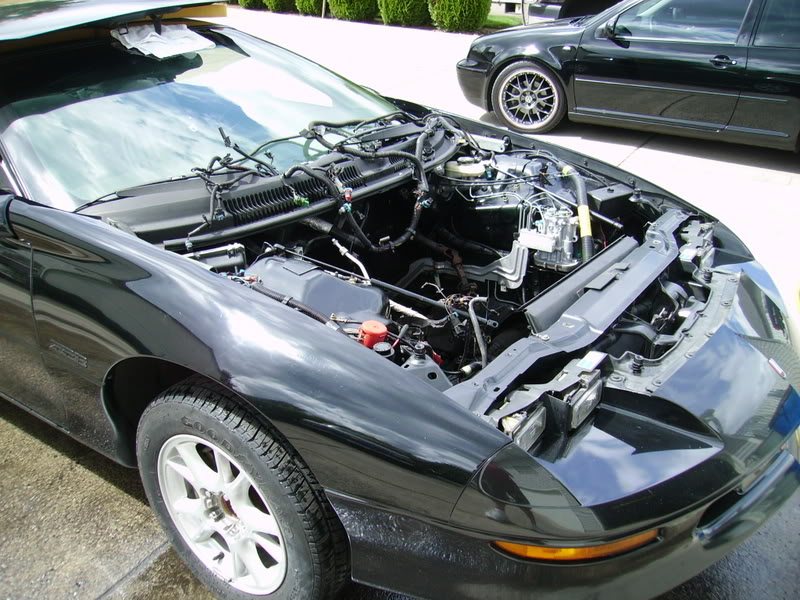
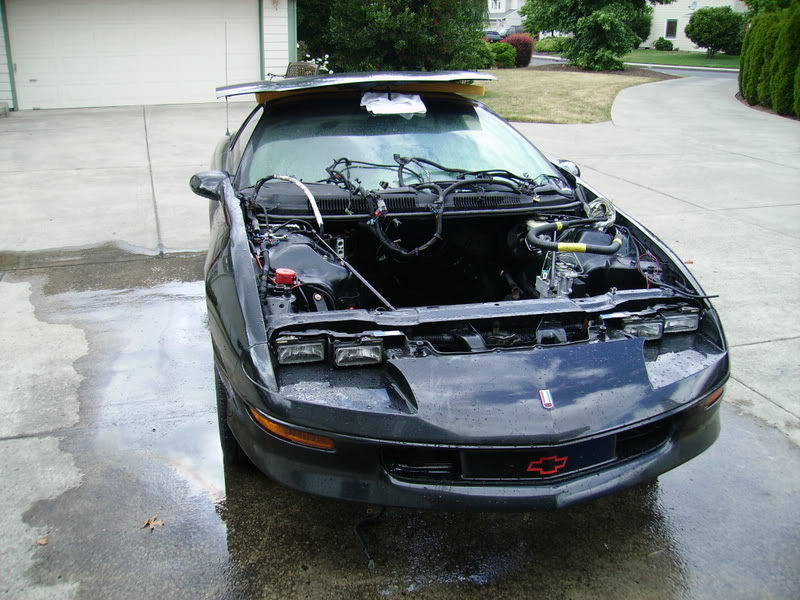
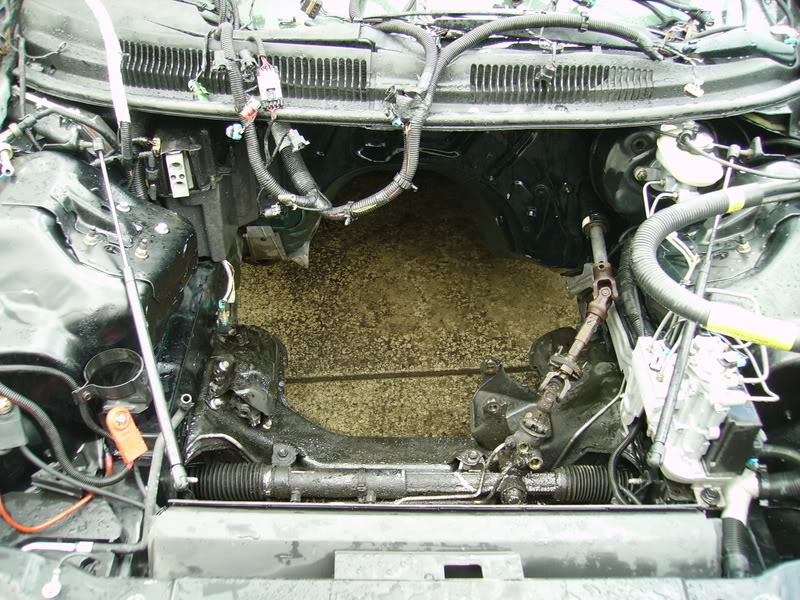
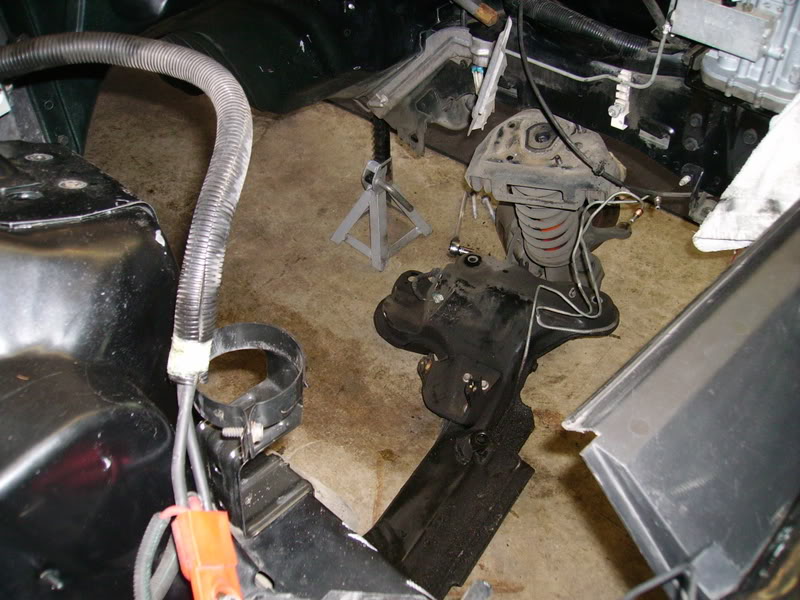
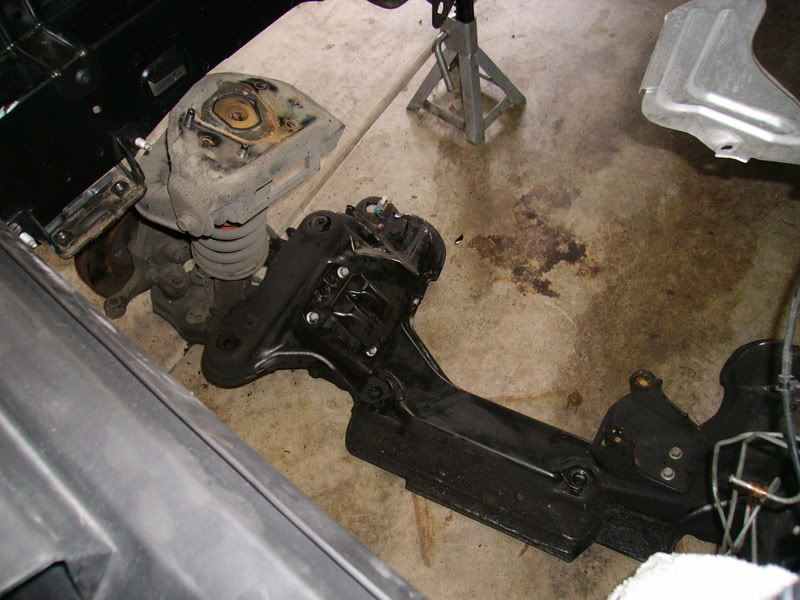
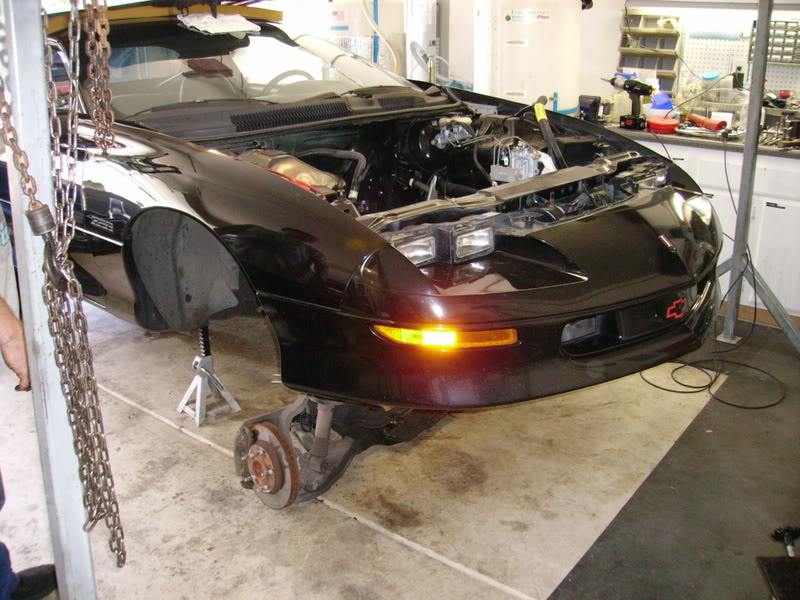
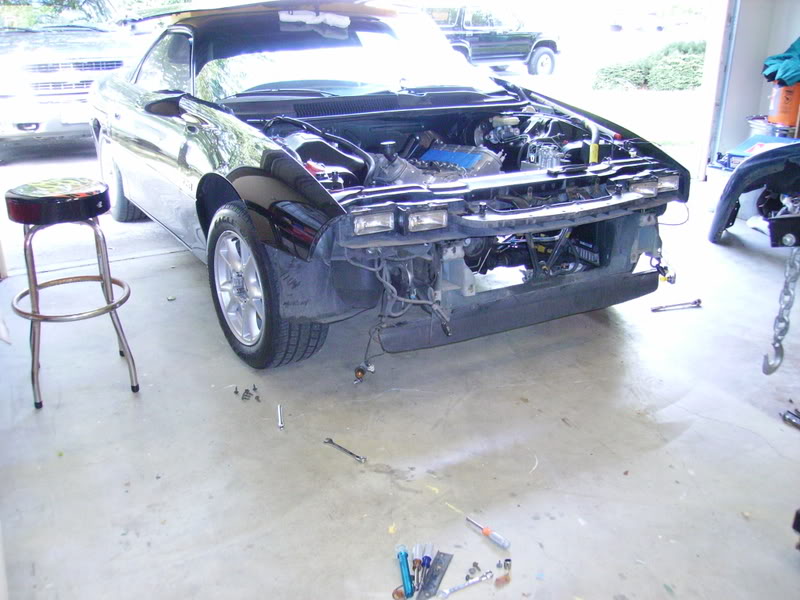
Here are some pics from todays fun:
.
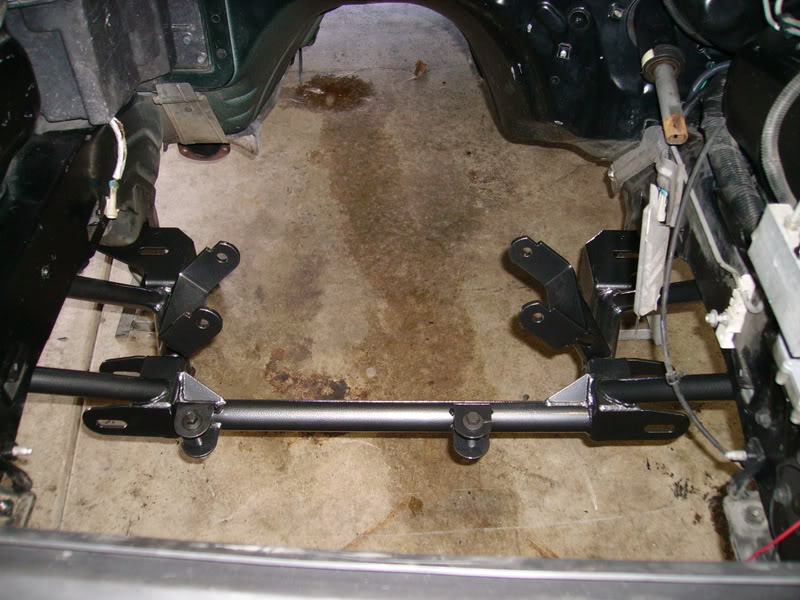
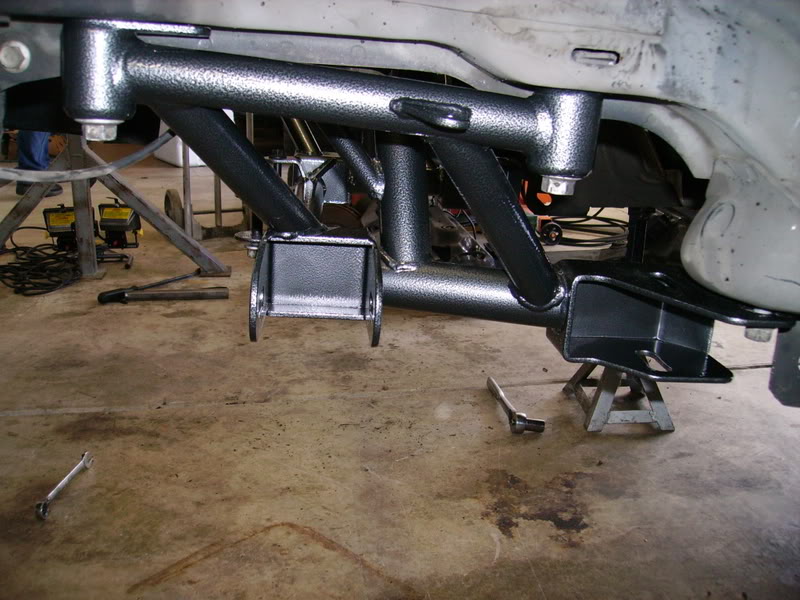
Next up is going to be the K-Member R&R with the BMR unit and an LS1 steering rack.
More to come......
Mike
In the last 8 years, this car has gone through alot with me including; a marriage, a divorce, and now an engine swap lol.... She's been sitting in a garage for a couple years since last running back in 05'.
Here are the outlined plans for the black car:
-Speartech Engine Harness
-387 4.125" Darton MID Shortlbock with ARP Main/Head Studs
-BMR K-Member Custom Powder Coated (Silver Vein)
-MTI Z1 236/236 .585/.585 112
-Self Ported L92's
-L76 Intake w/ 36lb SVO's
-NW 90mm TB
-Grotyohan 1-3/4" Longtubes
-3" Catted Y-Pipe
-SLP 2OTL
-T56
-LS6 Clutch
Here are some pics from todays fun:
.
Next up is going to be the K-Member R&R with the BMR unit and an LS1 steering rack.
More to come......
Mike
Last edited by Mikey 97Z M6; 10-02-2008 at 10:17 PM.


 10-02-2008, 12:42 PM
#3
I decided to go with L92 heads, so I breathed on them a bit with some porting burs. I spent most of my time porting the exhaust, which everyone knows the L92's are a bit weak on the exhaust flow. My goals were to do a mild port on the intake runners, and do what I'd call a stage III port on the exhaust runners to help get them up to speed with the incredible flowing intakes.
For the intake, I basically just removed the bumps from the rocker boss, and valvespring pocket, blended the entire port with a cartridge roll, opened up the area around the valve guide, and very slightly opened up the outside bowl edges.
The exhaust side got a decent amount of work done, but the area between the intake runner and the exhaust runner ports in the bowl is pretty thin from the factory, so it limits the amount of bowl work done on that side of the bowl (intake and exhaust). The exhaust runner tends to "lean" away from the intake runner anyway, so it's really no big deal, but if anyone ever ports these themselves, be careful in that area.
Here are the before/after flow numbers. They use a Superflow 600. All flow numbers are at 28". They test with a 5" long exhaust pipe, so these exhaust numbers are a little higher than you're probably used to seeing for stock L92's. Valves used for testing are stainless REV, the intake valves have a backcut performed by West Coast Cylinder Head (thanks Richard).
Stock L92 Heads
Lift.....intake.....exhaust
.200...160.........122
.300...214.........173
.400...268.........200
.500...302.........216
.550...315.........222
.600...319.........226
.650...321.........229
Ported L92 Heads
Lift.....intake.....exhaust
.200...164.........130
.300...228.........179
.400...280.........223
.500...317.........252
.550...335.........260
.600...350.........266
.650...357.........270
.700...357.........274
The decks were cut 0.025". I'm shooting for 11.3:1 for this combo. Once I get the heads back from the shop, The are assembled with the REV valves, Patriot Gold springs, and install them on the shortblock with the new Cometic head gaskets.
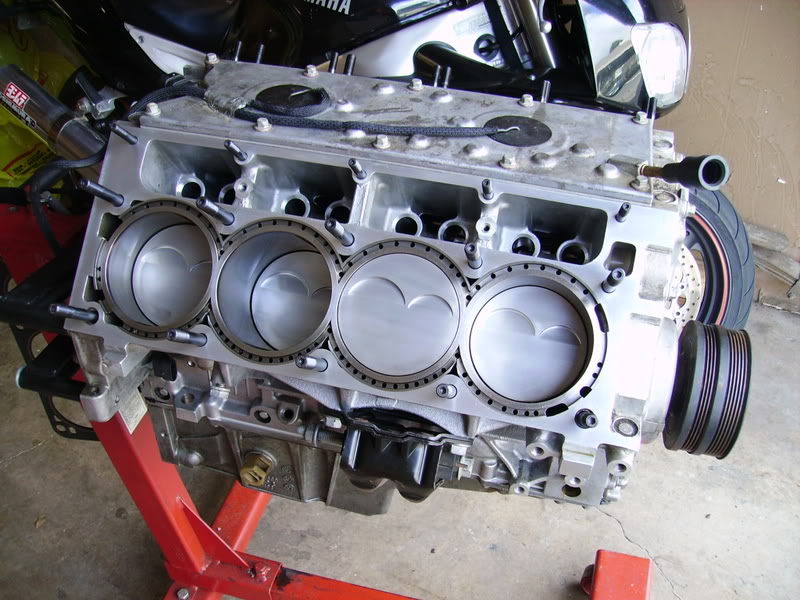
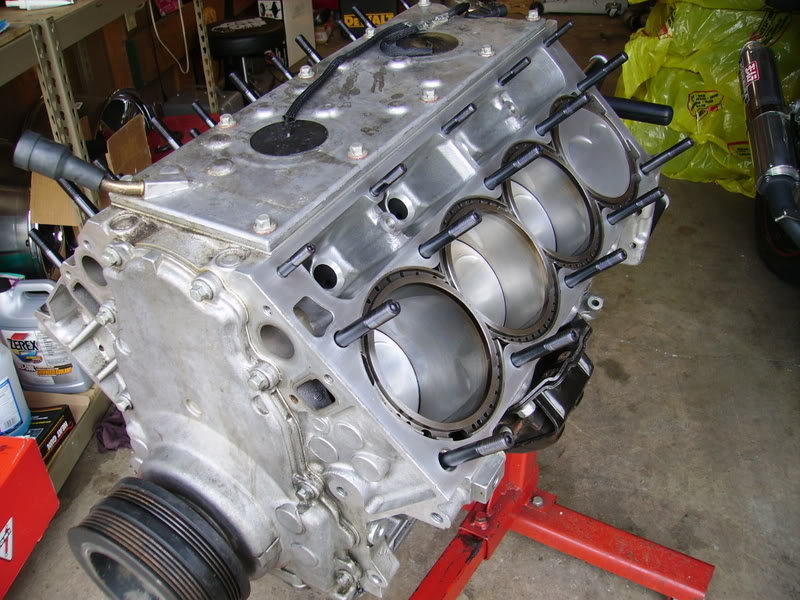
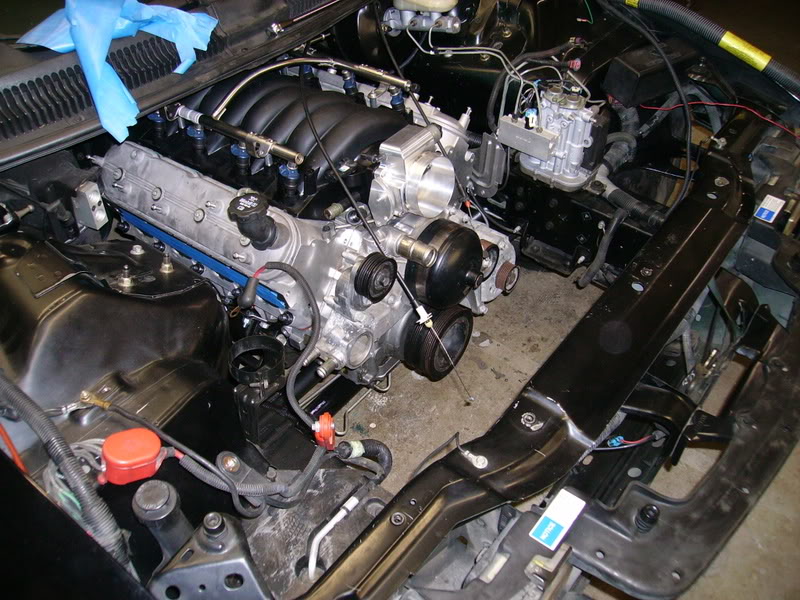
Here are some updated pictures of mocking up the accessory drives onto the engine. I had to piece-meal all the front belt driven accessories since I didn't have an LS1 to begin with. I wanted to make sure I had all the nuts/bolts and brackets etc. The headers are 1-3/4" super-old Grotyohahns (sp?). They should really go in a museum but I need them...
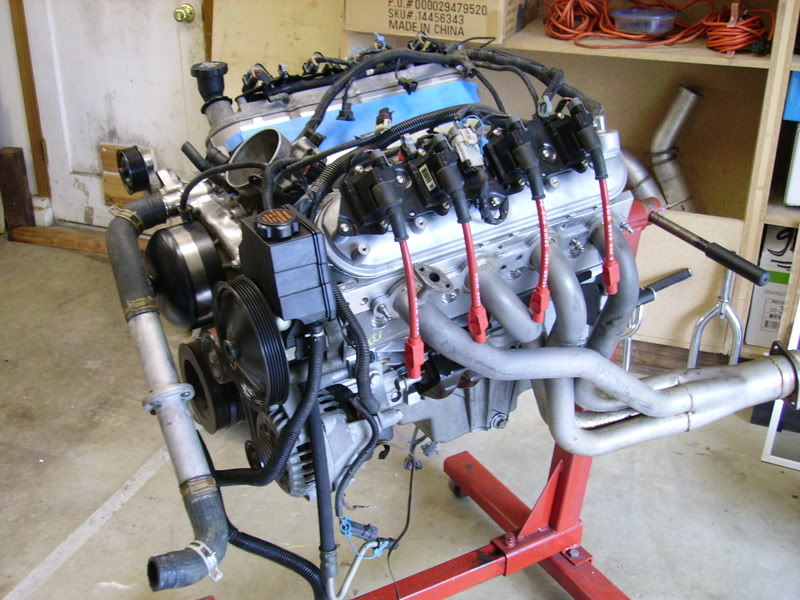

Mike
For the intake, I basically just removed the bumps from the rocker boss, and valvespring pocket, blended the entire port with a cartridge roll, opened up the area around the valve guide, and very slightly opened up the outside bowl edges.
The exhaust side got a decent amount of work done, but the area between the intake runner and the exhaust runner ports in the bowl is pretty thin from the factory, so it limits the amount of bowl work done on that side of the bowl (intake and exhaust). The exhaust runner tends to "lean" away from the intake runner anyway, so it's really no big deal, but if anyone ever ports these themselves, be careful in that area.
Here are the before/after flow numbers. They use a Superflow 600. All flow numbers are at 28". They test with a 5" long exhaust pipe, so these exhaust numbers are a little higher than you're probably used to seeing for stock L92's. Valves used for testing are stainless REV, the intake valves have a backcut performed by West Coast Cylinder Head (thanks Richard).
Stock L92 Heads
Lift.....intake.....exhaust
.200...160.........122
.300...214.........173
.400...268.........200
.500...302.........216
.550...315.........222
.600...319.........226
.650...321.........229
Ported L92 Heads
Lift.....intake.....exhaust
.200...164.........130
.300...228.........179
.400...280.........223
.500...317.........252
.550...335.........260
.600...350.........266
.650...357.........270
.700...357.........274
The decks were cut 0.025". I'm shooting for 11.3:1 for this combo. Once I get the heads back from the shop, The are assembled with the REV valves, Patriot Gold springs, and install them on the shortblock with the new Cometic head gaskets.
Here are some updated pictures of mocking up the accessory drives onto the engine. I had to piece-meal all the front belt driven accessories since I didn't have an LS1 to begin with. I wanted to make sure I had all the nuts/bolts and brackets etc. The headers are 1-3/4" super-old Grotyohahns (sp?). They should really go in a museum but I need them...
Mike
Last edited by Mikey 97Z M6; 10-02-2008 at 05:05 PM.

 10-02-2008, 05:03 PM
#7
Here are the latest round of work done to the car and here are some of the highlights.
-Heads assembled and installed to shortblock
-Installed Prothane motor mounts (thanks to Cranmaro for the fast shipping of those)
-Adjustable clutch master installed
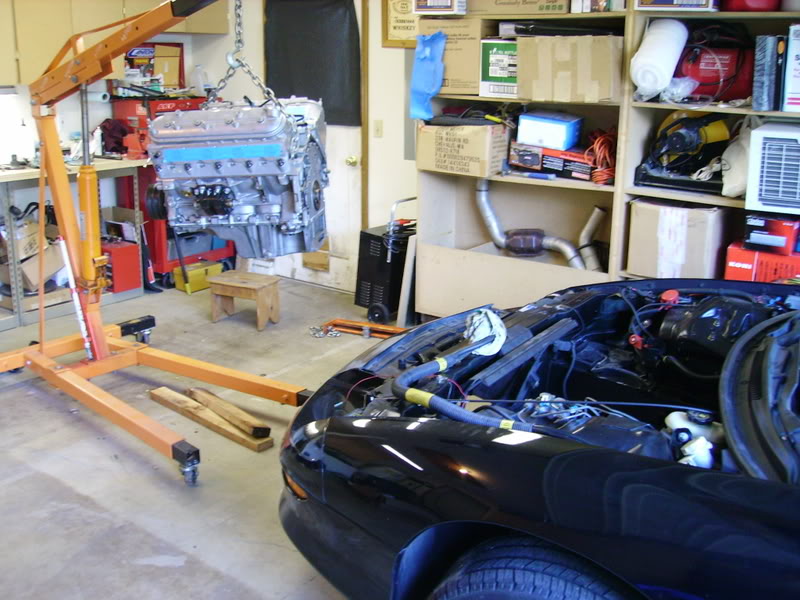
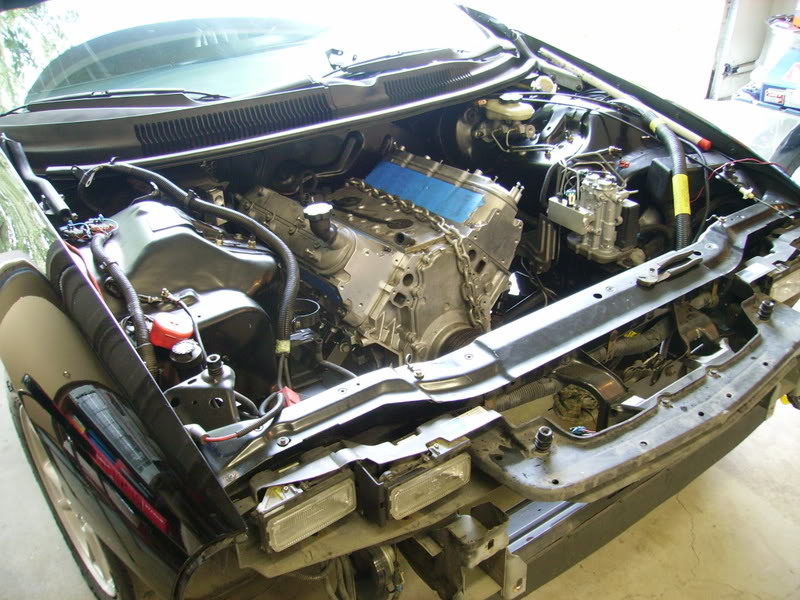
-Installed the engine in chassis
Here are some progress pics for those following along. Next will be installing the front drive accessories, clutch, bellhousing and transmission. Then the headers will be installed. I'm still waiting for the Speartech modified engine harness, so that will probably be the last thing holding me up.
-Heads assembled and installed to shortblock
-Installed Prothane motor mounts (thanks to Cranmaro for the fast shipping of those)
-Adjustable clutch master installed
-Installed the engine in chassis
Here are some progress pics for those following along. Next will be installing the front drive accessories, clutch, bellhousing and transmission. Then the headers will be installed. I'm still waiting for the Speartech modified engine harness, so that will probably be the last thing holding me up.
Trending Topics
10-02-2008, 05:08 PM
#8
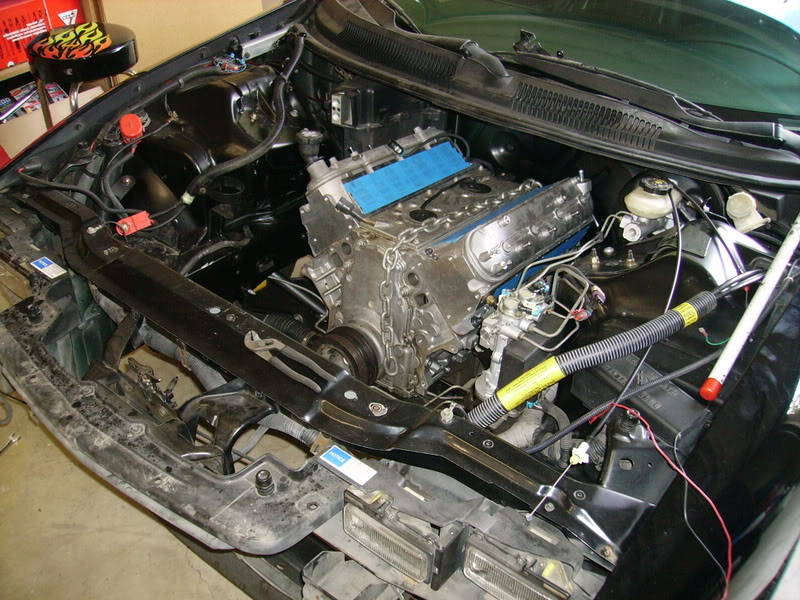
Today I'll be fabbing up a throttlecable bracket for the L76 manifold. SLP makes one, but I just can't see spending 65.00 for a piece of stamped sheetmetal.... 
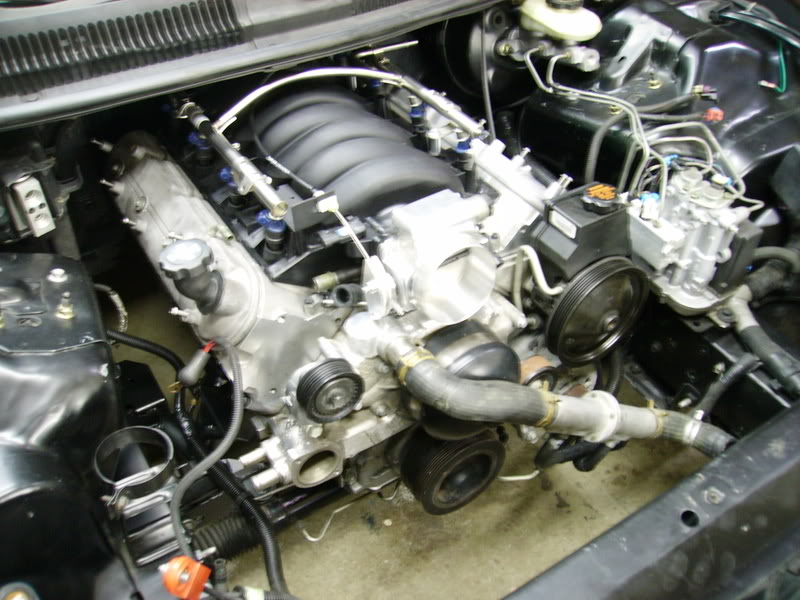
Here's a couple pics with the manifold, fuel rail, 36lb SVO's, and NW90. I needed some spacers for the SVO injectors, so it sits the fuel rail up a bit taller than normal. Looks kinda funny so I might go with custom rails later on.
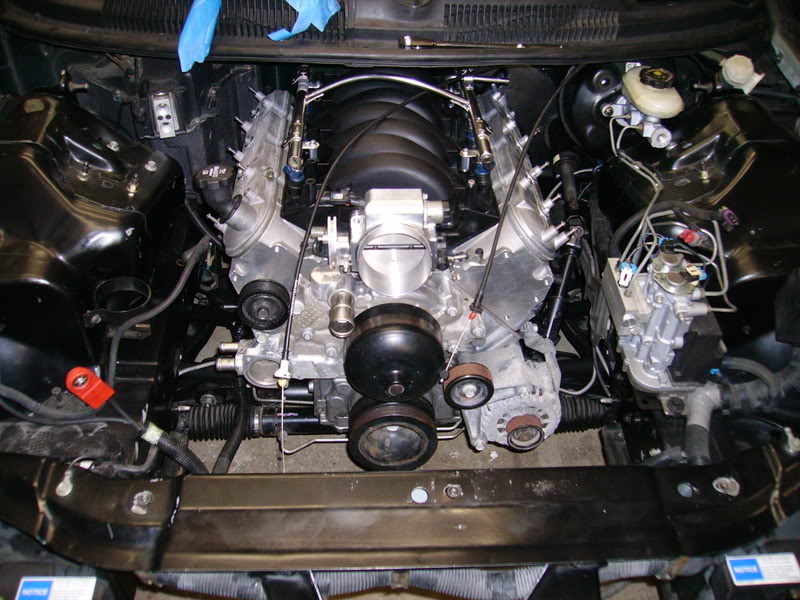
Here's a couple pics with the manifold, fuel rail, 36lb SVO's, and NW90. I needed some spacers for the SVO injectors, so it sits the fuel rail up a bit taller than normal. Looks kinda funny so I might go with custom rails later on.
Last edited by Mikey 97Z M6; 10-02-2008 at 07:20 PM.
10-02-2008, 09:50 PM
#10
man,
terrific job porting the heads, your work really woke up the exhaust side and the intake side flows excellent.
i agree with the merv, a 427 would have really used up alot of that ariflow and put down some killer power,
very clean lt1 car body btw
terrific job porting the heads, your work really woke up the exhaust side and the intake side flows excellent.
i agree with the merv, a 427 would have really used up alot of that ariflow and put down some killer power,
very clean lt1 car body btw
10-02-2008, 10:04 PM
#11

Mike
10-03-2008, 04:35 PM
#13
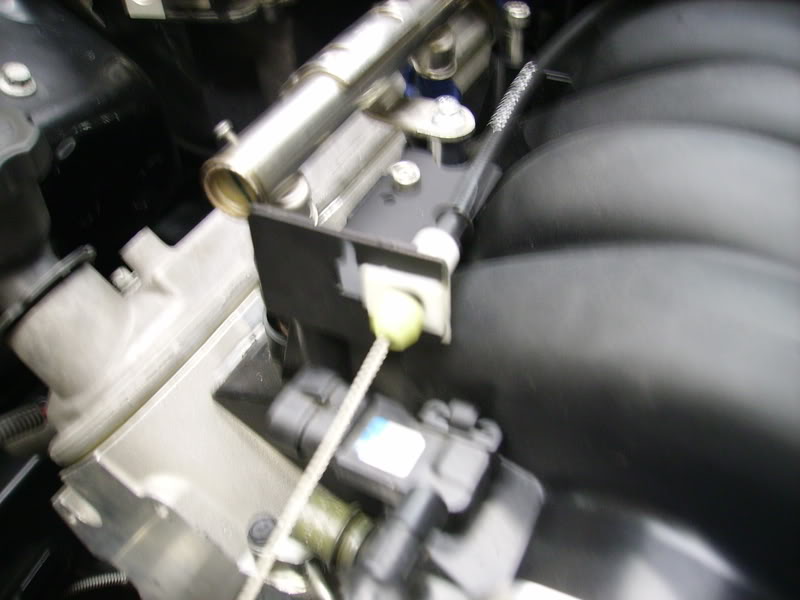
I made a little bit of progress today. Got the PS pump on, and fabbed up a $3.29 throttle cable bracket. Hoping to get the flywheel, clutch and bellhousing on tomorrow, then possibly stab in the transmission on Sunday. I can't find my transmission crossmember, so that might have to wait.
Here som pics of the el cheapo throttle cable bracket LOL.....

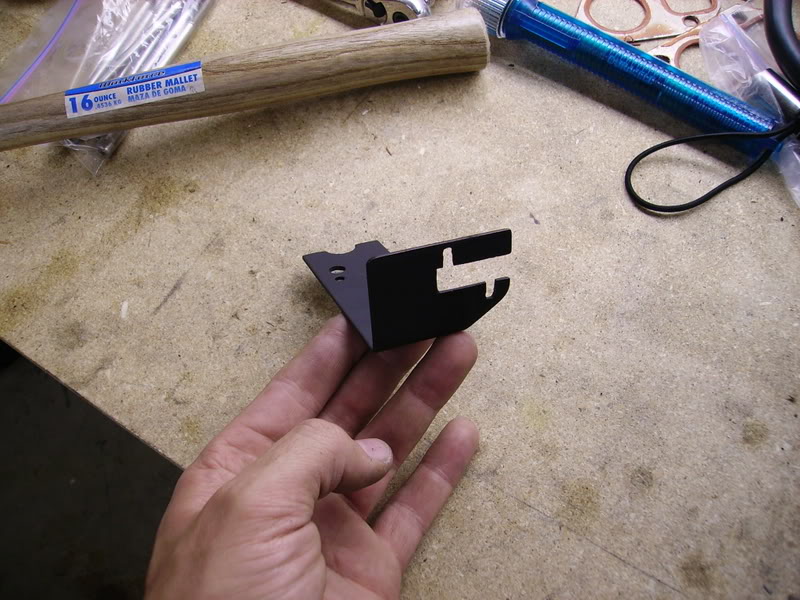
Sorry this one is so blurry. My camera sucks for doing close up shots.
Here som pics of the el cheapo throttle cable bracket LOL.....
Sorry this one is so blurry. My camera sucks for doing close up shots.
10-12-2008, 06:21 PM
#14
OK, so I'm trying to figure out how to hook up the Vette fuel filter regulator. I ordered some fuel fitting parts from NastyN8, and I don't think he fully understood what I wanted to do. None of the parts I received are gonna work for where I want to mount it. Eventually I want to hook it up in the stock fbody filter location, but can anyone see why this wouldn't work for the time being (see pic)? The housing on the VFPR has a ground strap, if this works, should I ground that strap to the chassis, and is it necessary?
Oh, and it doesn't show it in this pic, but this setup clears the coils too.
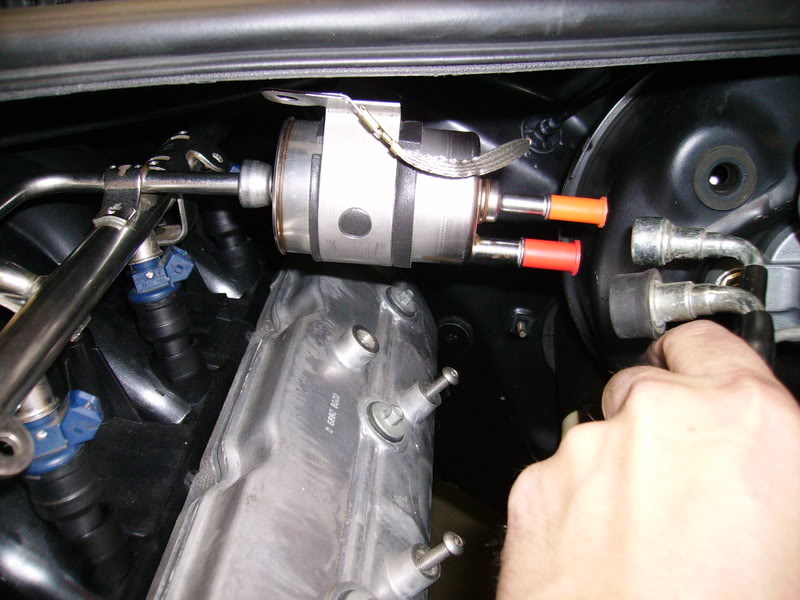
Oh, and it doesn't show it in this pic, but this setup clears the coils too.
 10-19-2008, 01:08 PM
#18
Here are some pics from my latest progress on this engine swap. I got the wiring harness back from Speartech, got a new clutch slave cylinder and the transmission is installed. Special thanks to my GF for helping me instlall the T56!! There's not too many women out there that are willing to lay on the garage floor to help install a transmission on a Saturday night! Now I'm just waiting for the trans crossmember to show up on my doorstep so I can button that up. I also fabbed up some EGR block-off plates for the Grots.
Next up will be installing the radiator, trans x-member, torque arm, air filter/intake assembly and some other misc things.
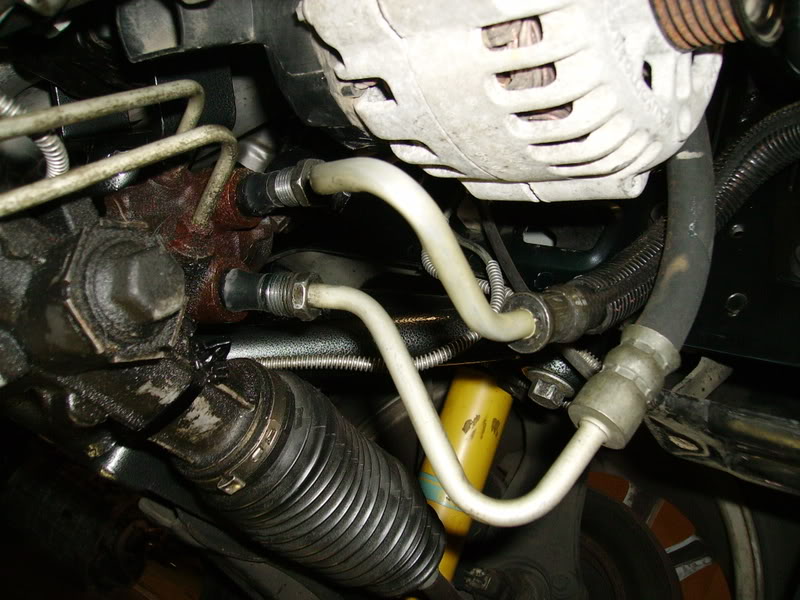
Does anyone know if it matters which way to hook up the power steering lines to the steering rack? I can't recall if it matters which one goes where.??
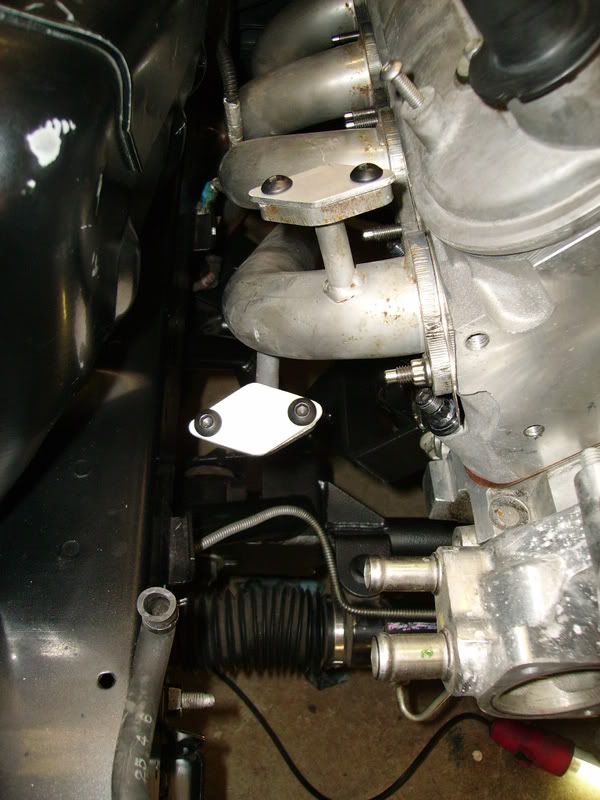
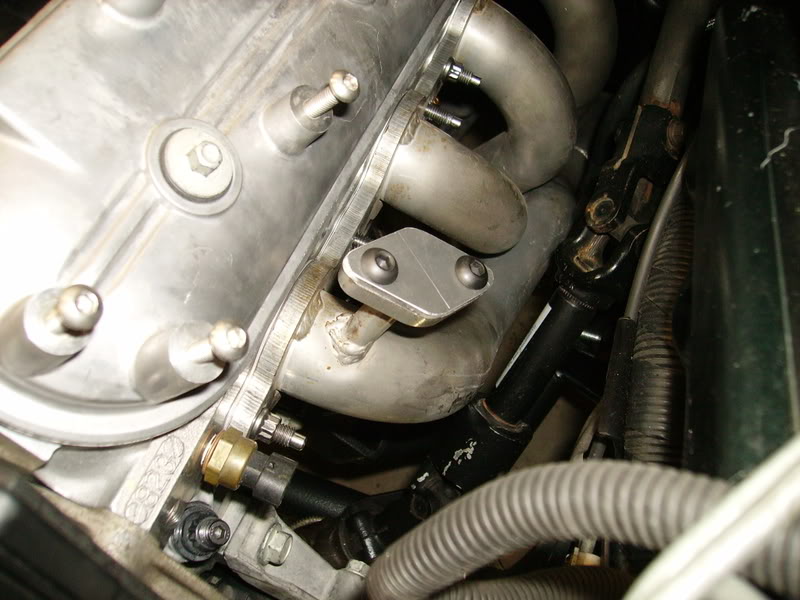
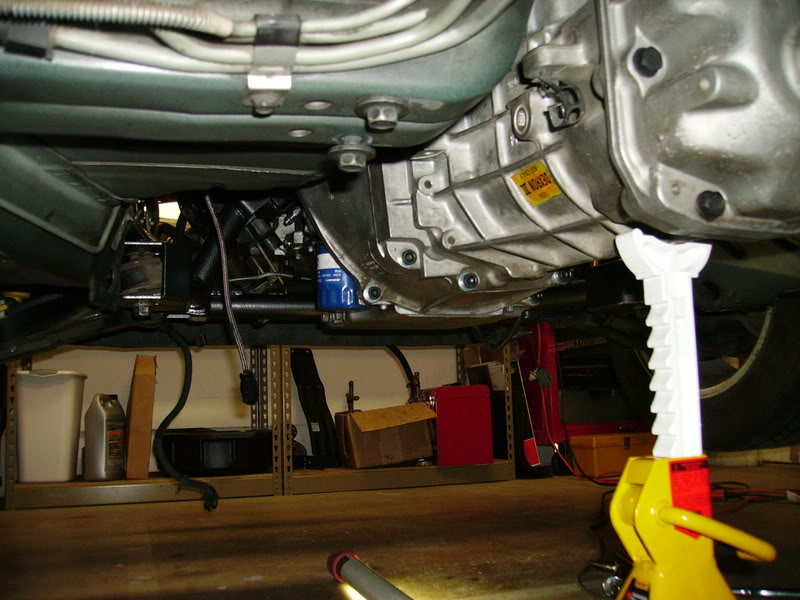
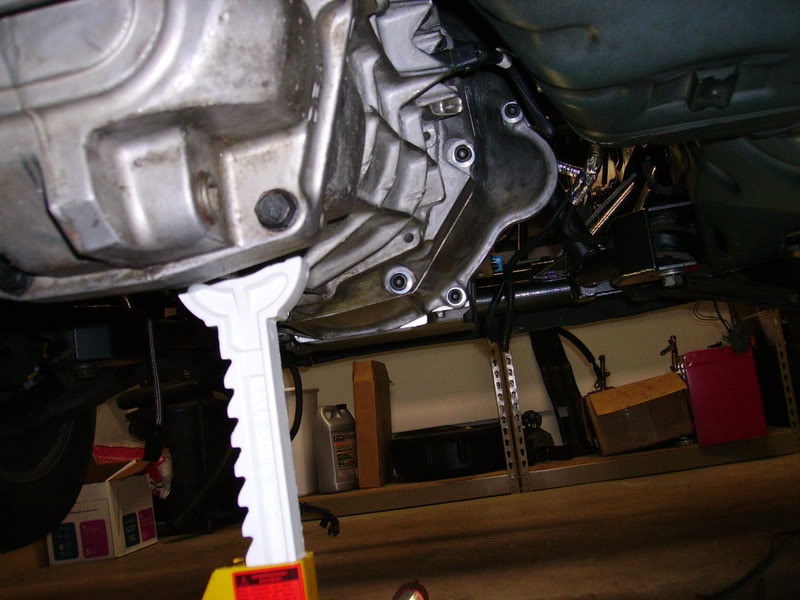
Now I'm just waiting for the trans crossmember to show up on my doorstep so I can button that up. I also fabbed up some EGR block-off plates for the Grots. Next up will be installing the radiator, trans x-member, torque arm, air filter/intake assembly and some other misc things.
Does anyone know if it matters which way to hook up the power steering lines to the steering rack? I can't recall if it matters which one goes where.??
 10-20-2008, 10:02 AM
#20

Finally, another LS1 swapper who put the filter by the intake. I thought i was the only one!
I see no problem with it, i have about 1k on mine since the swap with no issues regarding the filter anyways.
I eventually want to mount mine under the car also, but i was getting antsy and wanted to drive it.
I see no problem with it, i have about 1k on mine since the swap with no issues regarding the filter anyways.
I eventually want to mount mine under the car also, but i was getting antsy and wanted to drive it.