
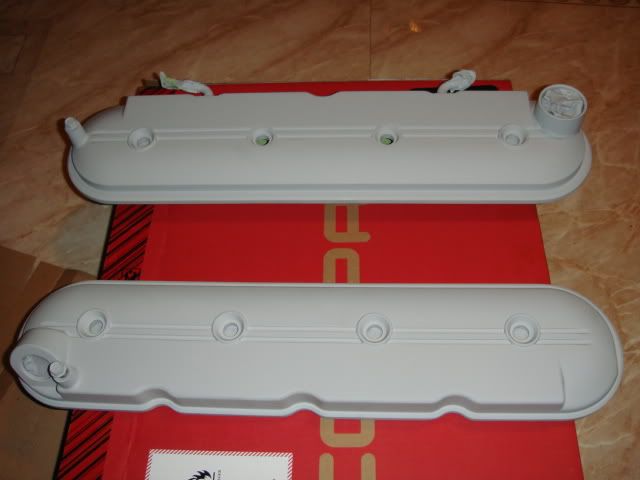
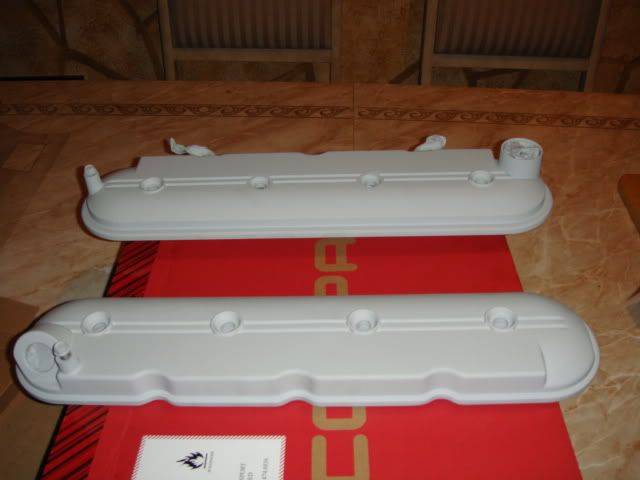
**Pics** My New And Improved Valve Cover and Coil Packs **Pics**
 03-20-2009, 03:21 PM
#1
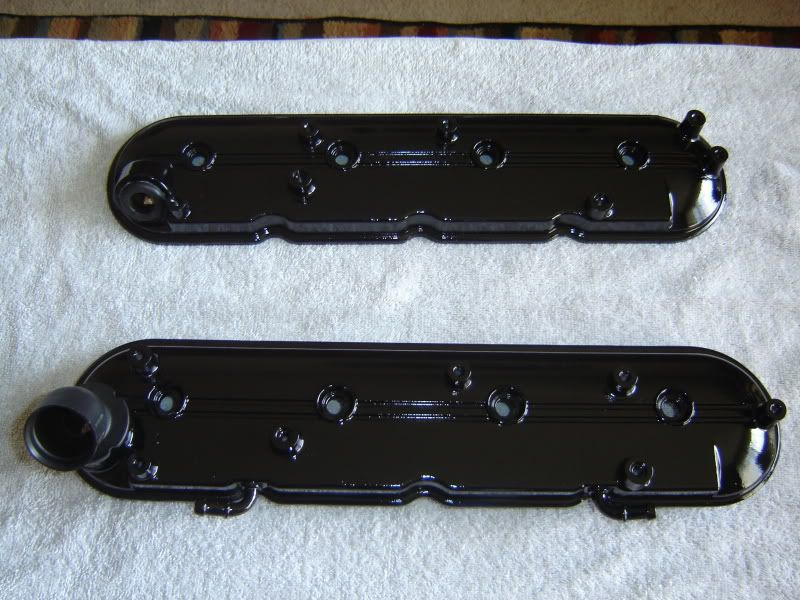
In my original thread https://ls1tech.com/forums/appearanc...acks-pics.html i painted my valve covers 'Cast Iron'. Well, i did not like how it tured out. So later that same night i sanded down my valve covers again and prepped them to be repainted. Only this time for them to be painted black.
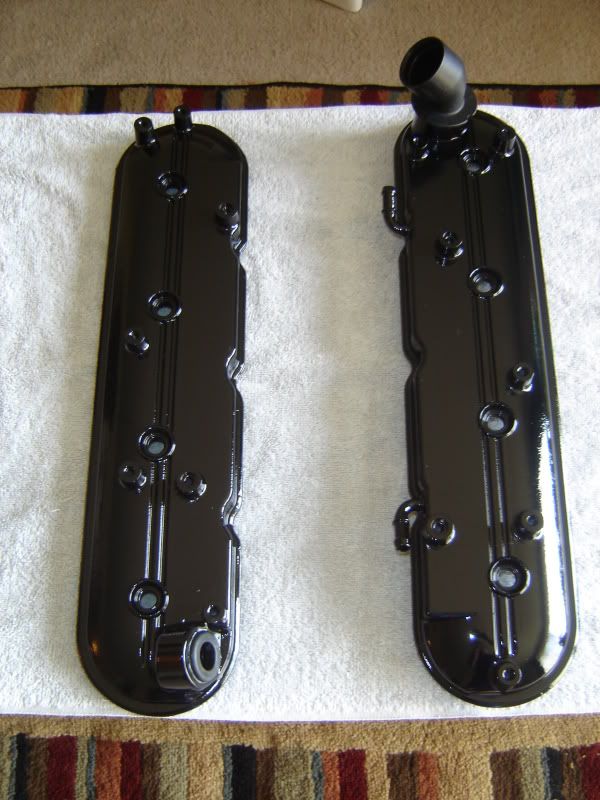
New new black valve covers came our PERFECT i couldn't be happier..
Here are the pics. Tell me what you think now
New new black valve covers came our PERFECT
i couldn't be happier..Here are the pics. Tell me what you think now


Trending Topics
 03-20-2009, 05:08 PM
#9
TECH Enthusiast
iTrader: (8)
Join Date: Jun 2007
Location: Toms River, NJ
Posts: 585
Likes: 0
Received 0 Likes
on
0 Posts
looks much better. i need some help deciding the color scheme for mine:
Option 1:
Intake gloss black
valve covers gloss black
coil bracket polished
coils gloss black
Option 2:
intake NBM
valve covers NBM
coil bracket polished
coils gloss black
or.....something else lol
Option 1:
Intake gloss black
valve covers gloss black
coil bracket polished
coils gloss black
Option 2:
intake NBM
valve covers NBM
coil bracket polished
coils gloss black
or.....something else lol
03-20-2009, 07:10 PM
#10
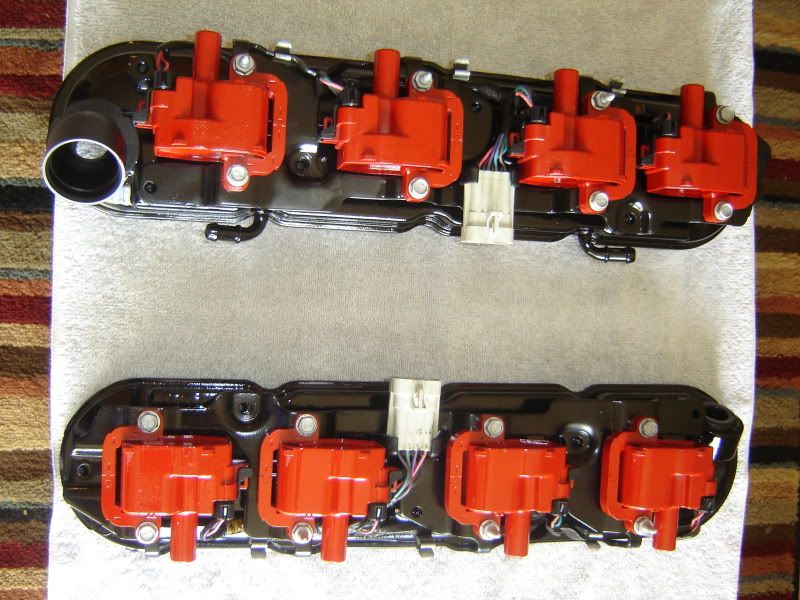
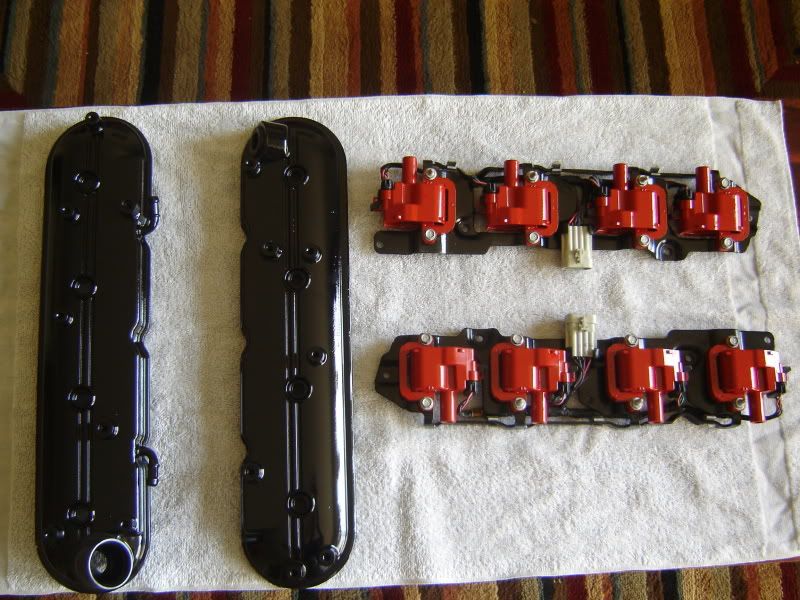
I orginally did the valve covers a cast iron color and the brackets were black. I did not like how the cast iron valve covers came out. Look at the link in my originial thread found in post #1.... I like that the valve covers and brackets are black. Makes the coil packs pop
03-20-2009, 07:16 PM
#12
looks much better. i need some help deciding the color scheme for mine:
Option 1:
Intake gloss black
valve covers gloss black
coil bracket polished
coils gloss black
Option 2:
intake NBM
valve covers NBM
coil bracket polished
coils gloss black
or.....something else lol
Option 1:
Intake gloss black
valve covers gloss black
coil bracket polished
coils gloss black
Option 2:
intake NBM
valve covers NBM
coil bracket polished
coils gloss black
or.....something else lol
Intake: Silver
Valve Covers: Black
Coil Brackets: Black
Coil Packs: Silver
03-20-2009, 07:36 PM
#13
TECH Resident
iTrader: (16)
Join Date: Feb 2007
Location: Baytown, Tx
Posts: 802
Likes: 0
Received 0 Likes
on
0 Posts
I am in the process of doing this myself. Everything is in primer right now including the intake. I shaved all the mounts for the screws on the valve covers and they look sweet. I will post pics when i am done.
Nice job!
Nice job!
03-20-2009, 07:59 PM
#15
TECH Resident
iTrader: (16)
Join Date: Feb 2007
Location: Baytown, Tx
Posts: 802
Likes: 0
Received 0 Likes
on
0 Posts
Here you go. I made my own relo kits so i could do this though.
I left the rearest bolt on so that i could mount the relo kit on there but i changed my mind and i am going to put them under my cowl where my whipers are. You cant see that last bolt anyway so i just left them on.
I left the rearest bolt on so that i could mount the relo kit on there but i changed my mind and i am going to put them under my cowl where my whipers are. You cant see that last bolt anyway so i just left them on.
03-20-2009, 08:08 PM
#17
Here you go. I made my own relo kits so i could do this though.
I left the rearest bolt on so that i could mount the relo kit on there but i changed my mind and i am going to put them under my cowl where my whipers are. You cant see that last bolt anyway so i just left them on.
I left the rearest bolt on so that i could mount the relo kit on there but i changed my mind and i am going to put them under my cowl where my whipers are. You cant see that last bolt anyway so i just left them on.
03-20-2009, 08:10 PM
#18
But i dry sanded the coils with 1000 grit.. They were smooth enough to begin with. Just scuffed it up so the primer could stick to it. After sandini put 3 coats of adhesion promoter on, 3 coats of filler primer, 4 coats of color and 3 coats of clear
03-20-2009, 08:19 PM
#19
TECH Resident
iTrader: (16)
Join Date: Feb 2007
Location: Baytown, Tx
Posts: 802
Likes: 0
Received 0 Likes
on
0 Posts
The oil neck thing i removed from the bottom you have to pull on a lil tab so that you can turn it then it slides out.. i had to use a bent small flat head screw driver to get to pull on that tab and at the same time turn it and pull out.