
24x Engine Bay Refresh
 12-24-2012, 11:31 AM
#1

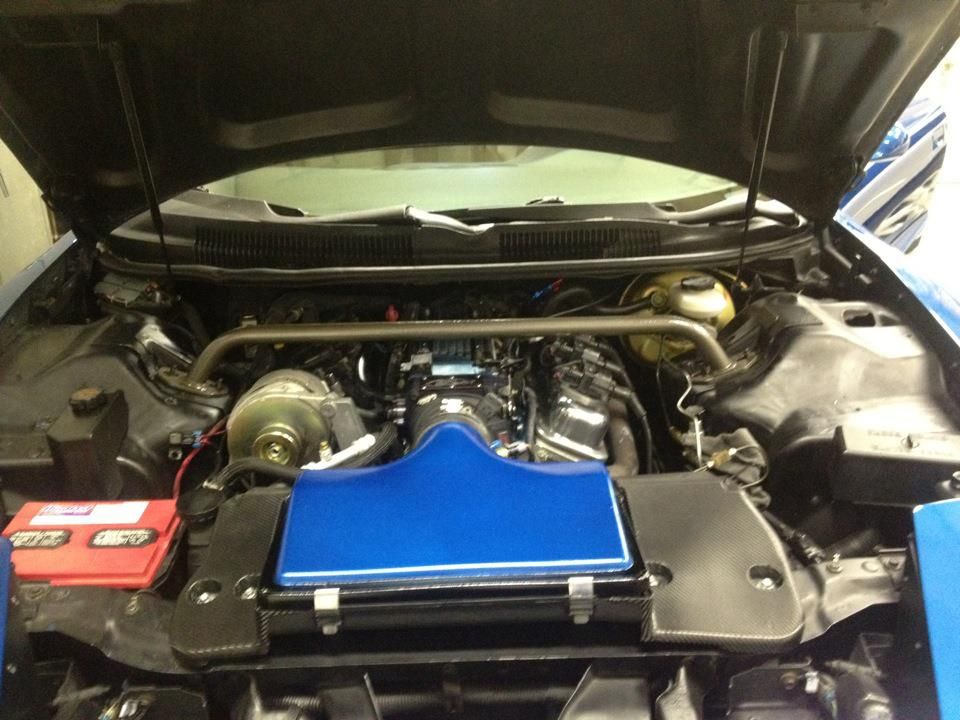
Well i figured it was about time to get the engine bay looking good now that i got all the bugs ironed out of the swaped. I started with the wire mod and some clean up... plans include a custom painted airlid (still working on the design) fuel line relocation (next in line, should be tackling that later this week), repainting the fender wells, finish the a/c delete, remote coil relocation, battery relocation probably a lot more im forgetting but ill go ahead and get it started.
Few questions you guys might be able to help me with though. Is it possible to delete the a/c box without getting rid of the heater? I'm pretty sure ive seen this done before but not sure. What color do you think would look good on the strut bar with everything else i have going on. I was thinking about a hammertone dark grey. Incase you cant tell from the pics motor is Pontiac Engine Blue (mid 70s) Well let me know what you guys think and ill keep adding updates. Open to any suggestions or ideas.
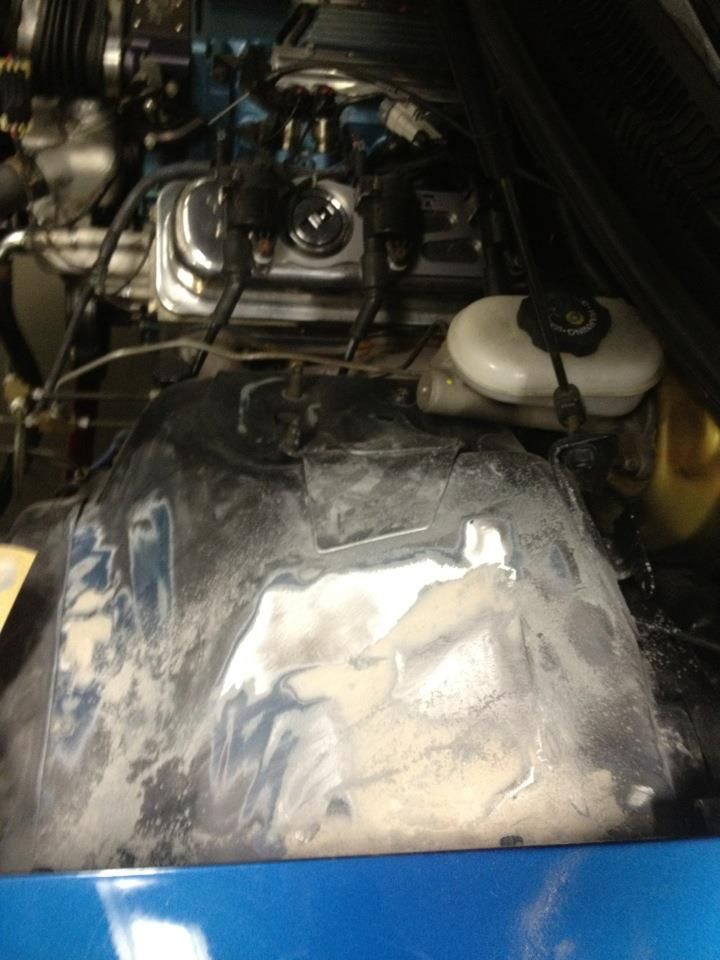
This is where it was when i started
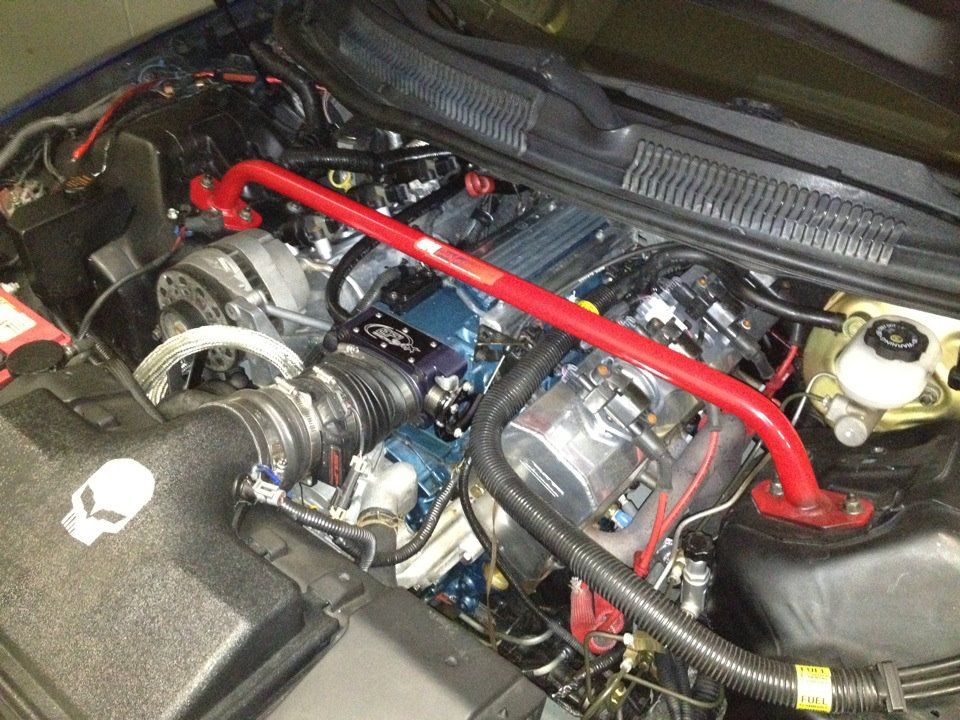
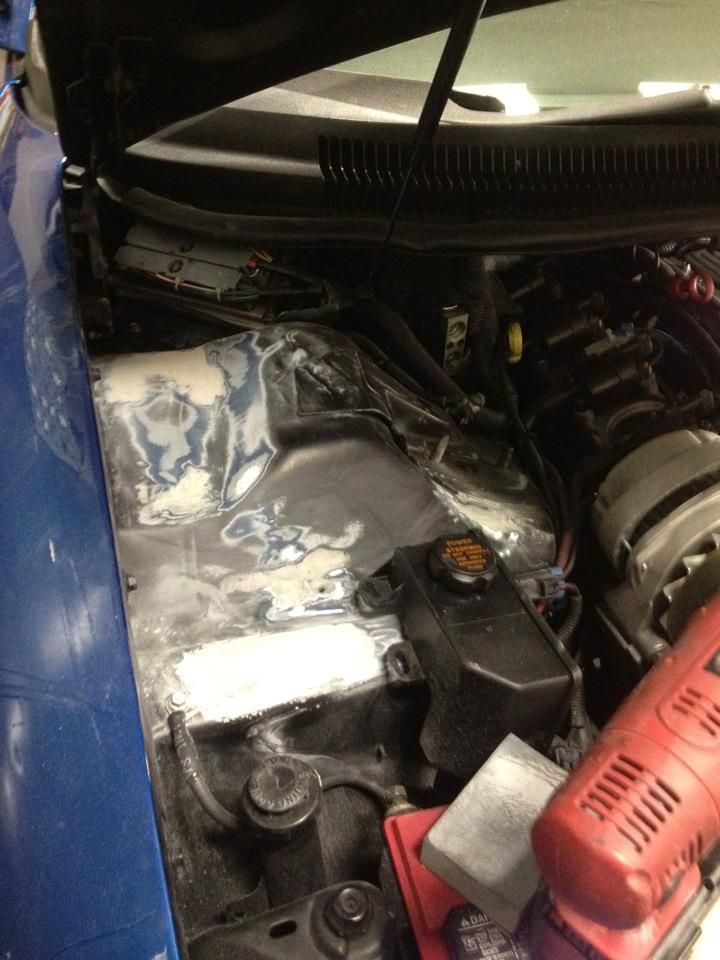
After the wire mod
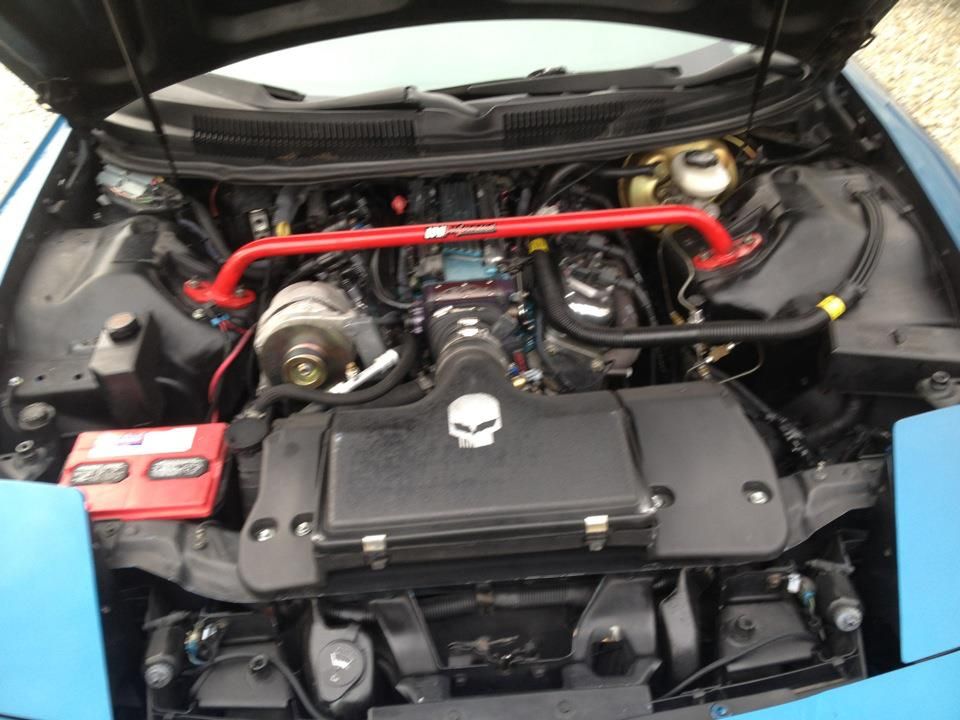
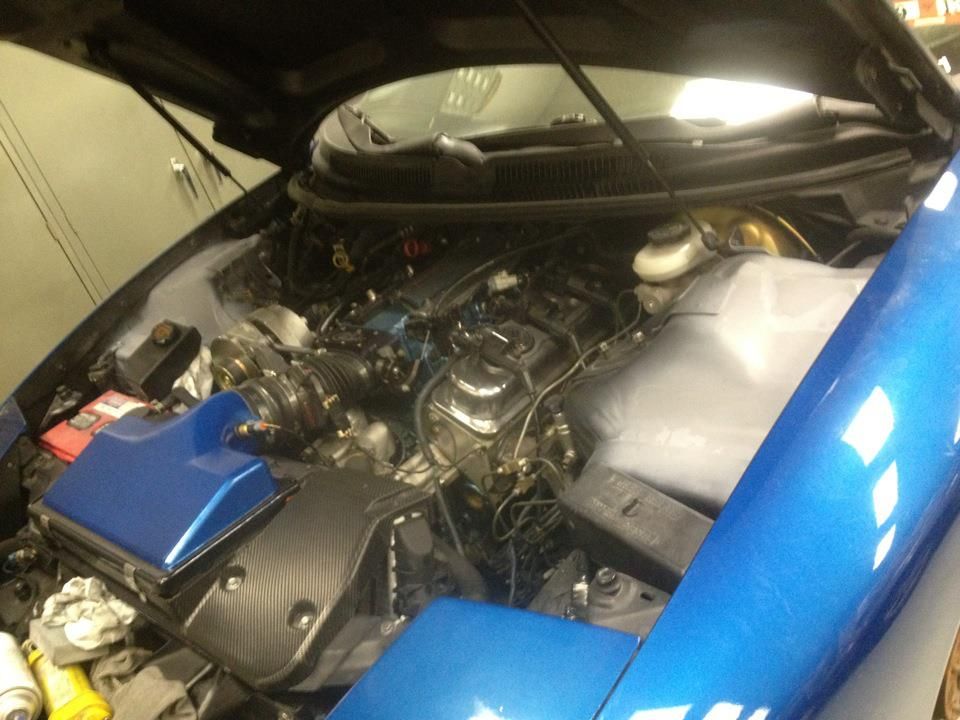
Current state (air lid in basecoat)
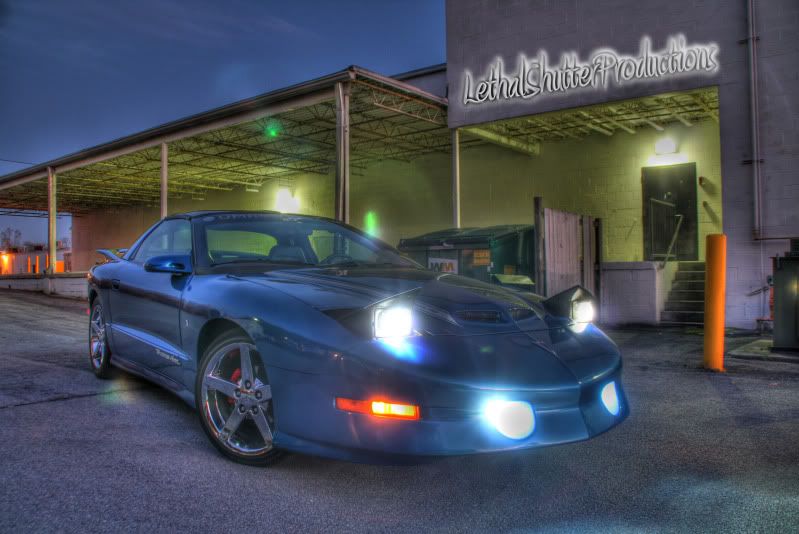
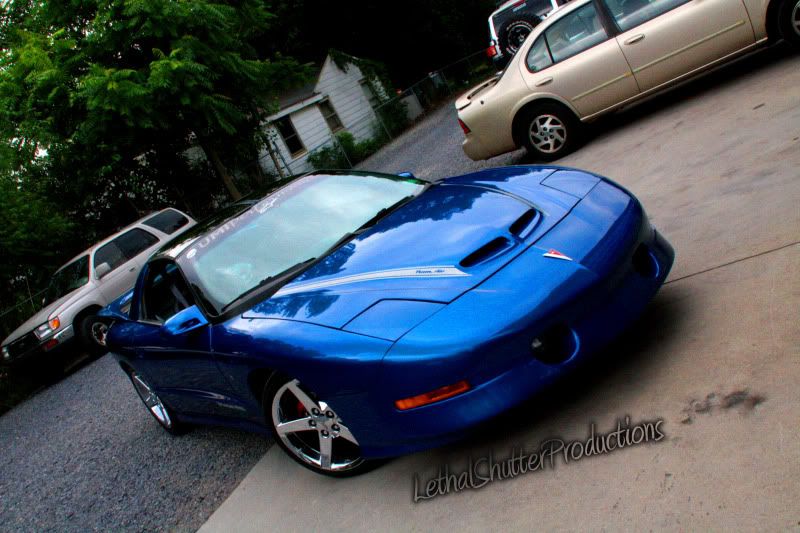
The car for those of you who dont know it.
Few questions you guys might be able to help me with though. Is it possible to delete the a/c box without getting rid of the heater? I'm pretty sure ive seen this done before but not sure. What color do you think would look good on the strut bar with everything else i have going on. I was thinking about a hammertone dark grey. Incase you cant tell from the pics motor is Pontiac Engine Blue (mid 70s) Well let me know what you guys think and ill keep adding updates. Open to any suggestions or ideas.
This is where it was when i started
After the wire mod
Current state (air lid in basecoat)
The car for those of you who dont know it.


 12-30-2012, 08:20 PM
#6
the actual hvac box? is that what your referring to? just havent had a chance to take it out yet. Its on the list... all the lines and hardware are long gone though.
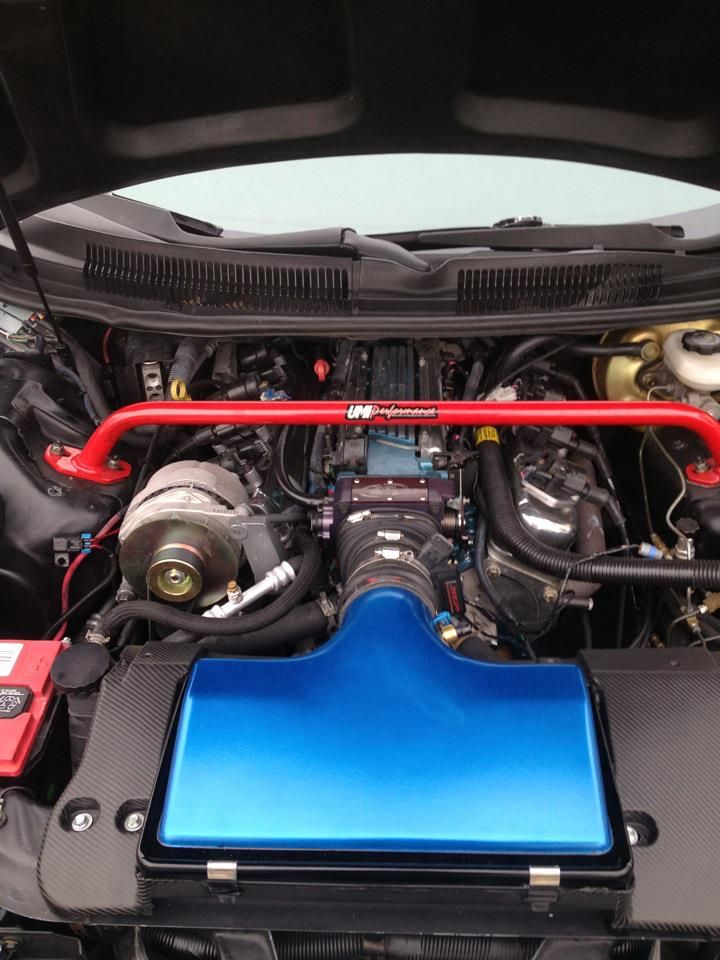
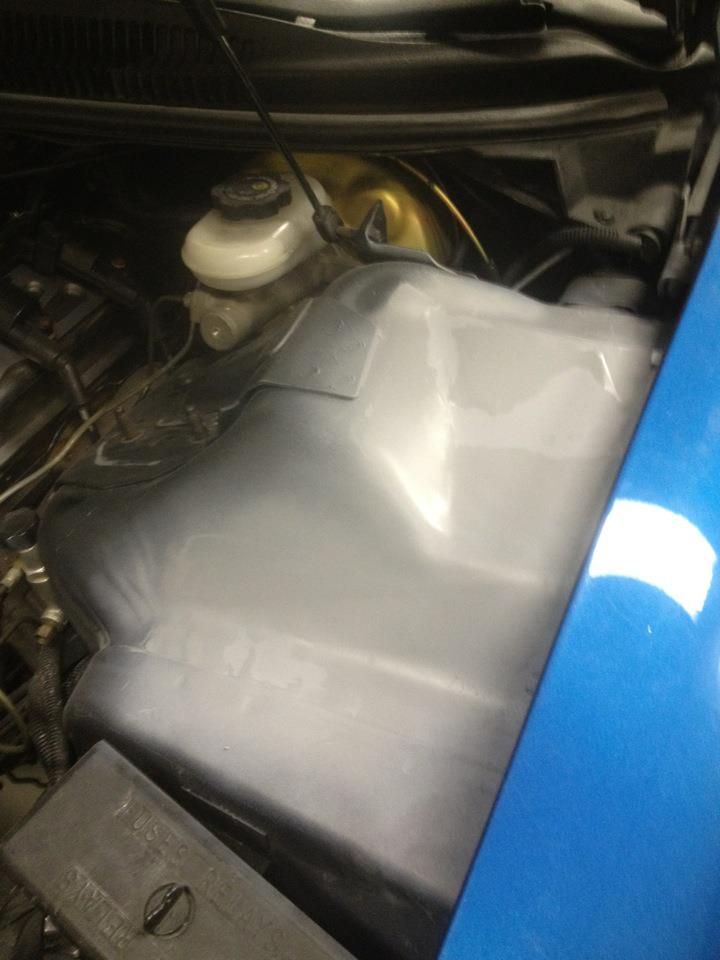
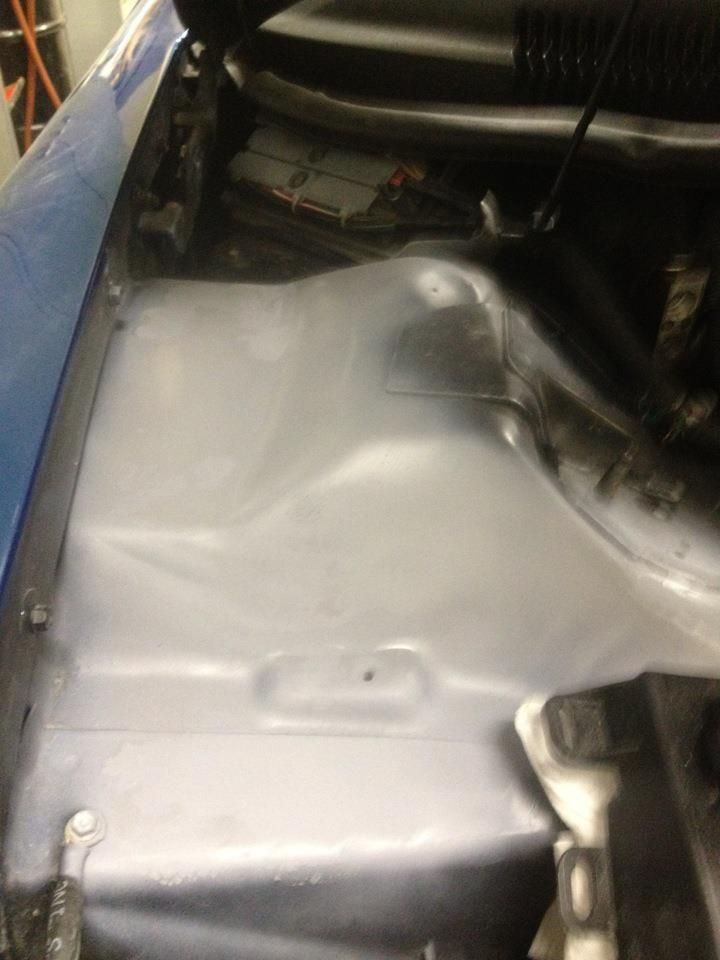
Little update. Did the fuel line relocation this weekend and started filling the fender holes... heres a few pics of the process so far. Excuse the crappy iphone pics, its easier than breaking out the canon lol.
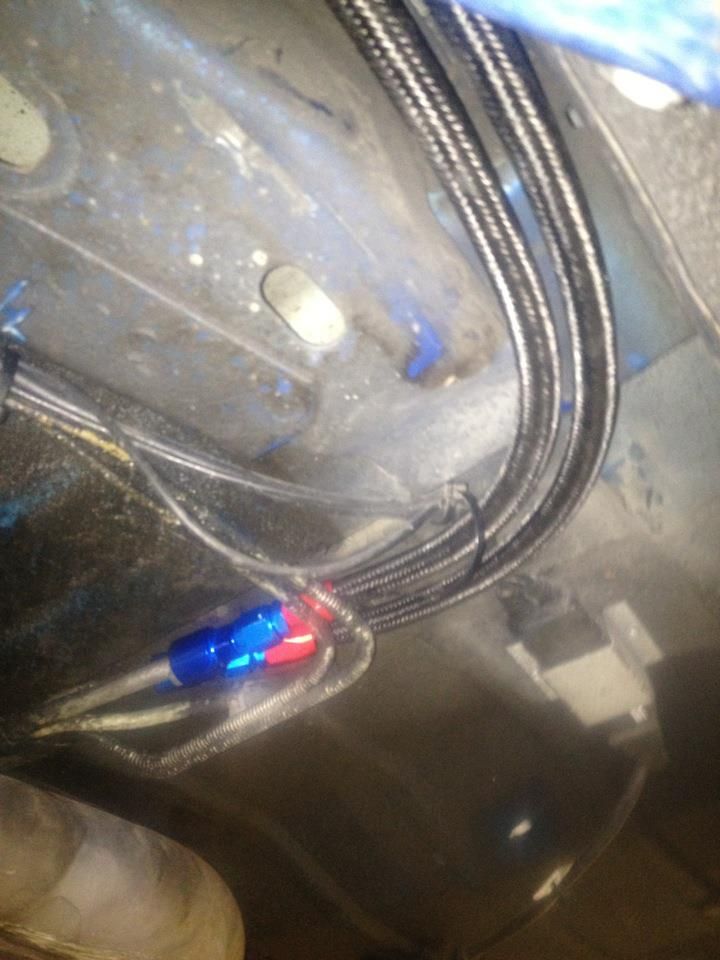
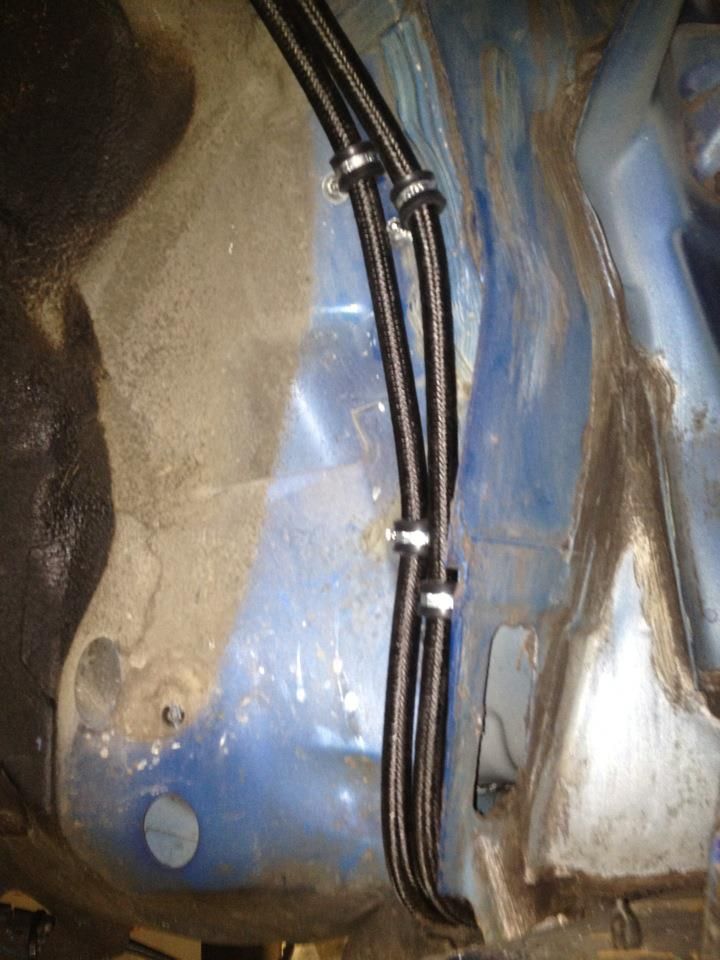
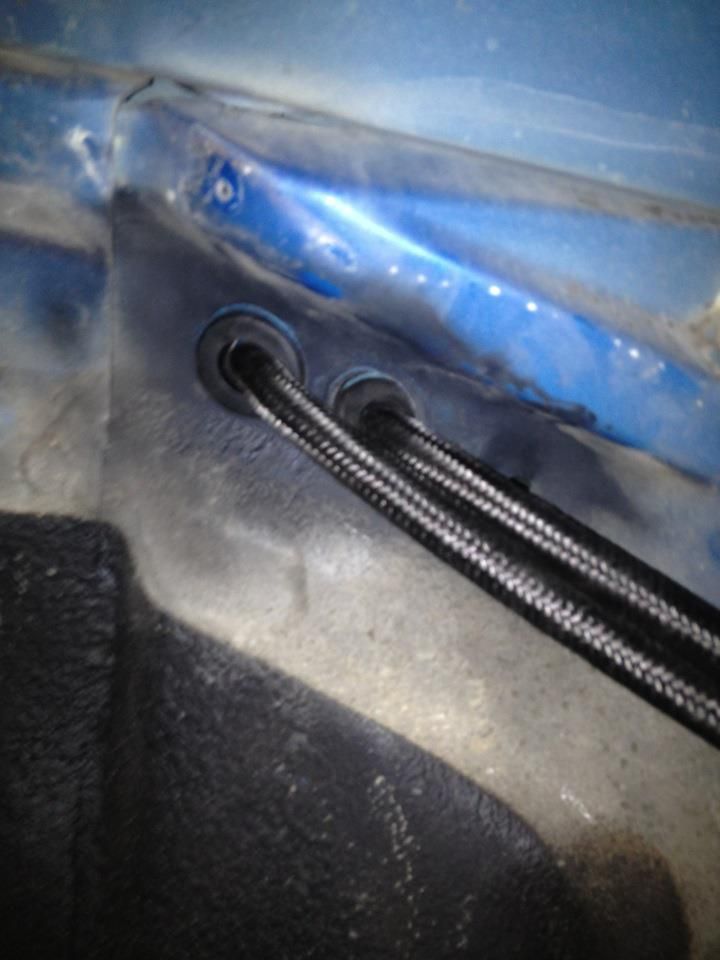
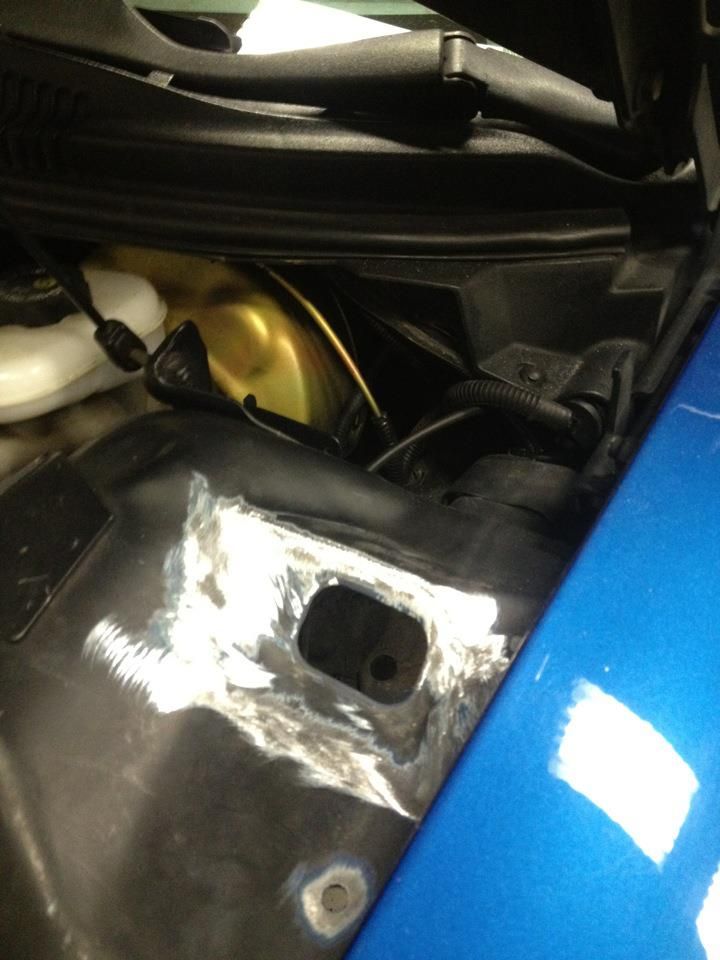
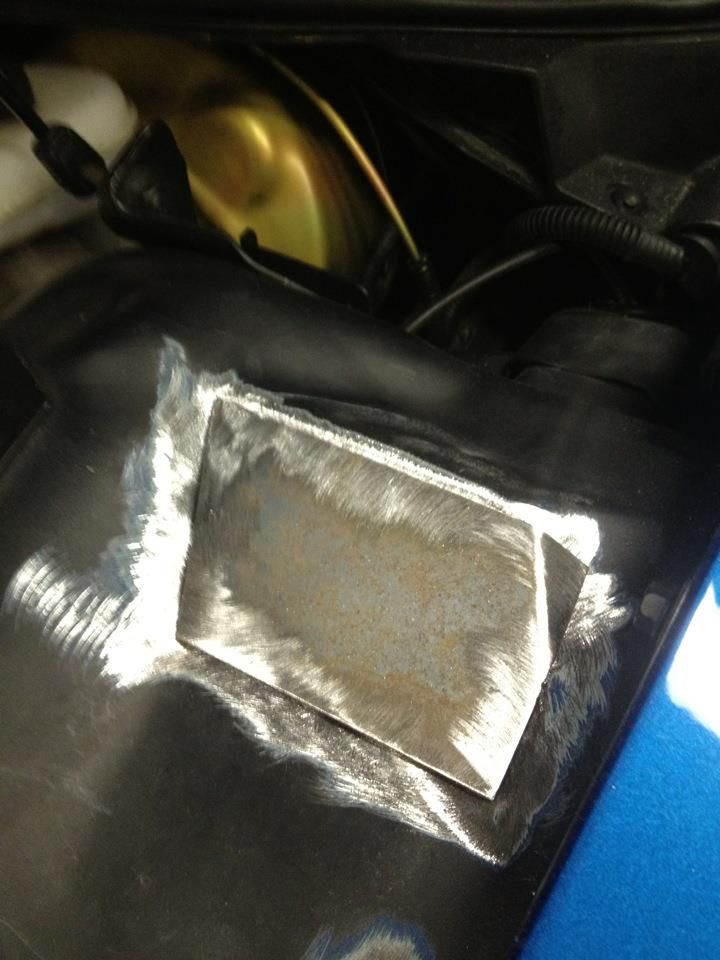
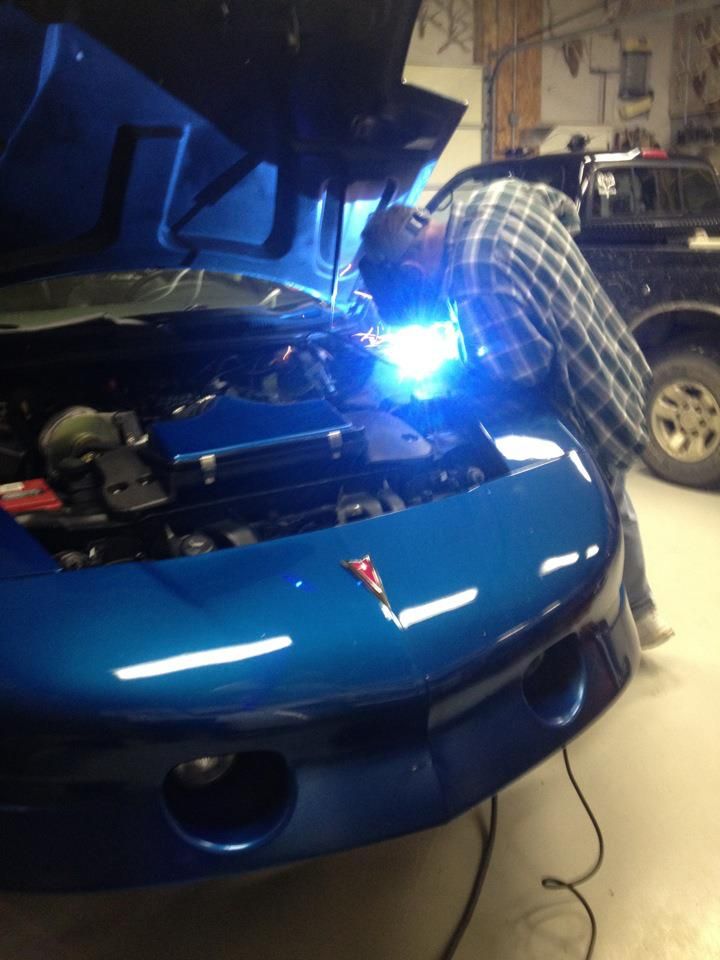
Little update. Did the fuel line relocation this weekend and started filling the fender holes... heres a few pics of the process so far. Excuse the crappy iphone pics, its easier than breaking out the canon lol.

Trending Topics
 12-31-2012, 01:58 PM
#10
Staging Lane
iTrader: (1)
Join Date: Sep 2008
Location: Martinsburg, WV
Posts: 89
Likes: 0
Received 0 Likes
on
0 Posts
Looking great Bro! Has definitely come a long way. Can't wait to start on mine this week.. good think you have done most the mods I am wanting to do so we should move smoothly.

01-01-2013, 09:45 AM
#11
bring her by whenever your ready bud
01-01-2013, 02:32 PM
#13
the lid is just duplicolor touch up paint for medium quasar blue... just havent cleared it yet since i havent done the artwork on it yet. As far as prep just filler and sanding until it was uniform then used a high build primer and blocked it
01-02-2013, 05:53 PM
#15
Short little update, managed to get some primer on her today. Still a few little areas i need to touch up. Saturday i plan to pull it out and hit everything with degreaser and gunk, then start taping off and getting ready to respray the fender wells. Ill break out the Canon saturday and take some quality pictures. Till then heres a little teaser.
 Is this a package from SpeedInc or something?
01-03-2013, 05:32 AM
Is this a package from SpeedInc or something?
01-03-2013, 05:32 AM
#20
yep, sure is... go on there site, put in your vehicle and look under fuel/cooling if im not mistaken. Really pleased with the result so far. Although the hole filling is a pain in the *** 
Thanks for all the kind words everyone. Should be looking a heck of alot better this weekend when i can get some color down
Thanks for all the kind words everyone. Should be looking a heck of alot better this weekend when i can get some color down