The monstrosity that I've done. V2 lower grille on a V1 bumper.
 08-22-2014, 06:58 AM
#1

Why, you ask?.. more air for the future intercooler of course!. Also, I think it looks good and it's never been done before. It's a 10 year old car, people shouldn't be afraid to get down and dirty with it. I also, had another set of headlights which I cut the section off that hides behind the bumper. Once i put my battery in the trunk and reposition the fuse box to the battery location, I'll have A Lot of room to put my turbos under the hood. Anyway, without further a due...PICTURES!!
so I started with the headlights. Cutting off that useless inner section.
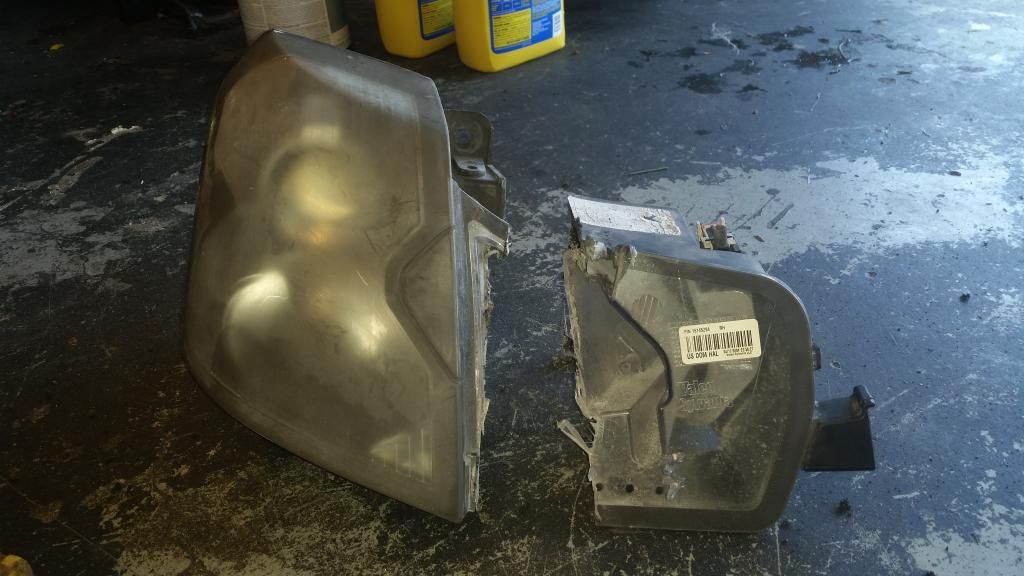
then I had to reposition the HID ballast and connector.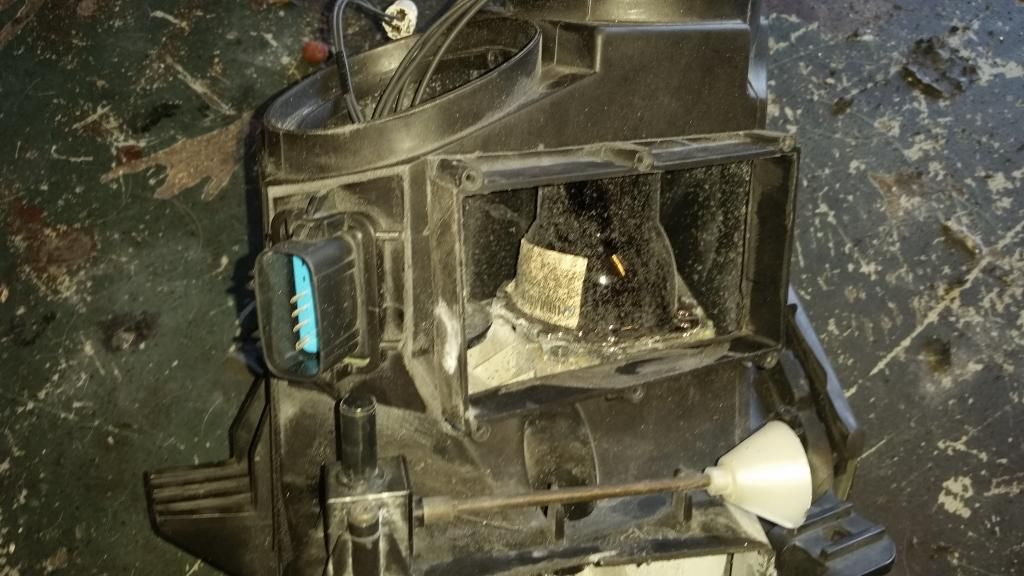
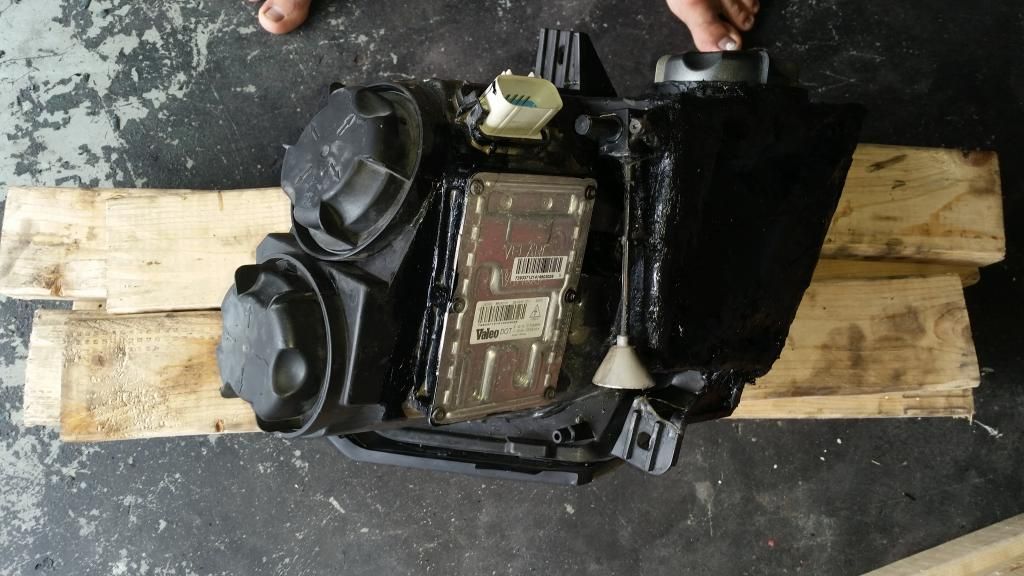
Then I had some plexiglass sheet laying around so I put the torch to it and melted it to the shape of the opening, which I fiberglassed over that for a good seal. Finishing it off with black paint. I didn't bother sanding it down or anything since you can't see it anyway.
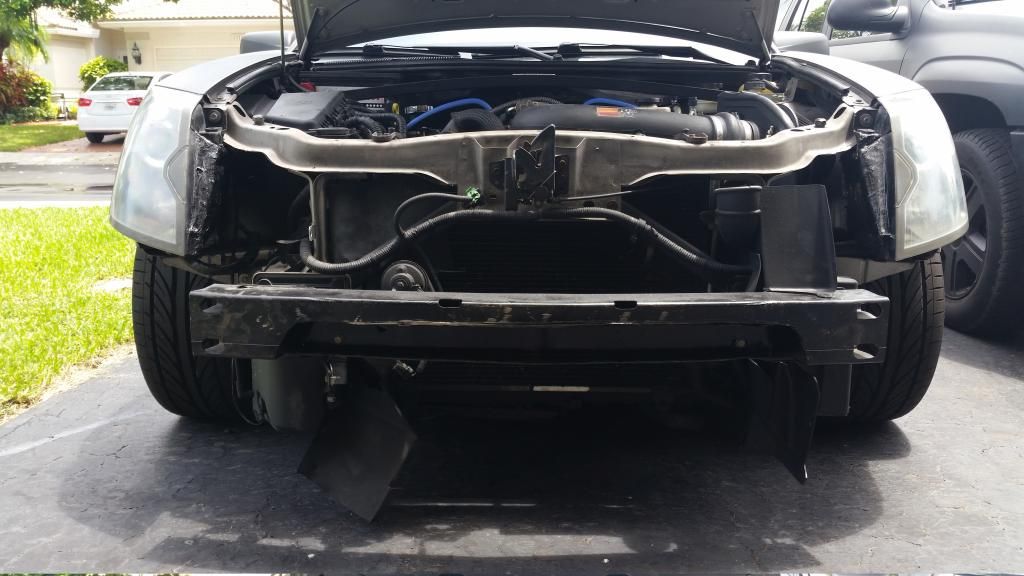
So once it was on the car, there was so much space gained for more air, intercooler piping, or turbos. Depending on how I position them in the future. It's hard to tell, but there is 6" between the headlight and the side core support, compared to the 1/2" that was there before!
So now onto the V2 lower grille install.
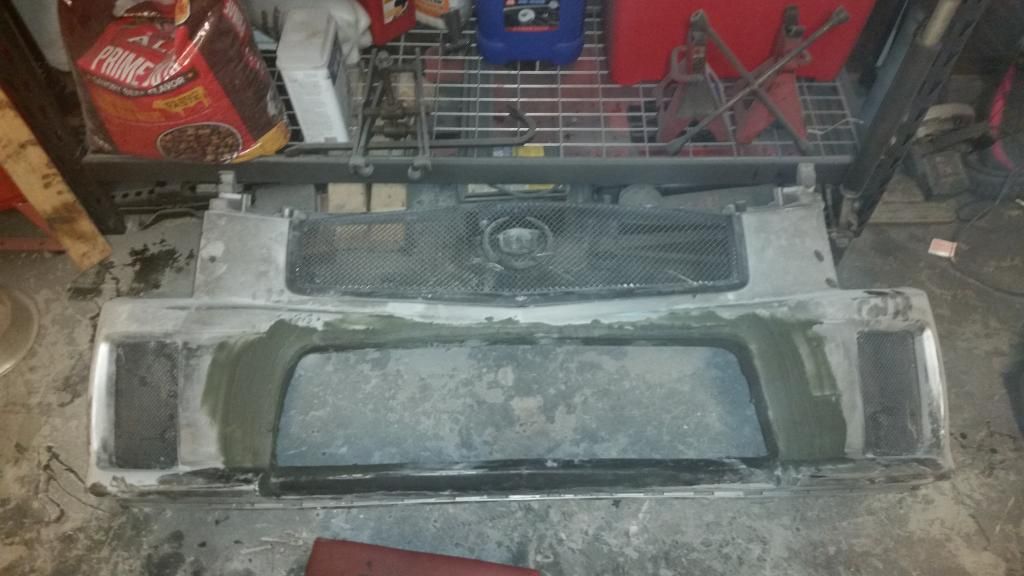
First, cut the S*** out of ur v1 bumper, don't be afraid, you can buy another on ebay
Then what I did was cut the top of the existing lower grille( the curve part) and cut it to the shape and length of the top of the V2 grille. That way I can still have the factory curve to keep look as stock as possible.
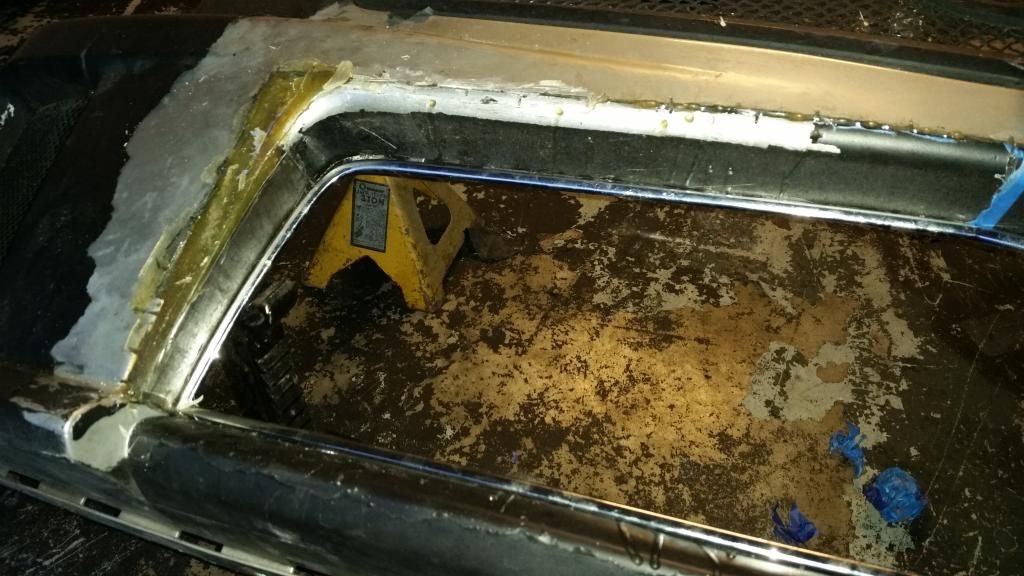
Using the outer trim from the grille (the mesh can unbolted, unlike the stock one that one piece) I used epoxy to keep the top, sides and bottom attached to the bumper while I fiberglassed it all together.
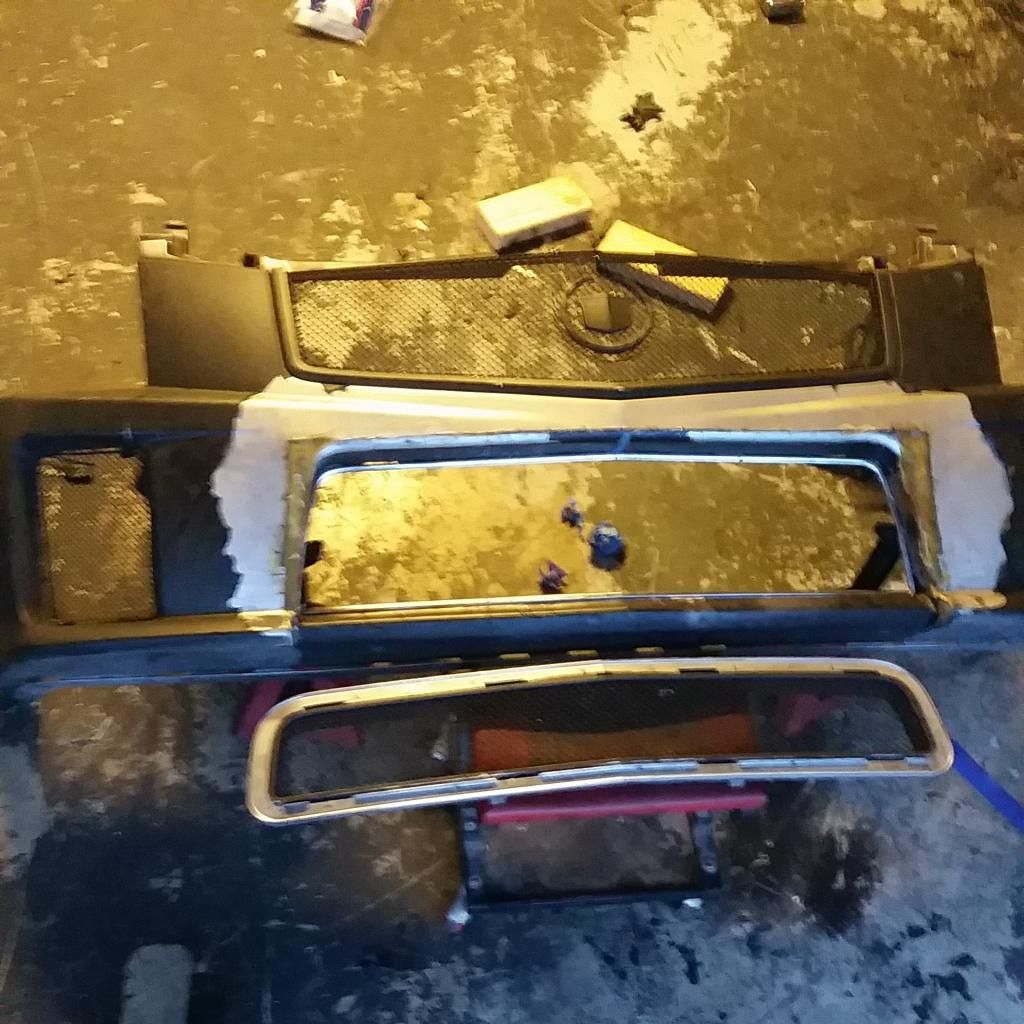
you Can see where the light shines through where it's fiberglass only. The bottom was already there since it's the stock bottom, and the top I cut to the shape of the V2 grille. So only really needed to make the sides.
So now time for bodywork, and more bodywork. Hours and hours of it. Fun fun fun!
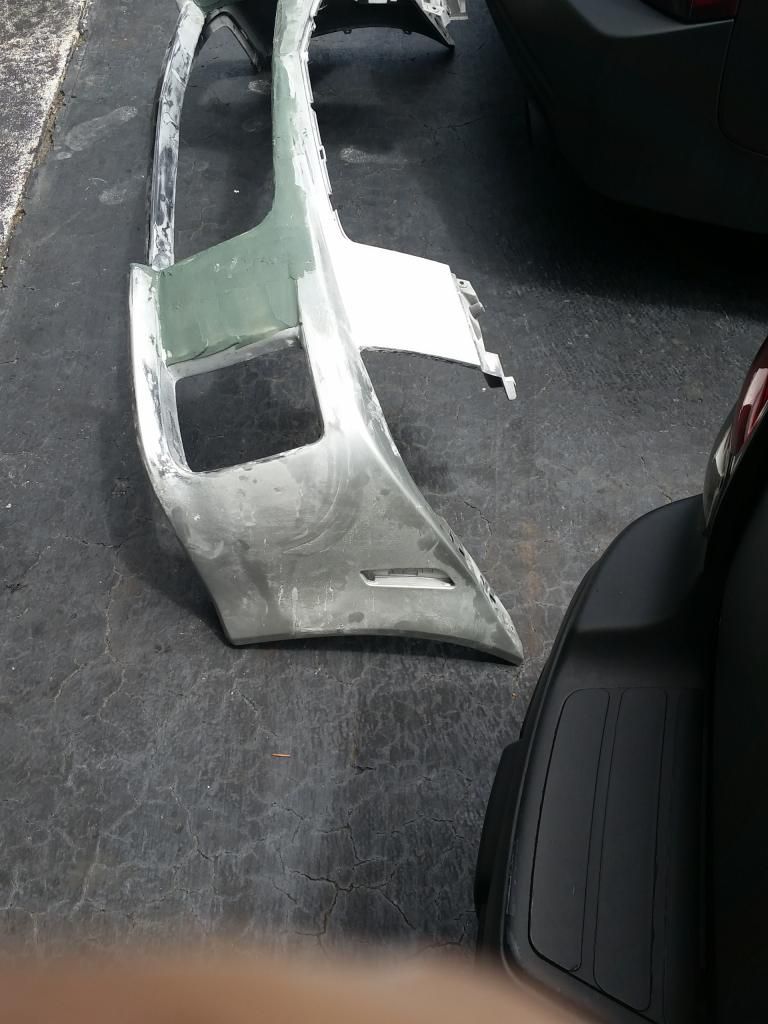
Nice and primered. Oh I also, ended up shaving the side markers.
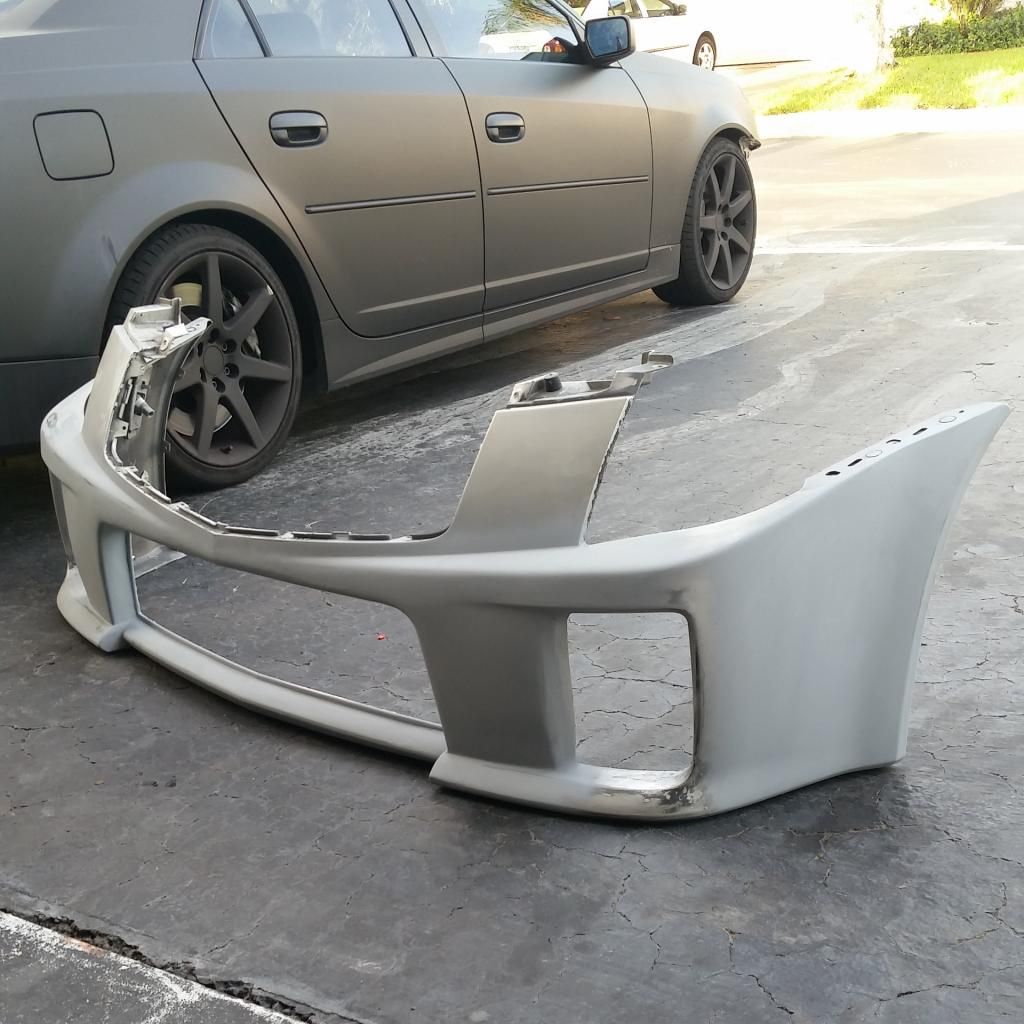
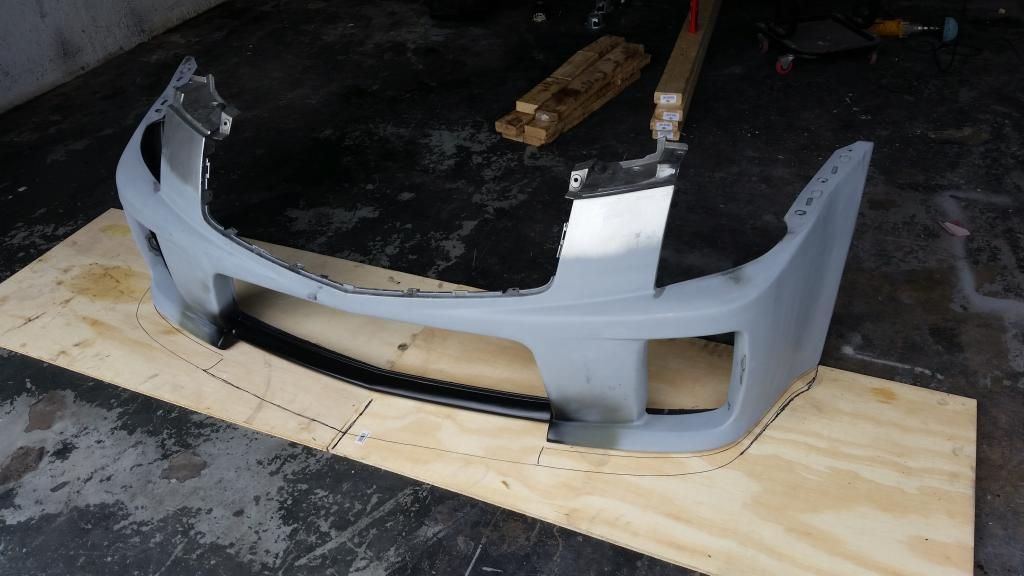
Front splitter coming soon. No it won't be out of plywood! Using it as a guide to bend some steel rods for added protection, then made of out either fiberglass or aluminum sheeting.
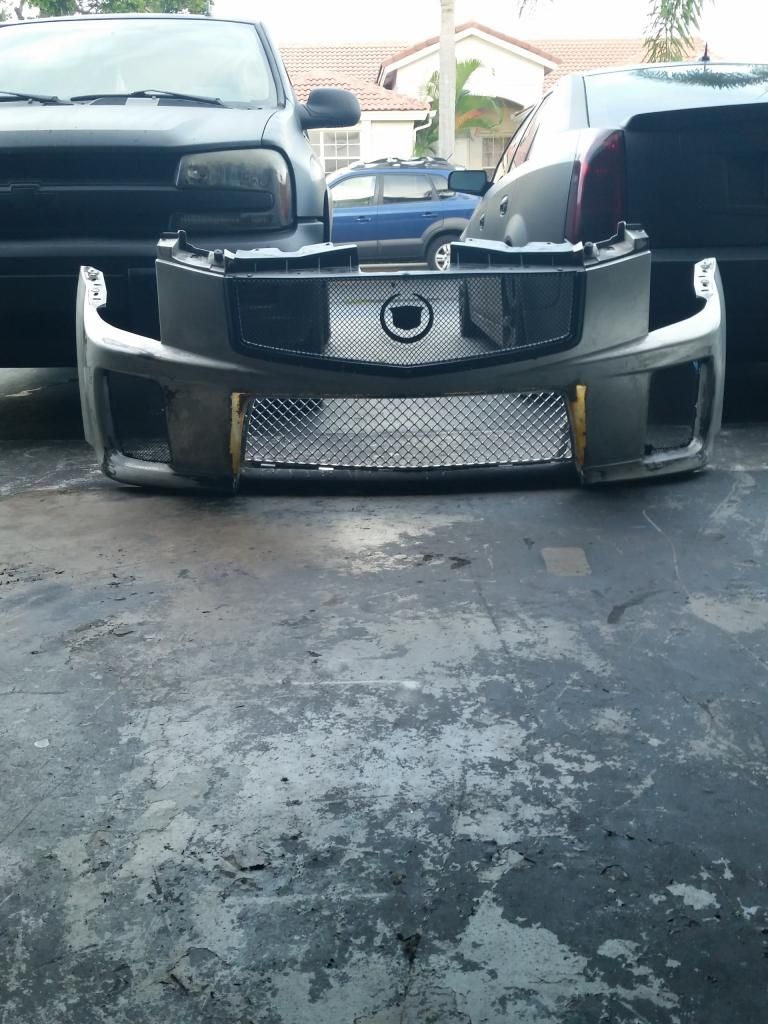
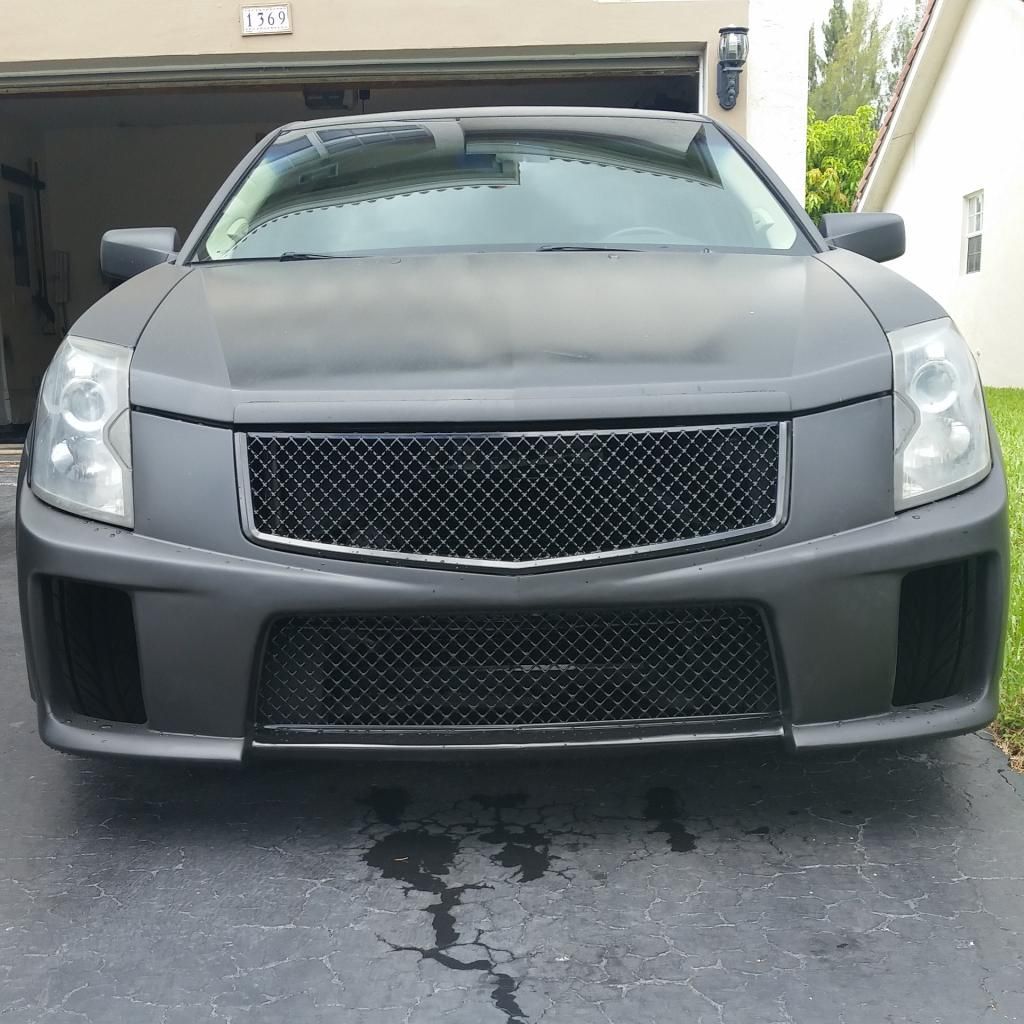
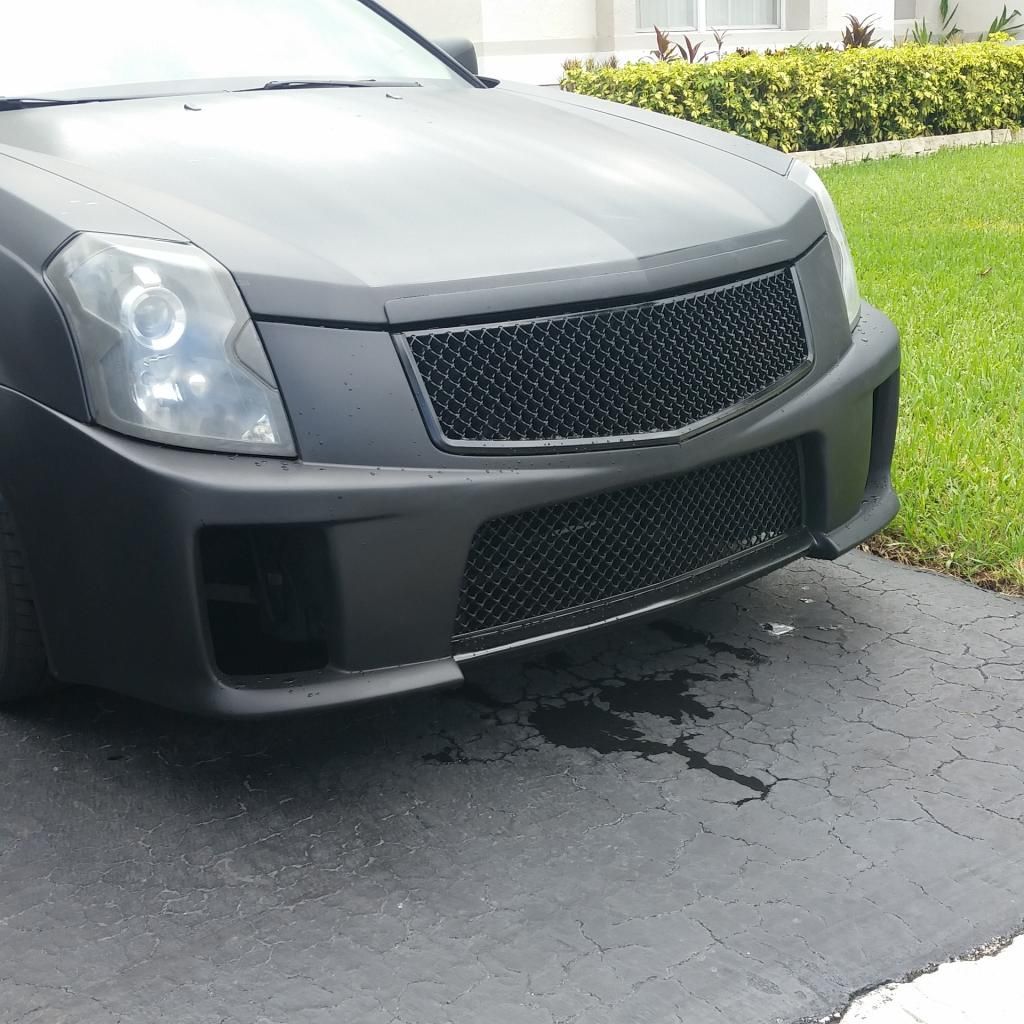
Finally the finished product. I hate that I had to go aftermarket for the upper grille but I wanted the mesh pattern to match.
so I started with the headlights. Cutting off that useless inner section.
then I had to reposition the HID ballast and connector.
Then I had some plexiglass sheet laying around so I put the torch to it and melted it to the shape of the opening, which I fiberglassed over that for a good seal. Finishing it off with black paint. I didn't bother sanding it down or anything since you can't see it anyway.
So once it was on the car, there was so much space gained for more air, intercooler piping, or turbos. Depending on how I position them in the future. It's hard to tell, but there is 6" between the headlight and the side core support, compared to the 1/2" that was there before!
So now onto the V2 lower grille install.
First, cut the S*** out of ur v1 bumper, don't be afraid, you can buy another on ebay
Then what I did was cut the top of the existing lower grille( the curve part) and cut it to the shape and length of the top of the V2 grille. That way I can still have the factory curve to keep look as stock as possible.
Using the outer trim from the grille (the mesh can unbolted, unlike the stock one that one piece) I used epoxy to keep the top, sides and bottom attached to the bumper while I fiberglassed it all together.
you Can see where the light shines through where it's fiberglass only. The bottom was already there since it's the stock bottom, and the top I cut to the shape of the V2 grille. So only really needed to make the sides.
So now time for bodywork, and more bodywork. Hours and hours of it. Fun fun fun!
Nice and primered. Oh I also, ended up shaving the side markers.
Front splitter coming soon. No it won't be out of plywood! Using it as a guide to bend some steel rods for added protection, then made of out either fiberglass or aluminum sheeting.
Finally the finished product. I hate that I had to go aftermarket for the upper grille but I wanted the mesh pattern to match.


Trending Topics
08-22-2014, 09:30 AM
#8
08-22-2014, 09:33 AM
#9
Yes, or for turbos themselves. I plan on putting them under the hood and we all know how tight it is, so I'm trying to get every extra inch I can. I plan on going a little lower with the car, and I just didn't want to put them where the cats are. Plus, with them being under the hood, it's a lot less piping I'd need to run.


 08-22-2014, 09:57 AM
#12
08-22-2014, 10:03 AM
#13
TECH Enthusiast
iTrader: (4)
Join Date: Apr 2014
Location: San Jose, CA
Posts: 602
Likes: 0
Received 0 Likes
on
0 Posts
Nice work the finished product looks very clean and crisp and not like a hack job. Good work! That is a good idea on relocating the fuse box to the back of the bay.
 08-22-2014, 10:08 AM
#15
Itd be super easy, you can see the intake filter just behind the parts of the bumper between the headlight and grille. Nothing is in the way
08-22-2014, 10:10 AM
#16
Thanks bud. Yea it'll be the only way to fit a turbo in there. I just ordered my battery relocate kit, so once I move it over to the trunk I'll start putting the fuse box there. I'll take pics to show everyone how much space we can get once it's out of the way
08-22-2014, 10:11 AM
#17
08-22-2014, 11:33 AM
#19
08-22-2014, 11:36 AM
#20
Oh I'm also selling my oem grilles, if anyone is interested. They're in good condition, typical DD condition. But the mesh is plastidipped, so you'd have to buy the spray to remove it if you want it all chrome. Thinking about putting it on ebay for $200, but make me an offer.
