
93 Z28 project
 05-08-2016, 12:56 PM
#1
TECH Apprentice
Thread Starter
iTrader: (1)

Join Date: May 2014
Location: Lexington, S.C.
Posts: 351
Likes: 0
Received 0 Likes
on
0 Posts
My parents gave me this car over 2 years ago. They originally bought it new in 93. It was equipped with a Lt1/700r4 and had the performance axle with the 150mph speedo. It sat under some trees for about 3 years and had 220,000 miles when I got it. I bought a new battery for it and drove it home and gave it a good cleaning.


 05-08-2016, 01:13 PM
#2
TECH Apprentice
Thread Starter
iTrader: (1)
Join Date: May 2014
Location: Lexington, S.C.
Posts: 351
Likes: 0
Received 0 Likes
on
0 Posts
The car had some running issues and would throw a code for 02 sensors and opti. The car was leaking oil all over the place also. I tried messing around a little with the Lt1 and said screw it. I am doing a Ls swap. So I went ahead and bought a 2005 Lq4 pull out, Ls6 intake, and F-body oil pan to start.

The day I picked up the 6.0 form the UPS freight center.

Got the motor in the garage and started stripping it down.

Test fitting Ls6 intake.


Started cleaning up the block.


Got some new parts in.

99-02 Fbody engine harness.

The day I picked up the 6.0 form the UPS freight center.

Got the motor in the garage and started stripping it down.

Test fitting Ls6 intake.


Started cleaning up the block.


Got some new parts in.

99-02 Fbody engine harness.
05-08-2016, 01:28 PM
#4
TECH Apprentice
Thread Starter
iTrader: (1)
Join Date: May 2014
Location: Lexington, S.C.
Posts: 351
Likes: 0
Received 0 Likes
on
0 Posts

UMI road race K-member

SLP mass airflow sensor

Arp balancer bolt

Right before tear down


Look at all that oil. All on the bottom of the car also.

Drilled hole and tapped to mount alternator.


Running 04 ZO6 valley cover and rear ctsv steam vent. Front steam vent is a stock Ls1.
05-08-2016, 01:45 PM
#5
TECH Apprentice
Thread Starter
iTrader: (1)
Join Date: May 2014
Location: Lexington, S.C.
Posts: 351
Likes: 0
Received 0 Likes
on
0 Posts

Finished cleaning motor and bolted down intake with stainless Arp hardware

My only pcv hose. It really cleans up the engine.

3 wire 98 temp sensor. 2 wires go to the pcm and you have to add a wire to go the gauges.

F-body oil pan cleaned up


Brother donated his stock manifolds since he has Lt's. Installed some new studs.

Brand new bellhousing. These things are getting expensive.

Pilot bearing tapped in and new seal.

Monster 28lb flywheel

Monster stage 2 clutch.
 05-08-2016, 01:57 PM
#6
TECH Apprentice
Thread Starter
iTrader: (1)
Join Date: May 2014
Location: Lexington, S.C.
Posts: 351
Likes: 0
Received 0 Likes
on
0 Posts

Front end accessories situated

Truck coil packs cleaned and bolted down

Test fitting new pedals


Removed steering column. Made pedal swap way easier.


Hole cut. Some say to leave the rubber insulation, but i ended up cutting it out.

What it looks like under the hood

Tick adjustable master cylinder.
05-08-2016, 02:28 PM
#7
TECH Apprentice
Thread Starter
iTrader: (1)
Join Date: May 2014
Location: Lexington, S.C.
Posts: 351
Likes: 0
Received 0 Likes
on
0 Posts

Prothane engine mount inserts. Comes with new bolts to clamp them back together


T-56 finally came in. Later on I found out that this was a piece of junk

Slave cylinder installed and tick speed bleeder

All bolted together

Putting it in.

All in


Cut hole out.

Test fitting boot

Shifter installed


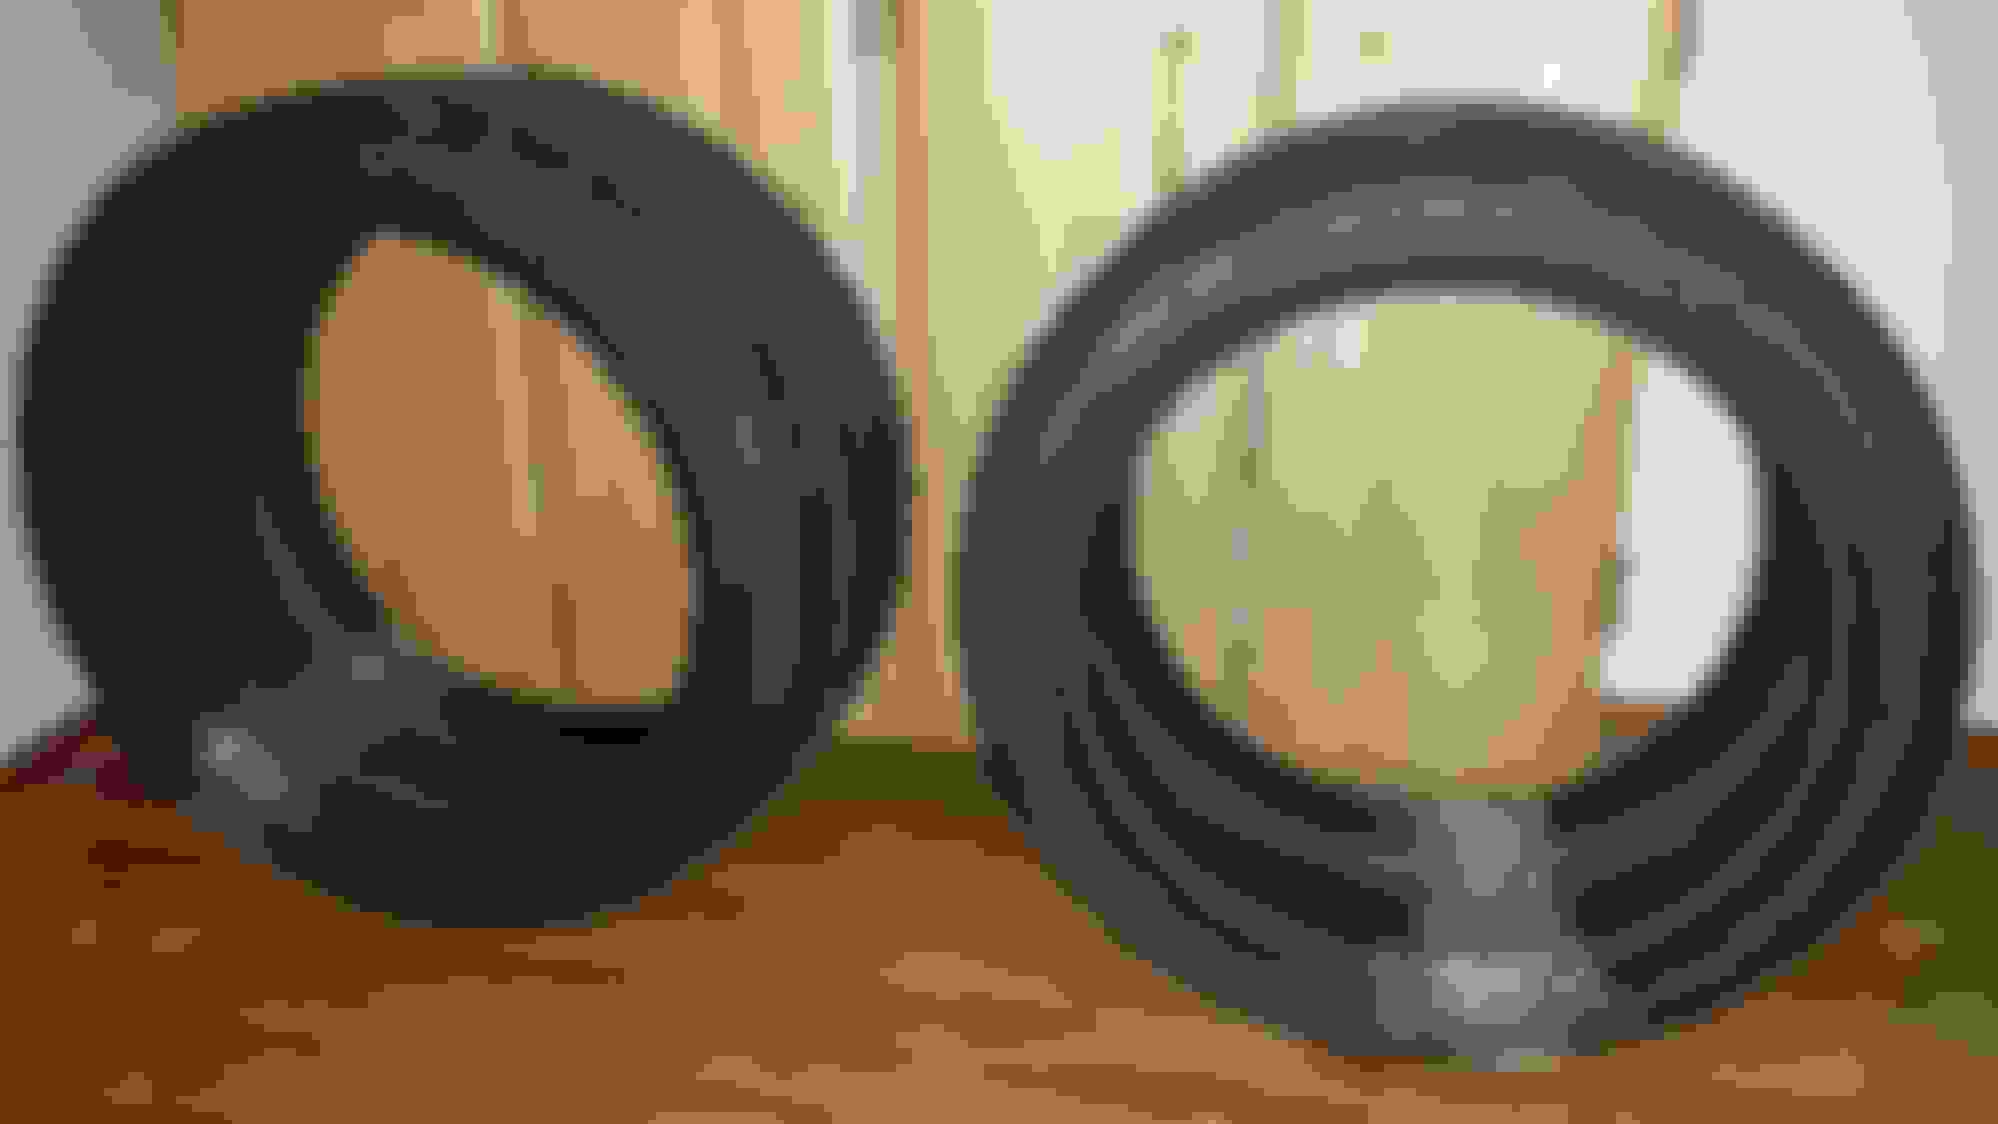
Port that was used for the Lt1 oil cooler. Found a plug at Napa. Later on this plug cracked and failed. I ended up going with 5/8 radiator hose with a brass plug clamped on the end.

Test fitting K&N intake.

Trending Topics
05-08-2016, 02:50 PM
#8
TECH Apprentice
Thread Starter
iTrader: (1)
Join Date: May 2014
Location: Lexington, S.C.
Posts: 351
Likes: 0
Received 0 Likes
on
0 Posts

Intake elbow all figured out


Corvette fuel filter/regulator in stock filter location.

Shortened heater core lines and installed new hoses

Ran steam vent hoses


New starter as i damaged the truck starter

Didnt run the clutch switch yet so i just jumped out the shifter connector so i could start the car

Removed balljoints and bushings for replacement. I had a full energy suspension front upgrade kit

All finished and driving.

My tires were dry rotted so i stole my brothers Ws6 wheels

Just enjoying the car.
 05-08-2016, 03:52 PM
#9
TECH Apprentice
Thread Starter
iTrader: (1)
Join Date: May 2014
Location: Lexington, S.C.
Posts: 351
Likes: 0
Received 0 Likes
on
0 Posts
So I drove the car around here and then for 6 months and had issues with 3rd and 4th grinding, no A/C, and my power steering overheating.

So I bought a Derale cooler for my powersteering. I was amazed that the cooler mount lined right up with existing bolts on the airdam.

So far this has been on the car for almost a year with good results.

Fuel gauge didnt work so i tried to swap out the sending unit. I swapped it out and it still didnt work.

Cut hole out

Gasket material.

Got some aluminum material from Lowes to reinforce the metal.

Started collecting parts for A/C

LT1 lines would not work with stock manifolds. So i bought new Ls1 lines and a crimper and crimped the Lt1 ends on the Ls1 lines.

This was the high side from the condenser. I ended up ordering a new connector so the ferrule would be captured


This is the suction line. I just recrimped it as it is low pressure. You can see the nub that would normally catch the ferrule

All installed


Where it connects to the bottom of the condenser

New battery tray/overflow tank. Old one had broken tab in front to hold down battery.
 05-09-2016, 08:39 AM
#12
TECH Fanatic


Man that was quite a project! Looks like it turned out pretty well.
05-09-2016, 11:42 AM
#13
TECH Apprentice
Thread Starter
iTrader: (1)
Join Date: May 2014
Location: Lexington, S.C.
Posts: 351
Likes: 0
Received 0 Likes
on
0 Posts
Thanks. It is actually a little farther along. Tried uploading more pics last night, but I think I hit the limit or something. I lost the whole post and gave up. I also have a thread in the conversions section, but decided not to post anymore in that as what I am doing now has nothing to do with swapping a Ls. I will use this thread to update on all my progress.
05-09-2016, 08:25 PM
#14
TECH Apprentice
Thread Starter
iTrader: (1)
Join Date: May 2014
Location: Lexington, S.C.
Posts: 351
Likes: 0
Received 0 Likes
on
0 Posts
Here are the new wheels and tires.

Picked up four 18x9.5 C5 replicas fom Oe wheels
Nitto Nt05 275/35


Room full of wh�els and tires

Also picked two 18x10.5 for later down the road

Very wide

Picked up four 18x9.5 C5 replicas fom Oe wheels

Nitto Nt05 275/35


Room full of wh�els and tires

Also picked two 18x10.5 for later down the road

Very wide
05-09-2016, 08:40 PM
#15
TECH Apprentice
Thread Starter
iTrader: (1)
Join Date: May 2014
Location: Lexington, S.C.
Posts: 351
Likes: 0
Received 0 Likes
on
0 Posts

These bump stops are done. Energy suspension to the rescue.

All mounted up. Also replaced sway bar end links and bushings while i was at it


Bunch of oil still under this car from the Lt1.

Had to grind down the rear hubs for the wheels to fit. I used a dremel with a barrel sanding wheel.

All installed!


Got lucky and found a black berger panel at a local scrap yard

All installed and cleaned up
 05-09-2016, 08:54 PM
#16
TECH Apprentice
Thread Starter
iTrader: (1)
Join Date: May 2014
Location: Lexington, S.C.
Posts: 351
Likes: 0
Received 0 Likes
on
0 Posts
See if you guys can guess what I was doing in these pics. Will post the results tomorrow.

4x4 style

Brothers car on left and mine on right and both in the air.

Hmmmmm

4x4 style

Brothers car on left and mine on right and both in the air.

Hmmmmm

 05-10-2016, 08:56 PM
#20
TECH Apprentice
Thread Starter
iTrader: (1)
Join Date: May 2014
Location: Lexington, S.C.
Posts: 351
Likes: 0
Received 0 Likes
on
0 Posts
Thanks. Brakes will eventually come. Still trying to spend money on problem areas before full out upgrades.
Well here is the reason I had the car all jacked up. I got my taxes back and my transmission has been grinding 3rd and 4th ever since I put it in. Just recently it wouldn't shift into 5th, 6th, and reverse. So I decided to pull it out to rebuild myself. And I am glad I did considering how much I spent on parts.

T56 removed. I used a ATV/ motorcycle jack to get it out


Input shaft is toast. So I ordered a new one and a pilot bearing.

Broke front plate loose to drain the rest of fluid

Removing roo pin from cup holder

Shift rail and reverse lockout

Built a lttle jig to hold it off the workbench

Tailhousing removed and you can speedo reluctor wheel and reverse gear. Reluctor had somr knicks in it.

Removed gear and you can see synchro assembly and brass blocker


Removing detent plate

Harbor freight puller that i modified with longer arms for 5th/6th cluster

Sychronizer keys with missing magnets

Main case removed

1st/2nd shift fork on top 3rd/4th on bottom. Notice how 3rd/4th is still aluminum