
79 trans am ls1/th400 w/ gearvendors
 09-21-2010, 01:25 PM
#1
On The Tree
Thread Starter
iTrader: (2)

Join Date: Jun 2010
Posts: 186
Likes: 0
Received 0 Likes
on
0 Posts
hey guys, i'm going to use this thread to document my build. which will probably change plenty along the way.
so here's where i'm starting, and i'm going to document and try to keep tallies of all my costs on everything too.
-2001 ls1 motor, ls6 intake, f body accessories, 25% underdrive pulley
-98 camaro electric fans
-98 pcm and wiring harness (had an 01 pcm, but 98ta straightened it out for me and sent me the 98, good guy to deal with)
01 ls1 assy - 2700.00$
01 Rear main seal felpro - 25$
AC Delco Water Pump - 150$
Carshop Adapter Plates - 54$ shipped
Complete front end rebuild kit (bushings and all new tie rods) - 478$
Flywheel and Torque Converter adapter - 222.85$
700r4 - 300$
Stainless brake lines, prop valve - 300$
New Fuel Tank - 150$
Tanks Inc setup - 255$
Motor Mounts - 20$
3/8" fuel line - ~20$
3/8" line nuts - ~5$
por 15 - ~25$
more wire for extending switch and constant power - 5$
-6 an stainless teflon lines and fittings - ~250$
brakes, seals, ball joints, calipers, wheel cylinders, etc - ~1000$
f body exhaust manifolds - 50$
torque converter - 75$
wheels/tires for moving around - 150$
And here's what i plan on picking up:
Ricks stainless EFI tank setup
Edelbrock swap headers (going to pick up after i get everything running well.)
TH400 (performance built, able to handle the hp/tq that i will eventually be putting down with the engine) (leaving this for second phase)
Gear Vendors OD/UD unit (leavin for second phase)
Rebuild the stock rear end
Okay guys, i'm gunna try to document this visually as much as I can, both with what I do right and also what I screw up (plenty of these). What I've done so far is to pull the olds 455 that came with the car (originally a turd of a 301 pontiac), and the th350 that was full of sludge.
pulled all the sheetmetal, and stripped the subframe and pulled that out to paint with por15.
as of right now, i've got the subframe back in and dead on according to factory measurements in the body manual, and the next few days i'm going to wade through the engine harness and see what I can do with it. I'm waiting on my mounts so I can drop it in and see how it lays, than i'm going to start making up the wiring harness. more to come soon, pics will come when I get home.
Last edited by nunan0219; 12-12-2010 at 06:44 PM. Reason: adding prices/pieces

 09-21-2010, 08:45 PM
#3
On The Tree
Thread Starter
iTrader: (2)
Join Date: Jun 2010
Posts: 186
Likes: 0
Received 0 Likes
on
0 Posts
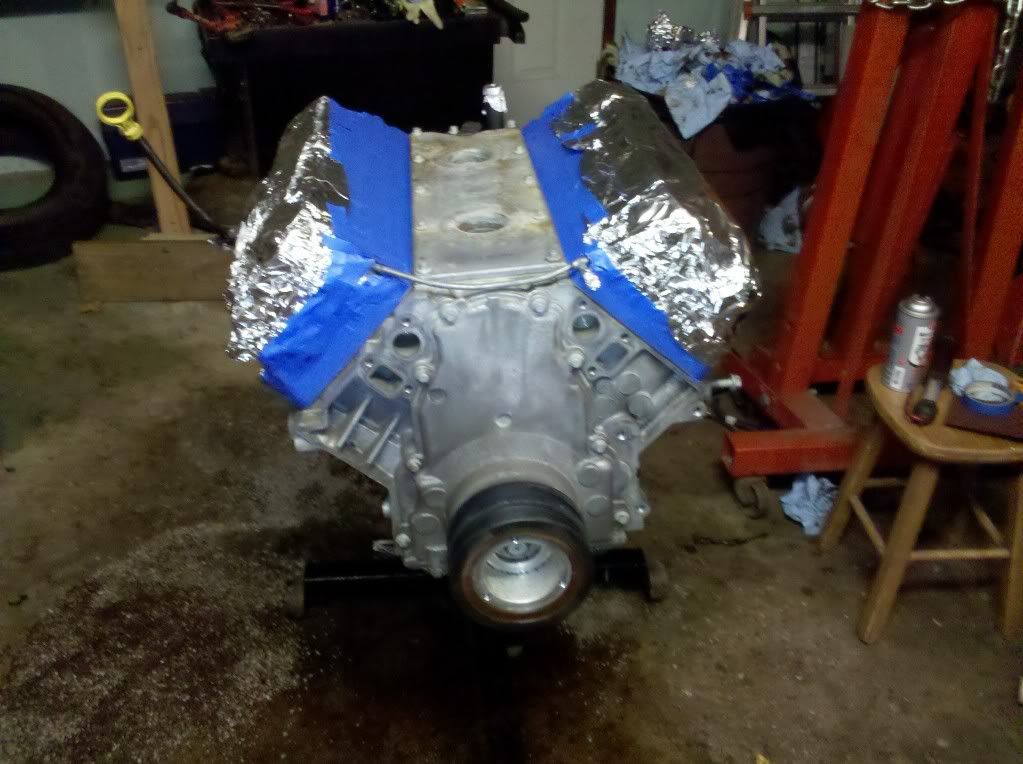
not much to update tonight. spent some time pullin parts off the engine to get it ready for paint. got a rear main seal for it today, need to grab some intake and valve cover gaskets. anything i should do to the ls1 before i put it back together? around 85k miles on it.
i also hooked the harness up and tore all the tape/loom off the wires, to see what I can do with it wiring wise. need to really get the motor in the car to get a better picture of what i want. so i'm gunna post a few pictures of it from beginning to where it is now. in the days to come, i'll get my motor mounts and plates, so i can start test fitting that sexy engine in there. by tomorrow i should have the engine all primed up and possibly painted.
my buddy is pickin up my a arms to get them sandblasted and ready for some por 15 and bushings. so far things are moving somewhat smoothly, luckily i have my dad and some buddies who are willing to help me with it.
09-21-2010, 08:53 PM
#4
On The Tree
Thread Starter
iTrader: (2)
Join Date: Jun 2010
Posts: 186
Likes: 0
Received 0 Likes
on
0 Posts
http://s21.photobucket.com/albums/b2...0am/?start=all
thats all of my pics i have of it right now. more on my phone/camera, just too lazy to load them.
whats sad is...this swap started as me getting annoyed by a lifter tick and a freakin carb body gasket leak. oh well...guess thats how some of u guys started too... or atleast thats what i'll tell myself.
09-21-2010, 11:23 PM
#5
Launching!
iTrader: (7)

Join Date: Dec 2006
Location: Maryland
Posts: 252
Likes: 0
Received 0 Likes
on
0 Posts
what plates and mounts are you using, id go with the carshop ones, and the factory chevy clamshell mounts.... thats what i used on mine, and fit in like it was originally there....
09-22-2010, 05:15 AM
#6
On The Tree
Thread Starter
iTrader: (2)
Join Date: Jun 2010
Posts: 186
Likes: 0
Received 0 Likes
on
0 Posts
yeah thats what i'm doing. i have the sbc mounts here, just need to order the carshop plates.i get paid thursday night so some stuff is gettin ordered friday morning.
the tank is waiting until i sell my bike...its a gorgeous piece but a big dent into my wallet/savings/begging borrowing stealing etc etc lol
edit: i also got my new rear main seal. need to pikc up a few more misc gaskets, but the engine is gunna be painted today with new gaskets installed soon. i'm adding it to the parts list at the top of the post.
09-22-2010, 10:45 AM
#7
On The Tree
Thread Starter
iTrader: (2)
Join Date: Jun 2010
Posts: 186
Likes: 0
Received 0 Likes
on
0 Posts
so i'm waiting on food while at work, so I figured I would post my revised ideas and goals for the swap.
I'm going to break this down into phases, because i have a lot to do, and being 22 and i need to pace myself. so here is my revised schedule/goal list
Phase 1 - Get the engine in, fuel system in, cooling and electrical systems all working correctly.
Phase 3. Body work and Paint
Phase 4. Interior rework (not happy with how I did it initially)
I'm going to break this down into phases, because i have a lot to do, and being 22 and i need to pace myself. so here is my revised schedule/goal list
Phase 1 - Get the engine in, fuel system in, cooling and electrical systems all working correctly.
1.a - Mount engine into car, check for clearances with firewall and make sure nothing is interfering.
1.b - Purchase transmission, get it rebuilt and setup for the ls swap, than mount engine and trans as an assy and modify trans crossmember to retain stock apperance/drive shaft angles/
1.c - Measure for driveshaft and get that made, in the meantime, get my speedo cables/shift cables calibrated and operational.
1.d - Electrical harness, mount the pcm and rewire the harness to fit my needs. after harness looks as good as I can get it, and maintains all of the neccessary components, send the pcm out to get calibrated to delete vats, egr, a/c, etc etc.
1.d.1 - mount sheetmetal so i can route my harness the way I want it to be, hidden.
1.e - Mount radiator, run heater hoses and make sure everything is insulated so it will not rub through.
1.f - fuel system, run new stainless lines, ***** myself out to get the rick's stainless tank
Phase 2. Brakes and SuspensionPhase 3. Body work and Paint
Phase 4. Interior rework (not happy with how I did it initially)
Trending Topics
09-22-2010, 06:44 PM
#9
On The Tree
Thread Starter
iTrader: (2)
Join Date: Jun 2010
Posts: 186
Likes: 0
Received 0 Likes
on
0 Posts
yeah, a lot of work, but still gunna be a lot of fun.
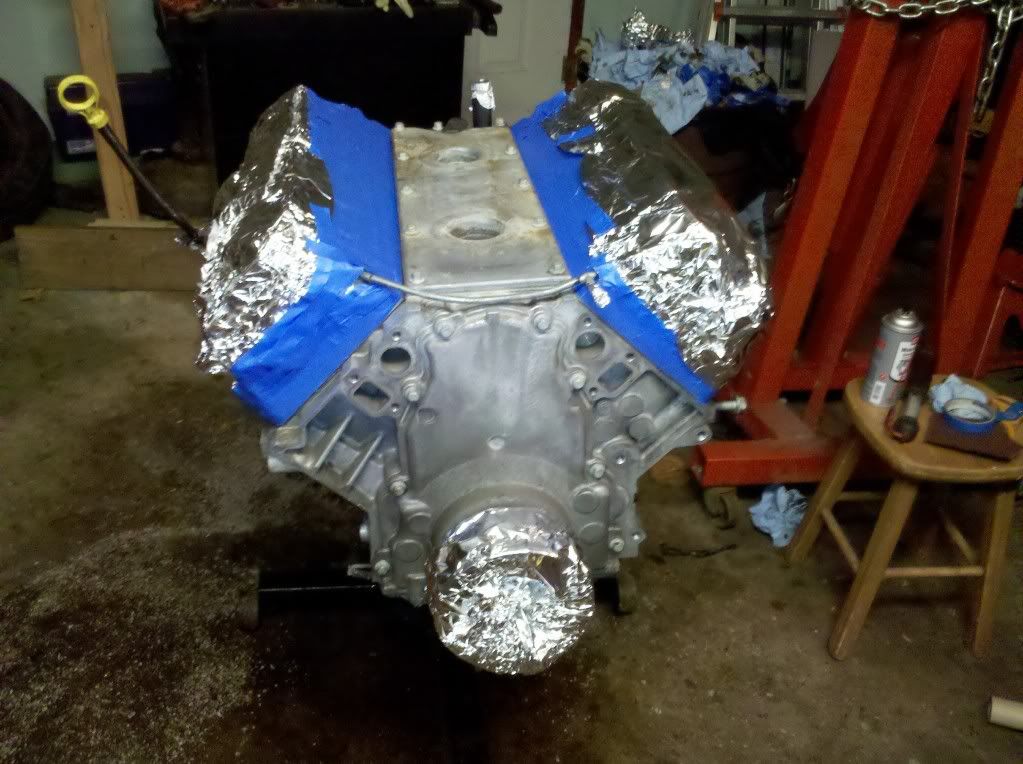
i got the motor stripped down, masked off and ready for paint. just waiting on the paint, mounts, and my alldata subscription so I can start messin with the harness.
i got the motor stripped down, masked off and ready for paint. just waiting on the paint, mounts, and my alldata subscription so I can start messin with the harness.
 09-23-2010, 02:21 AM
#11
Launching!
iTrader: (7)
Join Date: Dec 2006
Location: Maryland
Posts: 252
Likes: 0
Received 0 Likes
on
0 Posts
whos selling the ricks tank for the later gens? i couldnt find it, and you cant use the 70-74 tank without doing some alterations to the filler neck.... im going with a tanksinc.com drop in pump..... comes with a sump and everything got it in the mail yesterday..... and what radiator are you using? factory or a fabbed up one?
09-23-2010, 05:22 AM
#12
On The Tree
Thread Starter
iTrader: (2)
Join Date: Jun 2010
Posts: 186
Likes: 0
Received 0 Likes
on
0 Posts
if you call rick, they have them for the 75-81s, its around 1300 shipped give or take. i was thinking about t he tanks inc one, but i couldnt find the one for our tanks. guess i could modify it, but i also need a tank too as i think mine has a rust hole at the top (gas fumes with it full)
for the radiator, i have the stock t/a one (previous owner replaced it with a 4 core), i also have to stock camaro one as well, and i have the camaro fans. once the engine is in paint today, i'm gunna spend some time comparing parts i have laying around and seeing if they work. I think for getting the engine in and driving it until i have more cash later, i'm gunna try to make the manifolds i have work (not sure what they are, i'll see if they fit once the engine is in.) i can take picutres tonight of the ls1 fans on a stock radiator, i think its close or perfect.
for the radiator, i have the stock t/a one (previous owner replaced it with a 4 core), i also have to stock camaro one as well, and i have the camaro fans. once the engine is in paint today, i'm gunna spend some time comparing parts i have laying around and seeing if they work. I think for getting the engine in and driving it until i have more cash later, i'm gunna try to make the manifolds i have work (not sure what they are, i'll see if they fit once the engine is in.) i can take picutres tonight of the ls1 fans on a stock radiator, i think its close or perfect.
09-23-2010, 08:23 PM
#13
Launching!
iTrader: (7)
Join Date: Dec 2006
Location: Maryland
Posts: 252
Likes: 0
Received 0 Likes
on
0 Posts
yeah i set my stock fans up against the 79 radiator i have, which is a 4 core, fits really good and nice in there.....ill eventually switch to a dual pass radiator where both hoses are on the passenger side....then maybe a pusher fan setup so you cant see em under the hood...
09-23-2010, 08:26 PM
#14
Launching!
iTrader: (7)
Join Date: Dec 2006
Location: Maryland
Posts: 252
Likes: 0
Received 0 Likes
on
0 Posts
as for the tank, the tanksinc setup is universal, you just have to cut a 4in hole in the top, then assemble the pump/sump assembly to the depth of the tank..... havent done mine yet but ill let you know how it goes...or you might see it on my build...
09-24-2010, 05:15 AM
#15
On The Tree
Thread Starter
iTrader: (2)
Join Date: Jun 2010
Posts: 186
Likes: 0
Received 0 Likes
on
0 Posts
i may just do the tanks inc setup for now, cuz itll help save a lot. eventually i'm going to the ricks tank, cuz when this car is done 100% the way i want, i'm going to have the mirrors to show its underneathe. how cool would that be to see a mirror lookin right back at ya from the gas tank lol
on a side note, engine's painted. kid that works for me screwed up his ankle, so it looks like i'll be workin o/t the next couple days, so progress will be slow. still have to strip the valve covers, clean the intake, clean up the accessories/brackets, and paint them all. ordered my carshop plates, so hopefully i can start test fitting my engine soon.
on a side note, engine's painted. kid that works for me screwed up his ankle, so it looks like i'll be workin o/t the next couple days, so progress will be slow. still have to strip the valve covers, clean the intake, clean up the accessories/brackets, and paint them all. ordered my carshop plates, so hopefully i can start test fitting my engine soon.
 09-25-2010, 09:30 AM
#18
On The Tree
Thread Starter
iTrader: (2)
Join Date: Jun 2010
Posts: 186
Likes: 0
Received 0 Likes
on
0 Posts
stuff makes the interior water tight, wont seep into the joints and will just pool up so you can clean it up with a rag if you have a leak.
09-25-2010, 04:24 PM
#19
what i did was wirewheel the floors to bare metal, than scuff itwith scotchbrite pads. after cleaning with some prepsol, i sprayed some vht epoxy on both the underside and inside, than rolled down some roll-in bedliner after the seam sealer was put everywhere (except the weap holes)
stuff makes the interior water tight, wont seep into the joints and will just pool up so you can clean it up with a rag if you have a leak.
stuff makes the interior water tight, wont seep into the joints and will just pool up so you can clean it up with a rag if you have a leak.
09-25-2010, 09:59 PM
#20
On The Tree
Thread Starter
iTrader: (2)
Join Date: Jun 2010
Posts: 186
Likes: 0
Received 0 Likes
on
0 Posts
its great, acts like a sound deadner but also waterproofs it. did it on a buddies jeep, and his windshield is leakin and still has a puddle in the floor. hasnt rotted a bit.