
BMW E34 5.3 ls swap
 01-19-2013, 11:50 AM
#1
Teching In
Thread Starter

Join Date: Jan 2013
Posts: 11
Likes: 0
Received 0 Likes
on
0 Posts
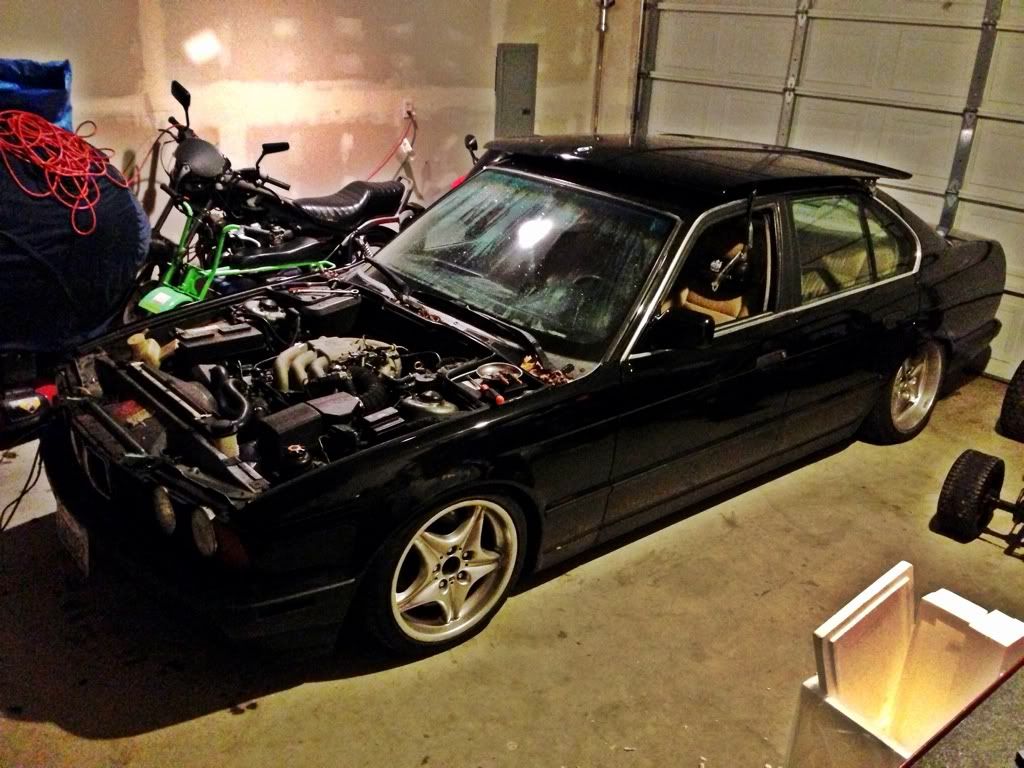
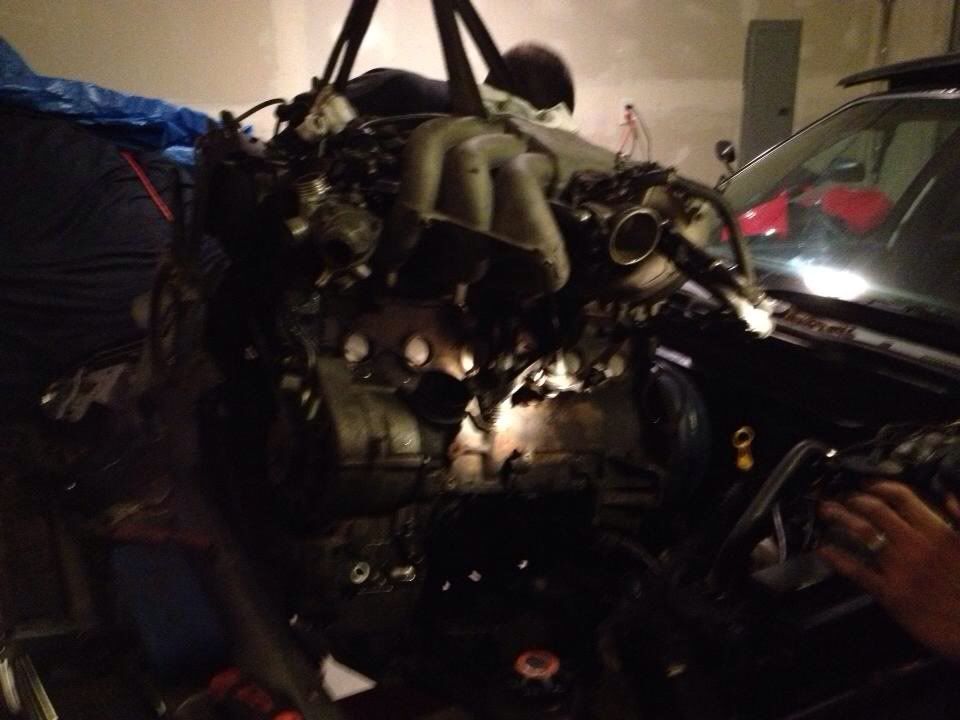
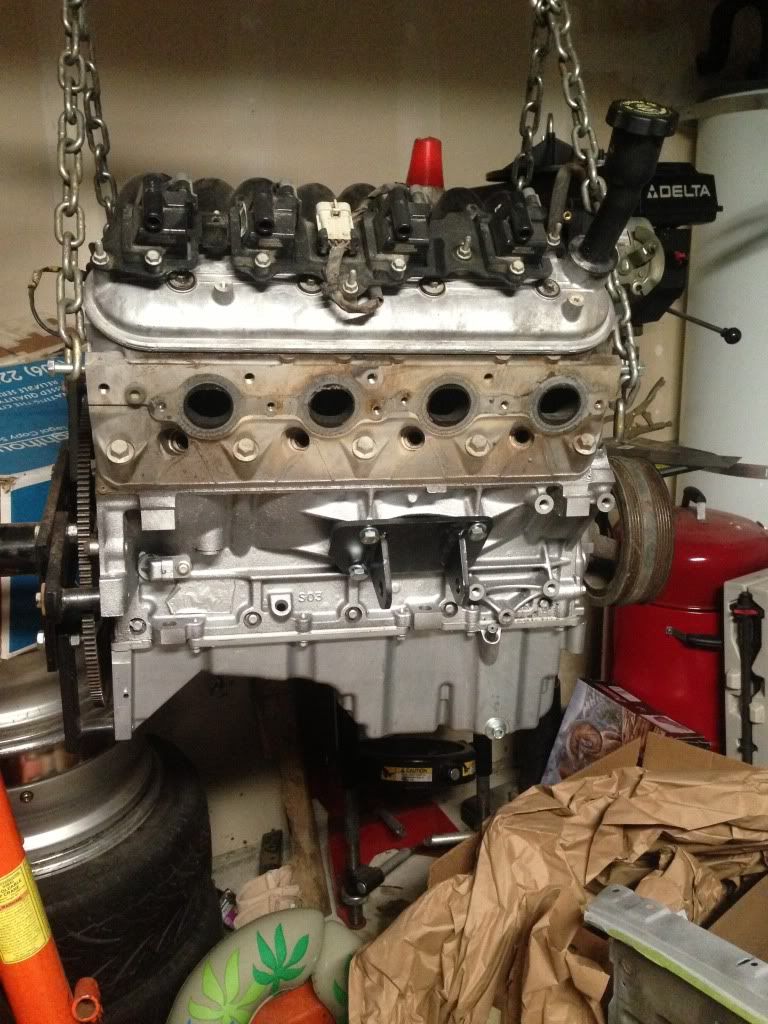
So I jumped in and started the swap I've been planning for a couple months now and within a weeks time (the few hours after work and some of the weekend) I've managed to get a lot done. I have removed the original BMW engine and trans and all the ac and abs nonsense along with the exhaust, cooling and heating systems and most of the stock harness. I purchased a 02 silverado 5.3liter with 82k from lkq and have since dissembled it and inspecting it while I replace all the gaskets and do an overall clean up on it. While dissembling it I found that both heads are in amazing condition (must have been replaced at some point) and bottom end is also in very good condition. So I'm pleased with my purchase. I plan on using the 4L60e trans from and 02 trailblazer since the local wrecking yard has one on hand and it's reasonably priced. As for harness and ecu I'm still debating on which direct to go. I'm leaning towards stand alone harness with the truck ecu. I will be posting a lot of pictures since my friend plans on doing the same swap after we're done with mine. Any info or advice would very much appreciate it. Thanks!


 02-06-2013, 11:43 PM
#5
Teching In
Thread Starter
Join Date: Jan 2013
Posts: 11
Likes: 0
Received 0 Likes
on
0 Posts
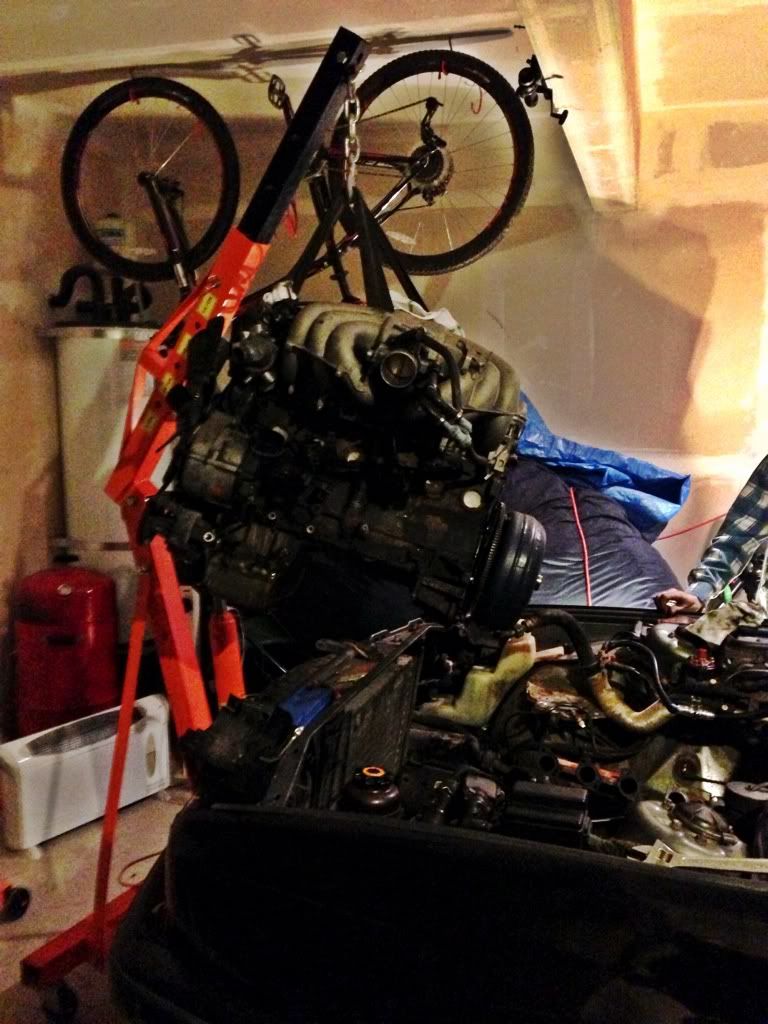
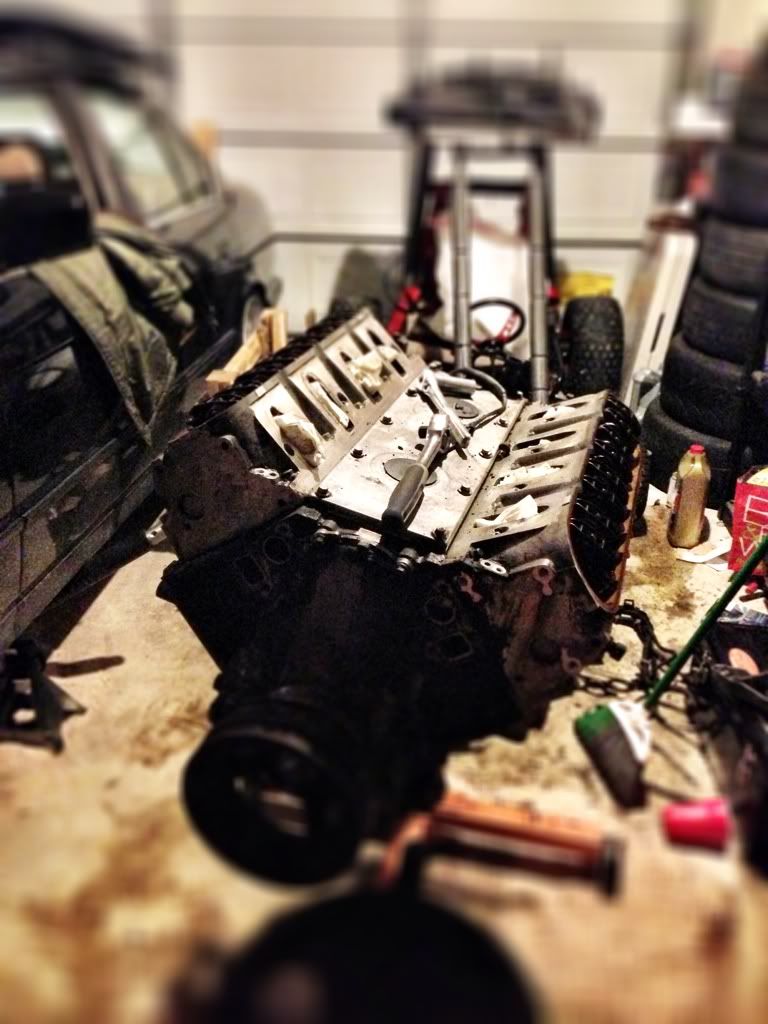
Sorry for the delay in updates guys, but I have been super busy at work and haven't had much time after to work on it. But within the last few weeks i have been able to tear down the block and replace all the gaskets and overall clean it all up. I managed to snap a ls1 intake mani with the egr blocked off on eBay for $100. Which I was excited about since I'm on a budget. I've also managed to get almost everything out of the engine bay and start sanding the bay and drilling holes in the cowl to tuck away the old harness so it's hidden away. I'll post up more pics soon! Hope to get a lot done this weekend.
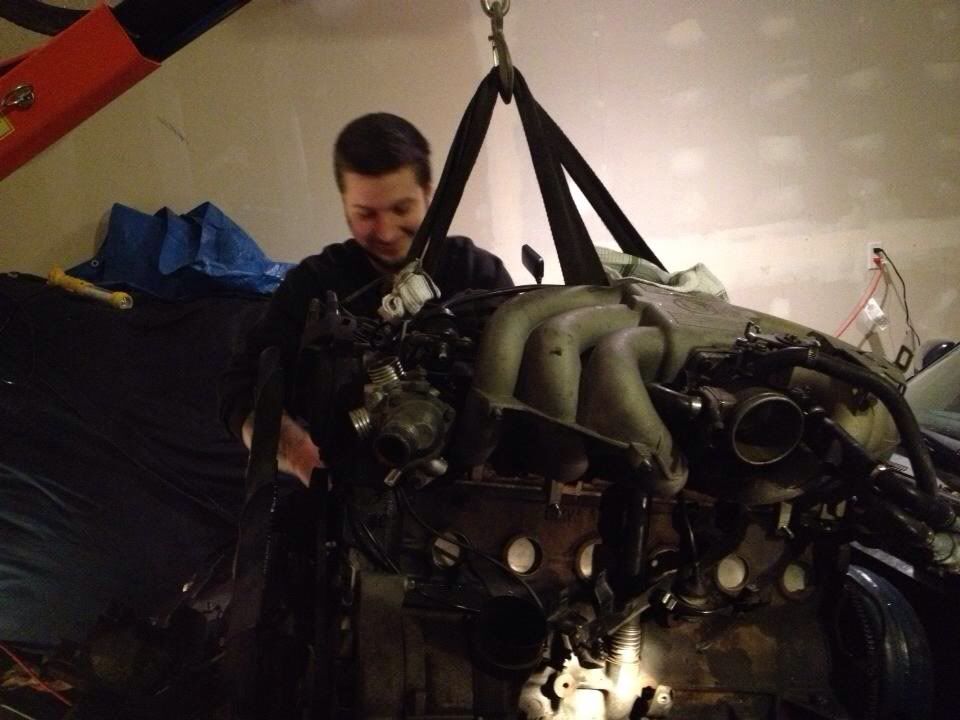
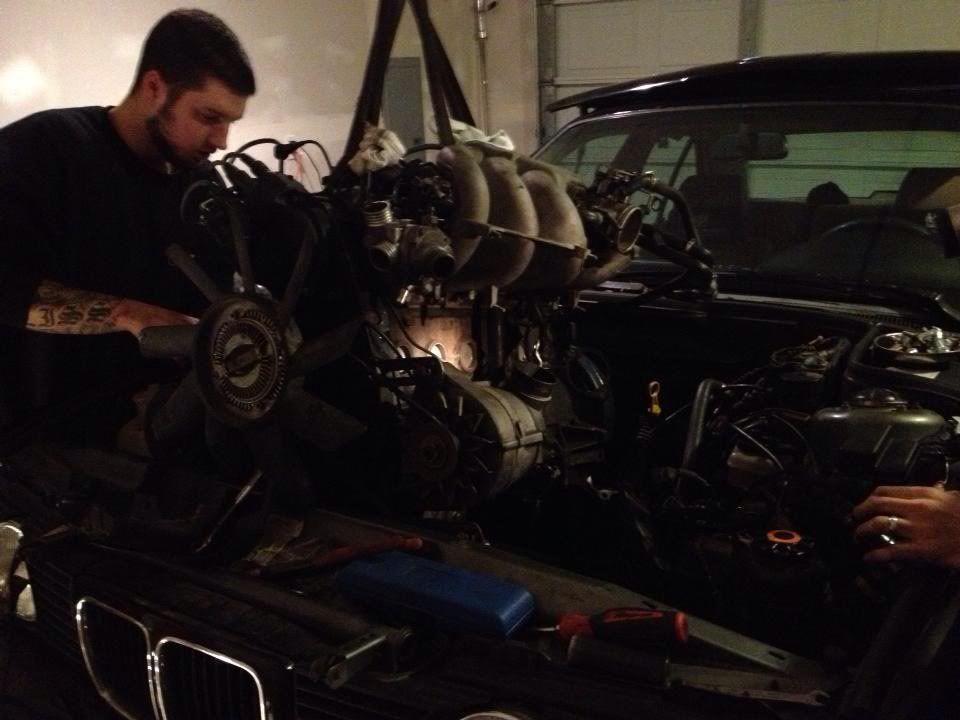
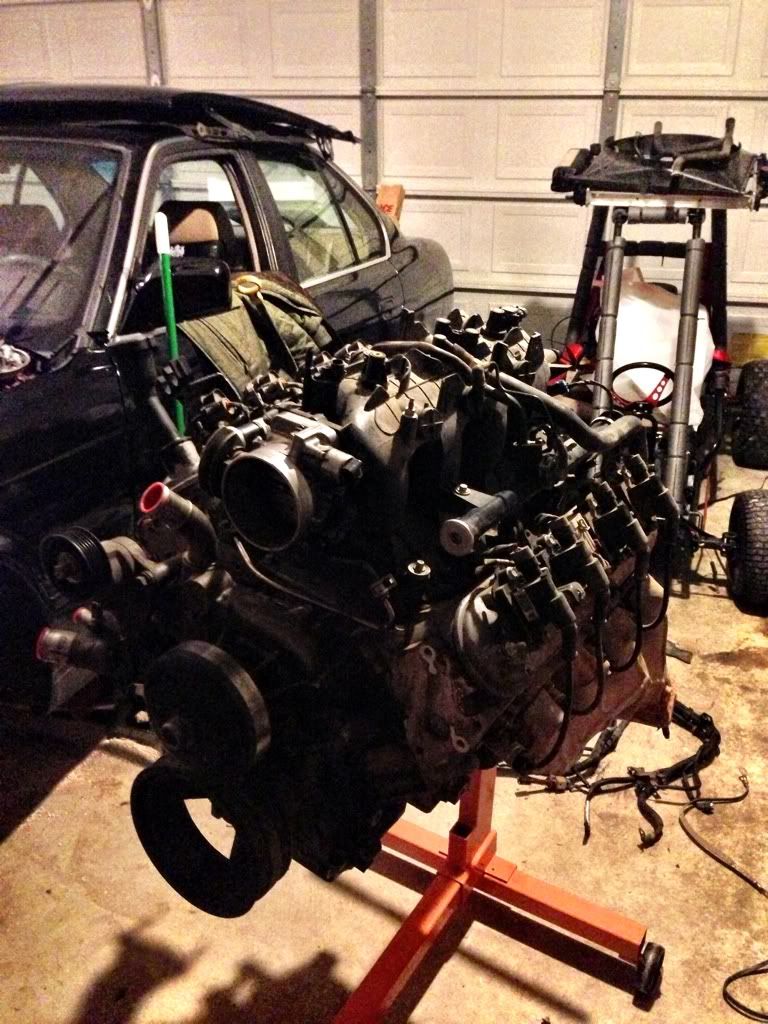
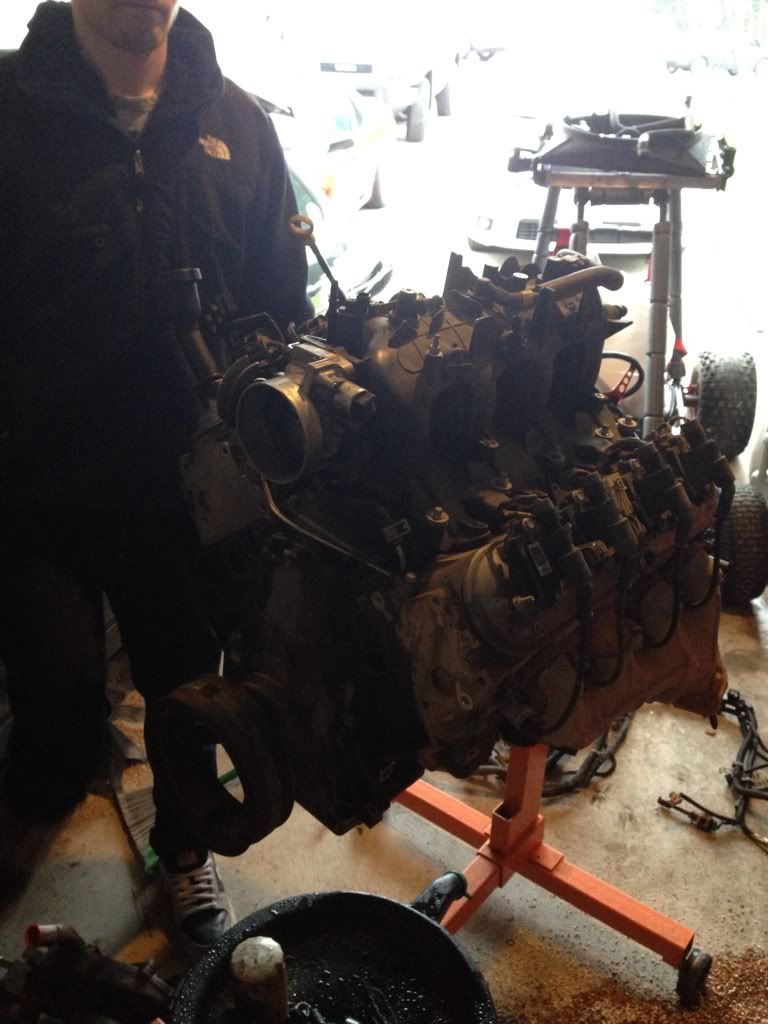
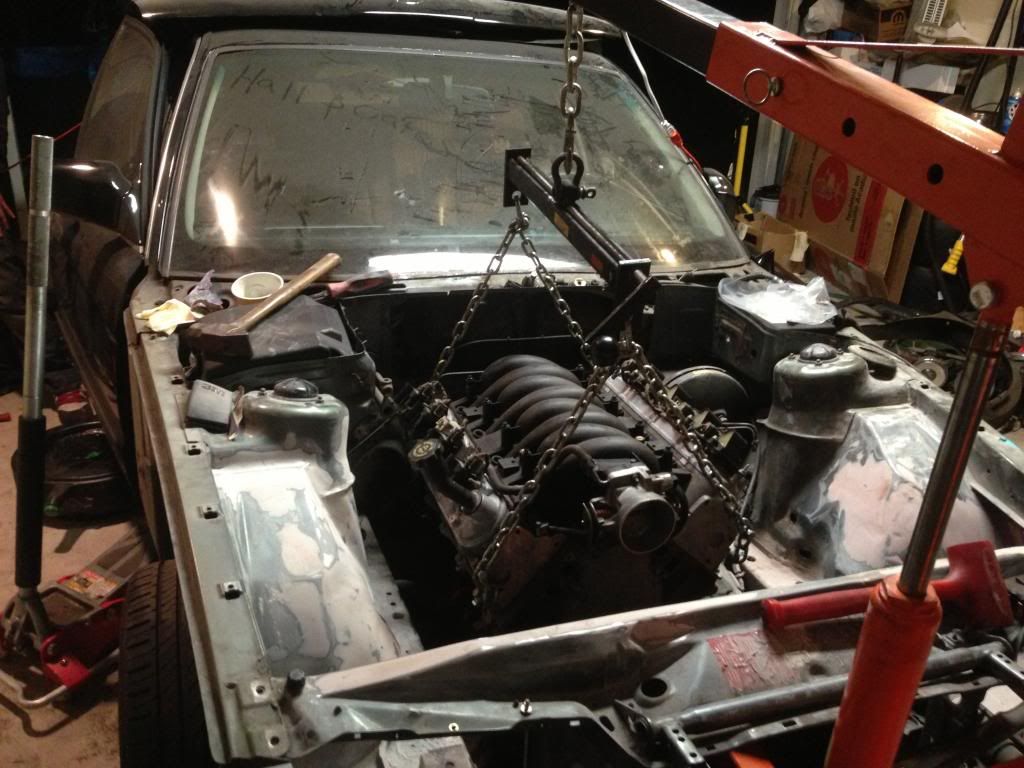
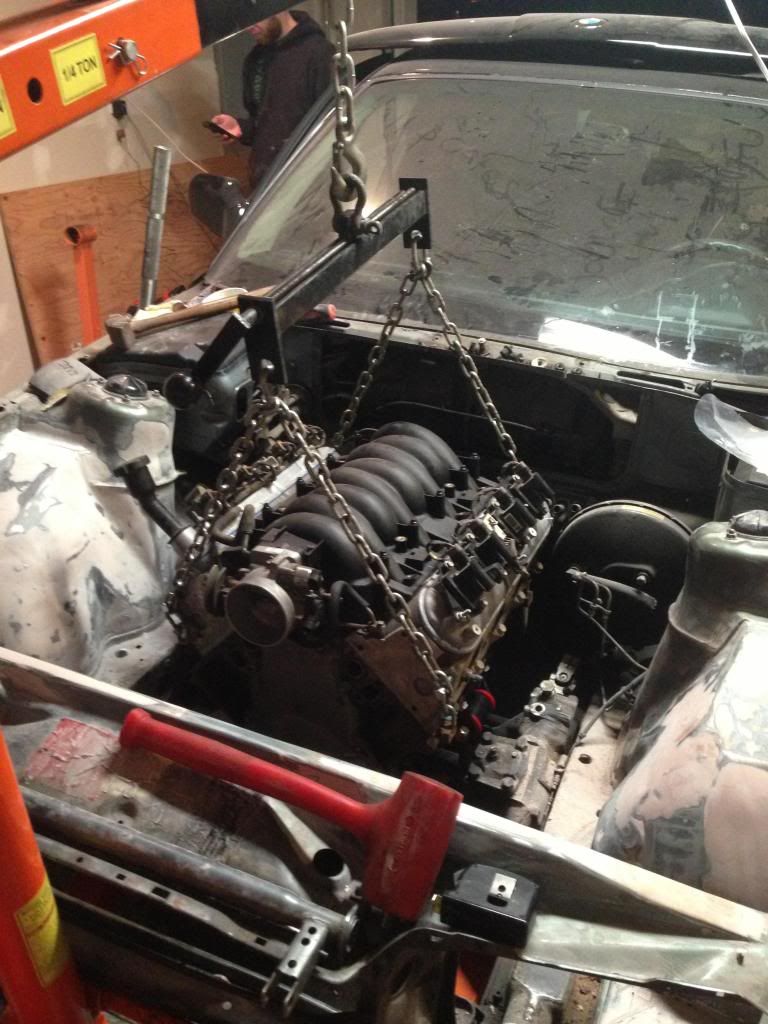
Here's a pic of how it sits now, ls1 intake manifold and the 5.3 truck throttle body. Putting the corvette water pump on this weekend
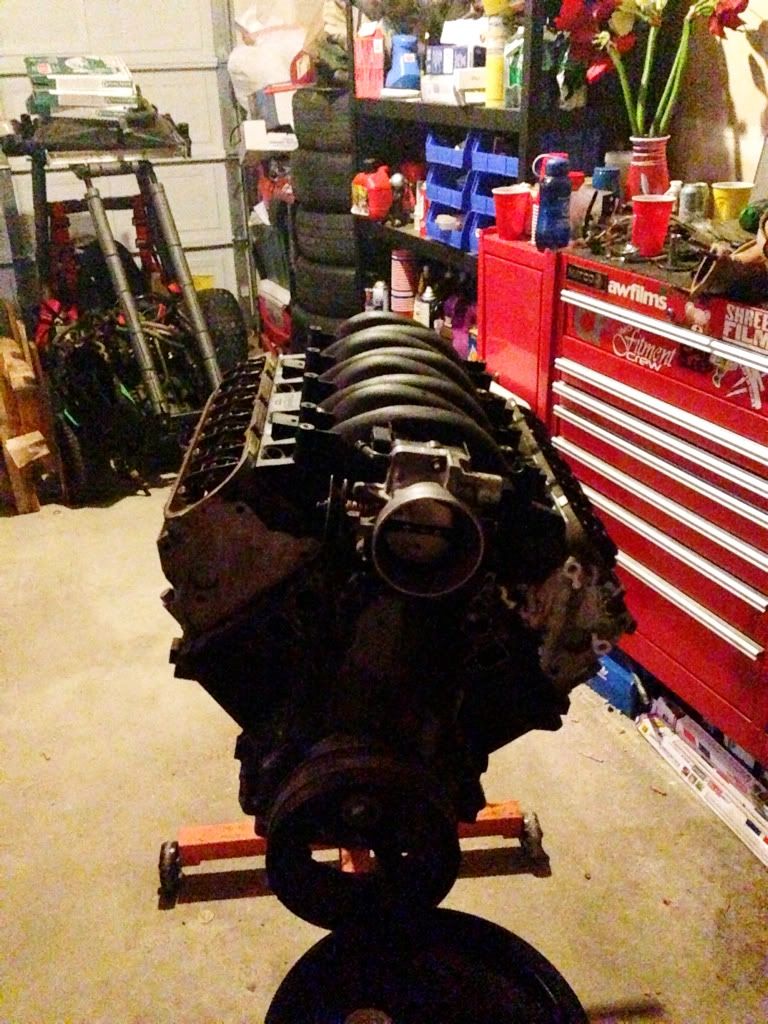
Here's a pic of how it sits now, ls1 intake manifold and the 5.3 truck throttle body. Putting the corvette water pump on this weekend
06-29-2013, 03:43 PM
#7
Teching In
Thread Starter
Join Date: Jan 2013
Posts: 11
Likes: 0
Received 0 Likes
on
0 Posts
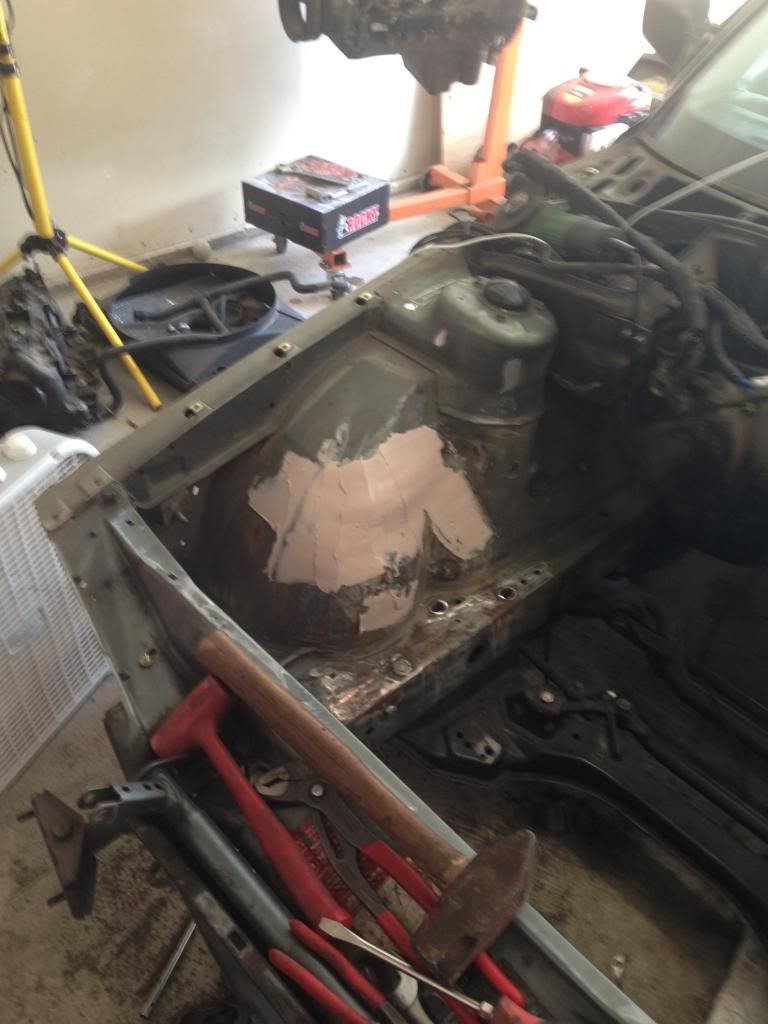
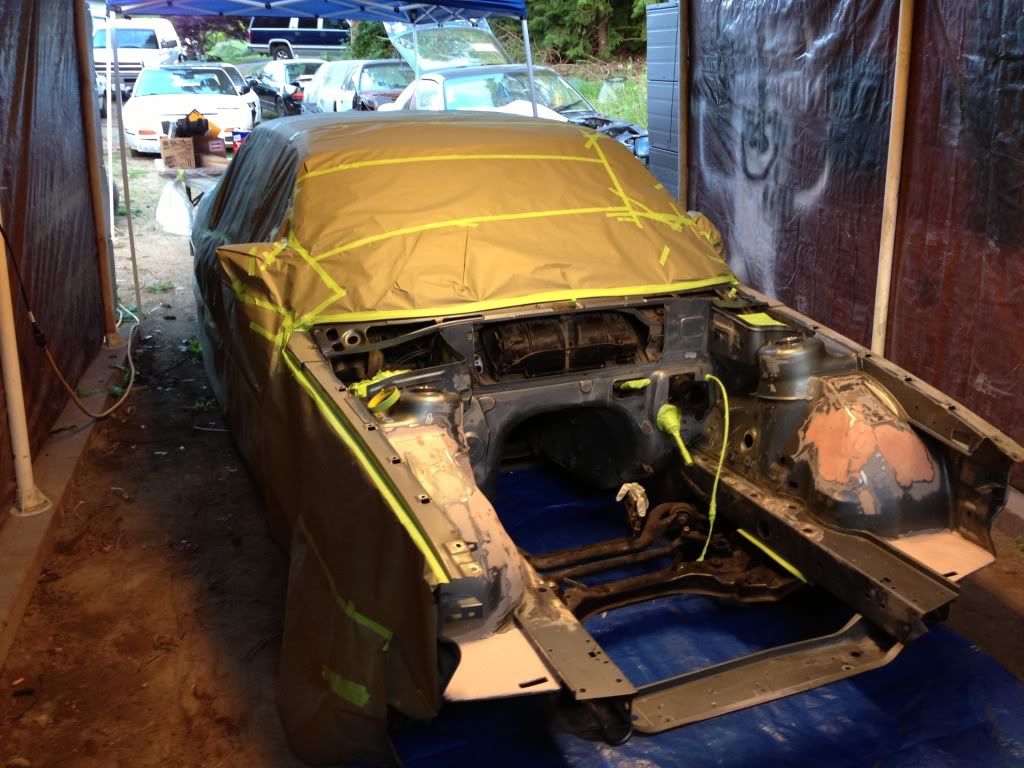
dirty ugly, useless bracket filled engine bay
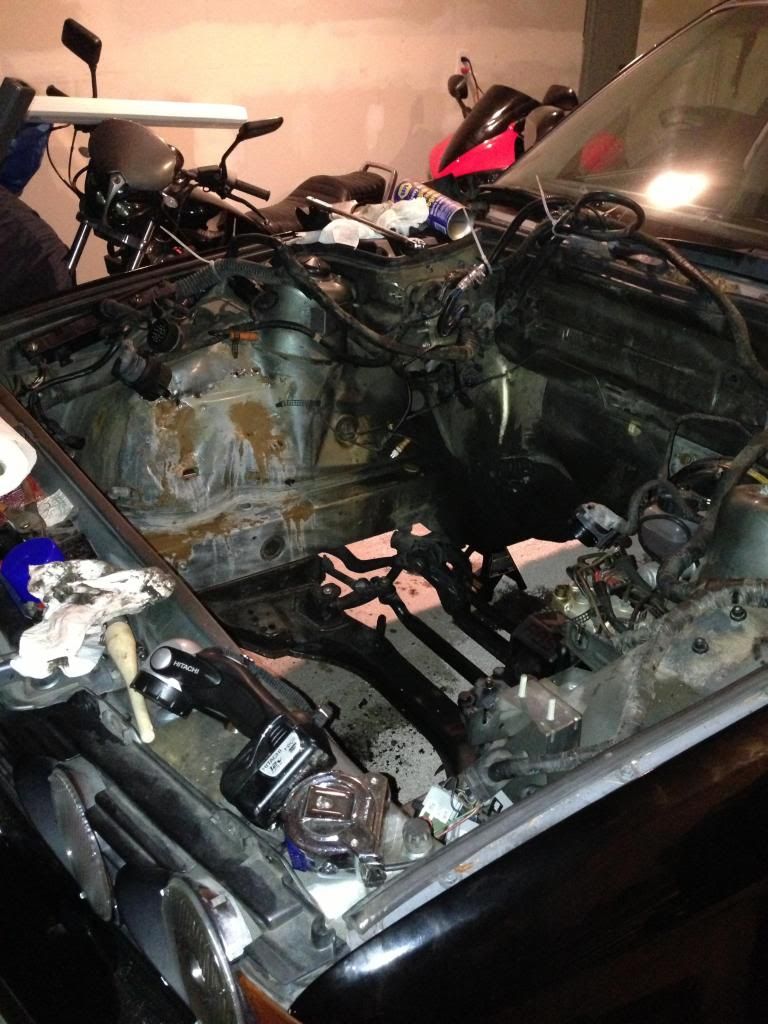
started cutting off all the old brackets that will not be used or hidden
Had to rebuild pass side fender, huge holes and dents from old battery tray
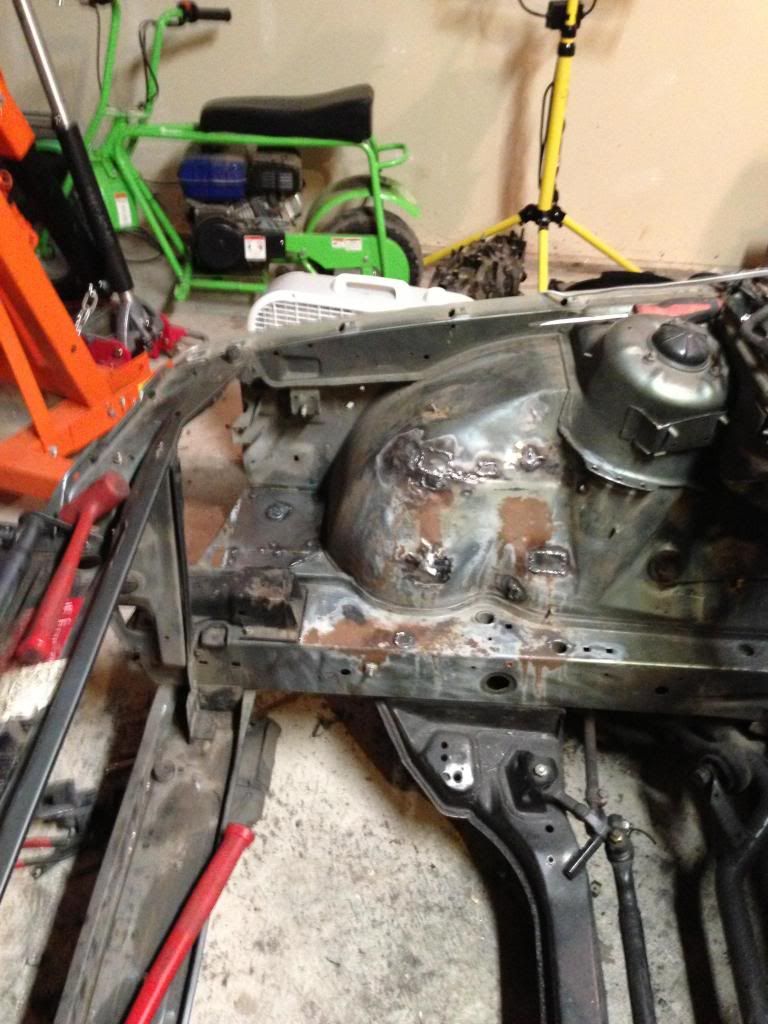
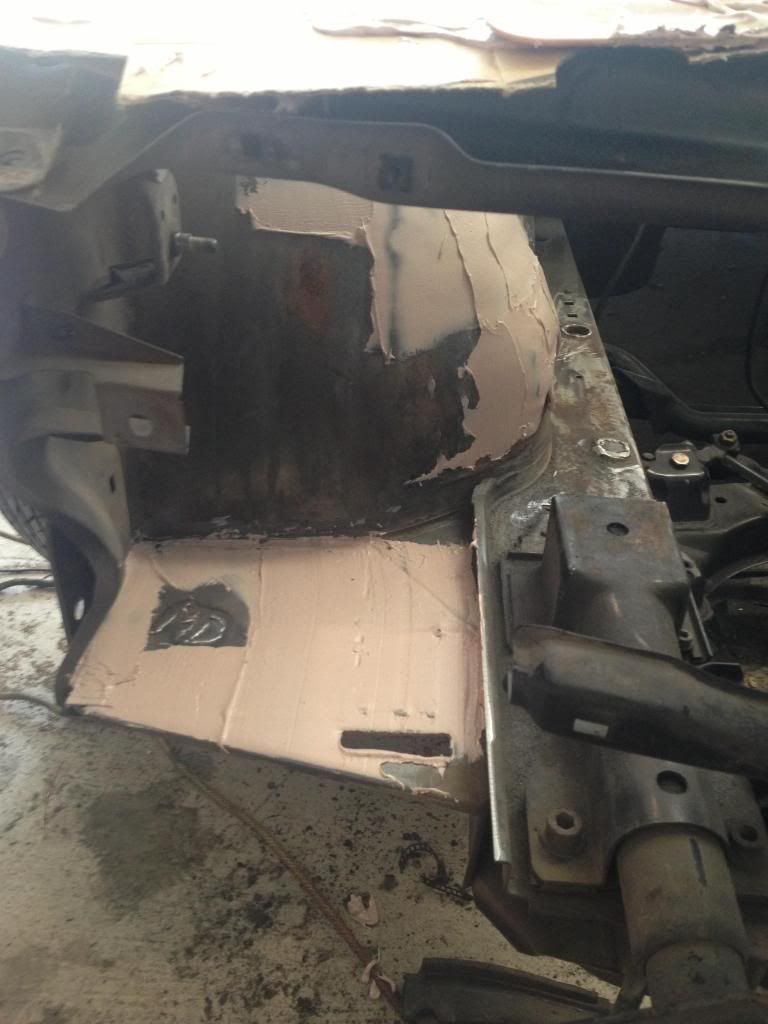
After everything was ground off and shaved started the putty work


started cutting off all the old brackets that will not be used or hidden

Had to rebuild pass side fender, huge holes and dents from old battery tray

After everything was ground off and shaved started the putty work


Trending Topics
06-29-2013, 03:50 PM
#8
Teching In
Thread Starter
Join Date: Jan 2013
Posts: 11
Likes: 0
Received 0 Likes
on
0 Posts
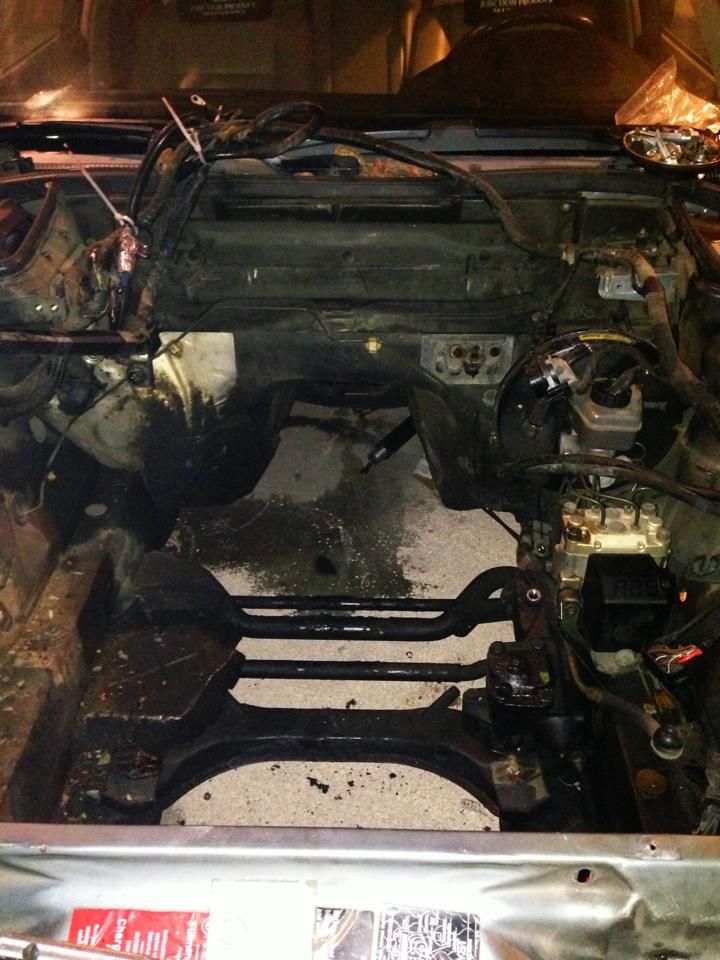
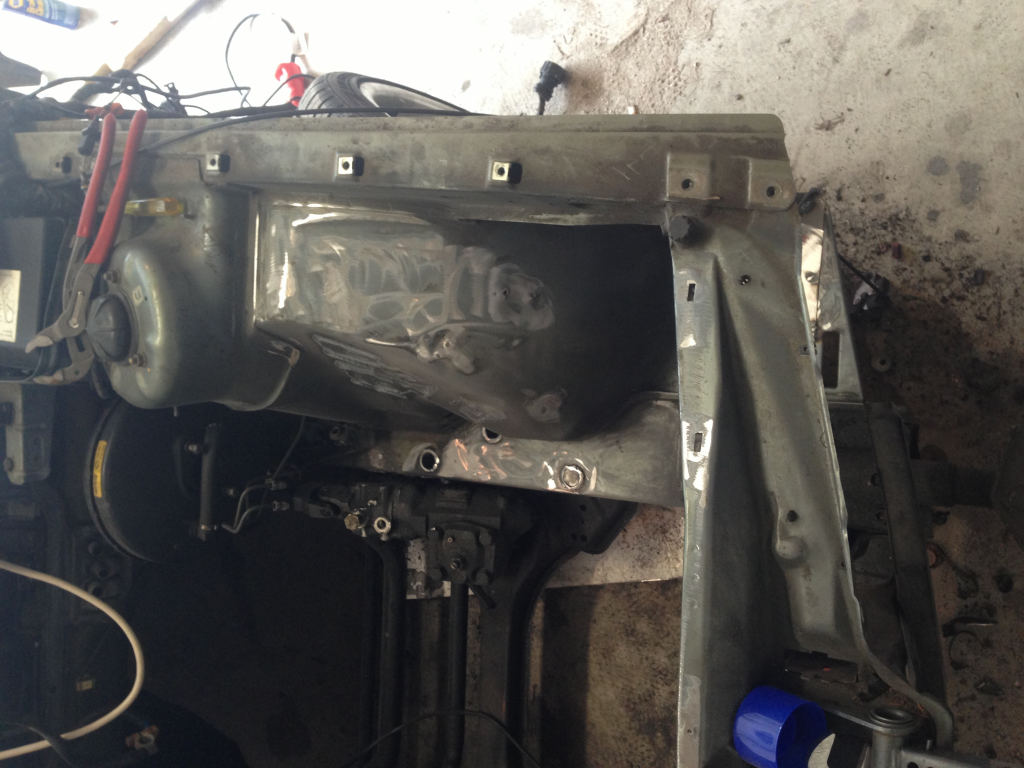
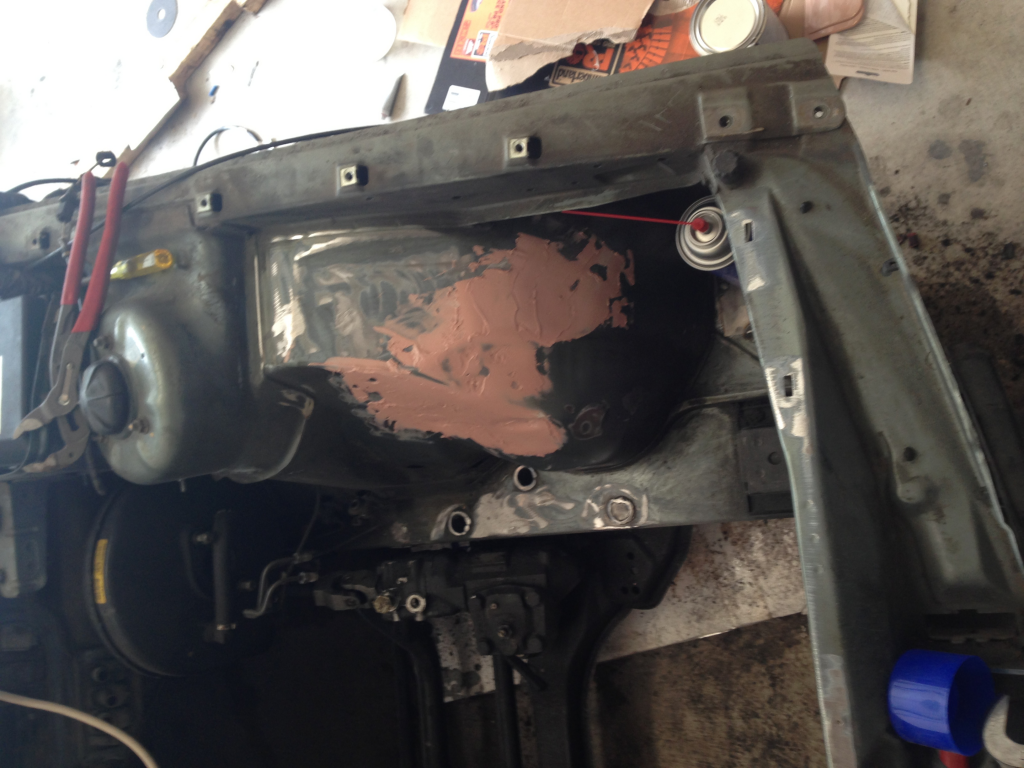
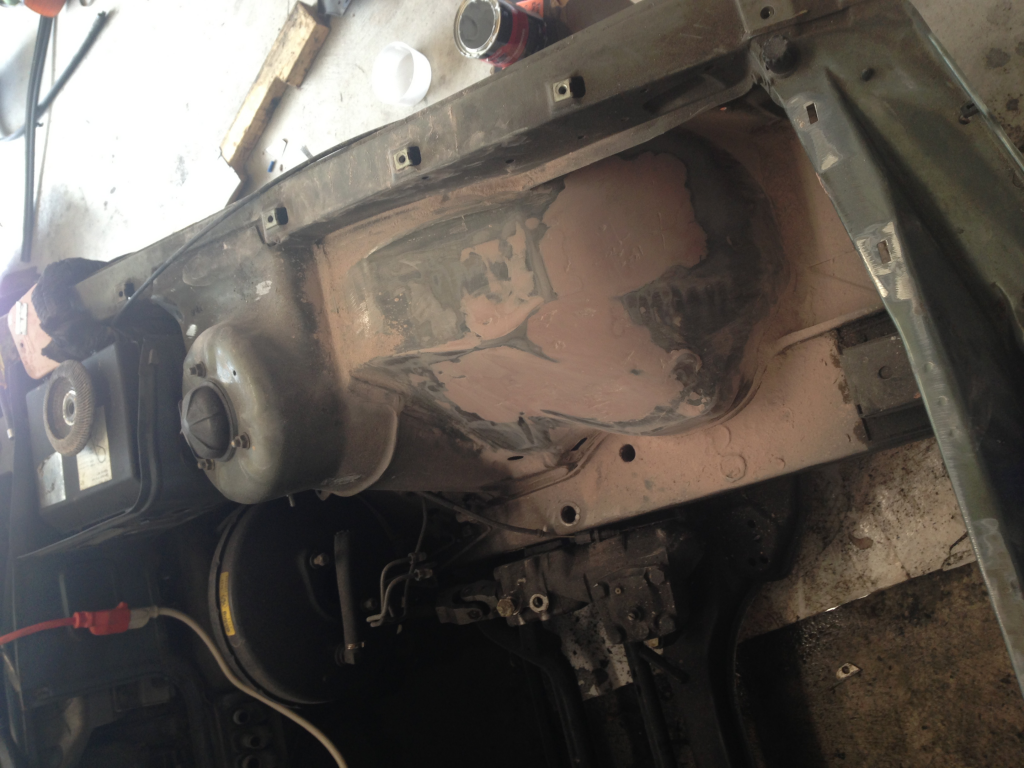
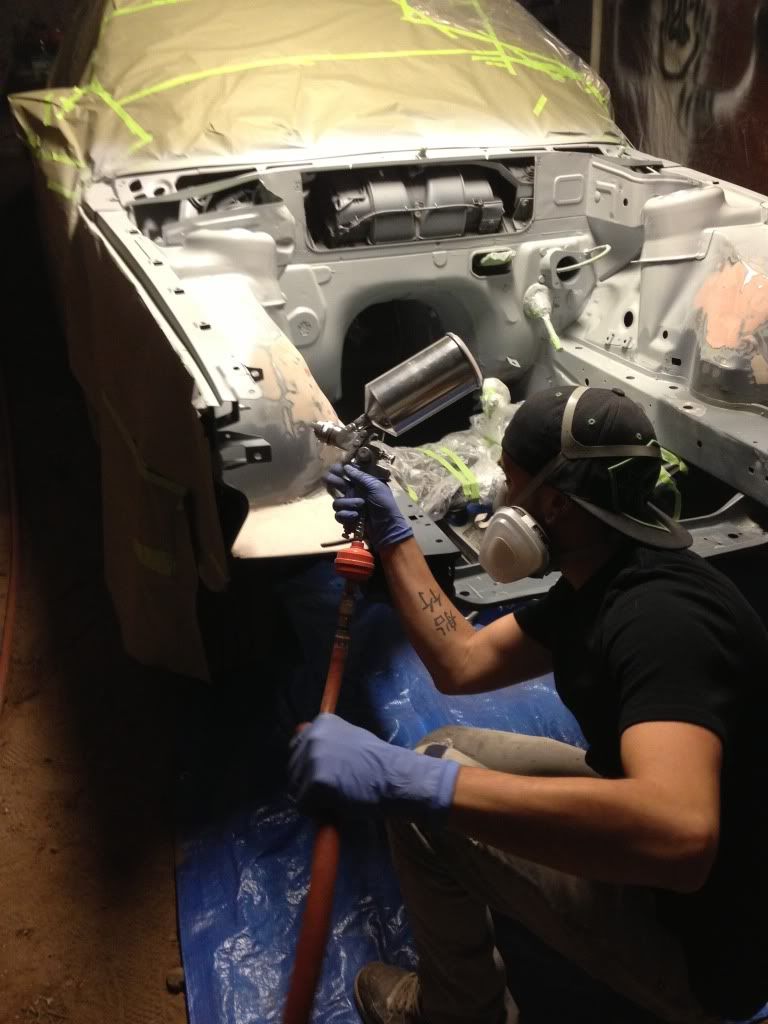
Removed the ac system so cut out of metal squares and welded them in and bondo'd over them to sand down
Pass side fendor and shock tower after shave
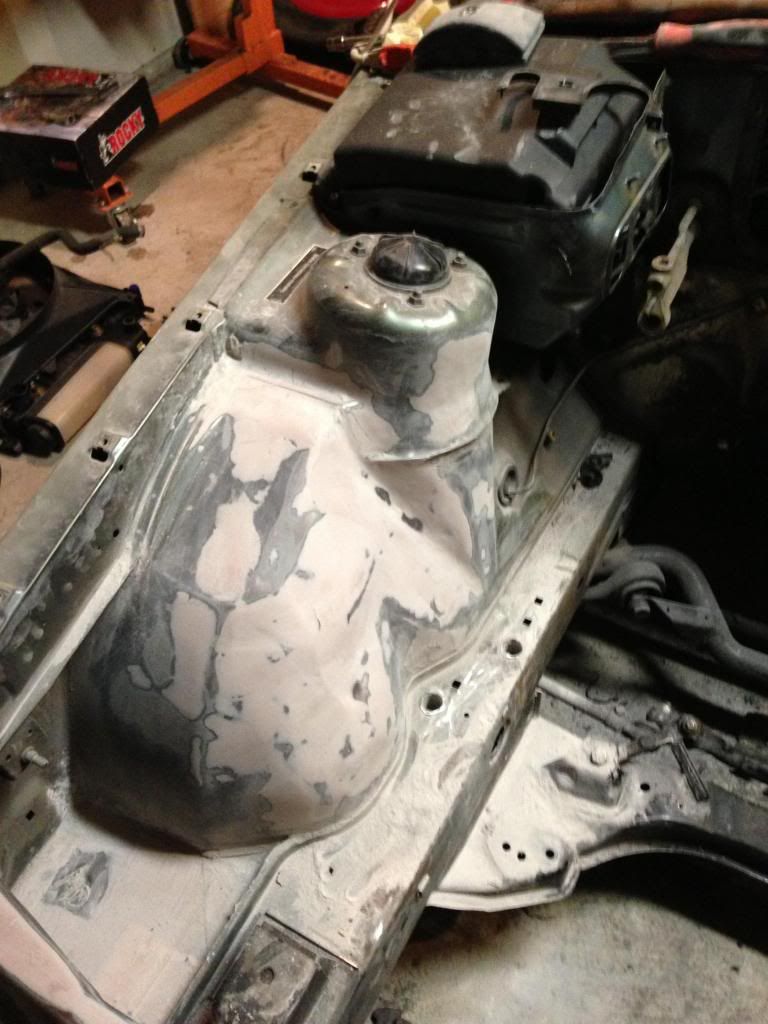
The finall product before over all clean up
http://i165.photobucket.com/albums/u42/bbliss126/bmw24.jpg[/IMG][/URL]
The drivers side exhuast mani will be a real tight fit between the booster and Huge steering box in this thing but should be able to mock one up with out to many problems

Pass side fendor and shock tower after shave

The finall product before over all clean up

http://i165.photobucket.com/albums/u42/bbliss126/bmw24.jpg[/IMG][/URL]

The drivers side exhuast mani will be a real tight fit between the booster and Huge steering box in this thing but should be able to mock one up with out to many problems
 06-29-2013, 03:51 PM
#9
Teching In
Thread Starter
Join Date: Jan 2013
Posts: 11
Likes: 0
Received 0 Likes
on
0 Posts
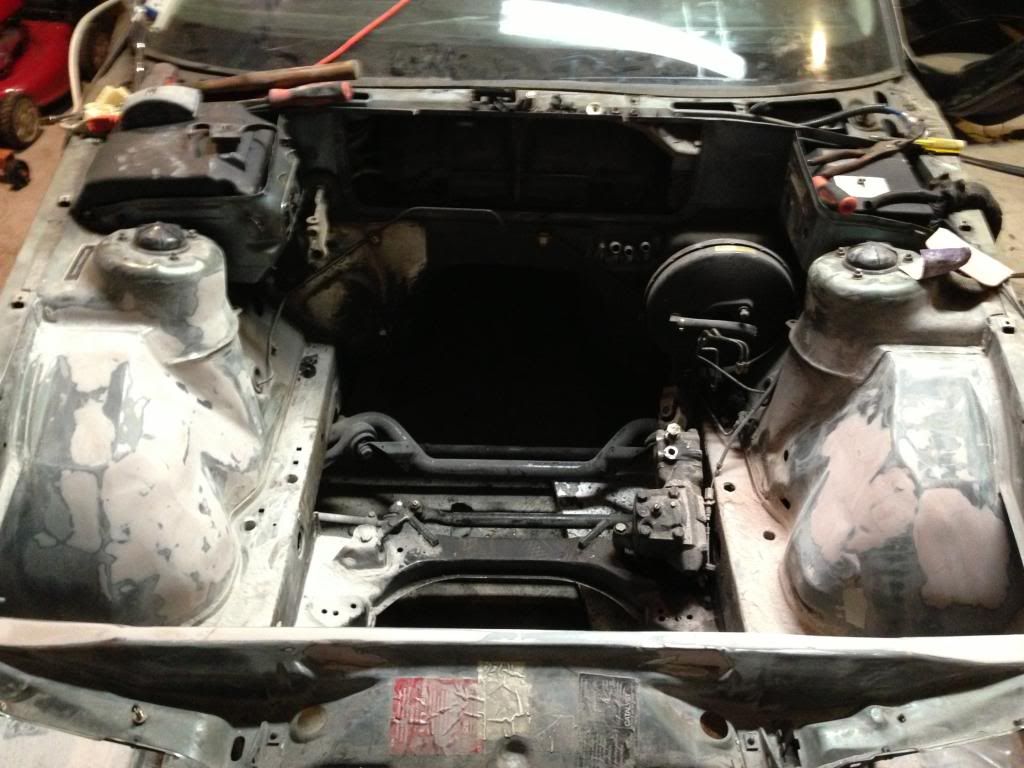
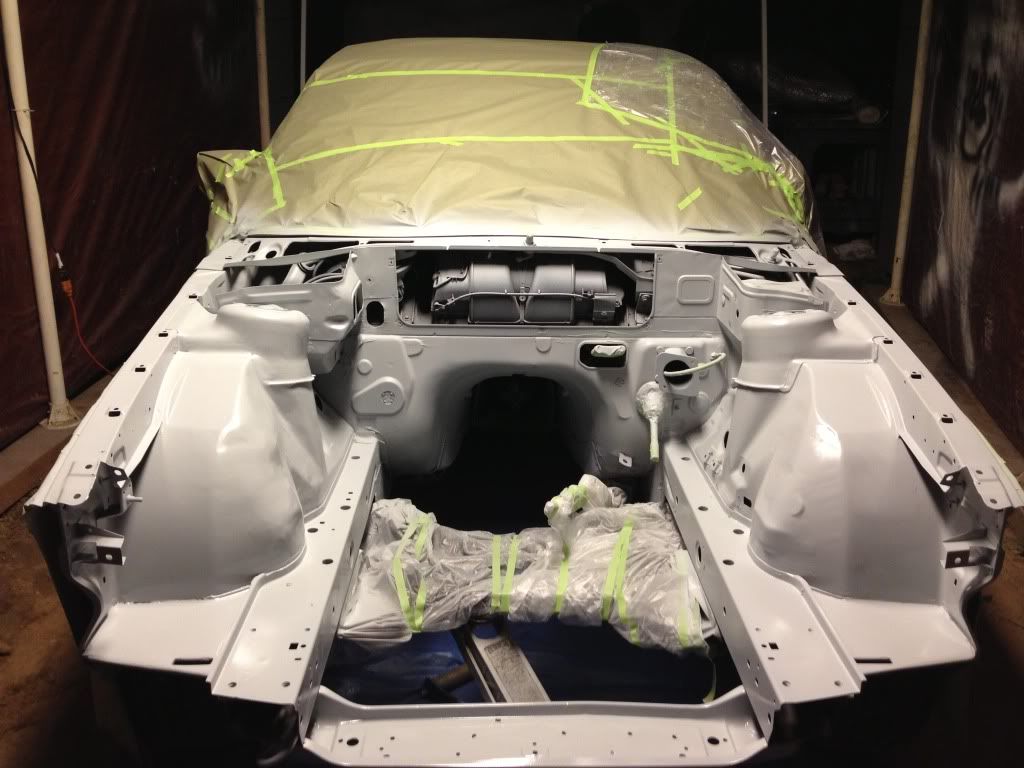
finally finished tucking the harness through the body and cowl, everything in engine bay was sanded and stripped down and cleaned with denatured alcohol. laid down primer now to finish all the mounts and test fit everything one last time before final paint. here's a few pics


 07-06-2013, 12:53 PM
#12
Teching In
Thread Starter
Join Date: Jan 2013
Posts: 11
Likes: 0
Received 0 Likes
on
0 Posts
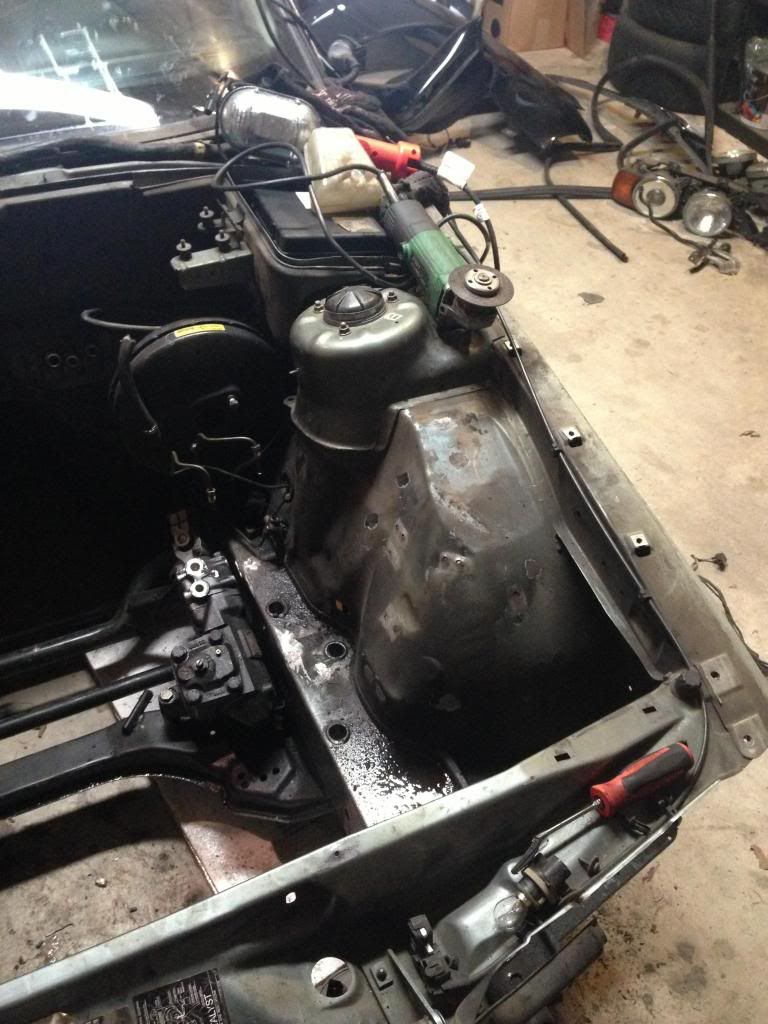
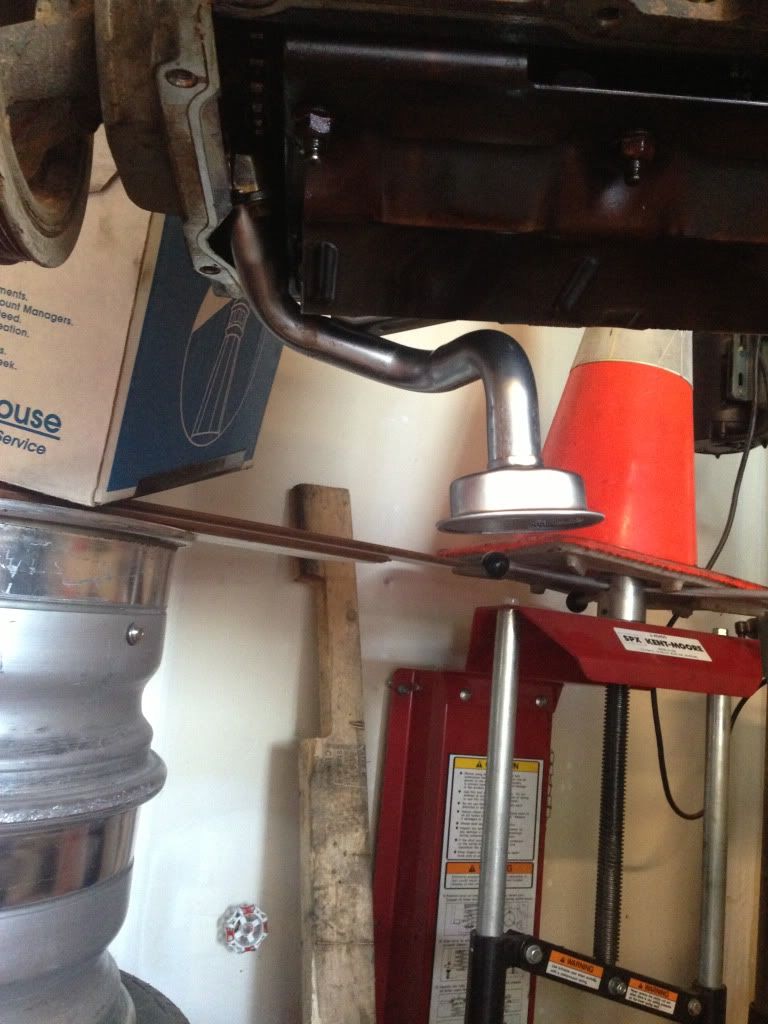
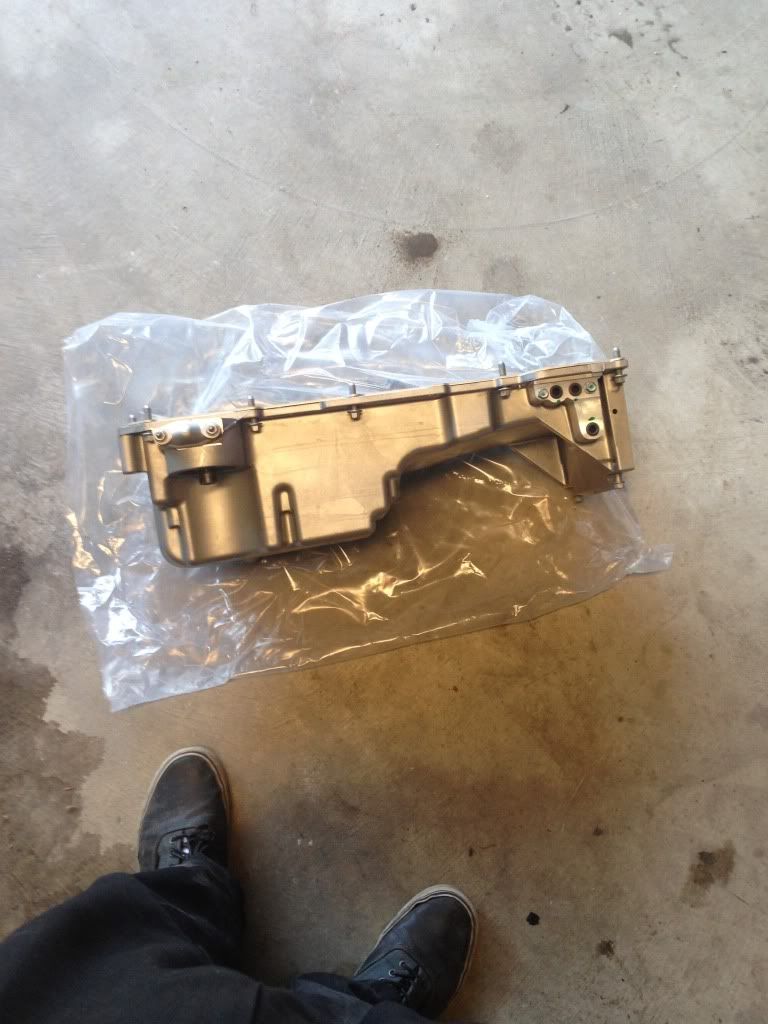
Well I finally got my GTO oil pan and pick up, Installed it the other day and mocked it up to the subframe and ill have to do a little more fabrication on the sway bar mounts and subframe to make it work but it should be fine. I feel more confindent using OEM parts even if it means more fab. I'll be searching the forums this weekend to figure out how to convert the harness to stand alone so hopefully that will be done by the weekend. heres some pics of the GTO front sump stuff


 07-07-2013, 10:38 PM
#13
Subscribing
Welcome to the club
I notched my subframe to make gto pan work without cutting the pan: https://ls1tech.com/forums/conversio...s-wagon-2.html
Welcome to the club
I notched my subframe to make gto pan work without cutting the pan: https://ls1tech.com/forums/conversio...s-wagon-2.html
Last edited by vazfx16; 07-08-2013 at 10:04 AM.
The following users liked this post:
e34Joe (08-17-2022)
07-13-2013, 10:33 AM
#14
Teching In
Thread Starter
Join Date: Jan 2013
Posts: 11
Likes: 0
Received 0 Likes
on
0 Posts
vazfx16- thanks for the link. That's Pretty Much what i was planning on doing with the subframe. what did you do to the rear sway bar? looks like you boxed that in also, any specific reason why?
07-13-2013, 11:29 AM
#15
I didn't touch the sway bar. The sub frame has two pieces. The boxy part that goes under the engine, and a tubular part that goes under the bellhousing (the sway bar is behind that).
Yes I did notch the tubular subframe, because the bellhousing was almost touching in it -- with the engine pushed all the way back into the engine compartment. I need a bit of back and forward engine adjustment to fit my driveshaft, and I had none. This gives me a half and inch or so, which will allow the engine to rock a bit too. So, no that's not the sway bar
07-13-2013, 03:54 PM
#17
Teching In
Thread Starter
Join Date: Jan 2013
Posts: 11
Likes: 0
Received 0 Likes
on
0 Posts
Thanks. bliss126,
I didn't touch the sway bar. The sub frame has two pieces. The boxy part that goes under the engine, and a tubular part that goes under the bellhousing (the sway bar is behind that).
Yes I did notch the tubular subframe, because the bellhousing was almost touching in it -- with the engine pushed all the way back into the engine compartment. I need a bit of back and forward engine adjustment to fit my driveshaft, and I had none. This gives me a half and inch or so, which will allow the engine to rock a bit too. So, no that's not the sway bar
07-13-2013, 11:04 PM
#19
Today found my center bearing is torn, now need to replace it
07-14-2013, 07:59 AM
#20
Launching!