
75-81 Camaro Hooker LS swap headers
 07-07-2013, 10:13 PM
#1
TECH Apprentice
Thread Starter
iTrader: (50)

Join Date: Jun 2007
Posts: 359
Likes: 0
Received 0 Likes
on
0 Posts

First I want to thank Todd and everyone at Holley/Hooker for the LS swap component contest and all the great parts I received. Thank You!
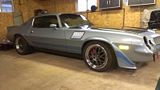
Here is a pic of my car. 1979 Z28 that I have owned since 1988.
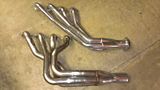
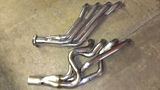
Here is a pic of the headers next to the Dynatech headers. The Hookers are on the bottom.
They are a very nice piece.
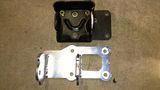
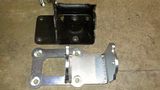
Stock motor mounts in original location and the Hooker motor mounts are required for proper fitment of the headers.
Here are the Hooker motor mounts next to the adapter plates I used before.
After the motor was in they slipped right in from the bottom. I do have to relocate my Autometer oil pressure sending unit
that was mounted down by the oil filter.
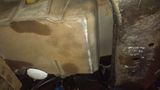
Excellent fit around the subframe.
Spark plug clearance.
Nice placement of the O2 sensors.
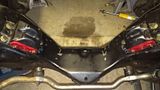
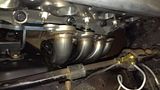
Nice shot showing the headers with the Hooker crossmember.
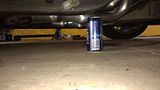
Much improved ground clearance.
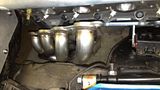
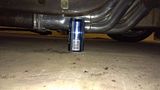
Here is the same shot with the Dynatech headers.
Oil pan clearance using F body pan. Room to spare.
Here is a pic of my car. 1979 Z28 that I have owned since 1988.

Here is a pic of the headers next to the Dynatech headers. The Hookers are on the bottom.
They are a very nice piece.


Stock motor mounts in original location and the Hooker motor mounts are required for proper fitment of the headers.

Here are the Hooker motor mounts next to the adapter plates I used before.


After the motor was in they slipped right in from the bottom. I do have to relocate my Autometer oil pressure sending unit
that was mounted down by the oil filter.


Excellent fit around the subframe.


Spark plug clearance.


Nice placement of the O2 sensors.


Nice shot showing the headers with the Hooker crossmember.


Much improved ground clearance.

Here is the same shot with the Dynatech headers.

Oil pan clearance using F body pan. Room to spare.

Last edited by nobreaks254; 07-13-2013 at 07:32 AM.
 07-08-2013, 09:07 AM
#2

First I want to thank Todd and everyone at Holley/Hooker for the LS swap component contest and all the great parts I received. Thank You!
Here is a pic of the headers next to the Dynatech headers. The Hookers are on the bottom.
They are a very nice piece.
Stock motor mounts in original location and the Hooker motor mounts are required for proper fitment of the headers.
Here are the Hooker motor mounts next to the adapter plates I used before.
After the motor was in they slipped right in from the bottom. I do have to relocate my Autometer oil pressure sending unit
that was mounted down by the oil filter.
Excellent fit around the subframe.
Nice placement of the O2 sensors.
Nice shot showing the headers with the Hooker crossmember.
Much improved ground clearance.
Here is the same shot with the Dynatech headers.
Oil pan clearance using F body pan. Room to spare.
Todd
07-09-2013, 02:55 PM
#4
Hey ryeguy2006a, how did things work out with the Hooker mid-length headers on your Firebird? The last post I saw about it mentioned that you were going to have to modify your driver side engine mount or something of that nature. I curious to know the end result of your efforts.
07-15-2013, 10:29 AM
#6
TECH Fanatic
iTrader: (27)

Hey ryeguy2006a, how did things work out with the Hooker mid-length headers on your Firebird? The last post I saw about it mentioned that you were going to have to modify your driver side engine mount or something of that nature. I curious to know the end result of your efforts.
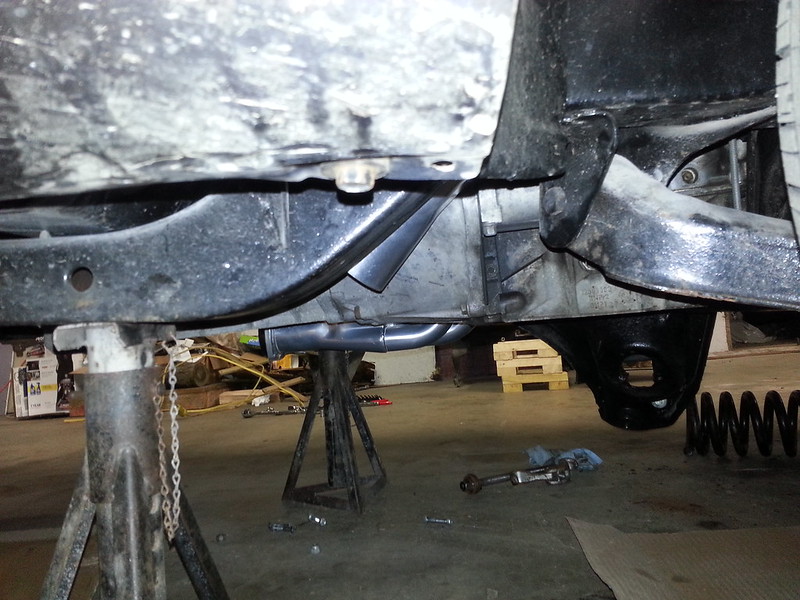
Oh, and for what it's worth I gained some clearance, so I am not scrapping everywhere now. That is what you get with a lowered car though, have to make compromises elsewhere. The exhaust is just slightly lower than the subframe now.
07-15-2013, 11:51 AM
#7
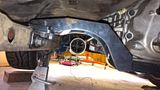
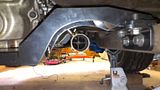
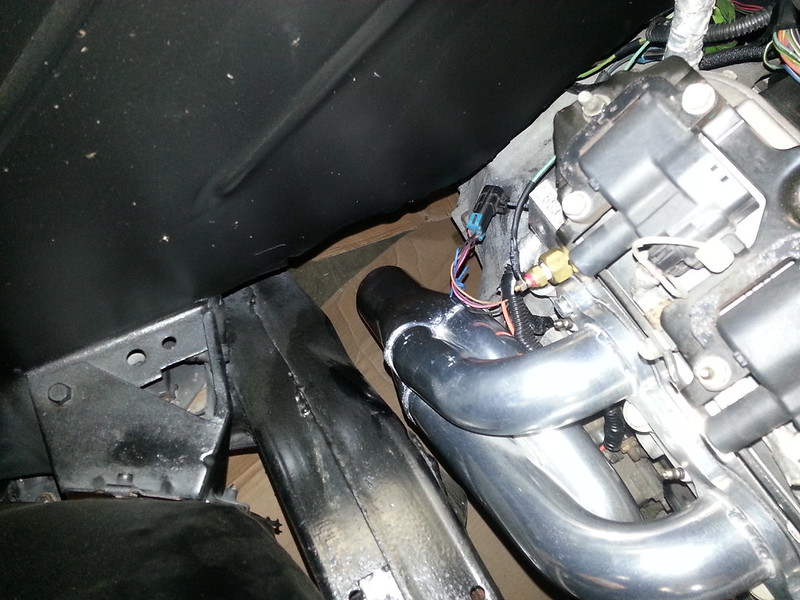
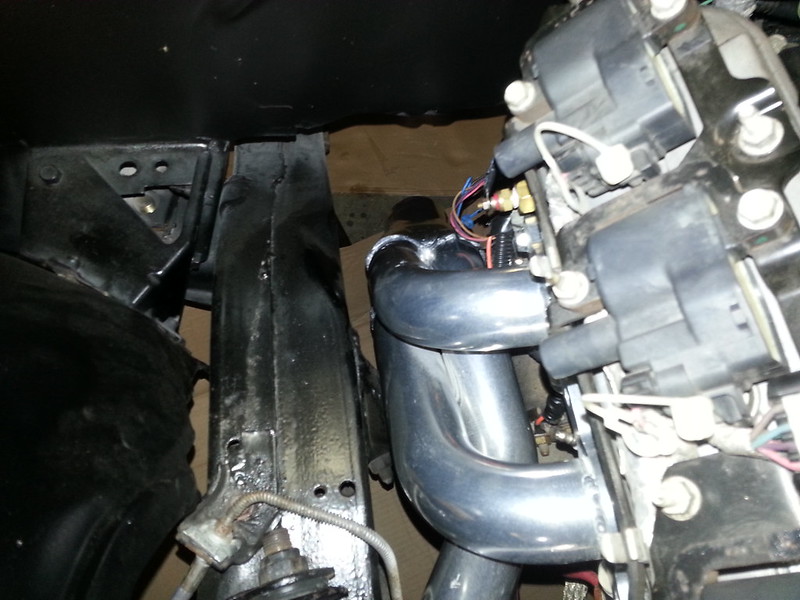
The passenger's side fit with no issues, and as I said the driver's side tube will fit, but the one primary tube tucks tighter to the block. What I ended up doing to get my car back on the road for the summer was used the old hammer trick to modify the primary tube to fit around the motor mount. At this point, it was much easier to modify the header to fit than pull my motor and reposition the engine mount. Over the winter I plan to cut and re-clock the primary tube to fit around the engine mount and look more like the passenger's side. If it weren't for my engine mounts being moved rearward to allow for the AC compressor, they would fit without issue in the stock location.
Oh, and for what it's worth I gained some clearance, so I am not scrapping everywhere now. That is what you get with a lowered car though, have to make compromises elsewhere. The exhaust is just slightly lower than the subframe now.
Oh, and for what it's worth I gained some clearance, so I am not scrapping everywhere now. That is what you get with a lowered car though, have to make compromises elsewhere. The exhaust is just slightly lower than the subframe now.
Todd
Trending Topics
07-15-2013, 02:46 PM
#8
TECH Fanatic
iTrader: (27)
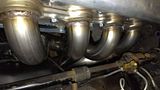
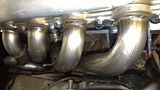
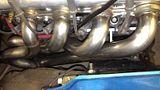
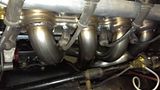
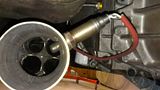
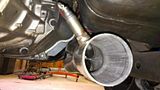
Here are the pictures of the headers and the fitment for the passenger's side.
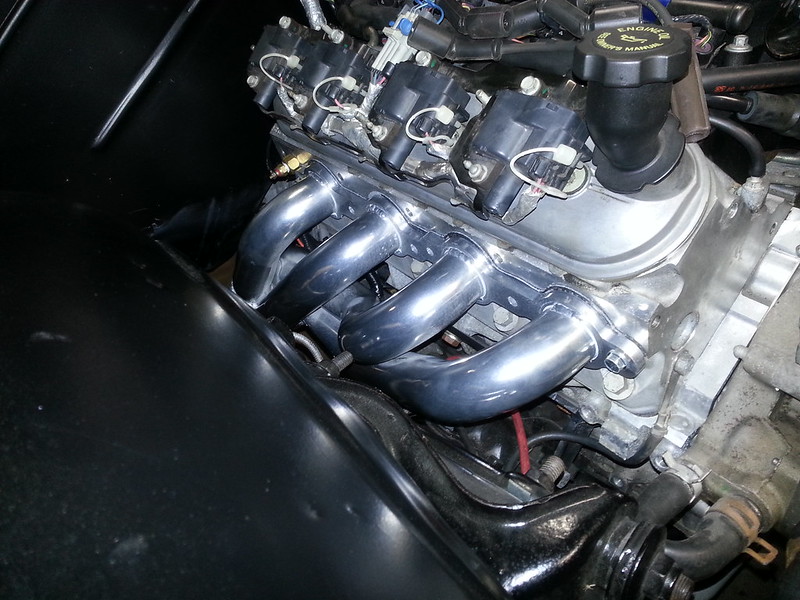
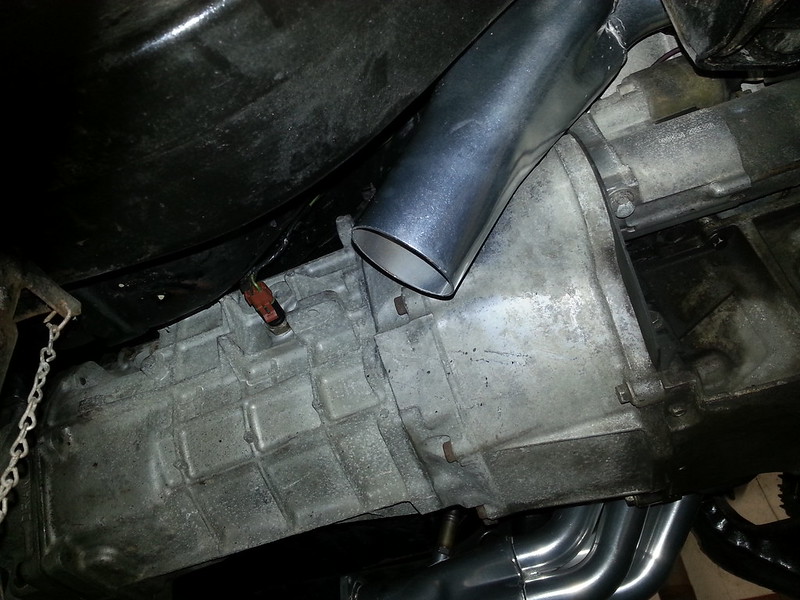
Here is the Mid-pipe I had to make and you can see the O2 sensor bungs that I had to weld in. That was one thing I didn't like about the headers is that they don't include bungs for the sensors.
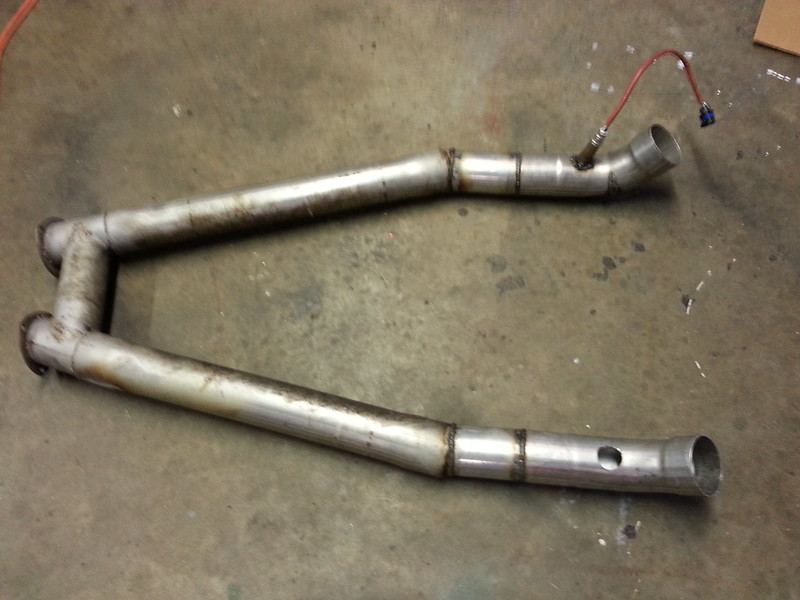
I haven't gotten any good pictures of the drivers side installed, but they are installed. The headers sound great and give awesome clearance.
Here is the Mid-pipe I had to make and you can see the O2 sensor bungs that I had to weld in. That was one thing I didn't like about the headers is that they don't include bungs for the sensors.
I haven't gotten any good pictures of the drivers side installed, but they are installed. The headers sound great and give awesome clearance.
Last edited by ryeguy2006a; 07-15-2013 at 03:02 PM.
07-15-2013, 03:58 PM
#10
Here are the pictures of the headers and the fitment for the passenger's side.
Here is the Mid-pipe I had to make and you can see the O2 sensor bungs that I had to weld in. That was one thing I didn't like about the headers is that they don't include bungs for the sensors.
I haven't gotten any good pictures of the drivers side installed, but they are installed. The headers sound great and give awesome clearance.
mid-length headers to our upcoming 2.5" and 3" exhaust systems in a bolt-on fashion (or use to create a custom system as you have done) and the location of the header collectors do not provide a prime location for the bungs like the adapter pipes do. Our adapters locate the bung on the inside of the bend tilted slightly inward towards the transmission. The modularity and geometry of all our components definately makes more sense when looked at from a system perspective, as they were designed to work together to provide a total LS swap mount and bolt-in exhaust system solution from the exhaust port to the tip without having to modify components from various manufacturers to get them to work together.